The Conversation (0)
Sign Up

Paint the sky on half of the plate.
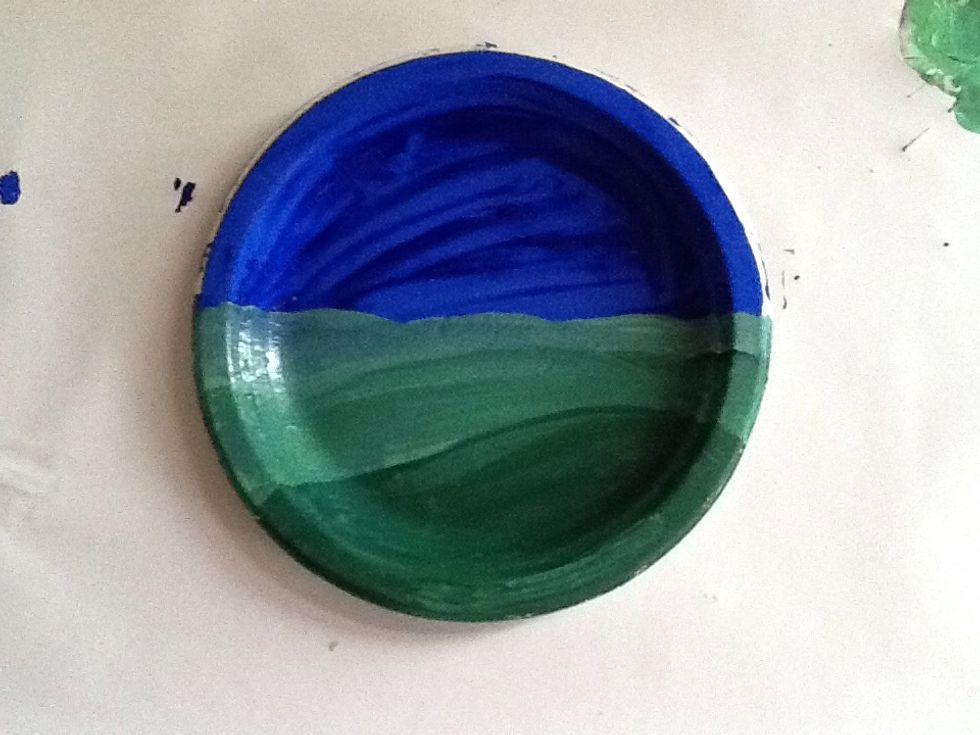
Create a fore, middle, and background for your landscape.
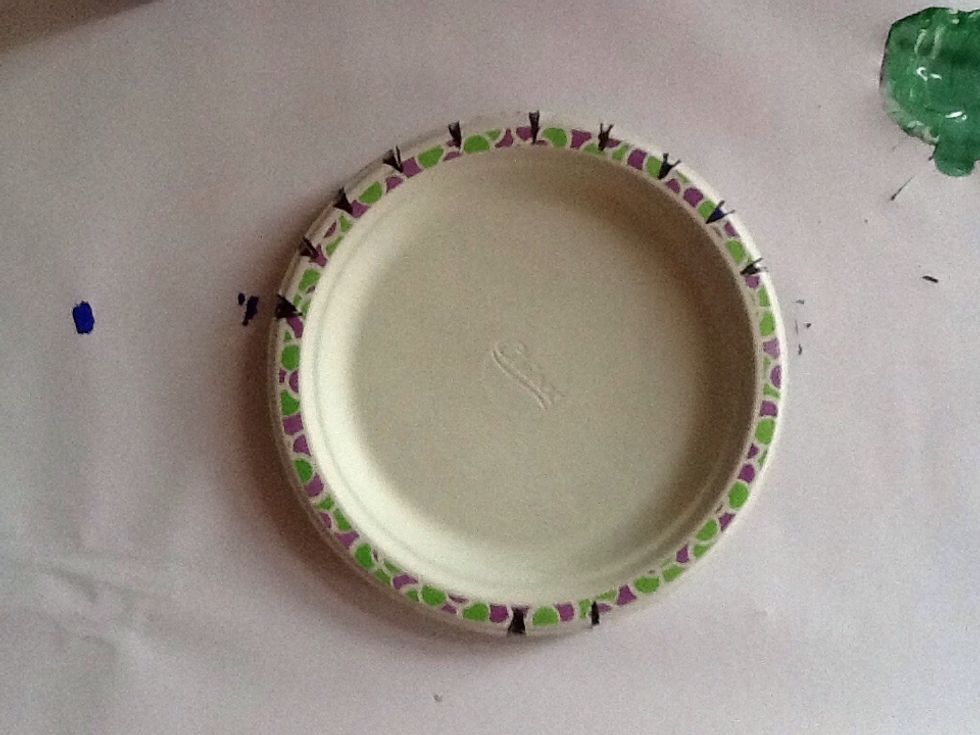
Place the tree template over your painting. Make sure the 10 cuts are lined up with the sky and the 2 cuts are lined up with your foreground.

Use a marker to mark each cut.

Now, make a small cut on each mark. 10 on top, 2 on bottom.
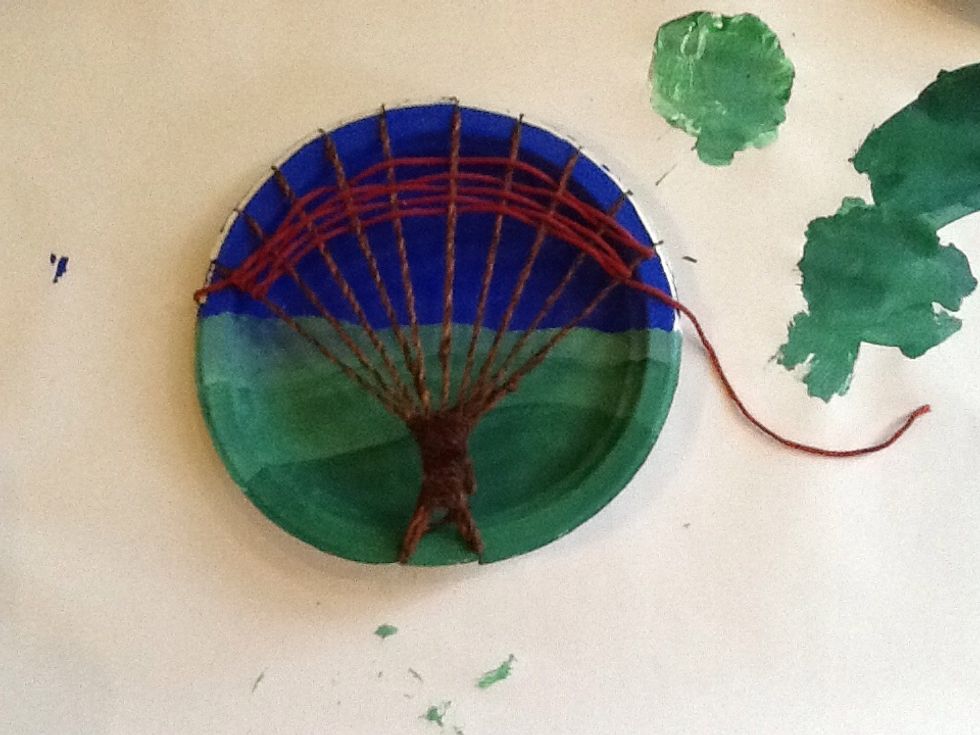
Cut a strand of yarn for your trunk. Your yarn should be at least the length of both of your arms spread out.

Place your yarn in the notch on the bottom left with the long end of your string sitting on top of your plate. Tape the short end to the back.

Take the long end of your yarn and run it through the first notch on the top left. Then go under, out the notch to the right, and back down through the notch you started with.

Weave your string under and out the notch on the bottom right. Next, Weave your string up to the next opening on the top left and then out the notch to the right and back to the bottom.

If you are getting low on string, use a double knot to tie on more.
Now, bring your string under and out the notch on the bottom left. Repeat step 8 and 10 until all the notches are filled.

Now It is time to make the tree trunk. With the end of the yarn, begin wrapping it around the yarn at the bottom, tugging gently as you go. Once the trunk is long enough, tie it off on a branch.

To begin the leaves, double knot your yarn to the tree branch on the left end. From there, begin the process of weaving, over, under ,over, under, until you are finished. Remember to weave loosely.
Push the string up as you weave or it will fall down towards your trunk. If you run out of yarn, use a double knot to tie more on. If you want to change colors, tie the new color to your yarn.

When you are finished, tie your yarn to a branch and clip off the extra pieces.