The Conversation (0)
Sign Up
Check your audio levels. With headphones on, check the audio source coming into the audio mixer. PC sound coming in should hit the 2 dB mark. Microphones should hit the 7-10 dB range. (true for DHS)
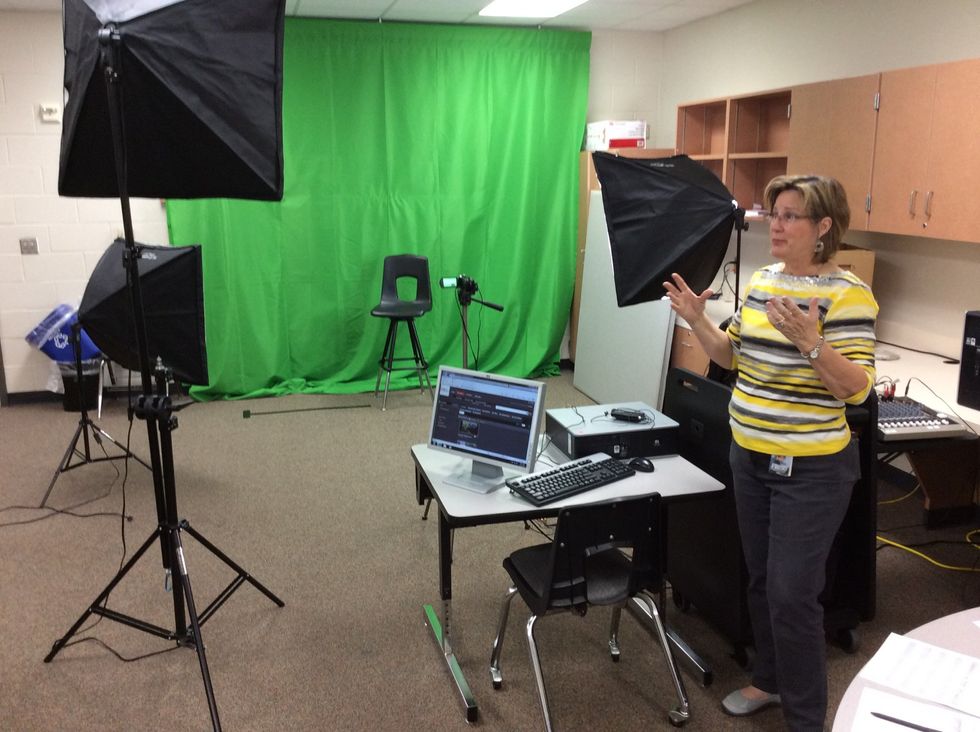
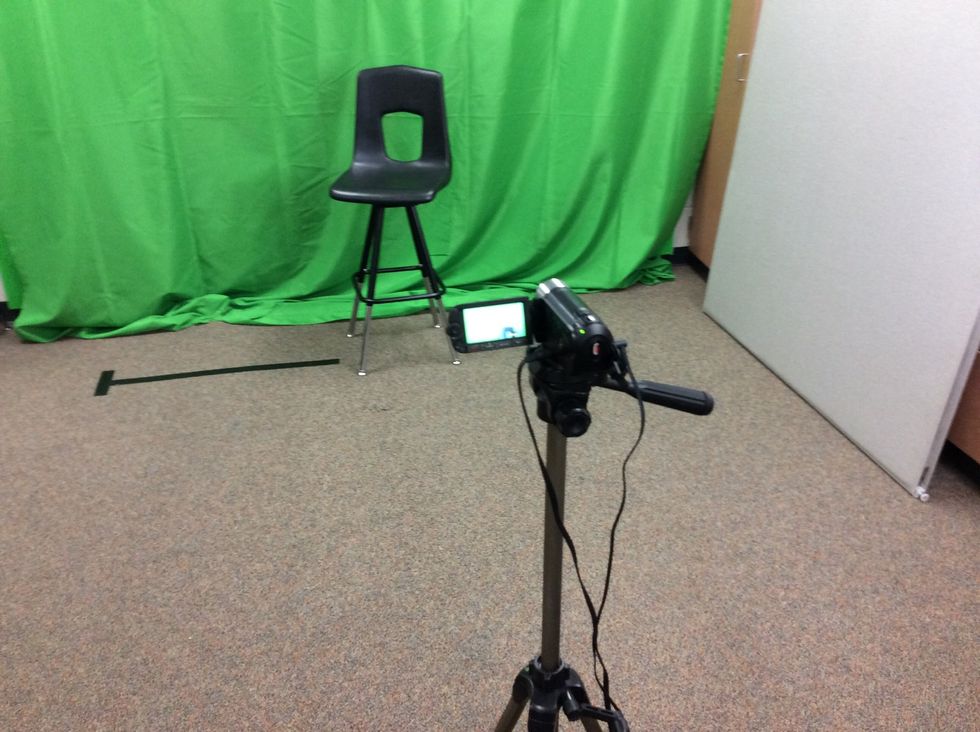
An overview of the equipment (Lights, green screen, lapel and handheld microphones, audio and video mixers, encoder (at the bottom of the black rolling cart shown.)
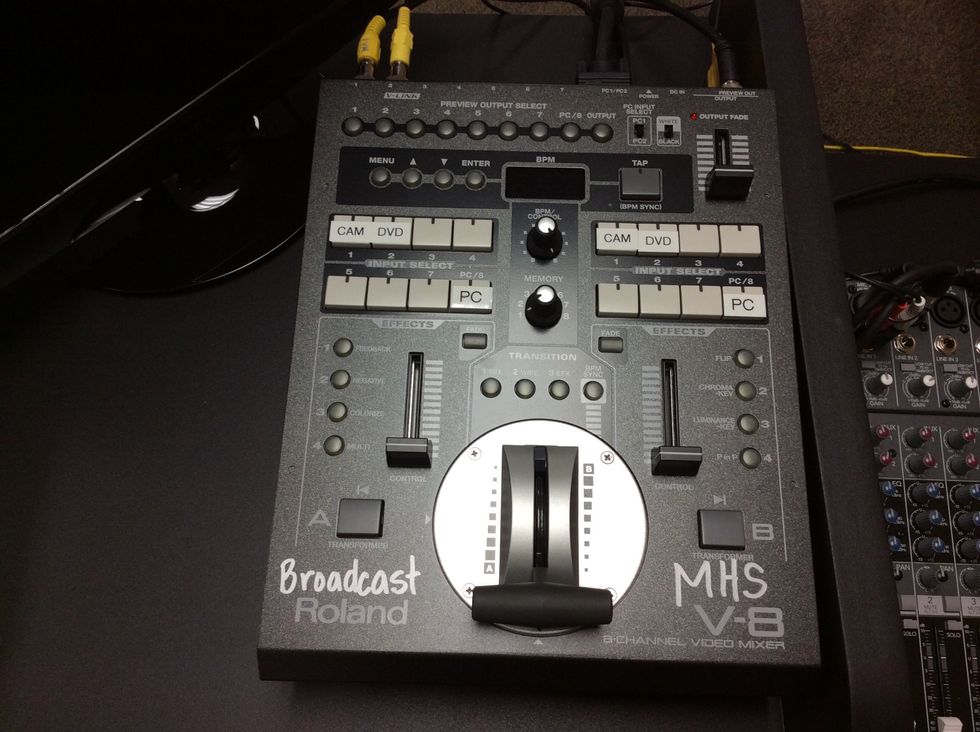
This is the video mixer. You broadcast from one side while setting up the next scene on the other. The silver handle in the middle fades from one source to the next.

This is the back of the video mixer. With this setup, the camera, computer, and the DVD player are plugged in.
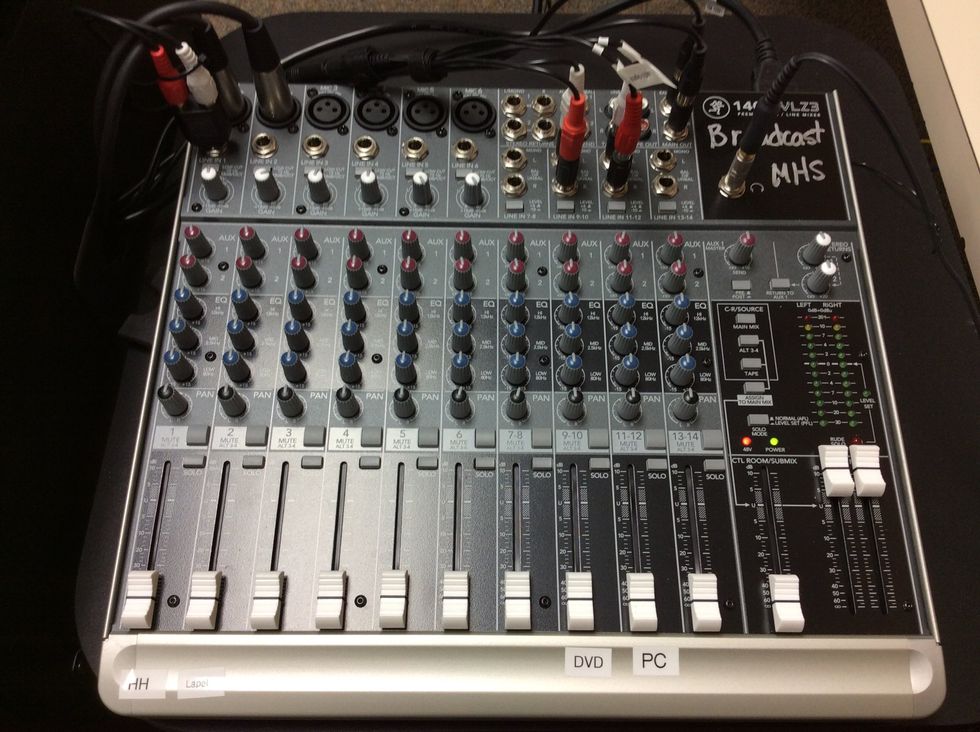
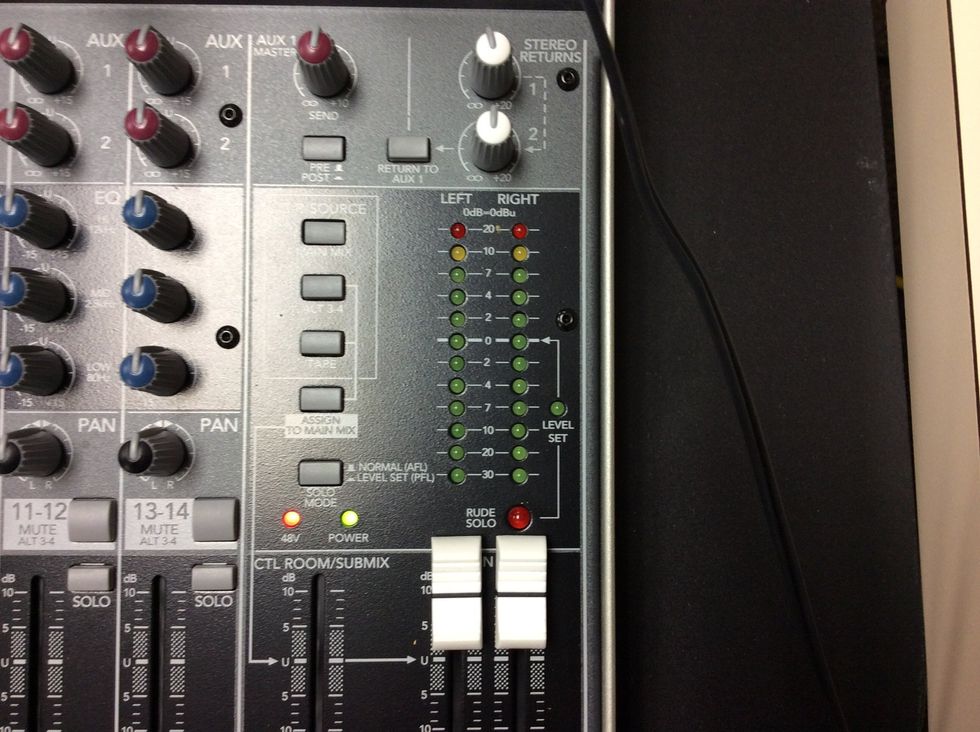
Master busses are on the bottom right side. Use the other white busses along the bottom to bring up the sound from a source. Red AUX pots can be adjusted to compensate for quiet, older microphones.
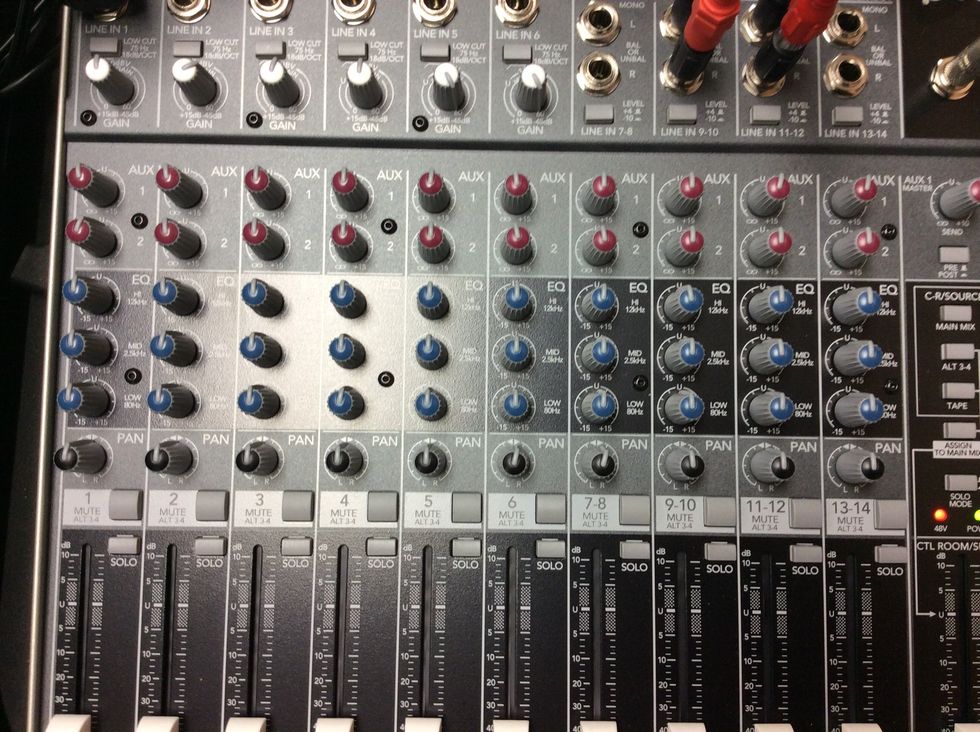
Set all the blue knobs to U (or zero). If you learn more about the system, you can adjust these for low, mid, and high range. More useful for music and multiple audio input sources at the same time.

This is the back of the audio mixer.
Any camera will work. Just make sure it has an audio output. (?)
Have a dry erase board and marker on hand for the director to give quick non-verbal cues or communicate with the anchor.
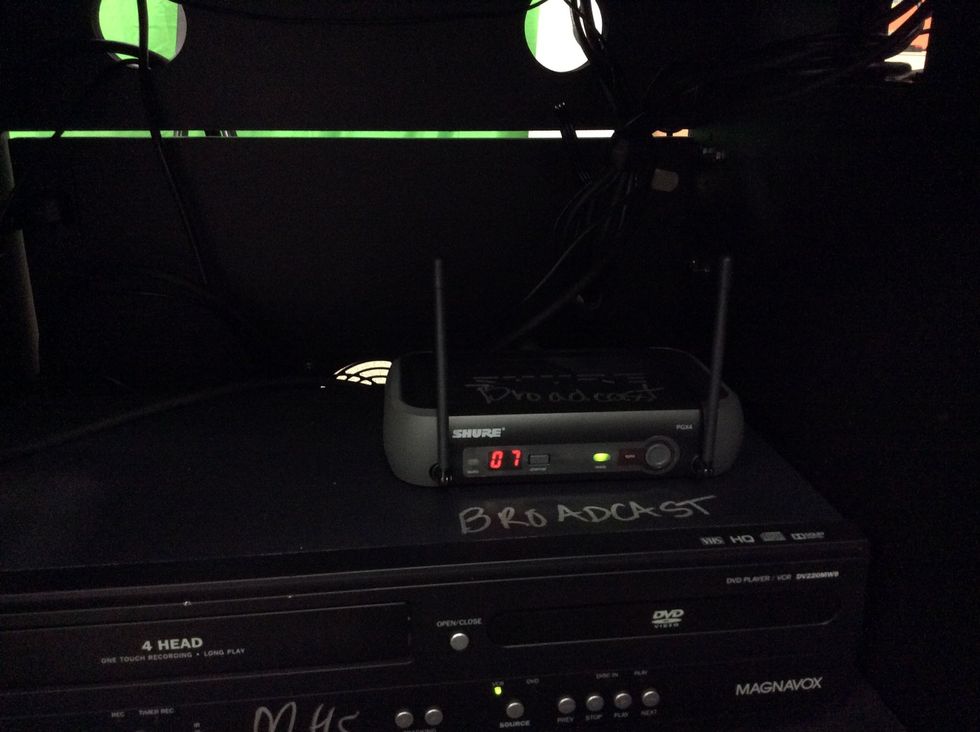
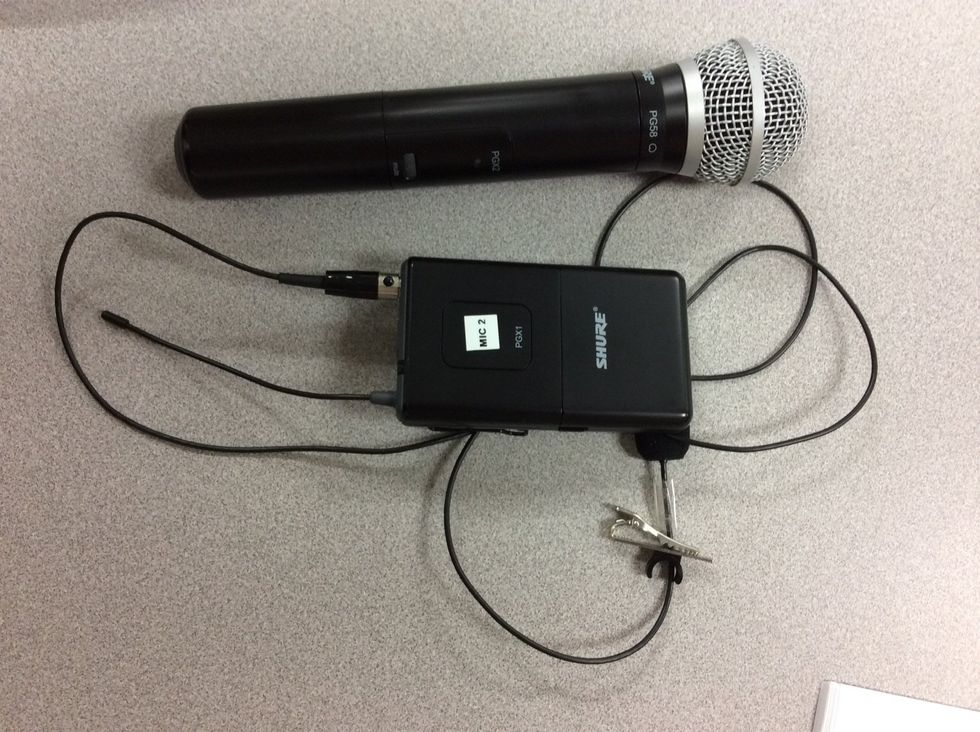
The wireless system connects wireless mics to the audio equipment. Each wireless mic works on a channel.

This is the CD/DVD/VHS tape player to use as one of the sources for your video and audio mixers.
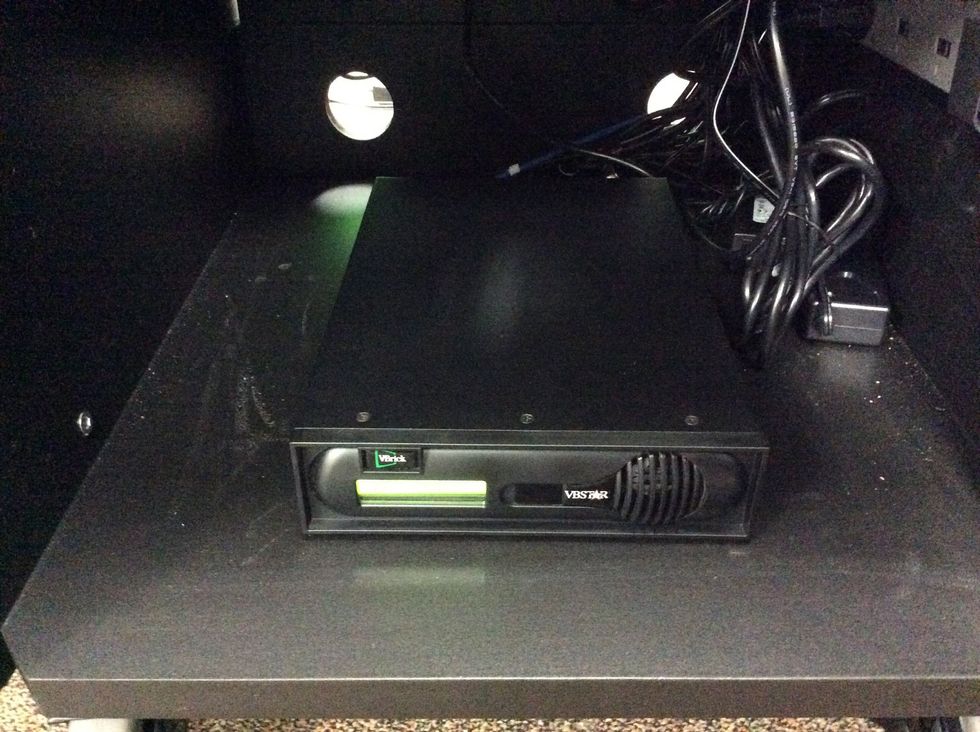
This is the encoder. It receives a channel so you can export videos to an external video source.
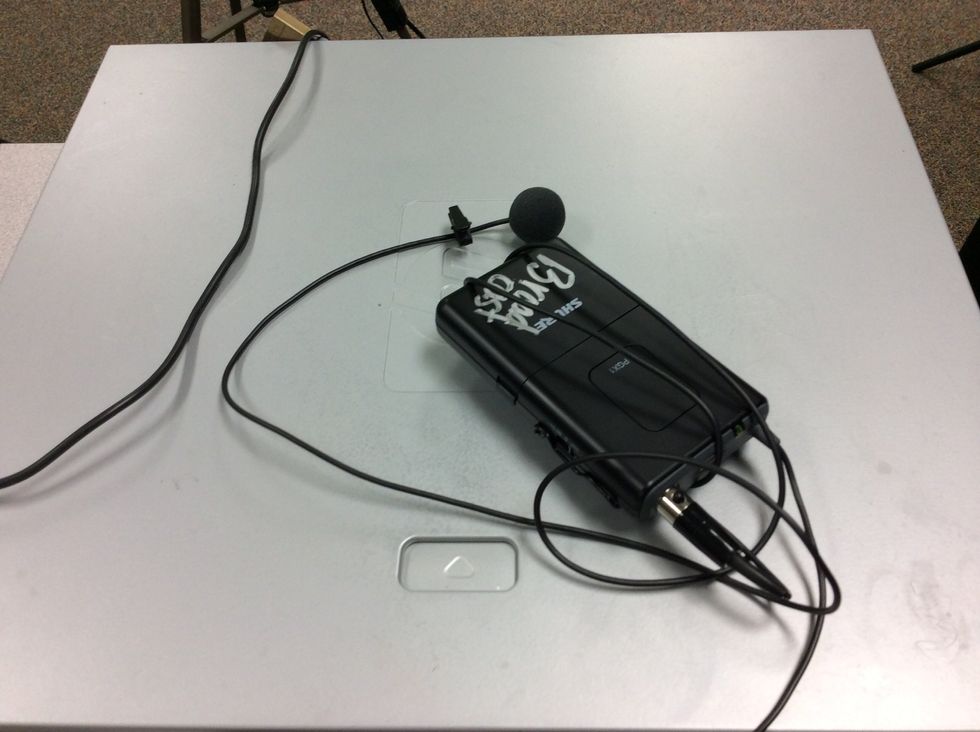
This is a lapel mic. Anchors wear these. They are used as a source on the sound board. Be sure to check batteries and sound levels often.
The sound board tech previews the sounds before mixing them into the video. He/she also checks to see that audio levels are uniform from segment to segment.
Make sure the kids actually turn them off and not just mute them (battery life!) It is the director's job to check that they are off at the end of each class. If they don't work, check the batteries.
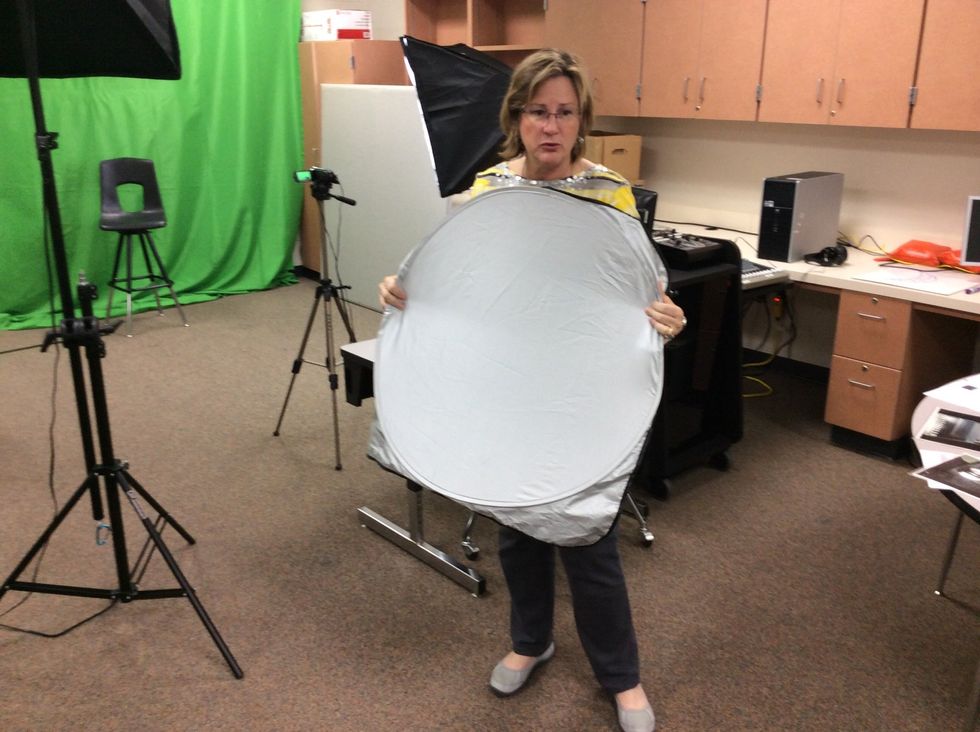
use a windshield to reflect warmer or cooler tones to correct light when filming on location. It is MUCH cheaper than expensive photo shoot materials.
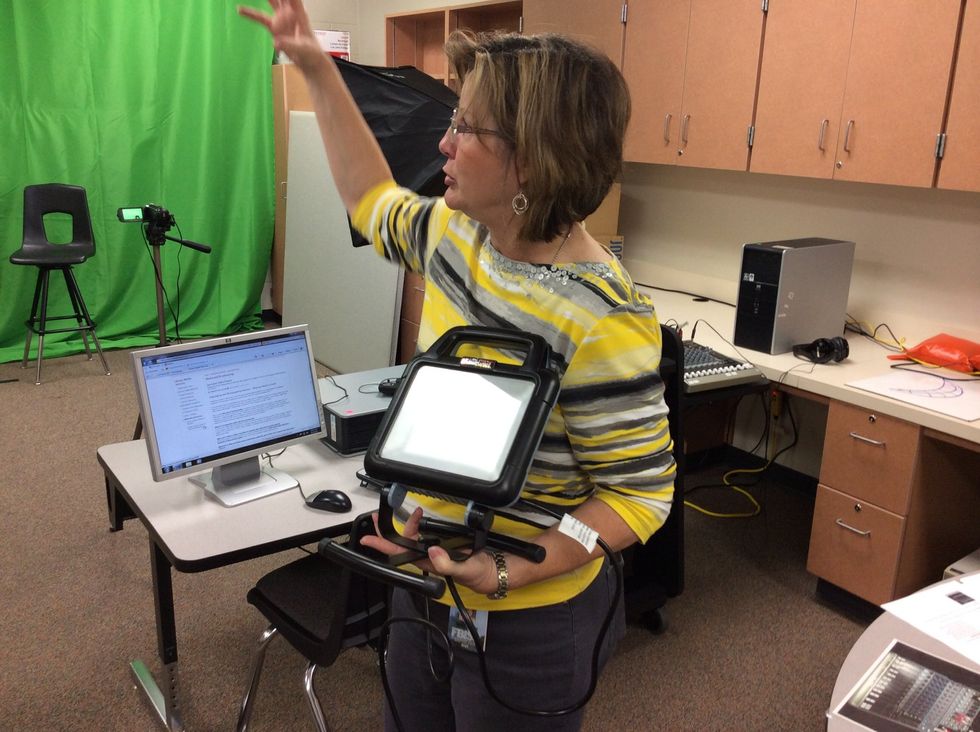
Use cheap aluminum clip lights from the hardware store or one of these collapsible hardware lights to provide more light during filming. Making light even across the filming area will improve quality.