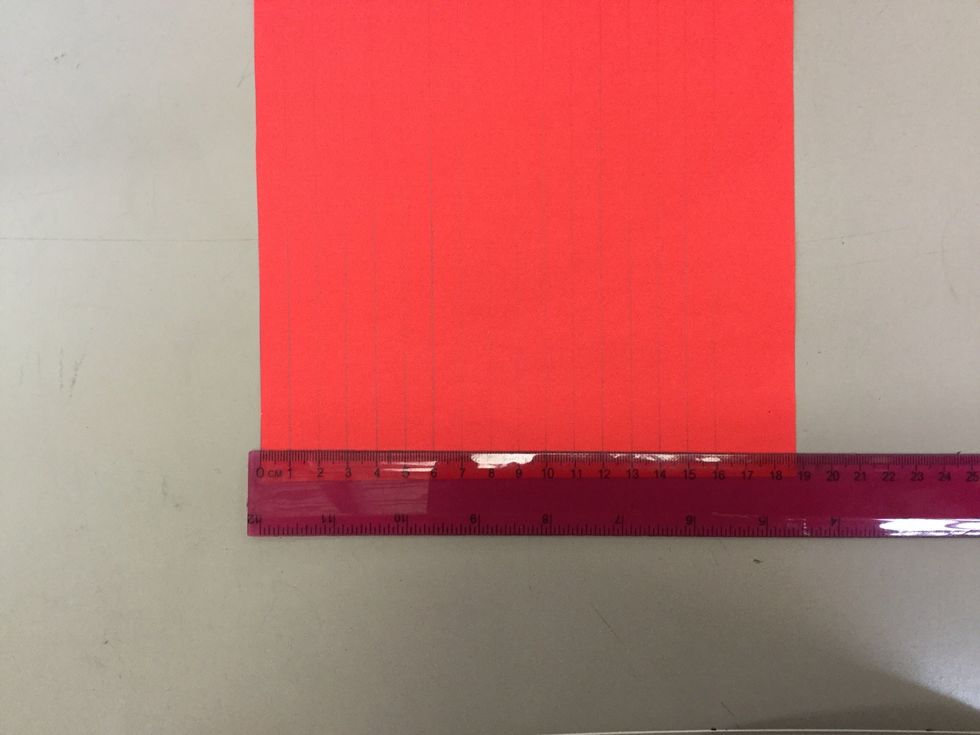
Step 2: Take your piece of A4 paper and start to rule vertical lines, the lines can be as thick or thin as you like, a recommended width is 1cm.
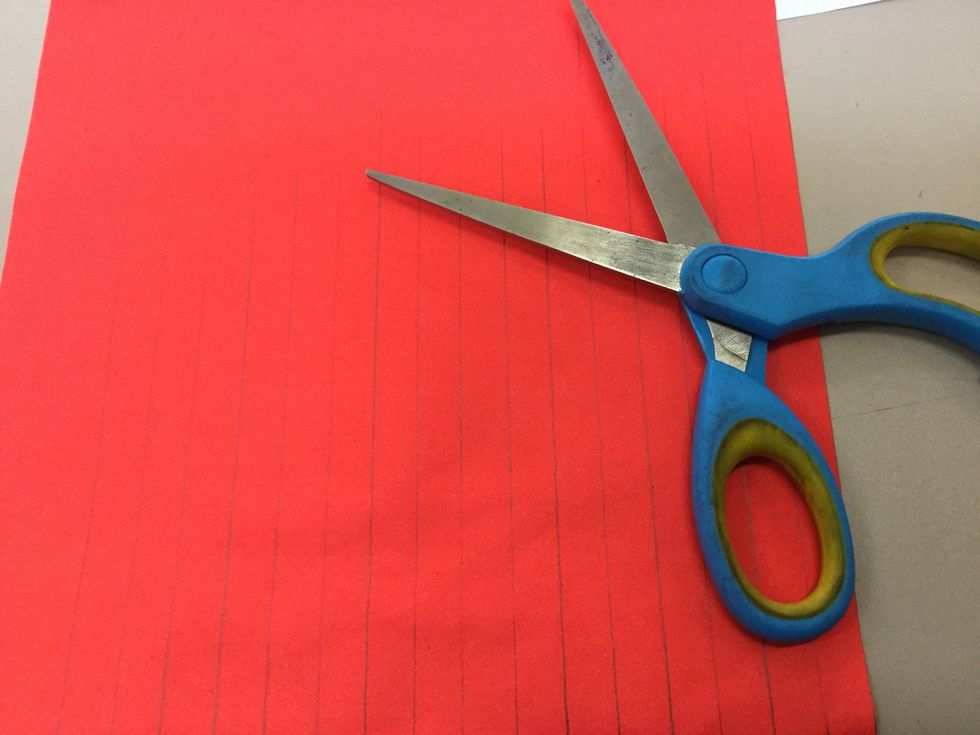
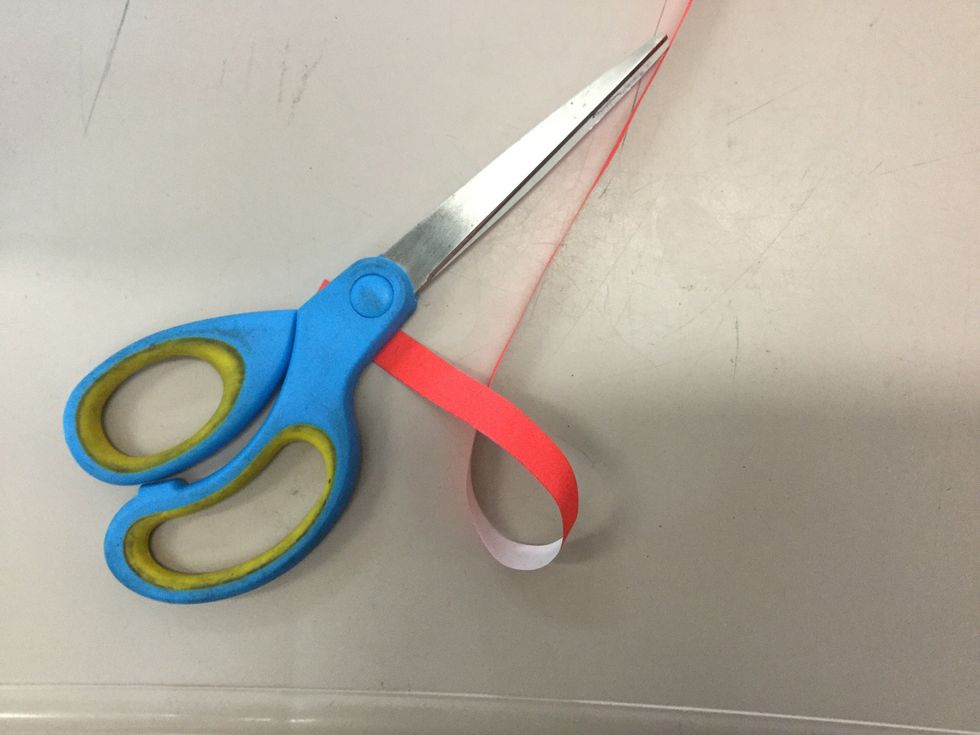
Step 3: Start to cut the strips of paper using the lines as your guide.
Step 4: Take your strip of paper and hold it at the end then loop the paper.
Step 5: Take the end and pull it through the hole.
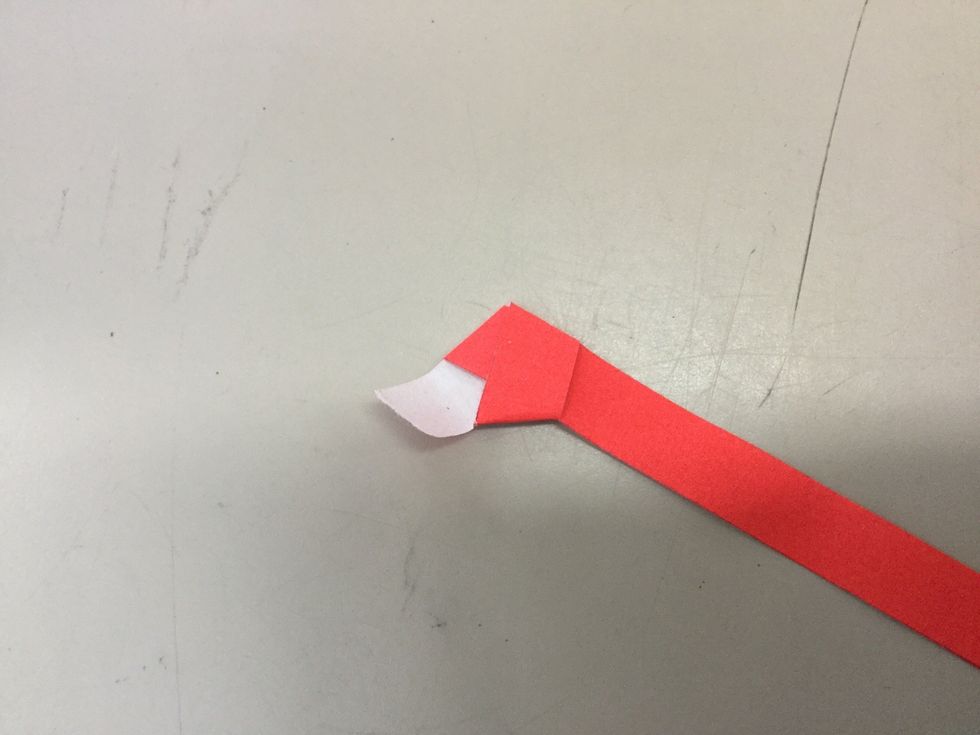
Step 6: Once there is a knot fold the little extra and fold it in another peice, then use the extra paper and fold against the star.
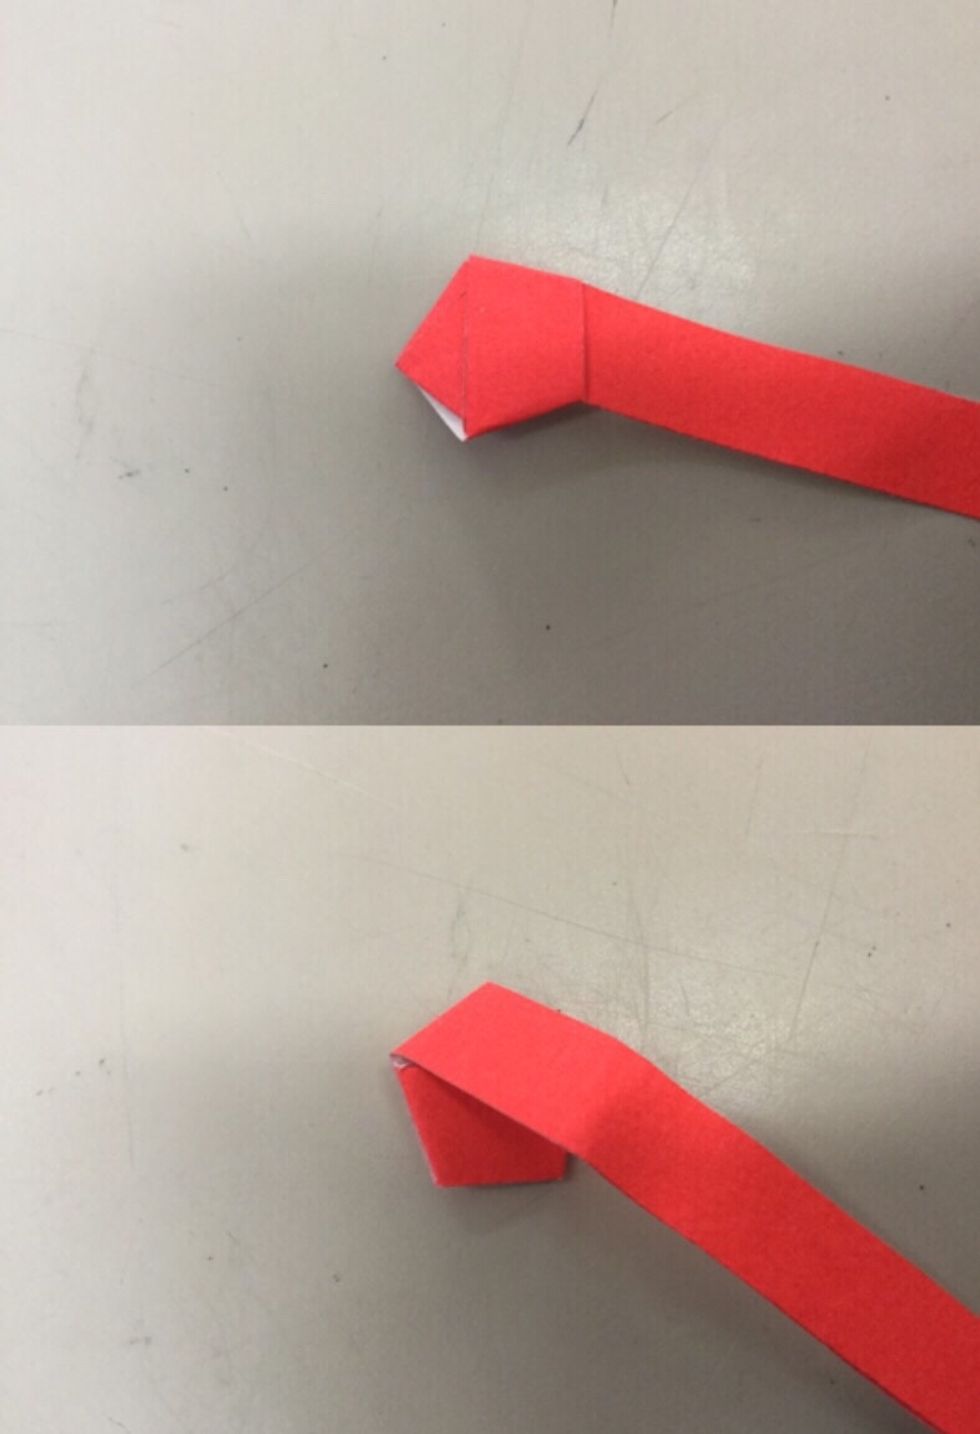
Step 7: Continue folding the extra paper until there is not much paper left.
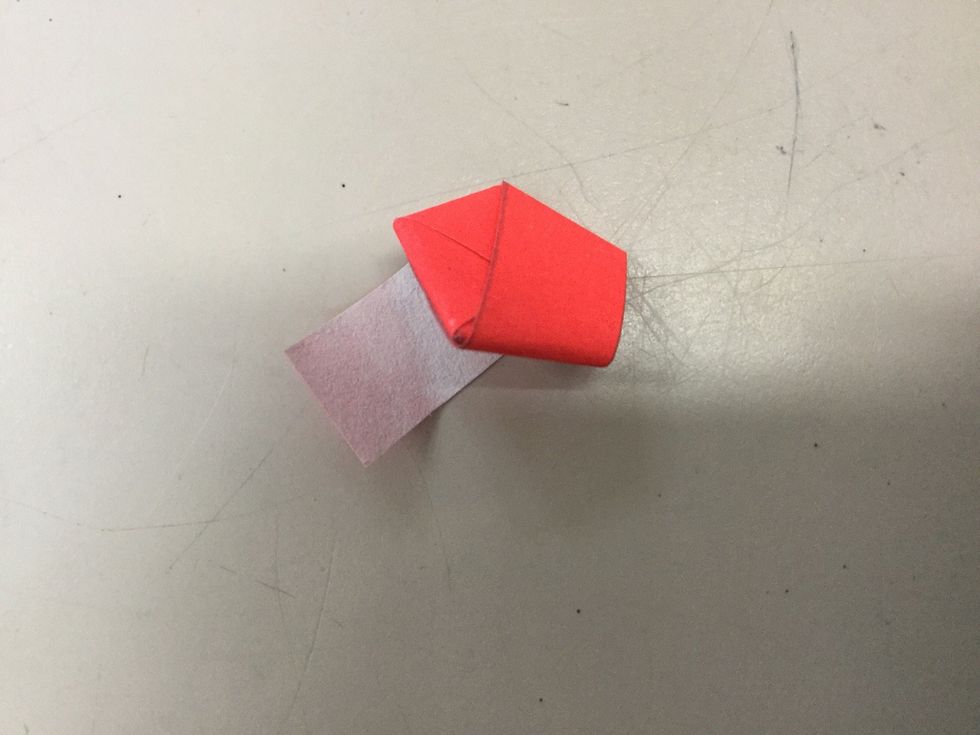
Step 8: Tuck the small extra piece of paper then tuck it under another piece of the already fold paper, stick some tape onto the end to make it extra secure.
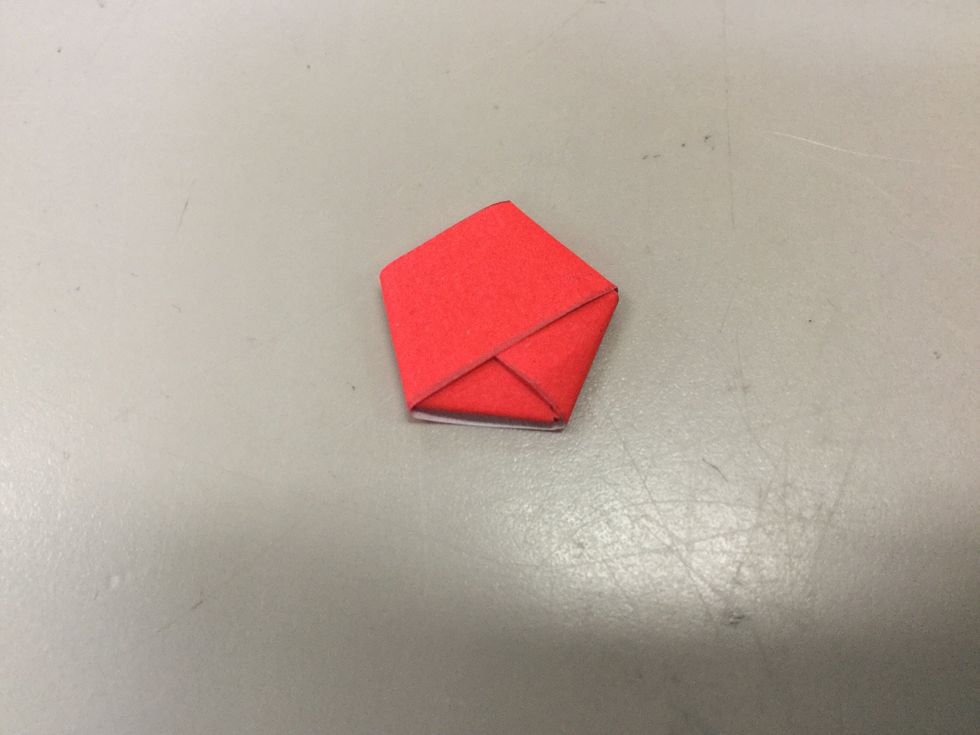
Step 9: Pinch the ends to make the star look more like a star, by pinching it the paper with look more 3D.
Step 10: Pinch all of the ends and it will end up like this^