The Conversation (0)
Sign Up
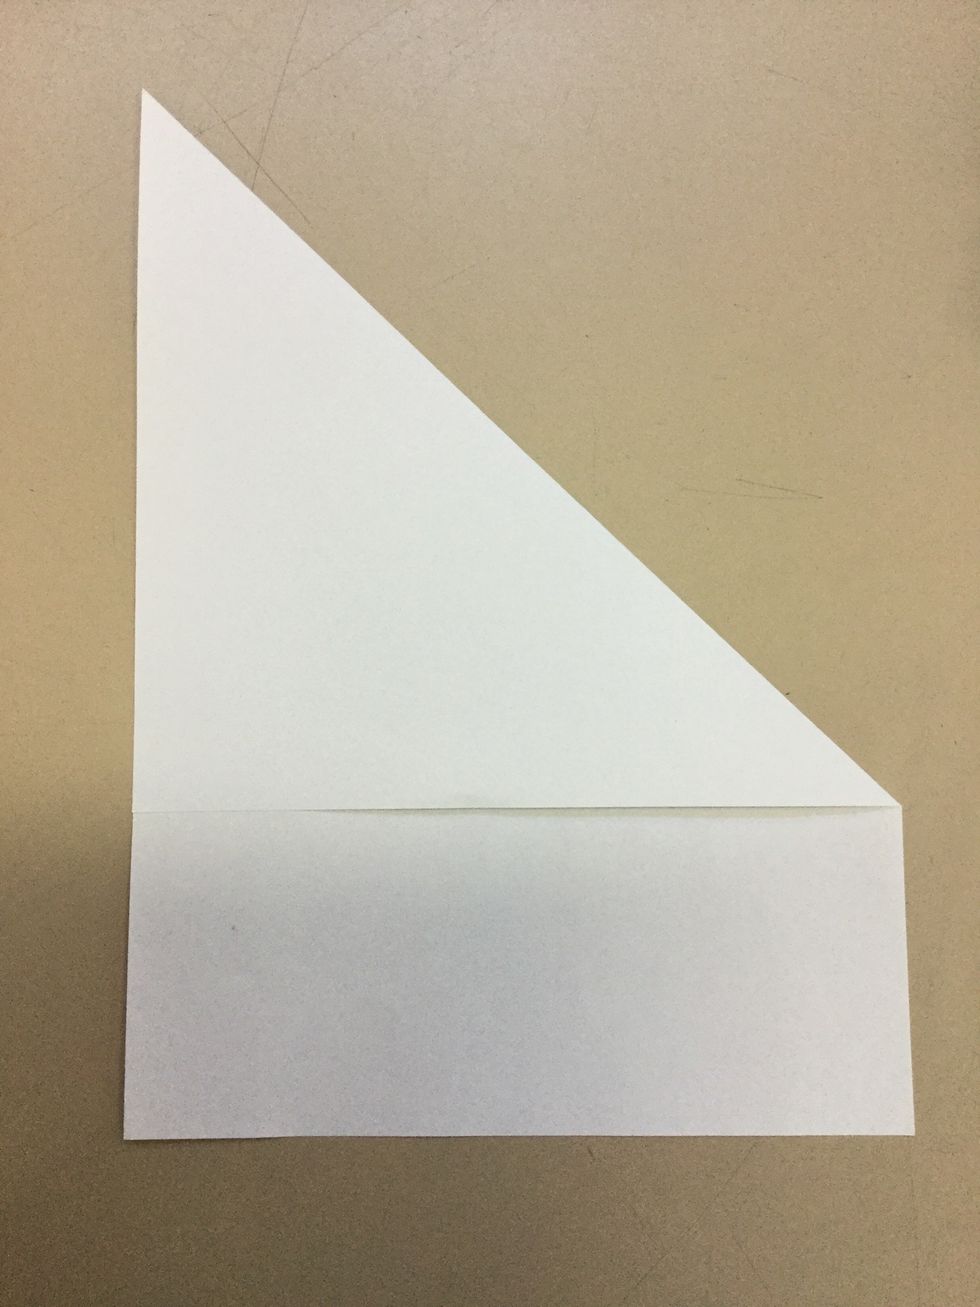
Step 1: Firstly you will need your piece of paper. Grab one edge of the paper with your hands and fold.
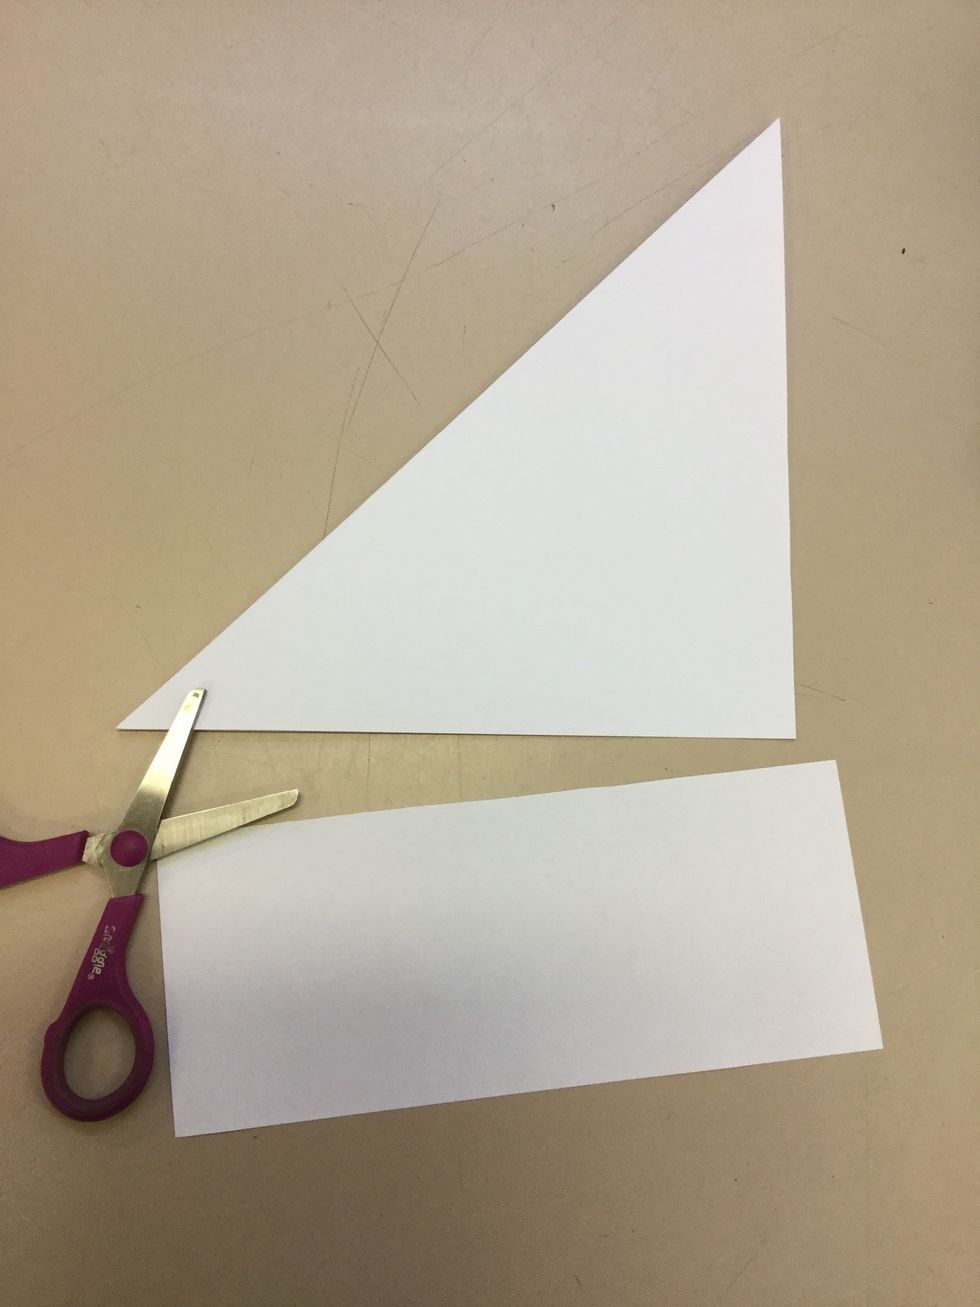
Step 2: Use your scissors and cut off the rectangle at the bottom of the folded triangle.
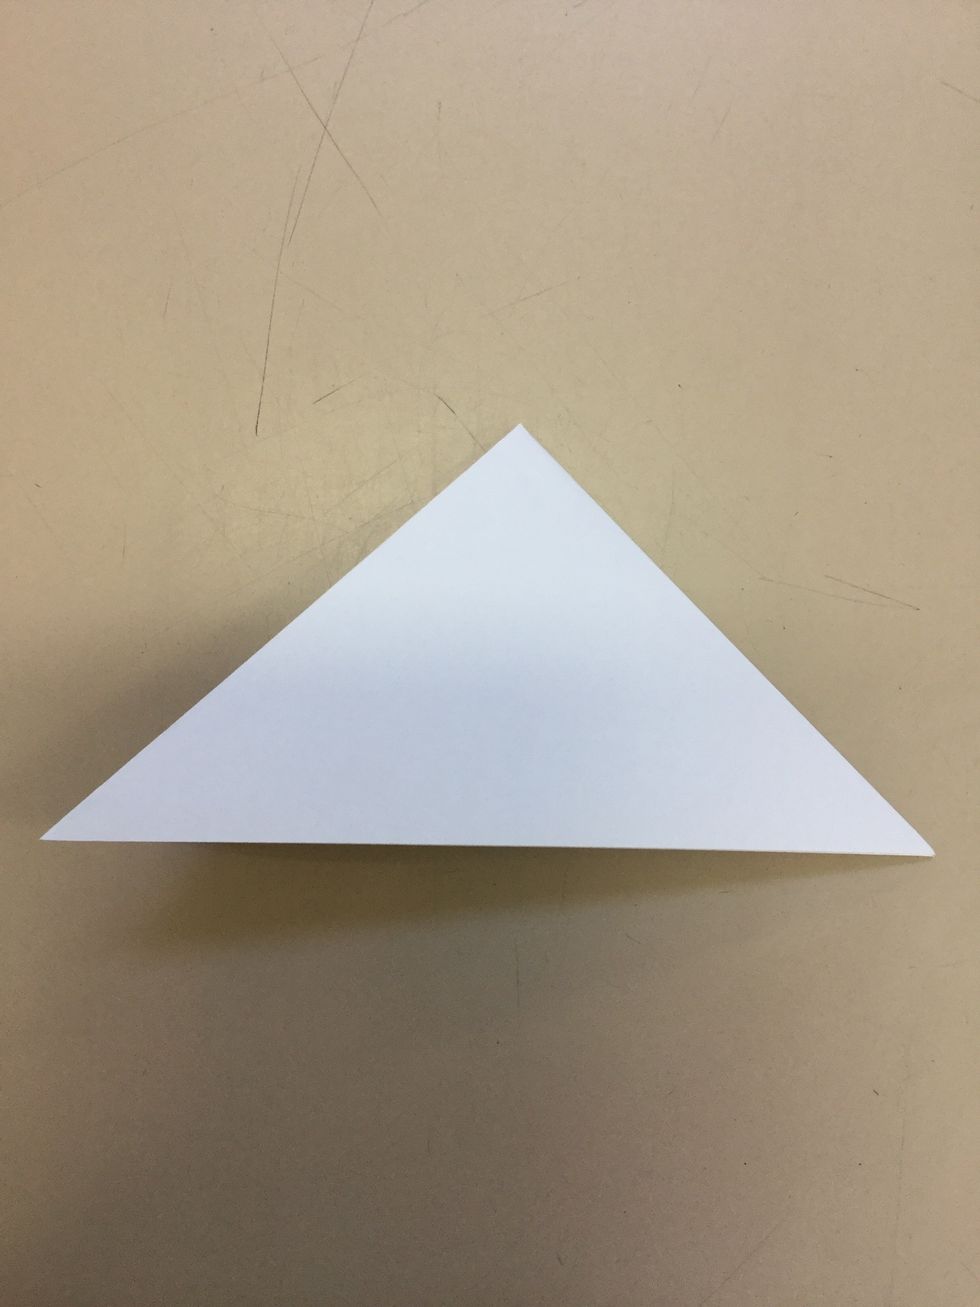
Step 3: Use your hands and grab one of the longer ends of the big triangle and fold to make a smaller triangle.
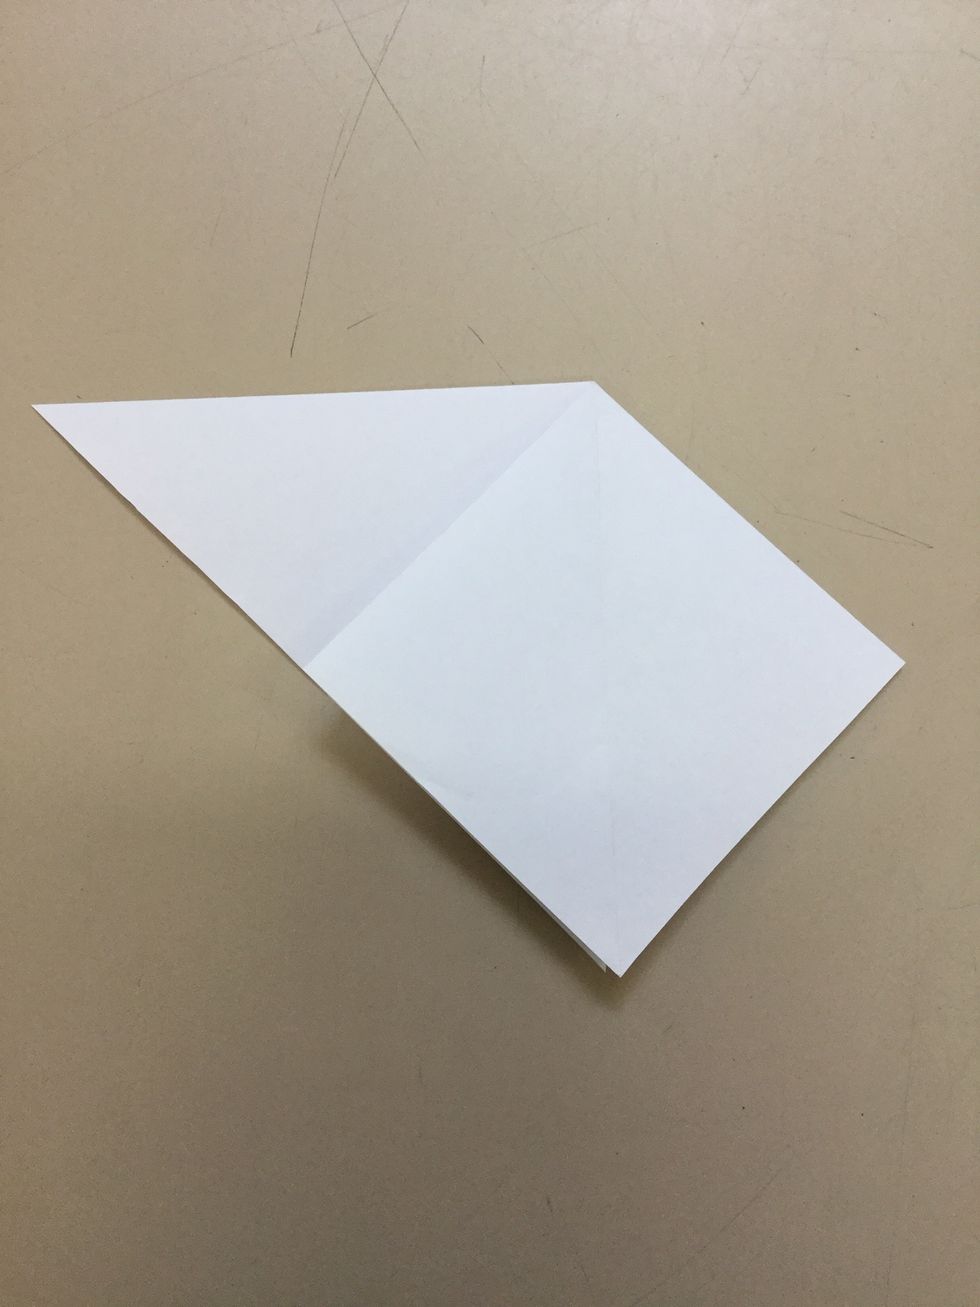
Step 4: Use your hands and grab one half of the big triangle and fold it inside out to make a sideways square in front of a triangle. Continue this on the other side.
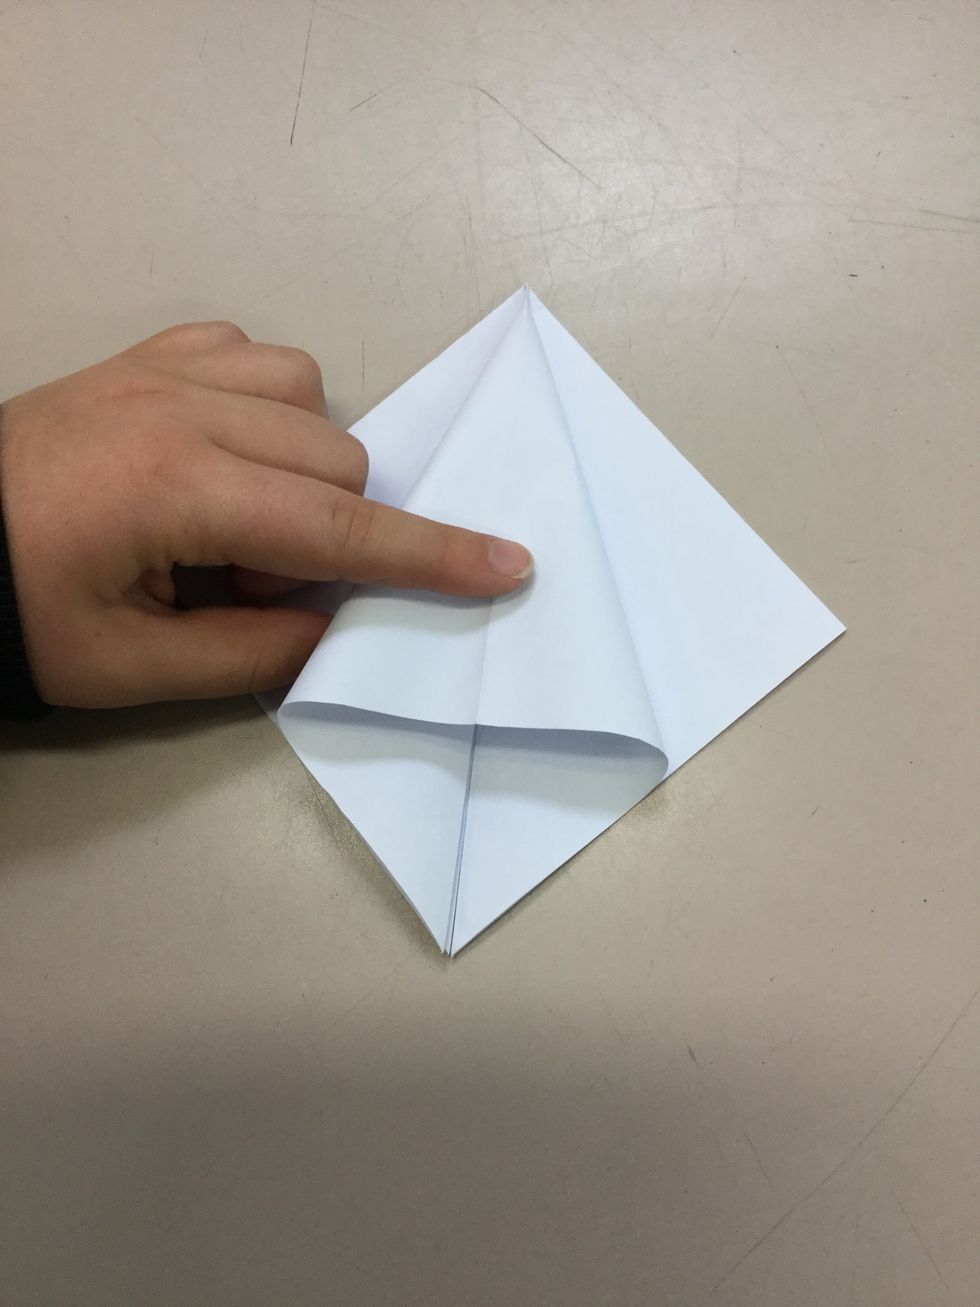
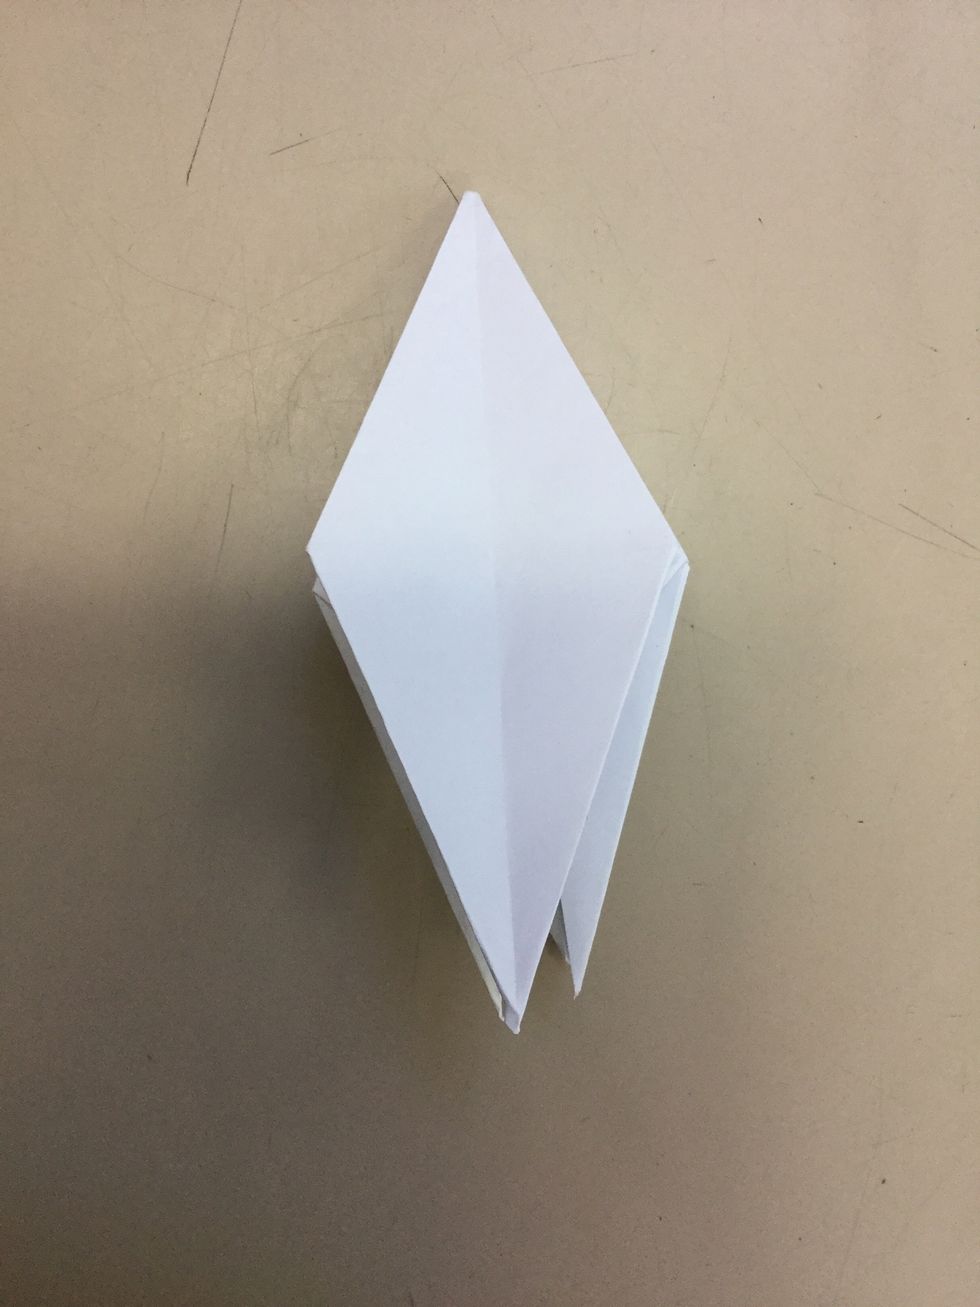
Step 5: Use your hands and grab one of the sides and flatten it down in the middle. Crease and continue on all sides.
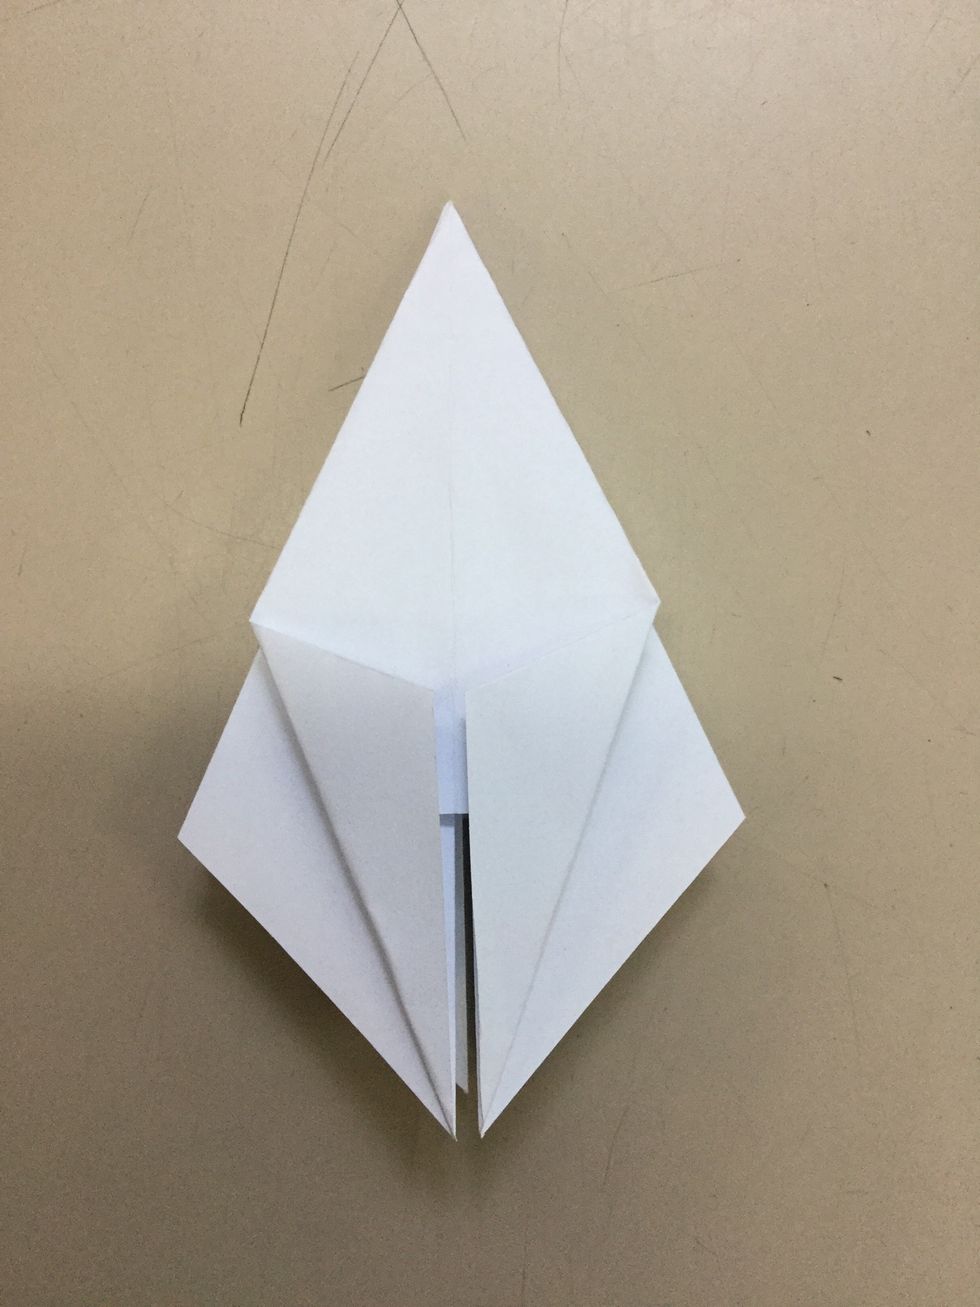
Step 6: Use your hands and grab the bottom edges and fold in up to the middle. Crease and continue with all sides.
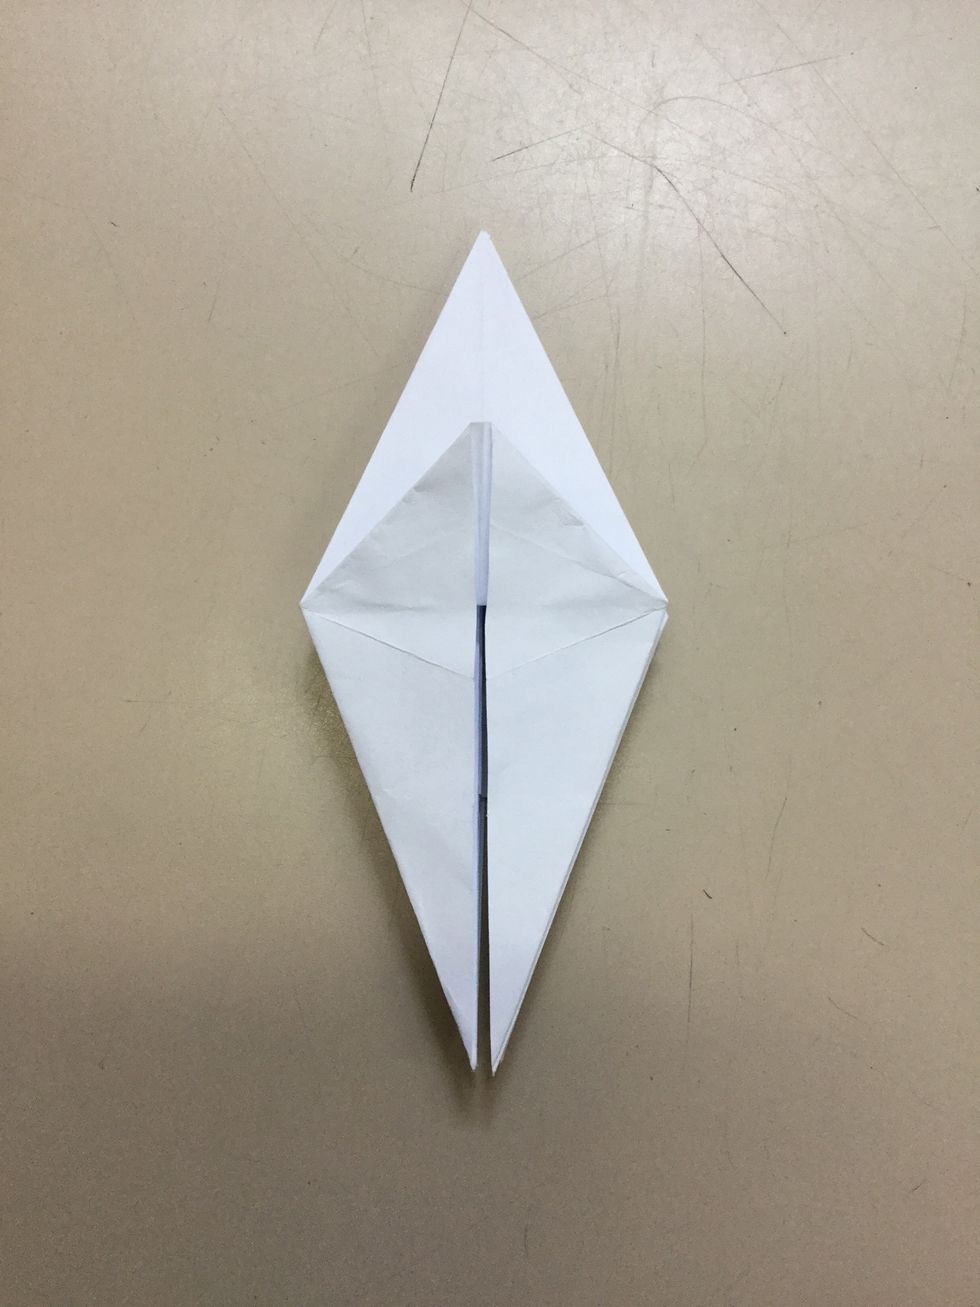
Step 7: Use your hands and unfold the folds that you had done in the previous step and lift up the the flap down the bottom and lift up. Fold and do this with the rest of the steps.
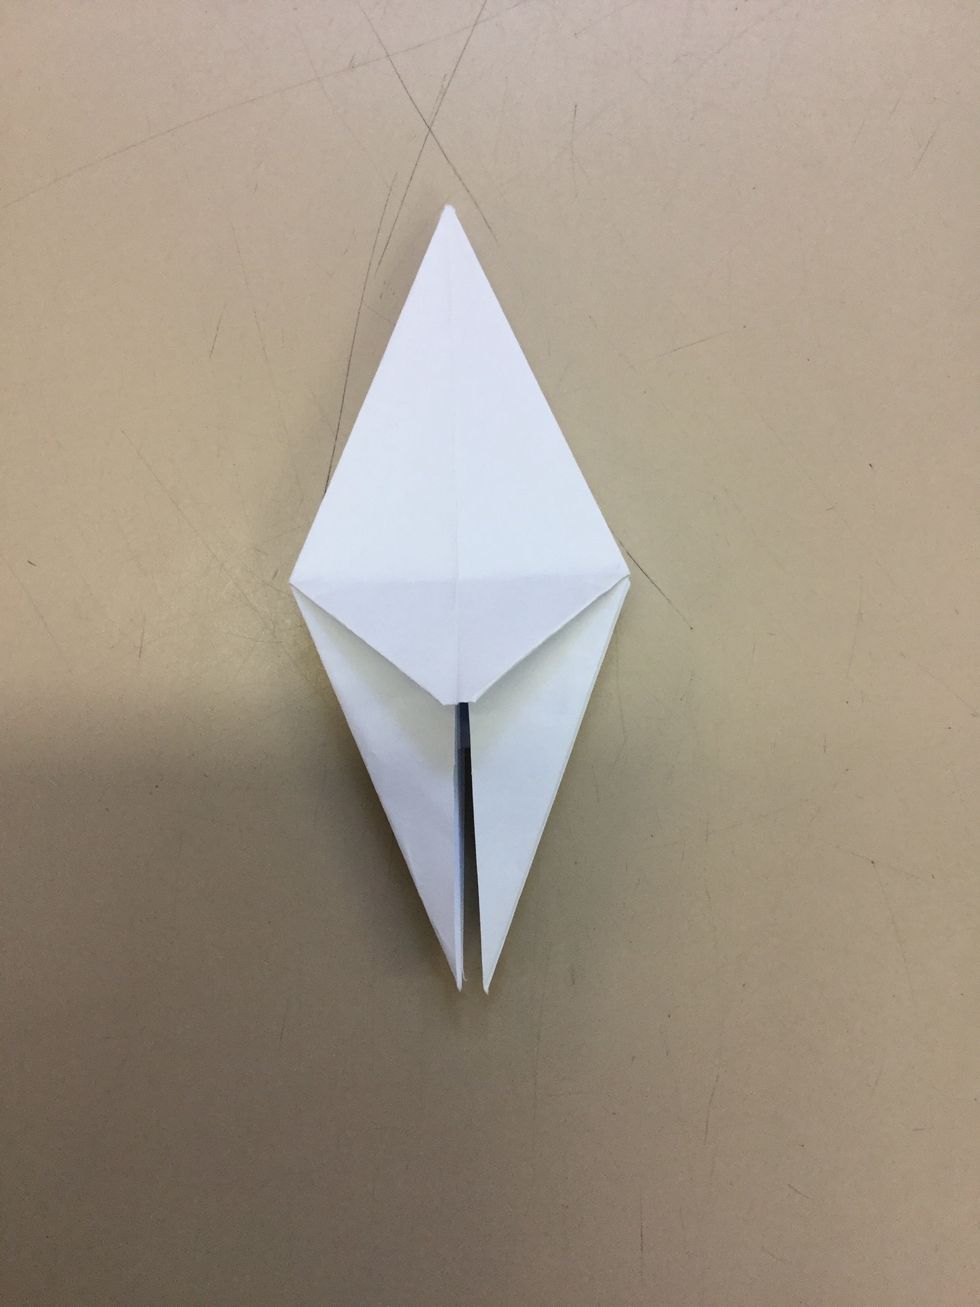
Step 8: Use your hands and fold down the flap that you made in the last step. Crease and continue on all other sides.
Step 9: Use your hands and flip one of the edges over.
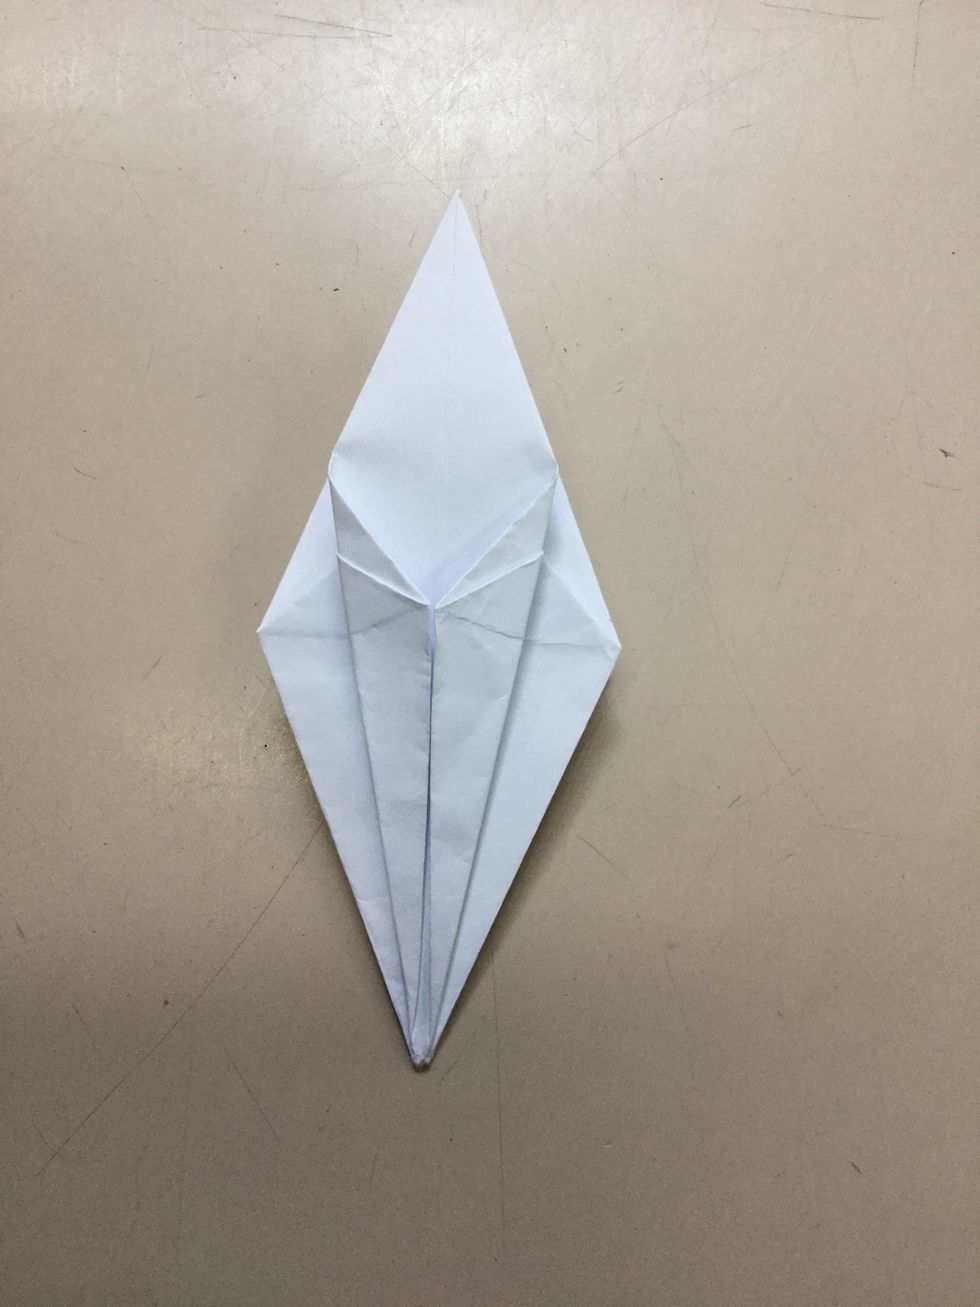
Step 10: Use your hands and at the bottom fold one edge to the centre crease, line it up, crease and continue on the rest of the edges.
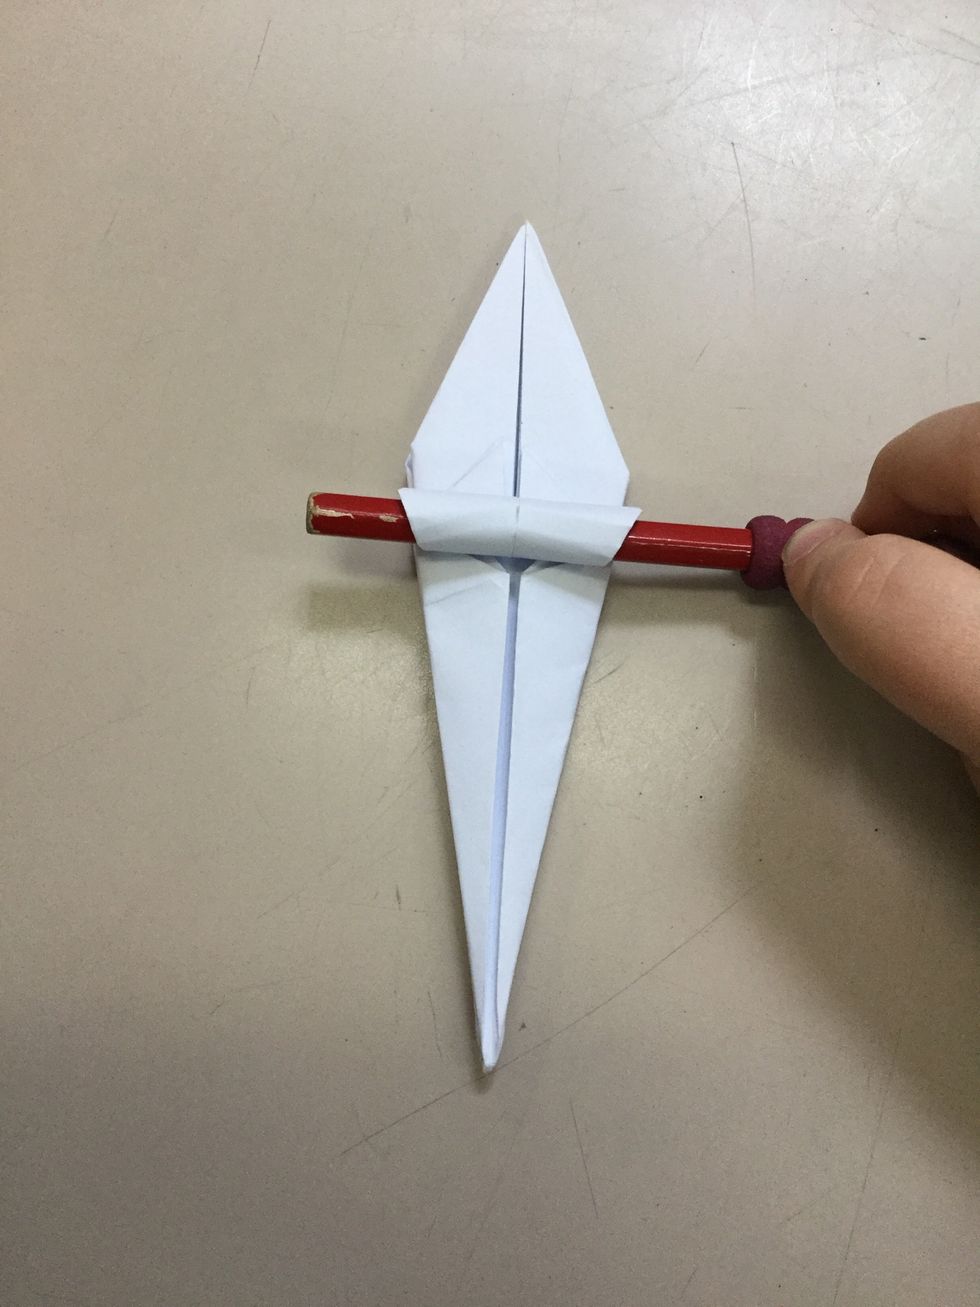
Step 11: Use your hands and pick up a pencil/ pen and use it to curl the flaps on the top of the paper and hold for 10 seconds and remove. Repeat on all sides.
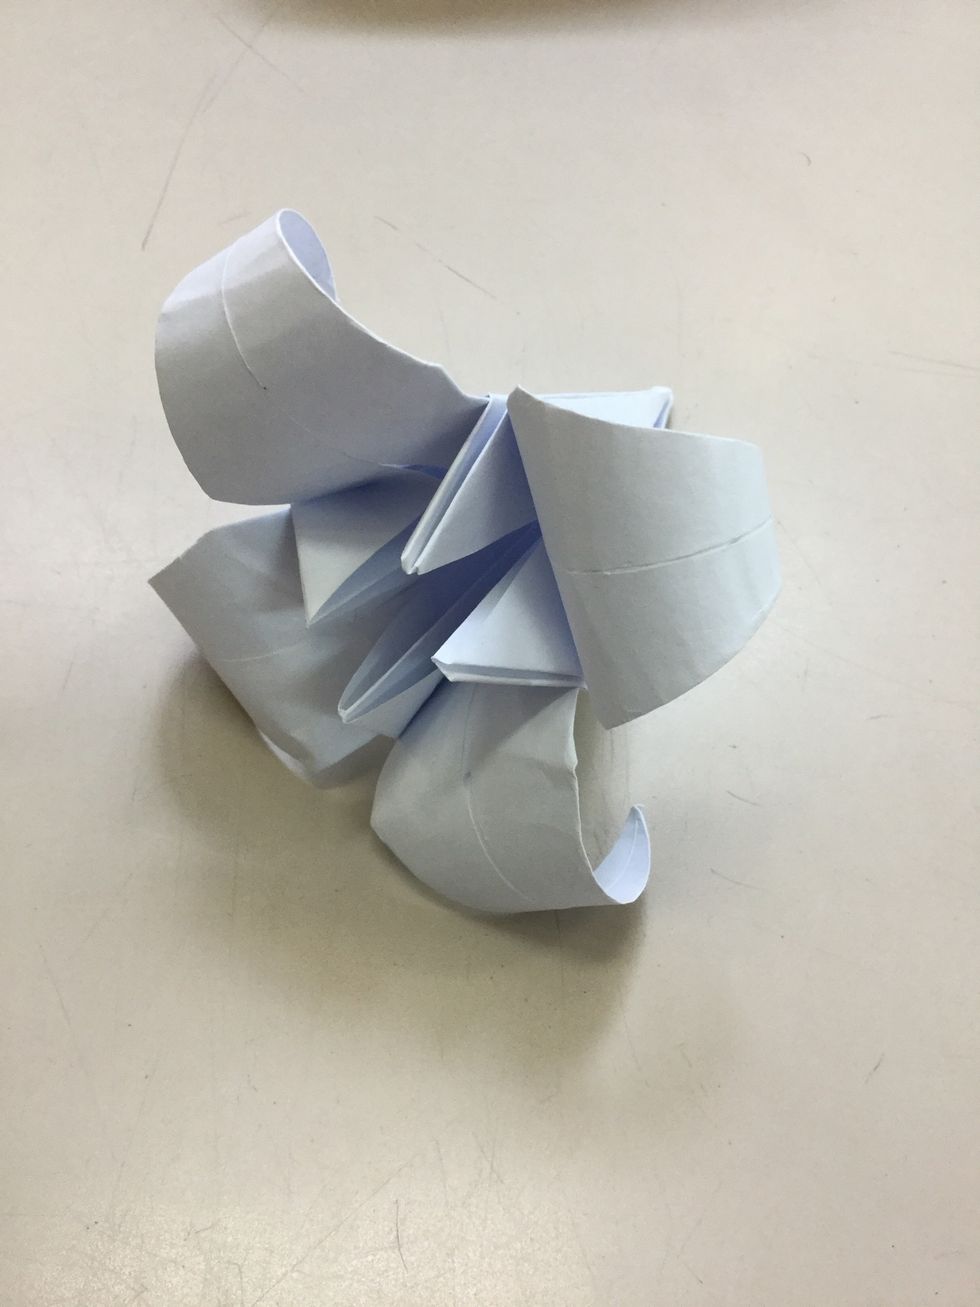
Congratulations! You have finished your flower!