The Conversation (0)
Sign Up
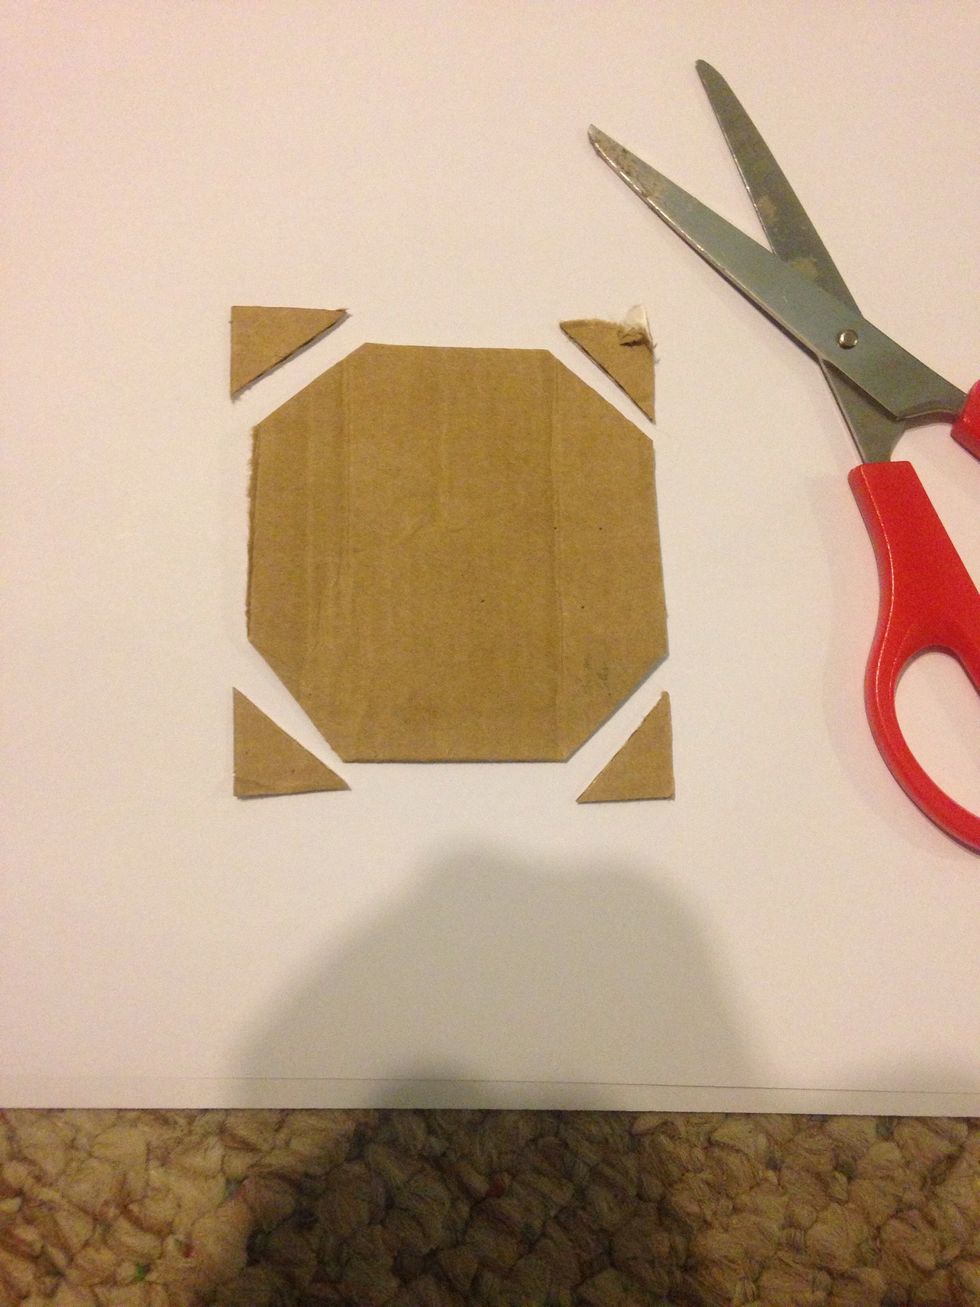
Start with a 3 inch square. Cut off the corners to make an octagon .
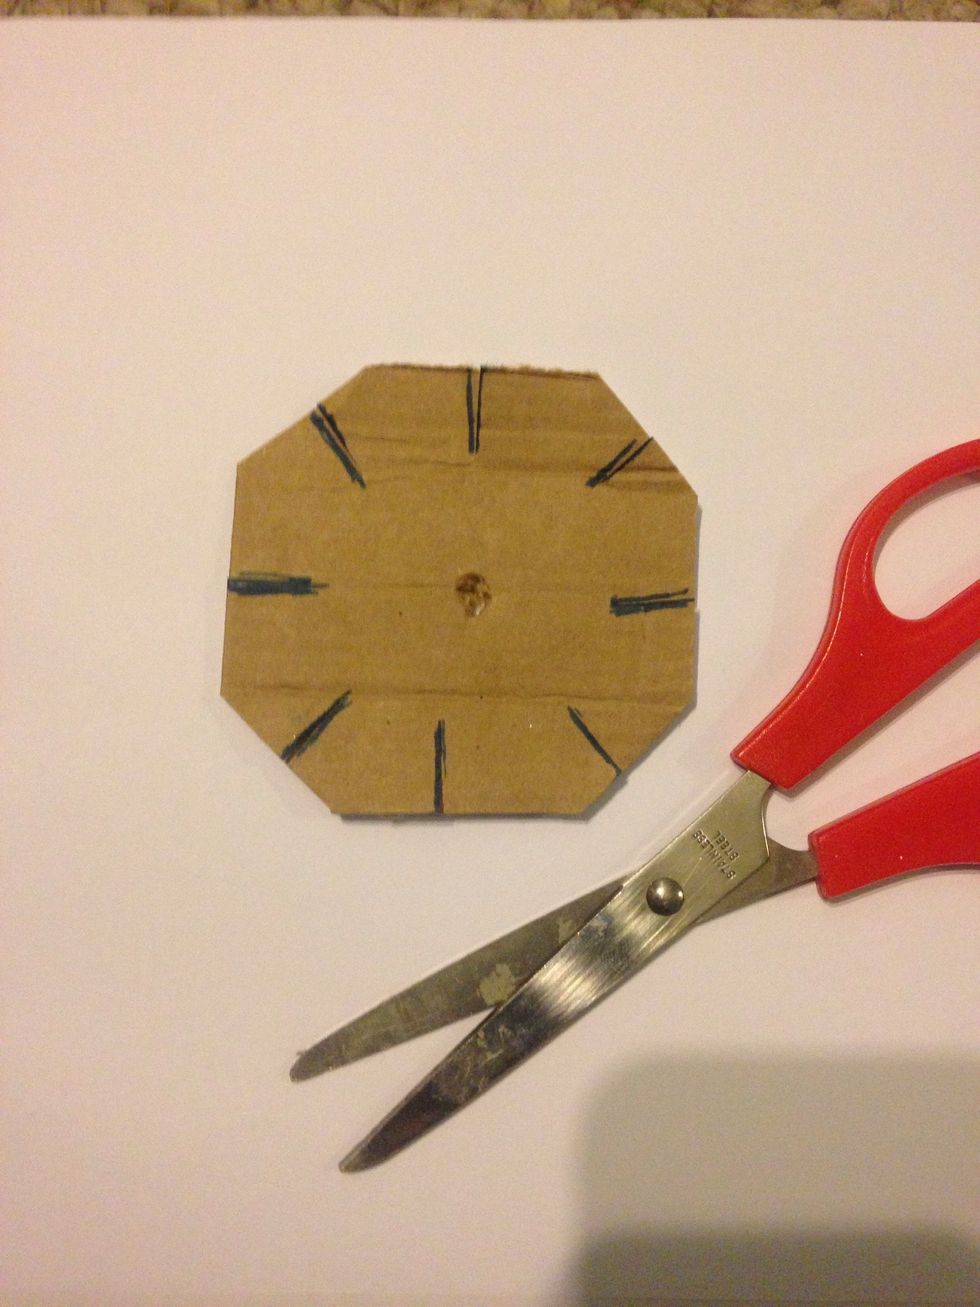
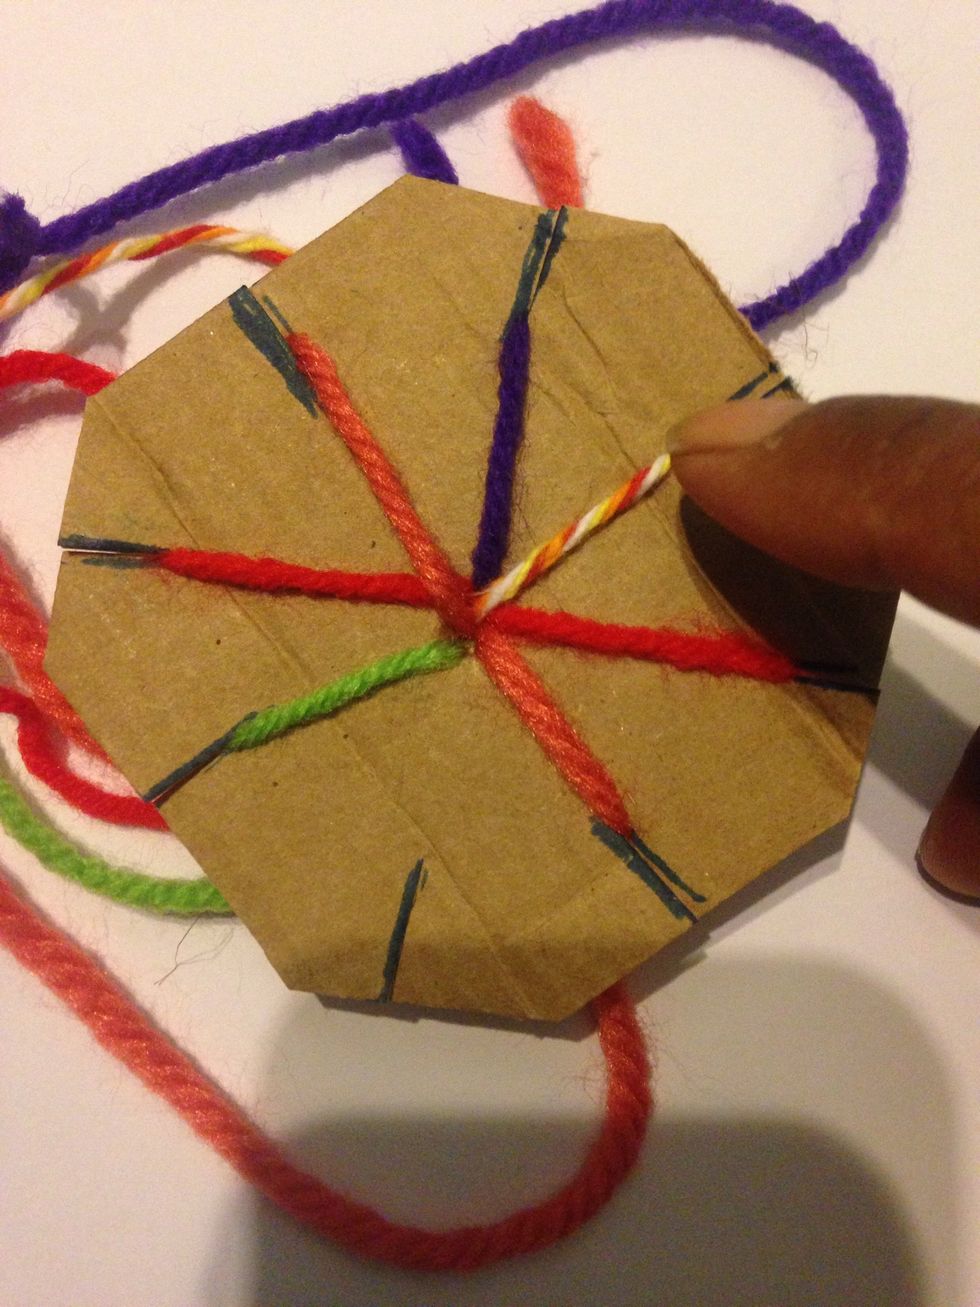
Cut a slit in each side of the octagon . (8 slits) Poke a hole in the middle.
Gather 7 pieces of yarn and thread them through the middle of the cardboard.
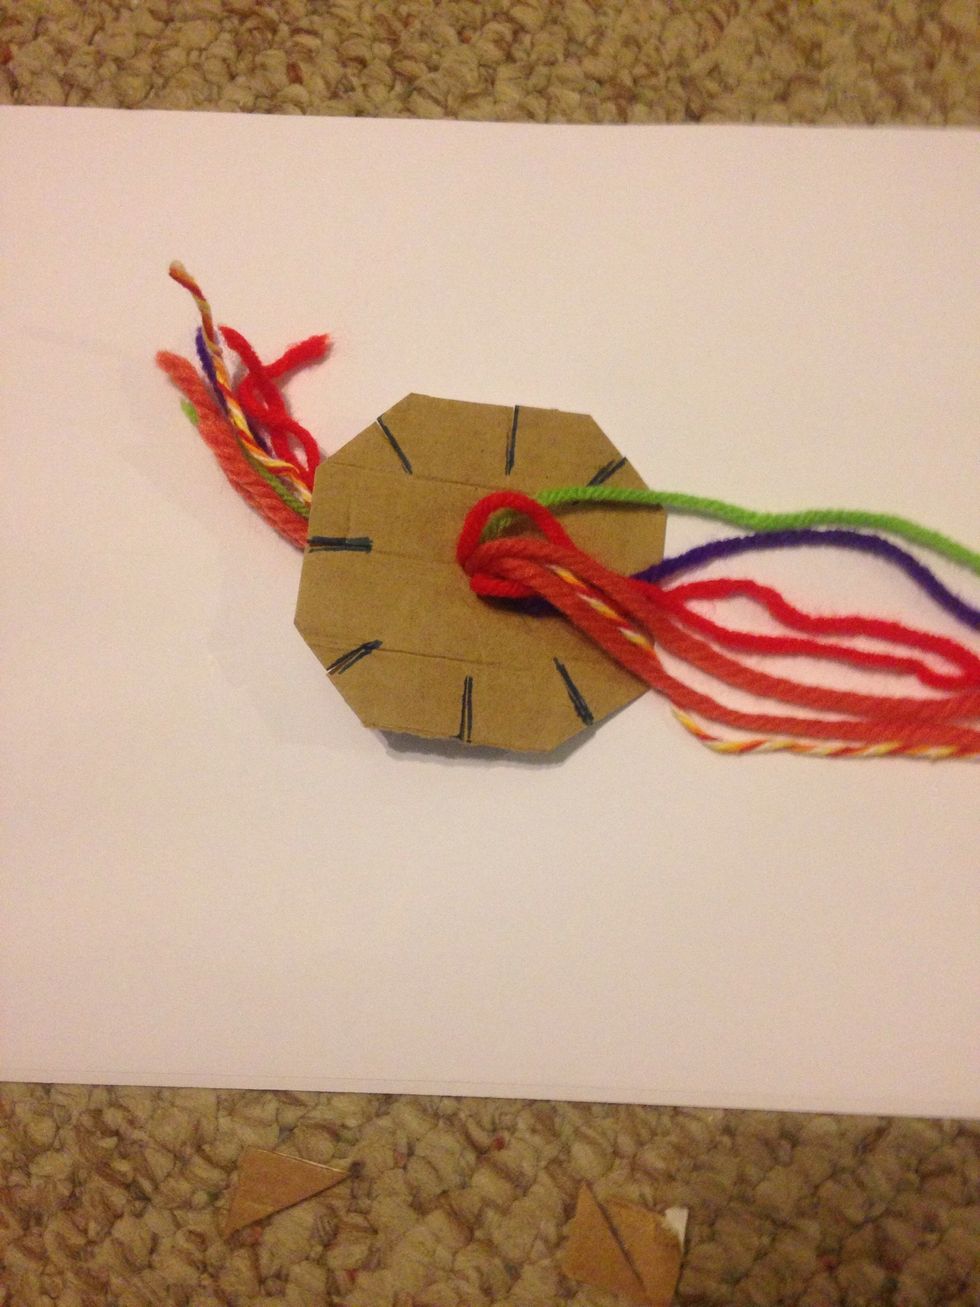
Top of cardboard
Tie a knot at the end of yarn pieces.
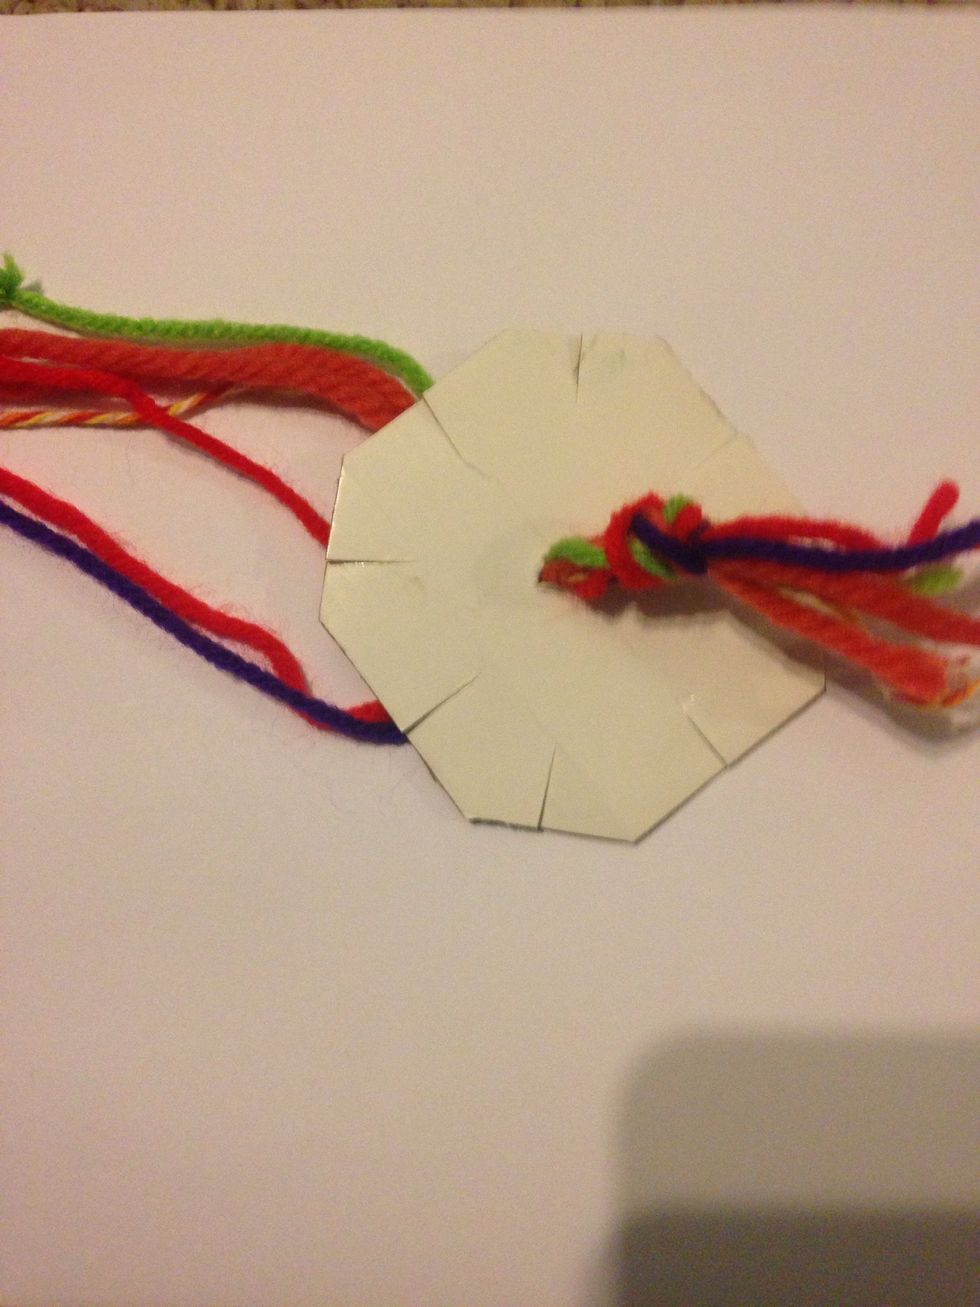
Back of cardboard
Put one piece of yarn in each slit. One slit will be empty.
Holding empty slit facing your belly button, count 3 strings to right.
Pull 3rd yarn out and place it in empty slot.
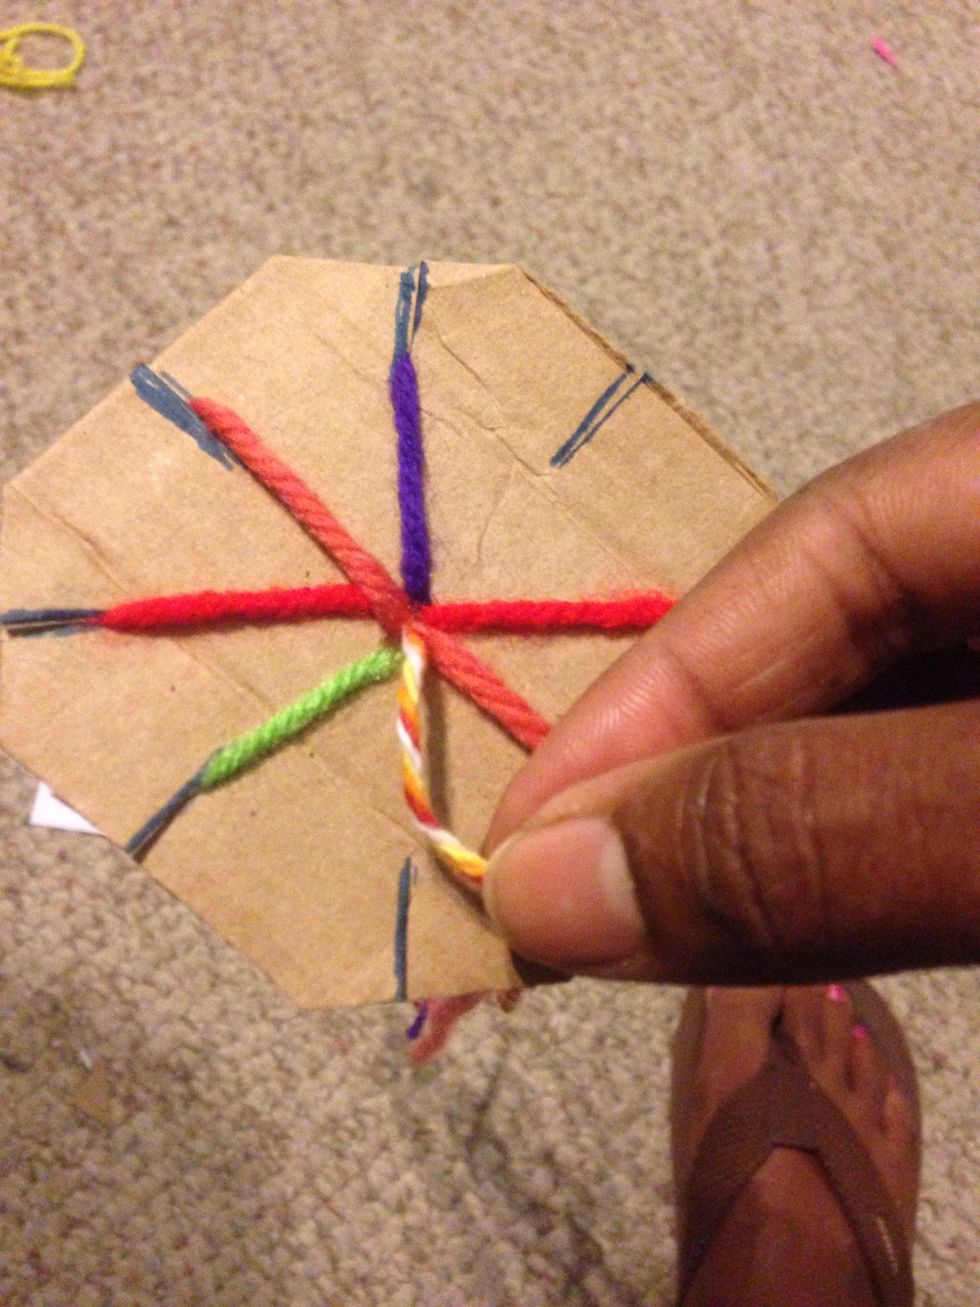
Rotate cardboard clockwise until new empty slot is facing your belly button.
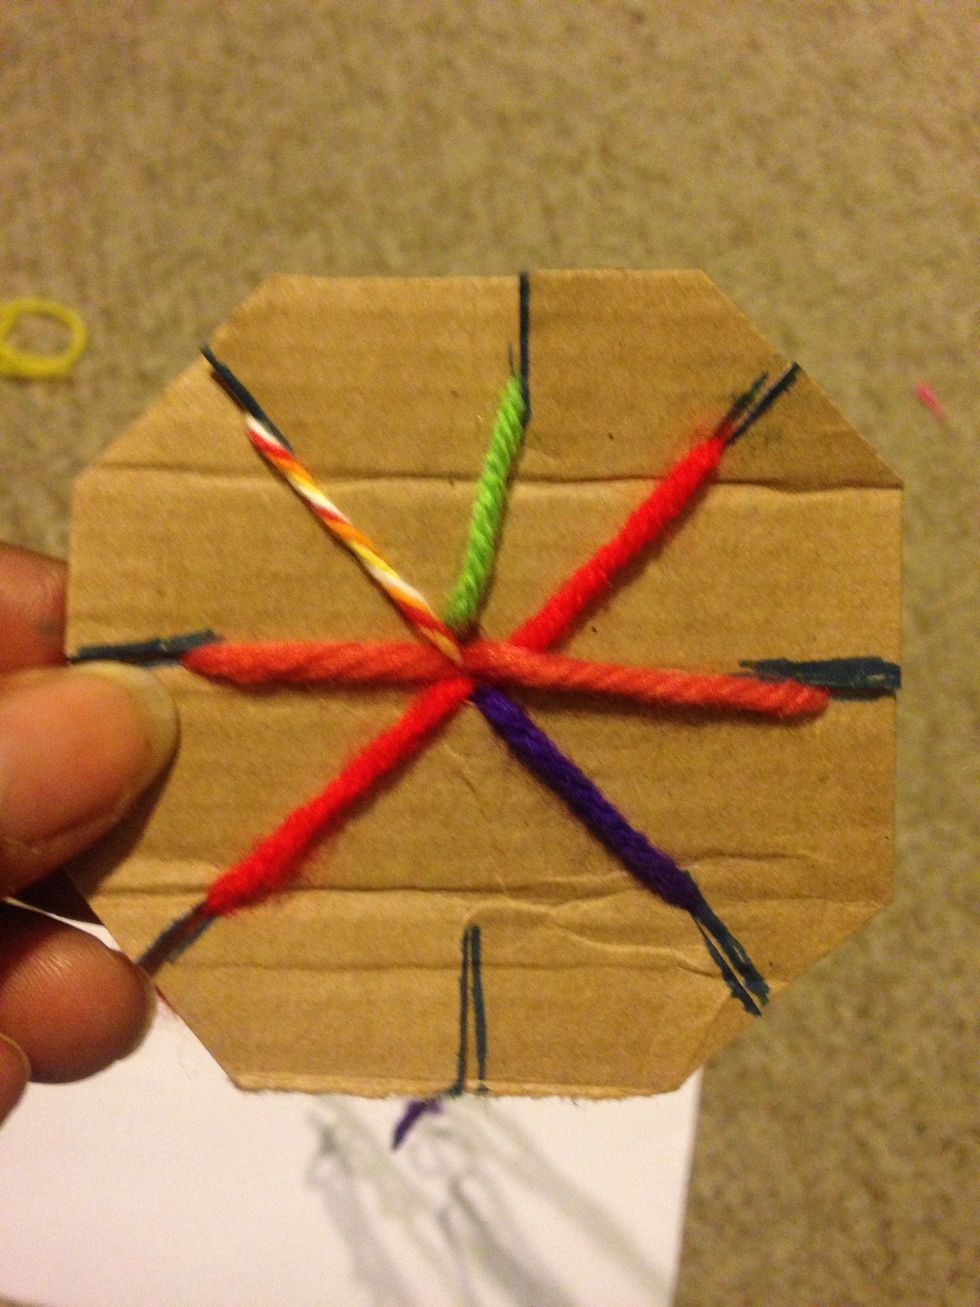
Repeat steps 11-15 again. Continue this pattern until braid come out of bottom of cardboard.
Keep going until you have made your Kumihimo long enough to wrap around your wrist.

Braid comes out of the bottom.