The Conversation (0)
Sign Up
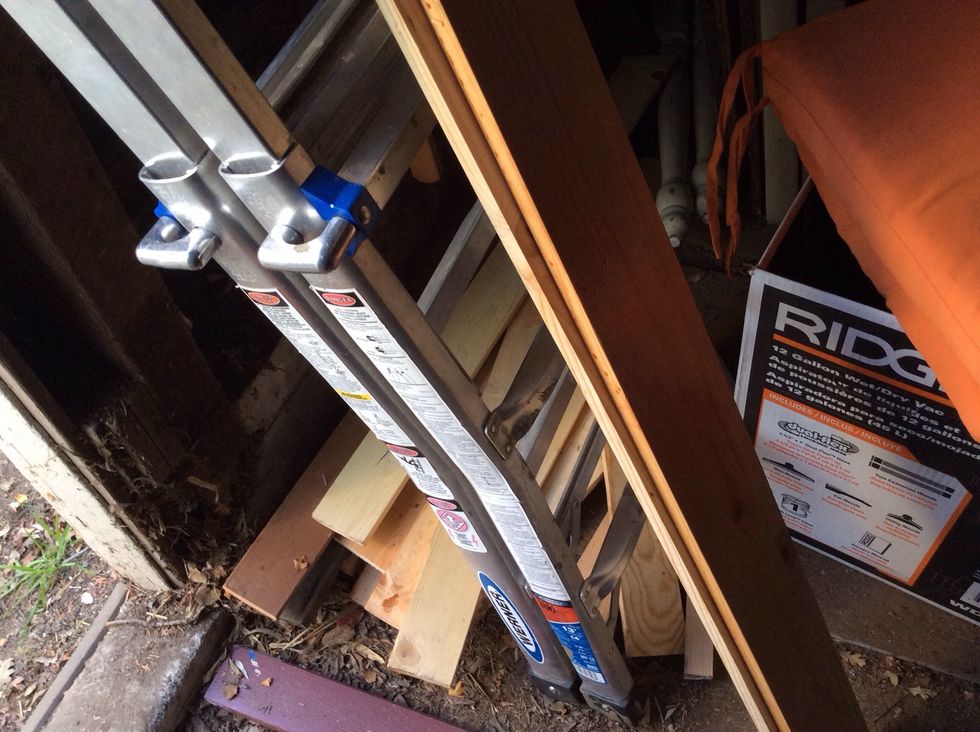
So what do you do with all the left over wood from your barn door tutorial? Well tell your mate you have just the thing, and that you planned this all along.
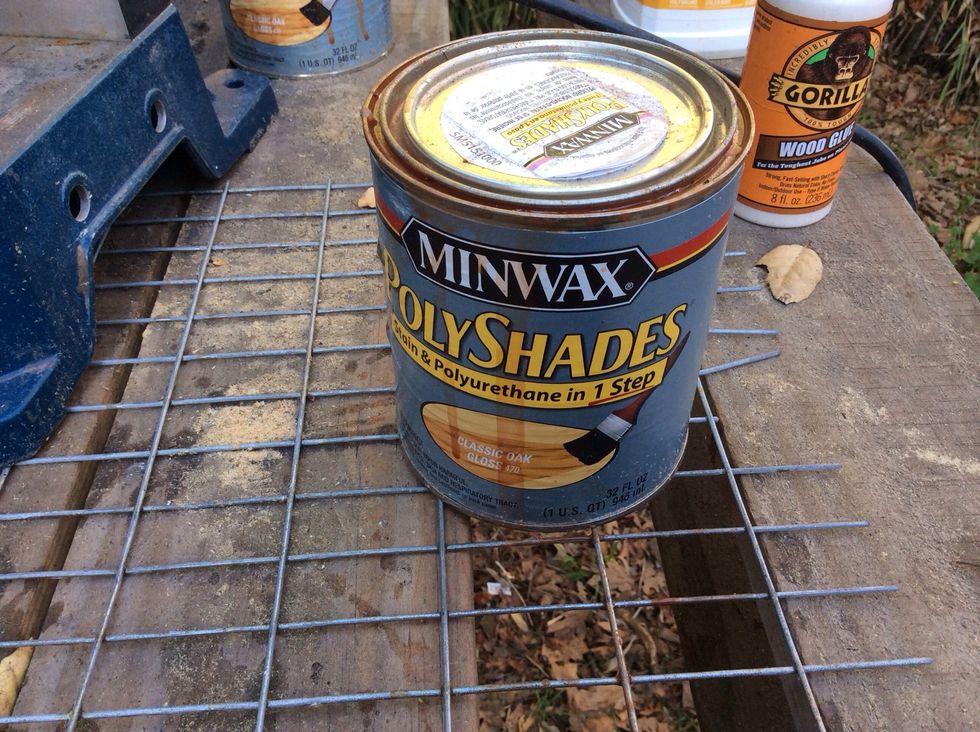
If the pine is not stained, sand and give a couple coats. Be warned this one has an odor that takes a few days to leave.
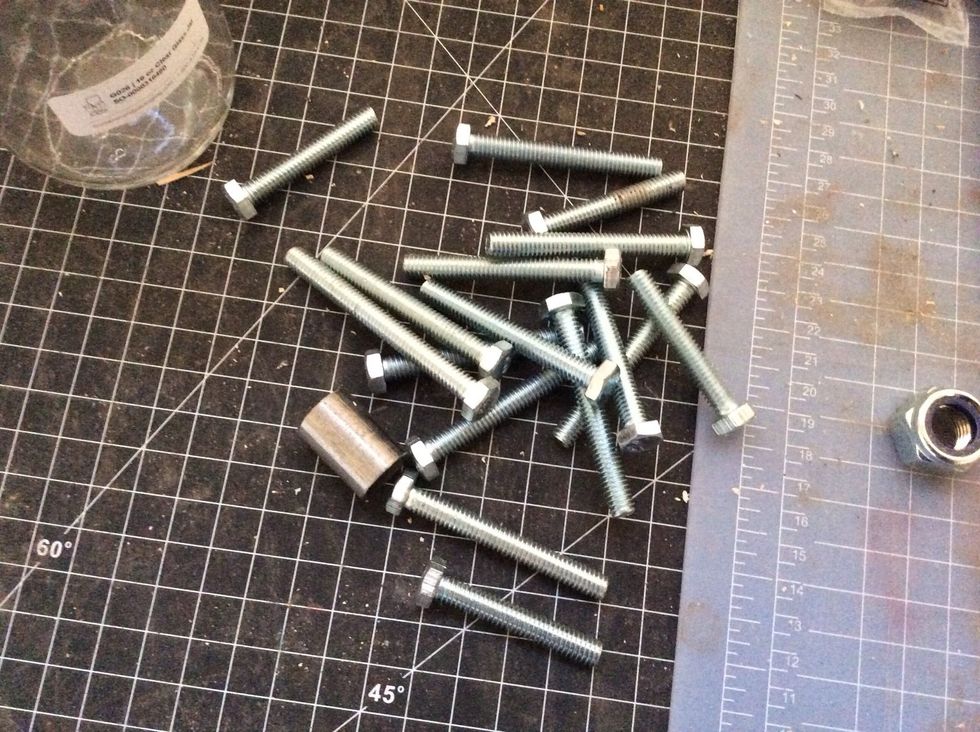
If your a novice crafty man/woman, like yours truly, you most likely bought tons of extra bolts and other crap that caught your eye at Home Depot not on the list. Now you can put them to good use.
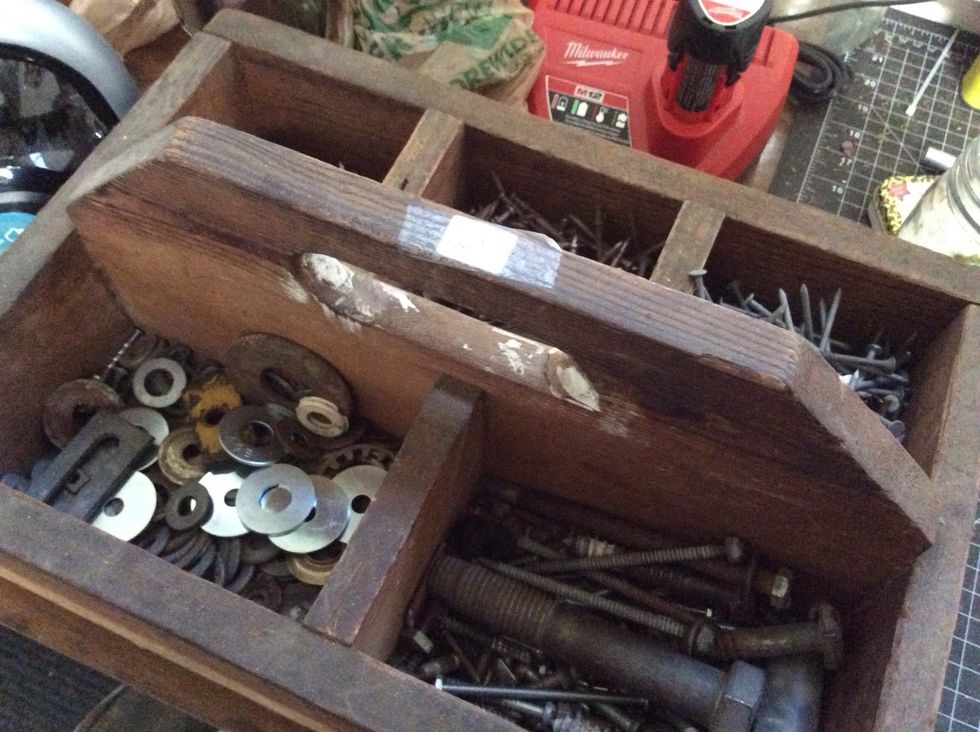
If you plan on continuing to build things yourself, flea market finds like this are great. To give the rack a vintage feel I used older washers like these pictured here.
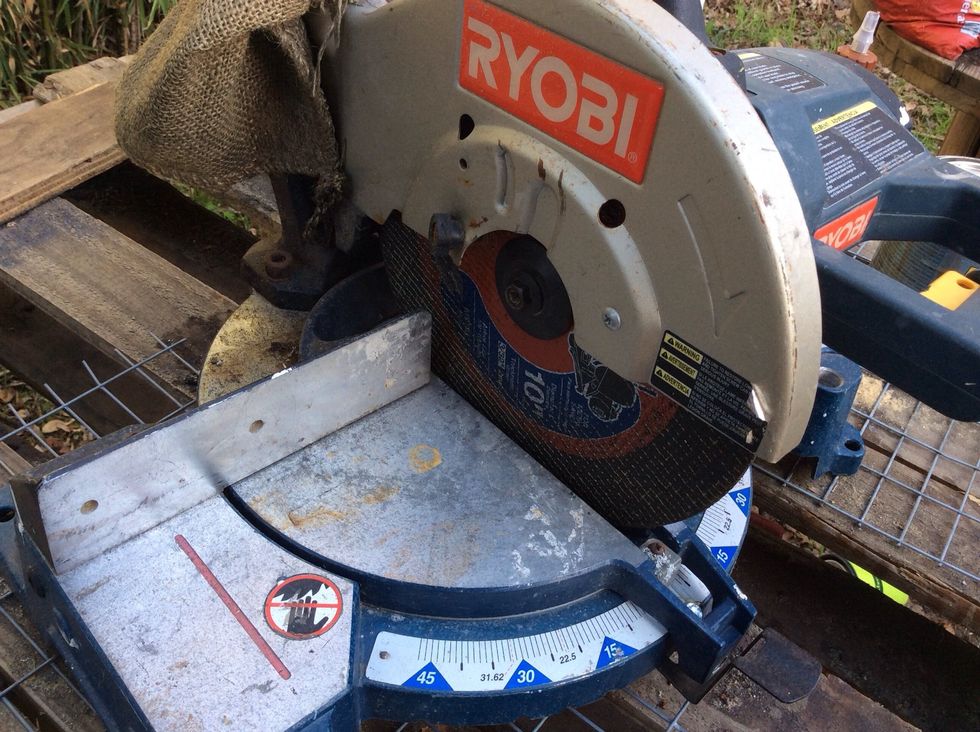
I used a chop saw with a metal blade for any metal trimming.
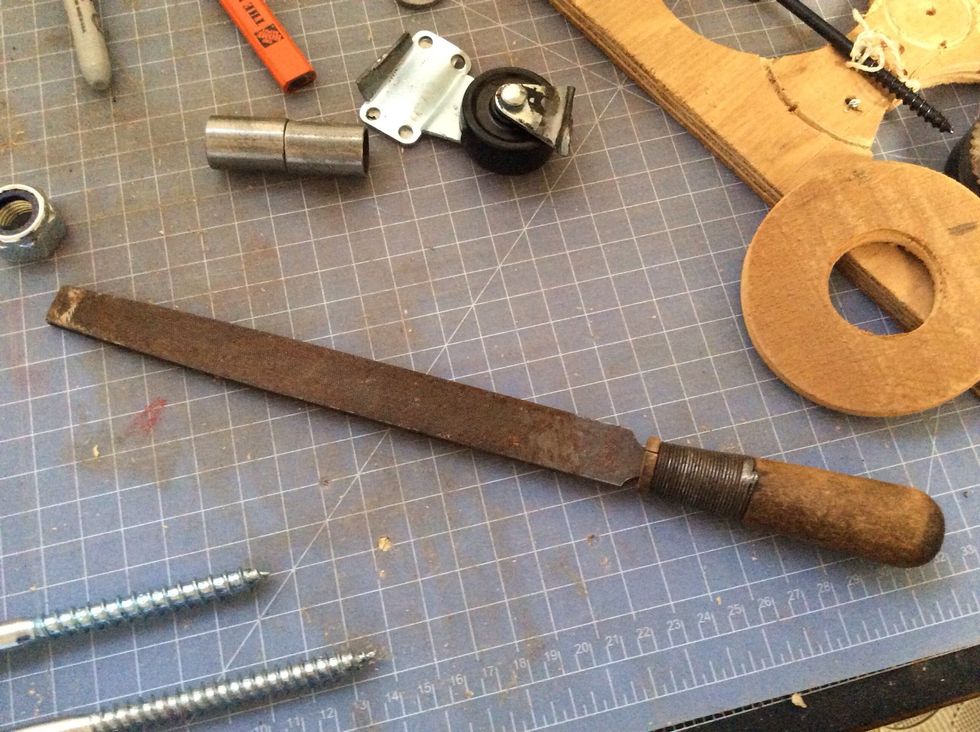
Use a file to smooth out edges of any cut metal. Or you will hear things like " honey ! I ripped the baby's blanket on that damn rack you made!" So try and avoid that when possible.
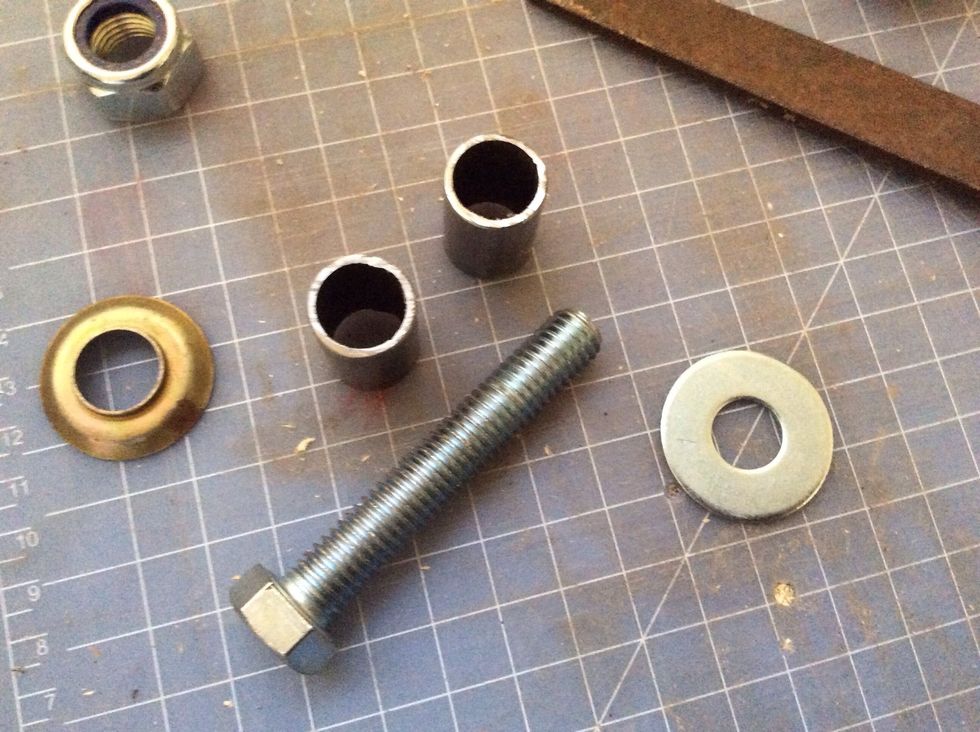
For the pegs, it is really up to you how long the bolts are. You need 1 bolt per peg, your choice on size. 2 washers, steel tube and lock nut. These will be spread evenly across the board.
Take the washer and add to the bolt.
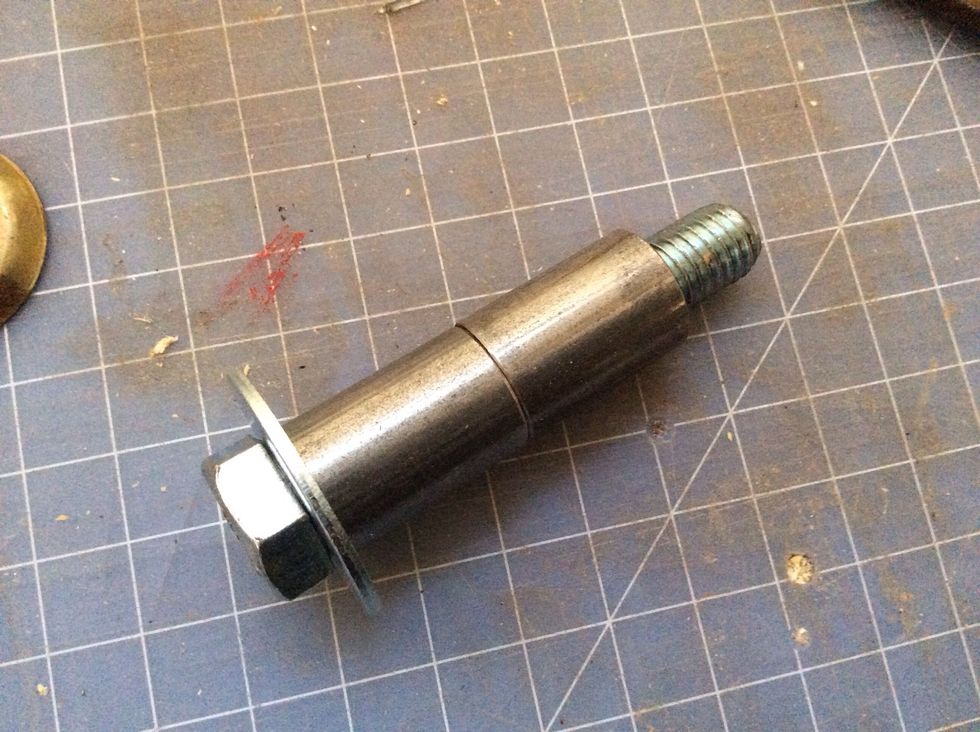
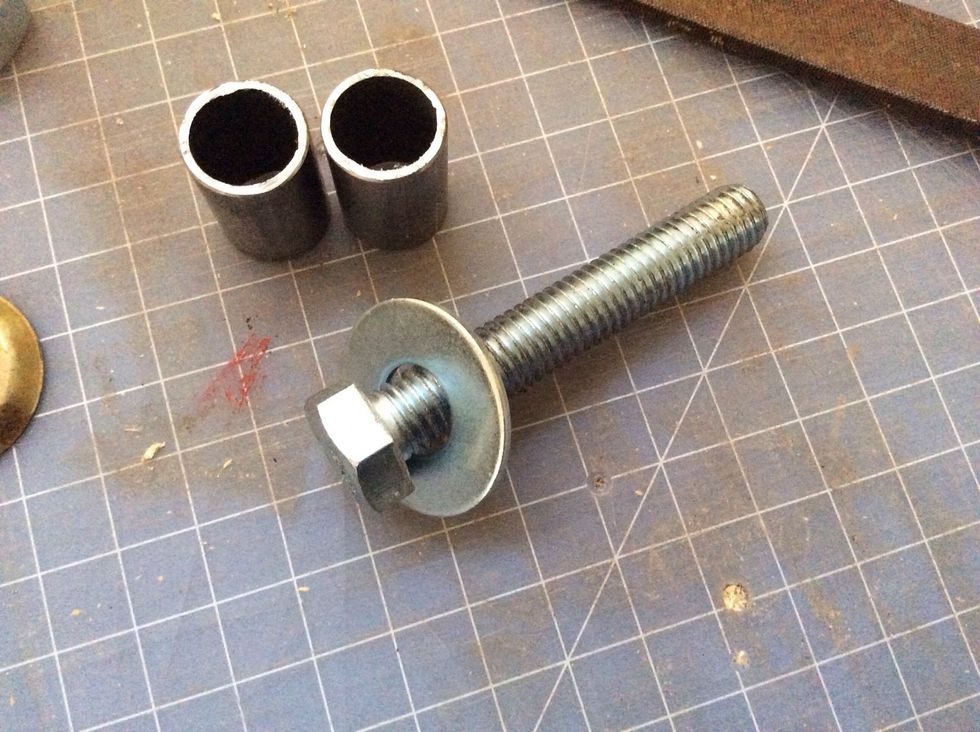
Then add metal tube. This piece has 2 sections, because I was trying to use everything. One piece is better.
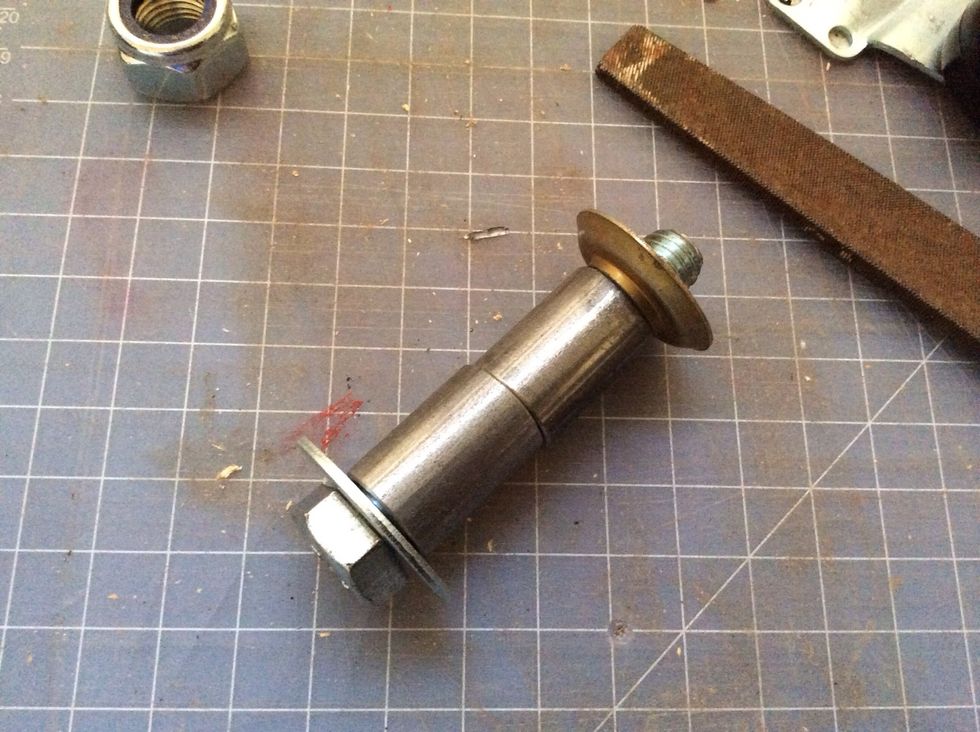
Washer then caps the end. Your bolt must extend enough out to pass through the wood board, in this image, it's too small. I started with longer bolts and then cut them to the correct length.
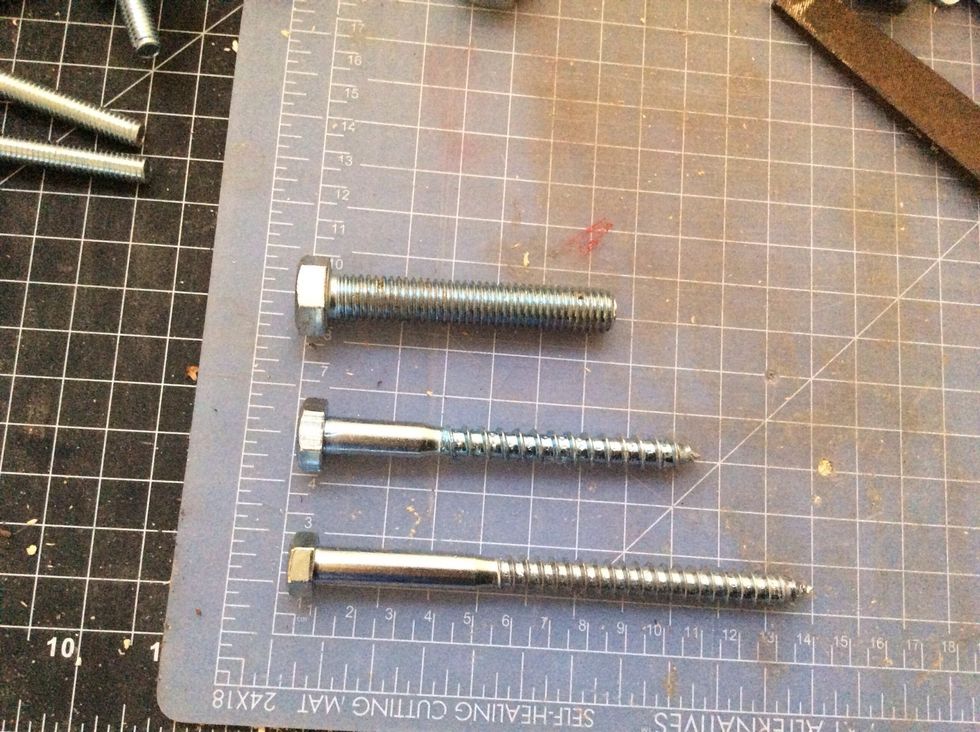
The 2 bottom bolts I used on either end of the rack to secure it to the wall. The pegs I spaced evenly between.
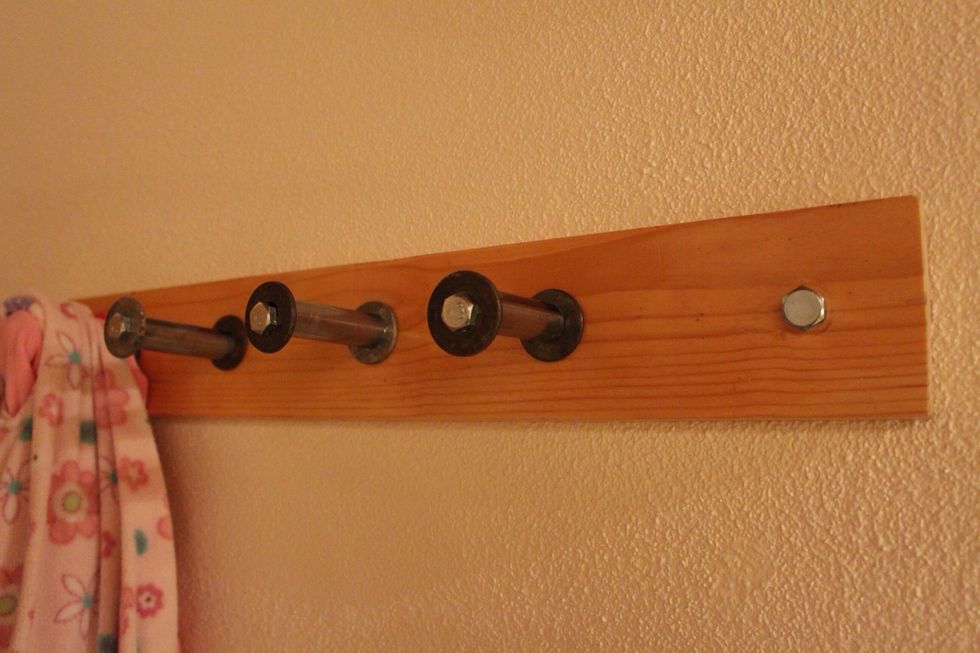
On the far right is a bolt attached to the wall. The pegs are only connected to the board. Drill holes for each bolt across the board. Counter sink the back nuts for the pegs so the board is flush.

Example of a lock nut, for all you newbies like me.
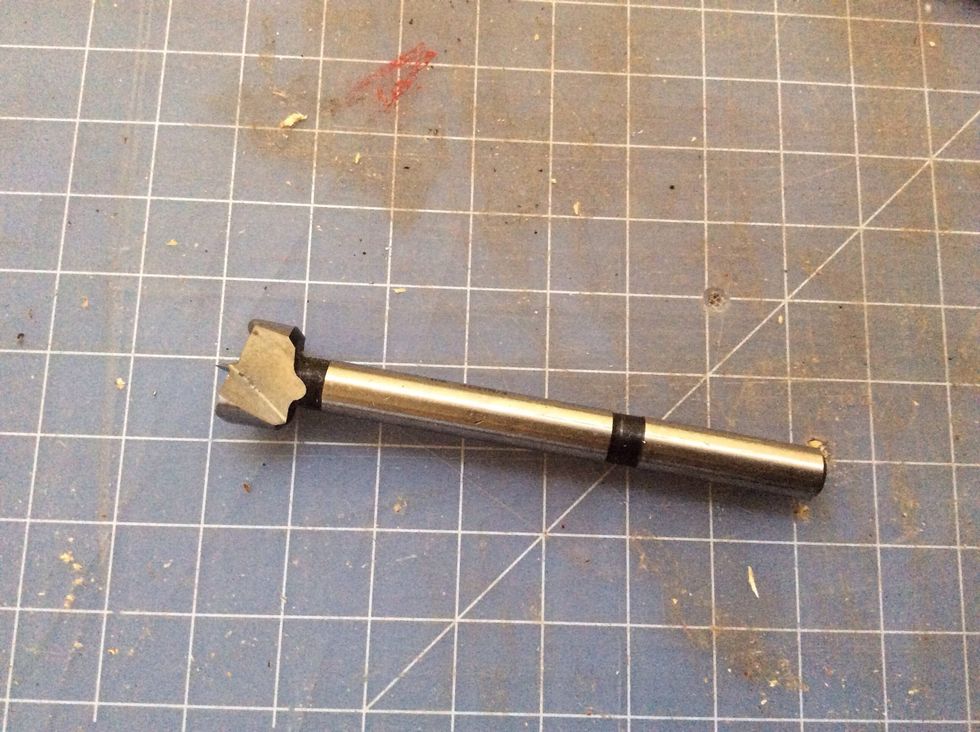
Counter sink drill bit. I used this on the back of the board to sink the lock nuts. Be careful I cut the crap out of my hand with it. Super sharp so wear gloves. Also start your holes first with this.

Use stud finder and not the "force" to find the studs to secure the outer bolts. Otherwise you will be filling holes or your baby will pull it off the wall.
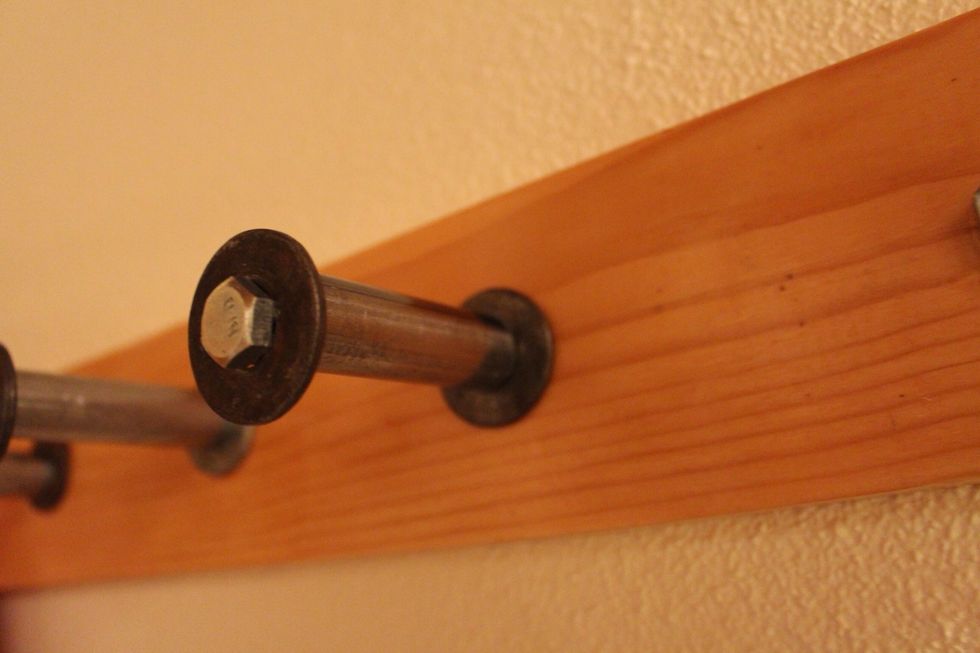
Close up of peg. I used 3 inch tube, so when it stuck out from the wall it was around 5 ish inches. You want to make sure your pegs are a good length especially if behind a door.
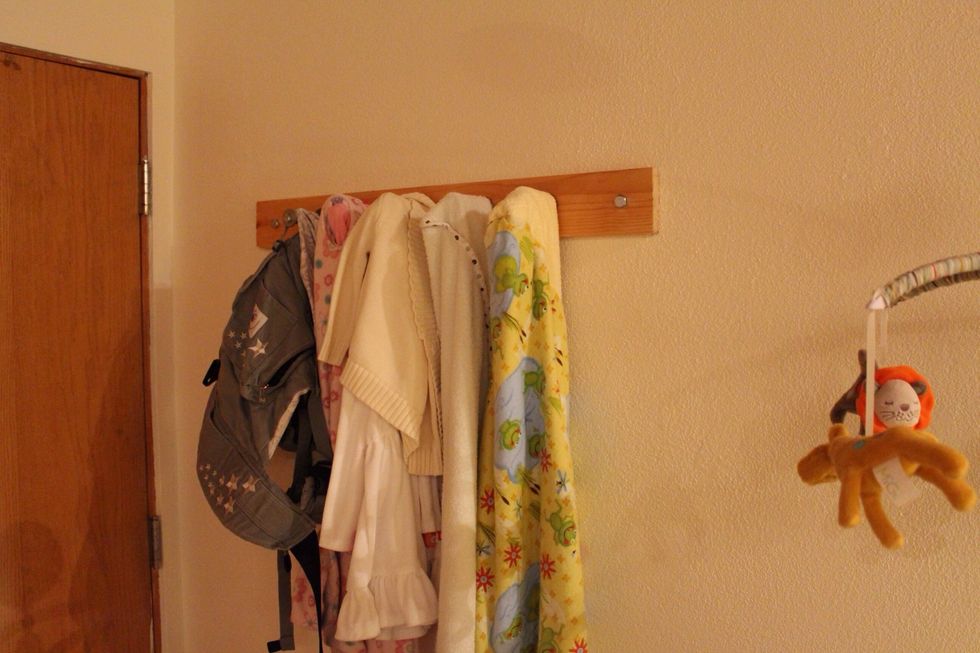
Viola! You can now have a coat/towel rack that matches the barn door you might have made. And most of all your mate thinks your so "McGyverish" for using everything you overspent on at Home Depot.