STEPS
TOOLS
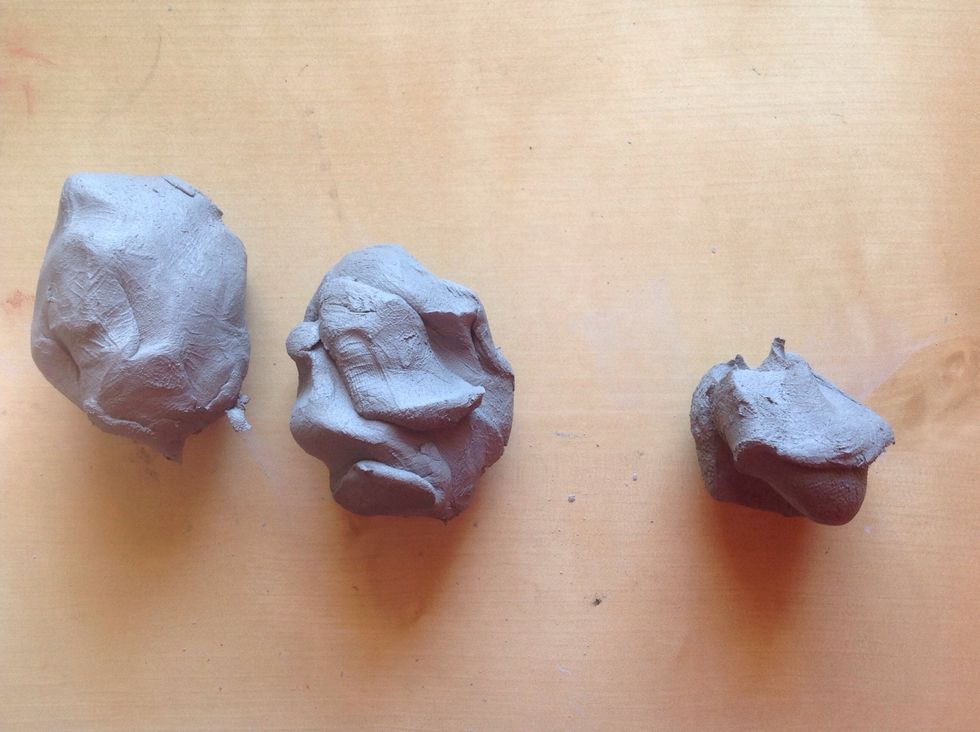
First divide your clay. Pull off a small piece and divide the other piece of clay into two equal pieces.
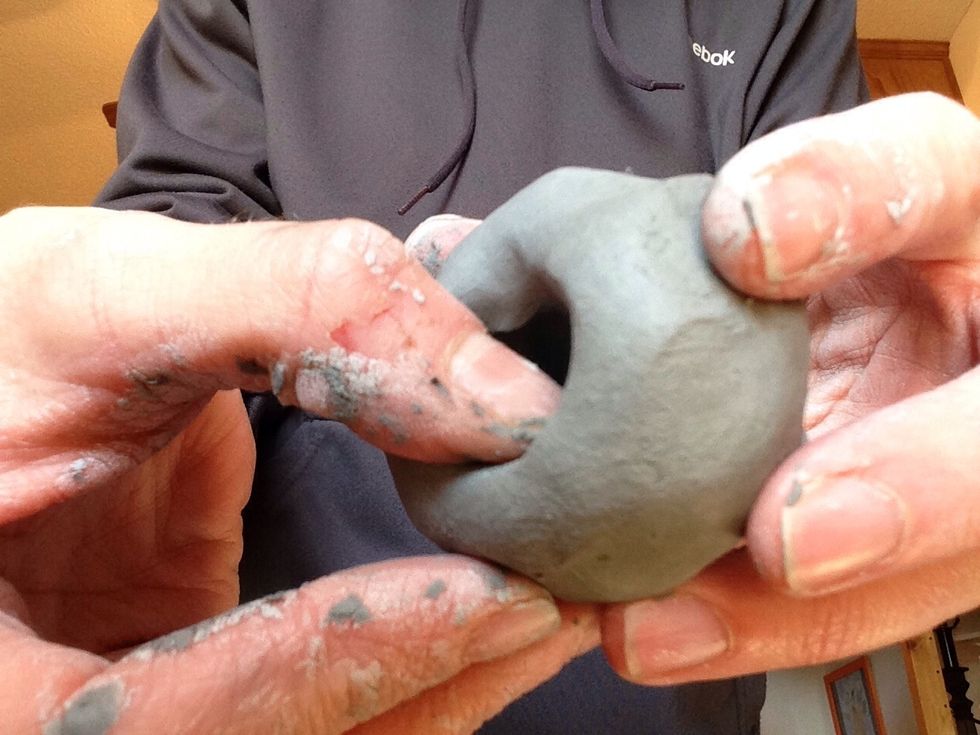
Take the two equal pieces and make each one into a pinch pot. Try to make each pot the same size and thickness.
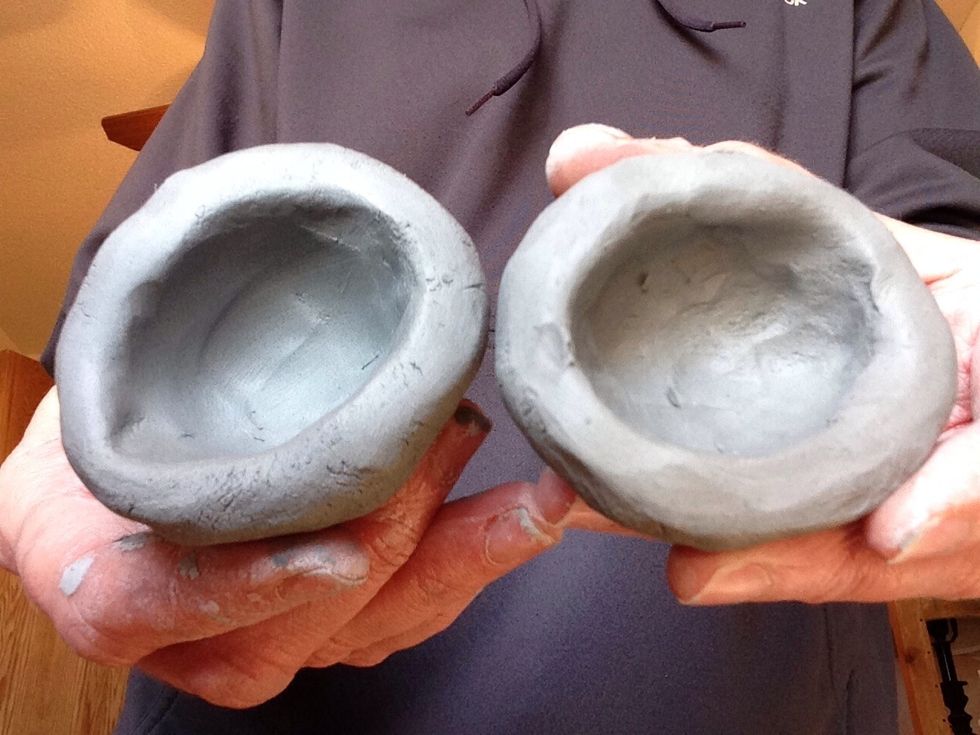
Are your pots close to the same size? They should be to make the next step easier.
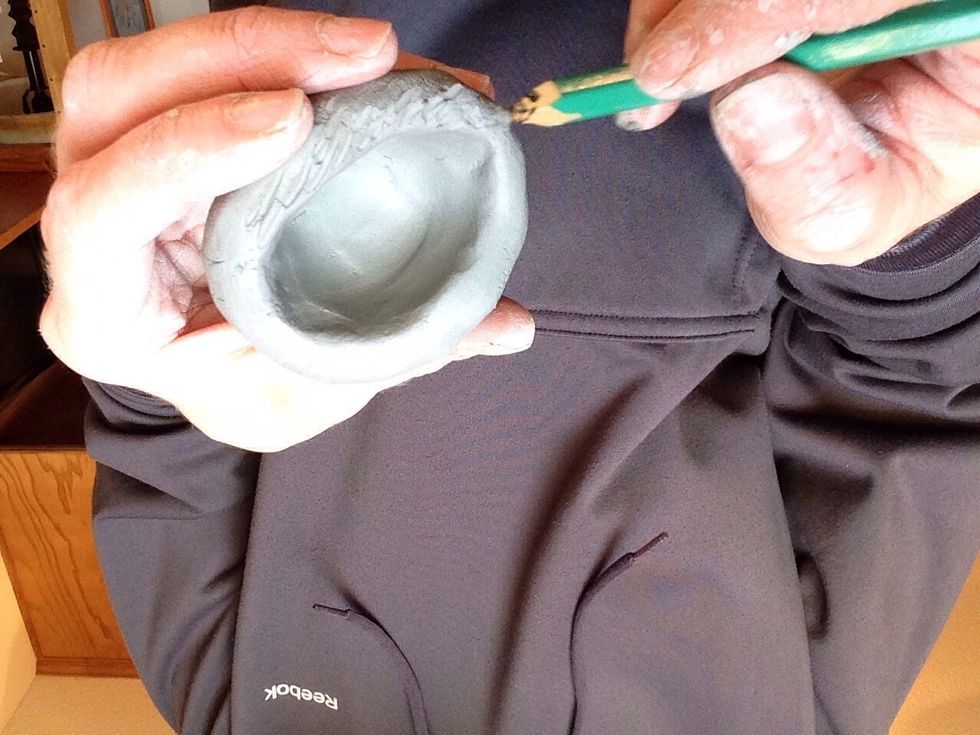
Now use your sharp tool or pencil to score your clay. The two pieces that you will connect must be scored, slipped, attached, and blended. Remember you must do this step!
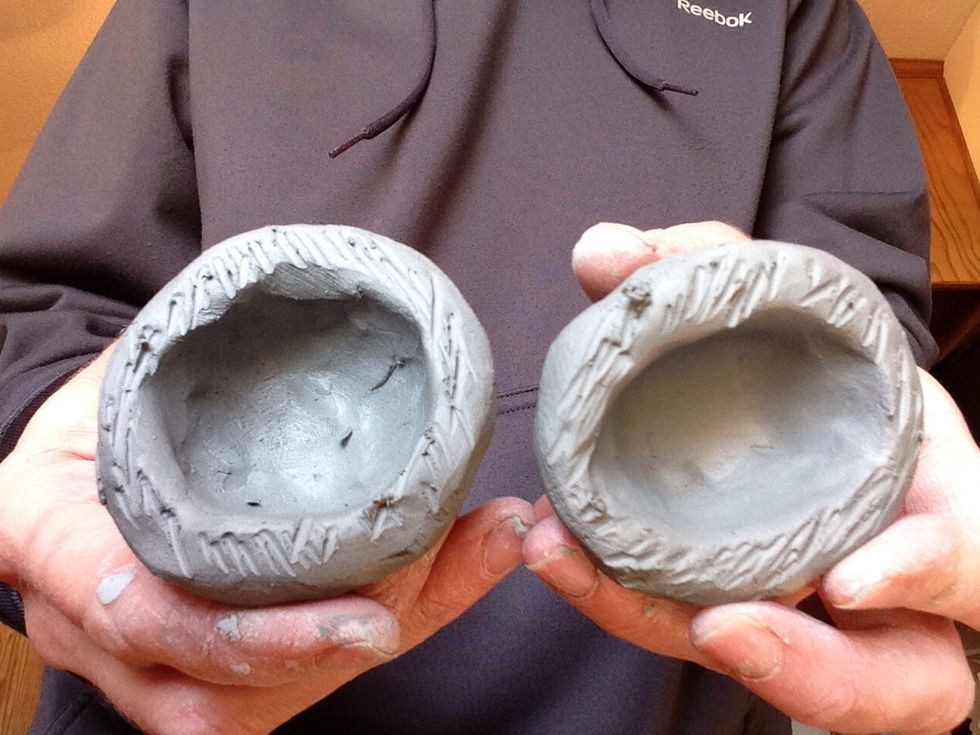
This is what it should look like when you score.

Once you add slip or water, attach the pots together.
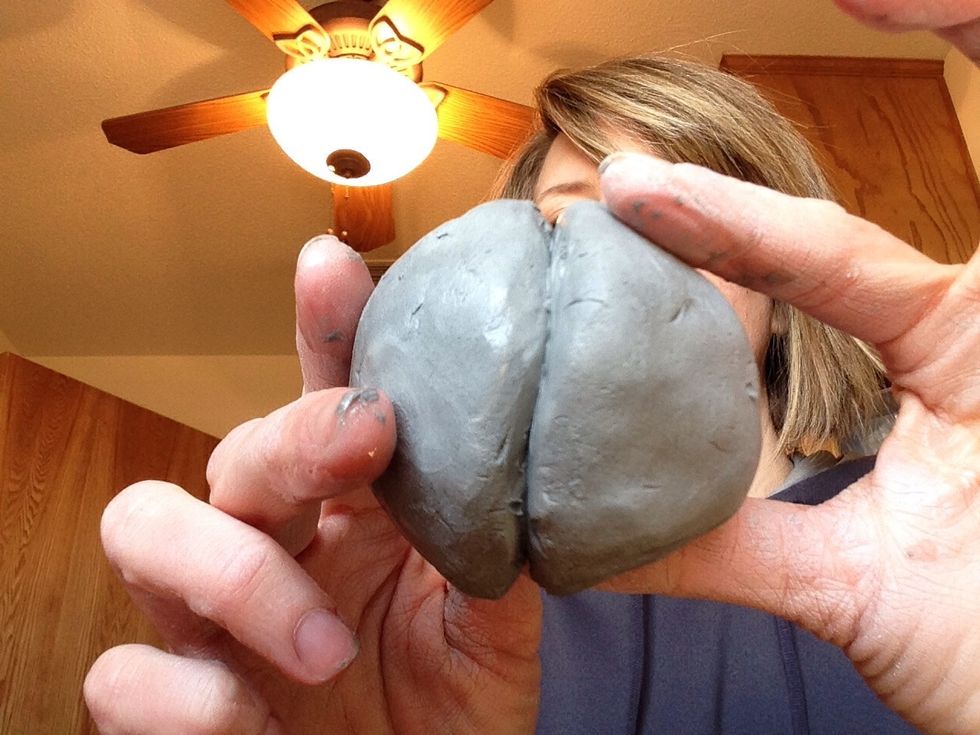
Make sure they are even.
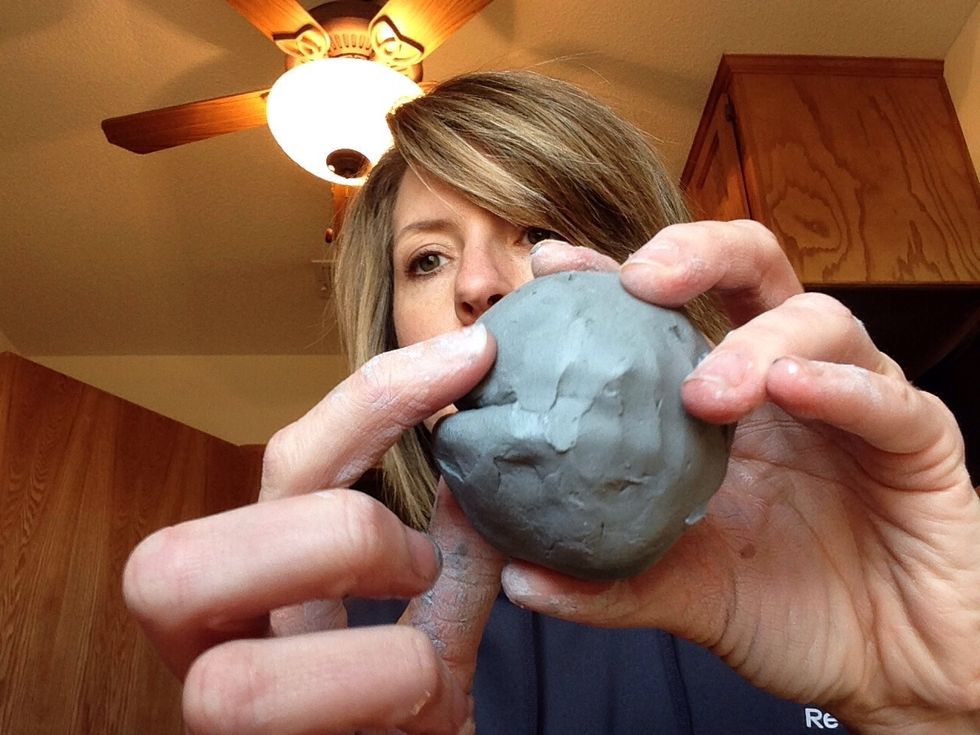
Now gently blend the two pots together and form a round hollow ball of clay
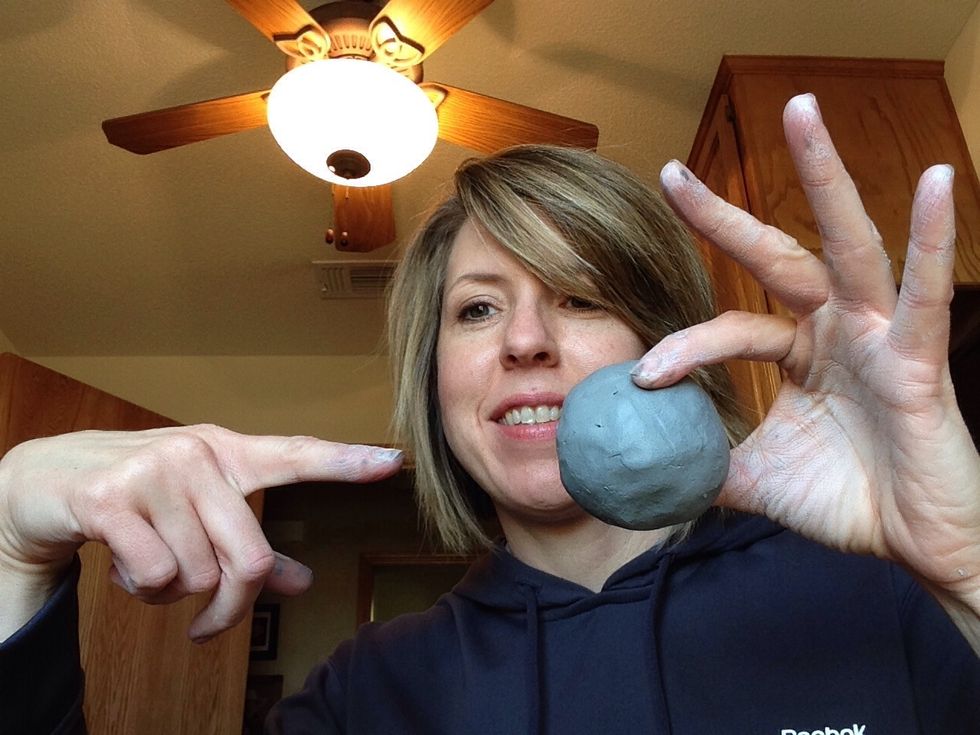
Does your clay look even and smooth? If not continue to blend.
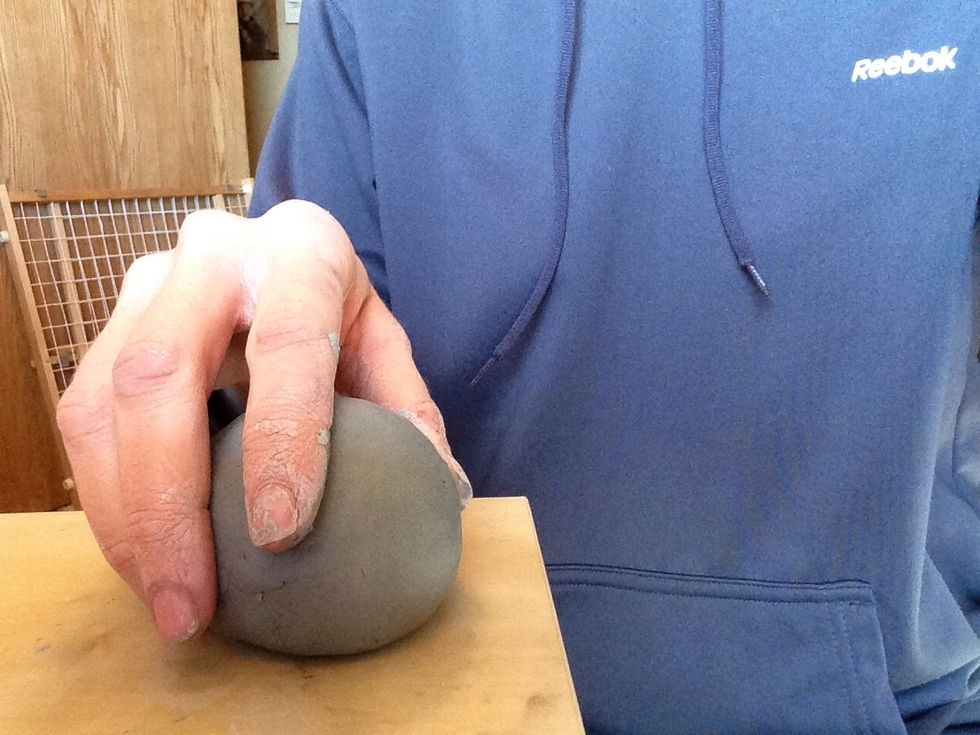
Gently tap the ball of clay on ONE side to make it slightly flat on that side.
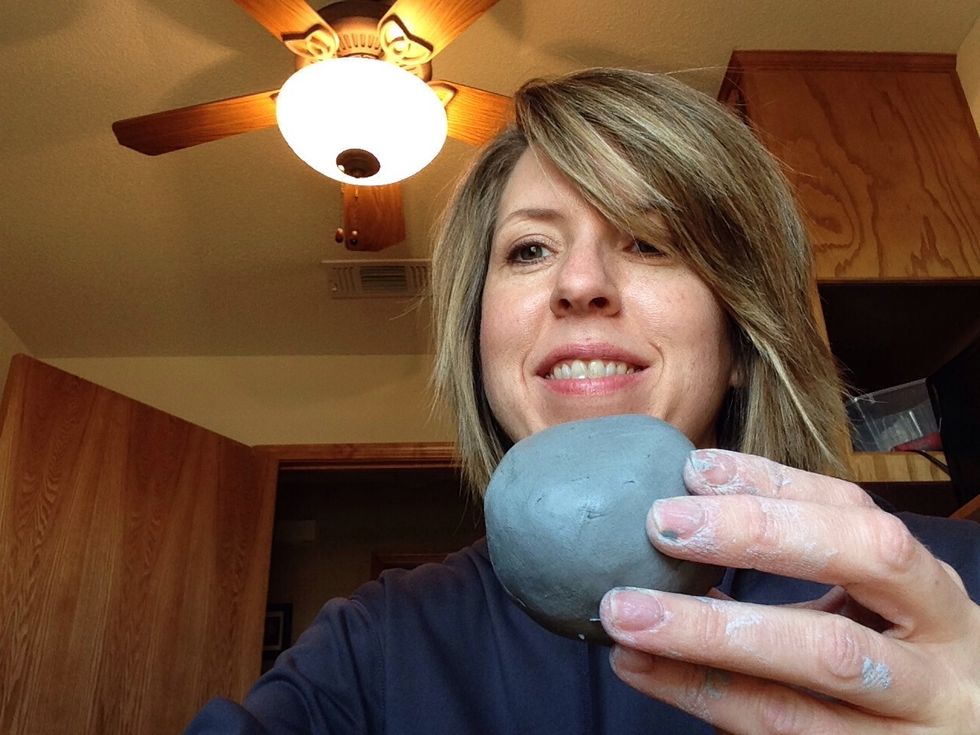
So now there should be one flat side, and the rest should be curved.
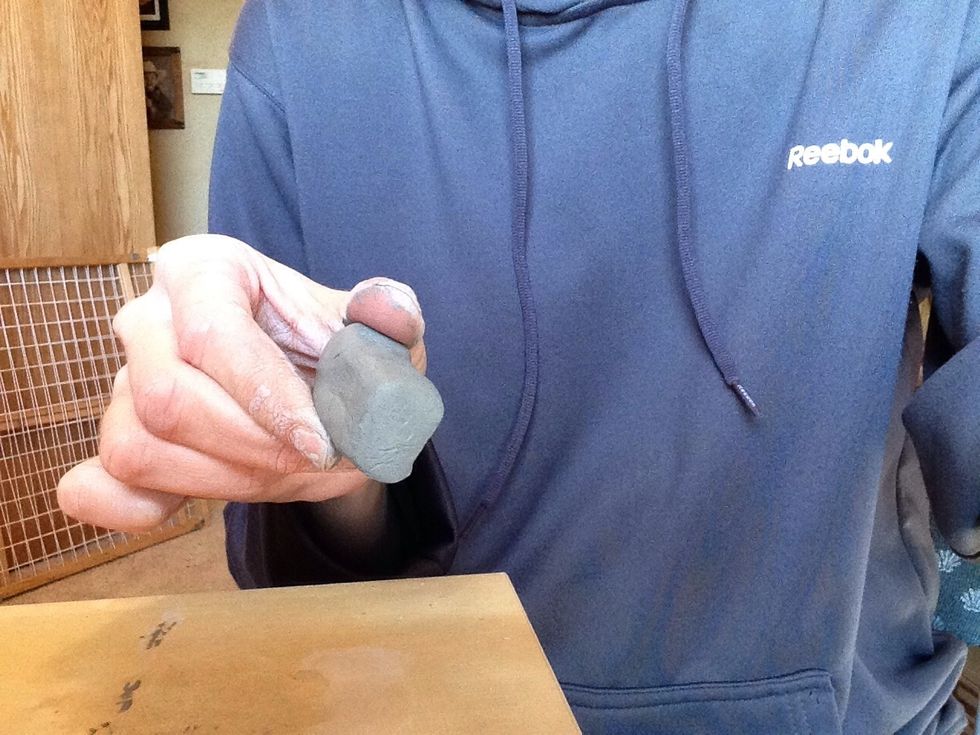
Take the small piece of clay and roll it into a wide short coil. Tap the coil on each side to make them flat. Tap the ends too so you have a small rectangular block. This will be your mouthpiece.
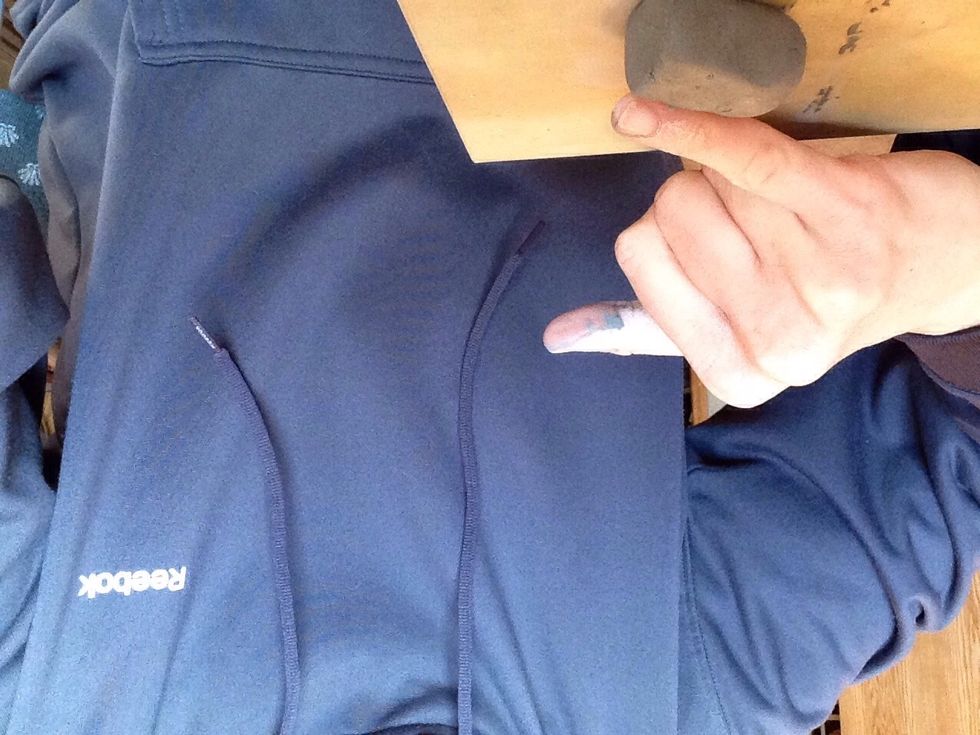
The block should be half as long as your little finger.

Score the end of the mouthpiece. Score the ball where the mouthpiece will be placed.
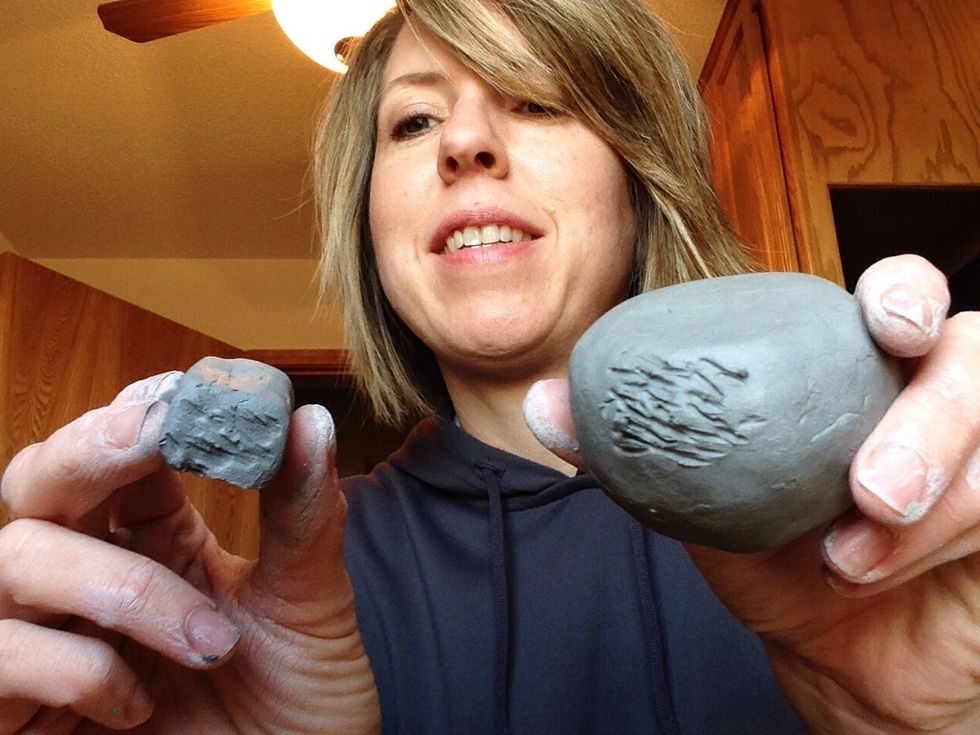
Don't forget to score, slip, and blend.
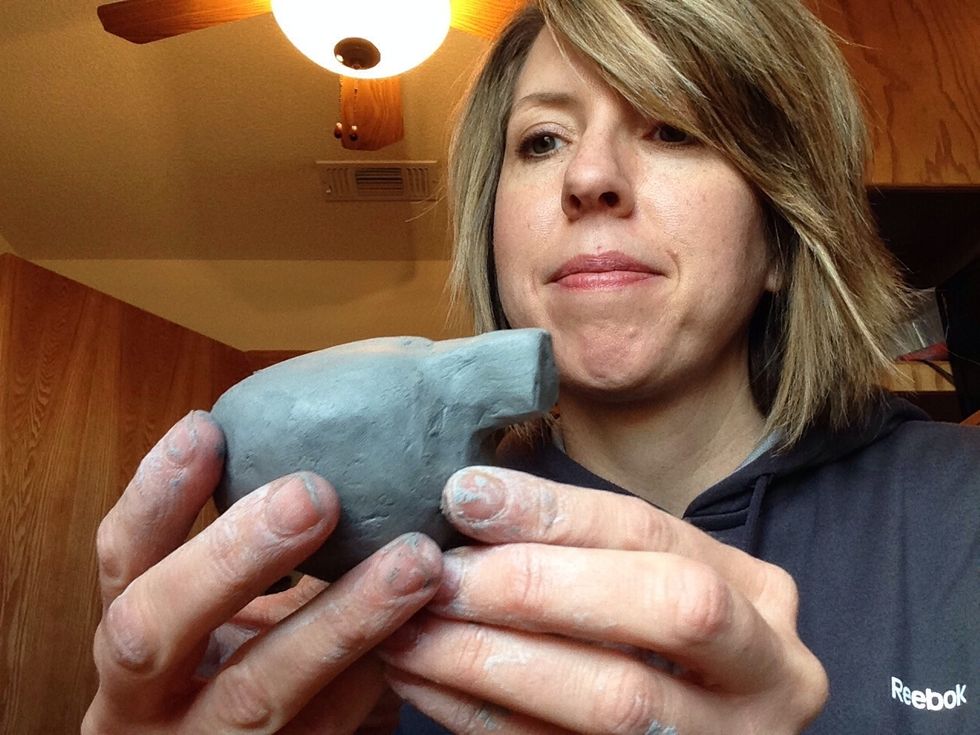
The mouthpiece should line up with the top of the flat side of the ball. If yours does not, cut it apart and attach again.
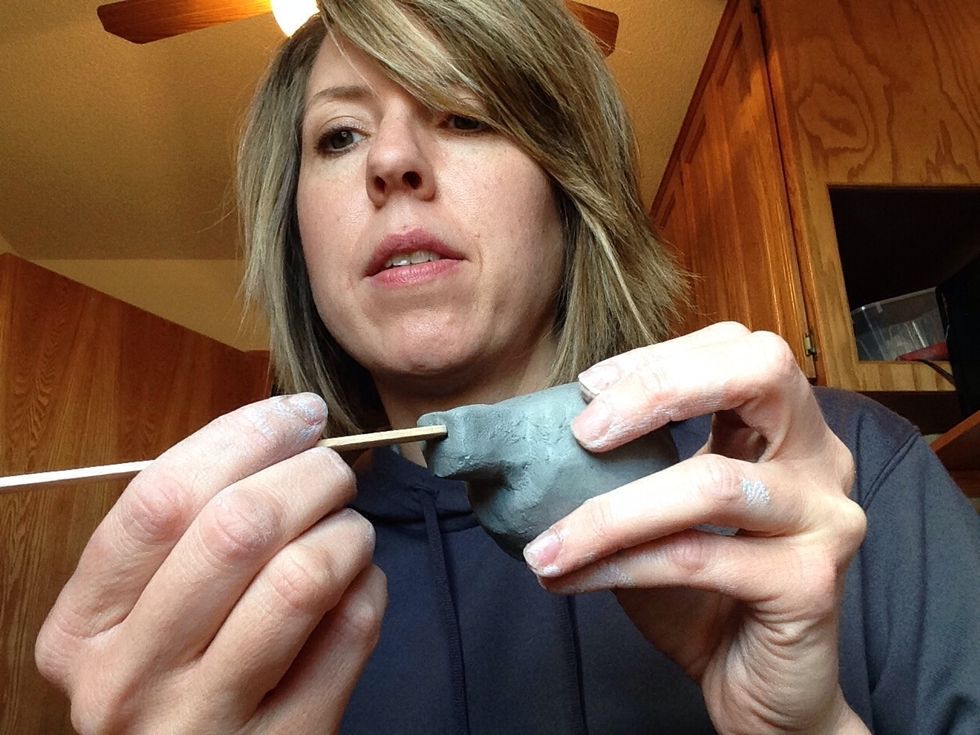
Now make sure you put the popsicle stick in straight. You should hit the hollow cavity of your ball of clay. The stick should be in the cavity but still close to the top.
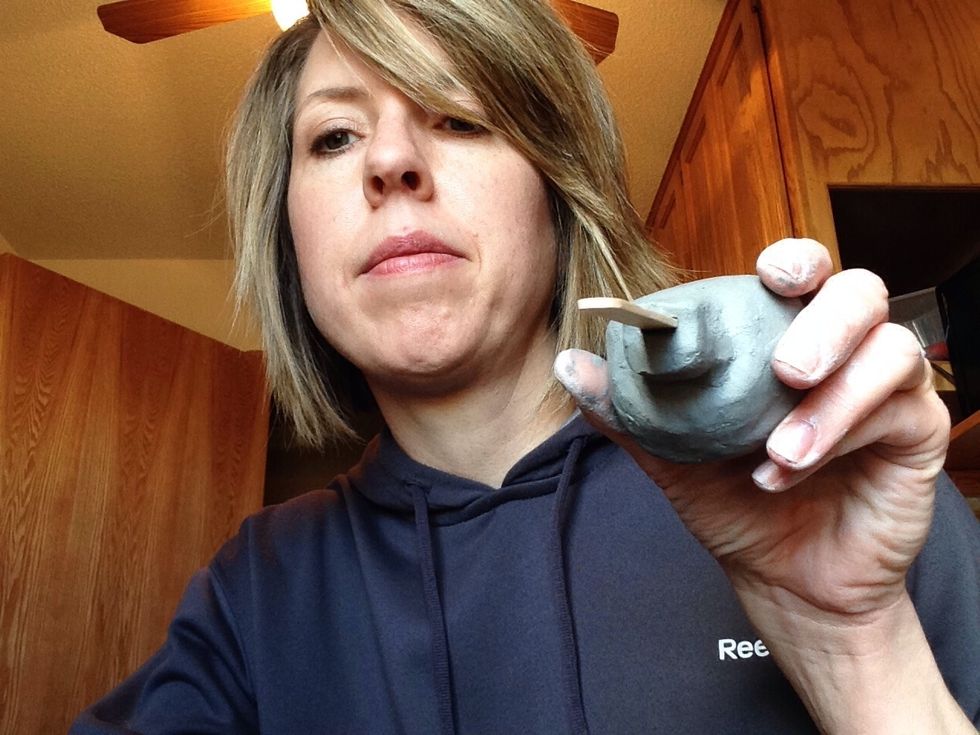
It should look like this....
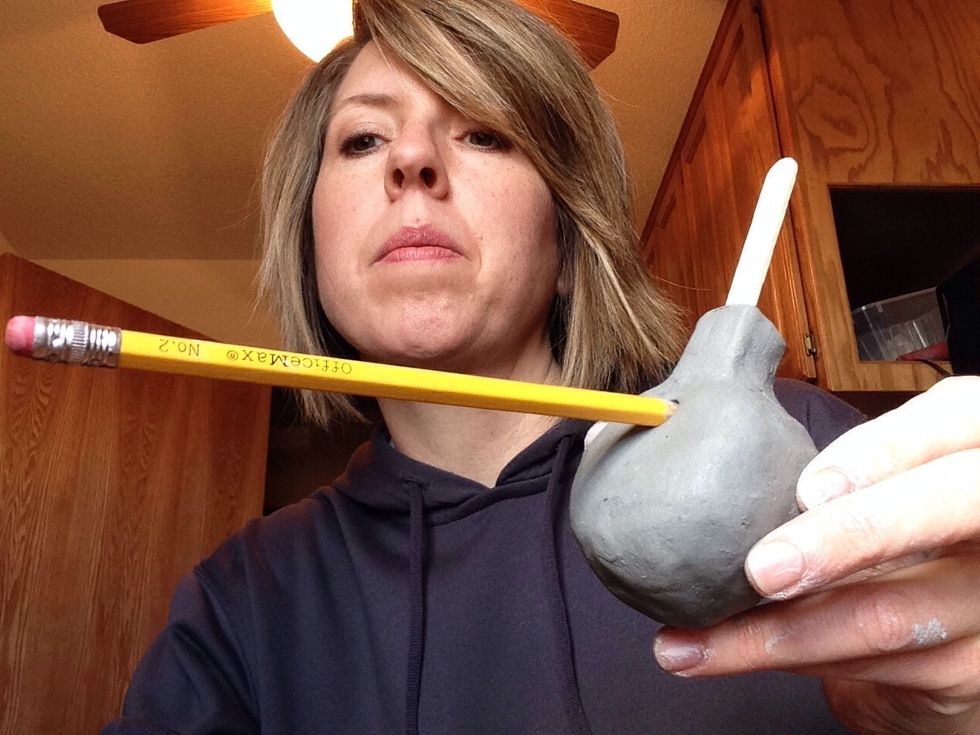
Make a hole right behind the mouthpiece seam using your pencil. Go straight down with the pencil. It should hit the popsicle stick.
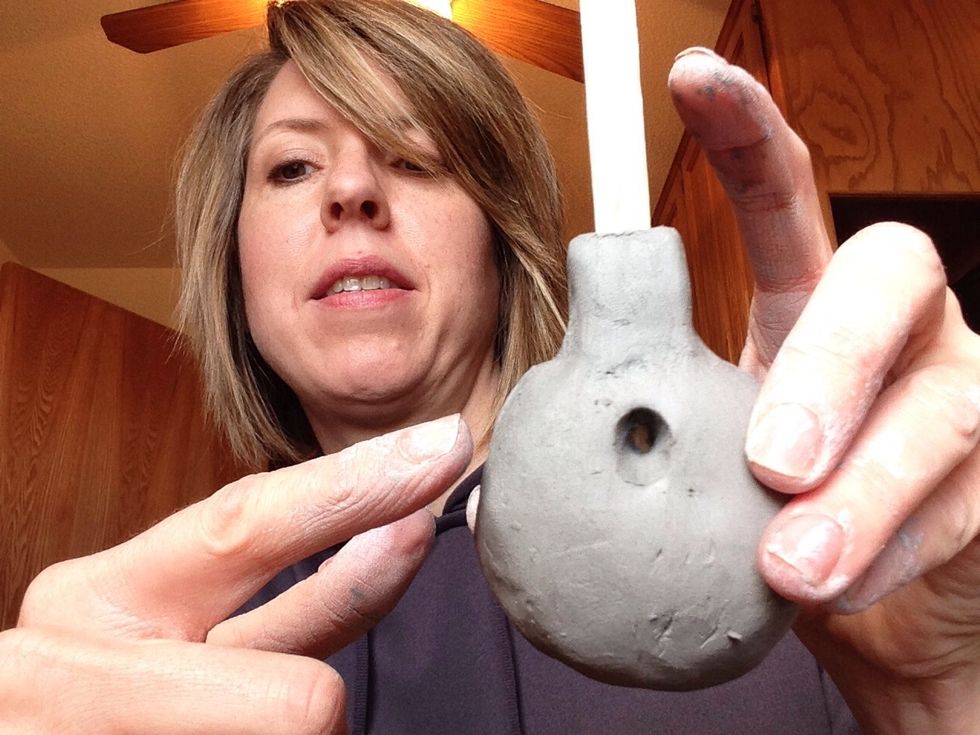
Put the pencil in straight. Now tilt it at a 45 degree angle and make a small bevel at the BACK of the opening ONLY.
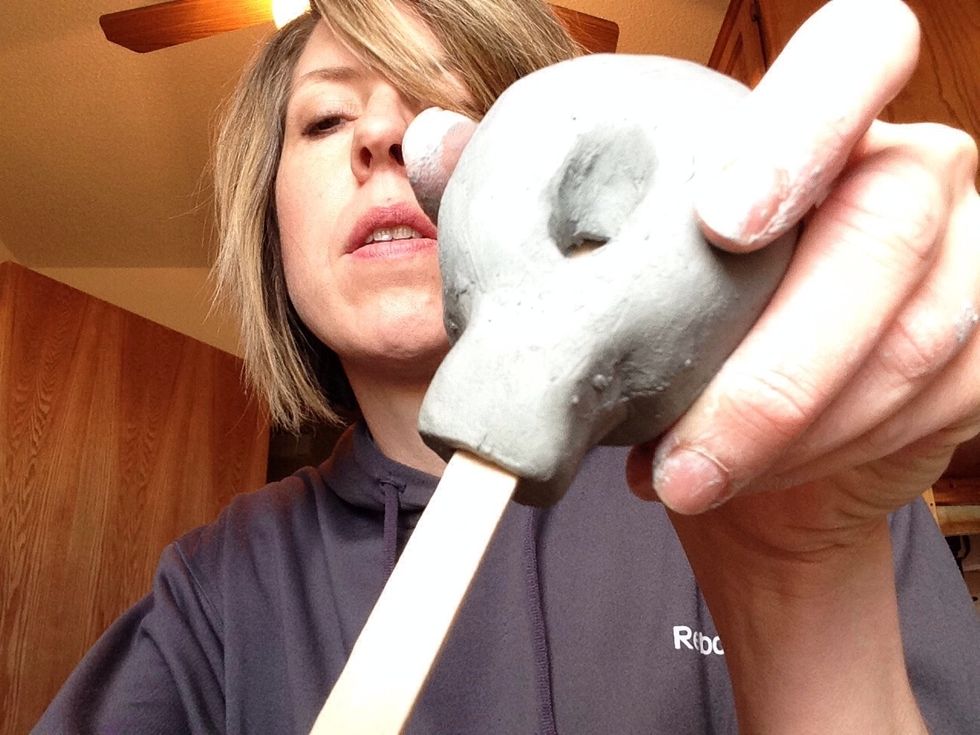
See how the popsicle stick lines up right under your opening at the top? If there is space between the stick and the hole, it will be very difficult to make it work.
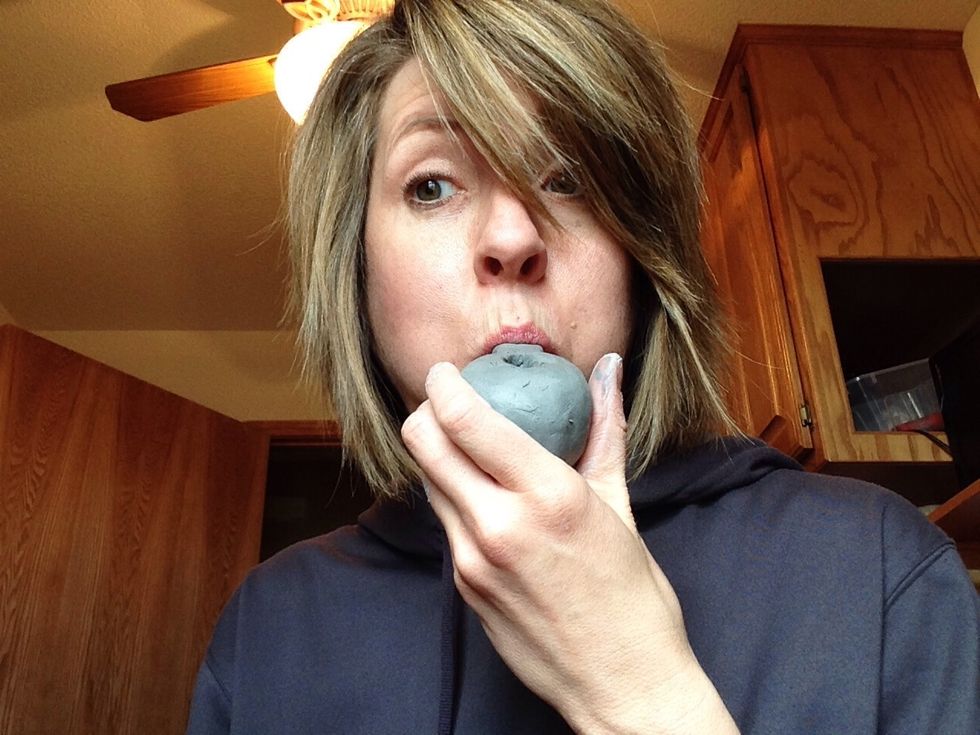
Remove the stick and pencil. Now blow in the mouthpiece. It probably won't work. You must continue to work on the angle of the bevel. Make sure you keep the opening made by the popsicle stick clear
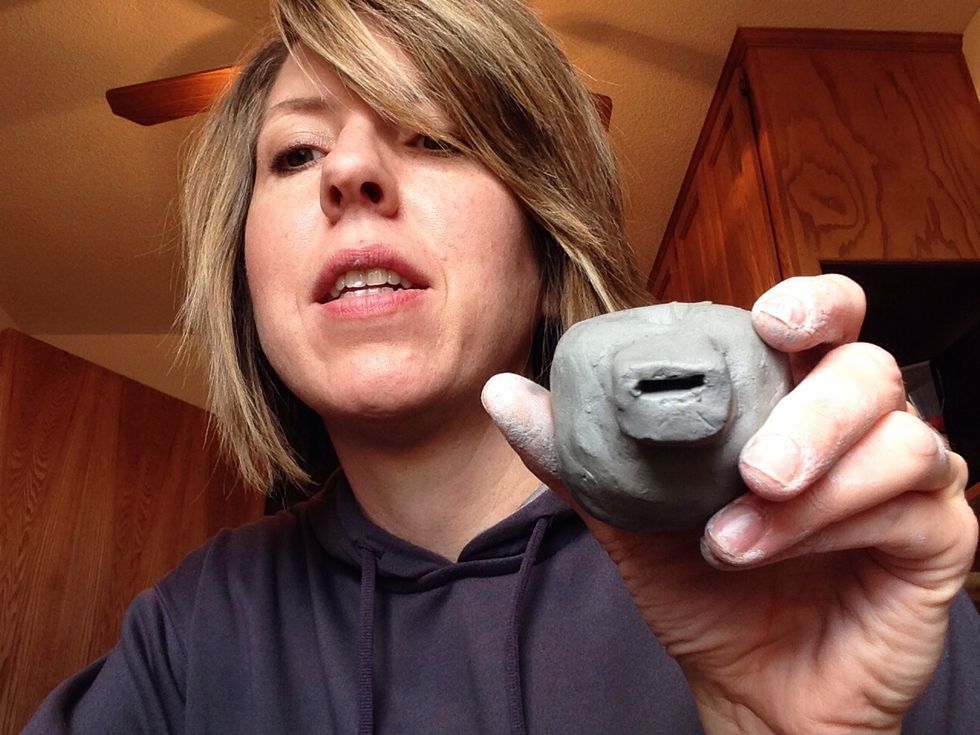
If it isn't working, check your mouthpiece opening. Is it clear? If not, put the popsicle stick straight in it to remove debris.
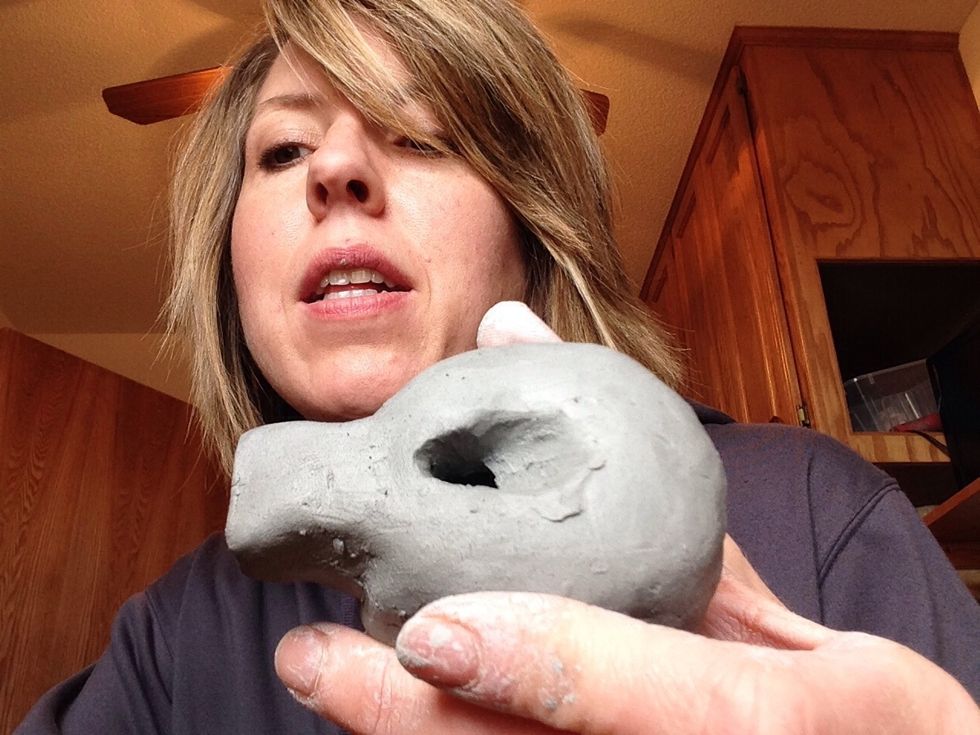
You may have to make small adjustments to the angled bevel before it will work. Be patient, it takes most students 1-2 class periods to achieve a working whistle.
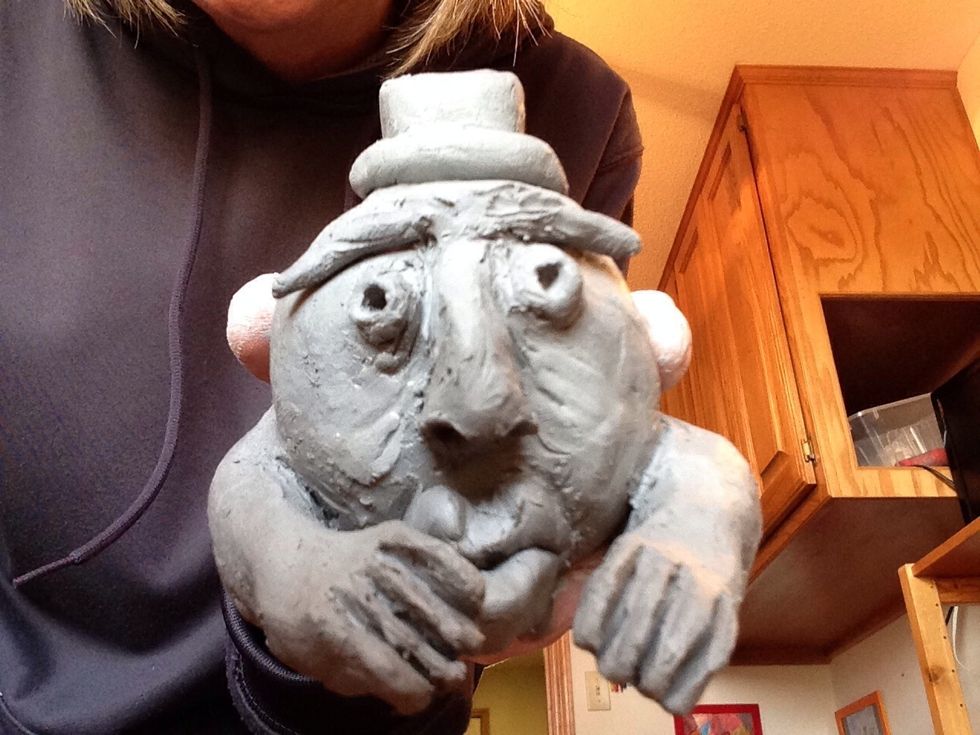
This is an example of the whistle I am working on.
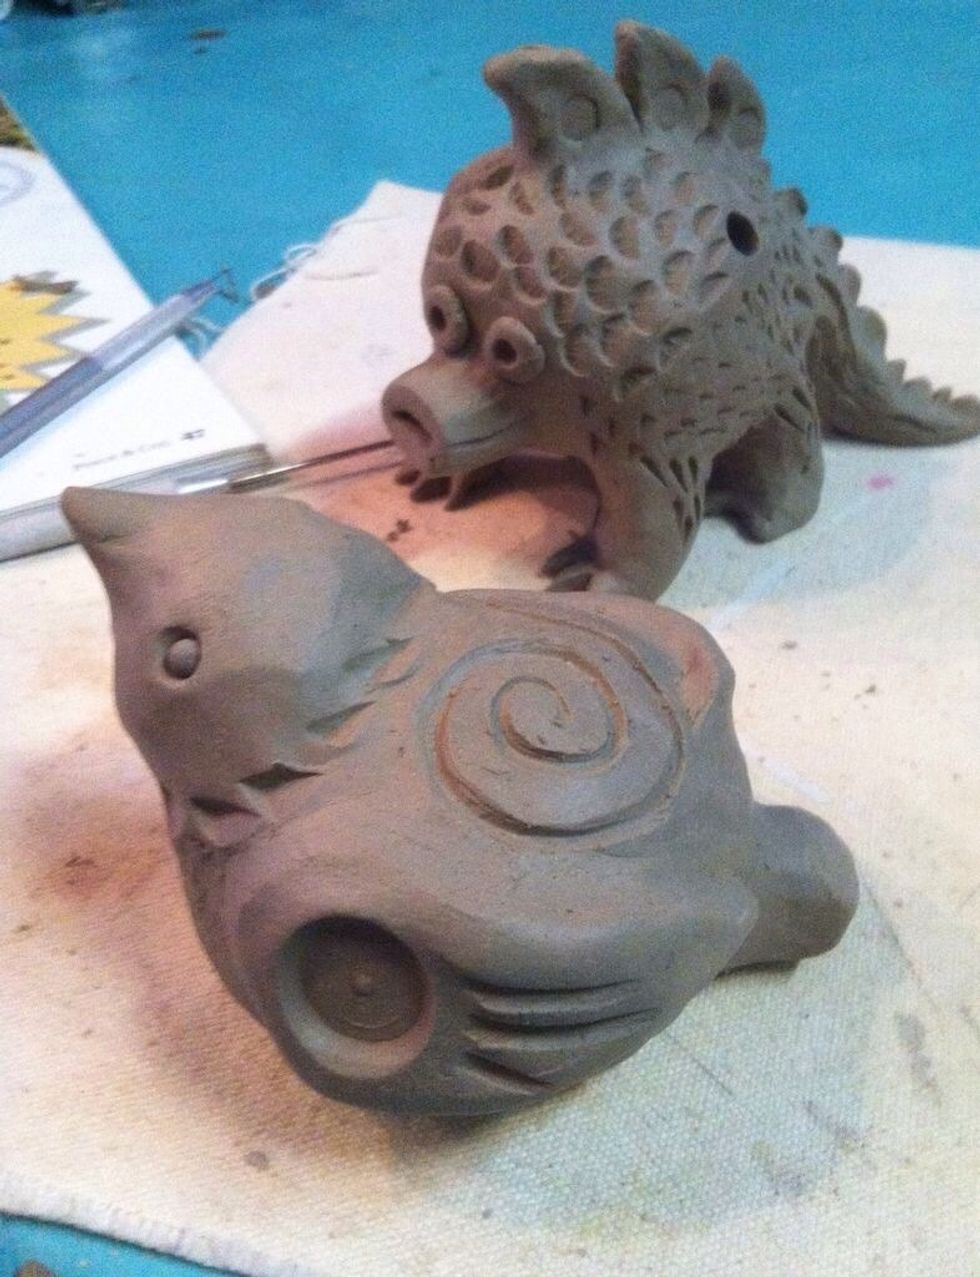
More examples of whistles...
- Clay
- Water
- Sharp pencil or clay tool
The Conversation (0)
Sign Up