The Conversation (0)
Sign Up
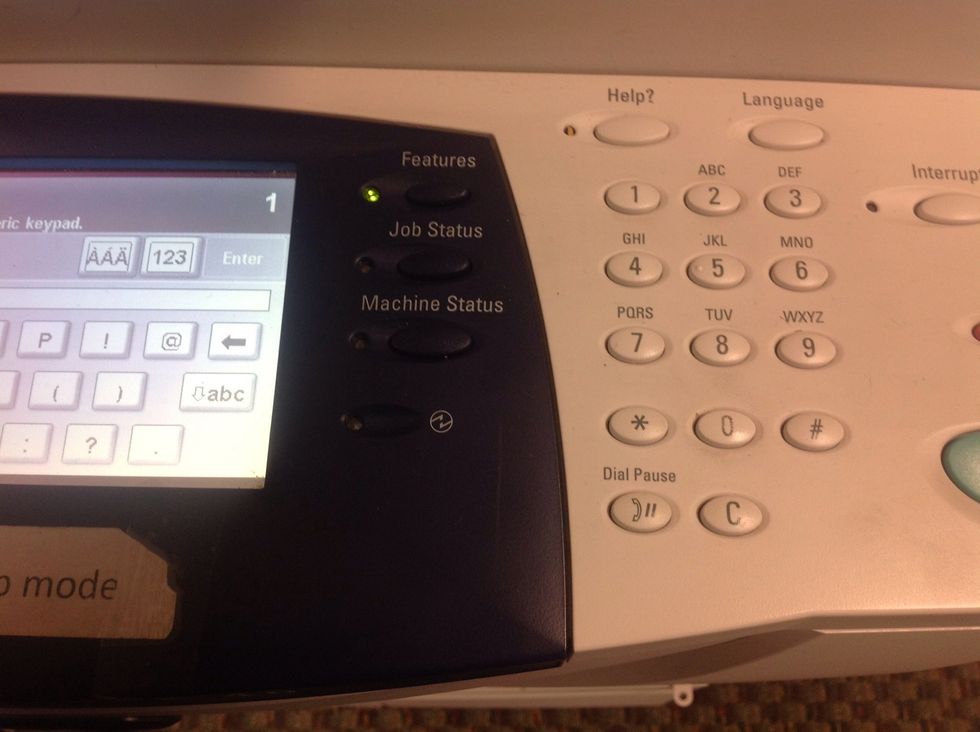
Enter ILL Lending Code (located on the photocopier cover) and hit ENTER on the LCD screen
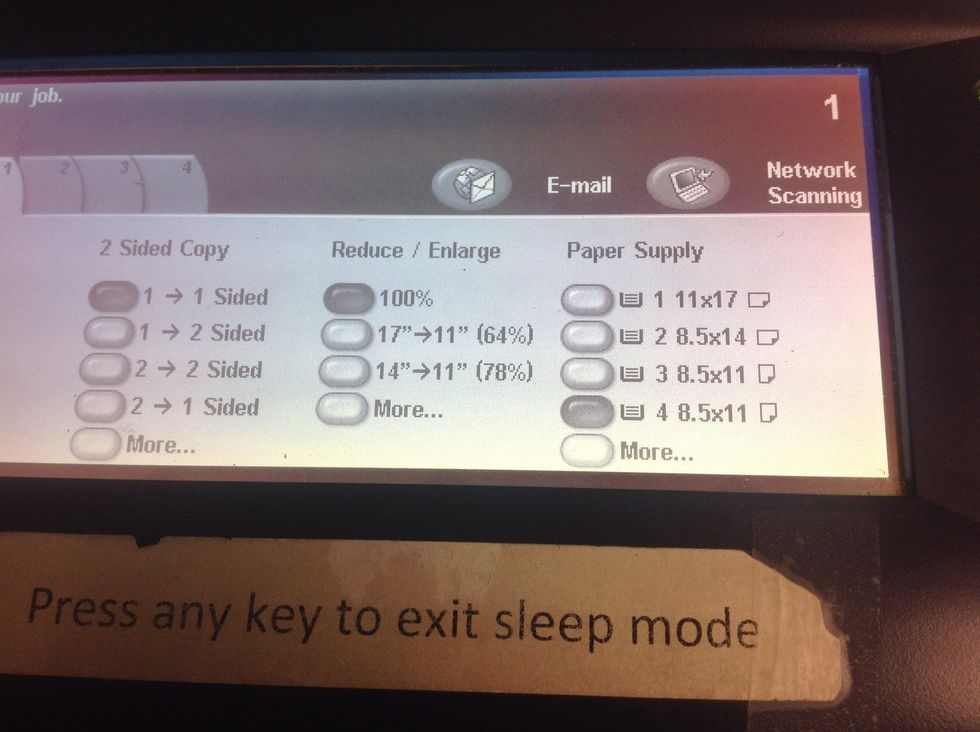
From the Main Menu screen, select E-mail (top right of the screen)
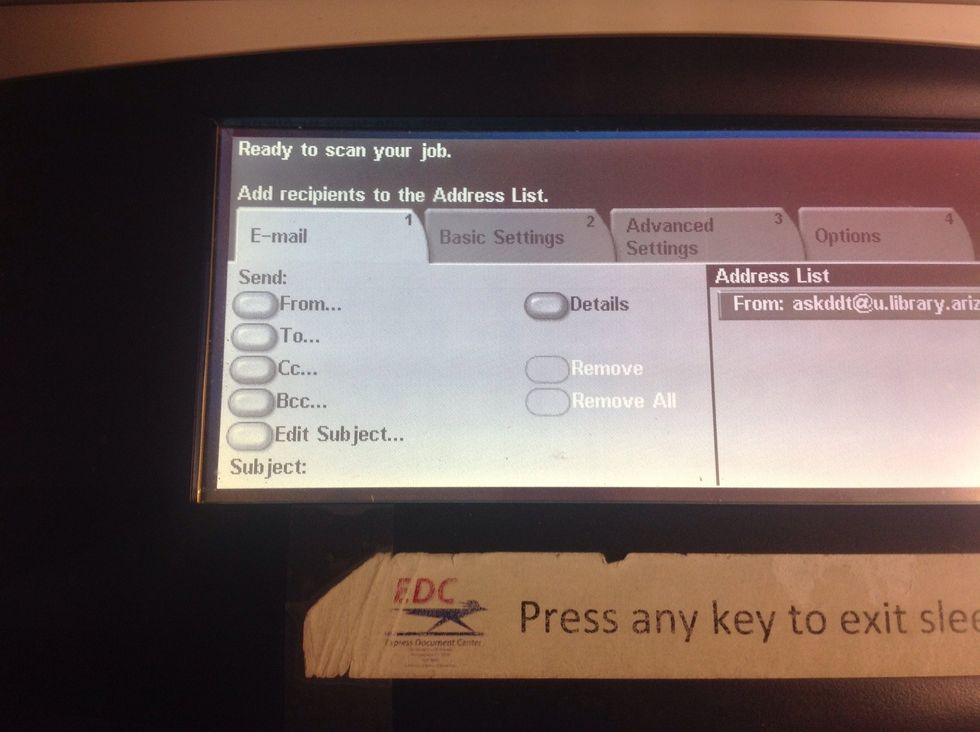
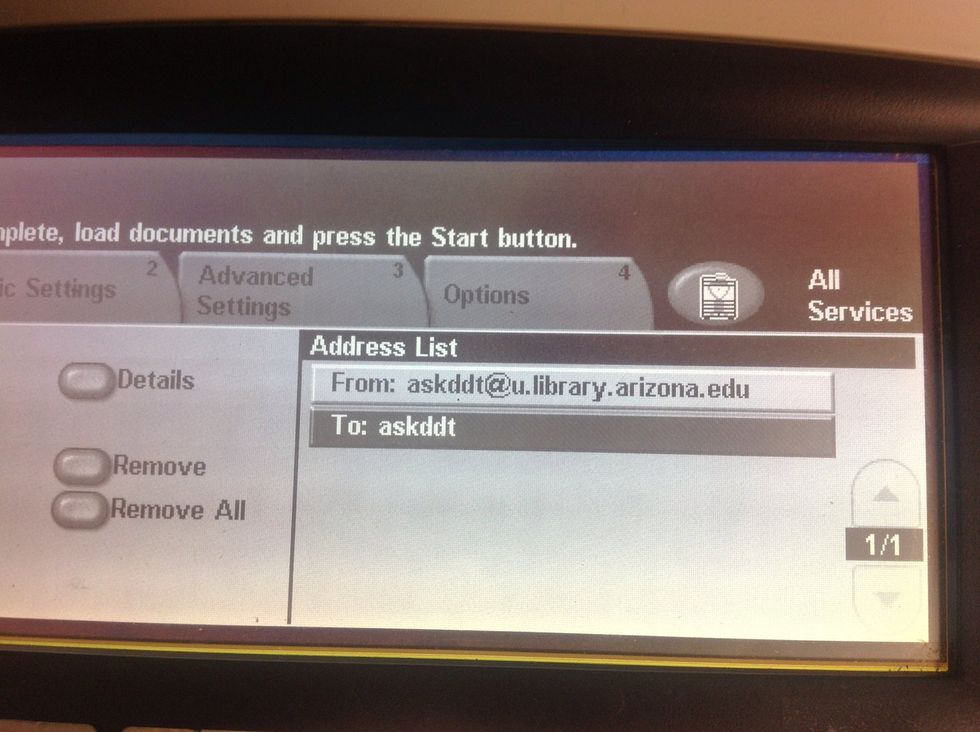
On the left-hand side of the screen select TO...
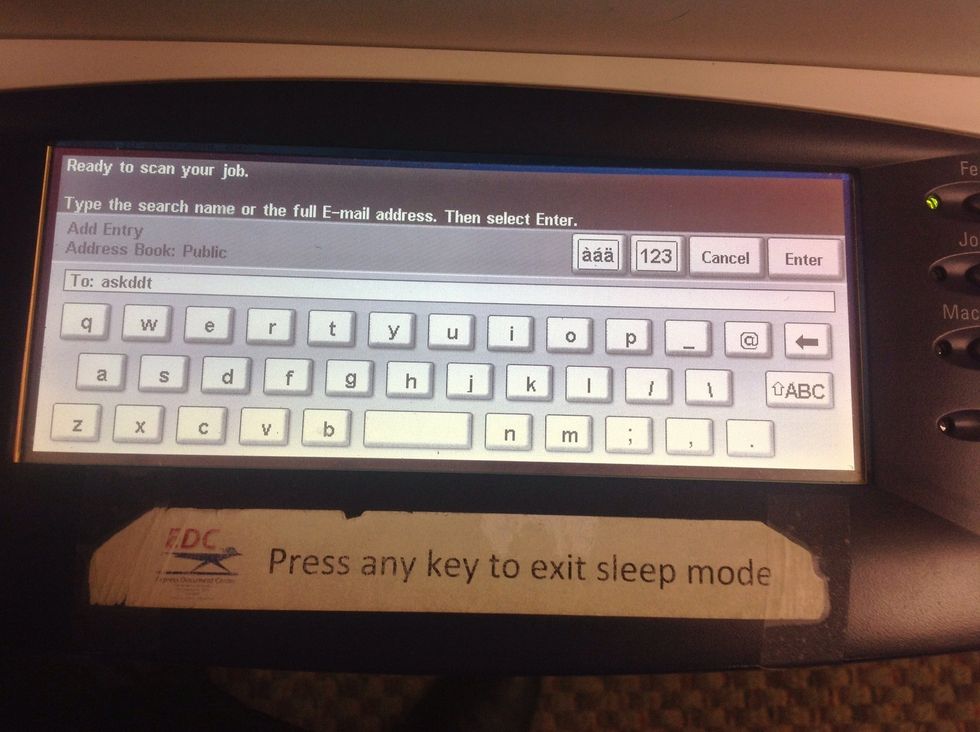
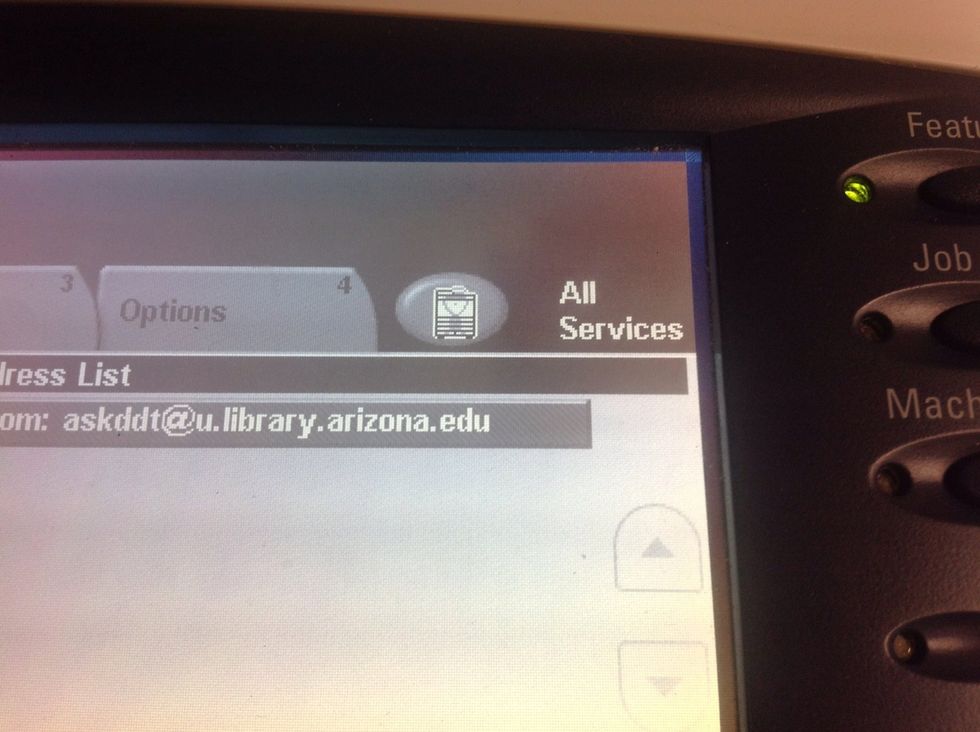
In the address bar, type askddt and hit Enter
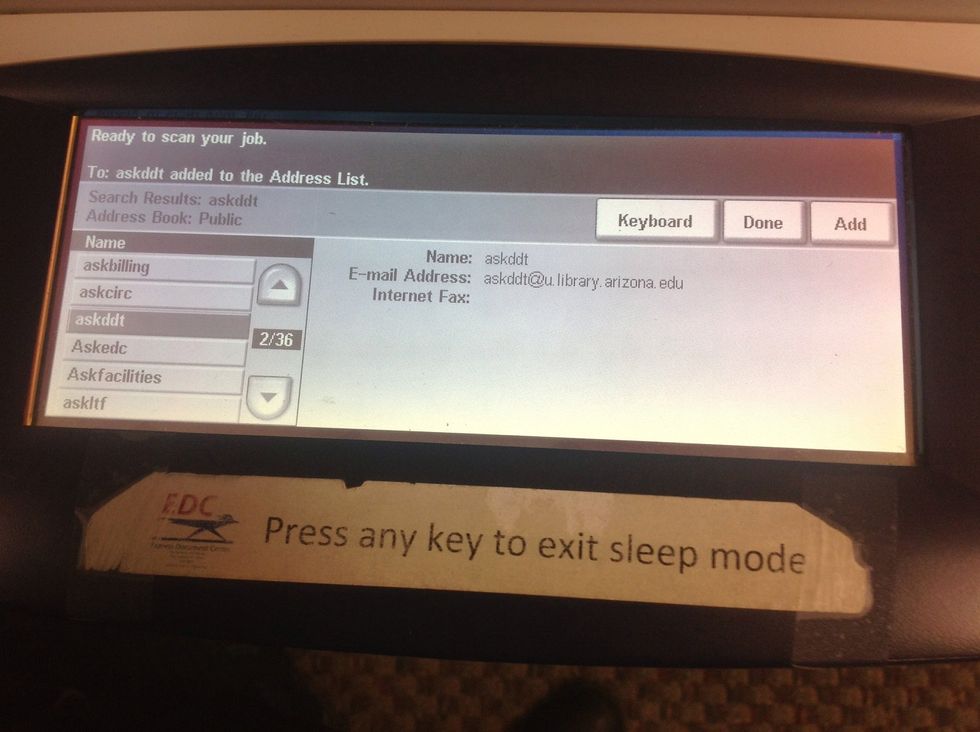
Select Add and then Done
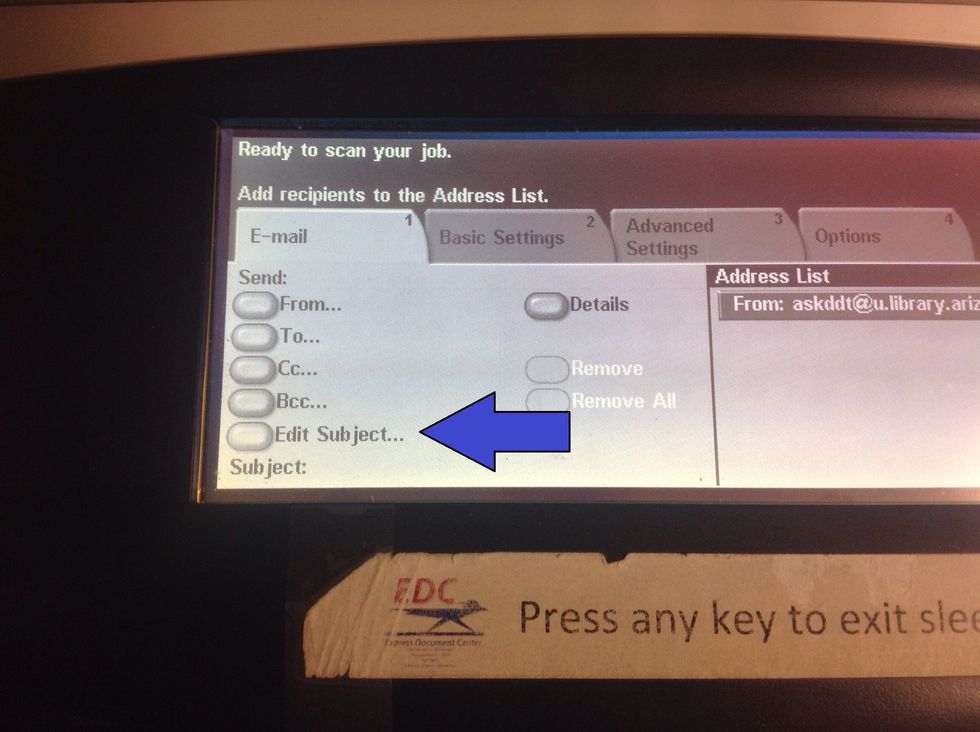
Select Edit Subject...
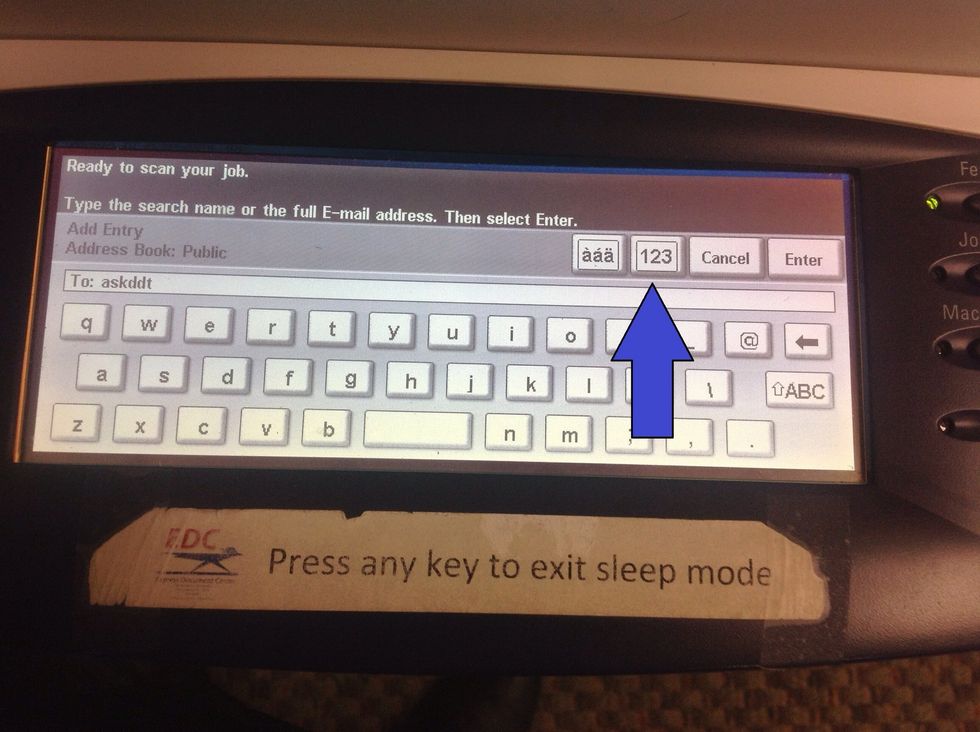
Change the Keyboard input by selecting the 123 button
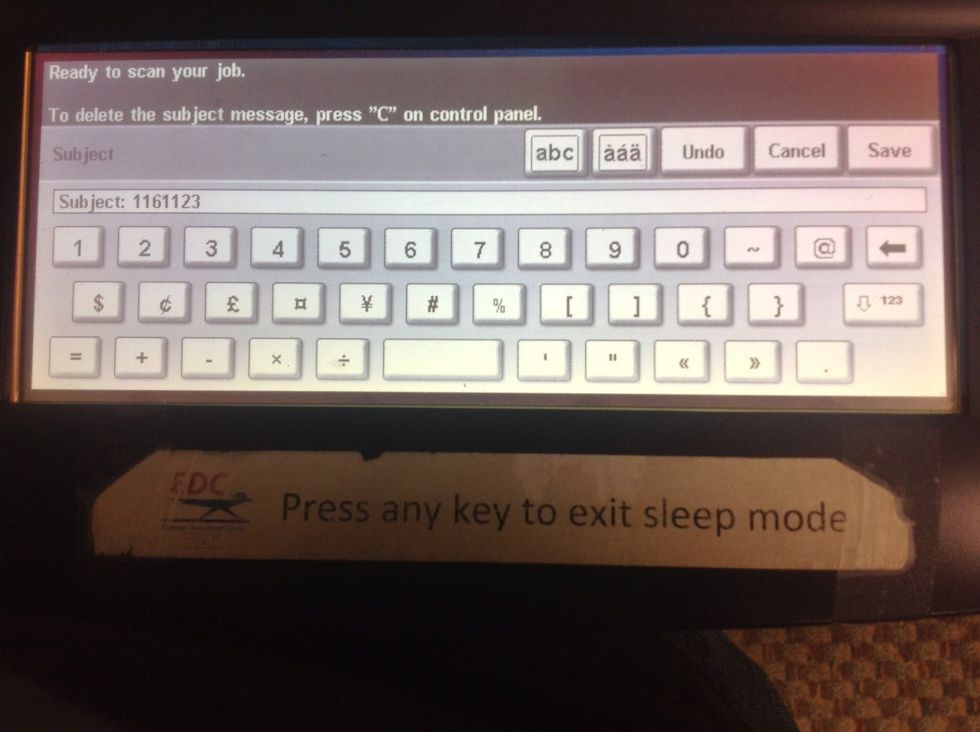
Type in the TN number (transaction number) Then it SAVE (if request is more than 30 pages, you will need to break the scan job into multiple emails; labeling each email pt. 1, pt. 2, etc..).
Select the Options tab
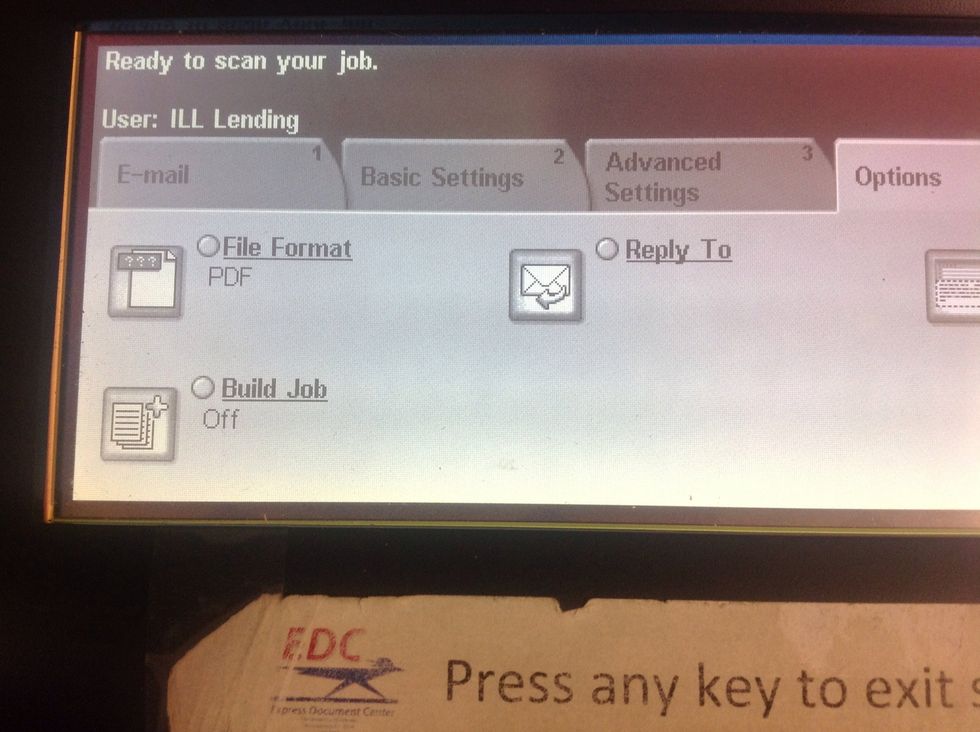
Select the Build Job option...
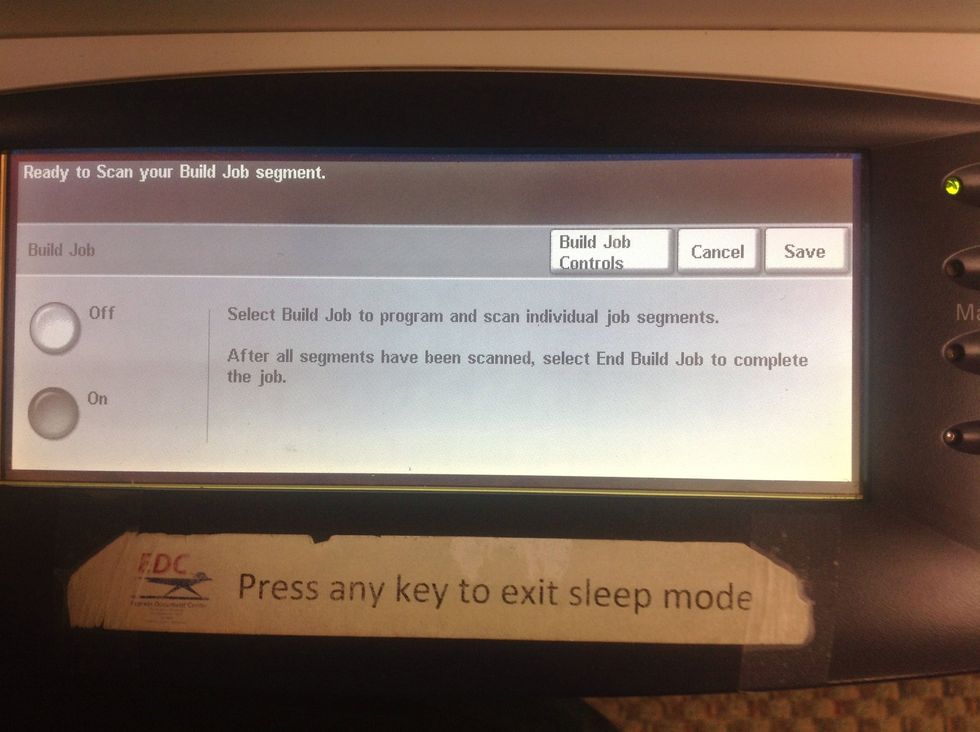
Change the option from OFF to ON and then hit SAVE
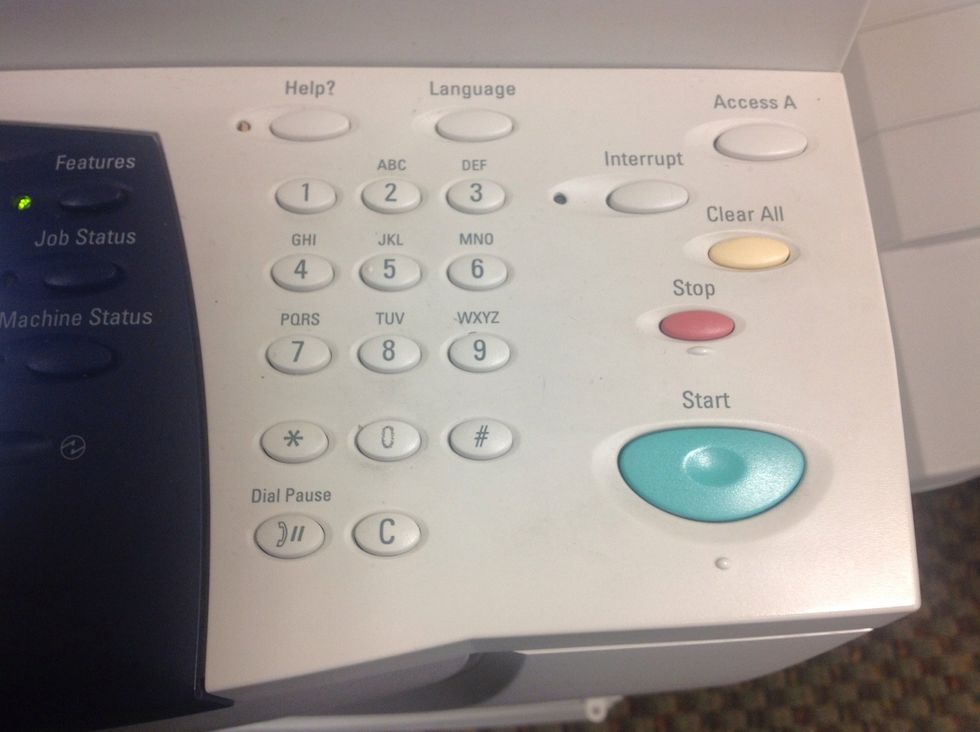
You can now begin scanning. Scan each page by hitting the START button (note: we only scan one page at a time)
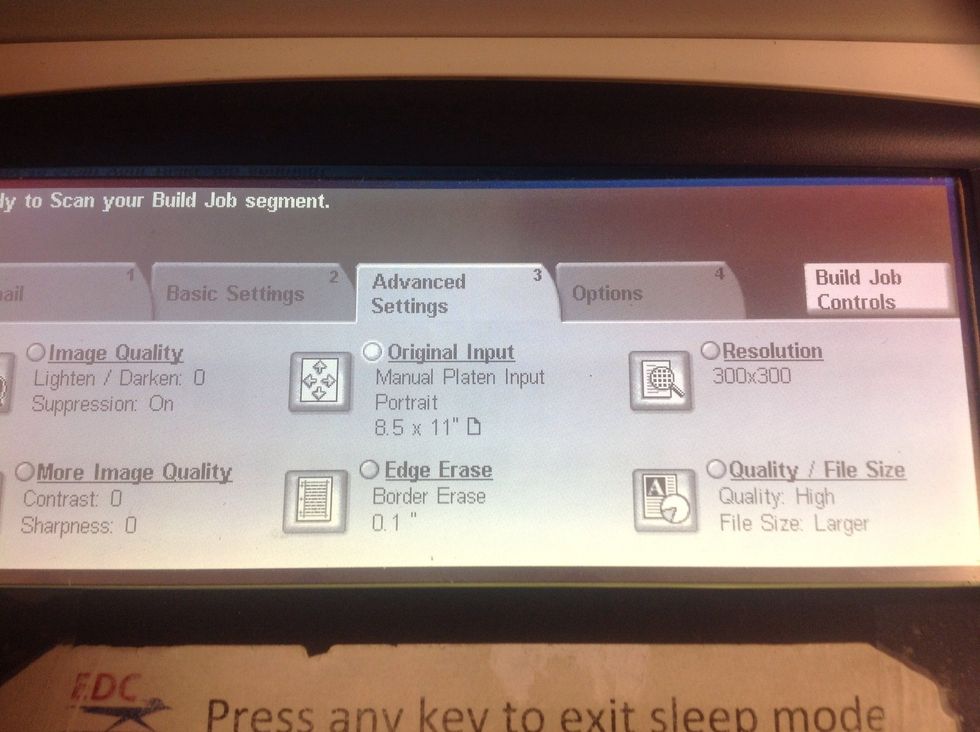
If the material is larger than 8 1/2 x 11 you will need to change the settings. Select Advanced settings, then original input.
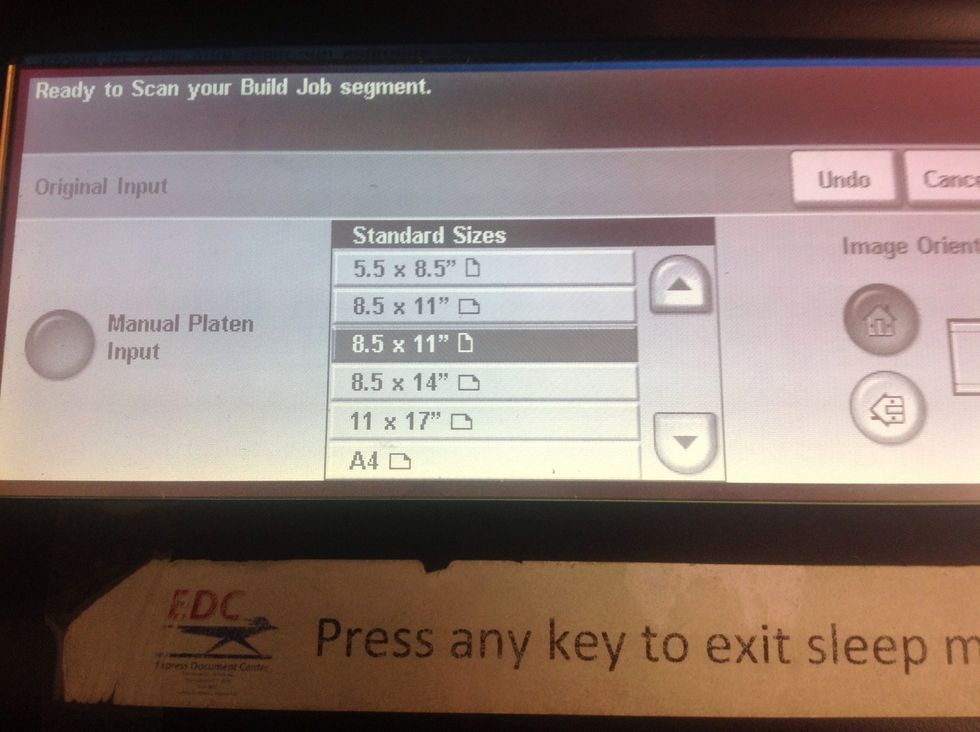
Change the size setting to fit the page size of the item you are scanning
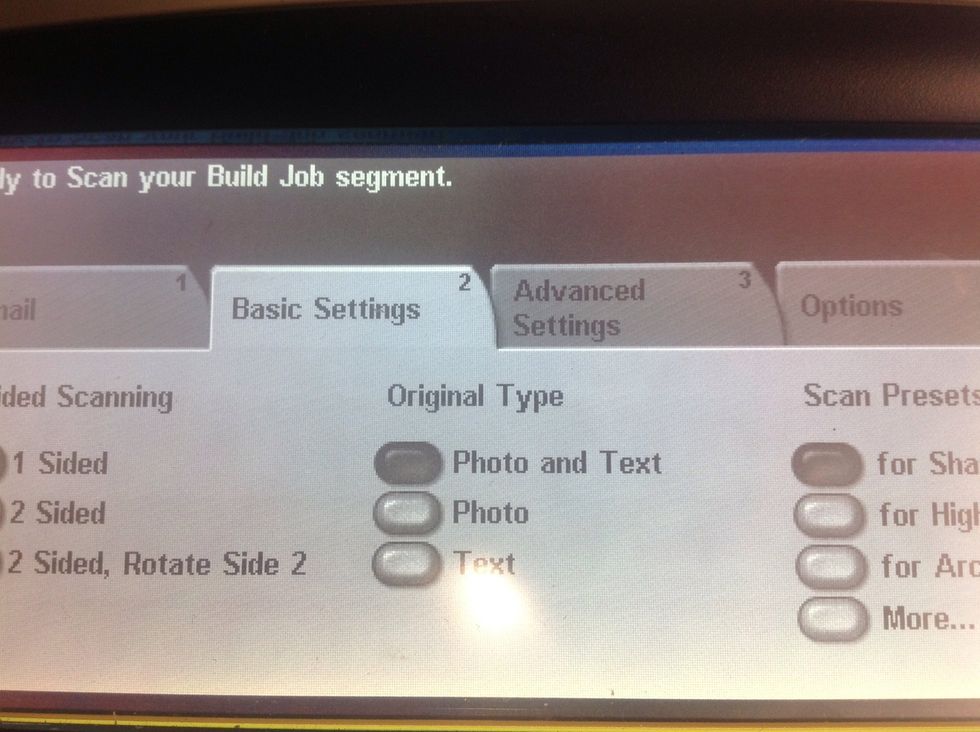
If you need to make two-sided copies, or need to lighten the image, select basic or advanced settings.
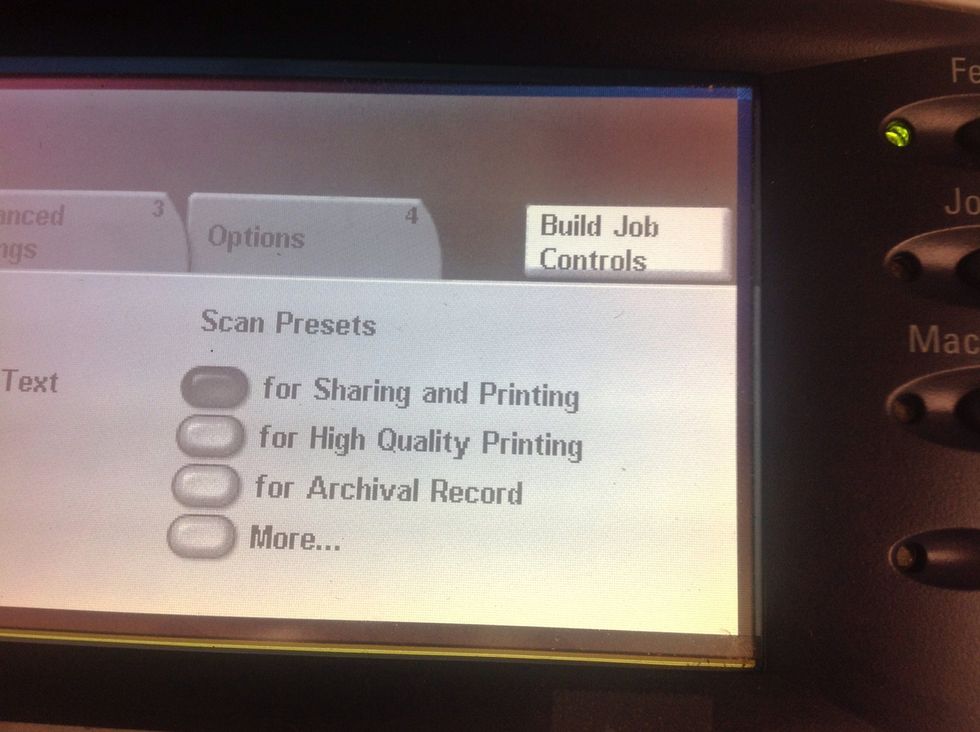
Once you have finished scanning, select the Build Job Controls button
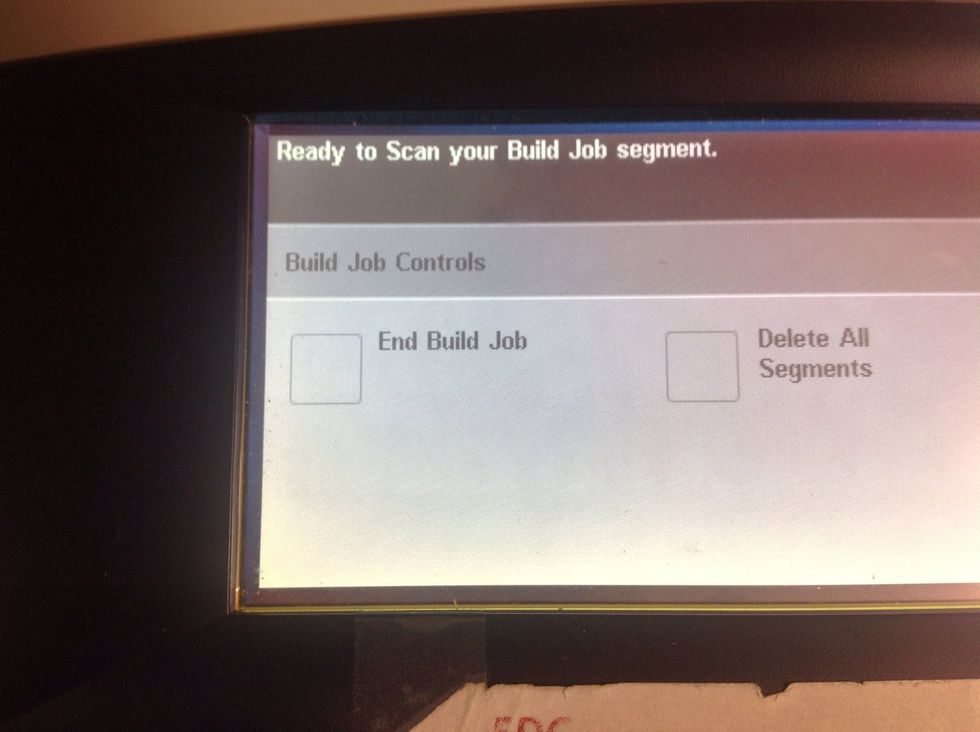
Select End Build Job... (Your job will say 'transferring', the 'completed')
To log off, select All Services...
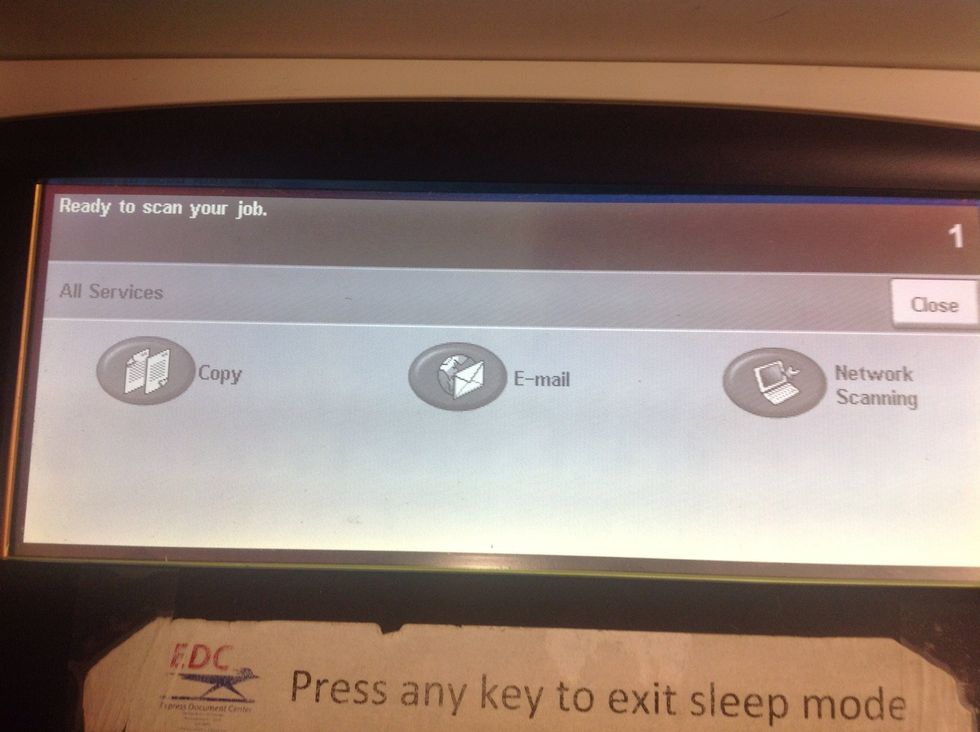
Select Copy...
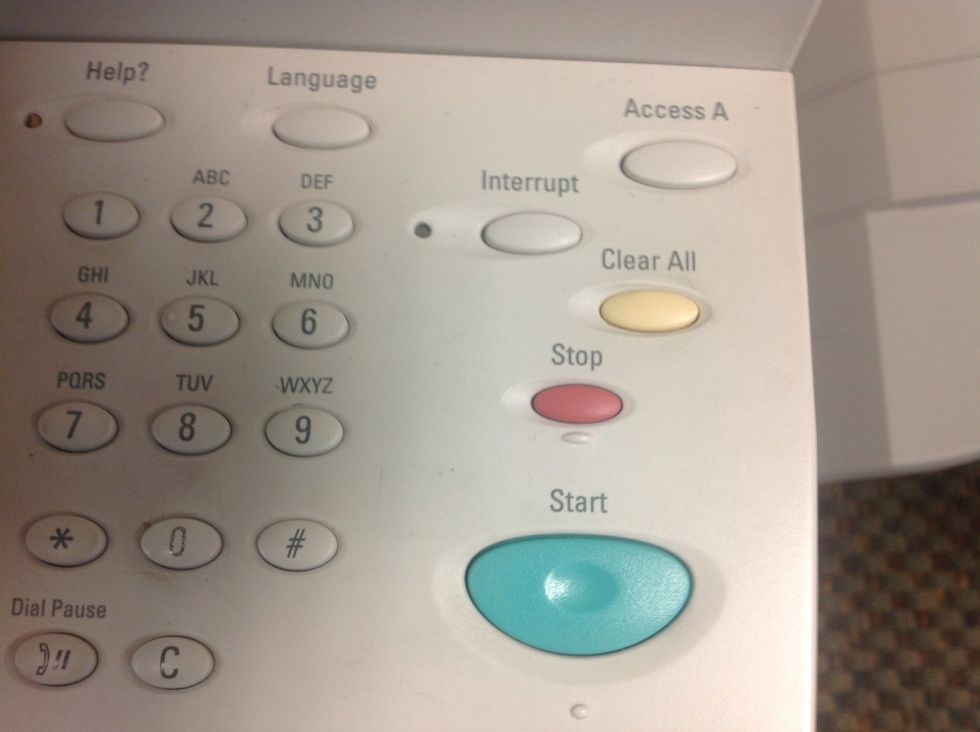
The push the clear all button
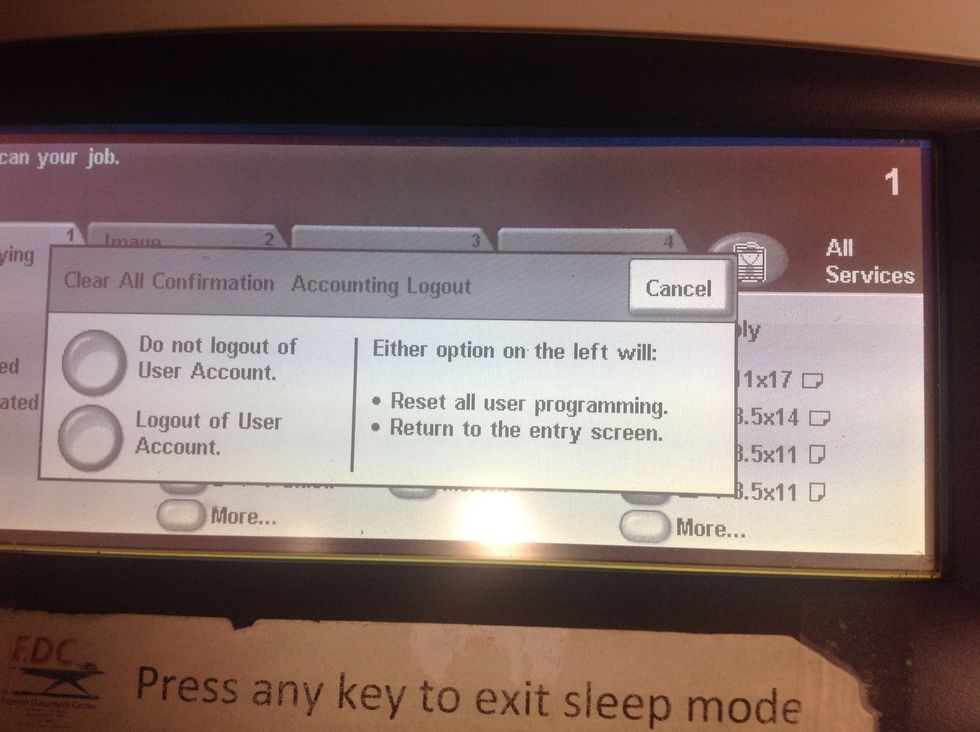
Finally, select Logout of User Account