The Conversation (0)
Sign Up
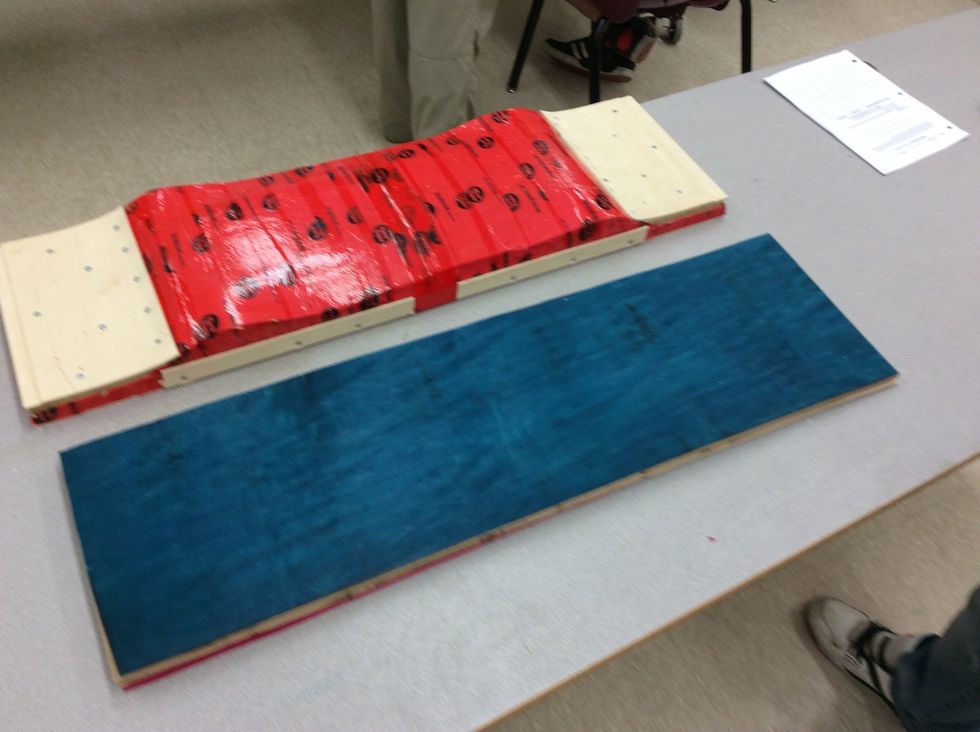
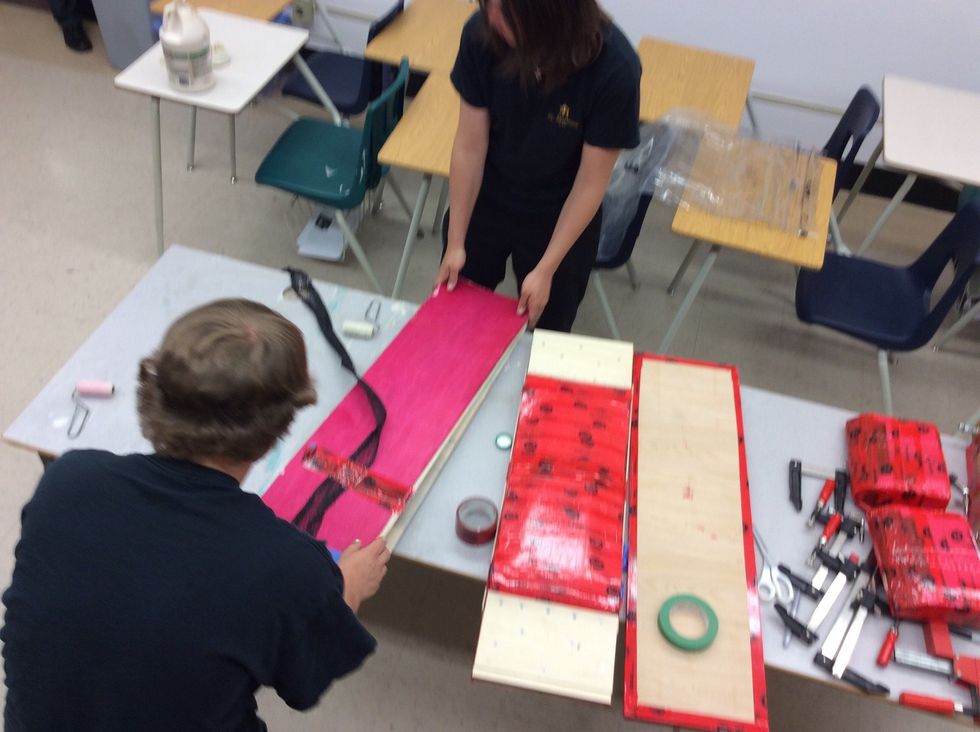
To begin your dry press procedure arrange the boards to the way you want it.
Put your stacked boards onto the moulding of the dropdeck
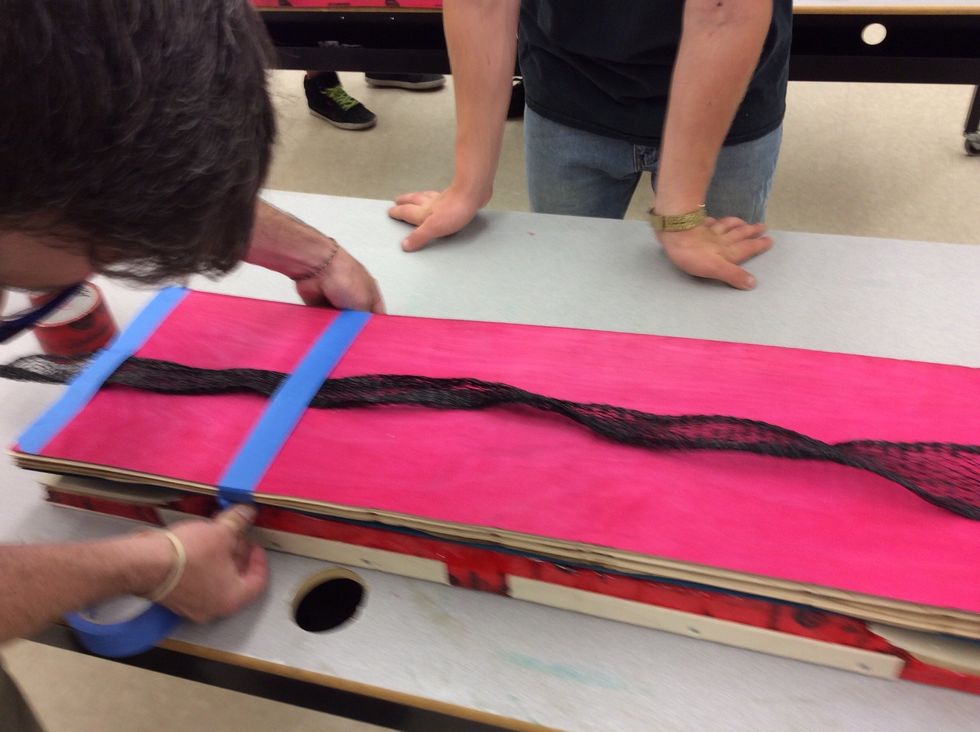
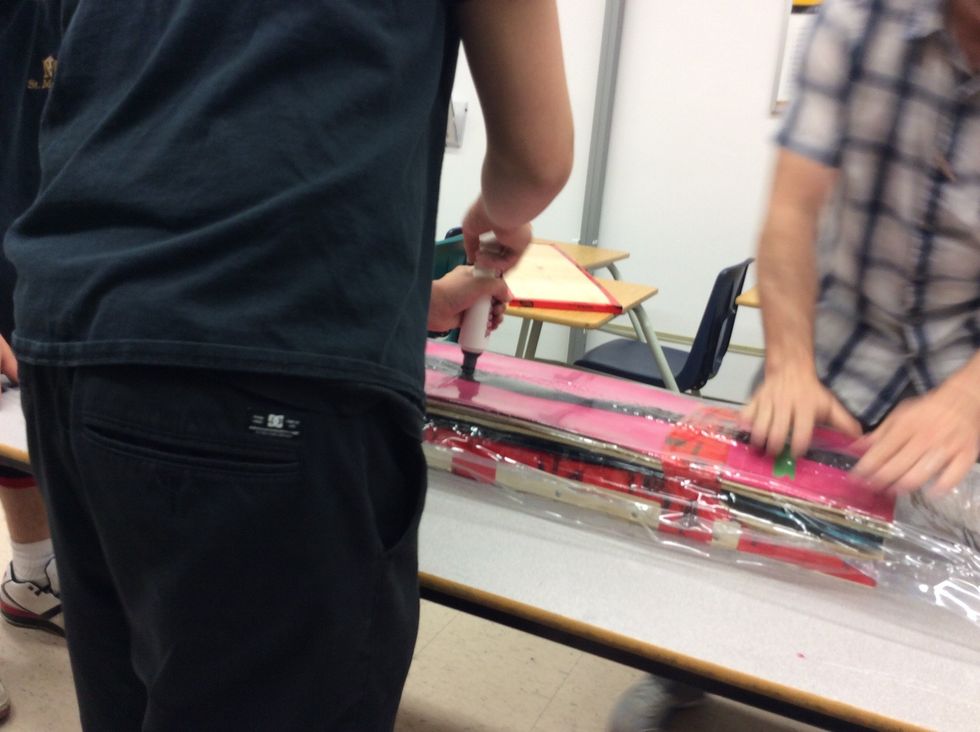
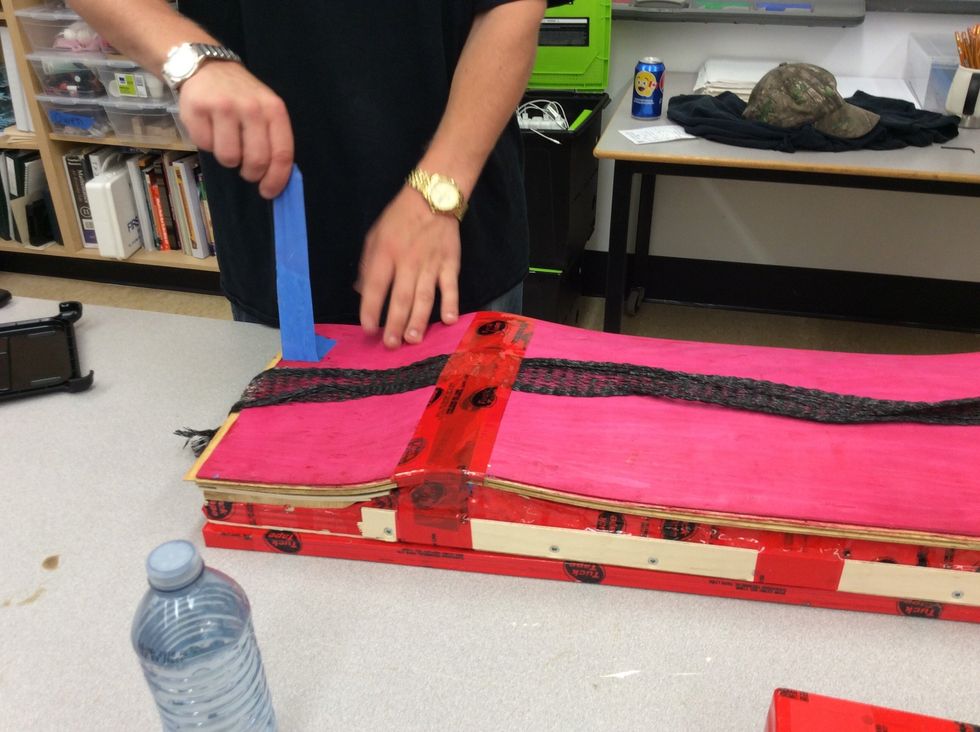
Put the breathing strip across the centre of the board and tape each end so it doesn't move.
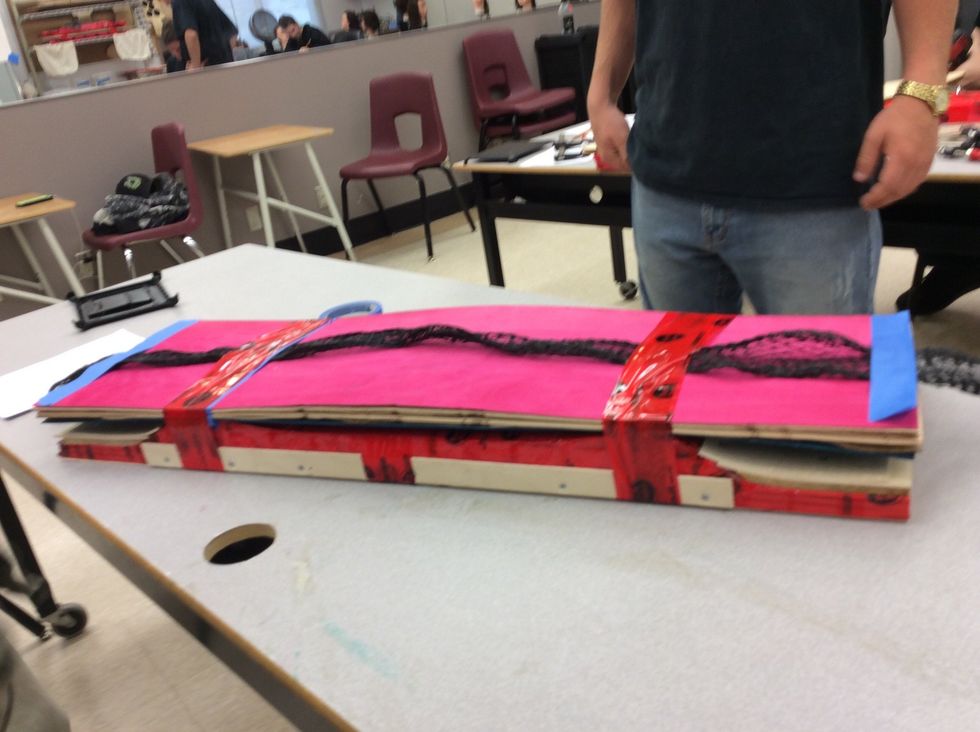
Now use TuckTape and wrap it twice tightly around the board.

Now, gently place the board inside the large bag. Be careful putting it in try not to pinch the bag or damage the pump valve.
Place the board in the centre of the bag make sure to try to keep the pump valve centred and sitting right above the breathing strip.
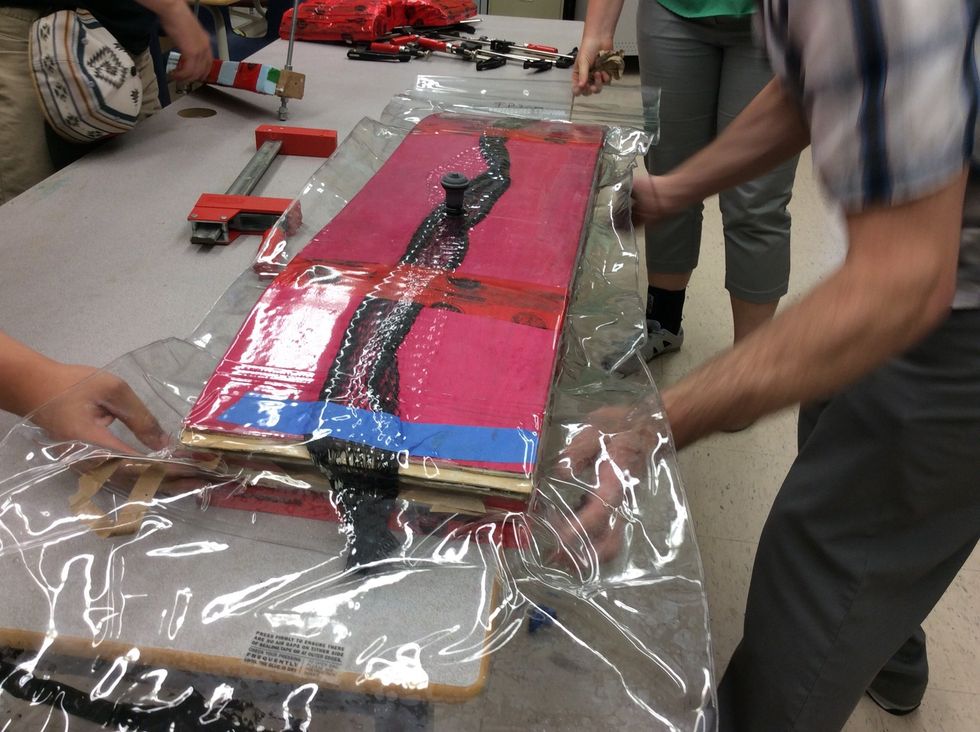
Now put a tar strip at the front of the bag to keep it's seal. Make sure that you put your tar strip inside your bag before you seal it.
Once the tar is in place gently press the bag and the tar so that the greyish colour is black and make sure to go over the corners enough times so no air can seal through.

Make sure to double check that the tar is well sealed before your next step.
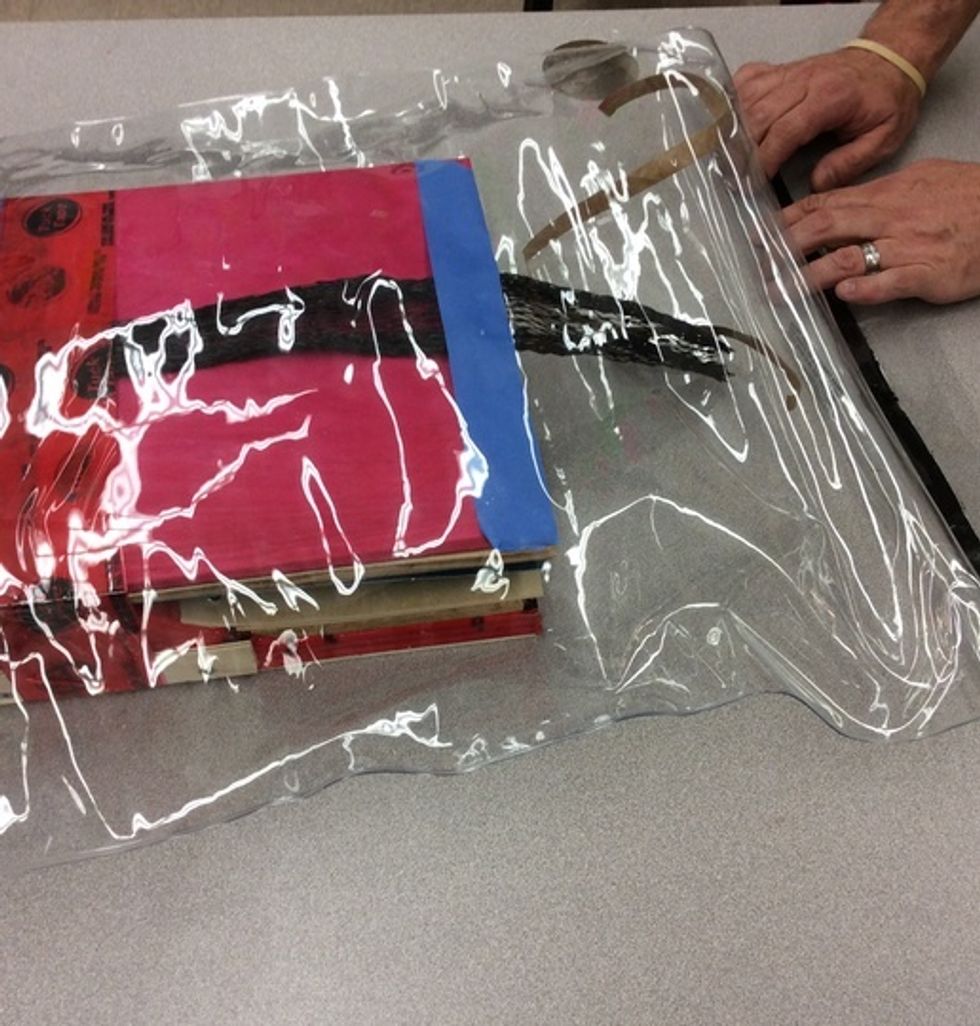
Now that it's sealed, grab the super pump and the small pump and start pumping the air from the bag, be sure to watch your seams so that the bag doesn't get pitched or ruined.
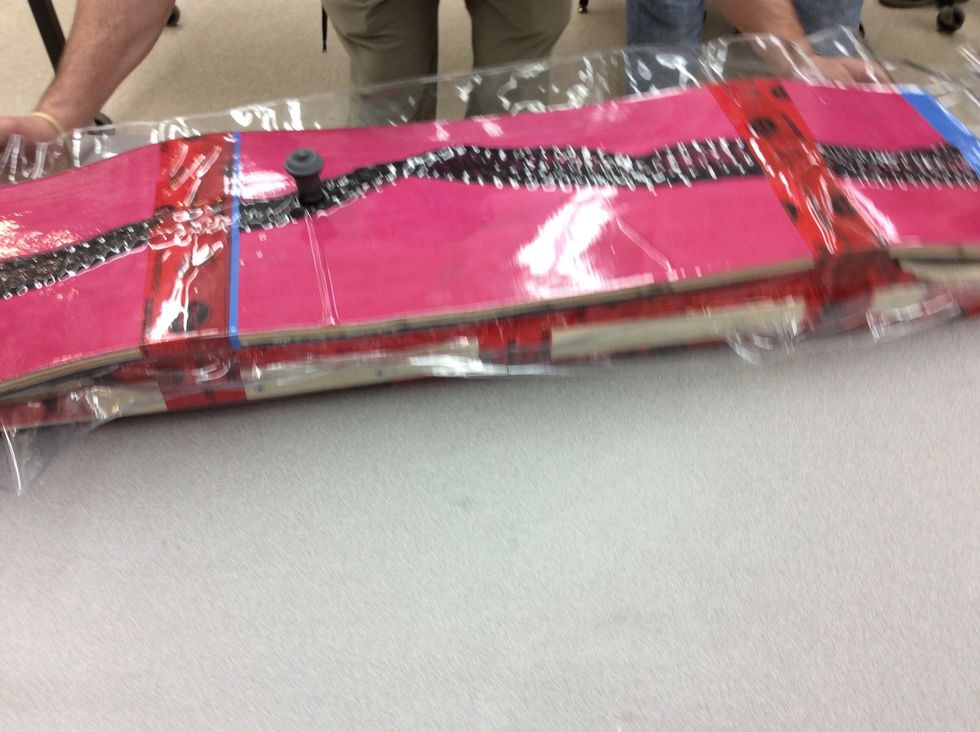
When you take out most of the air you can see where the pump valve sits over the breathing strip.
Once all of the air is out it will look something like this. You are now ready to clamp.
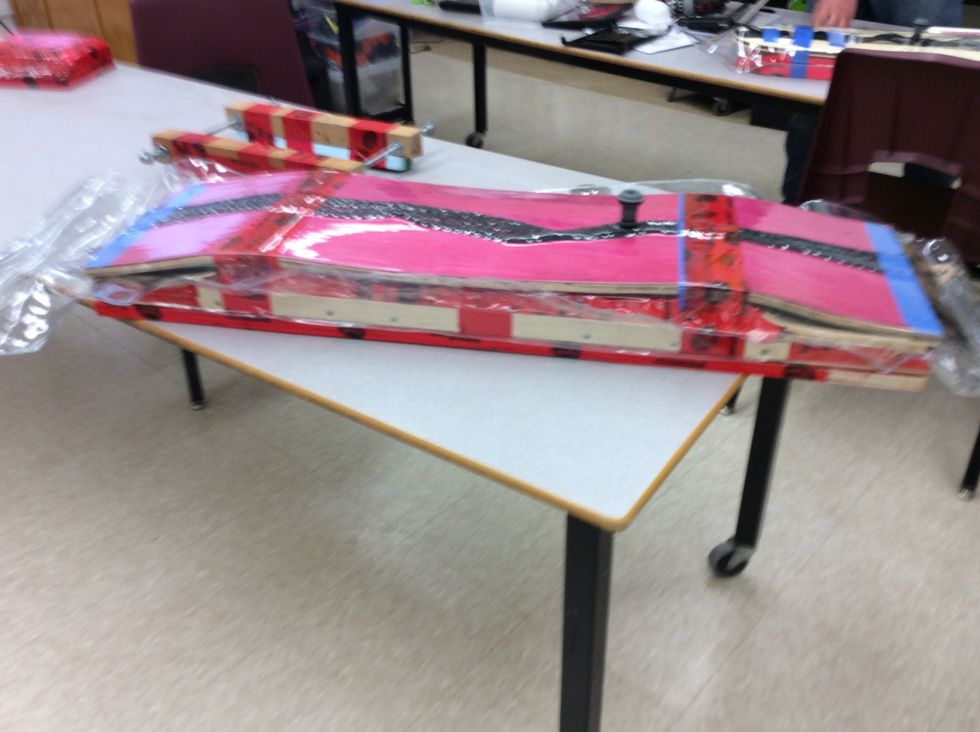
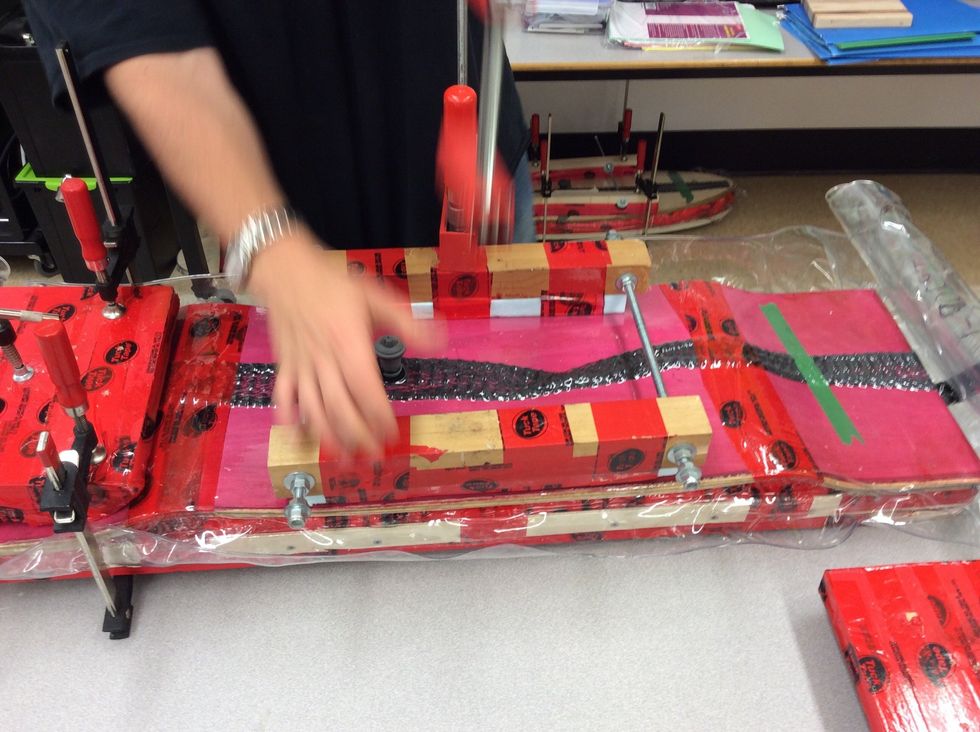
Start with the centre clamp, be sure that it is just the right size to reach both sides of the drop deck. The pump valve should sit in the middle of the clamp.

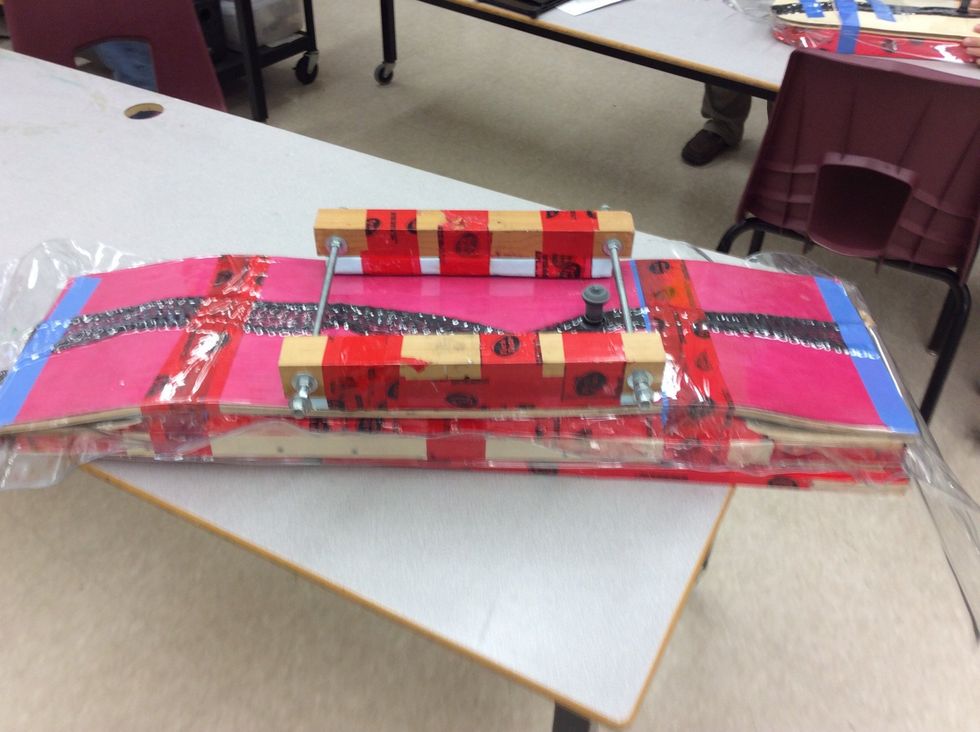
Now with a big F-Clamp, clamp the centre clamp down in the centre on both sides so that the base is in place.
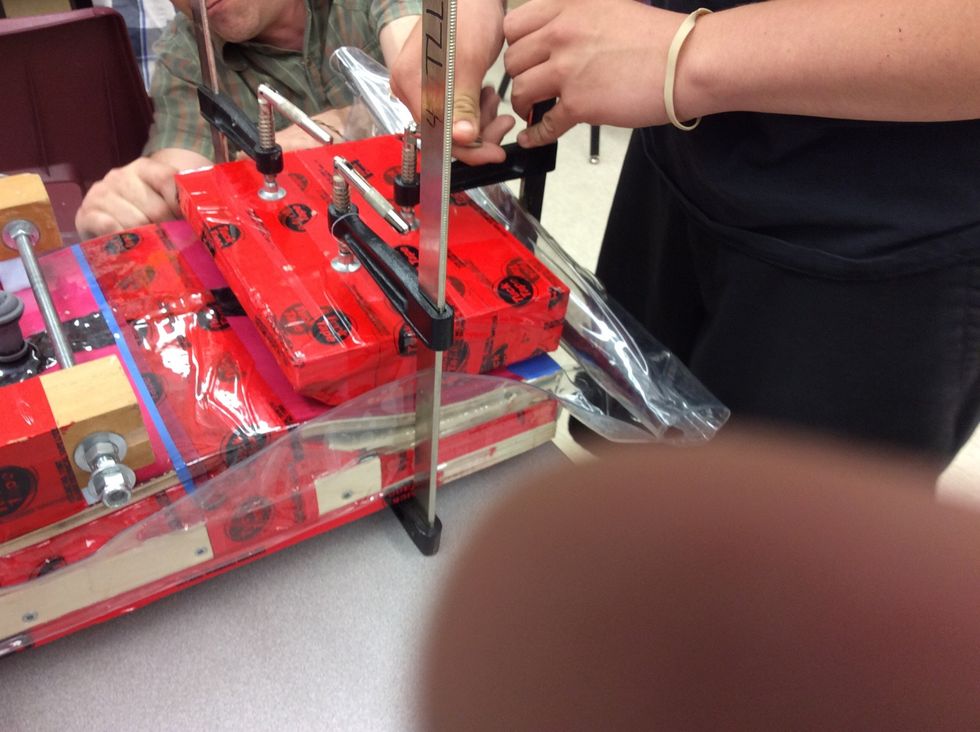
Now clamp your curved foamed blocks onto each end of your board. Use 3 F-clamps on each cual to hold it's place. Make sure that when you clamp the sealed part you wrap it and clamp it nicely.
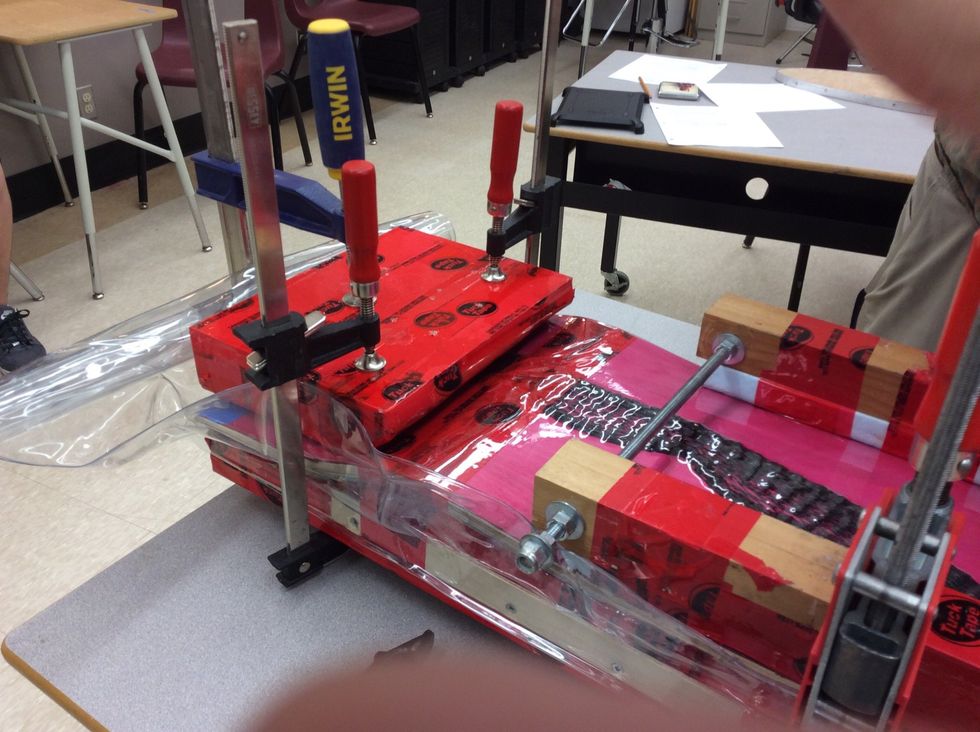
Watch the part of the board that presses down, be sure that you clamp it well enough so that it's pressed down well with the moulding.
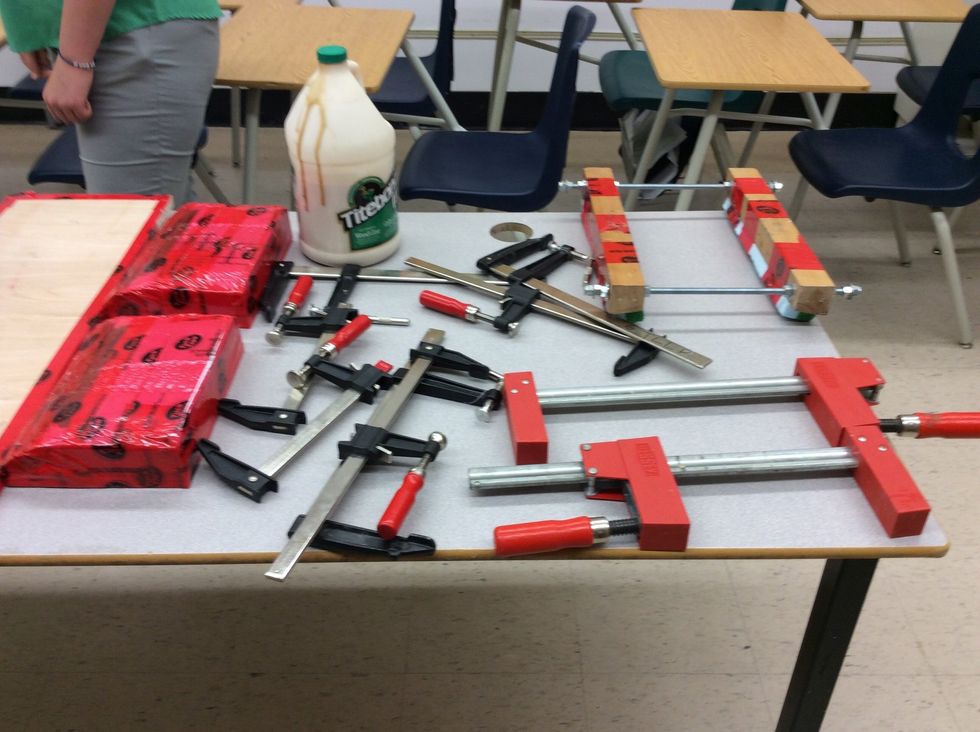
Here's the materials you will need to build a drop deck. 2 Large F-Clamps 2 Medium F-Clamps 4 Small F-Clamps Bottle of TiteBond III Wood Glue 1 Base Cual 2 Tail Cuals 1 DropDeck Mould
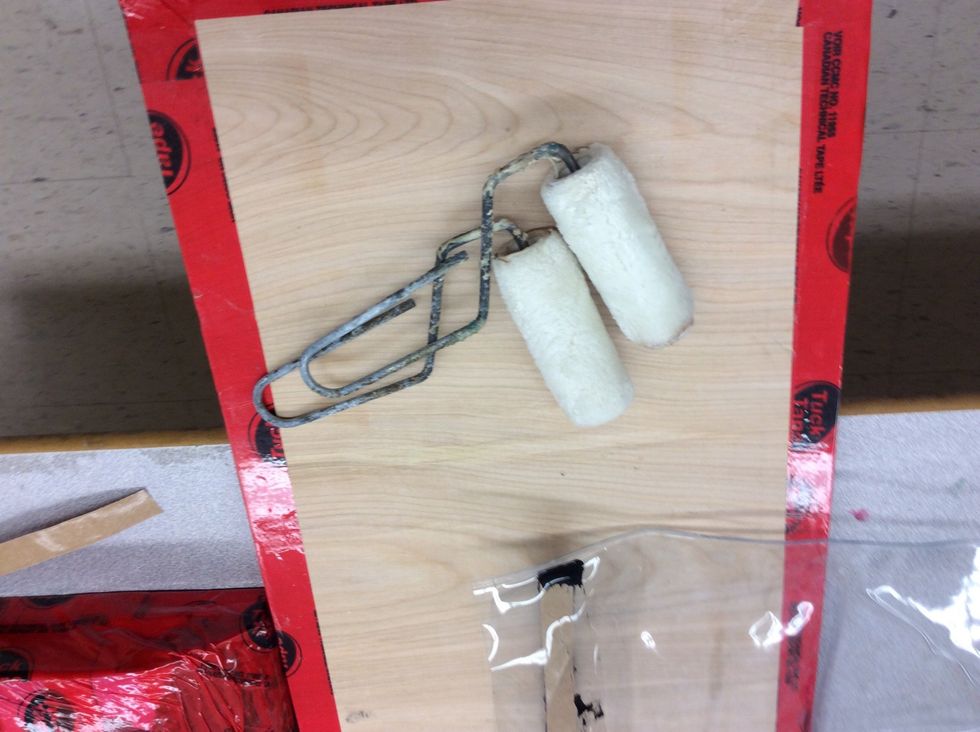
You and your partner will both need one of these paint rollers ready to go.
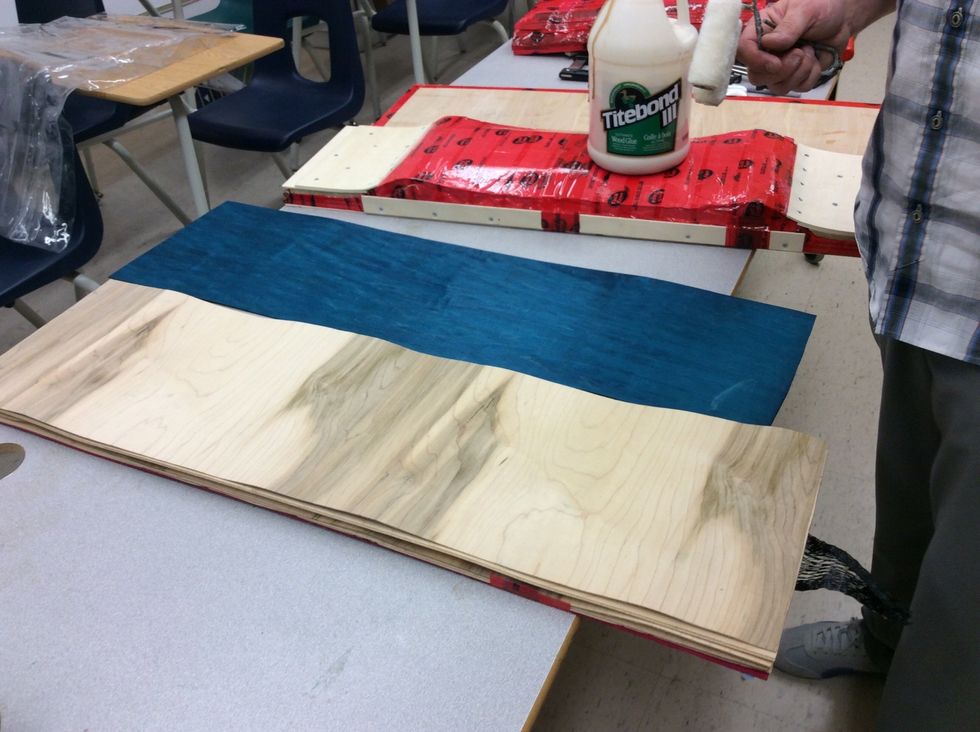
Make sure that you have your grains in the right order before you begin to glue, Make sure that you and your partner are both ready to go before starting to glue your boards.

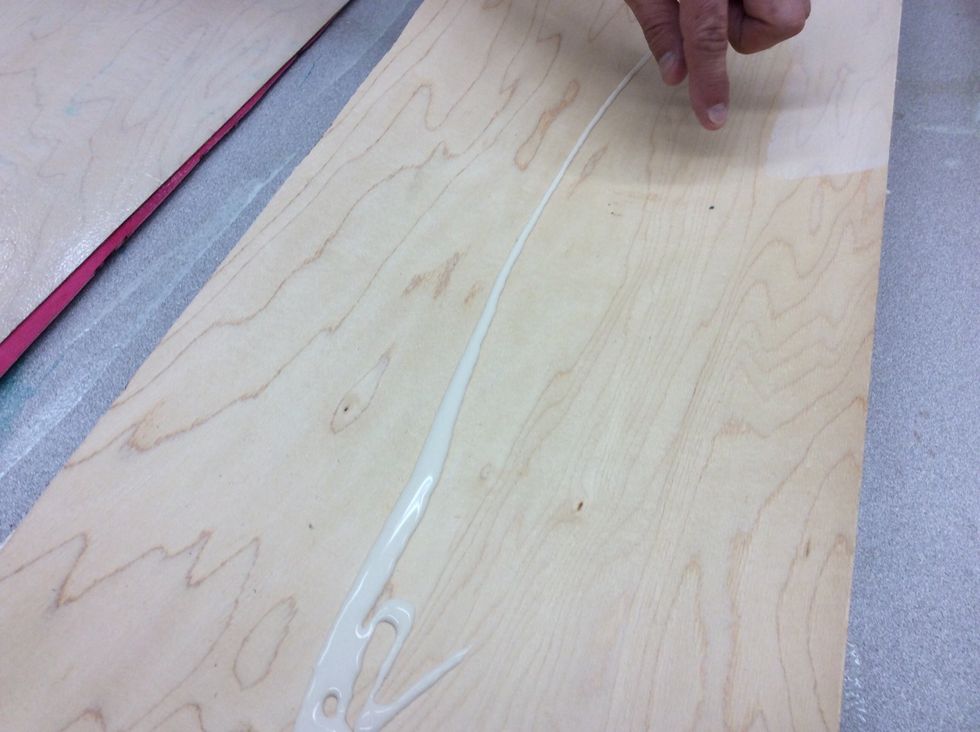
When you start gluing make sure to spread the glue gently but fast all across the board make sure to check the edges and corners over so you don't miss any spots.
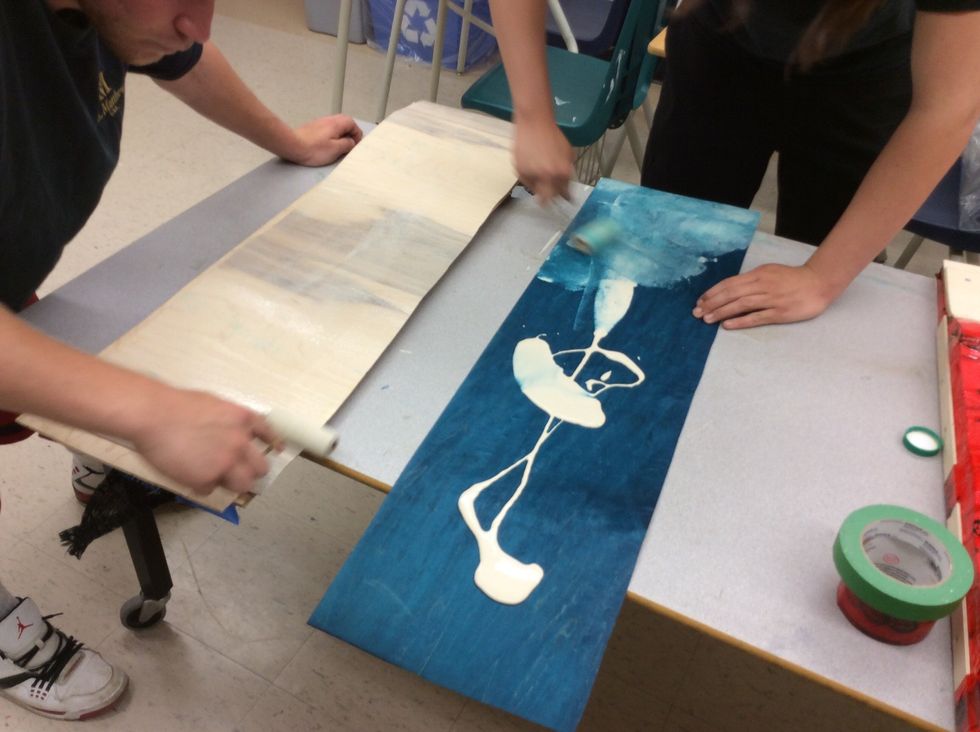
For the top board and bottom board that are colored, make sure to only glue on side of the board.
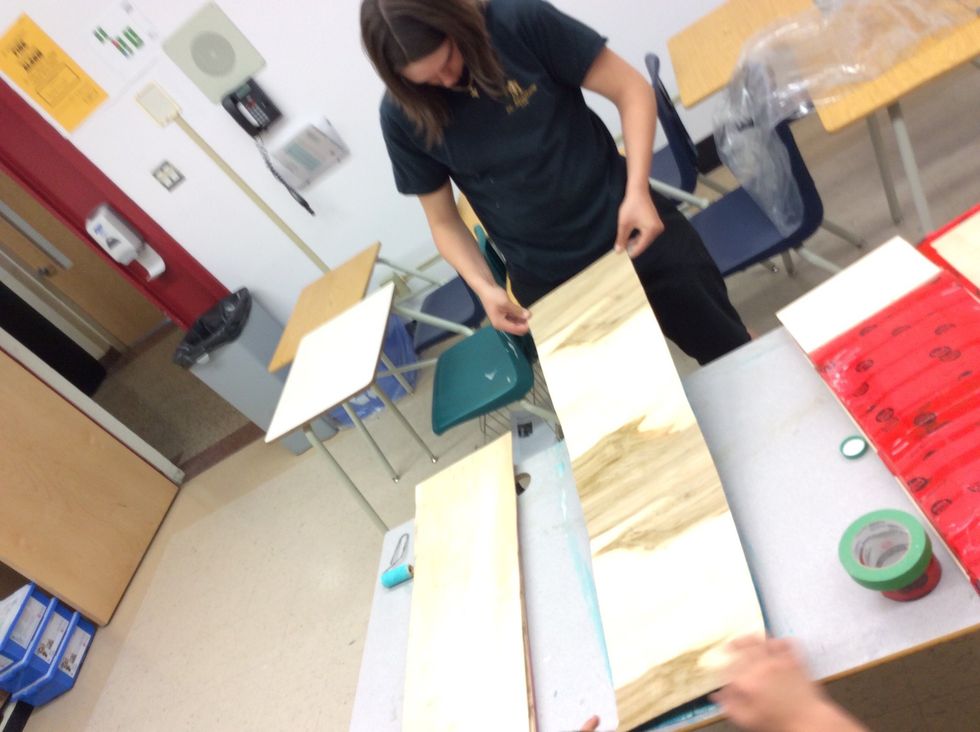
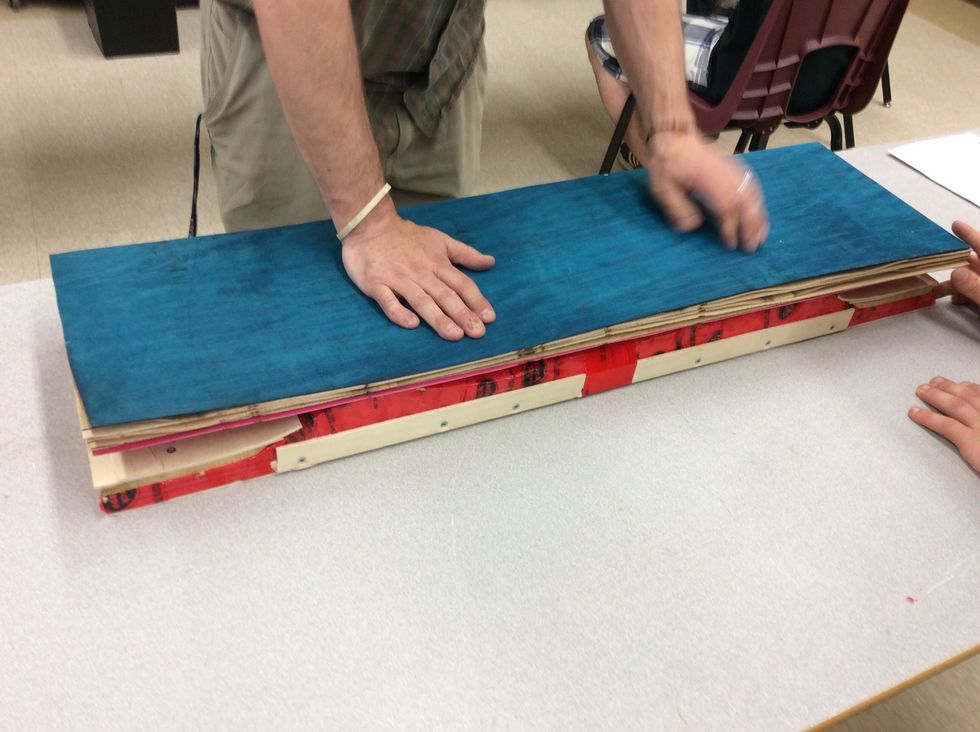
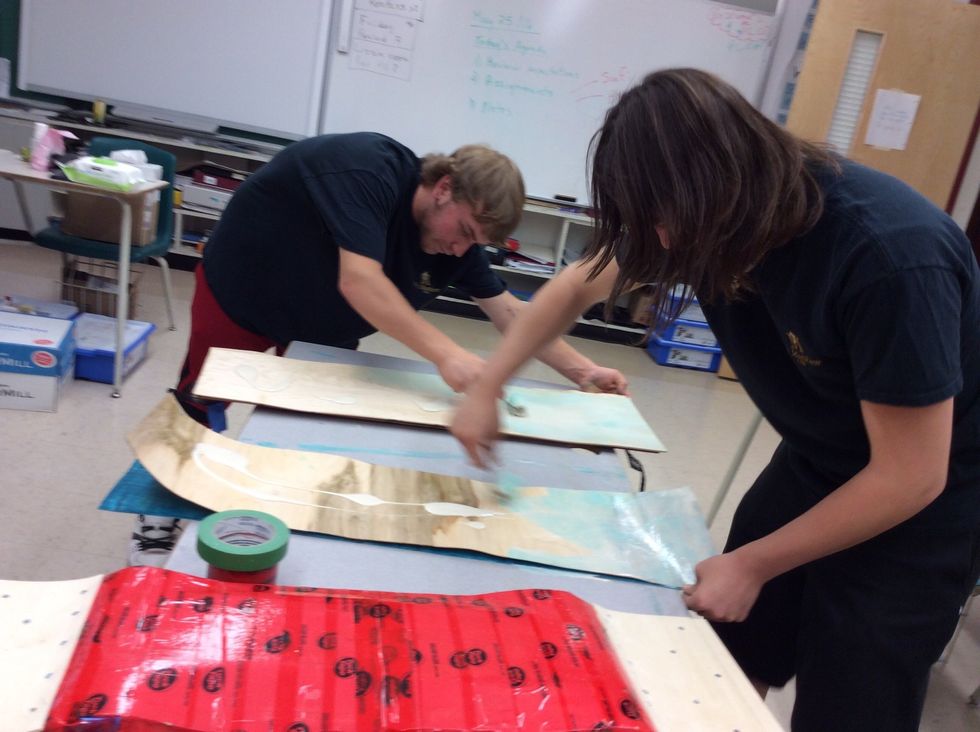
When placing your glued boards together, be sure to press it them down enough, then start gluing your next boards.
You must glue up both sides of each board except for the top and bottom board.
Make sure to check for little specks of hair or dirt mixed in the glue and take them out if you spot them.
Now that the boards have all been glued and put together, you can now get ready to start the seal.
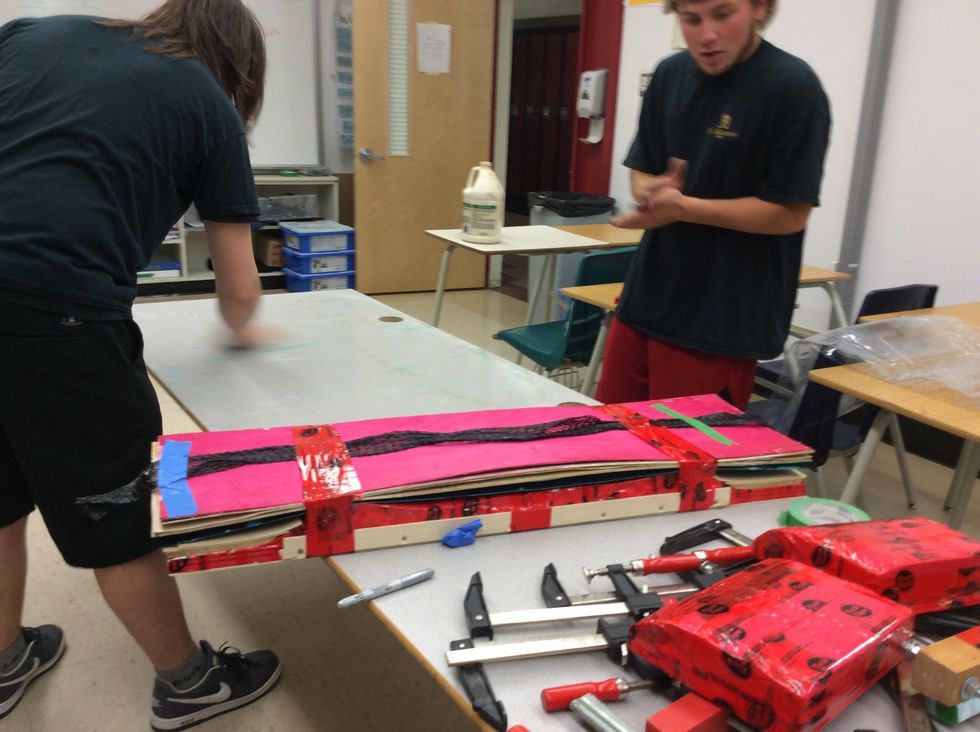
You must tape each end of the breather net to the board so that it does not move when in the bag. Then using TuckTape tightly tape the board against the molding.
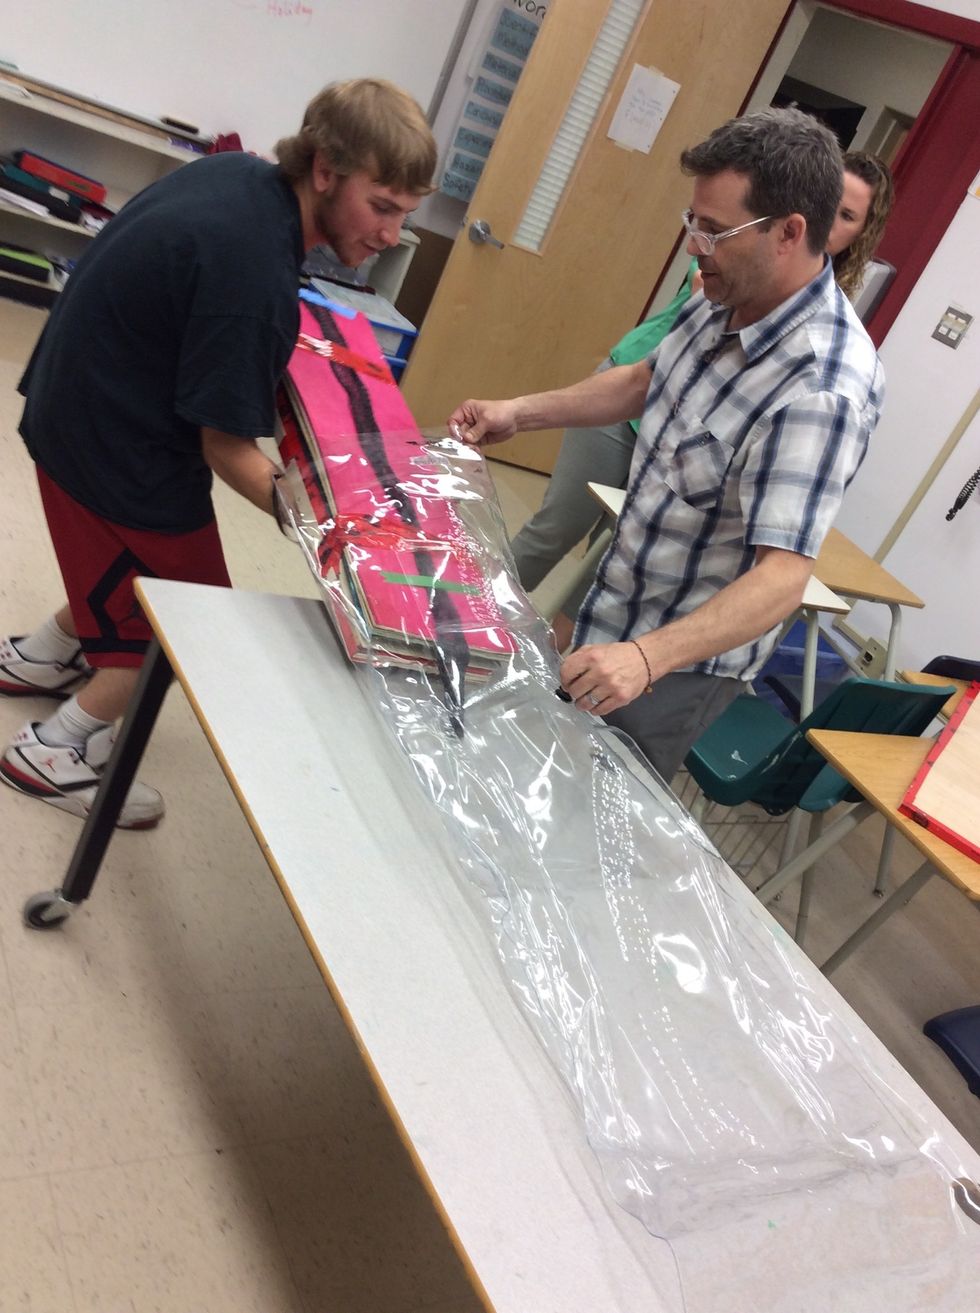
Now place your board inside the bag gently, try not to pinch or damage the bag while putting it in, also watch the pump valve so that it doesn't get damaged either.

Once the board is inside the bag, you are now ready to seal the bag using tar tape.
Put your seal in the bag before starting When sealing the bag with tar tap, make sure that you press in all the grey spots so that you know it is properly sealed be sure to check the corners well then
Once the bag has been sealed with the tar tape, you can then use the Super Pump and start releasing the air from the bag.
Once enough air has been taken out of the bag. Make sure to check to see if the bag was overlapped by the board. If so then gently pull the bag out so that it doesn't get damaged and continue pumping.
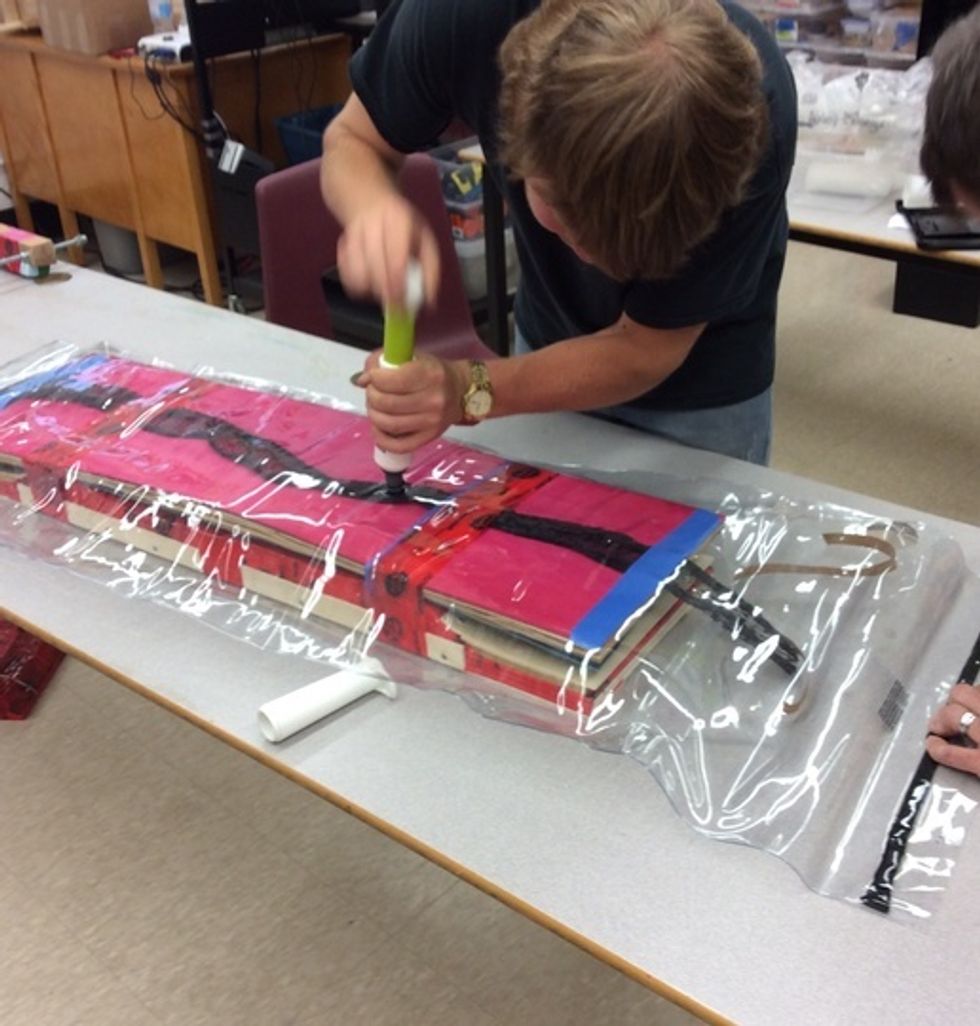
Once you have finished using the Super Pump, you can now uses the small pump and pump the bag until you hear the pump "click"
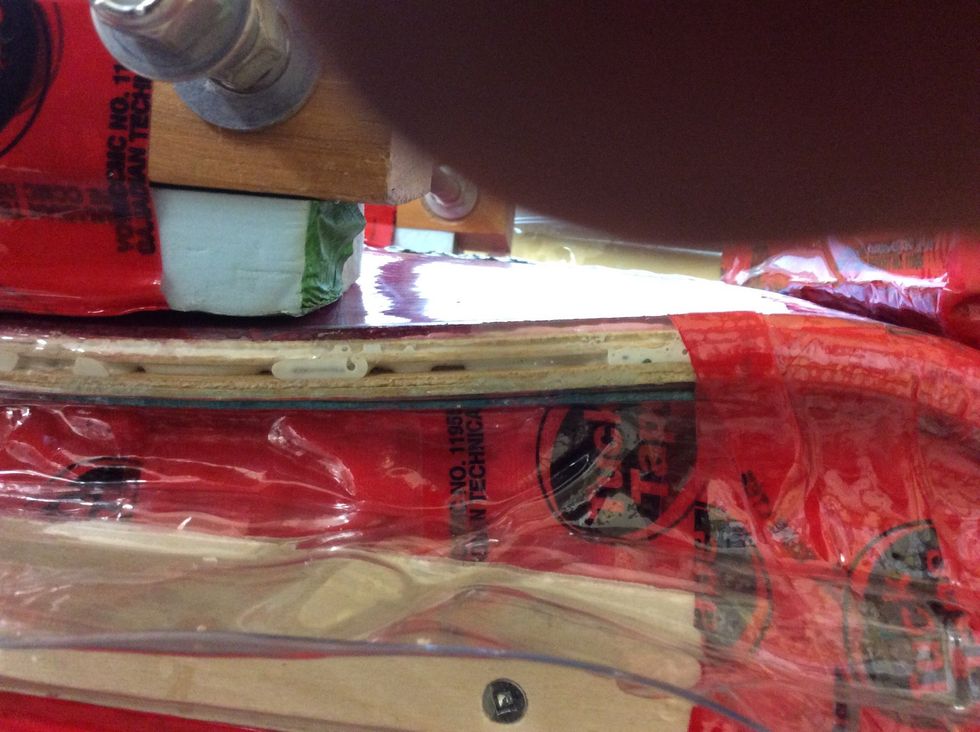
Once everything is finished being clamped. Check the sides of the board to check for glue coming through the sides of the board, that's how you know that you have done it right.
After the glue has dried and everything is together you can then start taking off your clamps and begin taking the board out of the bag.
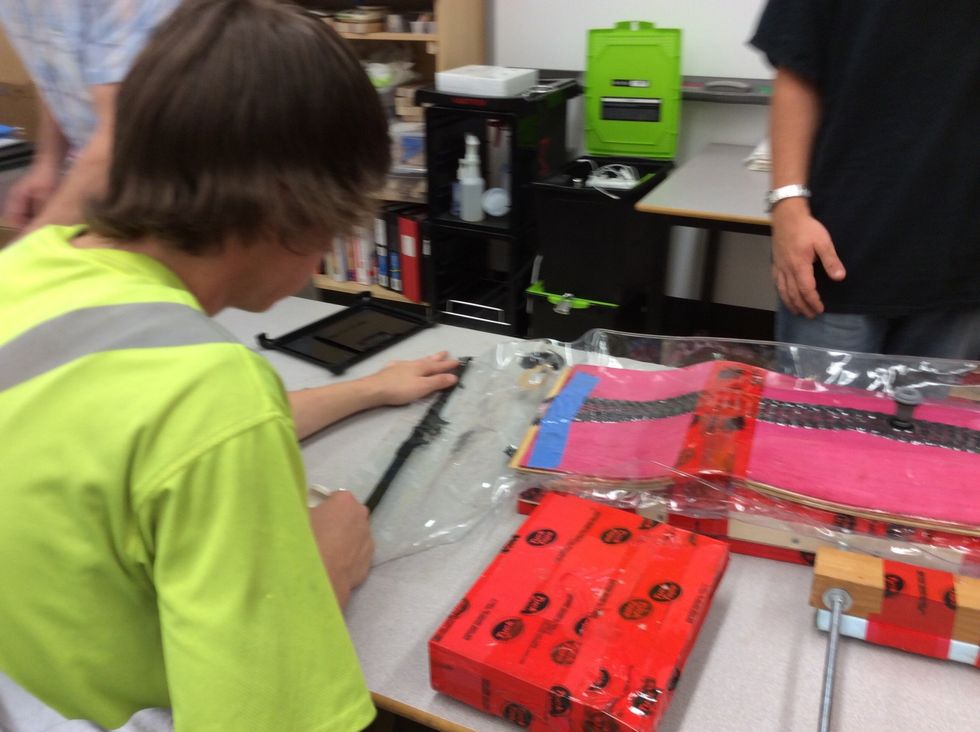
To open the bag. Use the end of a Sharpie marker and roll the tar from the bag onto one side of the seal.
Once the board has been removed from the bag, you can then start peeling the tape and remove the breather net.
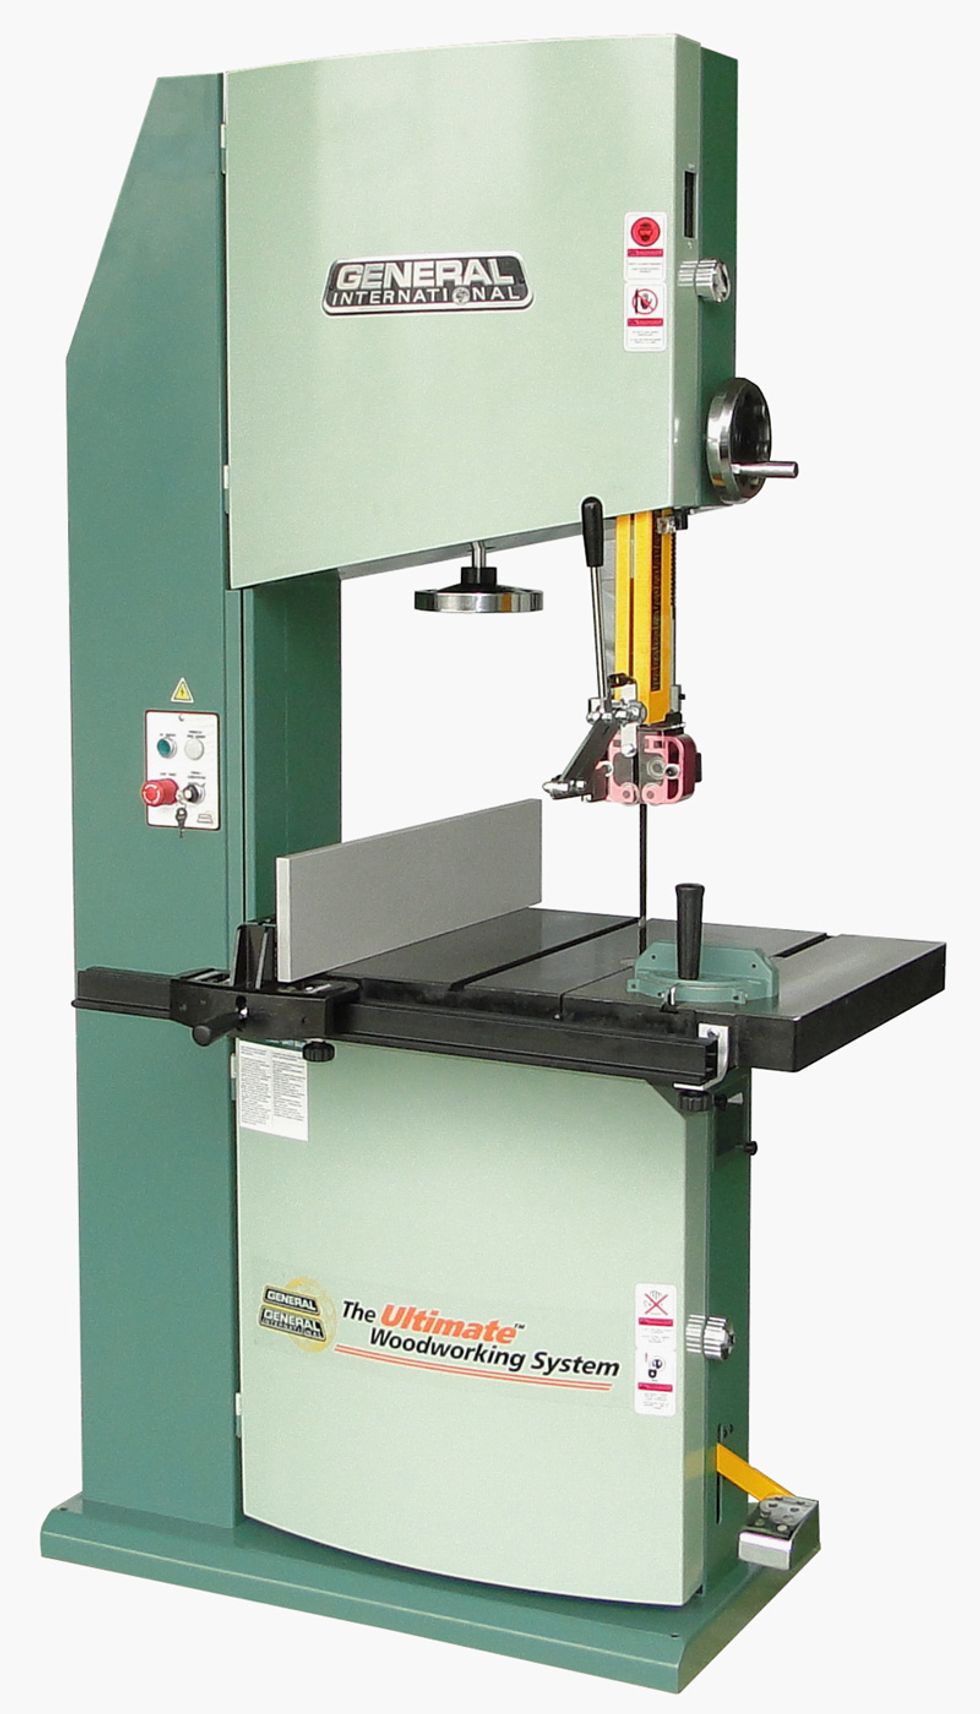
Now you can begin to trace the shape of the board and cut it out using the band saw.
Once you have finished cutting your board, you can then start sanding the edges and smoothen out the board.
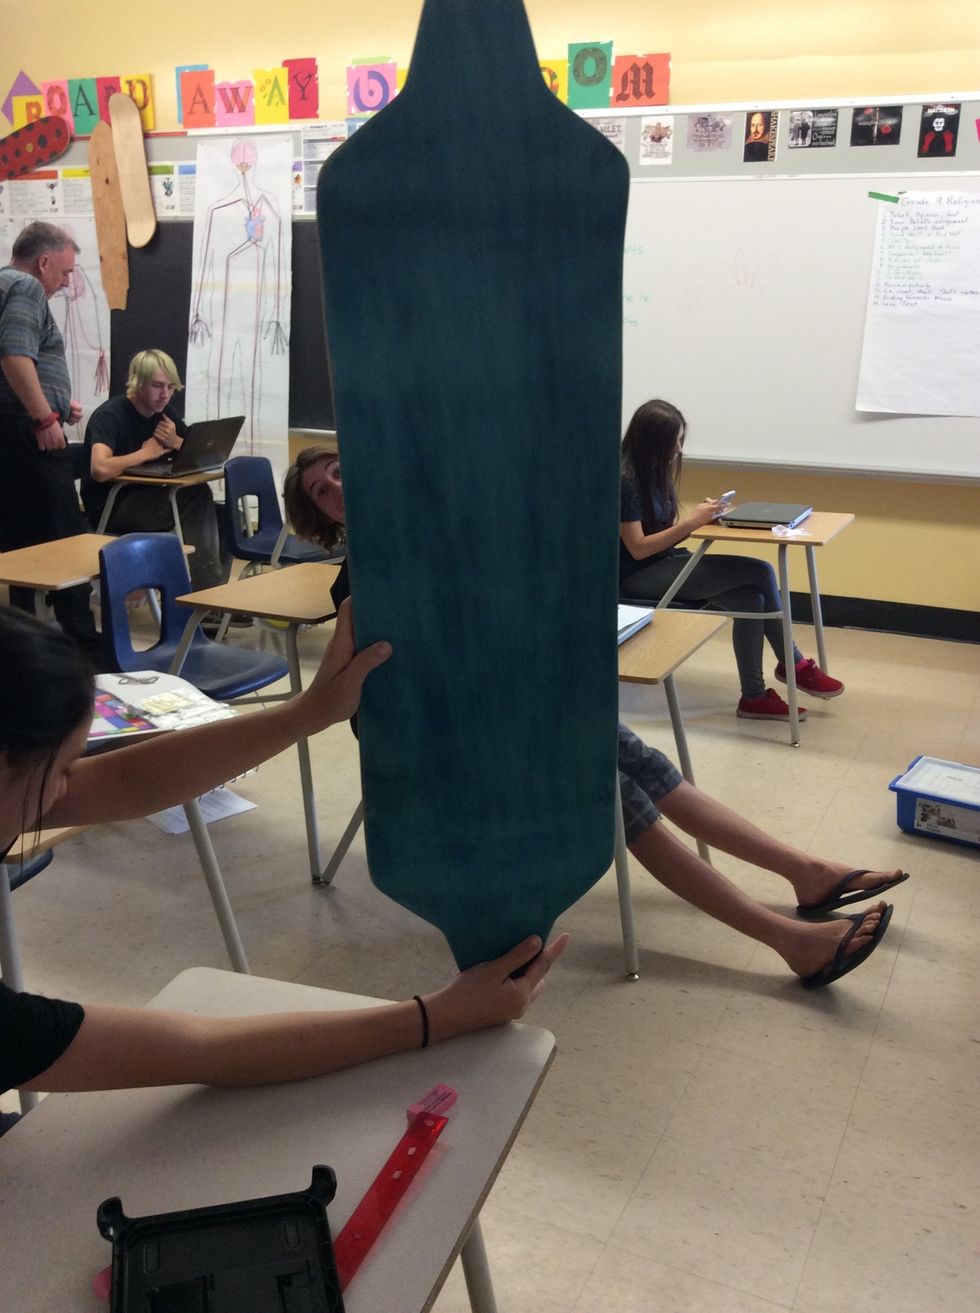
This is what the board should look like after it has been sanded and completed