The Conversation (0)
Sign Up
WARNING: This craft is vary dangerous. Please use common sense as well as the proper safety equipment.
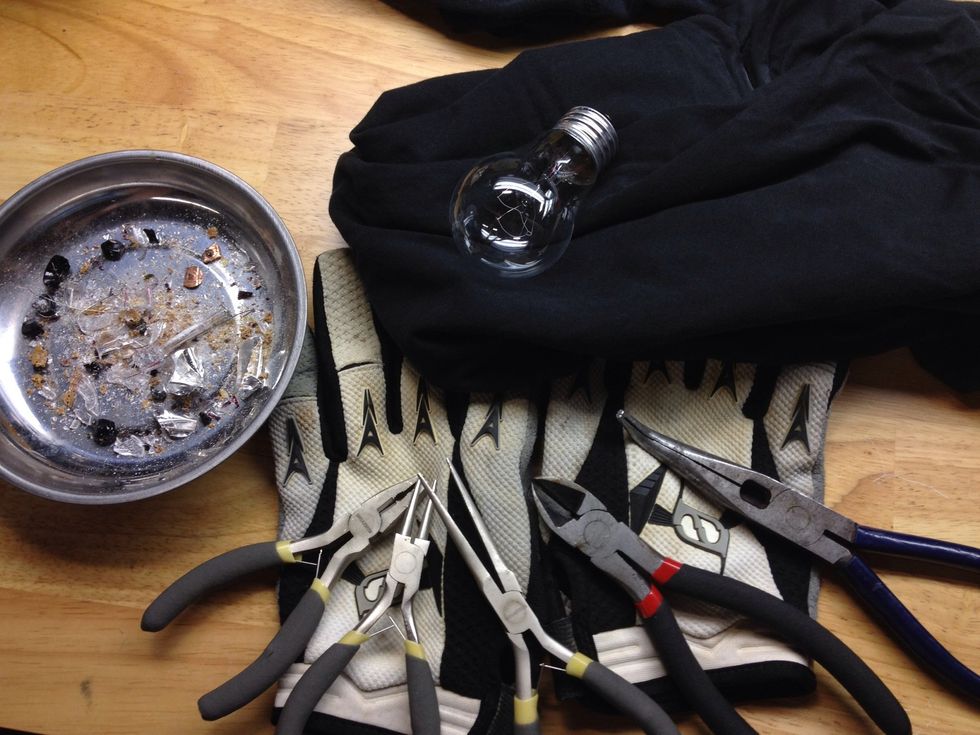
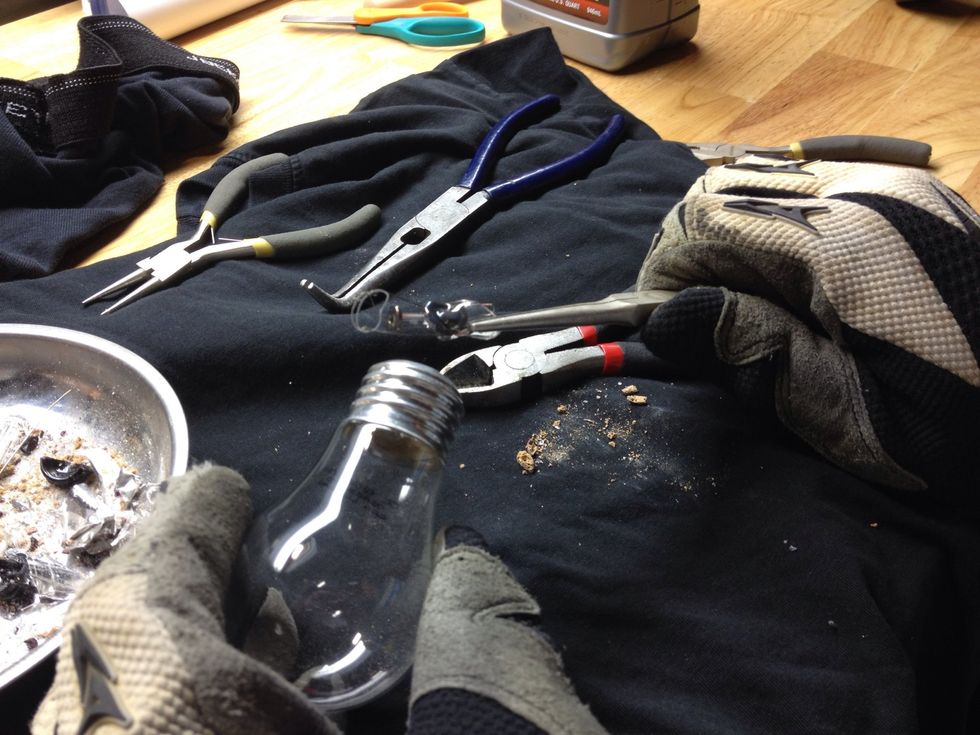
These are the supplies I used.
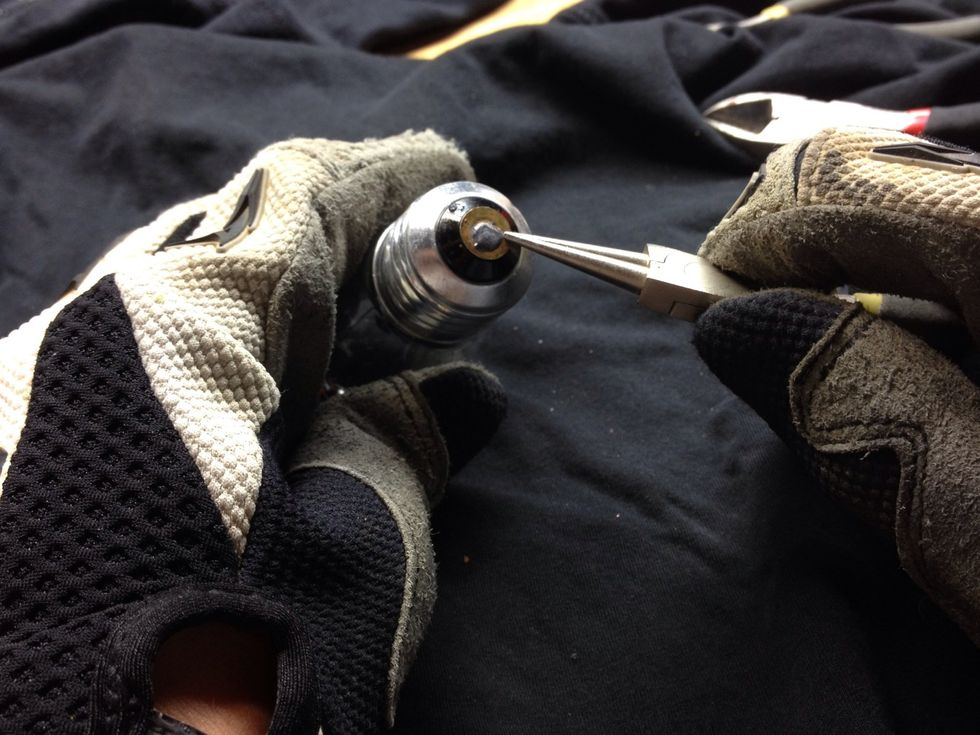
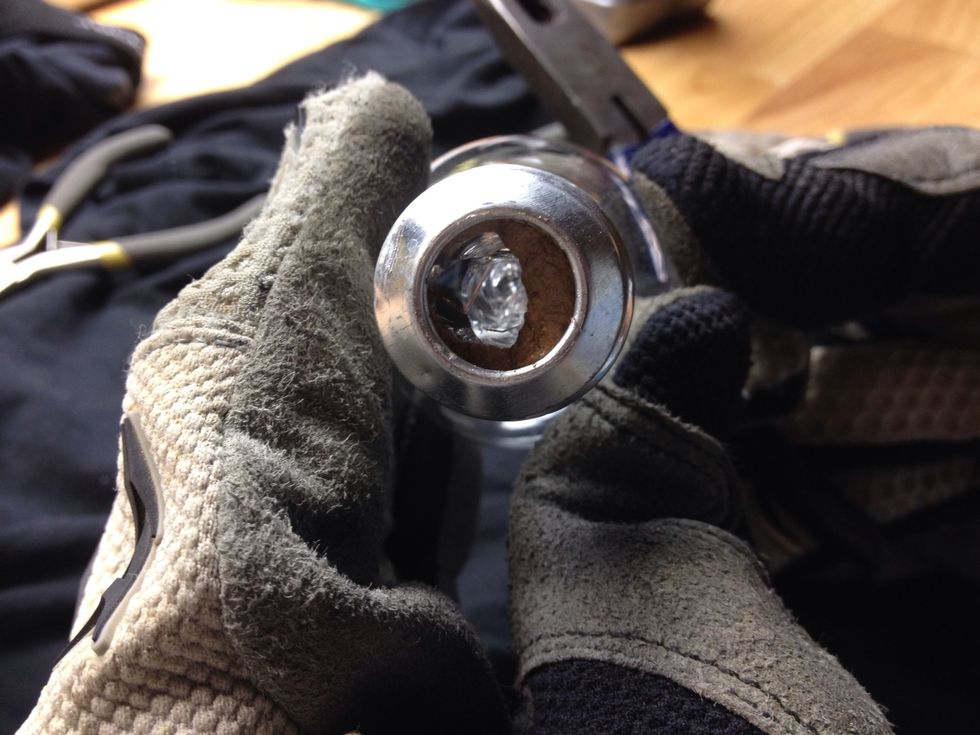
First you need to pry the metal circle that I'm pointing to off. The next step shows the process in a video.
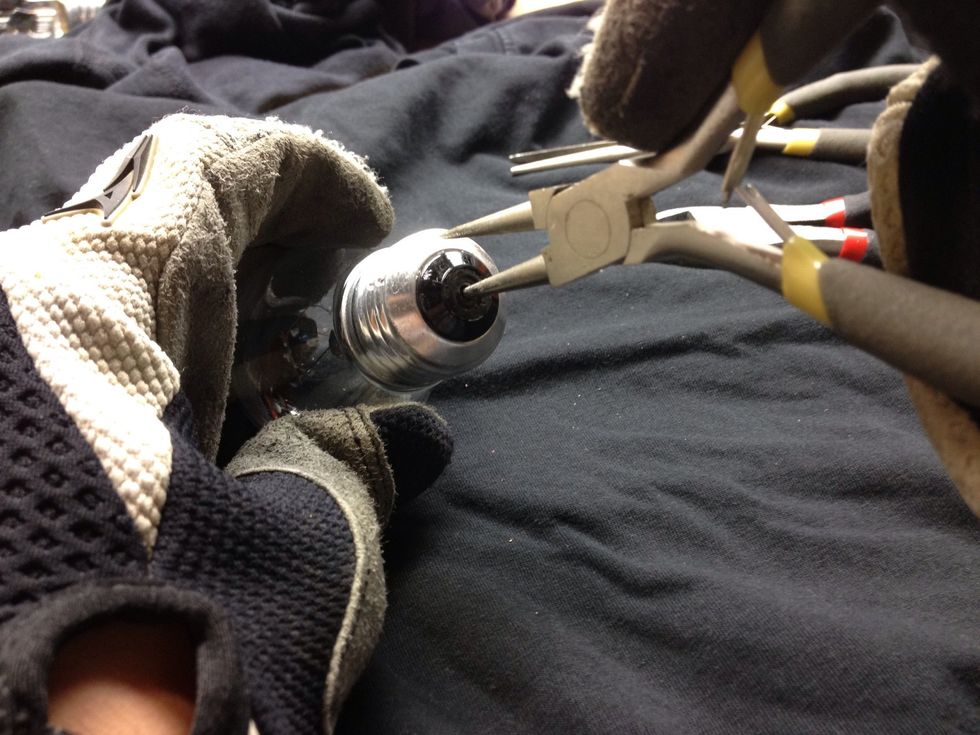
Now you need to break the black glass. To do this, I stuck a tool in the hole and applied pressure. The next step shows the process in a video. NOTE: Be careful as this type of glass tends to fly off.
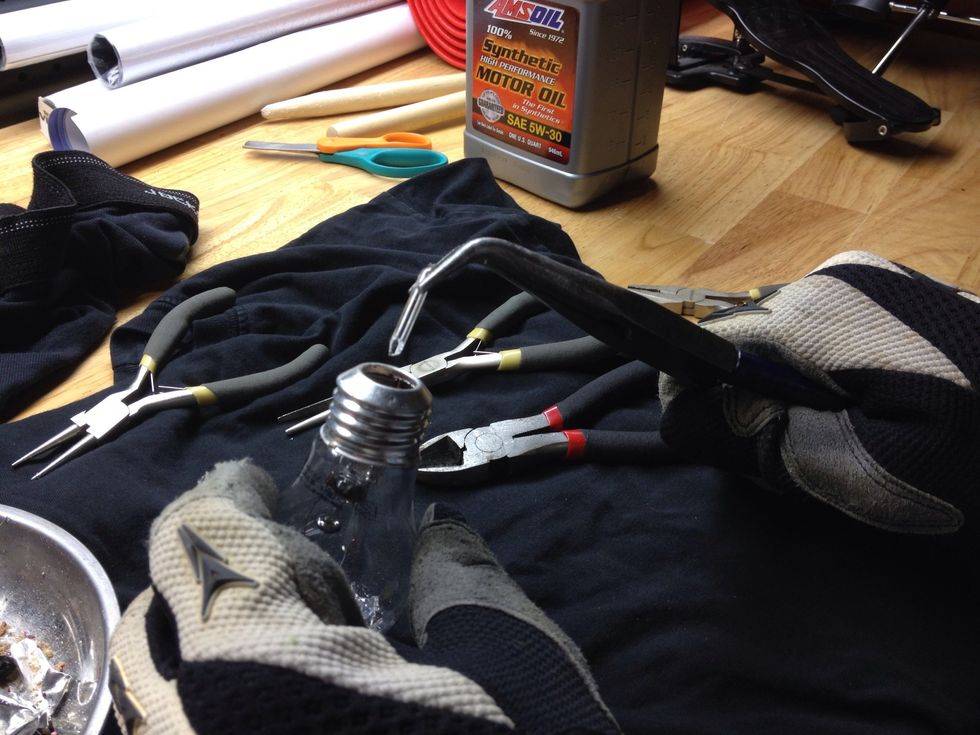
Now break the rod in the middle and pull it out.
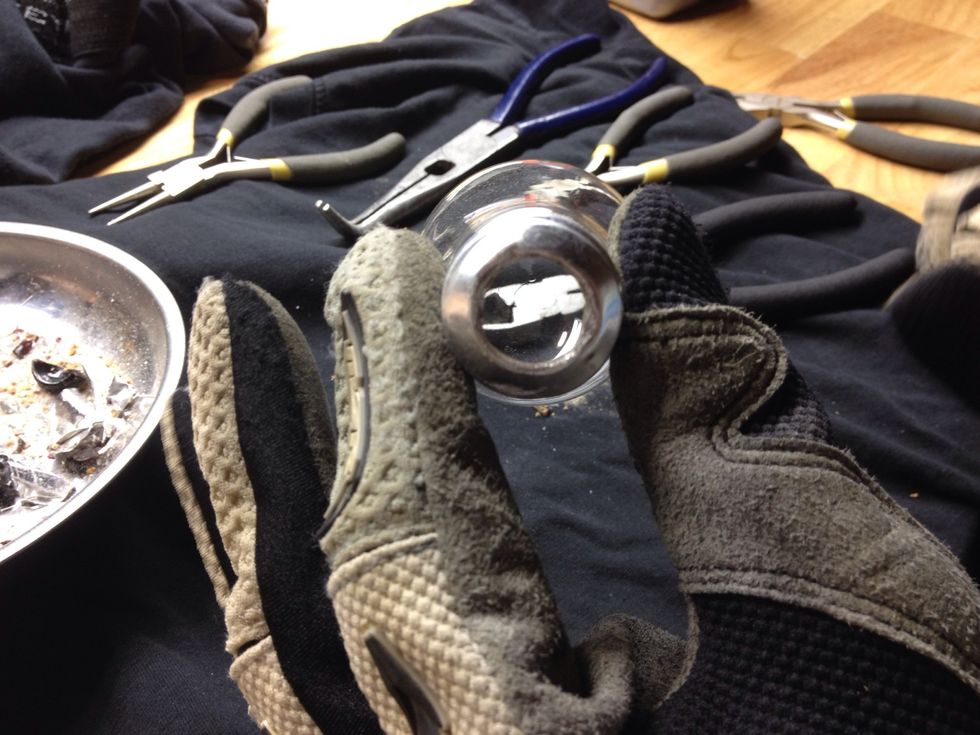
This is what you should see after you remove the rod.
We now need to break the glass insulator. This process is similar to the black glass. Stick a tool in the hole and apply pressure until it breaks. The next step shows the process in a video.
Once you break the glass insulator, you need to pull out the components.
View of the inside...
Check my account to see what crafts you can do with your hollow lightbulb!