The Conversation (0)
Sign Up
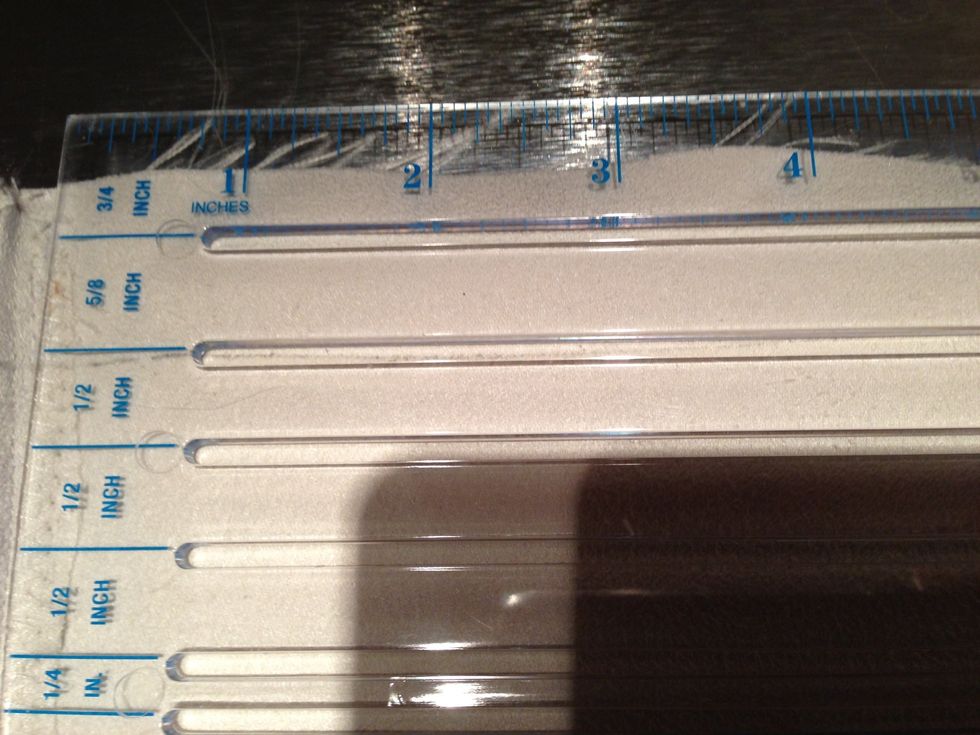
The Dritz ruler- just mark across with a pencil (this was the same color as tailor's chalk) or with tailor's chalk; not chalkboard chalk.
My pencil marks for 5/8 " hem.
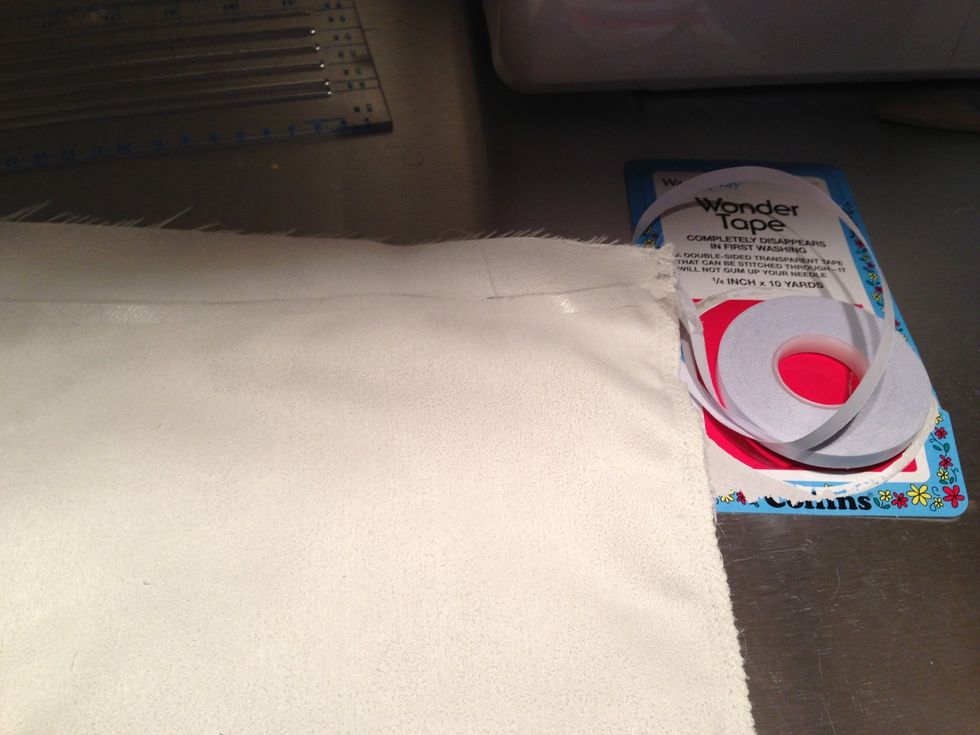
Lay the wonder tape down on either side of the mark. I prefer the almost done side as it gets less sticky and is quicker.
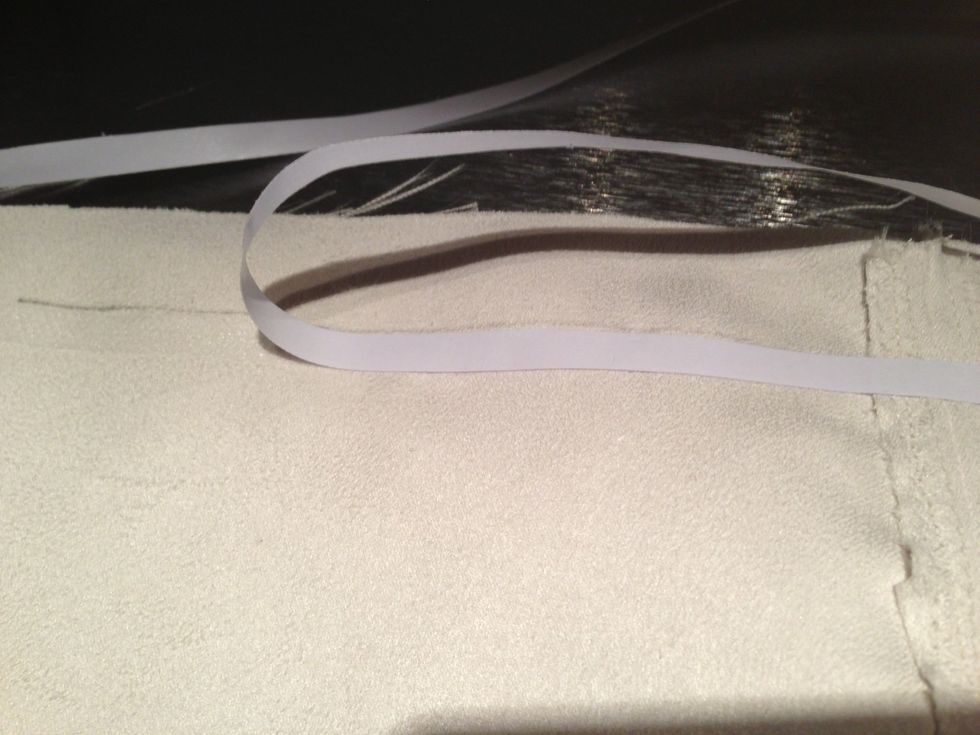
Pull up the tape along the garment to reveal the other sticky side.

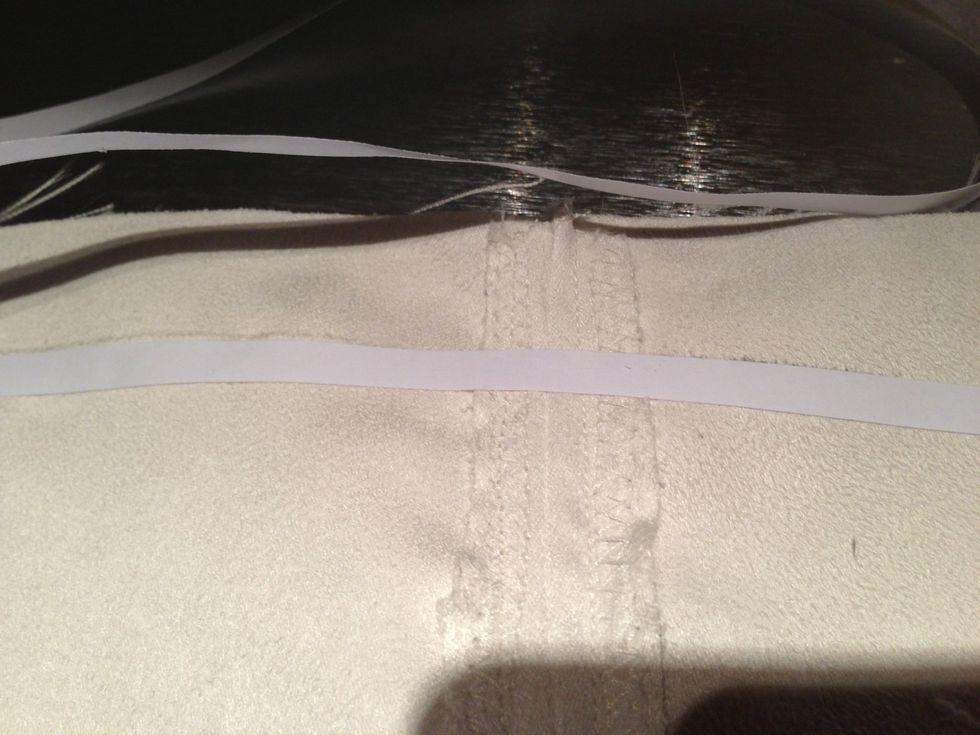
Fold the raw edge alongside the tape that is exposed and the again to get a very clean and even hem.
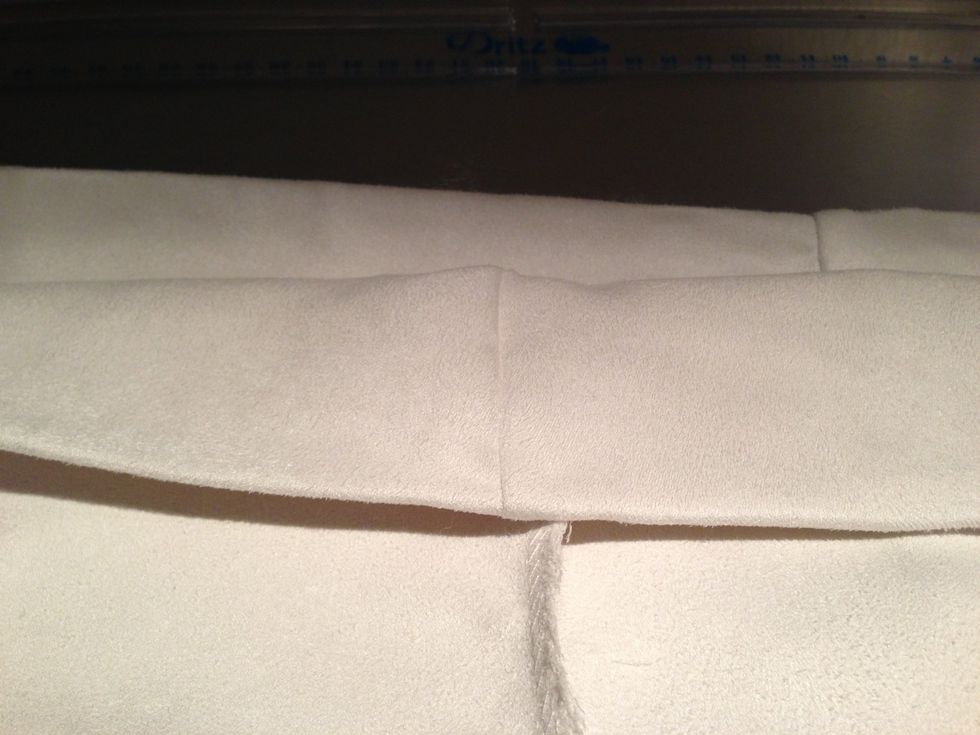
It has been folded over twice; once to meet the tape and then again to cover the raw edge. This is the face of the hem before sewing on top along with the seam to show how neat it is.
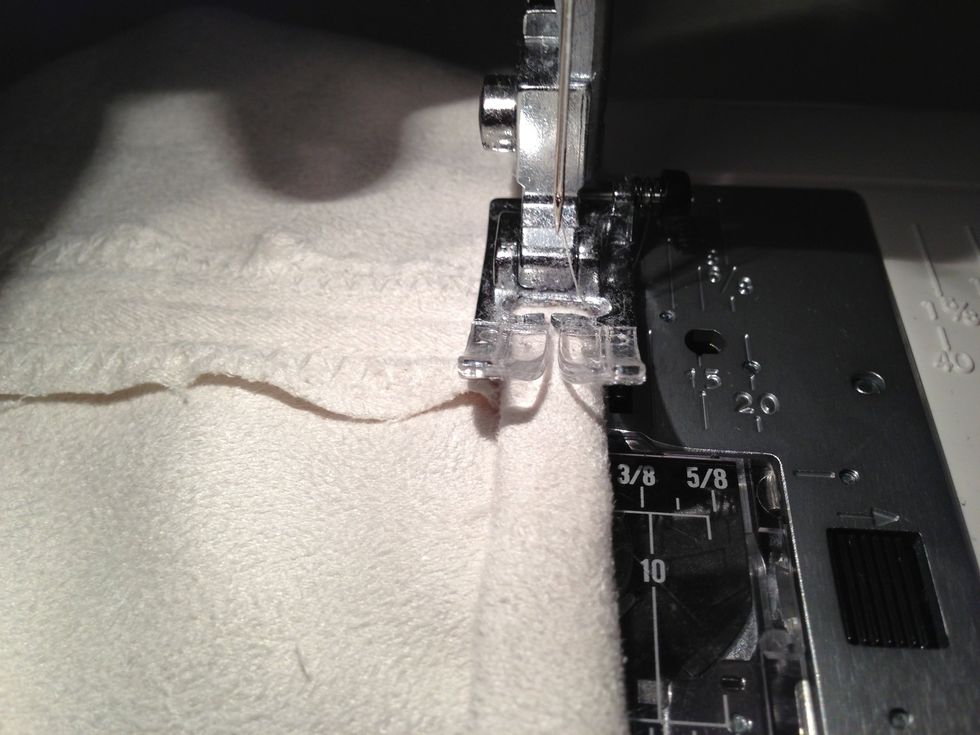
Sew on the wrong side. I match the bottom of the garment with the clear line on the right of the presser foot of the sewing machine.
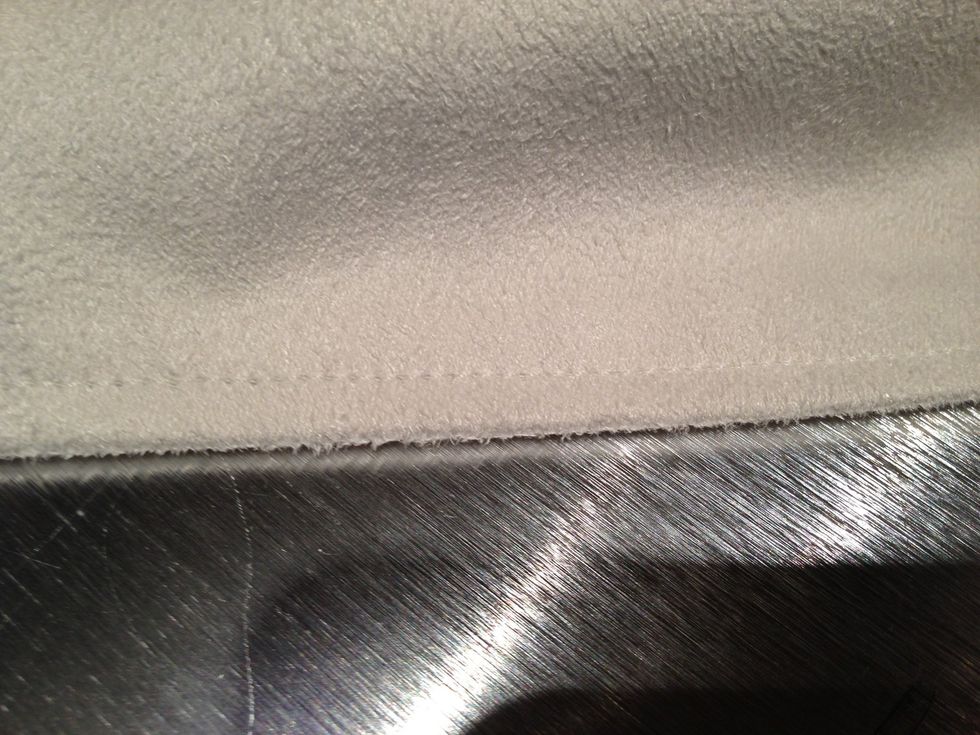
The front of the hem.