The Conversation (0)
Sign Up
It's easy!
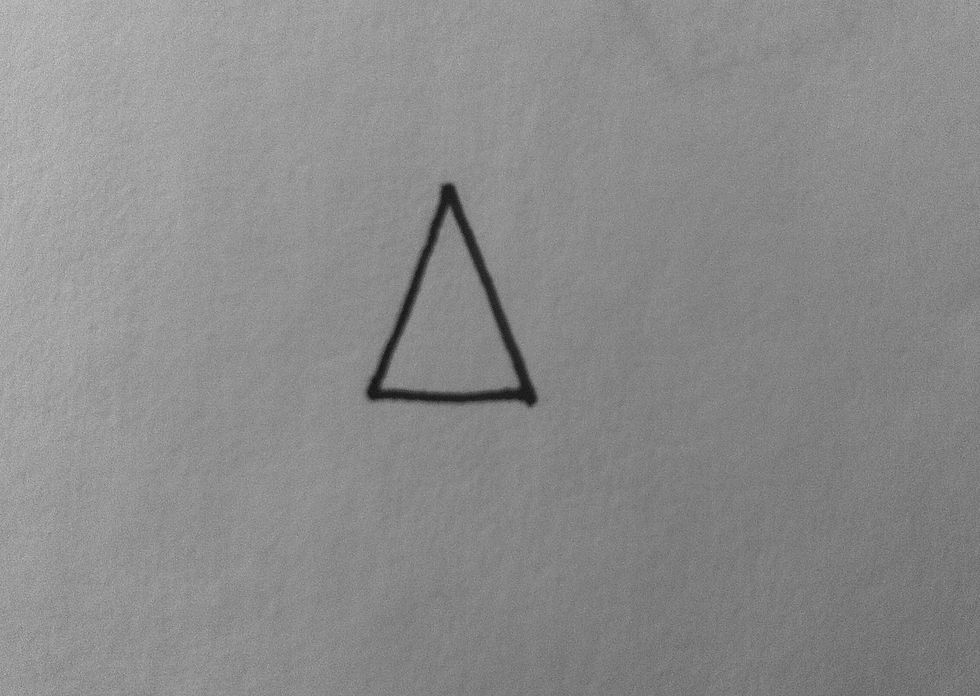
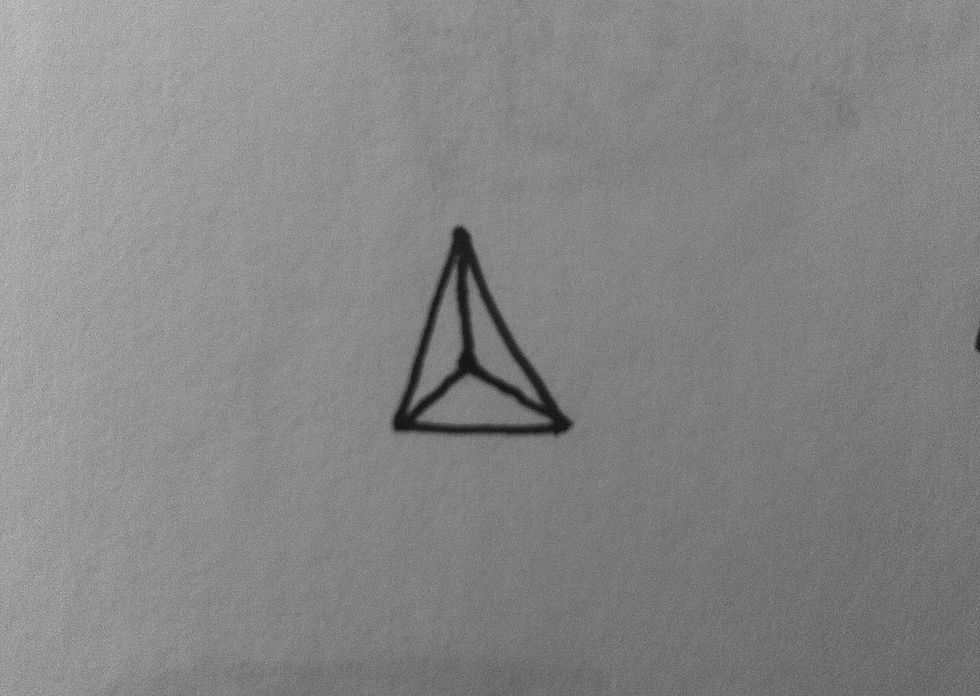
Draw a triangle.
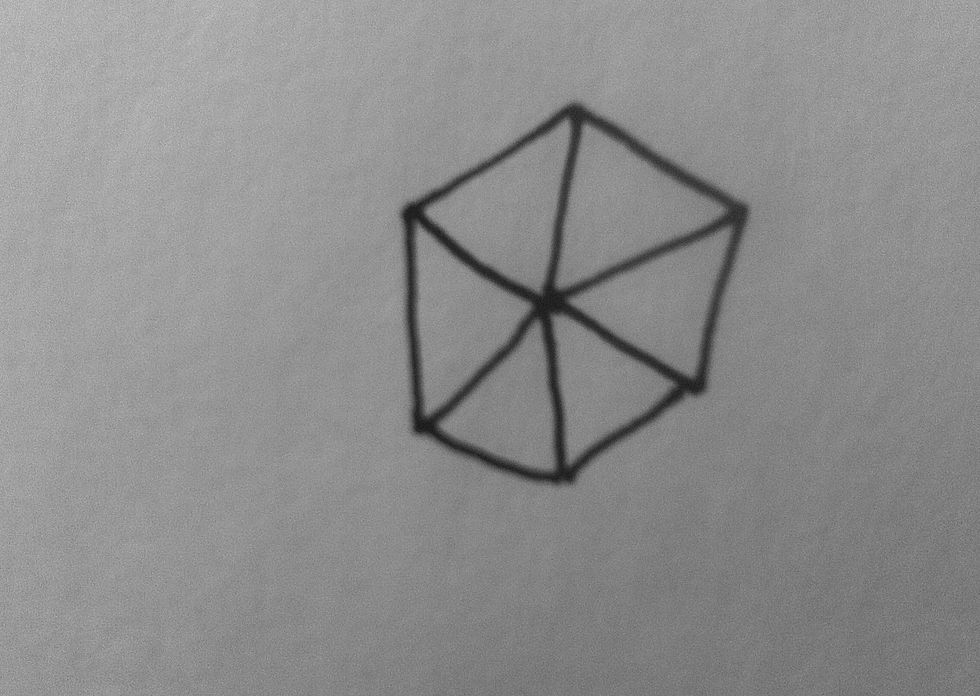
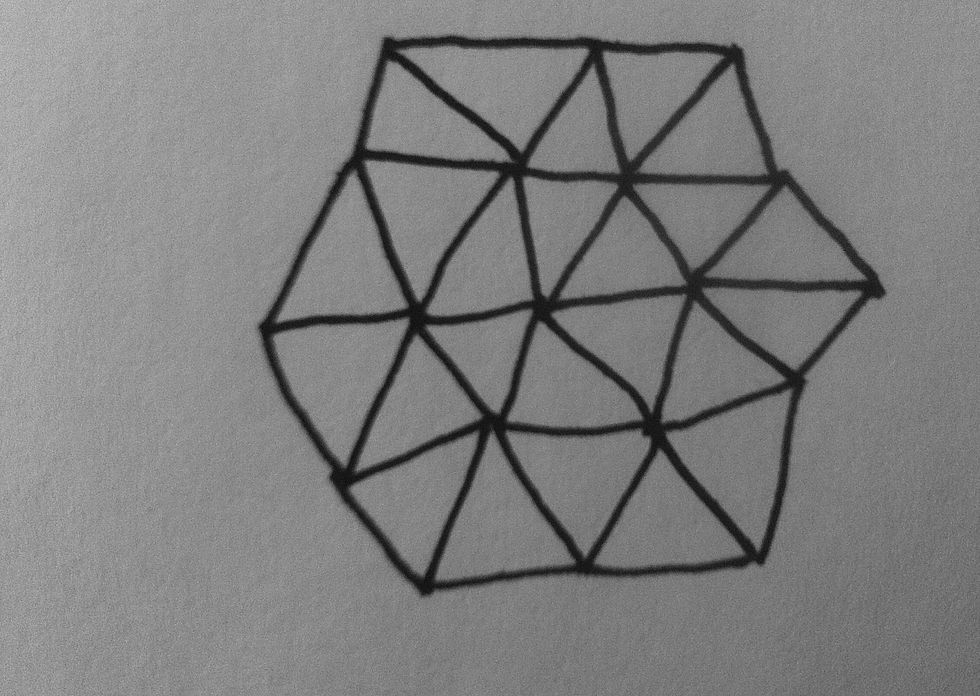
Draw more triangles. One next to the first, one next to it, & so on until they're all connected. Kinda looks like a wonky cube.
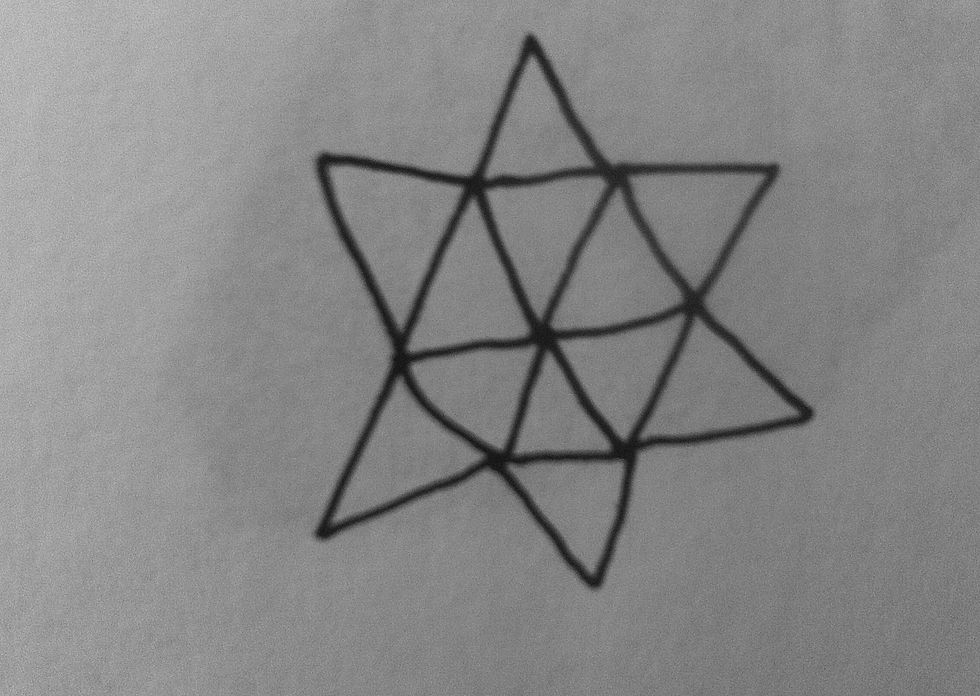
Add a triangle to the top edge of each of the ones you just drew.

For the next circle of triangles I like to draw a line in between each of the ones I just drew and then...
...connect them to make triangles.

Draw triangles on the top edge of all those triangles again.
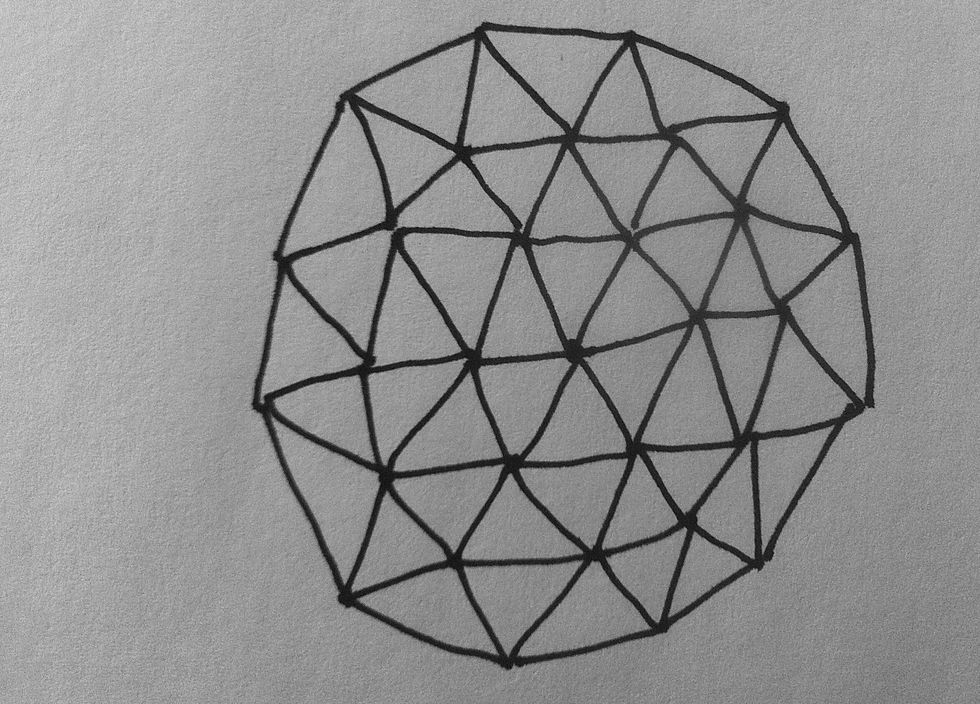
Draw a line to connect each of the points of those triangles to create your final ring of triangles...although you could keep going.
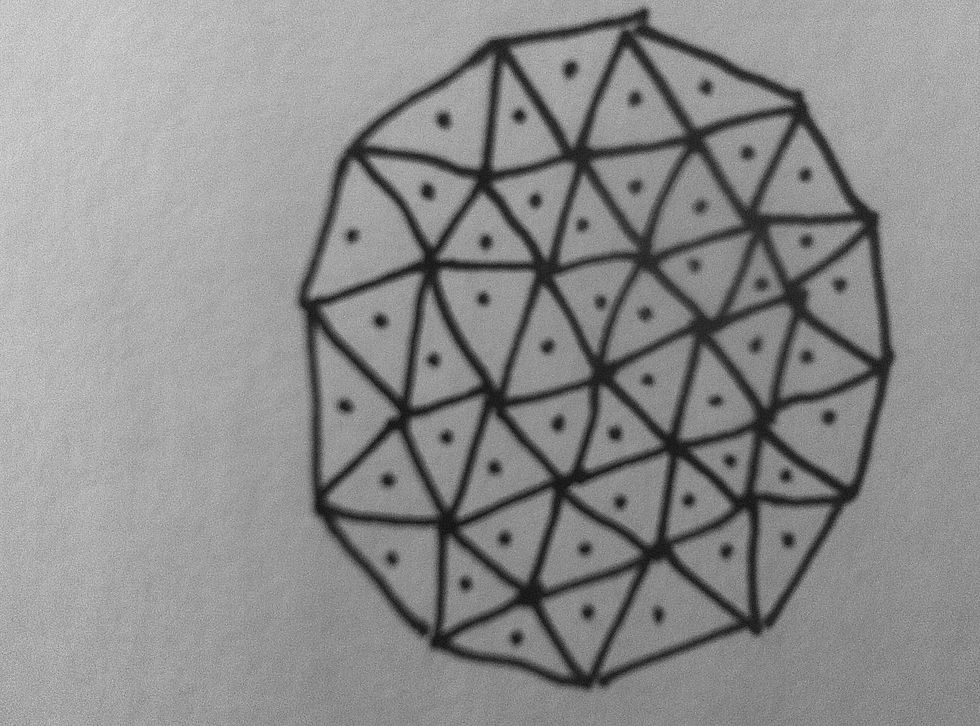
Put a dot in the center of each triangle.
In every triangle you're going to draw a line from each corner to the center.
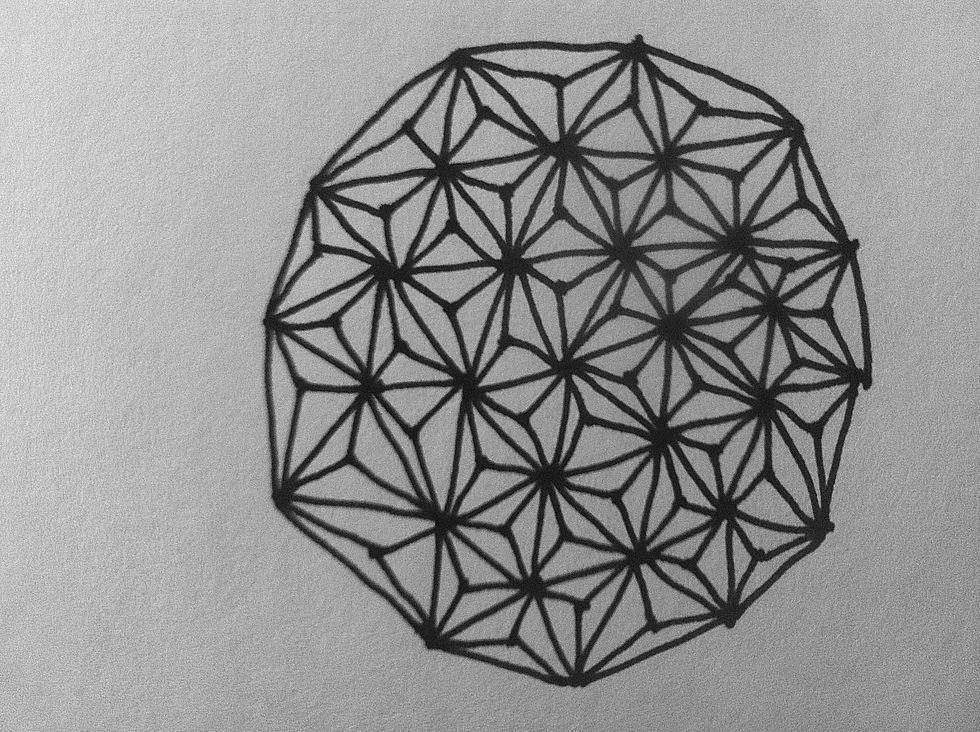
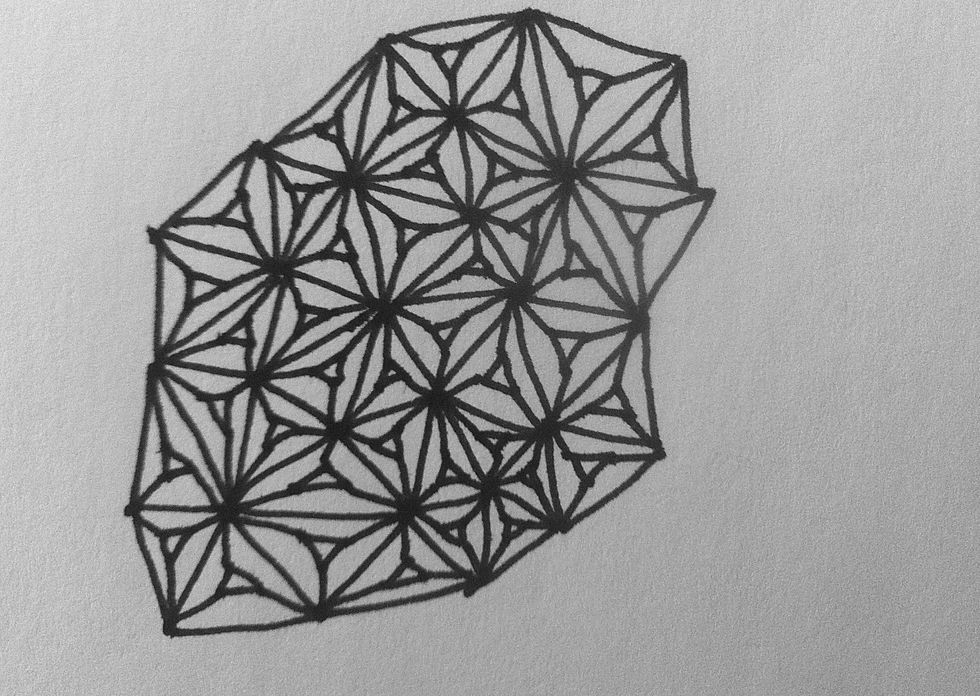
When you're all done you'll have this! It's much cooler in real life & when you take your time with the line wok.
You don't have to be methodical with your triangles. They can be totally random...and in color!
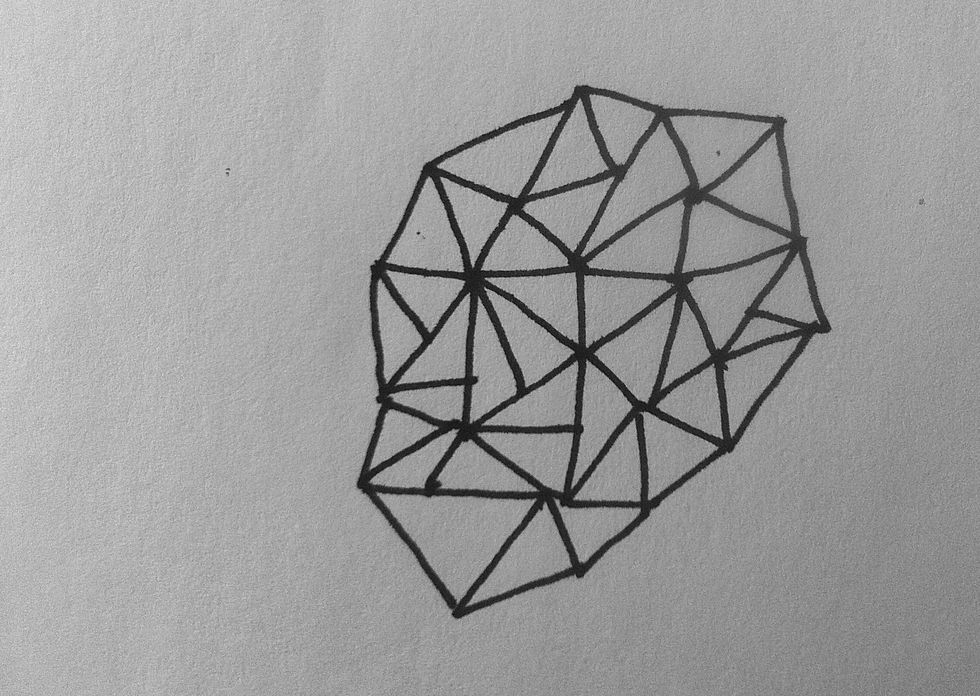
Here's a random one...the triangles are different sizes & such.
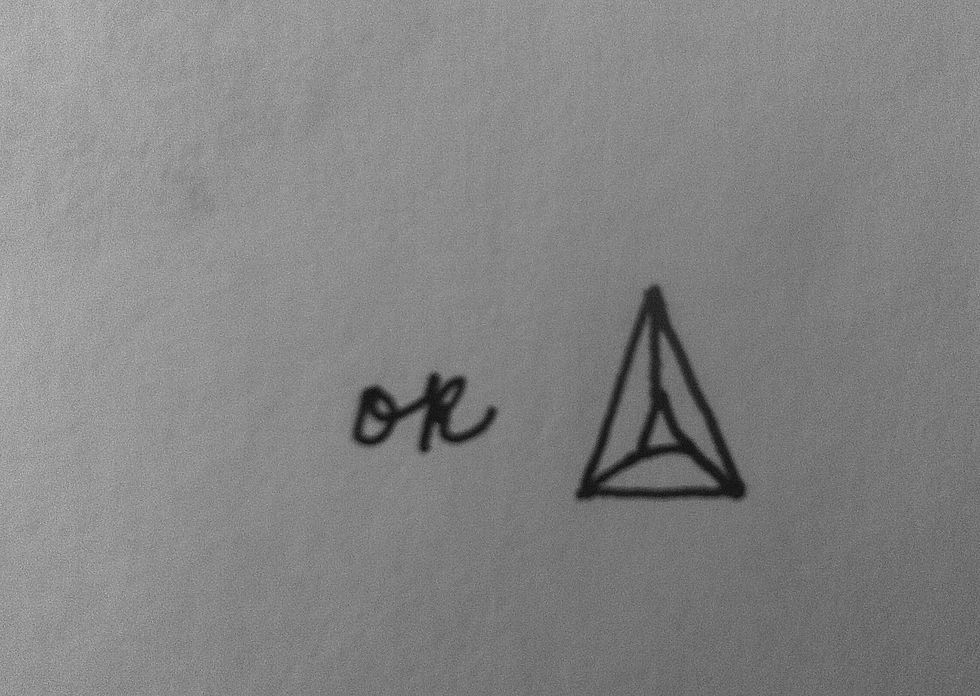
And instead of a dot, you can make a little triangle.
This is what it looks like when you use little triangles instead of dots.
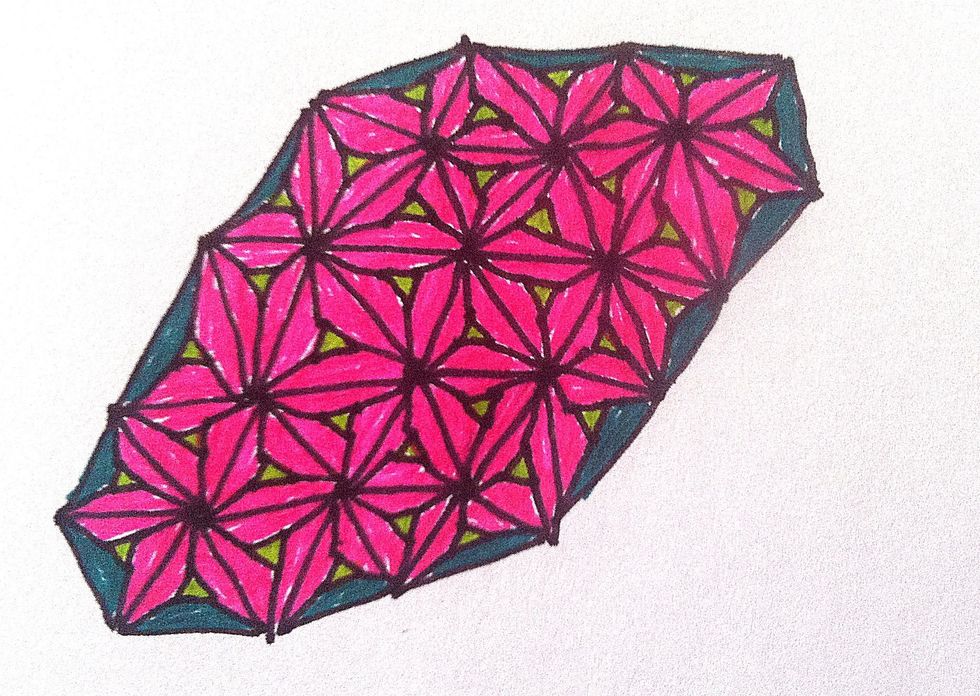
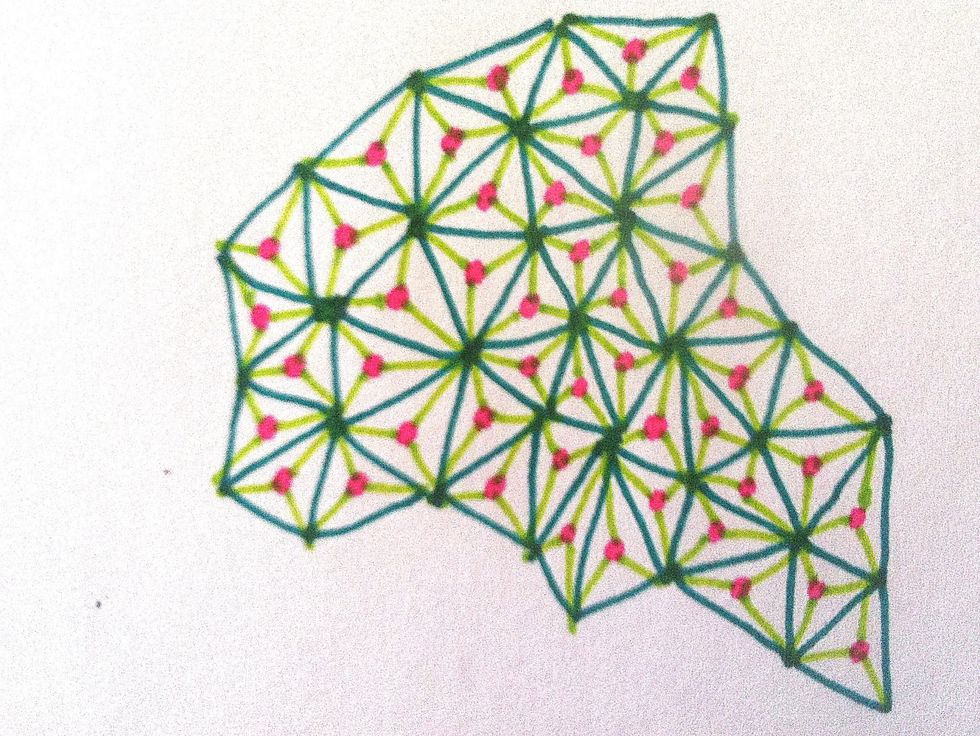
And this is how pretty it can be when you add color.

Do your own thing with them & remember it looks better when you take your time with the lines...which I didn't do in any of these photos :p

You can mix the triangle designs like this...
![...and you can add them to drawings. See how they started smaller in corner then got larger? Lots of fun possibilities! I'm even gonna use them for tattoo filler :] Enjoy! Leave comments!](https://guides.brit.co/media-library/and-you-can-add-them-to-drawings-see-how-they-started-smaller-in-corner-then-got-larger-lots-of-fun-possibilities-i-m-even.jpg?id=23683545&width=980)
...and you can add them to drawings. See how they started smaller in corner then got larger? Lots of fun possibilities! I'm even gonna use them for tattoo filler :] Enjoy! Leave comments!