The Conversation (0)
Sign Up
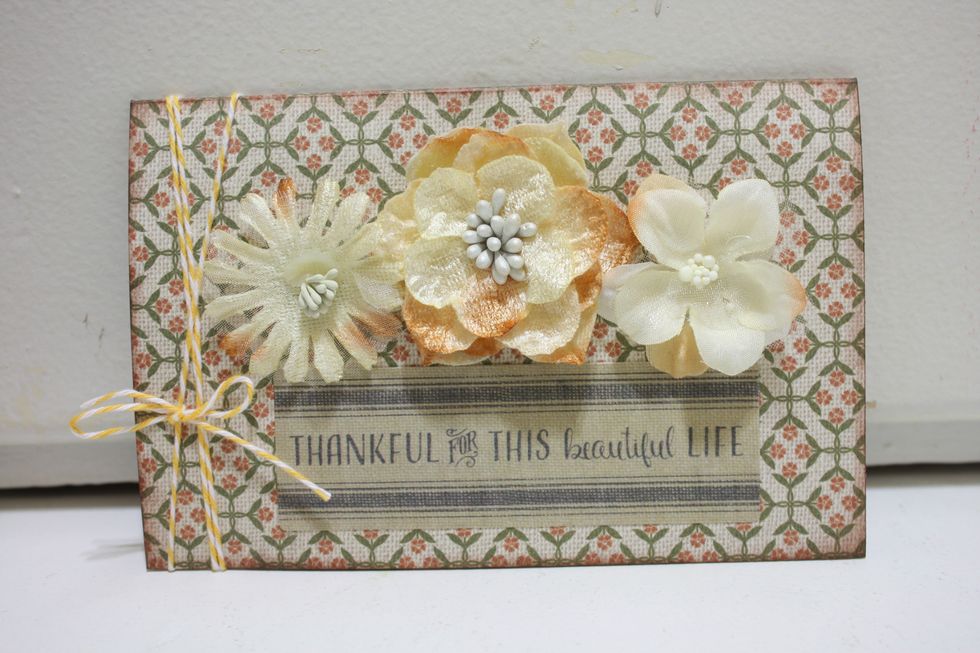
I love having a crafty party with friends, but everyone is not always so creative. So I made up a super simple try fold card that has a simple solid background with a focal statement...cont
that you can keep super simple, or make really dramatic- your friends will have so much fun making these, even the non crafters!
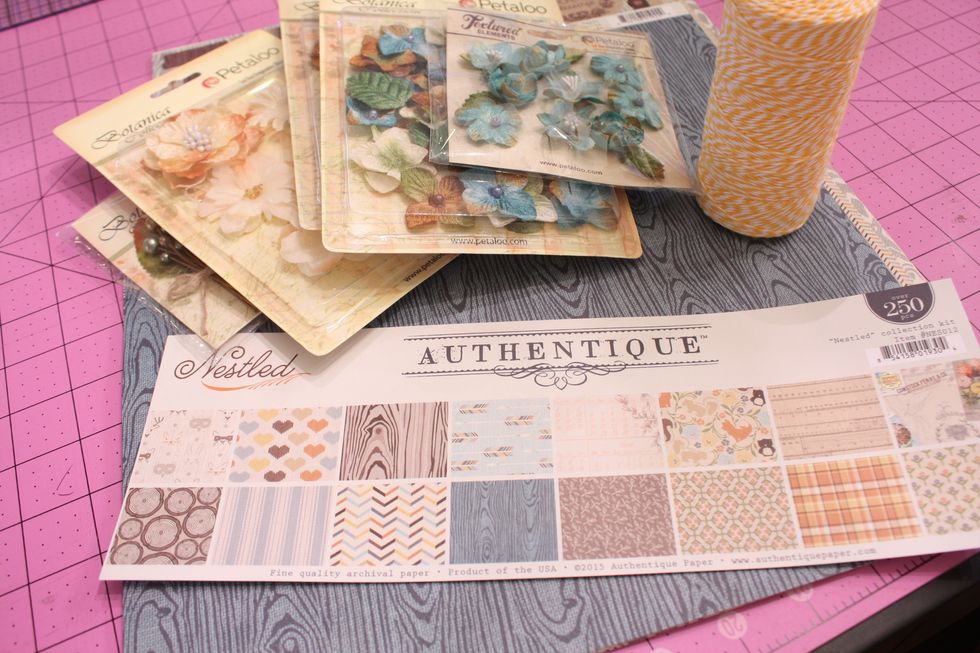
to keep things easy for a card party just buy one of Authentiques Paper Collections and a few packs of Petaloo Flowers. The paper packs come in all different themes find them online at craft retailers
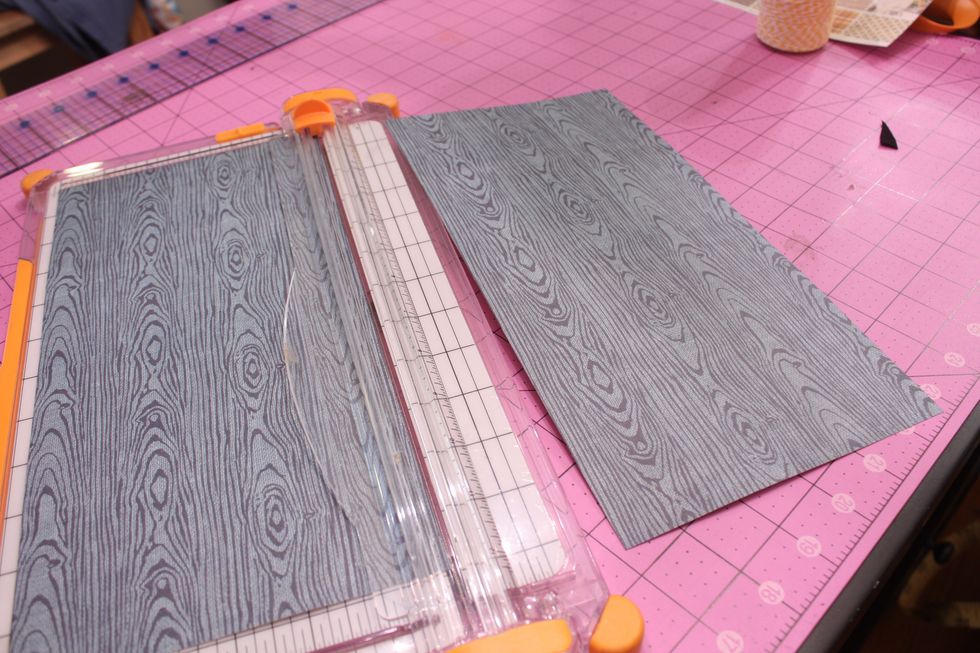
cut any of the 12x12 inch paper in half
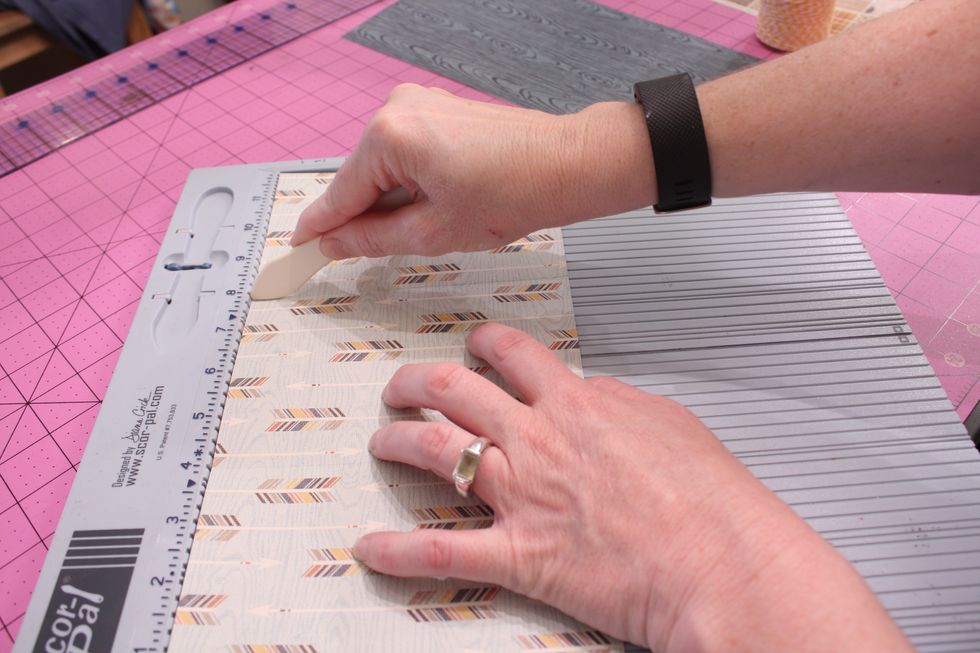
if you have a sore board great! If not simply fold your paper into thirds, so you have 3, 4 inch sides
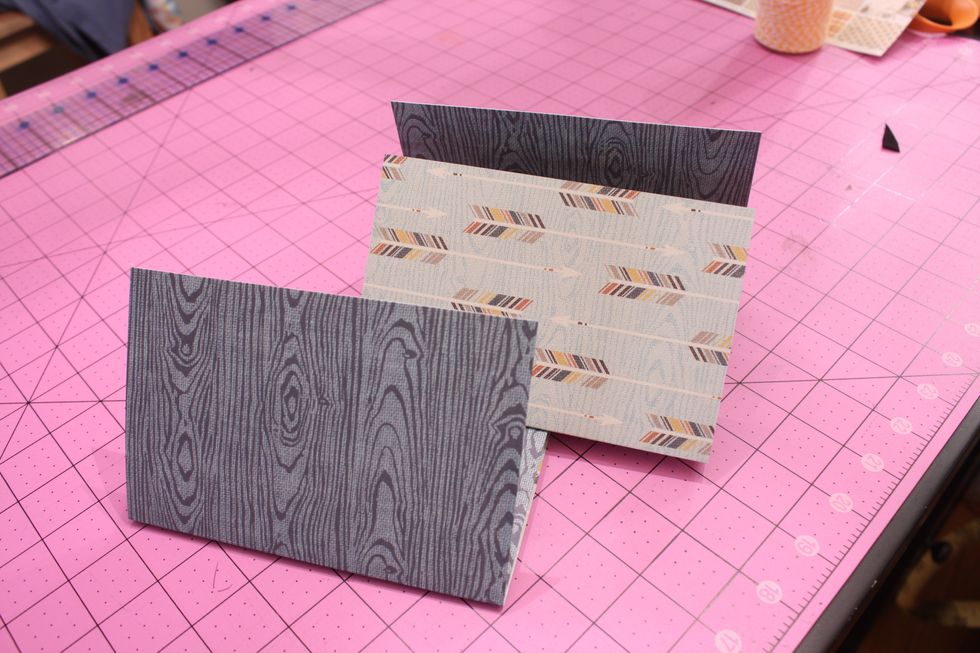
You can use other side!
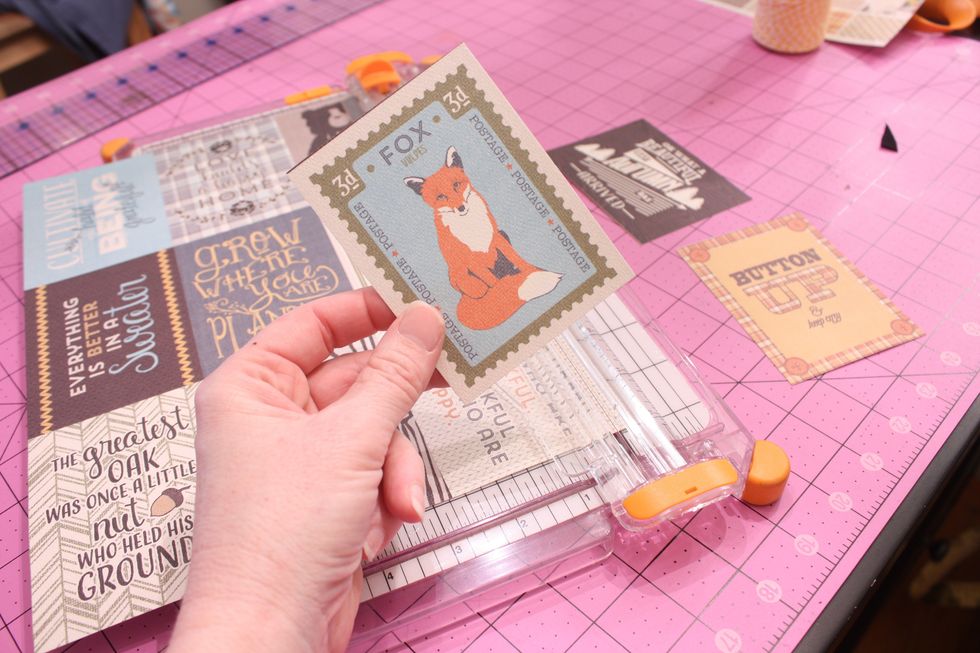
Each Authentique paper pack has these little cut outs- cut them all out to use for your "focal" points of each card
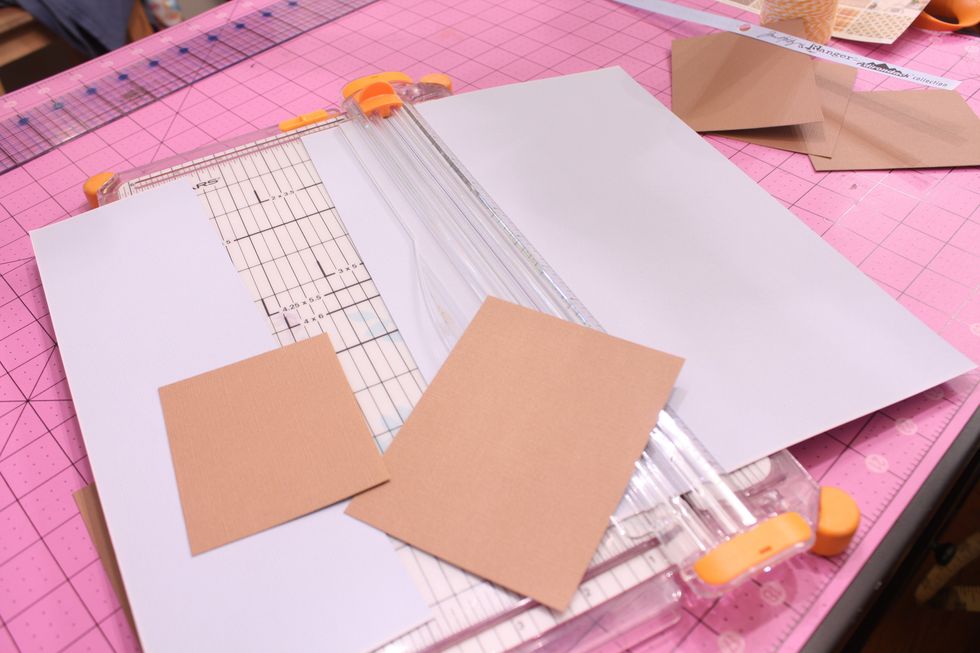
Now cut out some backgrounds of solid cardstock- little bigger than your focal cut outs.
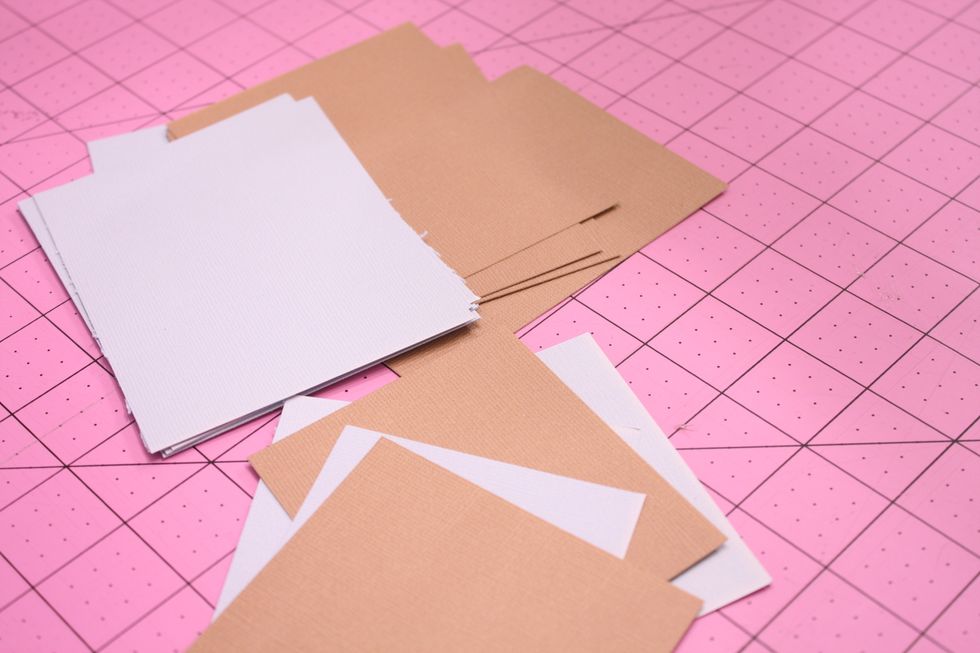
NOW, you can make your friends do the cutting or you can pre cut everything to make it easy! If you have people who have never crafted before cut out ahead of time for sure
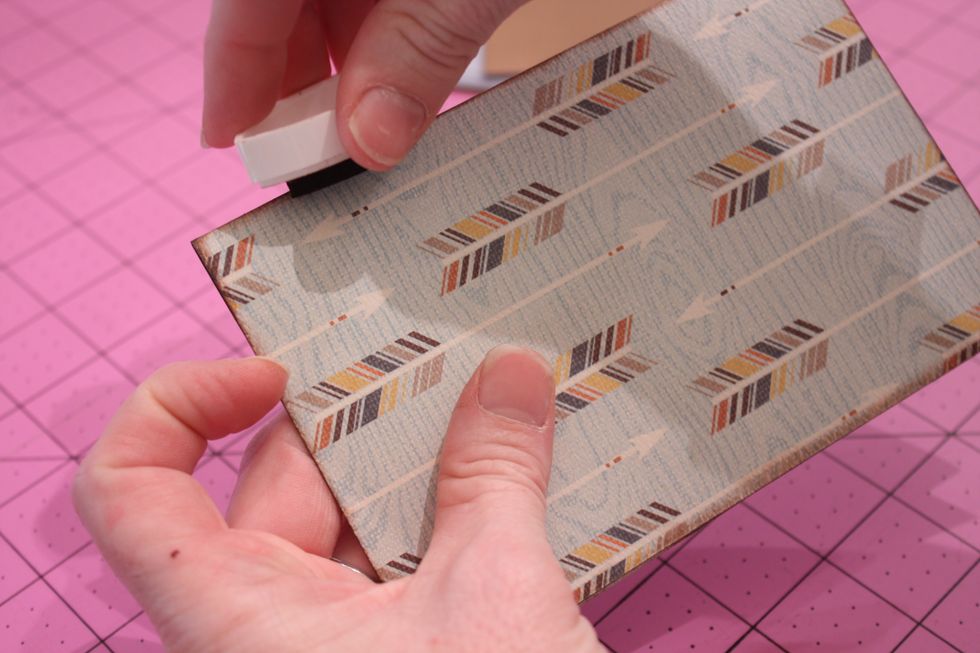
now you can do a little edge detail on all parts- you can use ink or a distress block (sandpaper block)
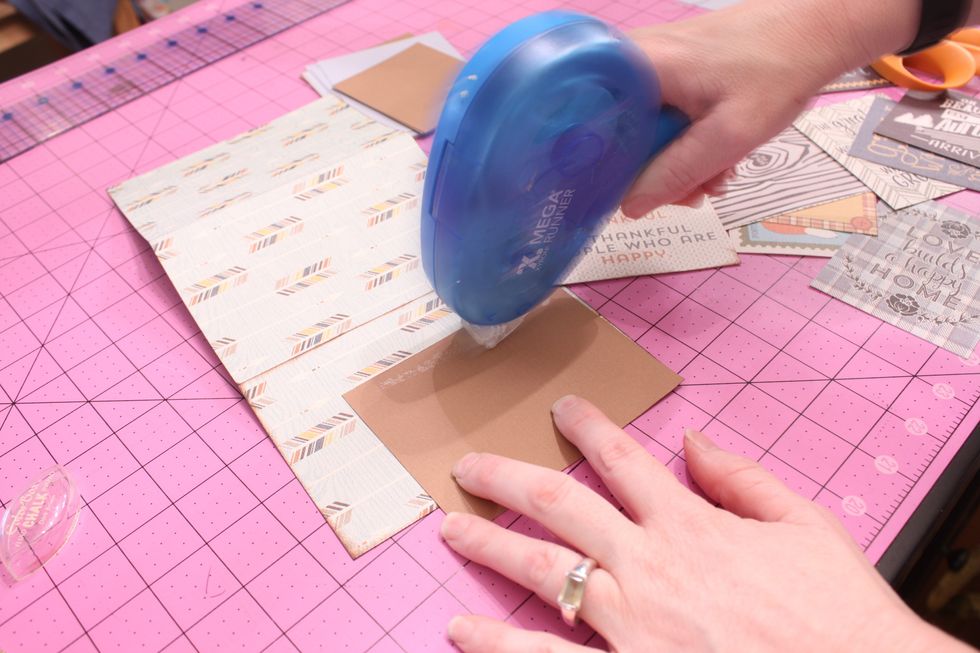
now its time to assemble. Do your solid stock first. I use a tape runner, but you can use glue sticks too- they can be bought in bulk for your party
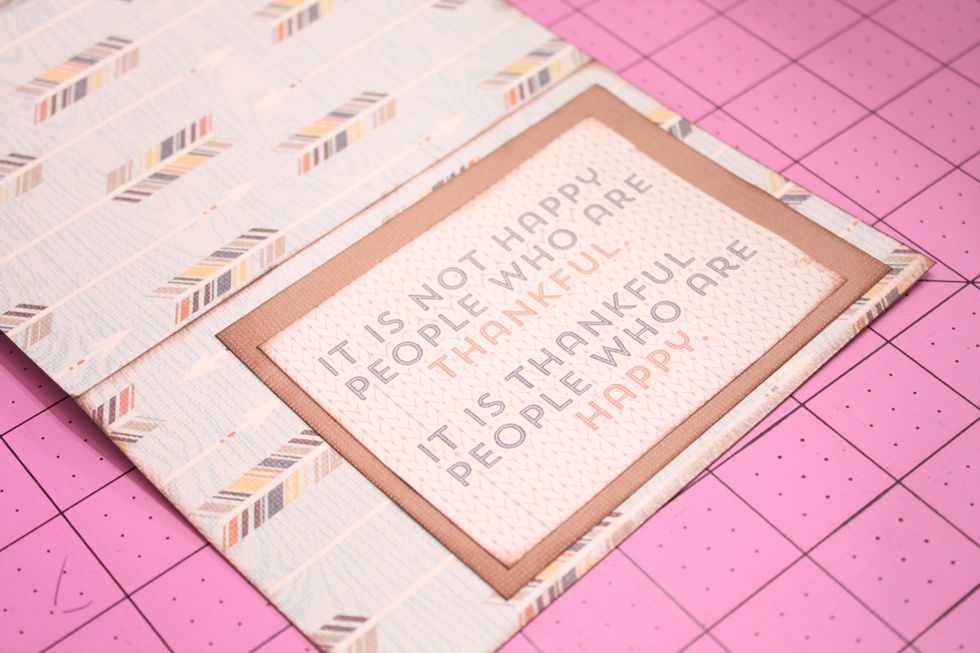
then add your focal piece, and finally attach to try fold card base
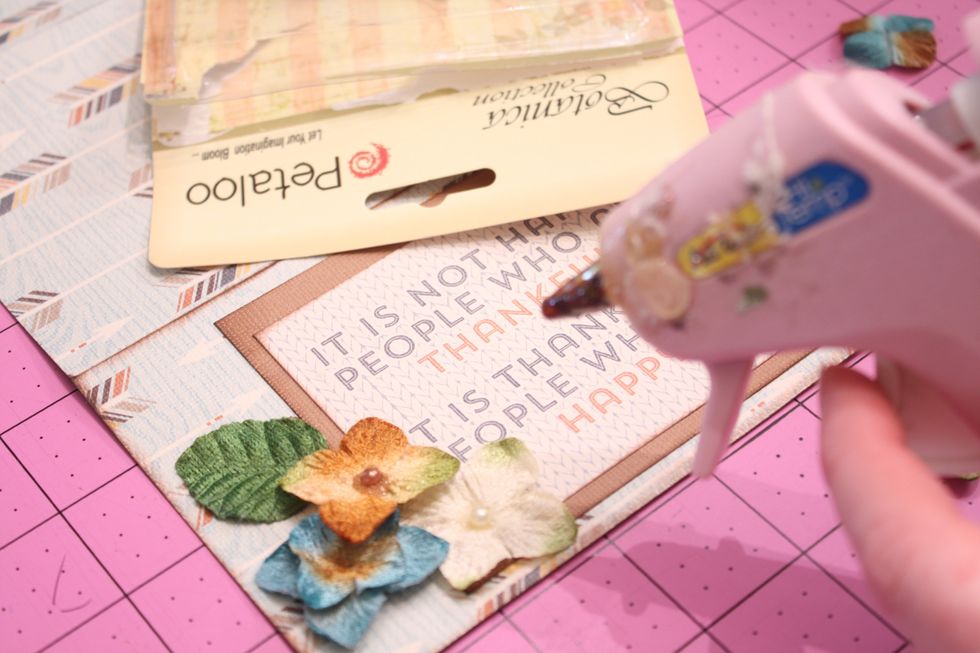
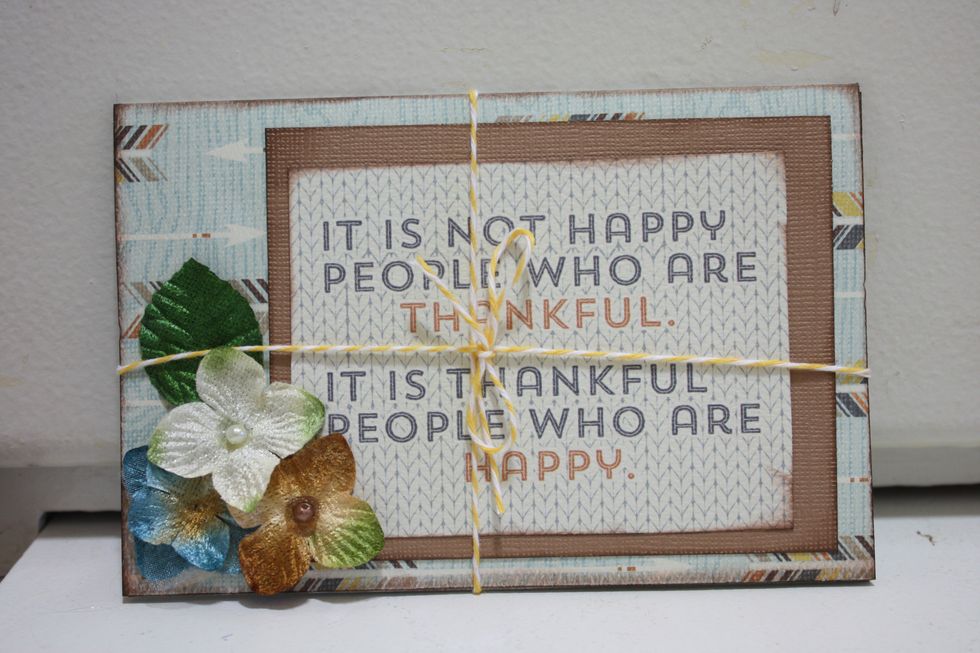
now the fun part- add your Petaloo flowers with a hot glue gun. I always suggest adding flowers in odd numbers for the best design.

if you like you can also add a little accent on the inside for writing- keep the flowers to a minimum though or they won't shut nicely
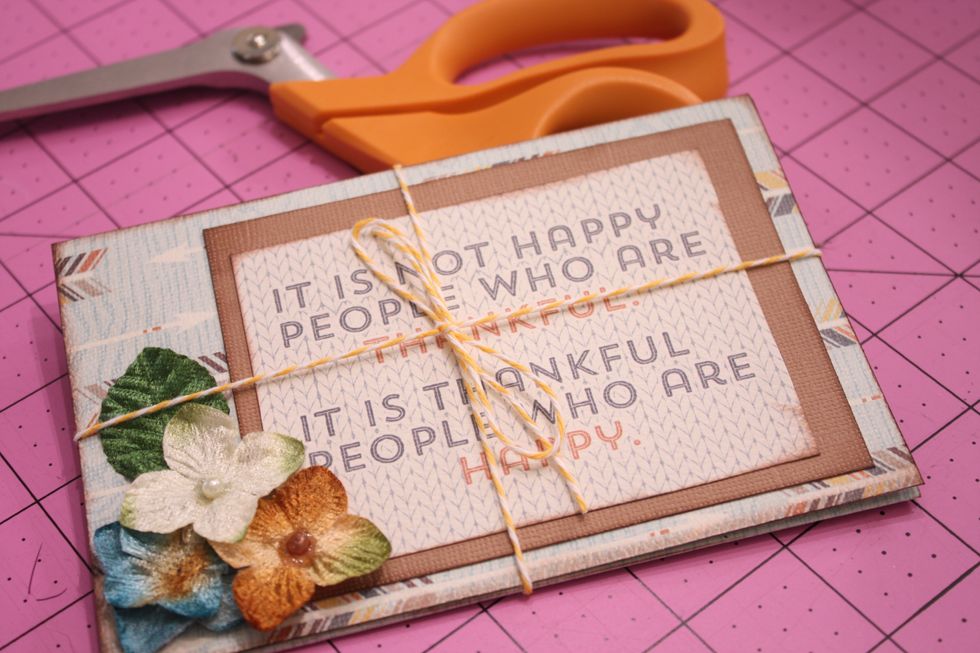
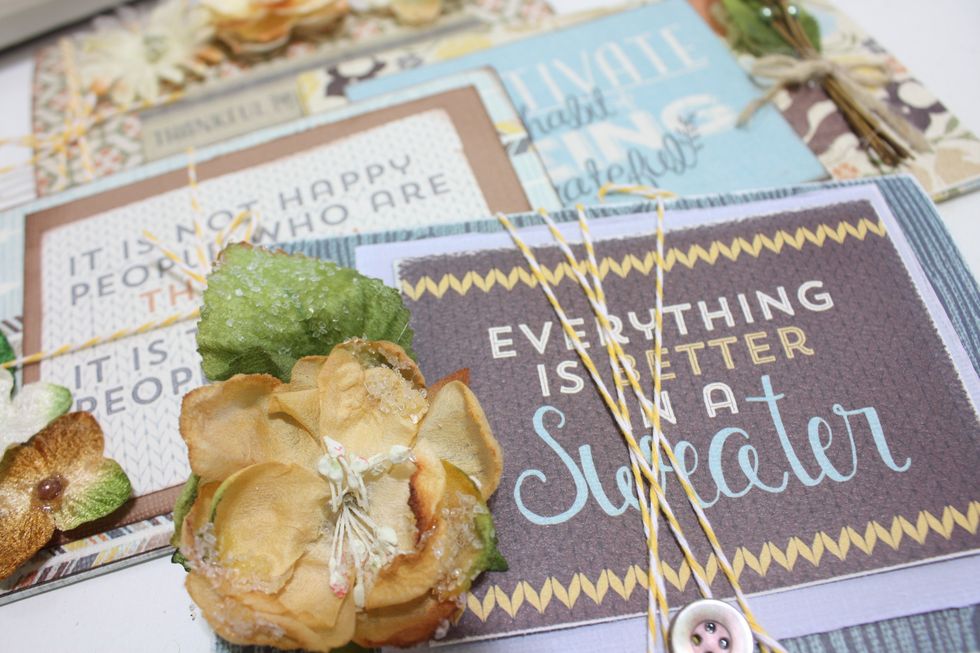
Now finish it off with a little twine to keep the card closed
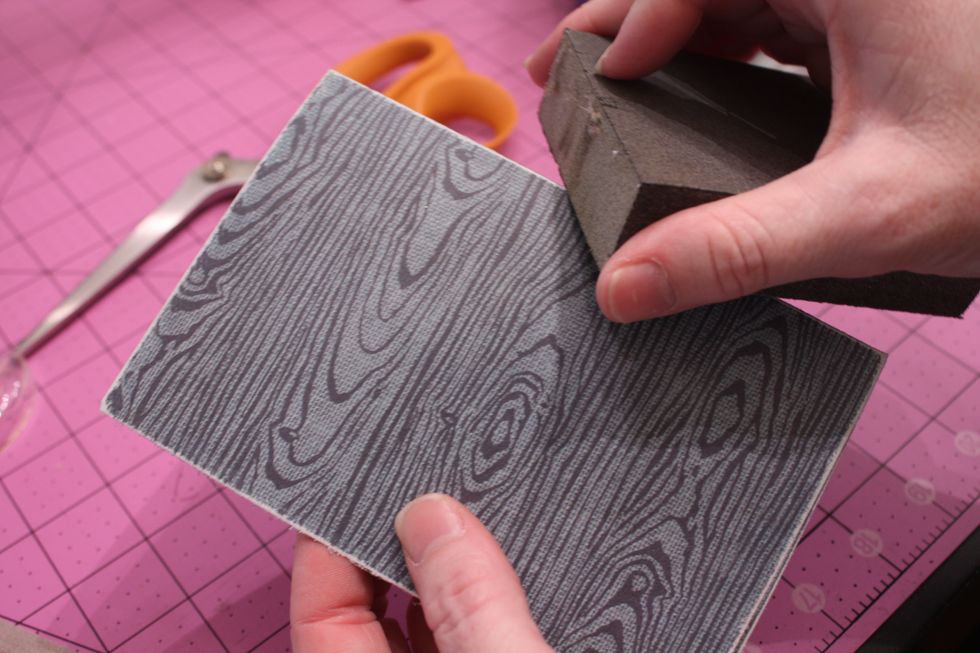
here is my sanding block that I got at Home Depot- another example of how you can do edge detail
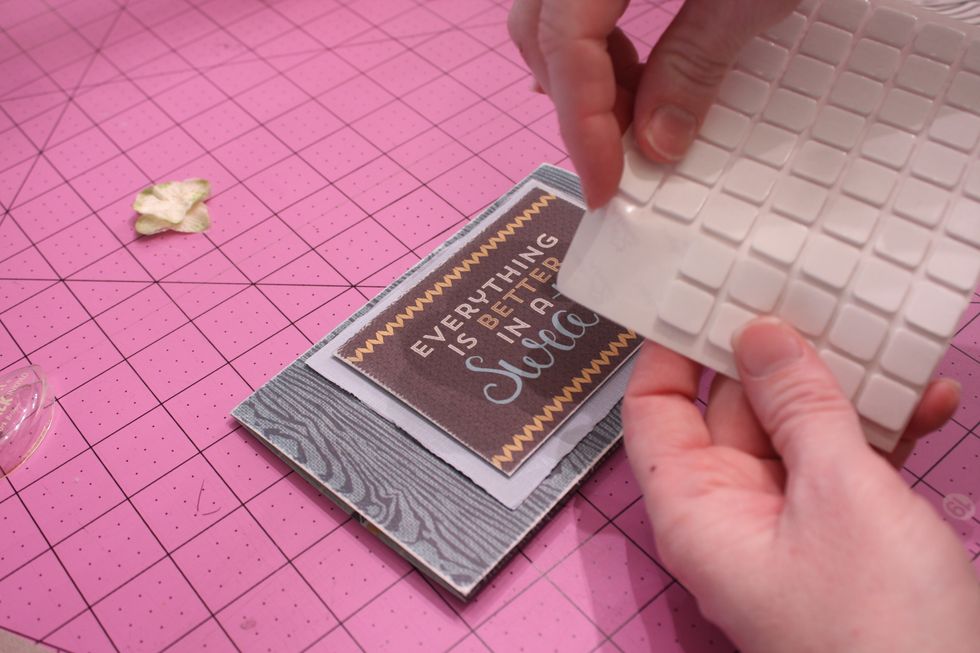
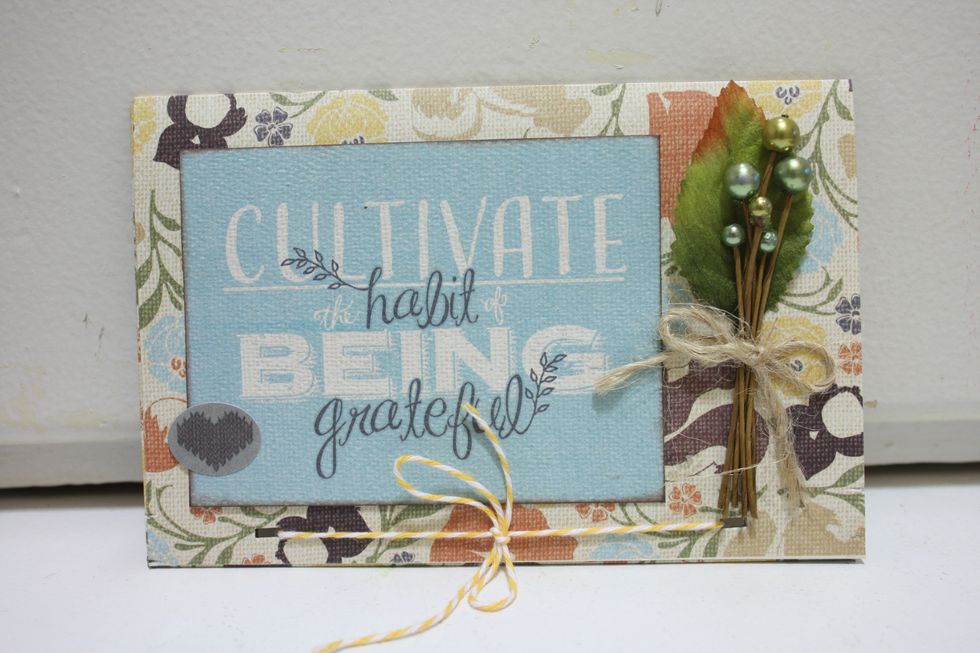
you can also add some foam squares to give some depth

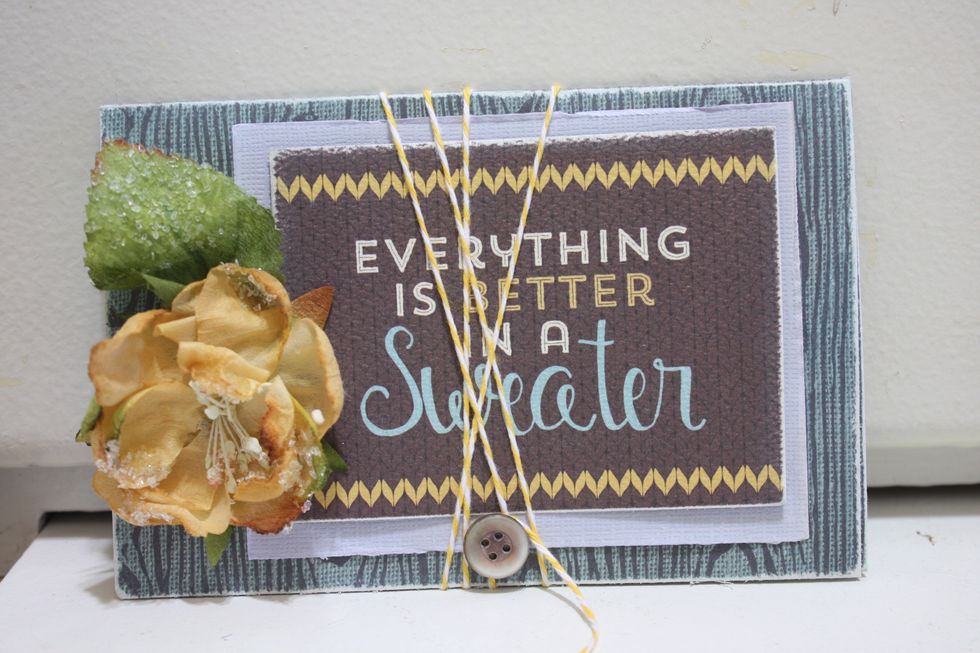
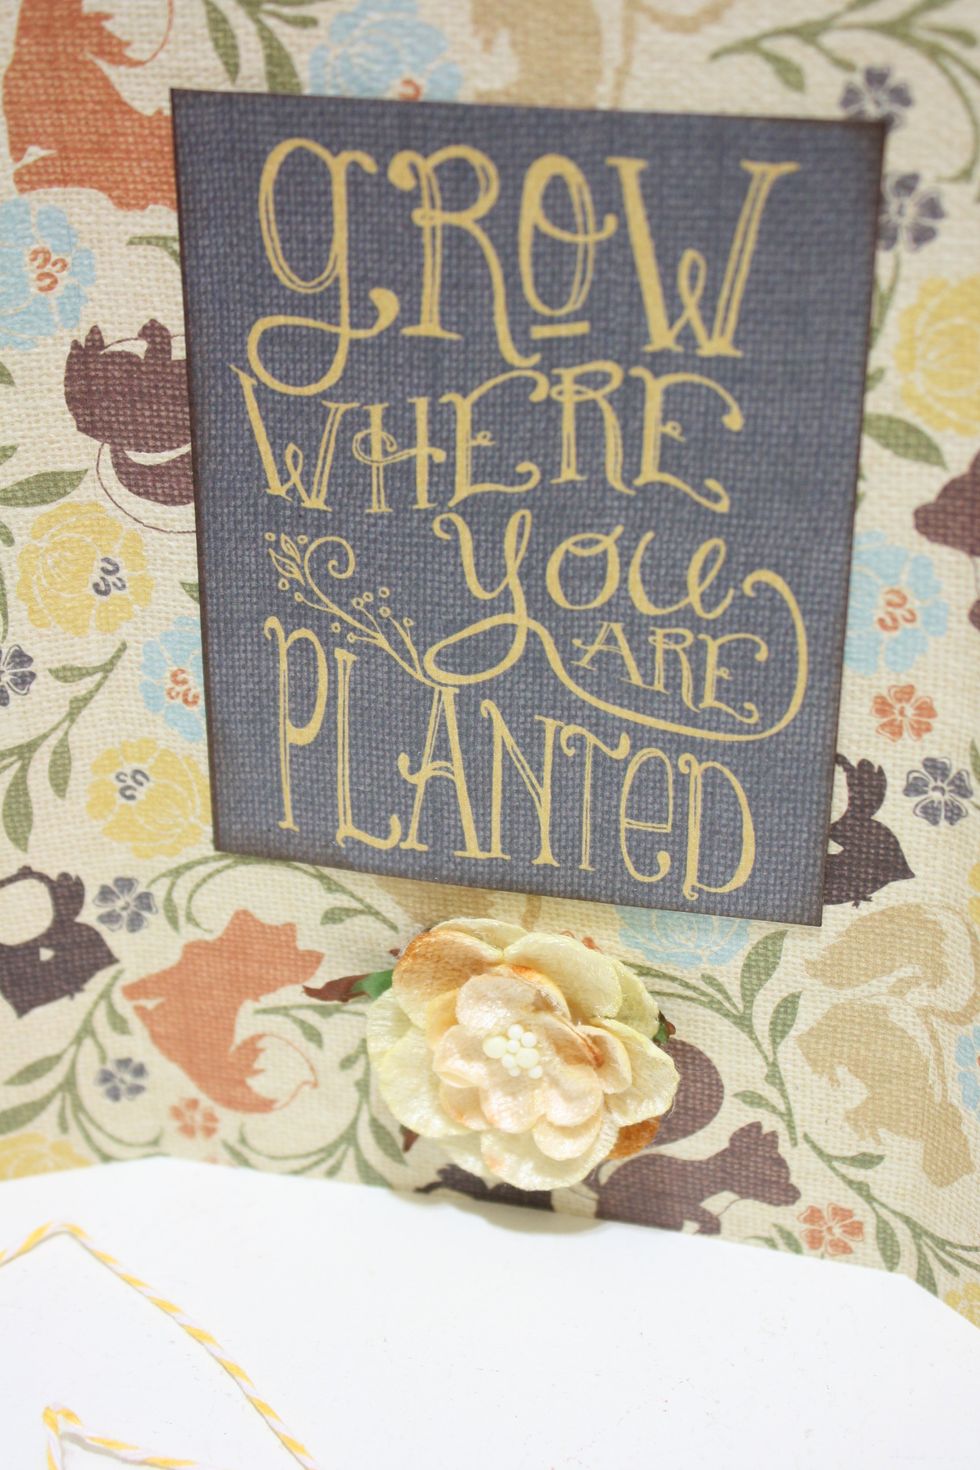
Here is a Petaloo Sugar bloom, its a little bigger so I kept it simple with just one flower and leaf

you can also add a little button closure. Start by adding a nice thick drop and then dipping one end of twine in it
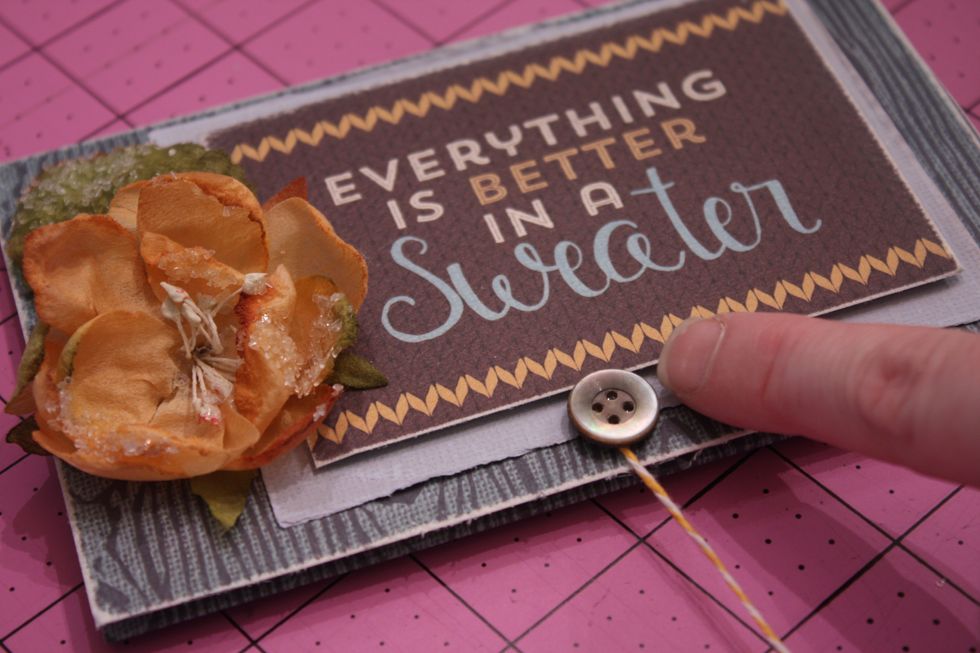
then add the button and press just ever so slightly- don't squish the glue all the way down- this give room to wrap the twine around
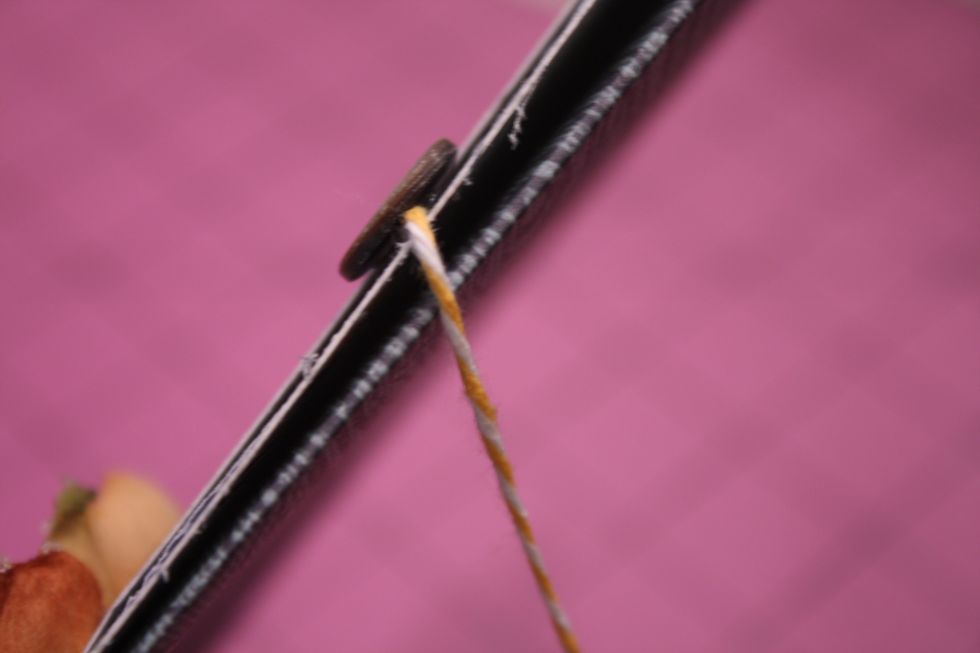
so you can see its raised up a little
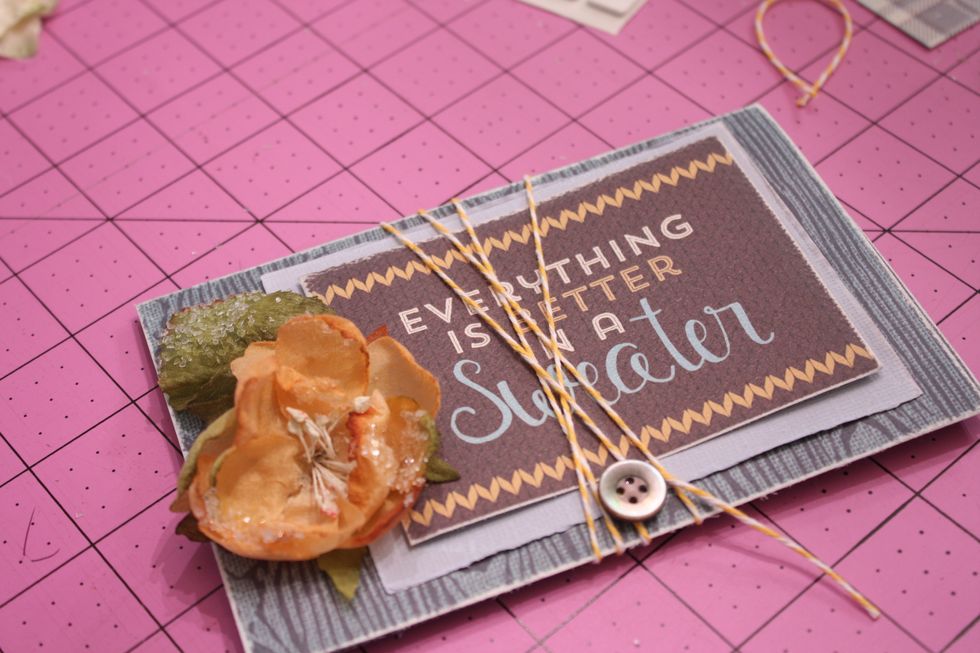
and then just wrap it around an few time then around the cooled button
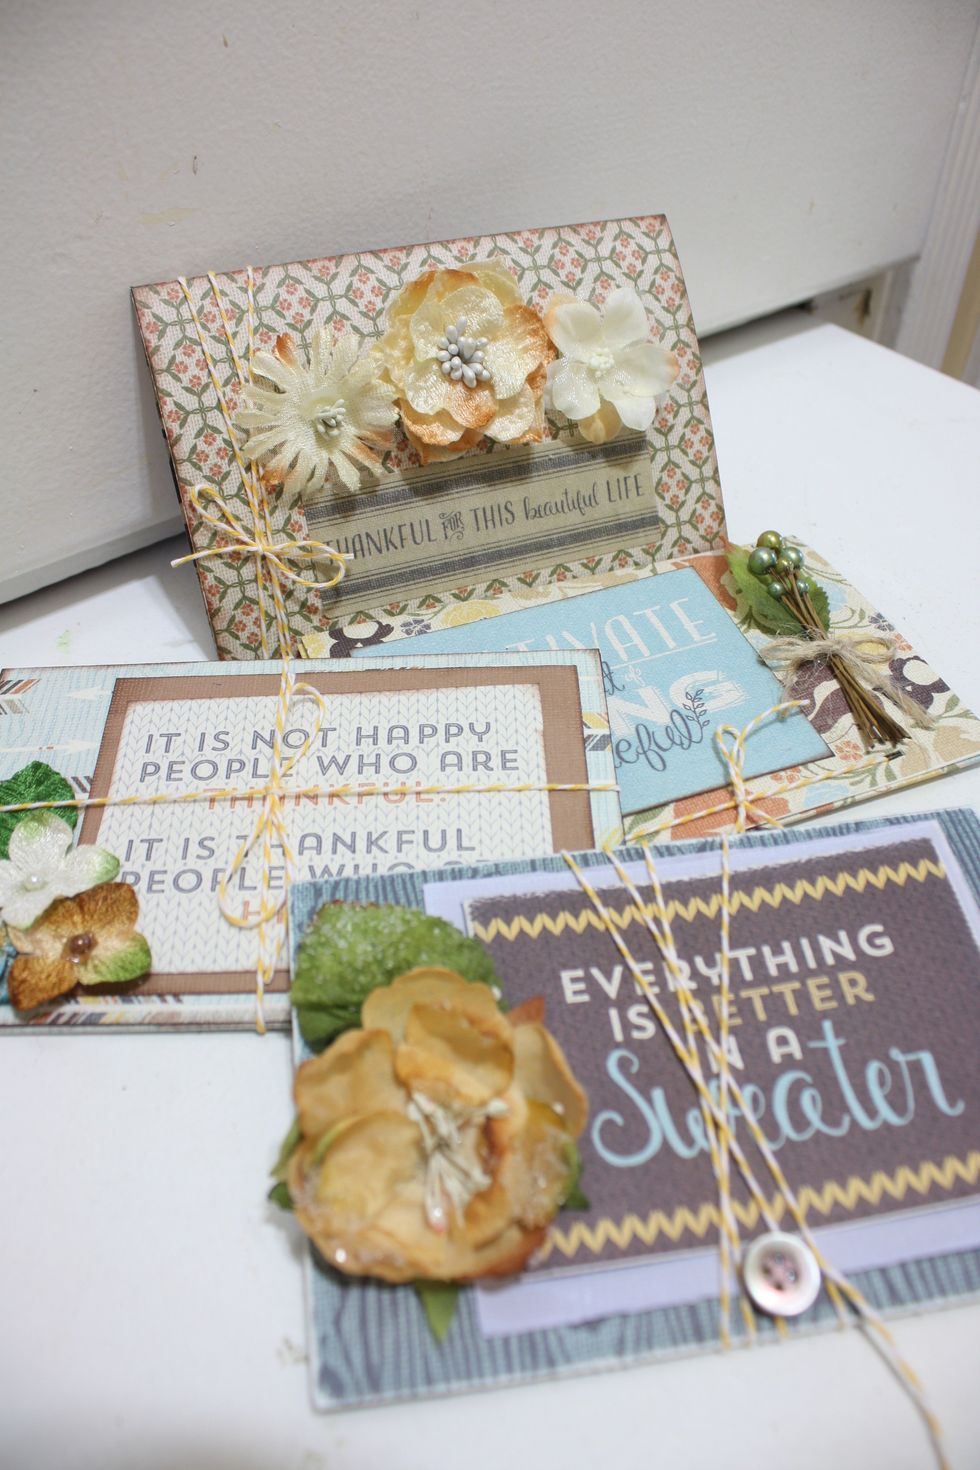
as you can see, you can keep it simple or get very creative. Great for a group of friends with different crafting skill levels
some close ups
the simplest one
.
.
inside
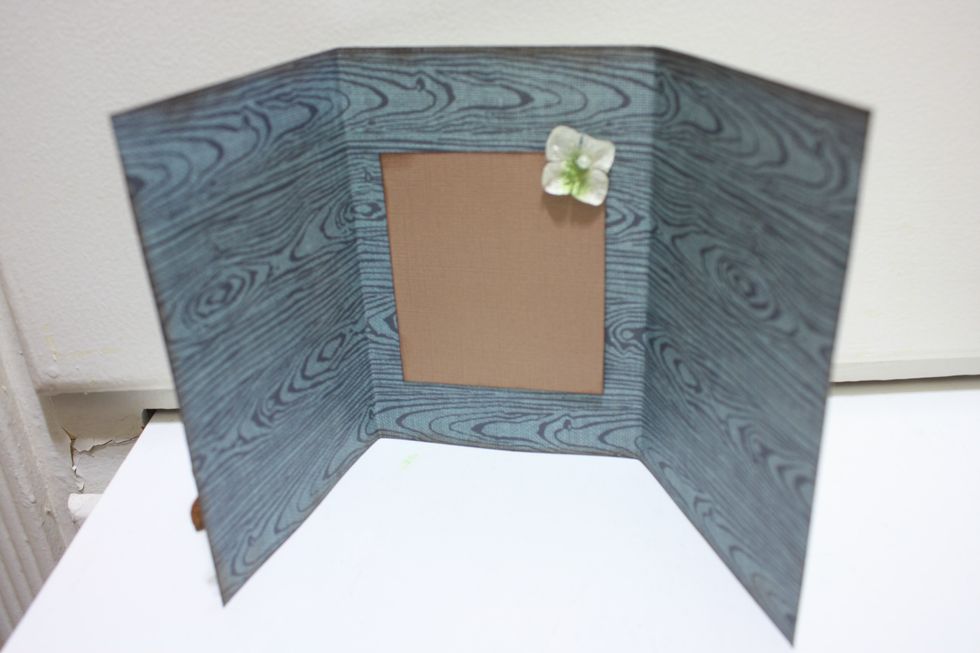
inside
.

.