How to happy halloween candy treat bags

Happy Halloween Candy Treat Bags

68
STEPS
TOOLS

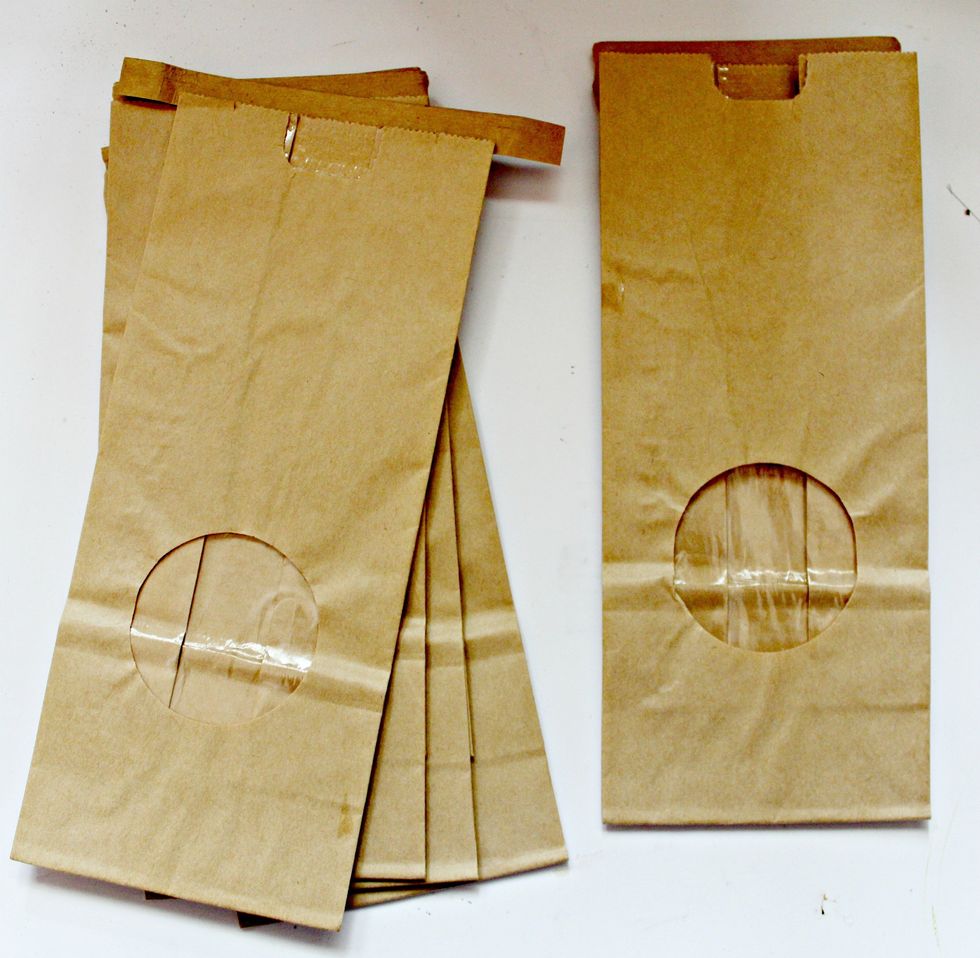
7 3/4" Uline Kraft Bakery Bags to decorate
7 3/4" Uline Kraft Bakery Bags to decorate

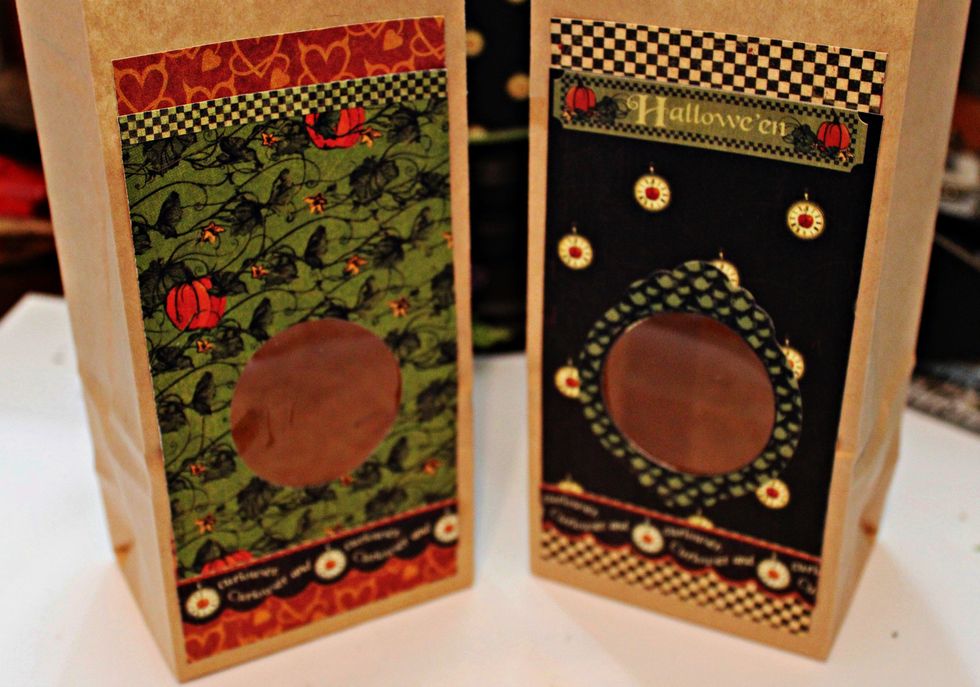
Begin by adhering pattern paper to front of treat bags.
Begin by adhering pattern paper to front of treat bags.

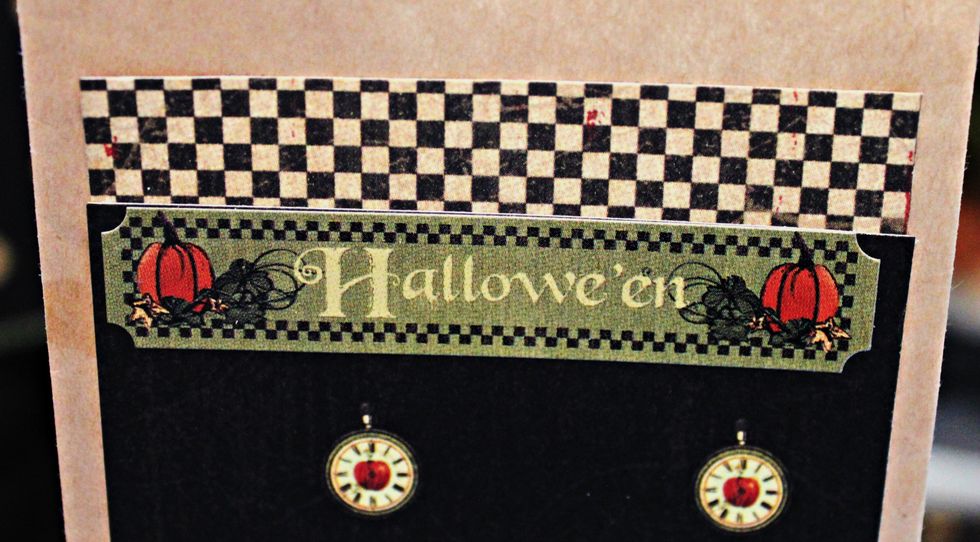
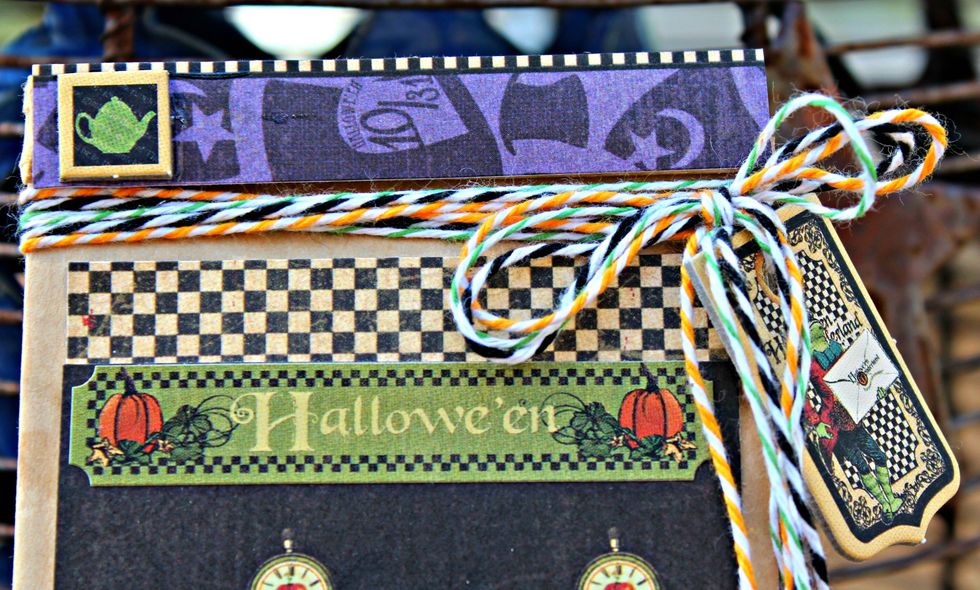
Add stickers to top of treat bag.
Add stickers to top of treat bag.

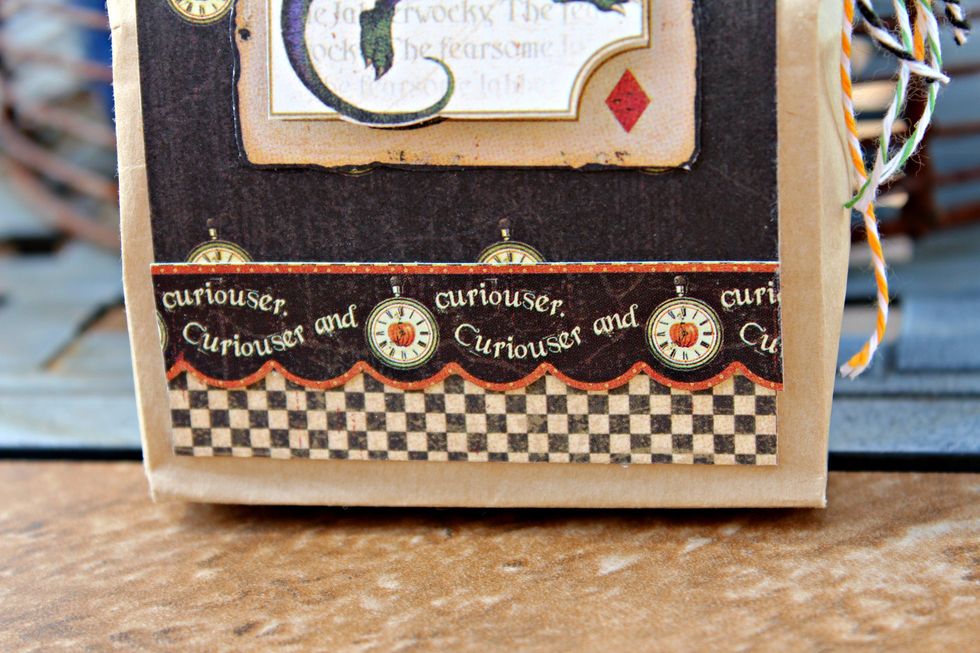
Add stickers to bottom of treat bags
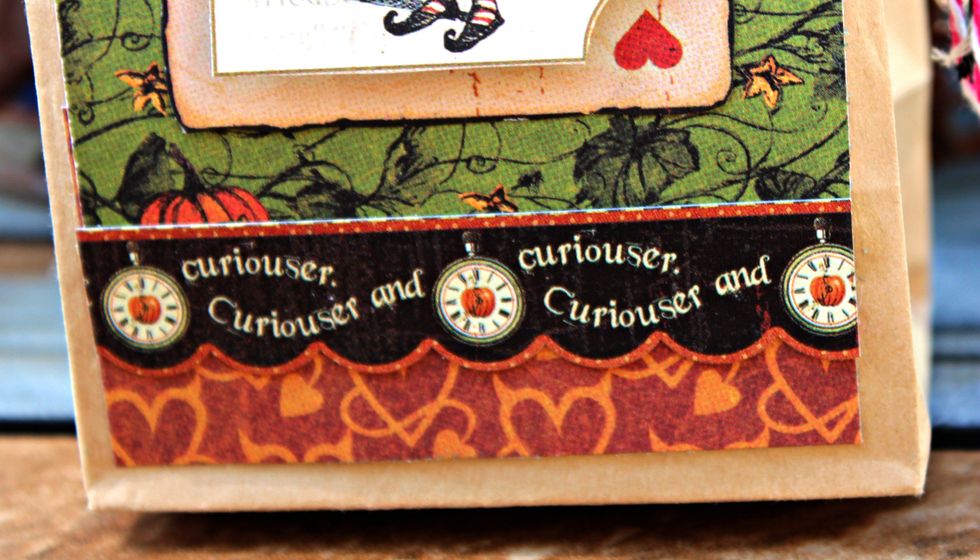
Add stickers to bottom of treat bags
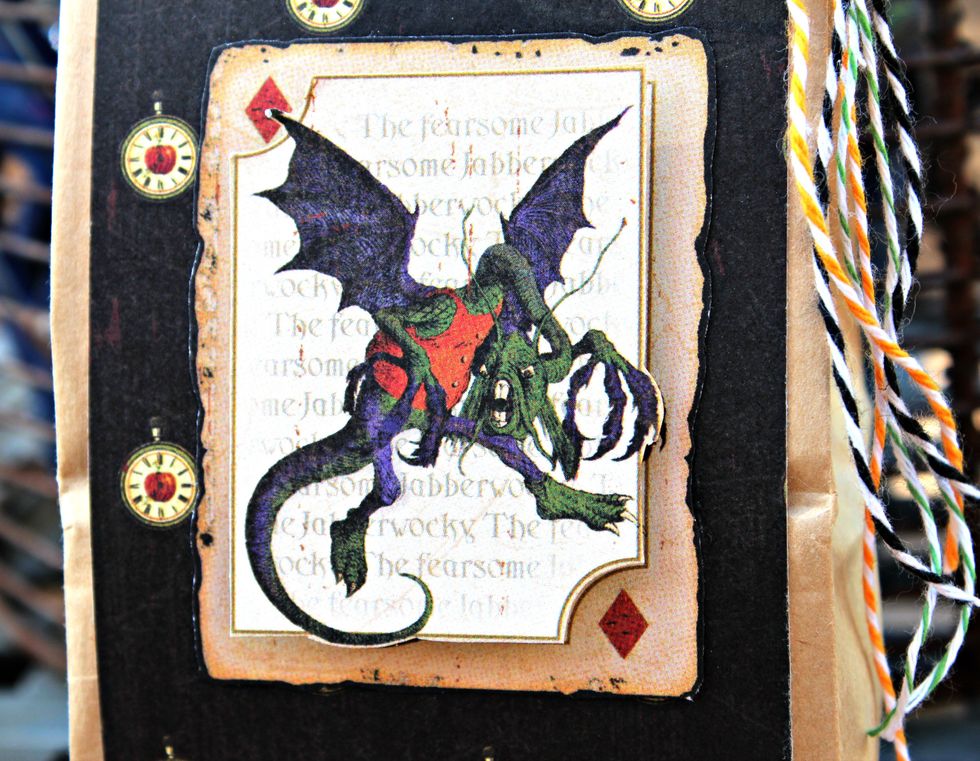
Fussy cut two card images from pattern paper. Adhere to front one to front of treat bag and the second place on  with pop dots.

Fussy cut two card images from pattern paper. Adhere to front one to front of treat bag and the second place on with pop dots.
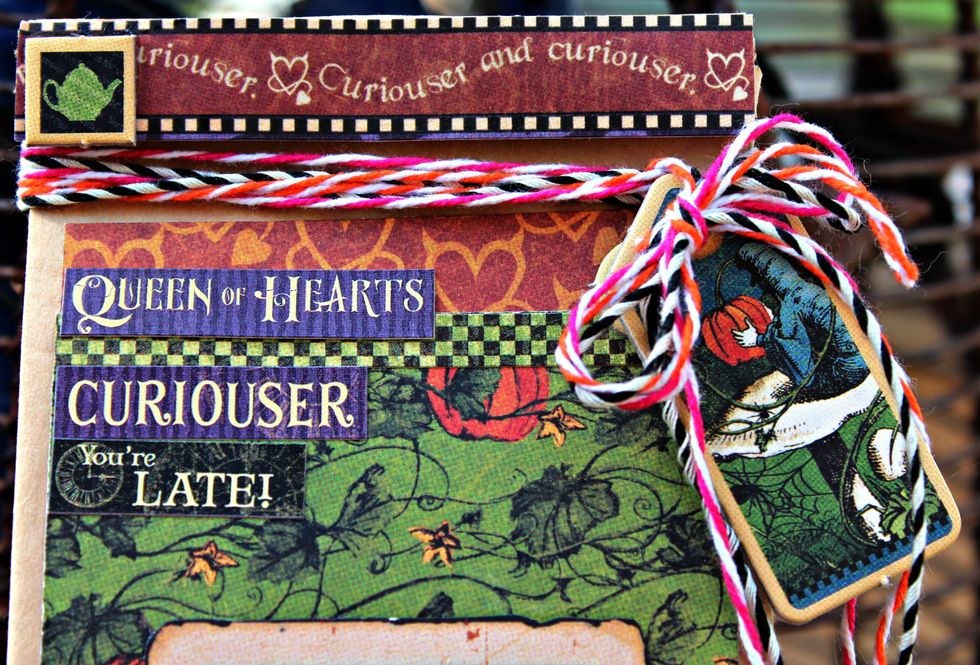
Add stickers to front of treat bag
Add stickers to front of treat bag

Along with border strip to the top of treat bag once it is folded down.
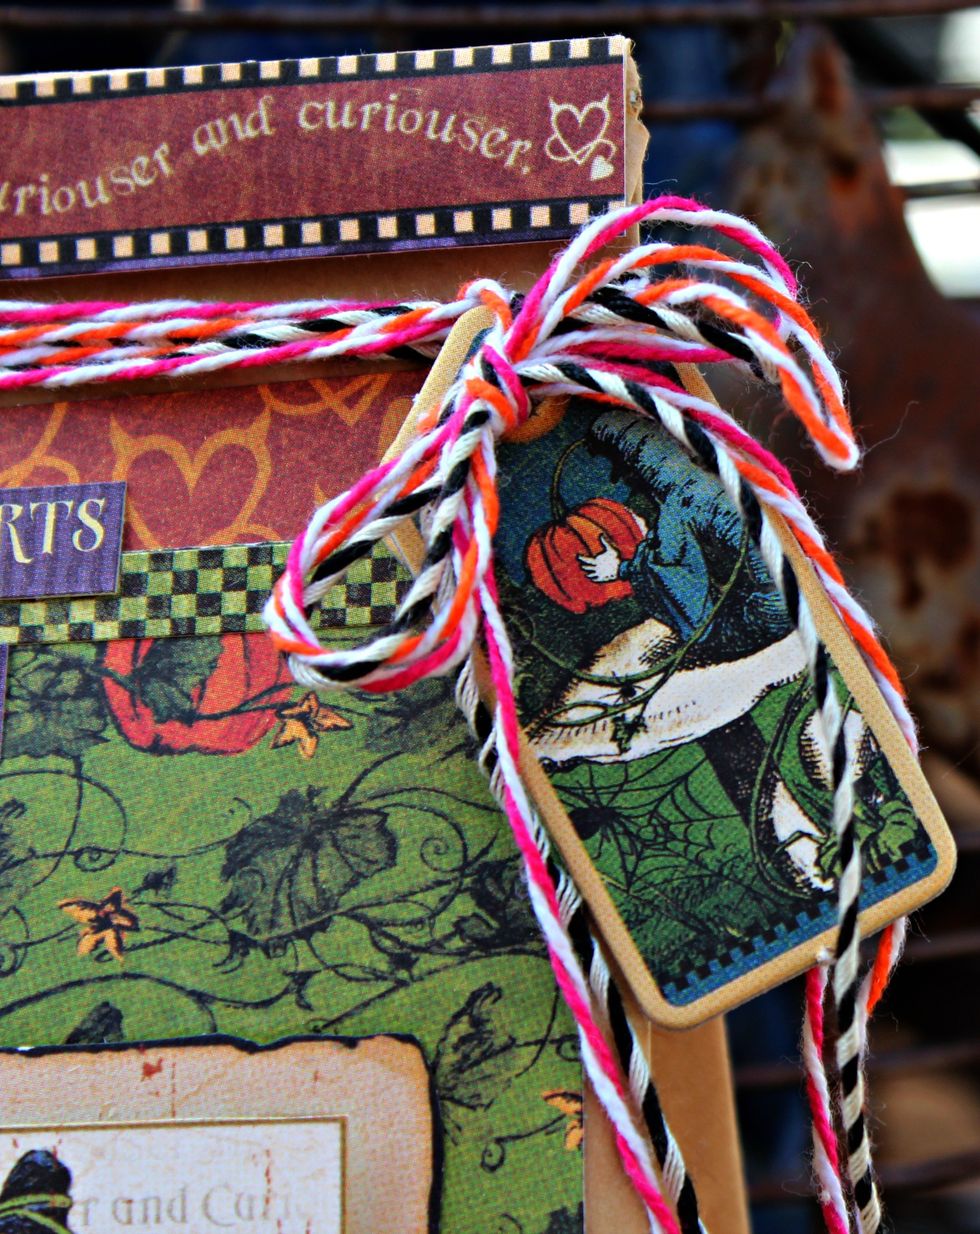
Along with border strip to the top of treat bag once it is folded down.

Wrap twine around the top of folded bag. Add chipboard tag and tie with bow.
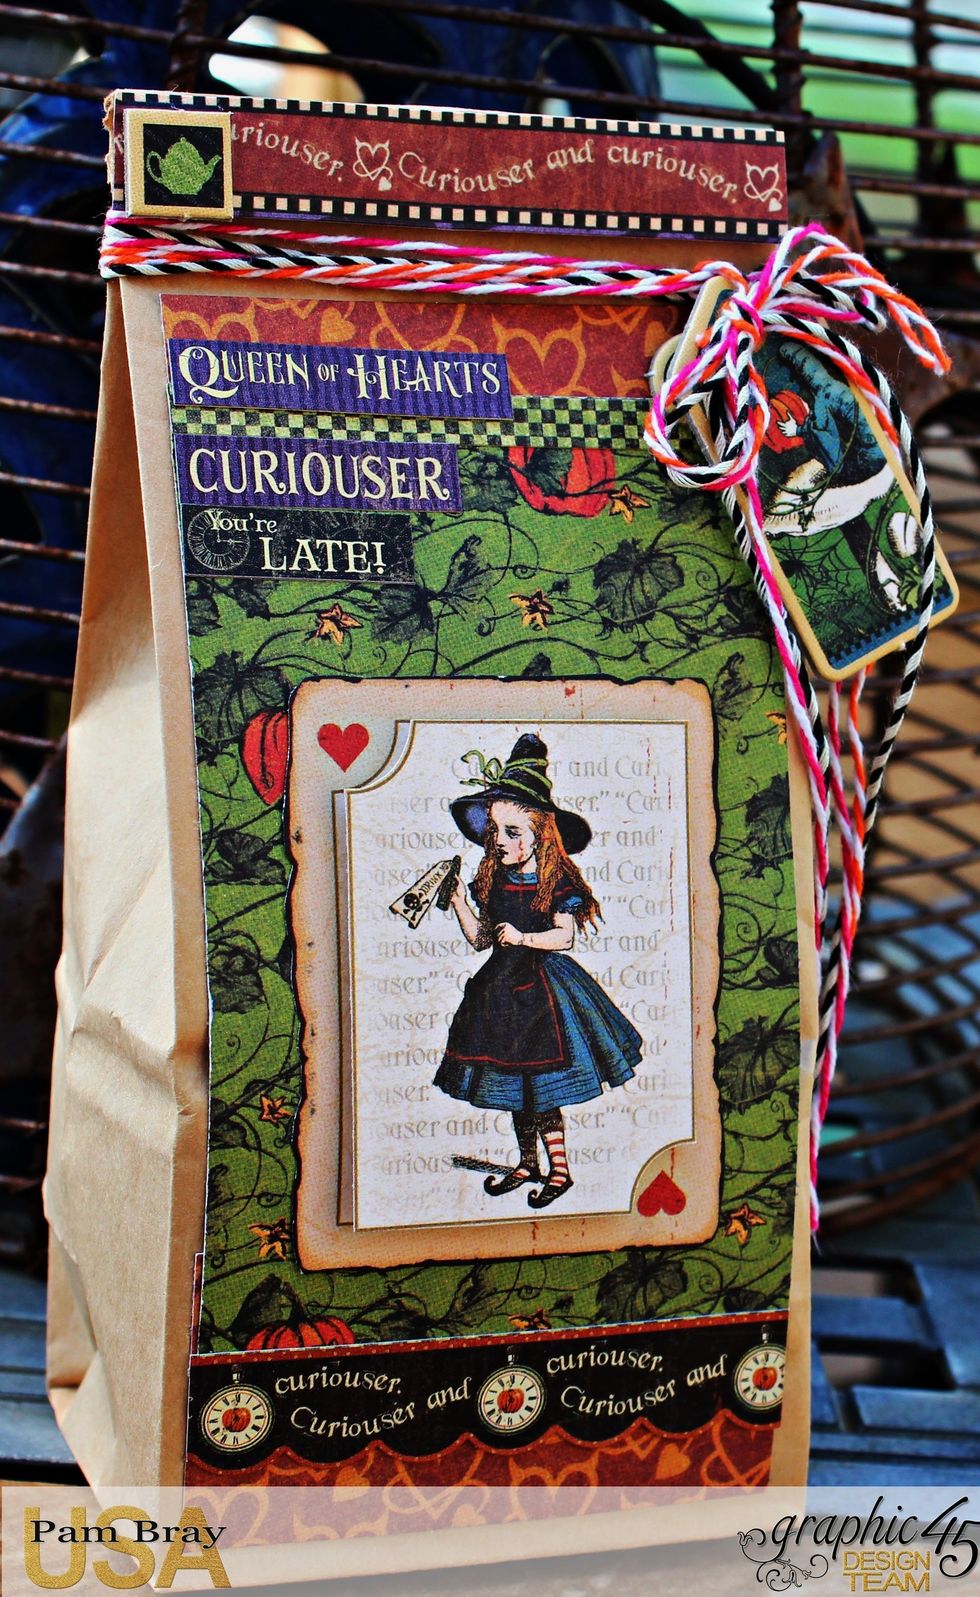
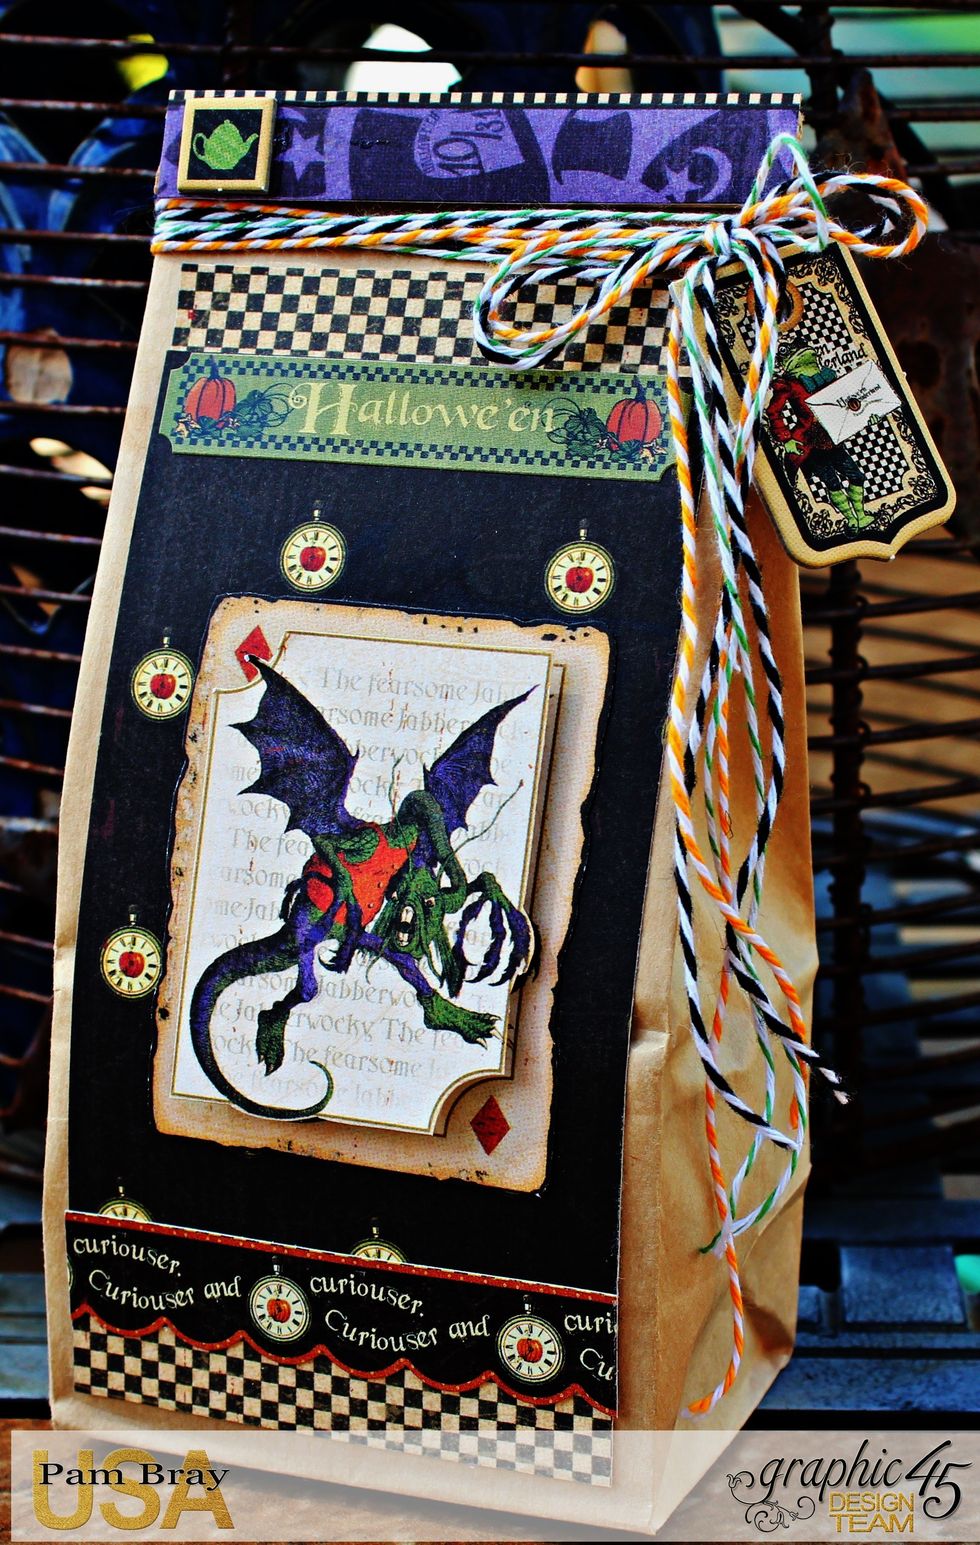
Wrap twine around the top of folded bag. Add chipboard tag and tie with bow.
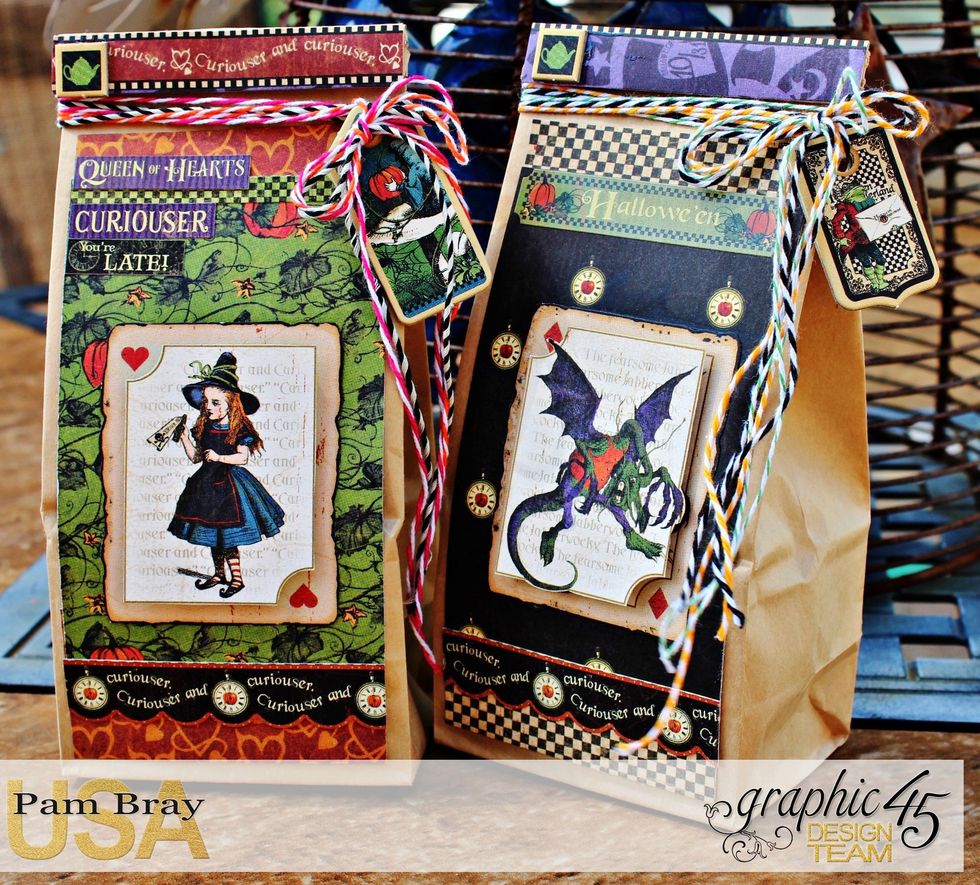
Fill the Happy Halloween Treat Bags with your favorite candies. I know your family and friends  will love them.

Fill the Happy Halloween Treat Bags with your favorite candies. I know your family and friends will love them.

  • 1.0 Graphic 45 Halloween in Wonderland Collection
  • 1.0 Red and White Twine
  • 1.0 Green and White Twine
  • 1.0 Orange and White Twine
  • 1.0 Black and White Twine
  • 1.0 7 3/4" Uline Kraft Bakery Bag
  • 1.0 Xyron Adhesive
  • 1.0 Pop Dots