The Conversation (0)
Sign Up
Hey there and Welcome! one of my favorite times of the year is upon us Halloween, and I am super excited to do this Grungy Halloween guy so let's get started...
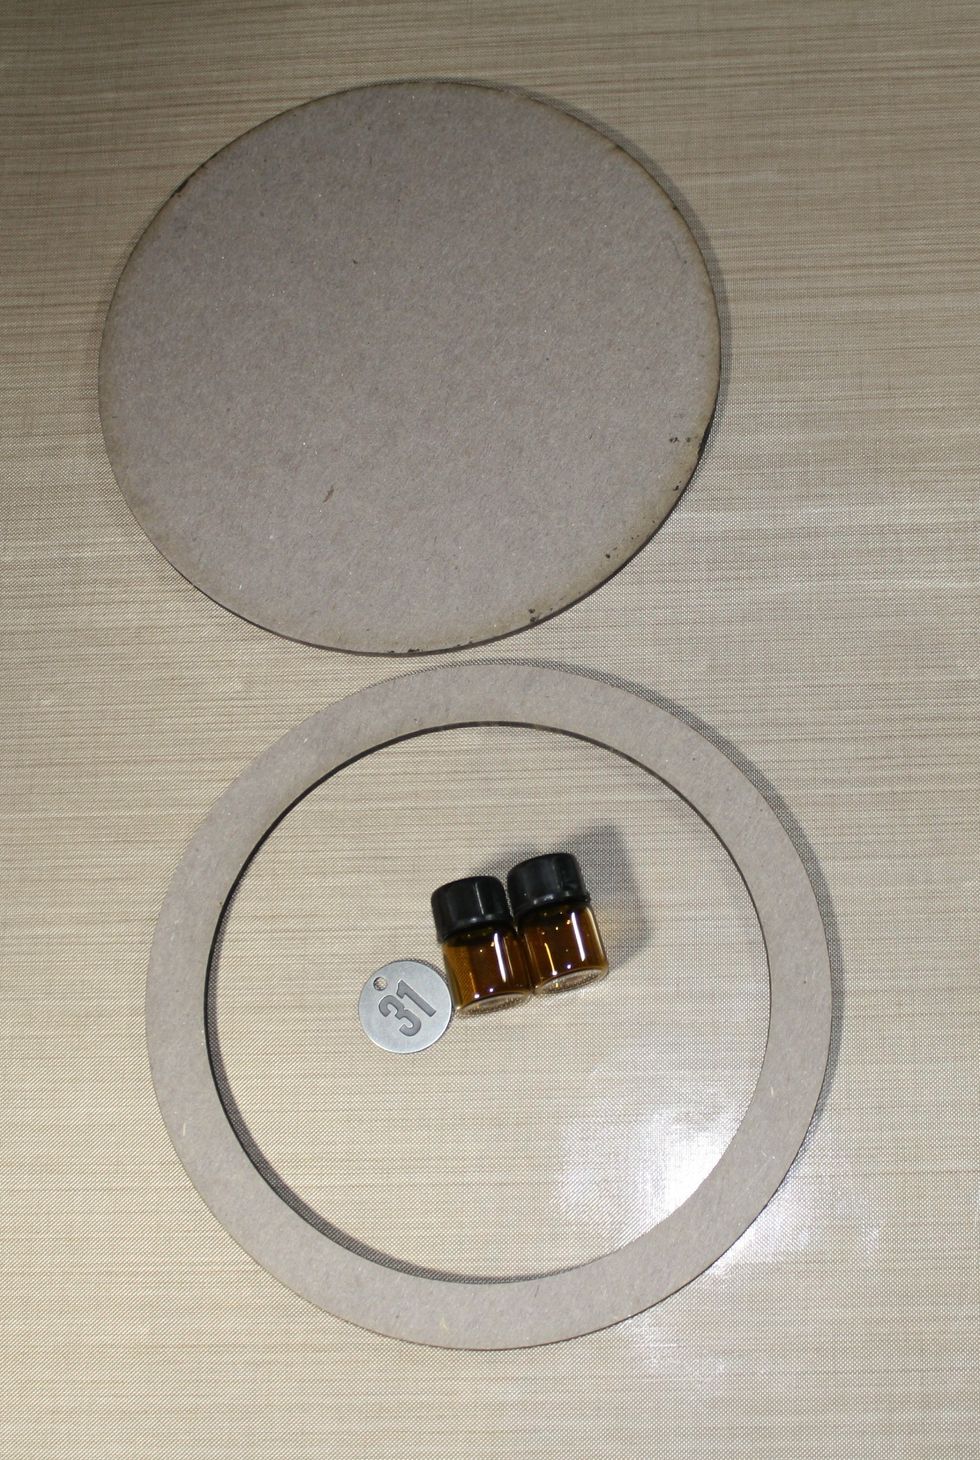
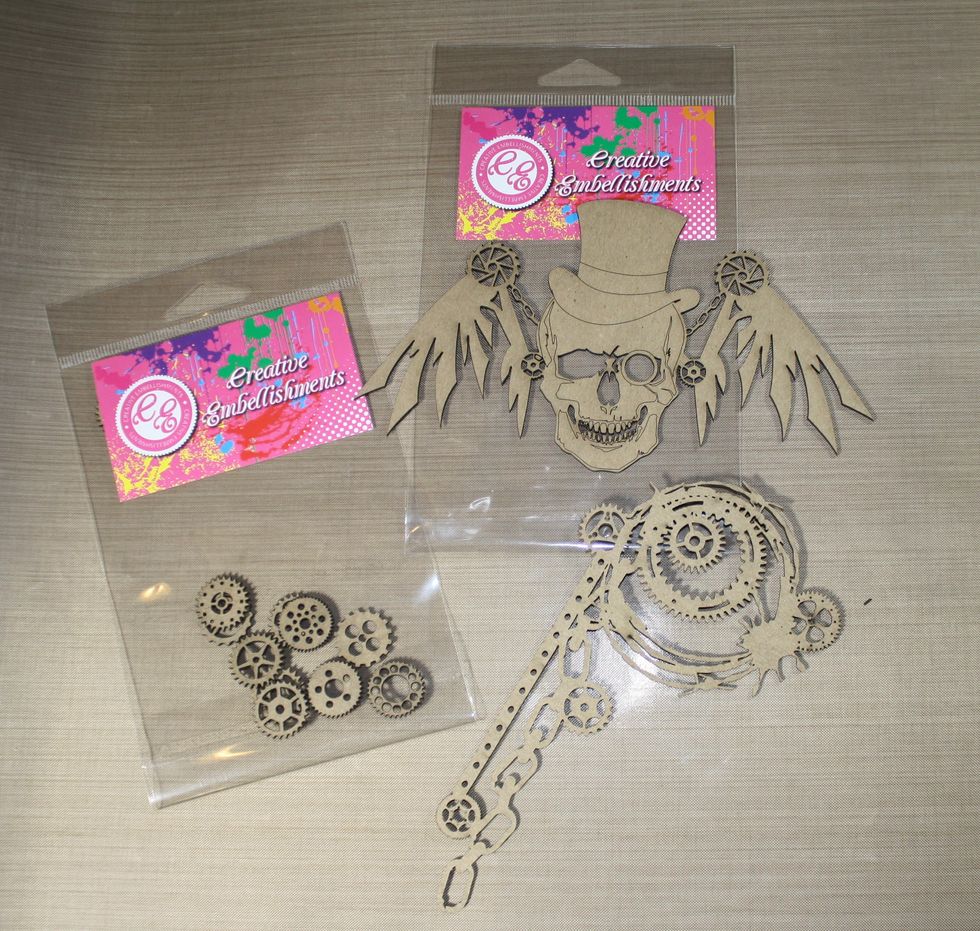
We will be using the large circle frame, two small sample bottles for essential oils, we will use the tops of the bottles for our steampunk goggles, and a metal 31 tag.

Gesso all the chipboard.
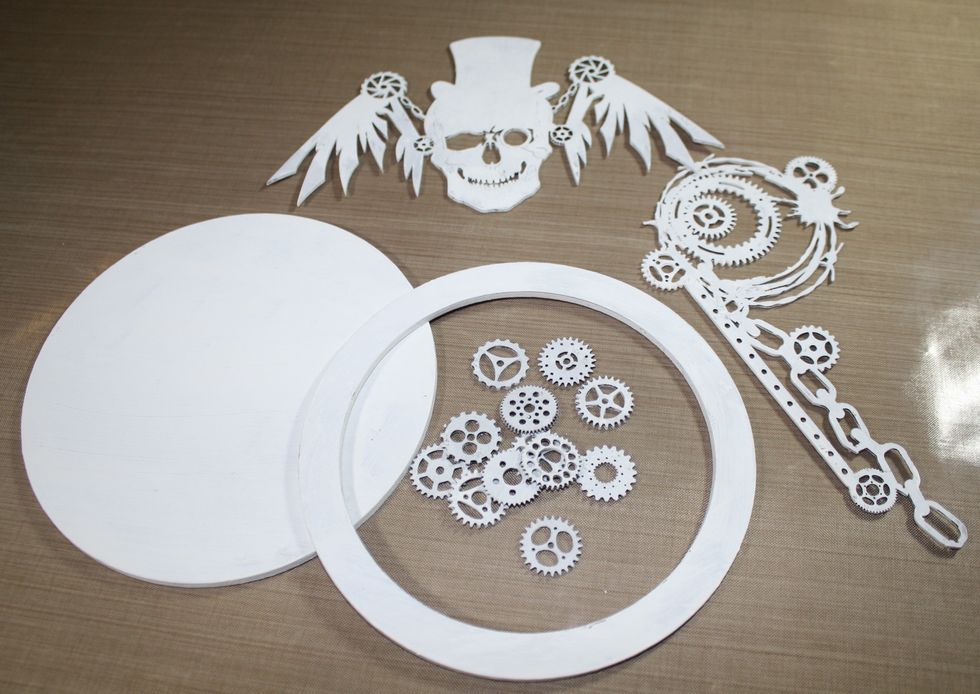
Black gesso can also be used.
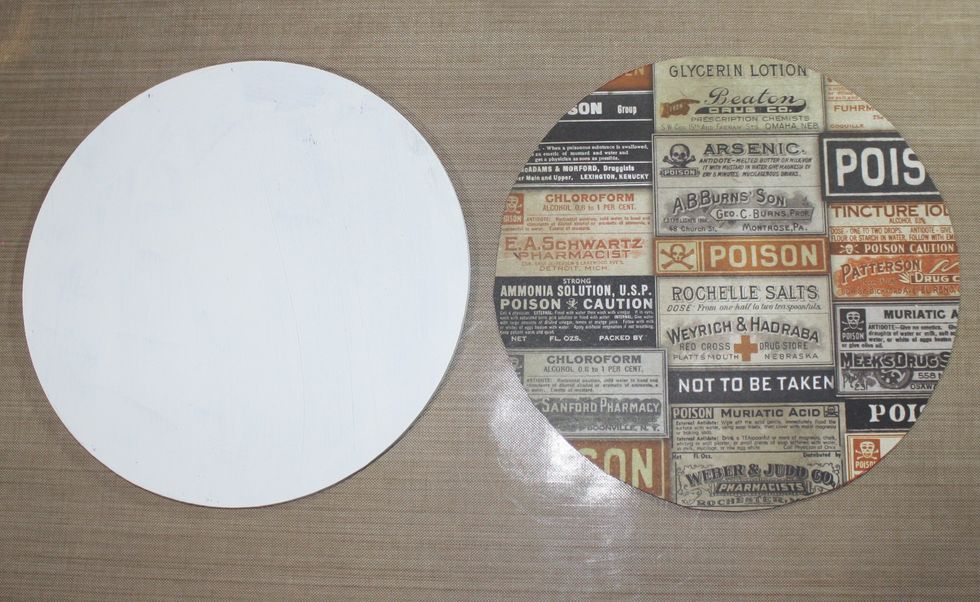
Cut out the scrap paper to the size of the back of the large circle frame.
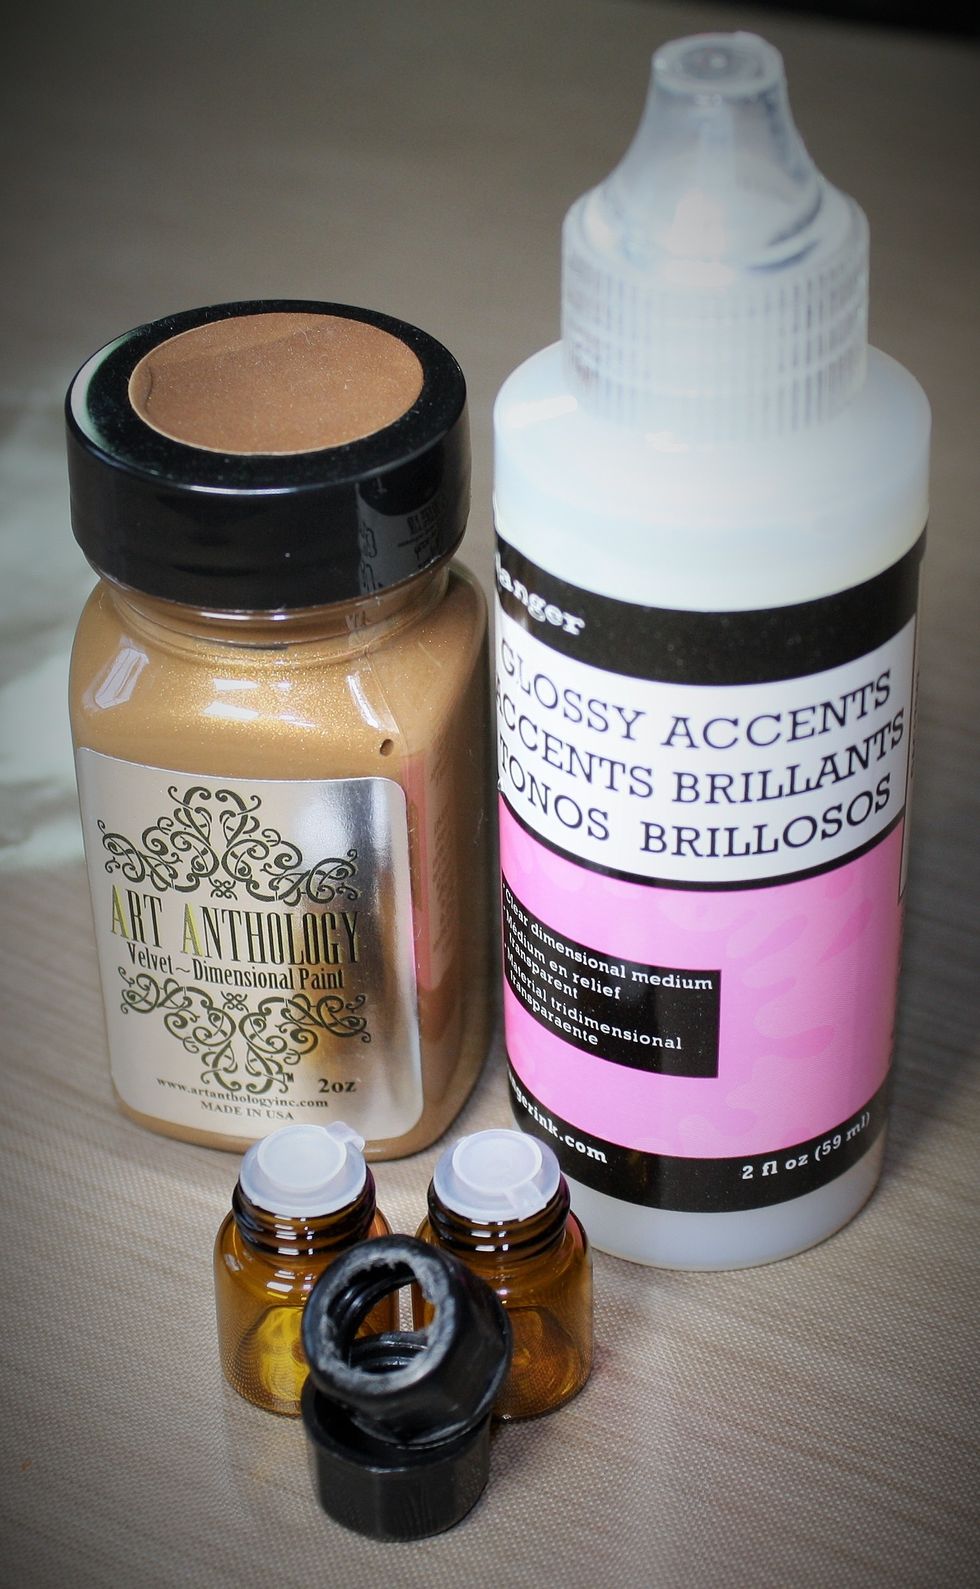
Drill out the top of the bottle caps, sand down the cap to remove any stray parts, then paint with Art Anthology Kona, once that is dry, flip caps over top down and fill with Glossy Accents.
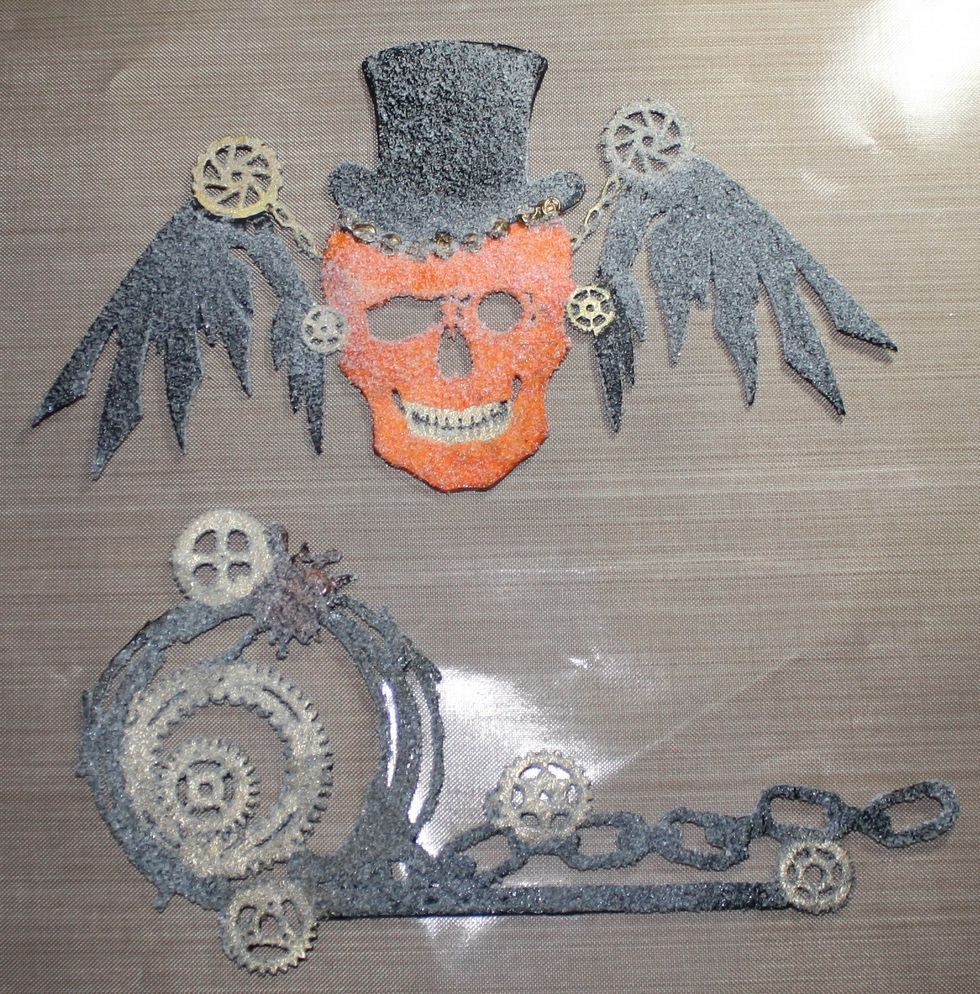
Using the Galaxy Gold stamp pad, stamp all the gears on the grunge gear and skull, once dry, paint the chipboard with Art Anthology Popp and Tuxedo, once dry, stamp with Versamark and apply UTEE.
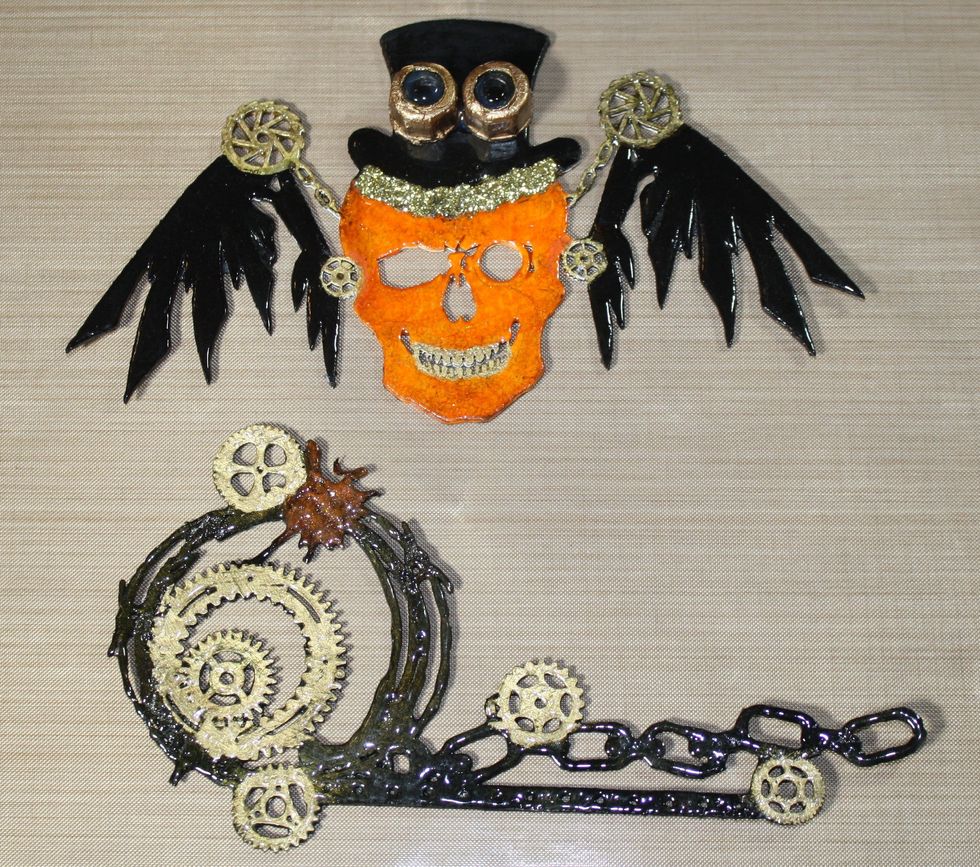
Apply heat to the UTEE, once the UTEE has melted, apply top hat Stickles Gold and steampunk goggles with Aleene's Tacky Glue.
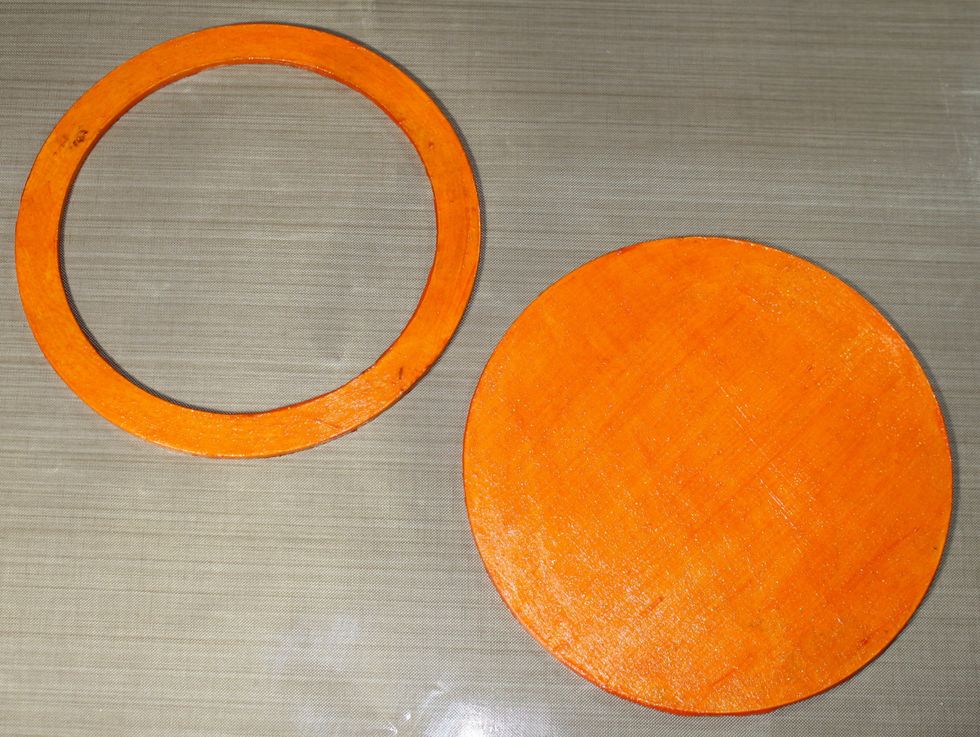
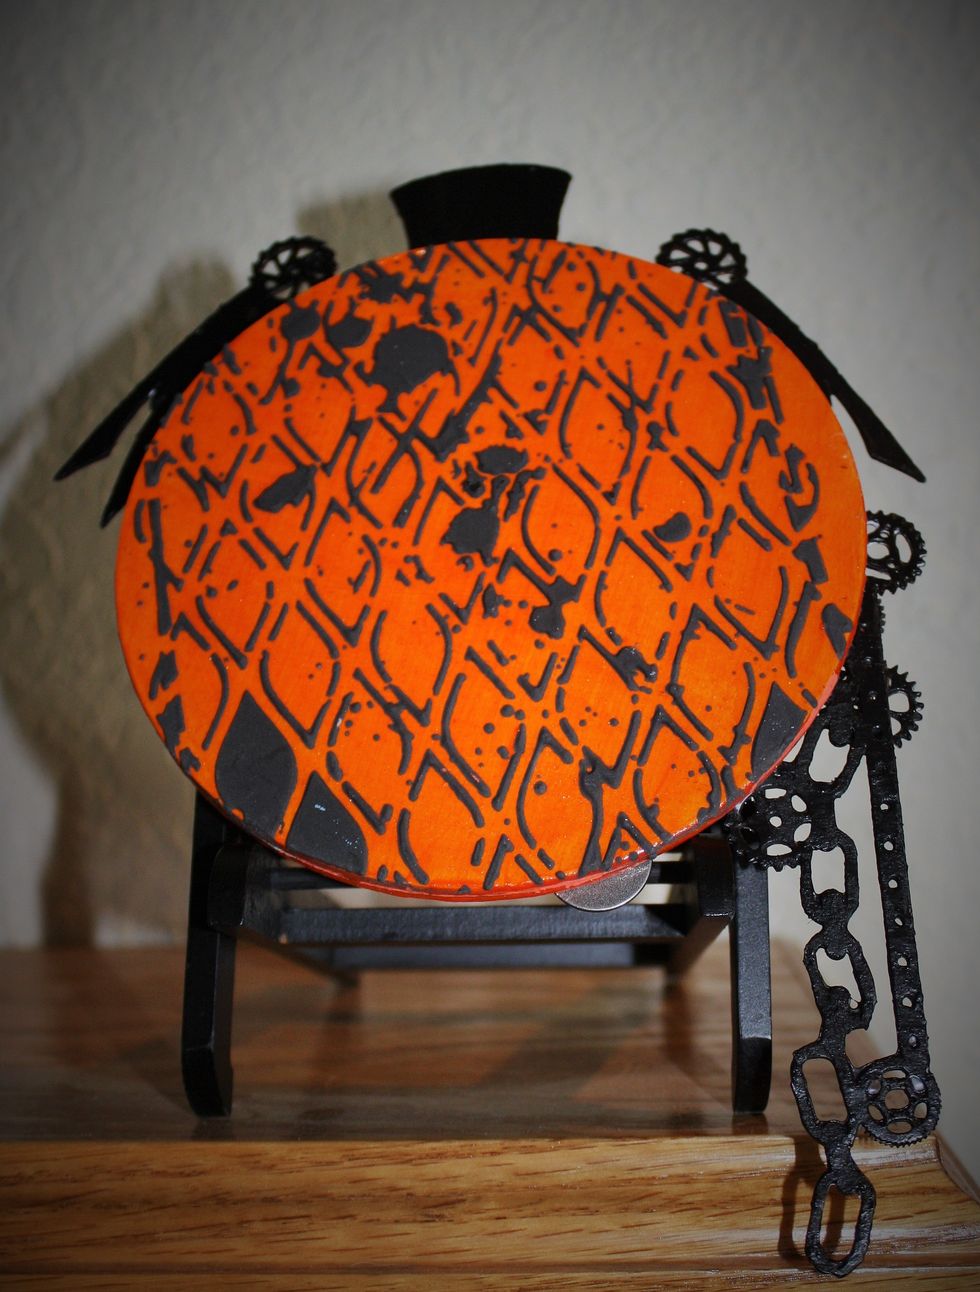
Paint the front and back of each circle frame.
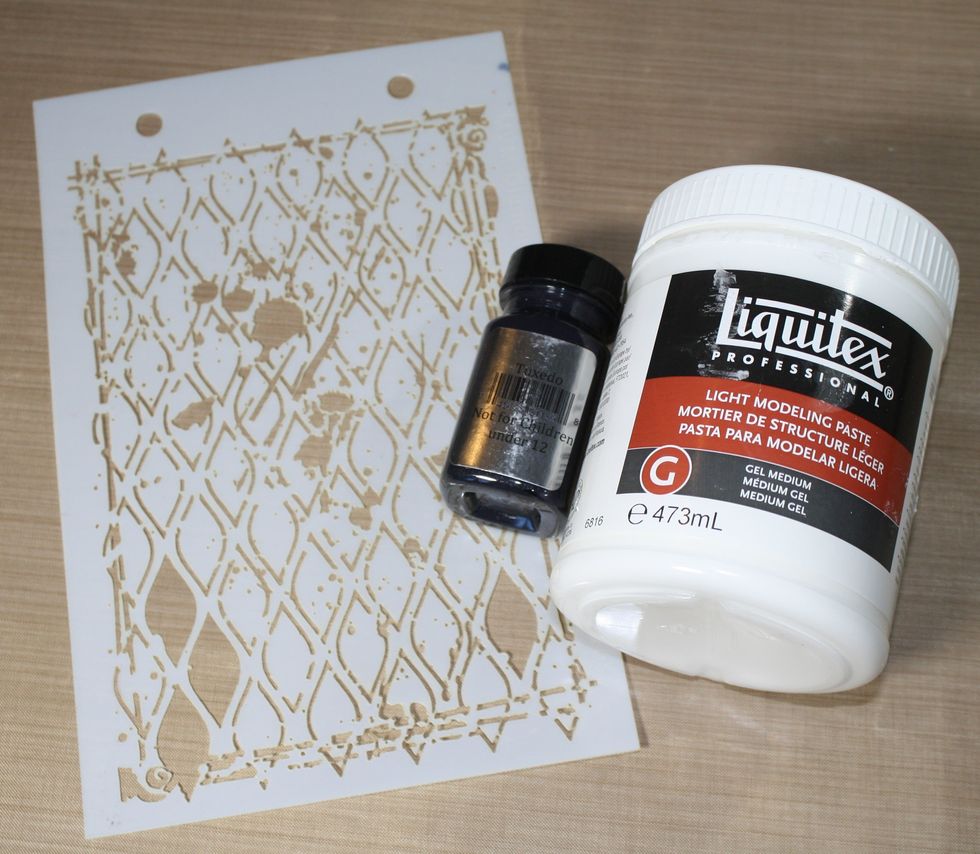
Mix modeling paste and Art Anthology Tuxedo together to apply through stencil.

Apply mixed modeling paste through stencil with random spacing for more grungy effects.
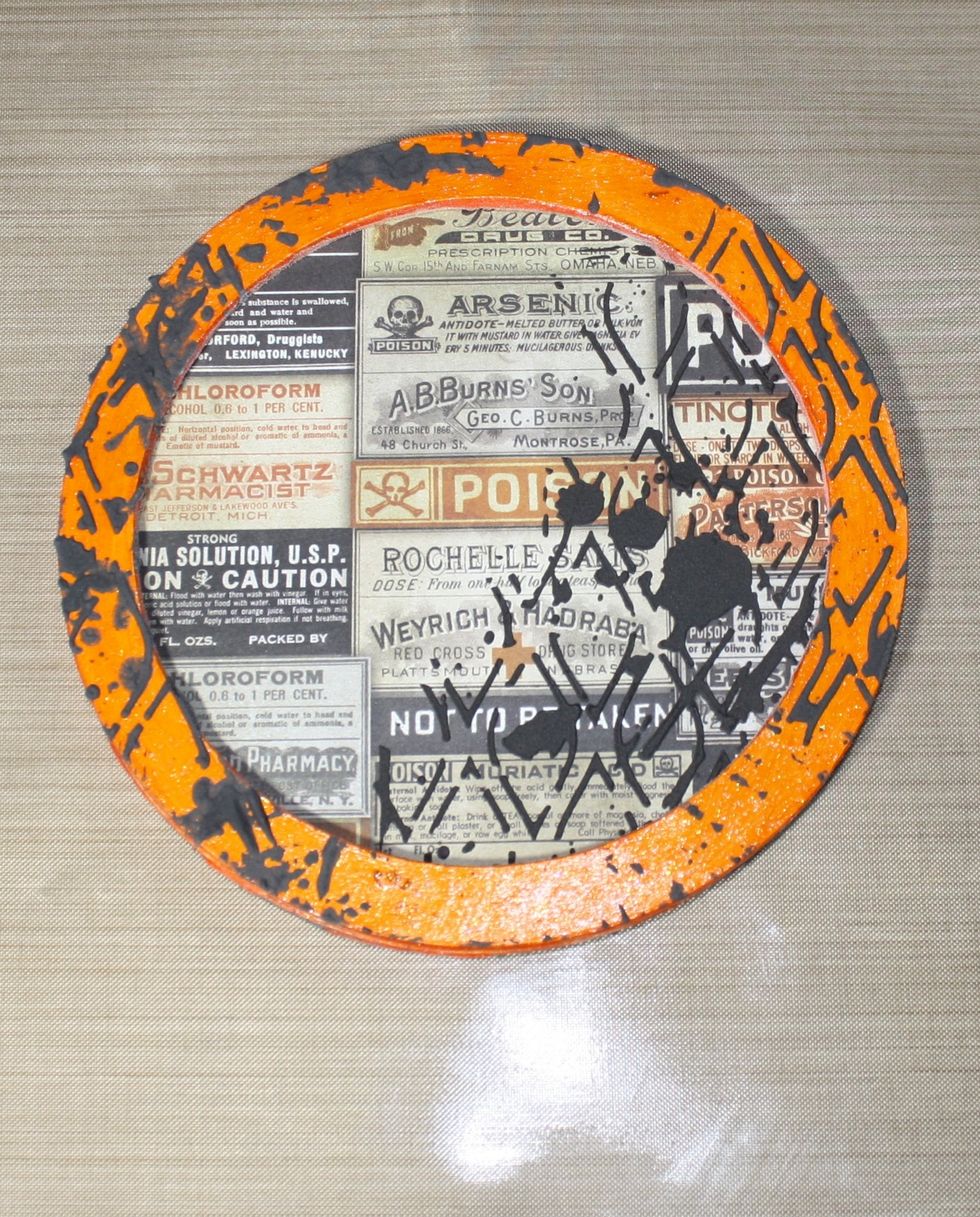
Once all pieces are dry, glue the scrap paper to the large circle frame back, and glue the open circle piece to the top.
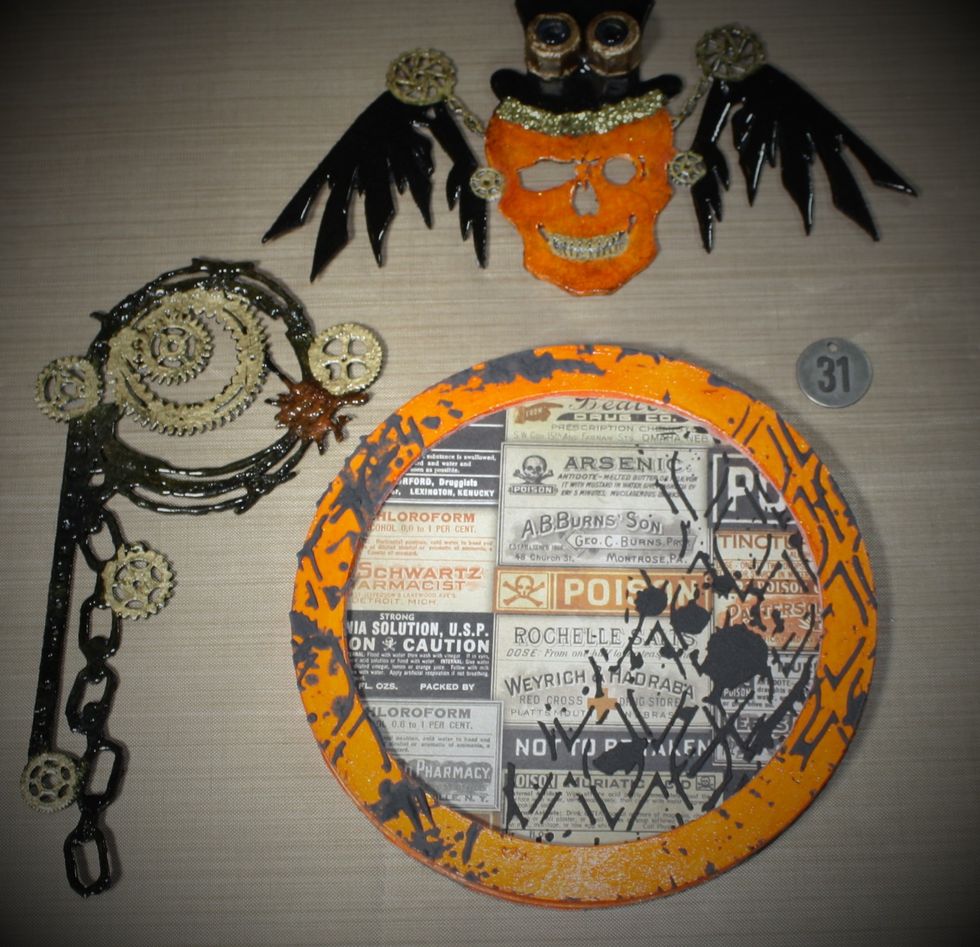
Time to assemble the project.
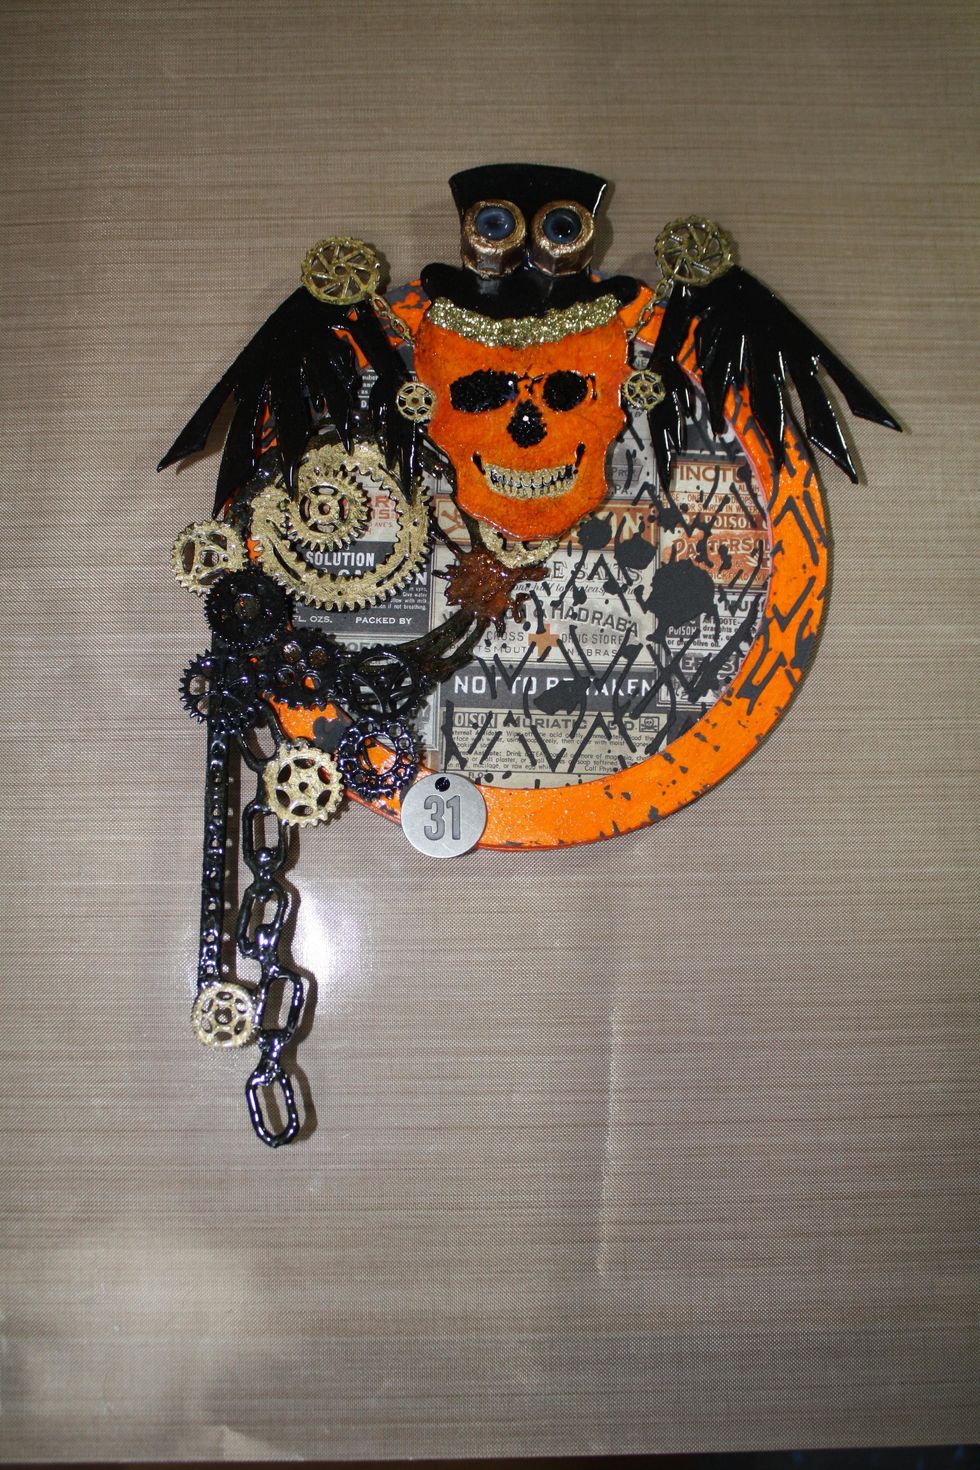
Once the project is assembled, apply Glossy Accents to the eyes and nose area and add the black glitter.
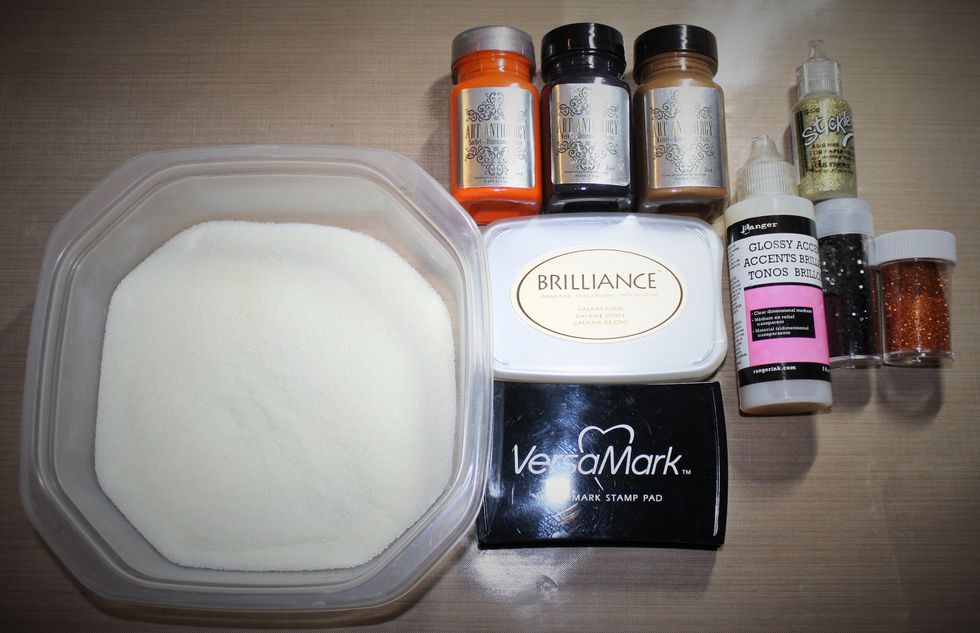
Some of your supplies, the UTEE is in a container for easier access for applying to your pieces.
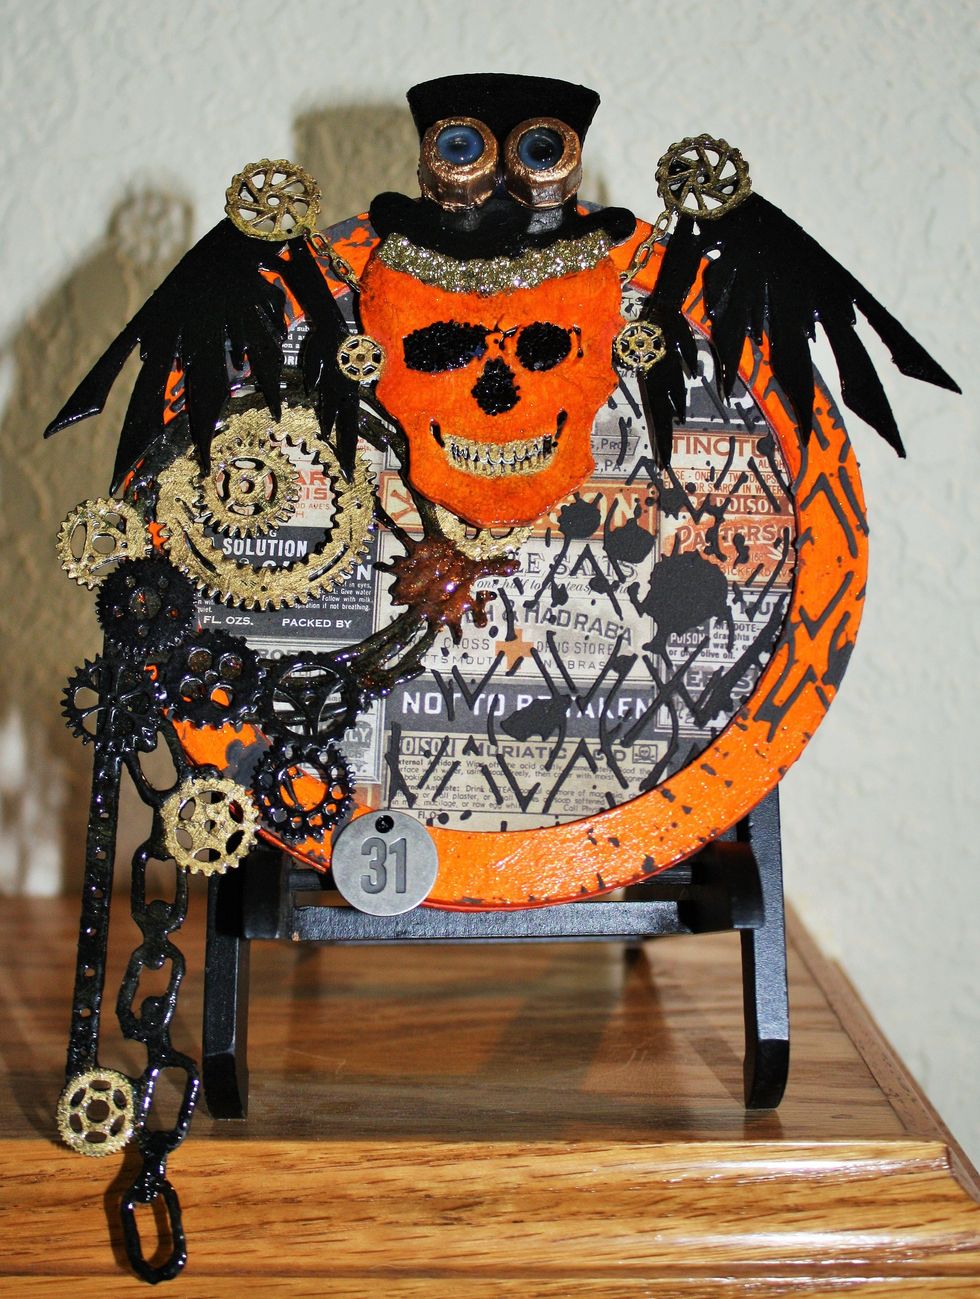
The end result, I really like using the UTEE with Art Anthology Paints, it really makes the colors pop and shows off all that shiny glitter.
Don't forget to touch up those back pieces and any areas that may have been rubbed off during assembly.
Thank you for following along, please visit artanthologyinc.com for all the paints and even more beautiful projects!