The Conversation (0)
Sign Up
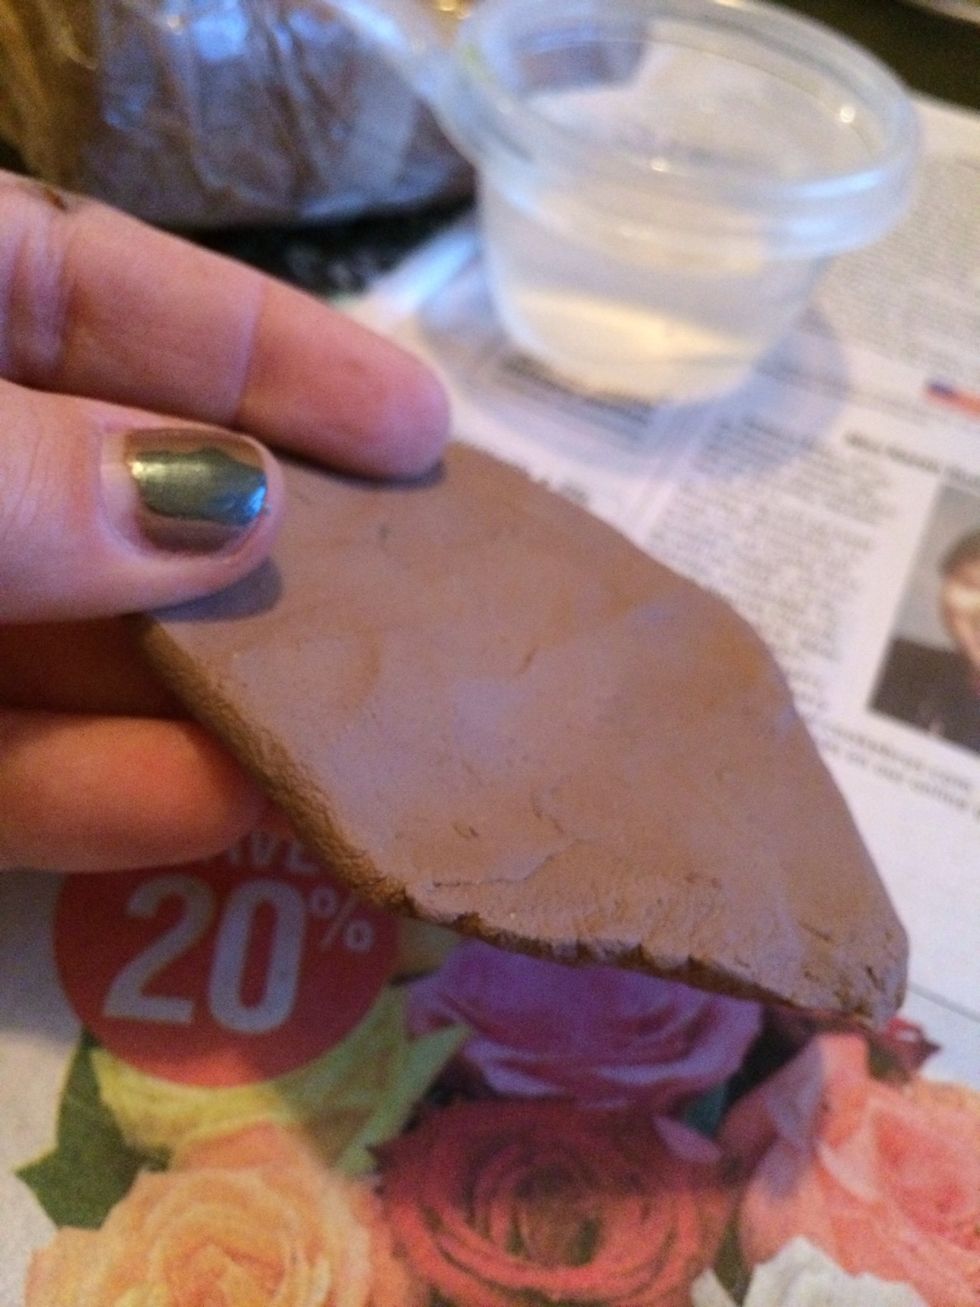
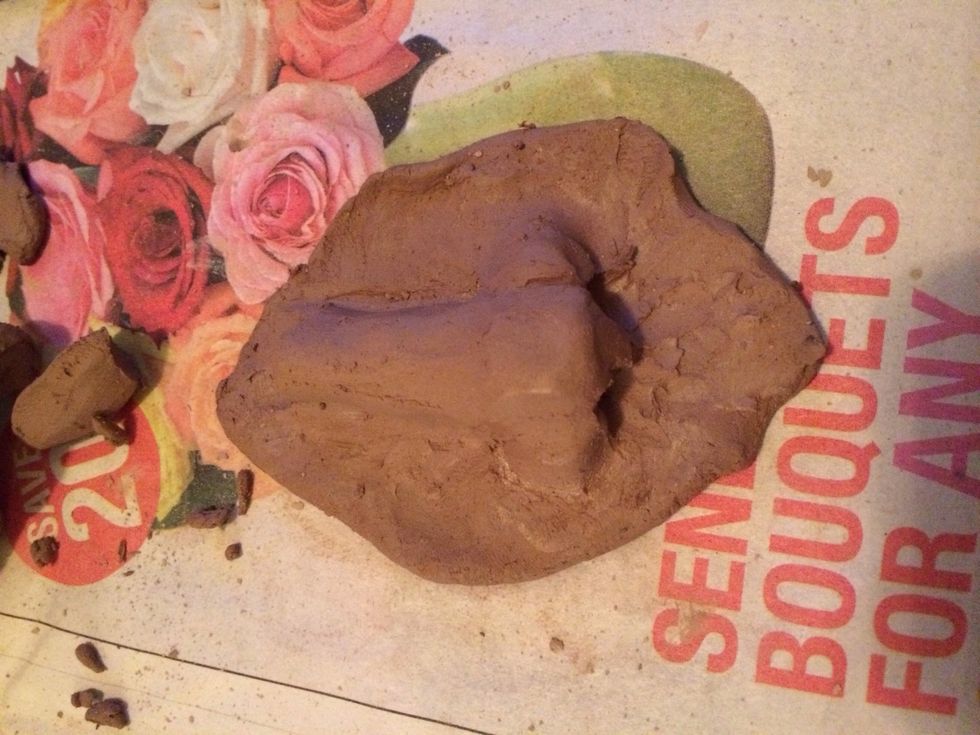
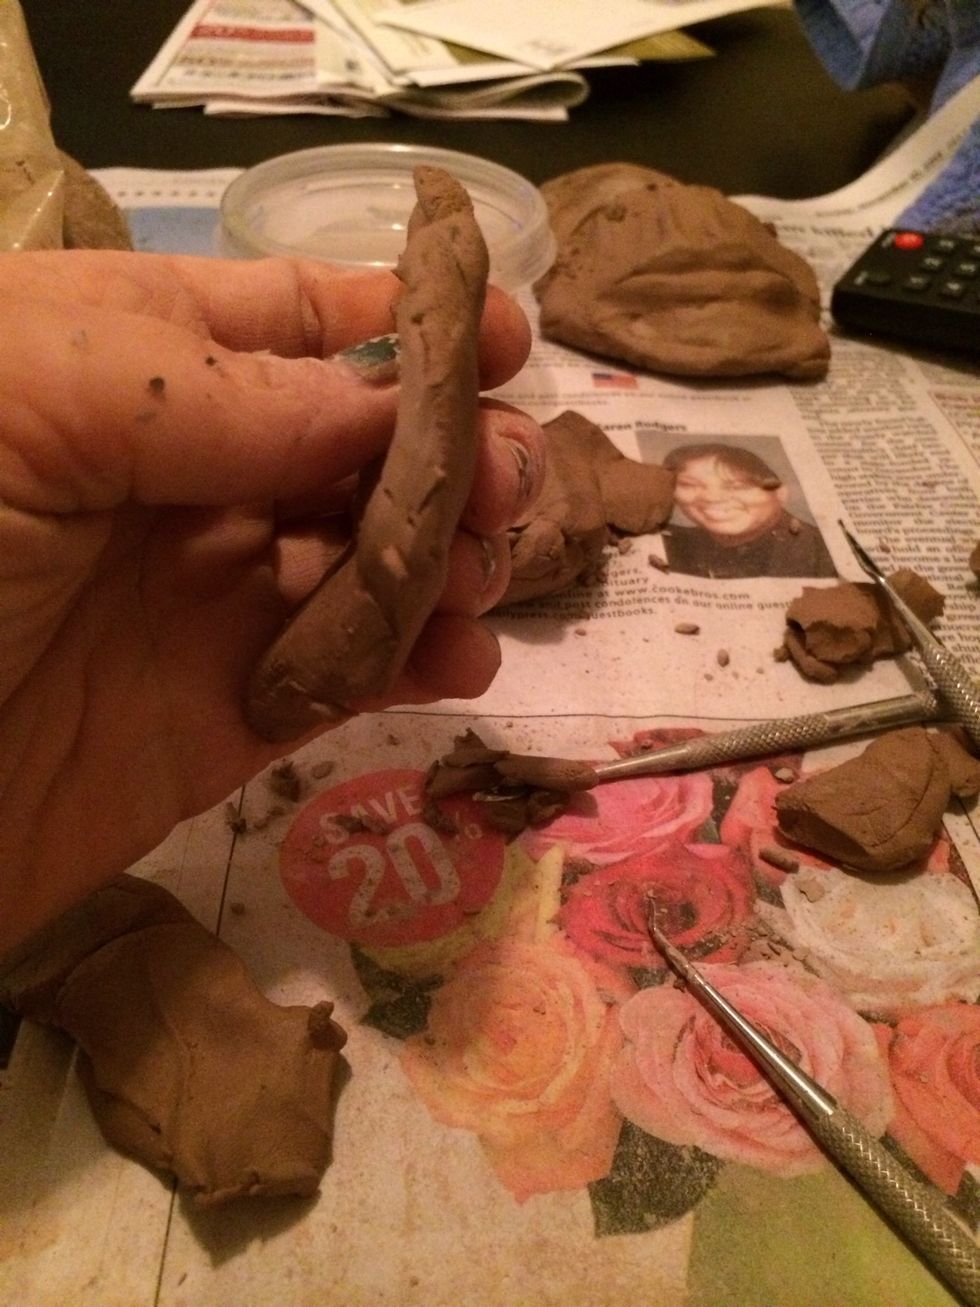
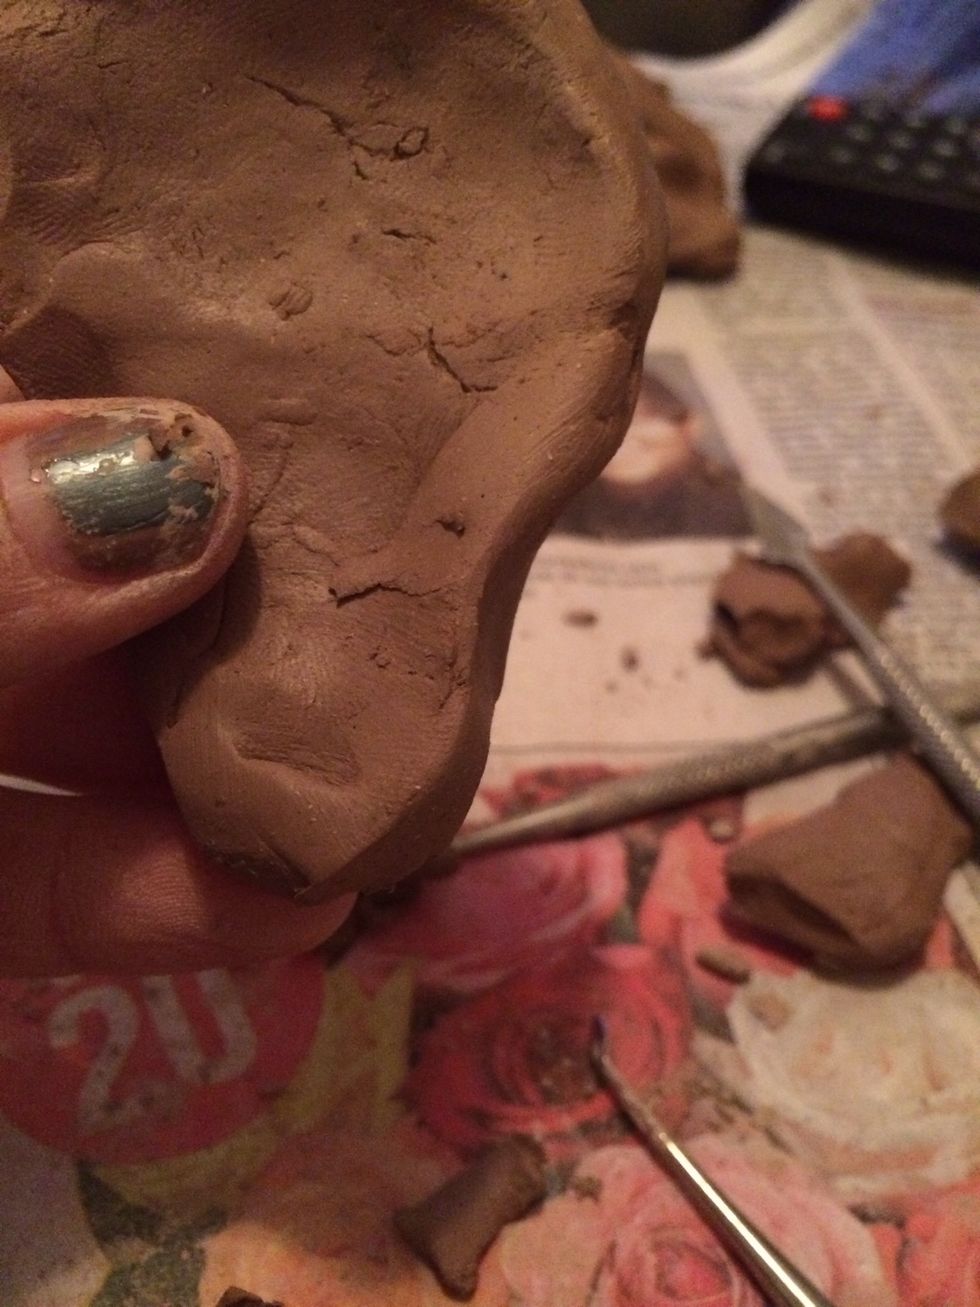
Most of the features are created on top of a small slab of clay. Be sure to use reference images when sculpting any facial feature.
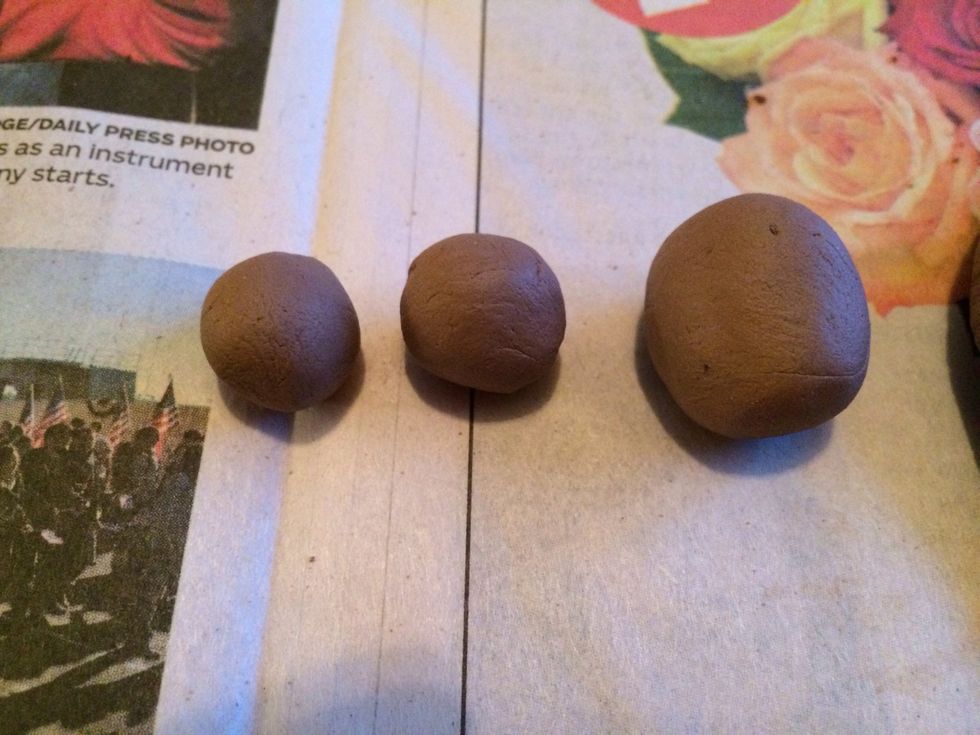
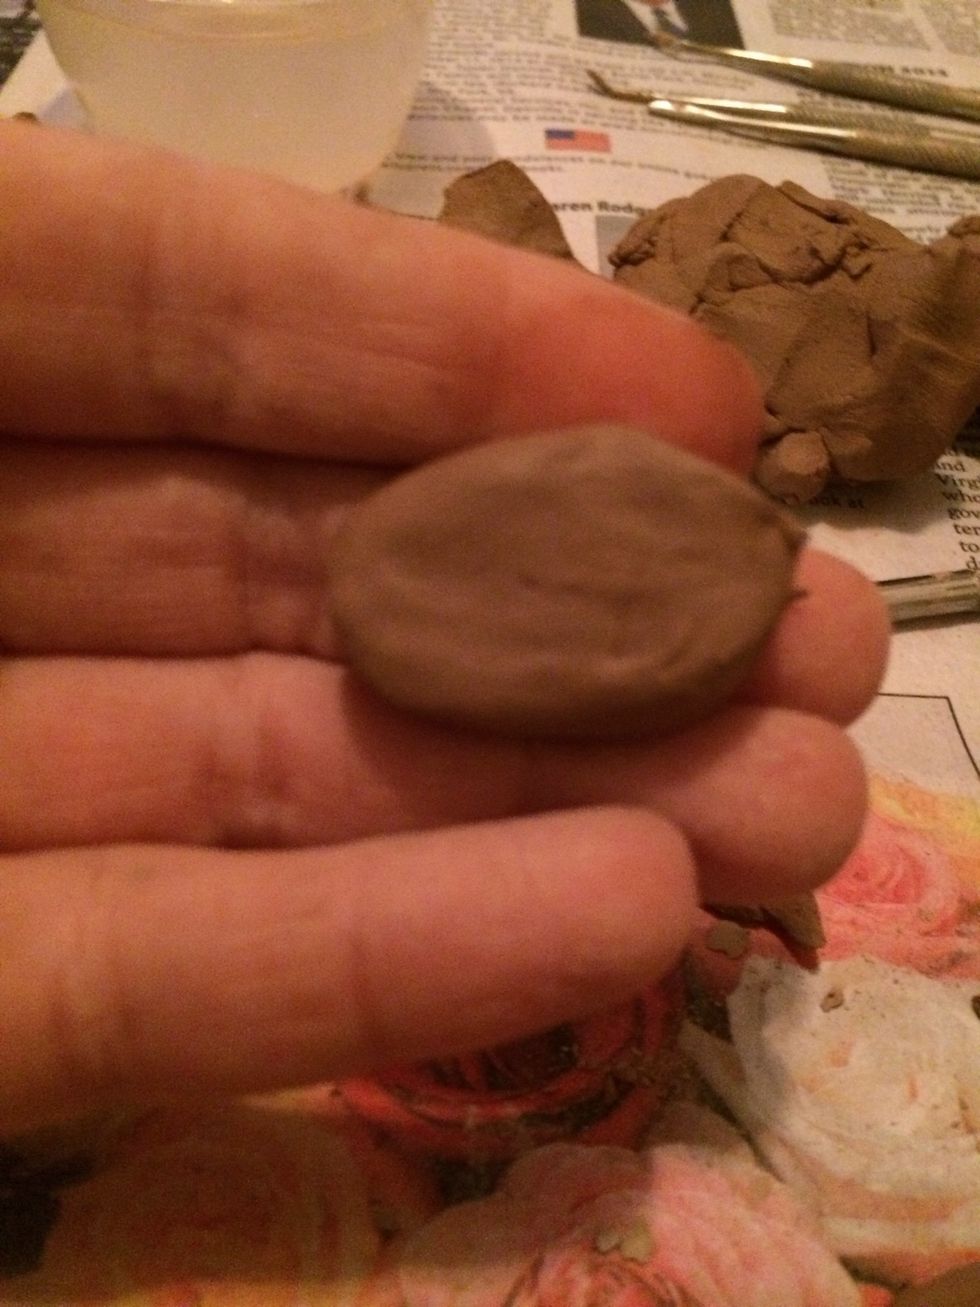
Nose. Start by making 3 spheres in clay 2 small and 1 larger.

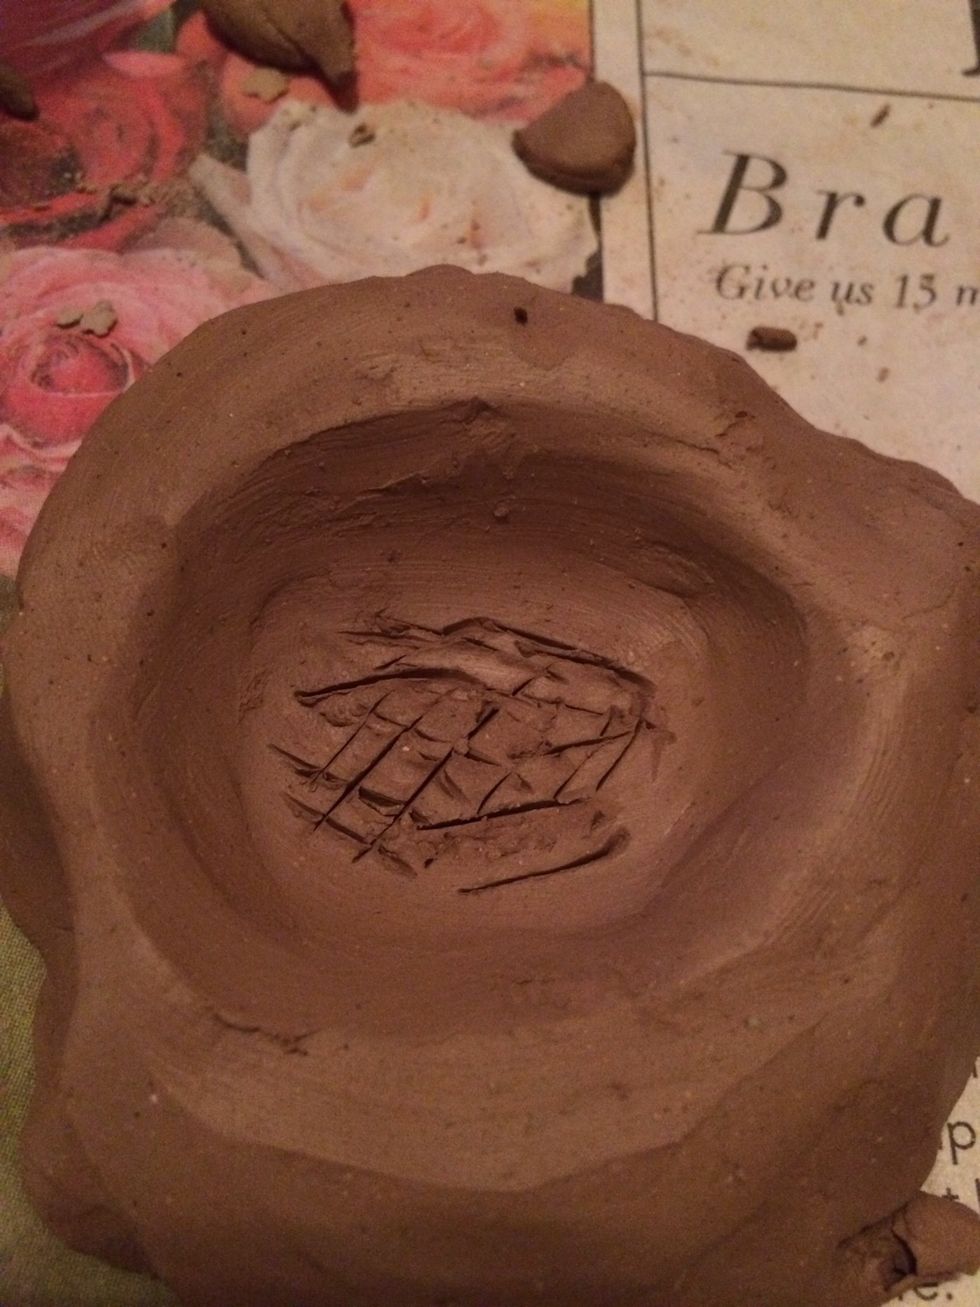
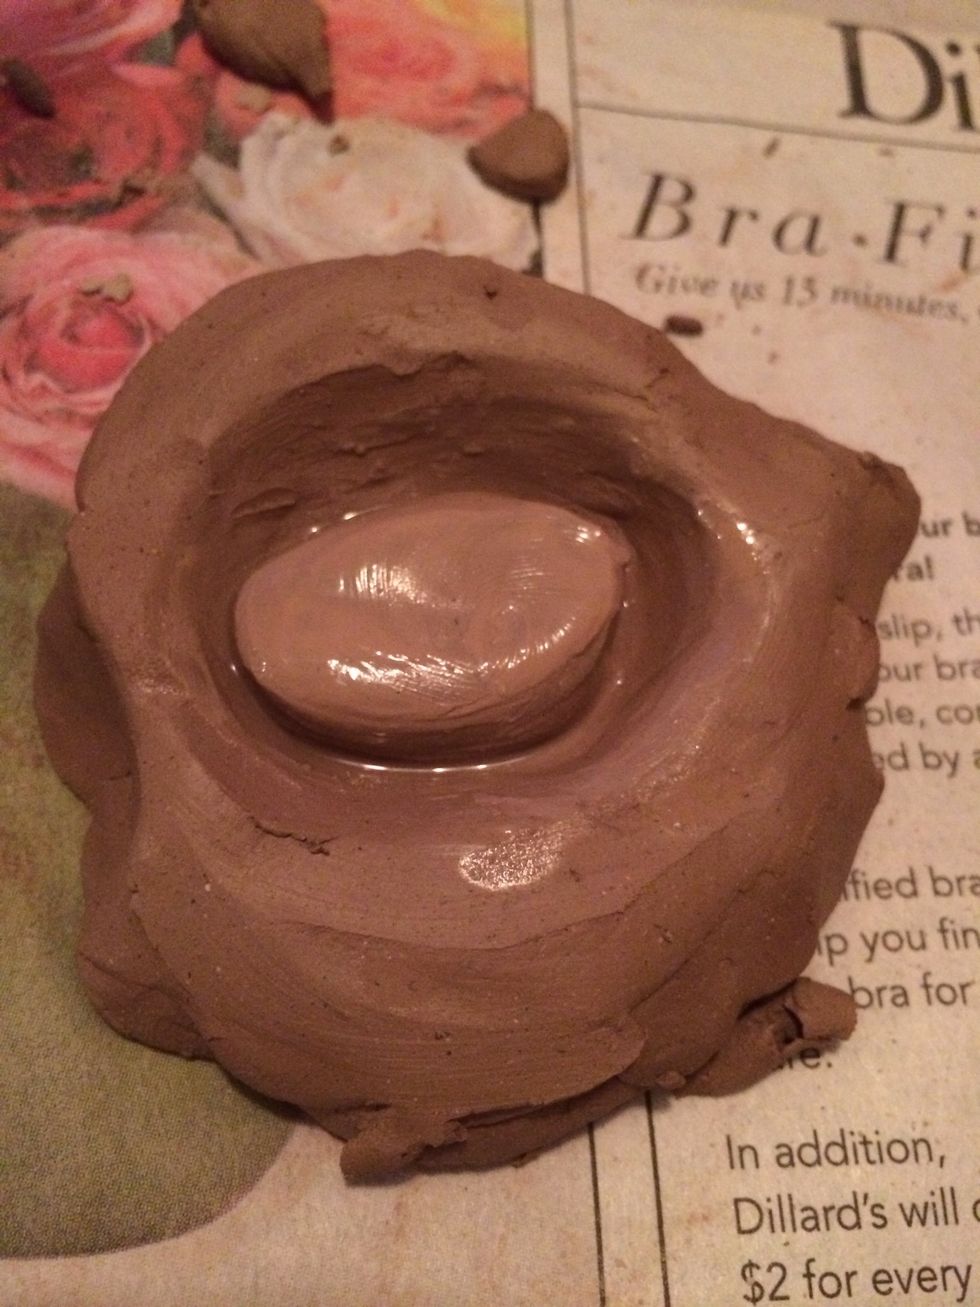
Be sure you score and slip the surface before you add clay.
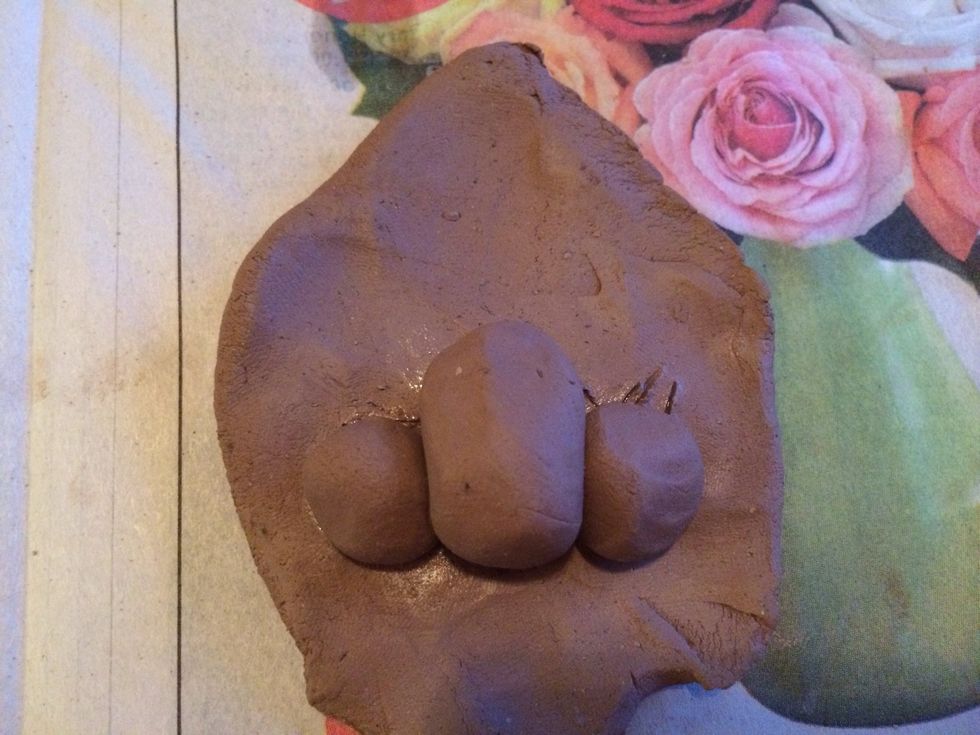
Add the spheres to your clay, small spheres on each side. These will be the nostrils and the tip of the nose.
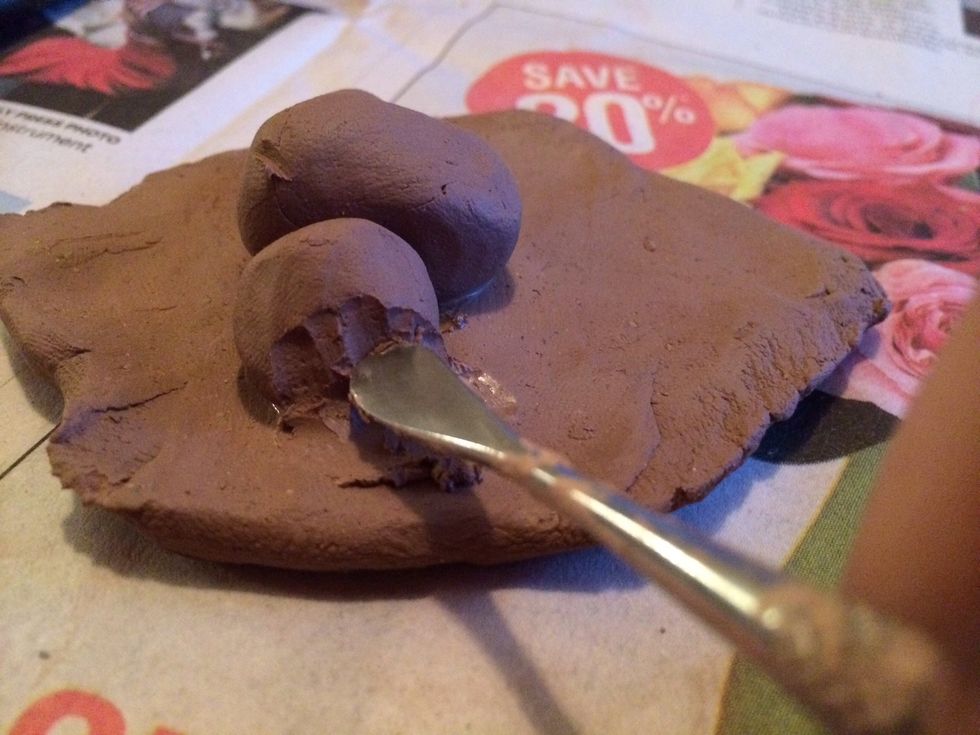
Smooth the edges of the added clay so that the clay appears to be one piece.
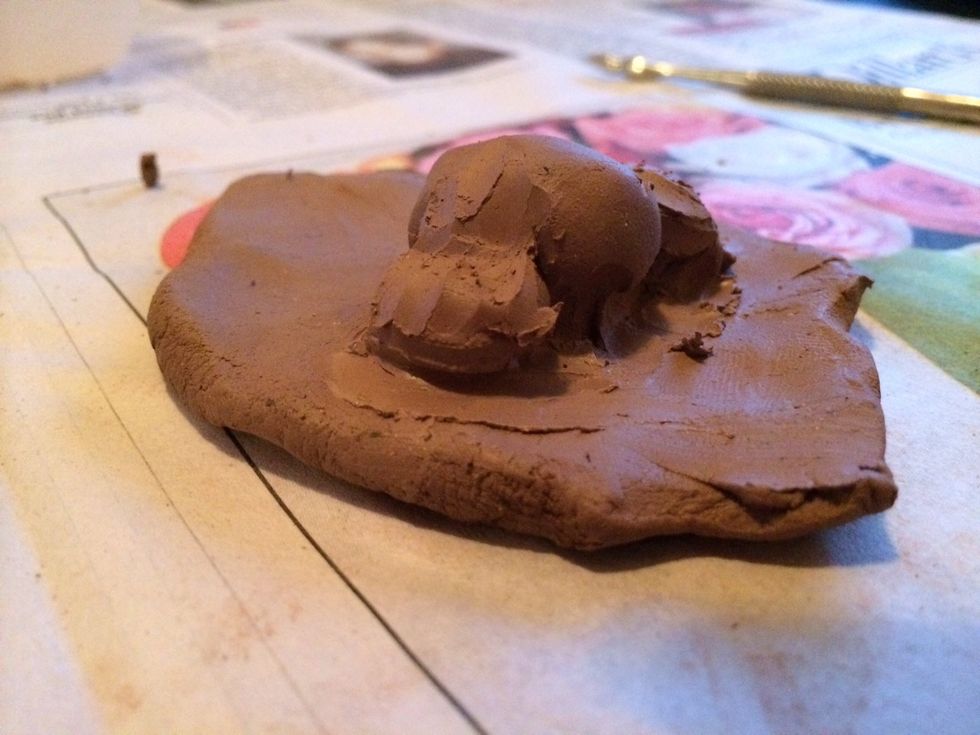
Smooth between the spheres, be careful that you don't lose the round shape of your spheres.

Use water to assist in sculpting smooth.
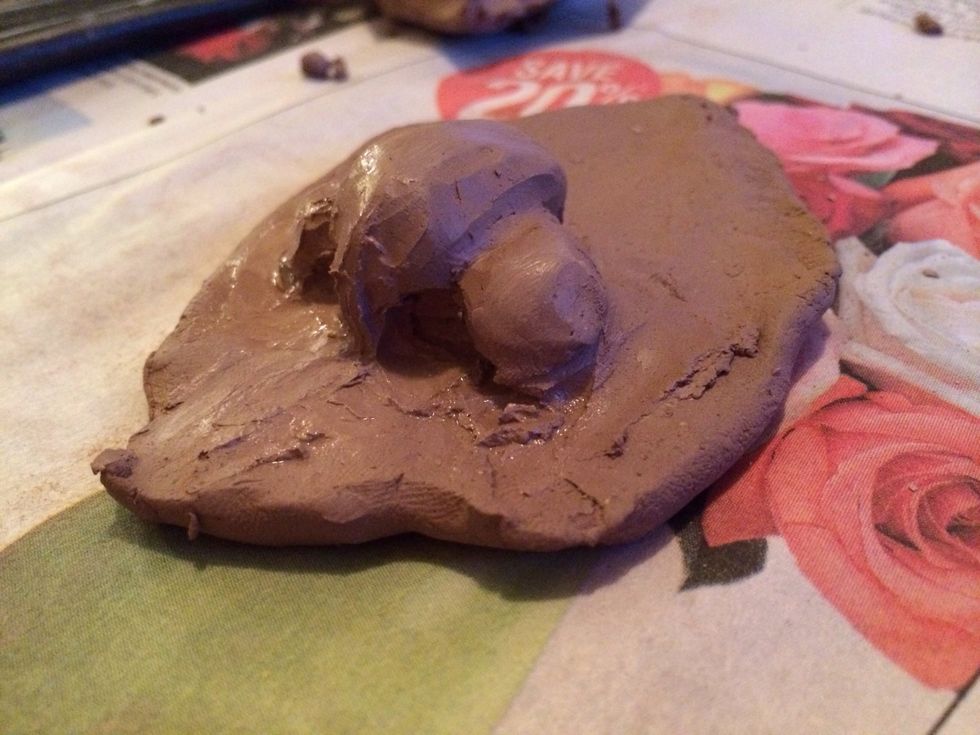
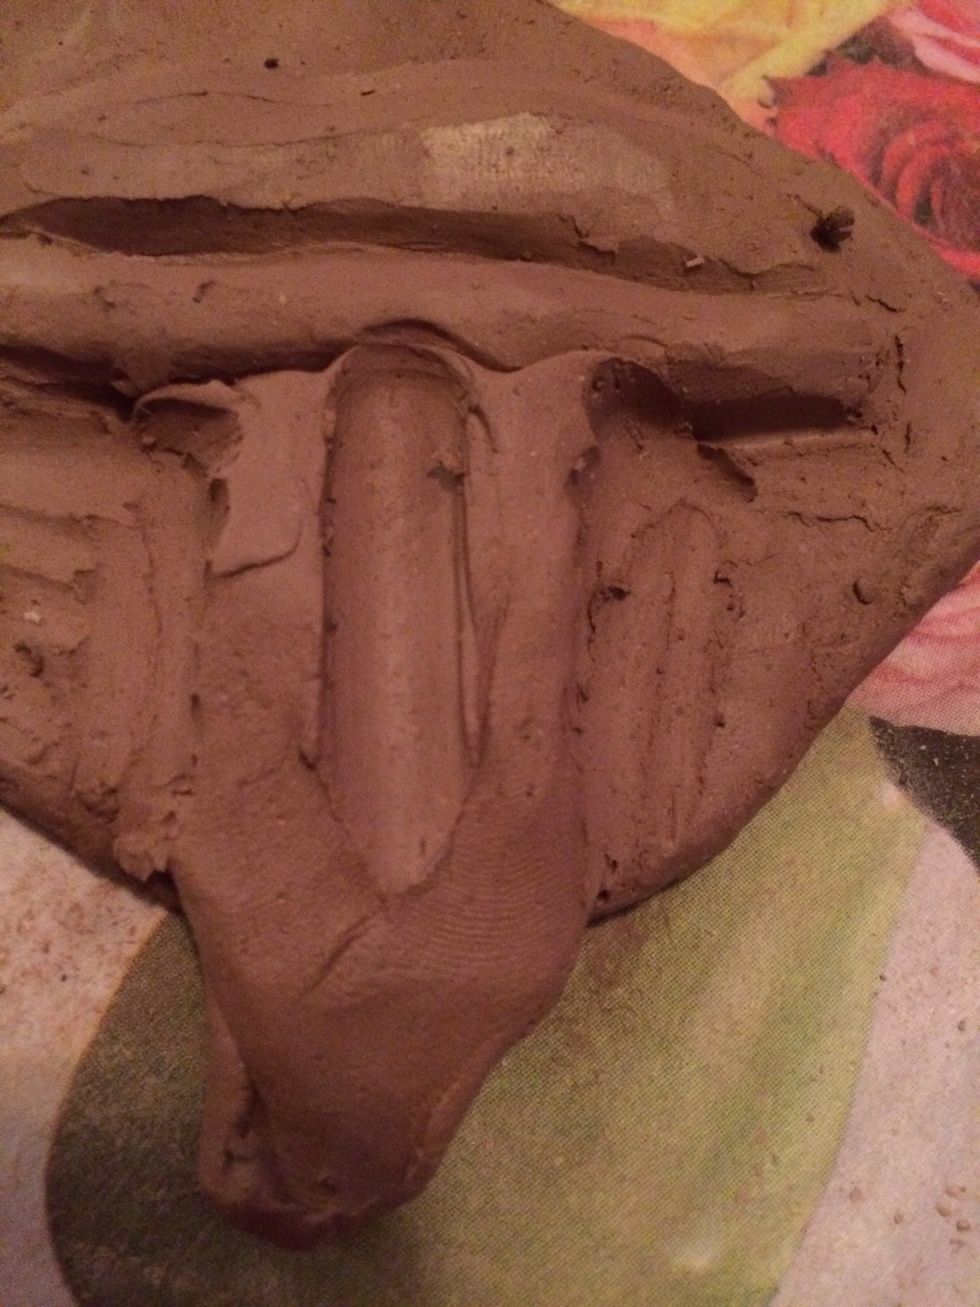
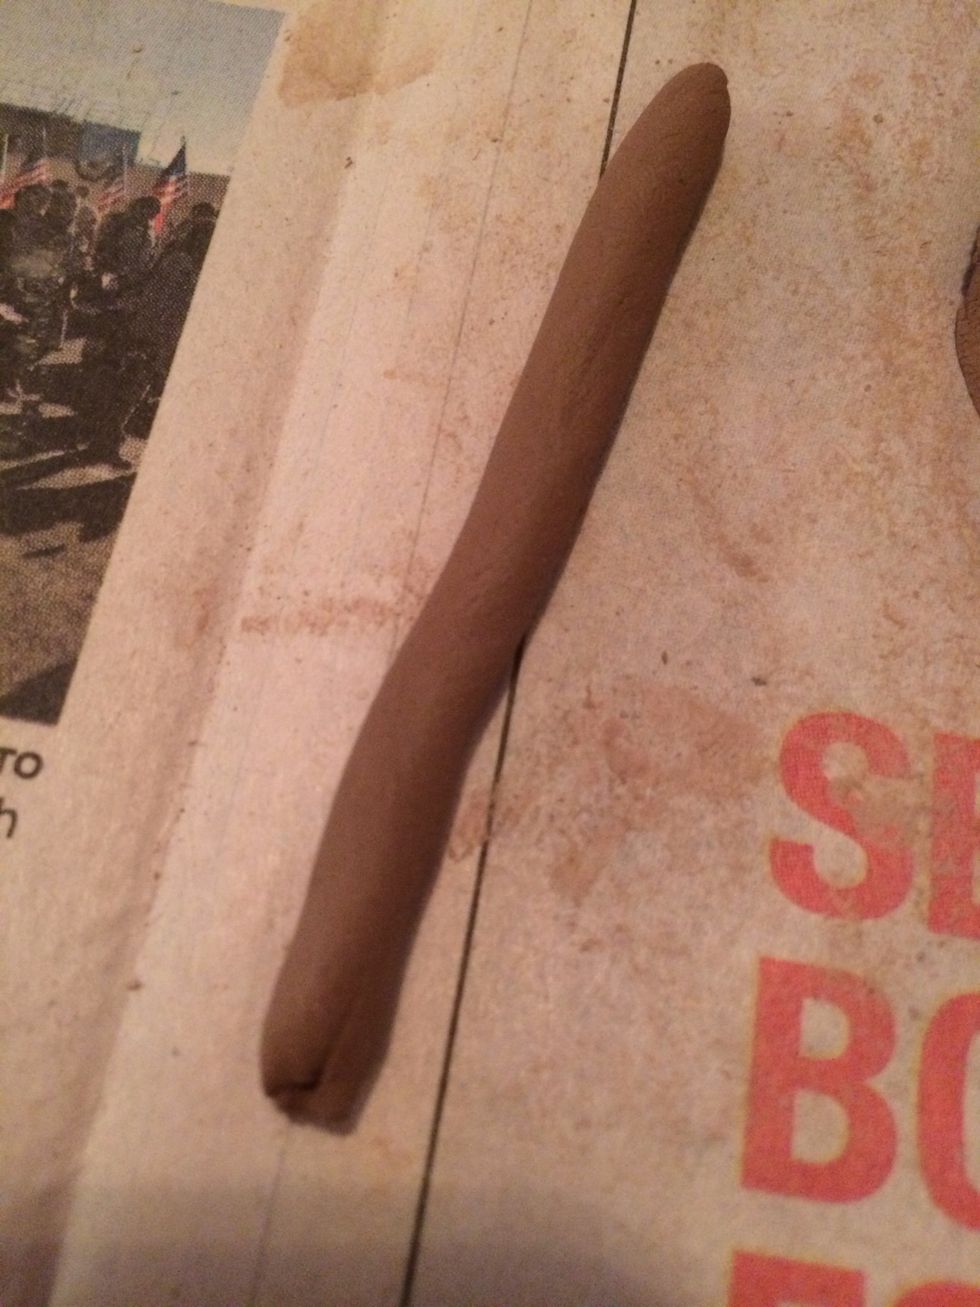
Make a coil that tapers off towards the top. This will be added to the top of the nose to make the bridge of the nose.
Add this to your clay directly on top of your spheres.
Smooth the clay out so that the clay pieces blend together. You can change the shape of the nose as needed to add different characteristics.
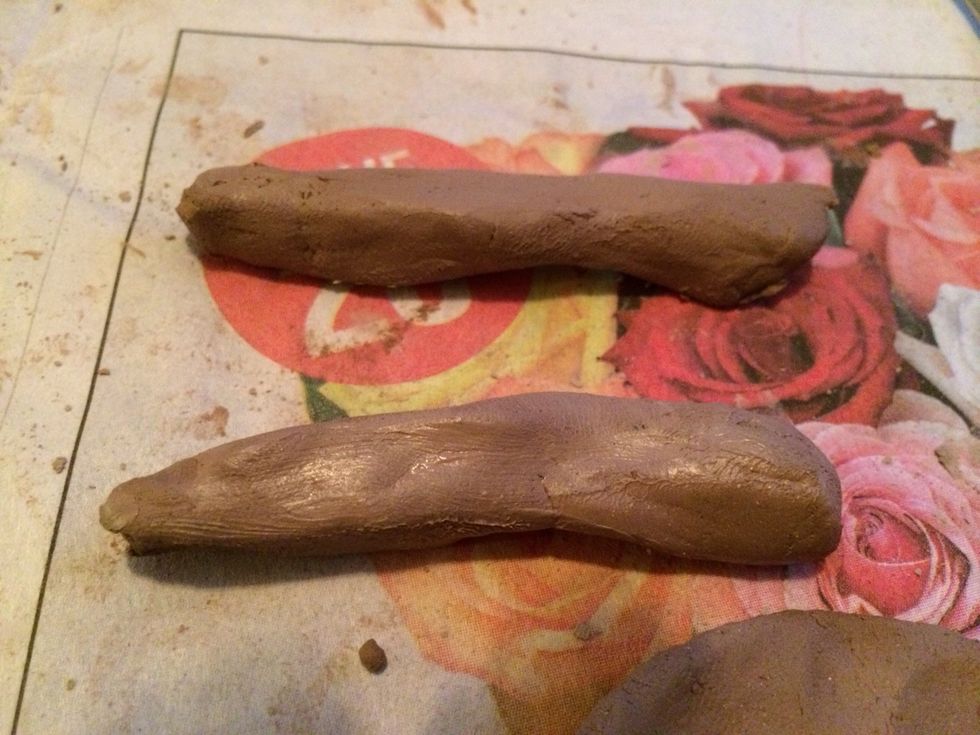
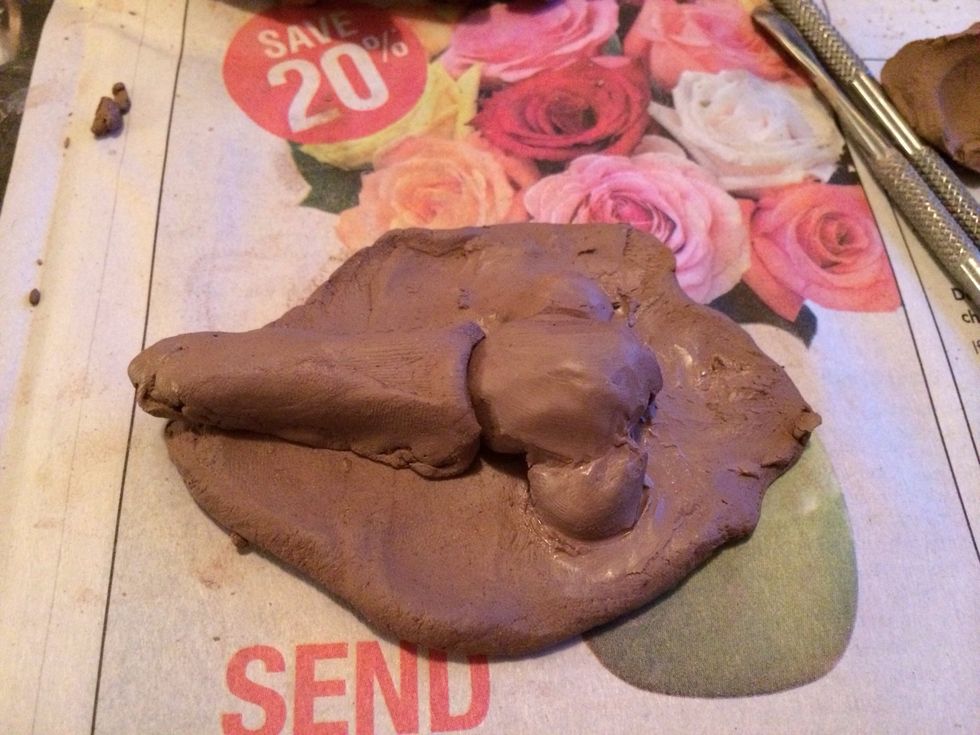
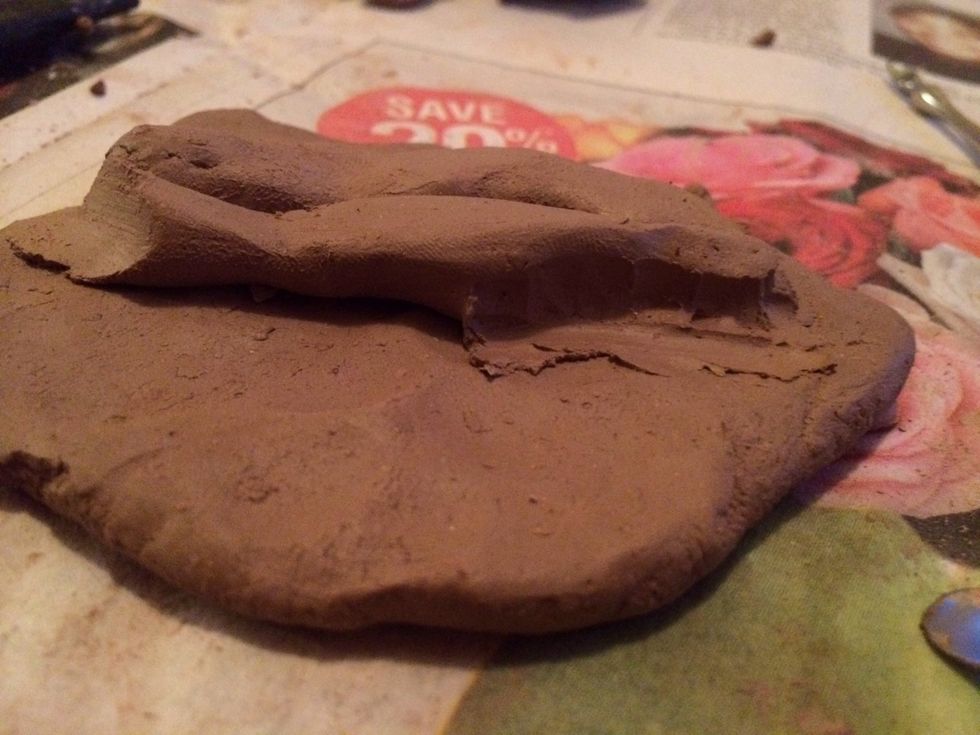
Mouth. When starting the mouth make 2 coils, one slightly thinner. Flatten the coils just a little before you add them to your clay surface. Score and slip before adding.
Add the coils. They don't have to be perfect because you will use tools to sculpt them even further.
Pick a sculpting tool that you feel comfortable using that will allow you to get into small areas.
Smooth out the edges of the coils so that the clay blends into the original clay surface.
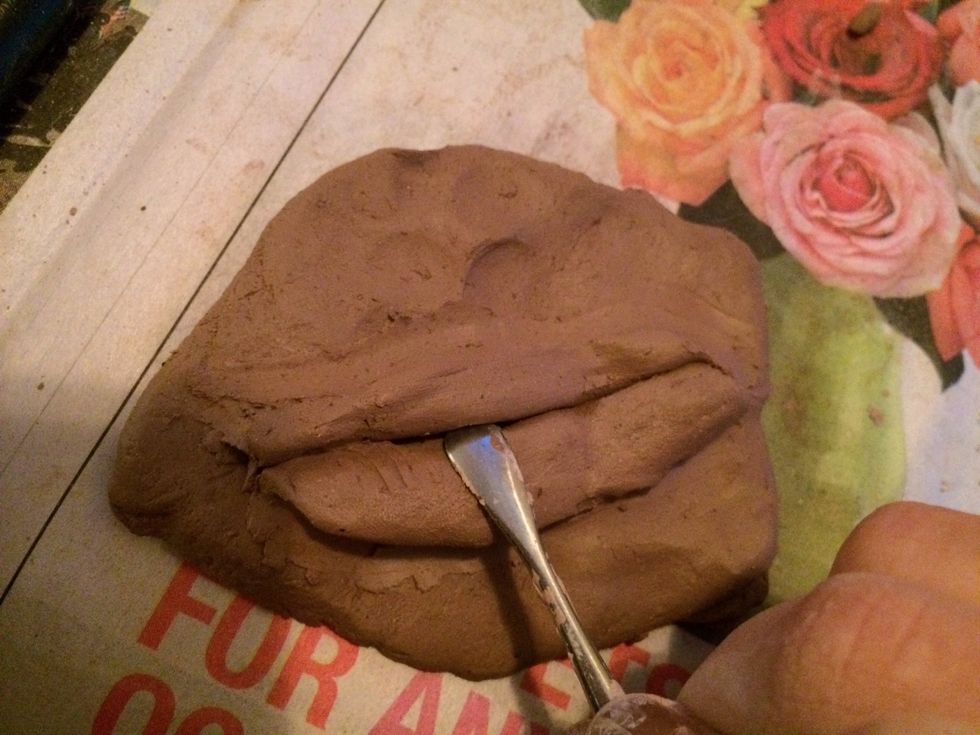
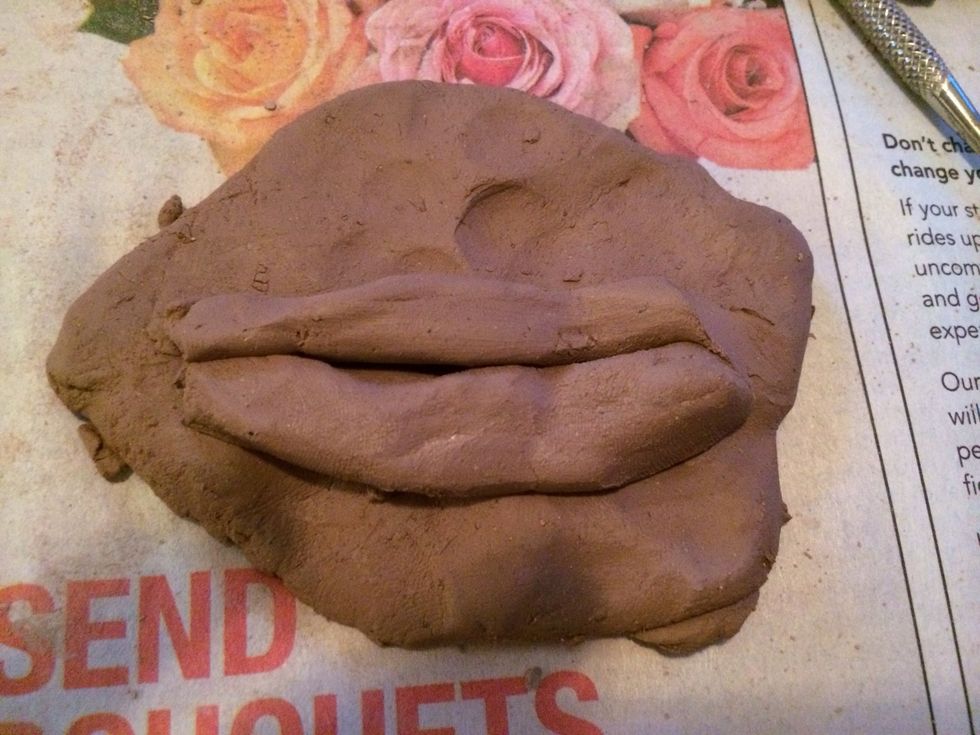
Use a tool to start sculpting the roundness of the lips. Round out both lips at the center.
Make sure both lips are sculpted in the middle.
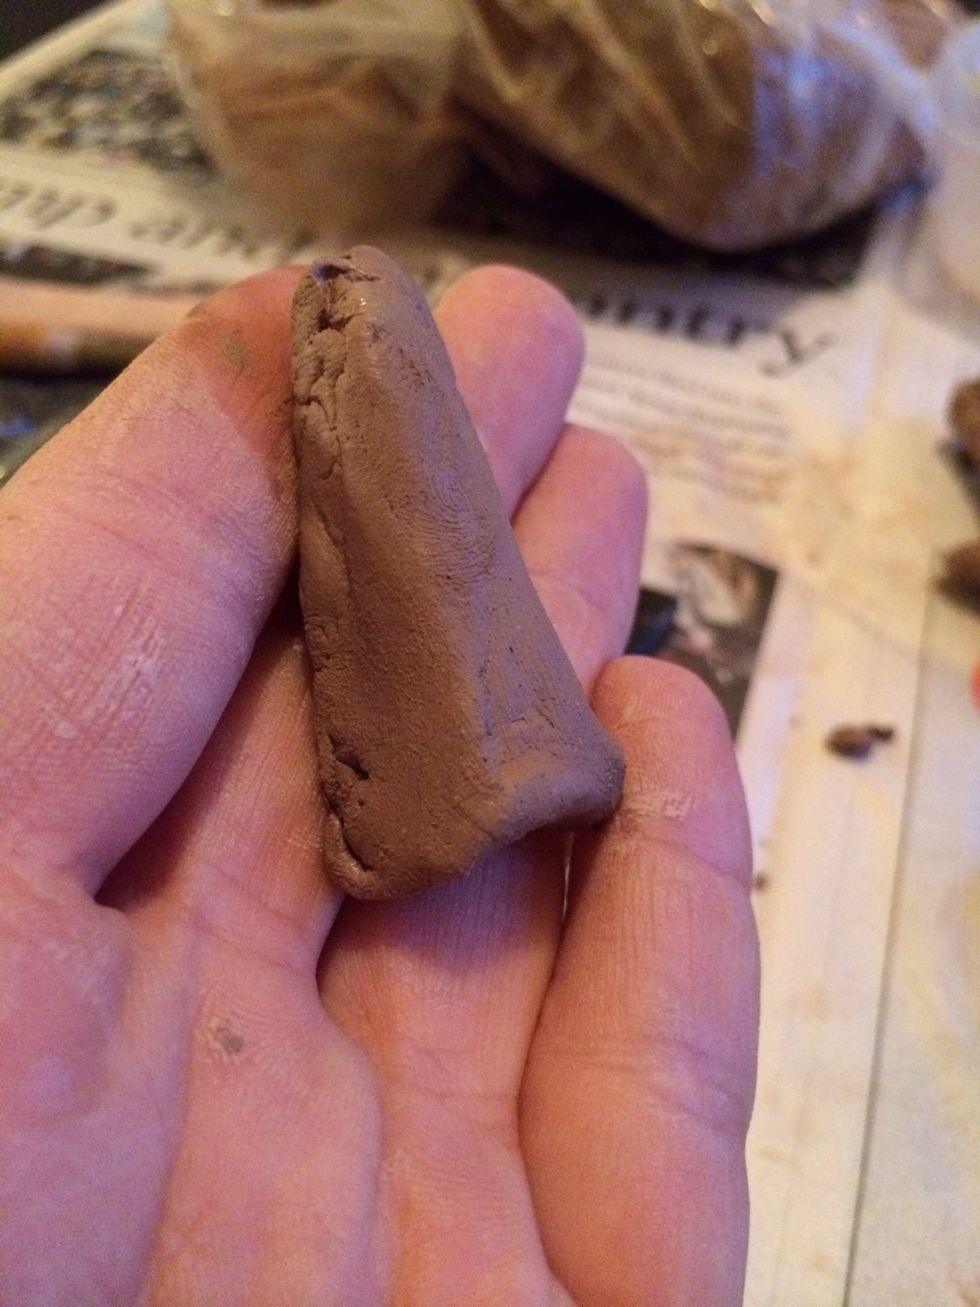
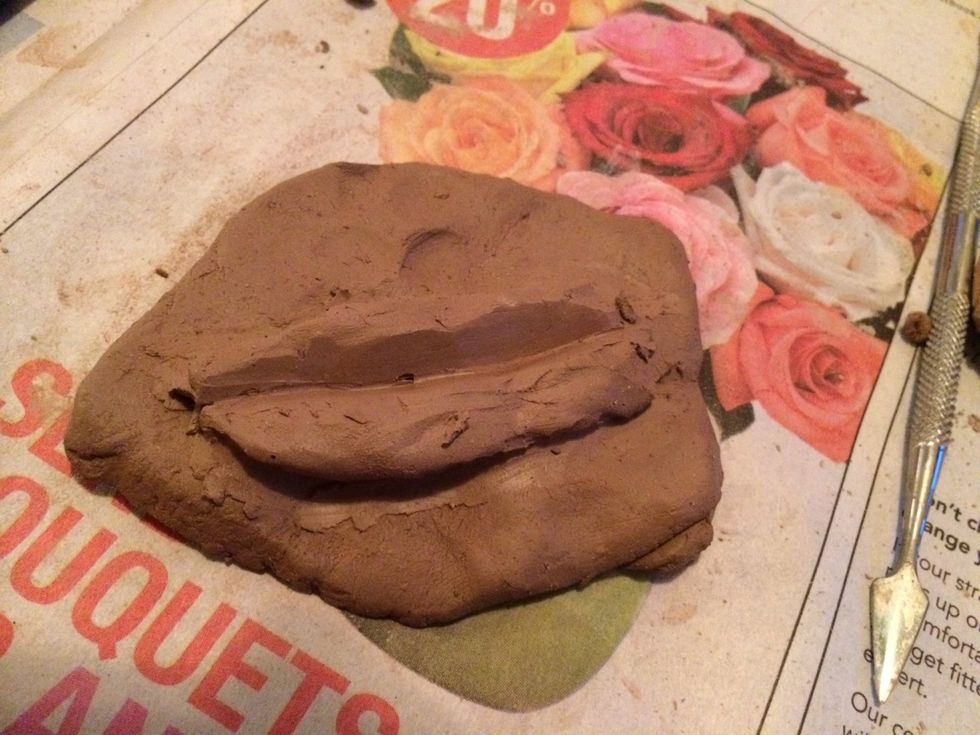
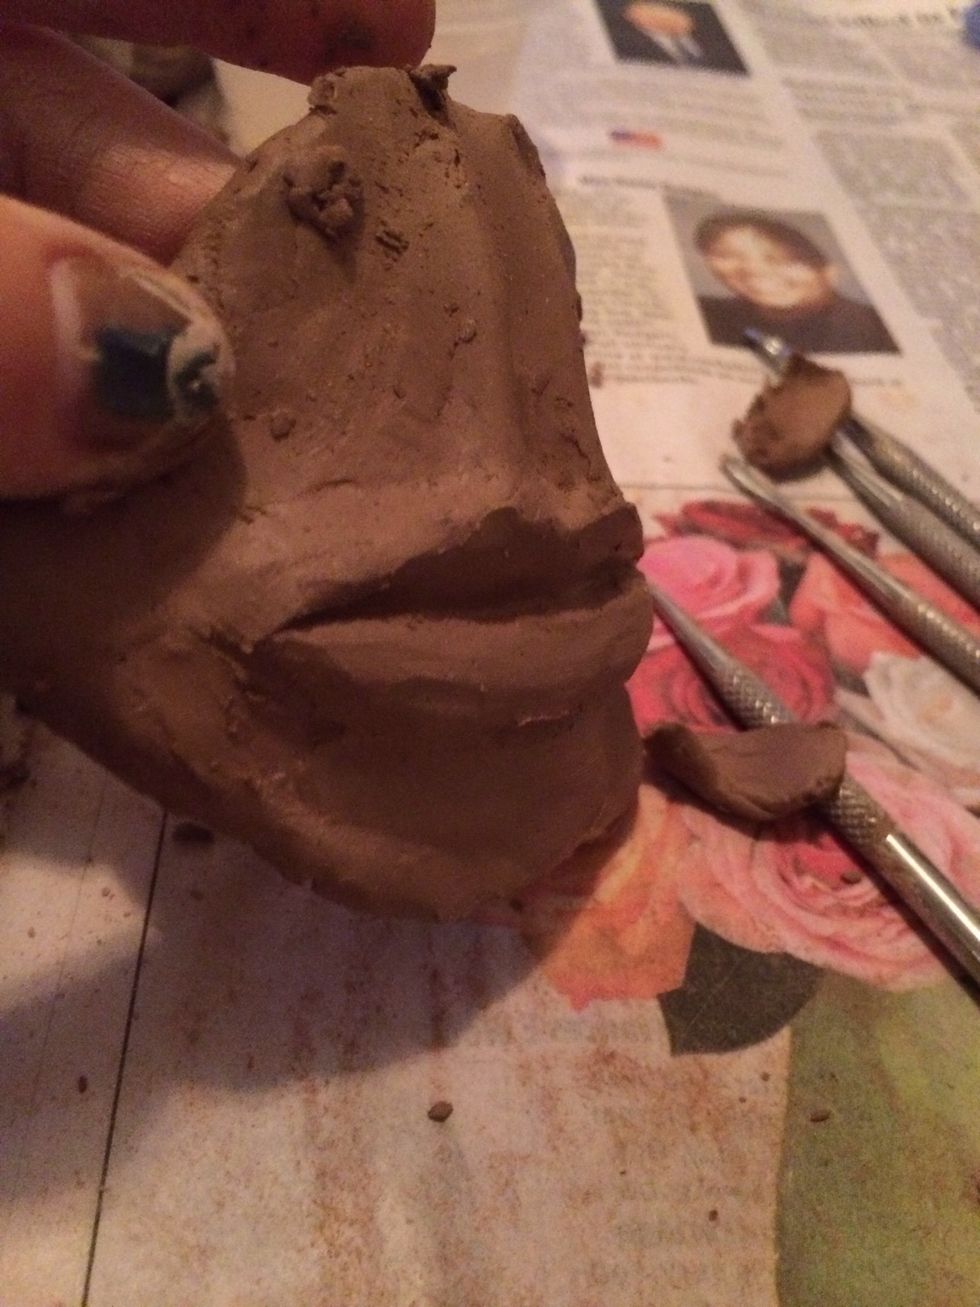
Make a small triangular piece of clay that will add above the top lip and then sculpted into the philtrum (vertical groove between your nose and upper lip).

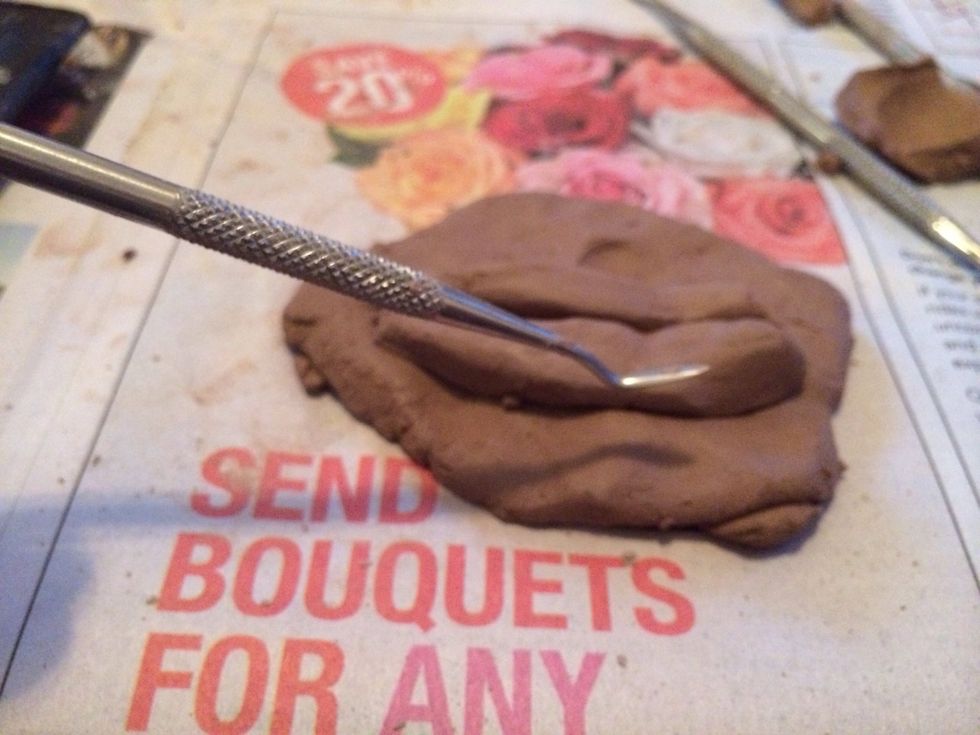
Score and slip to add the triangle above the lips.
Use a tool to start sculpting the ridges in the philtrum. The top of the ridges connect to the high points on your top lip.
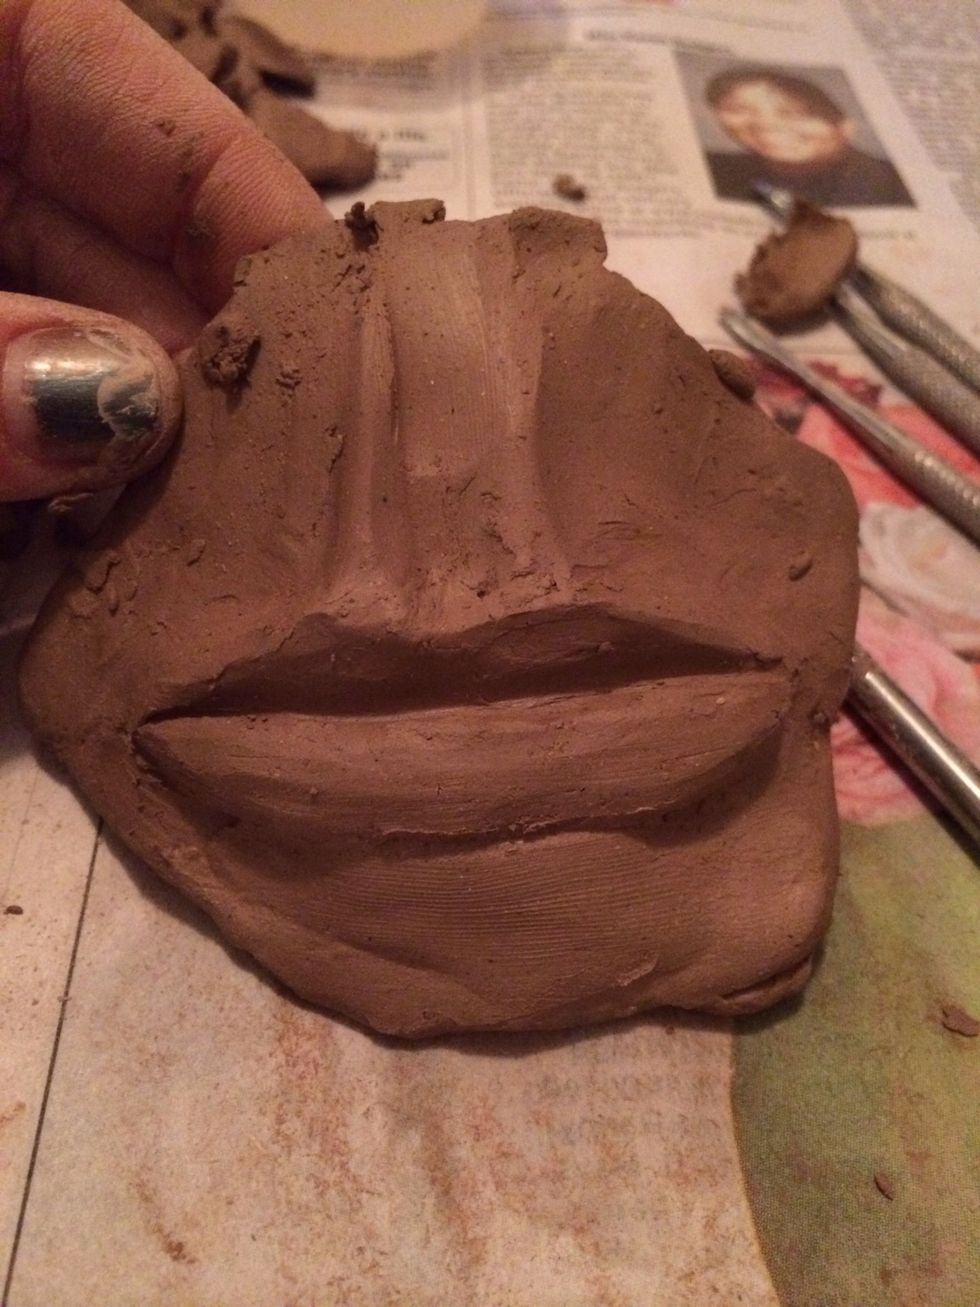
Continue to sculpt the upper and lower lips and also the philtrum until they are the right shape
Continue to look at the features both straight on and from a profile view.

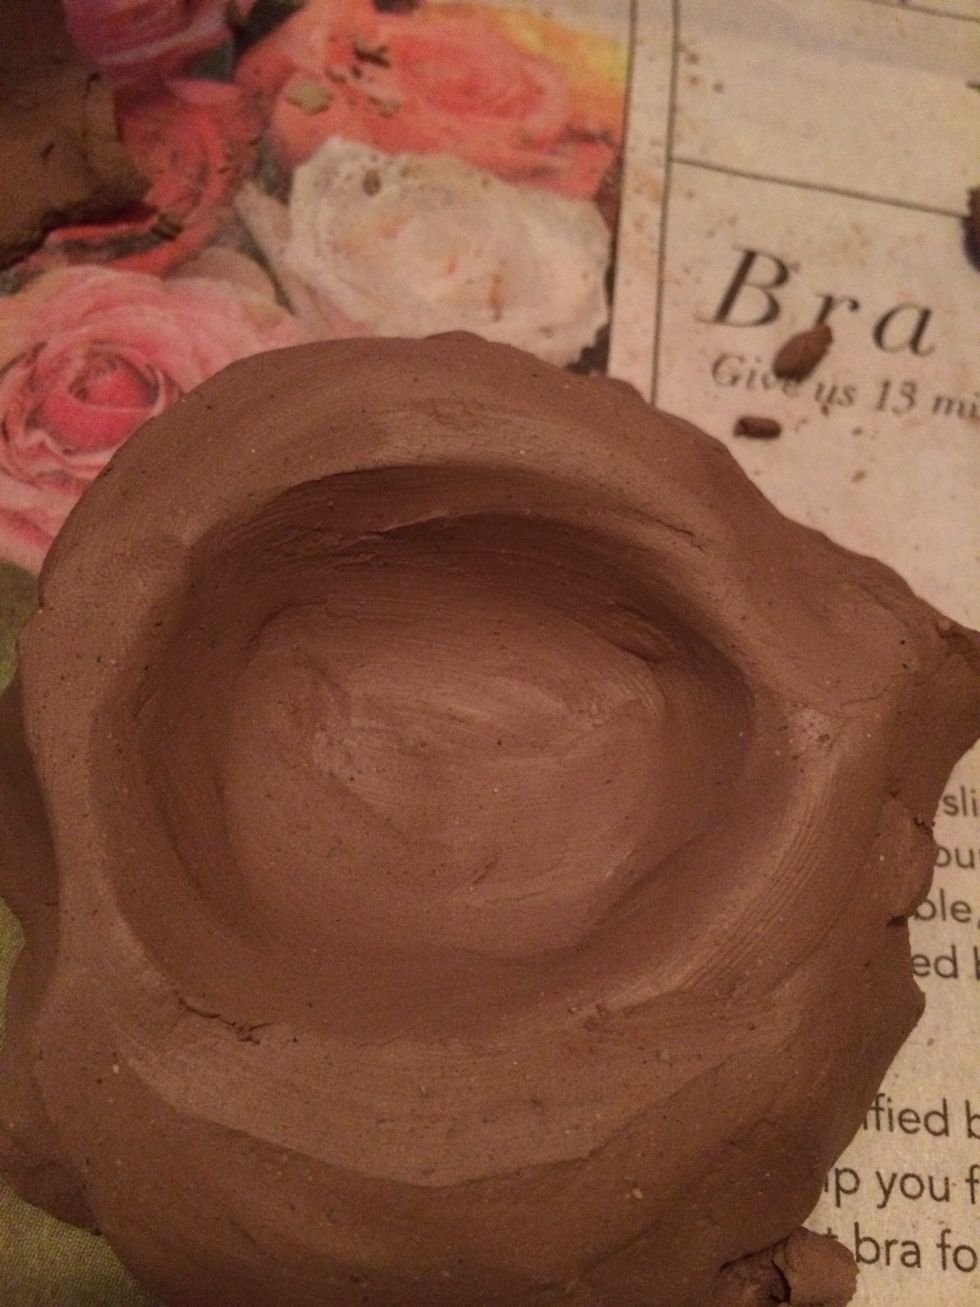
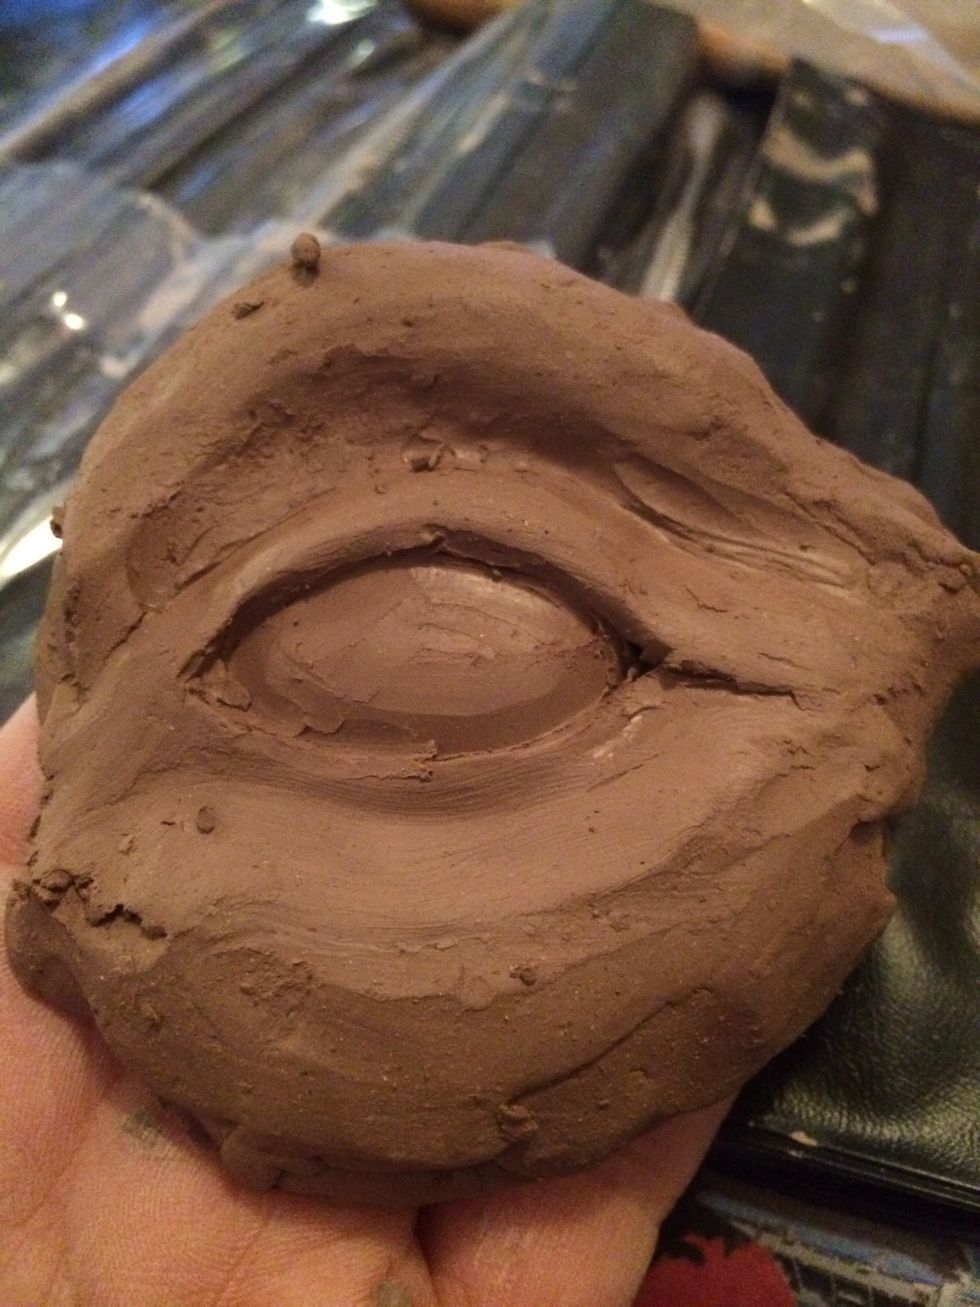
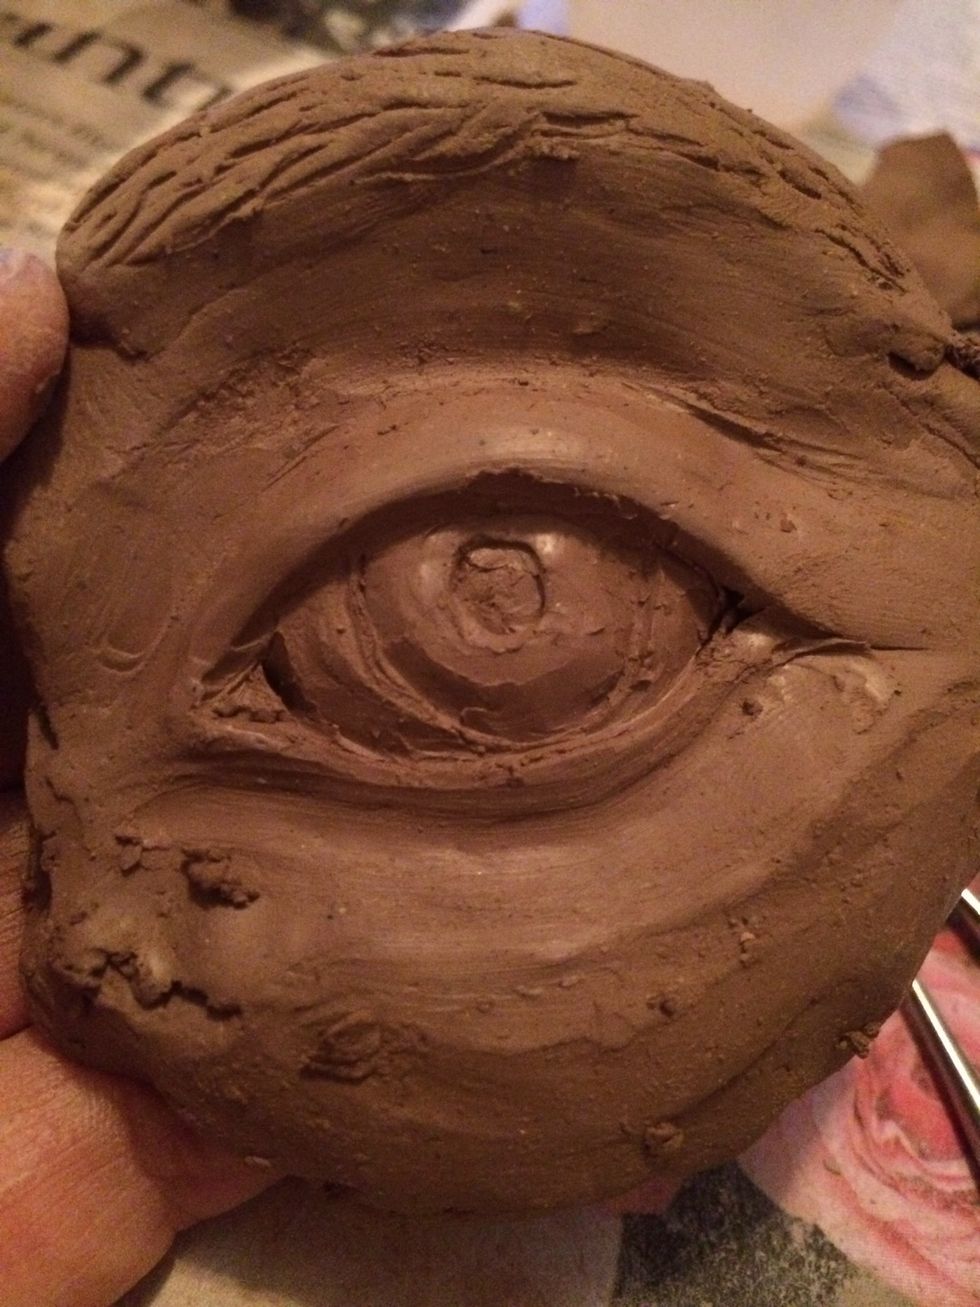
Eyes. When building eyes you should start with an eye socket. A small groove made up by the brow ridge, cheek bones, and the bridge of the nose. Image a skull.
Create a small oval that will be used as the eye ball. Even though the eye ball is round you will creat a flat oval that we will later make more rounded.
Score and slip.
Add the eye ball into place. Make sure you push the clay all the way onto your clay surface to avoid trapping any air pockets.
Make 3 thin coils.
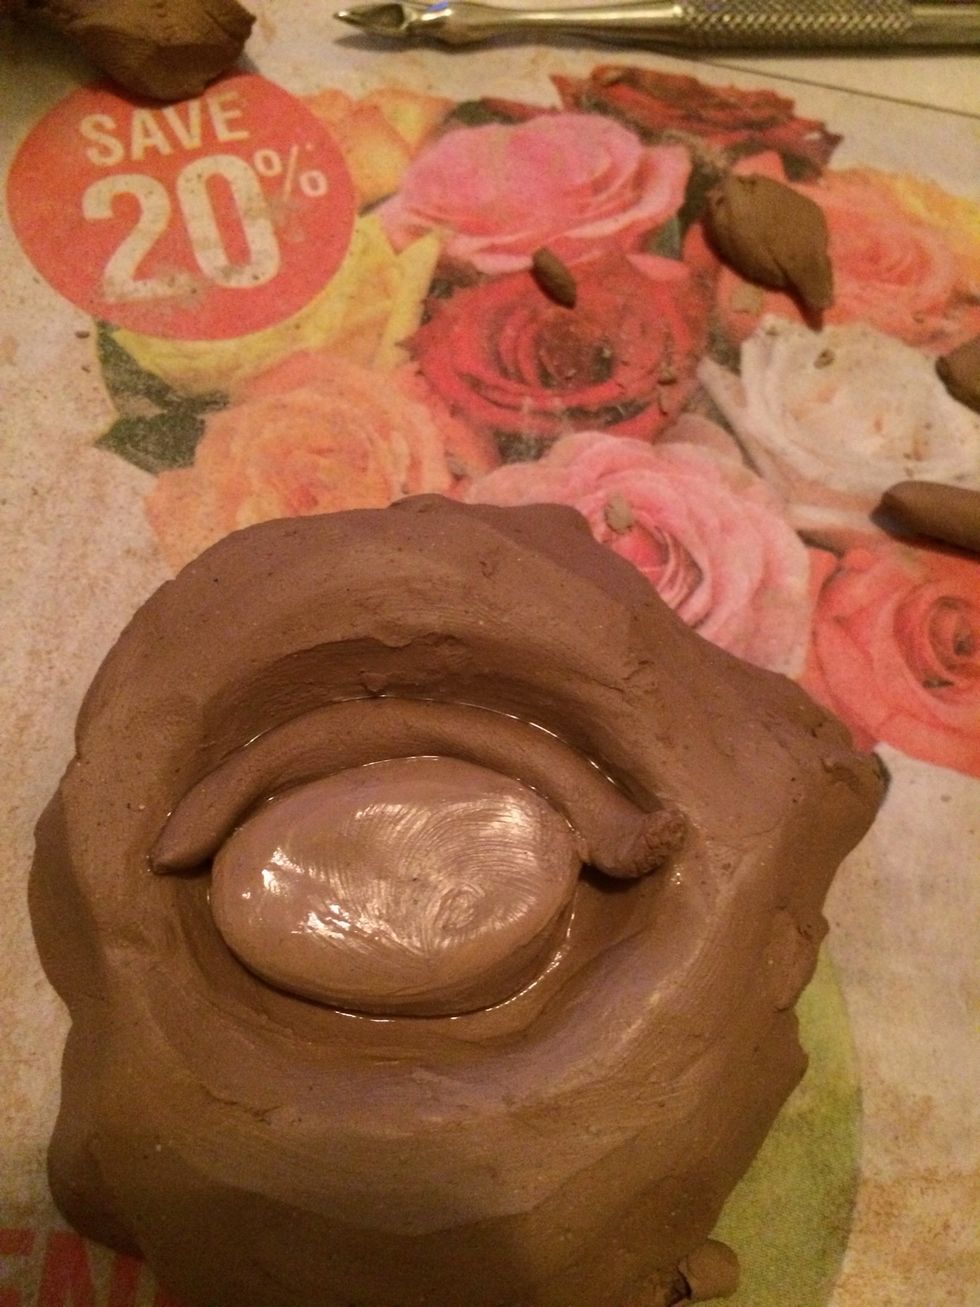
The first coil will be added to the top of the eye ball. This coil will act as the top of the eye lid.

Use a small tool to smooth the top of the coil out so it appears to be part of the facial skin.
Add the second coil on the eye ball next to the coil that was just smoothed out.
Smooth the two coils together.

The third coil will be added to the bottom of the eye to act at the lower eye lid. Smooth out the bottom of the coil where'd it attaches to the cheek.
Thin out the lower and upper eye lids as necessary.
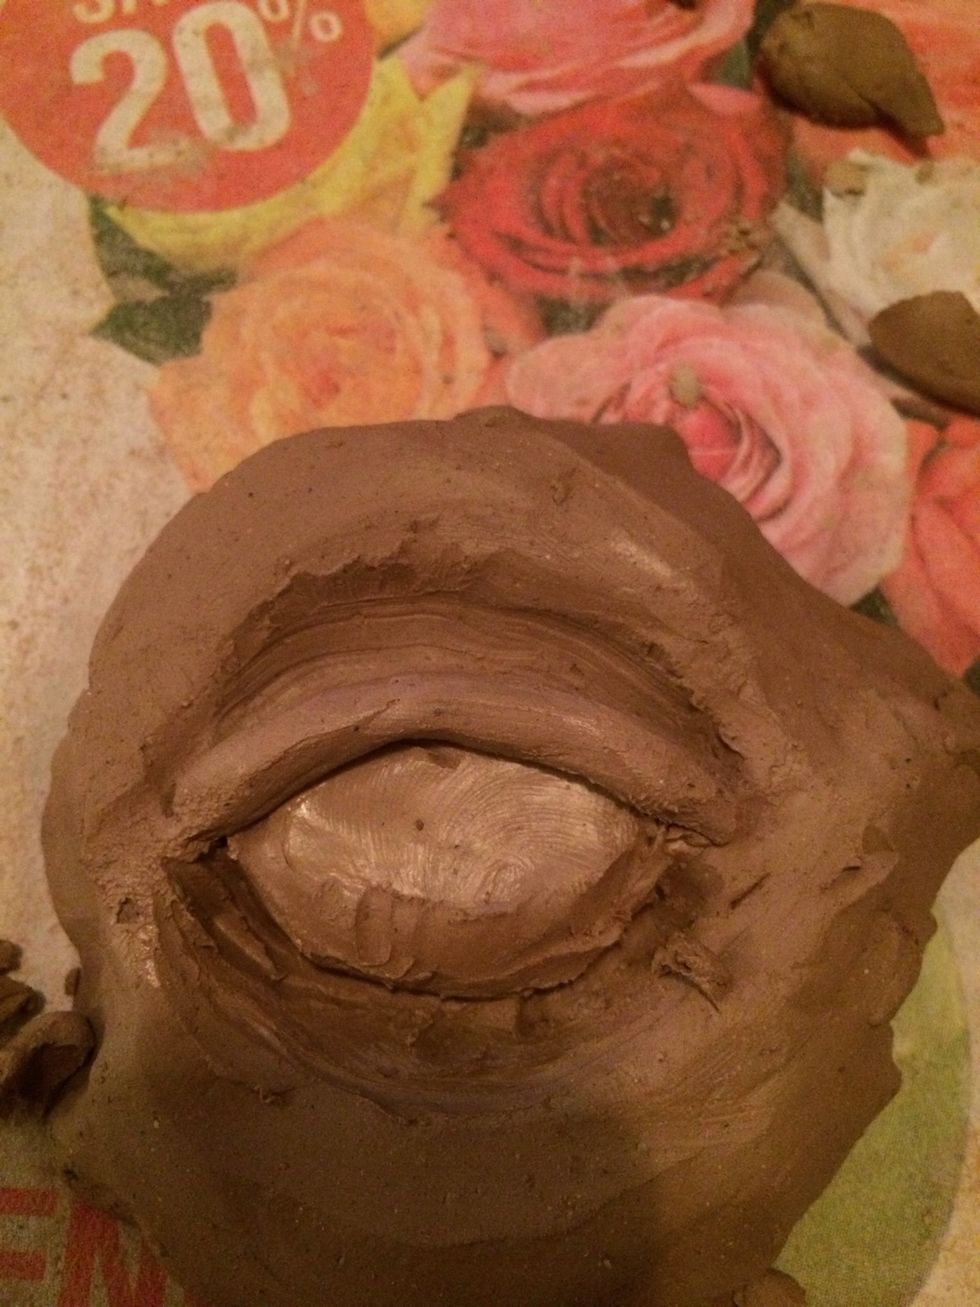
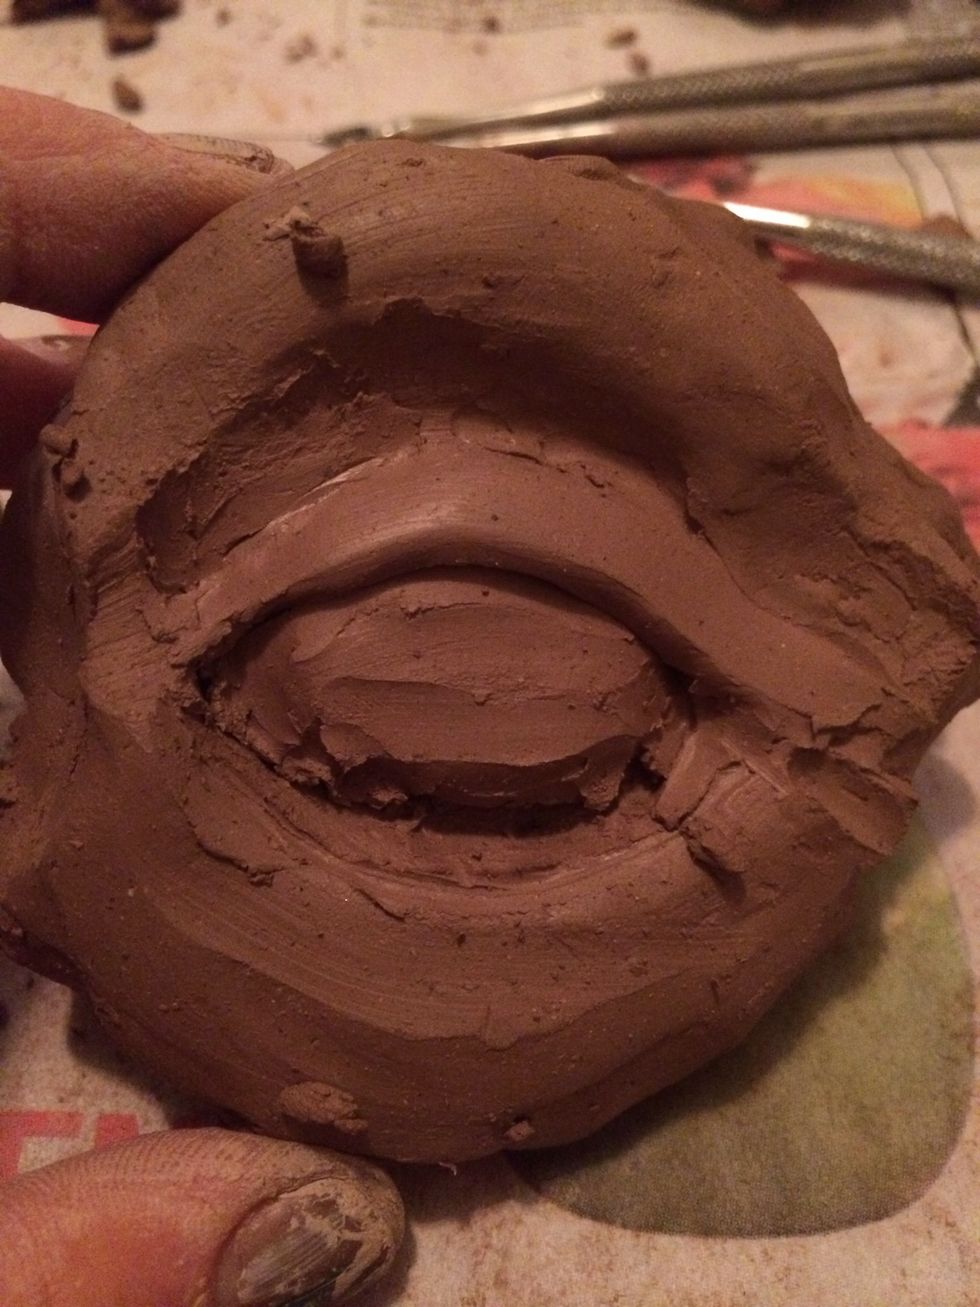
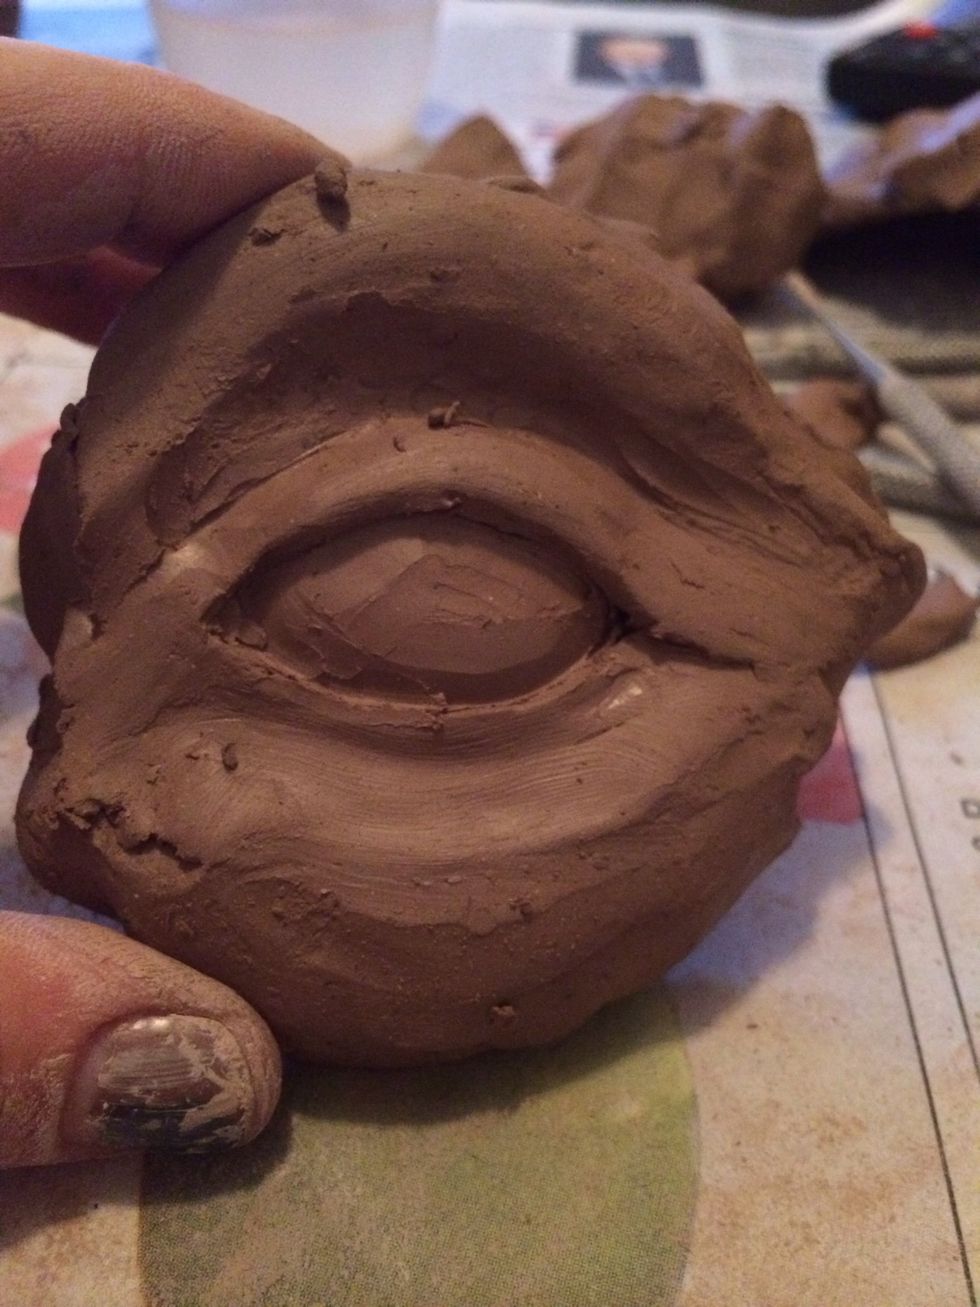
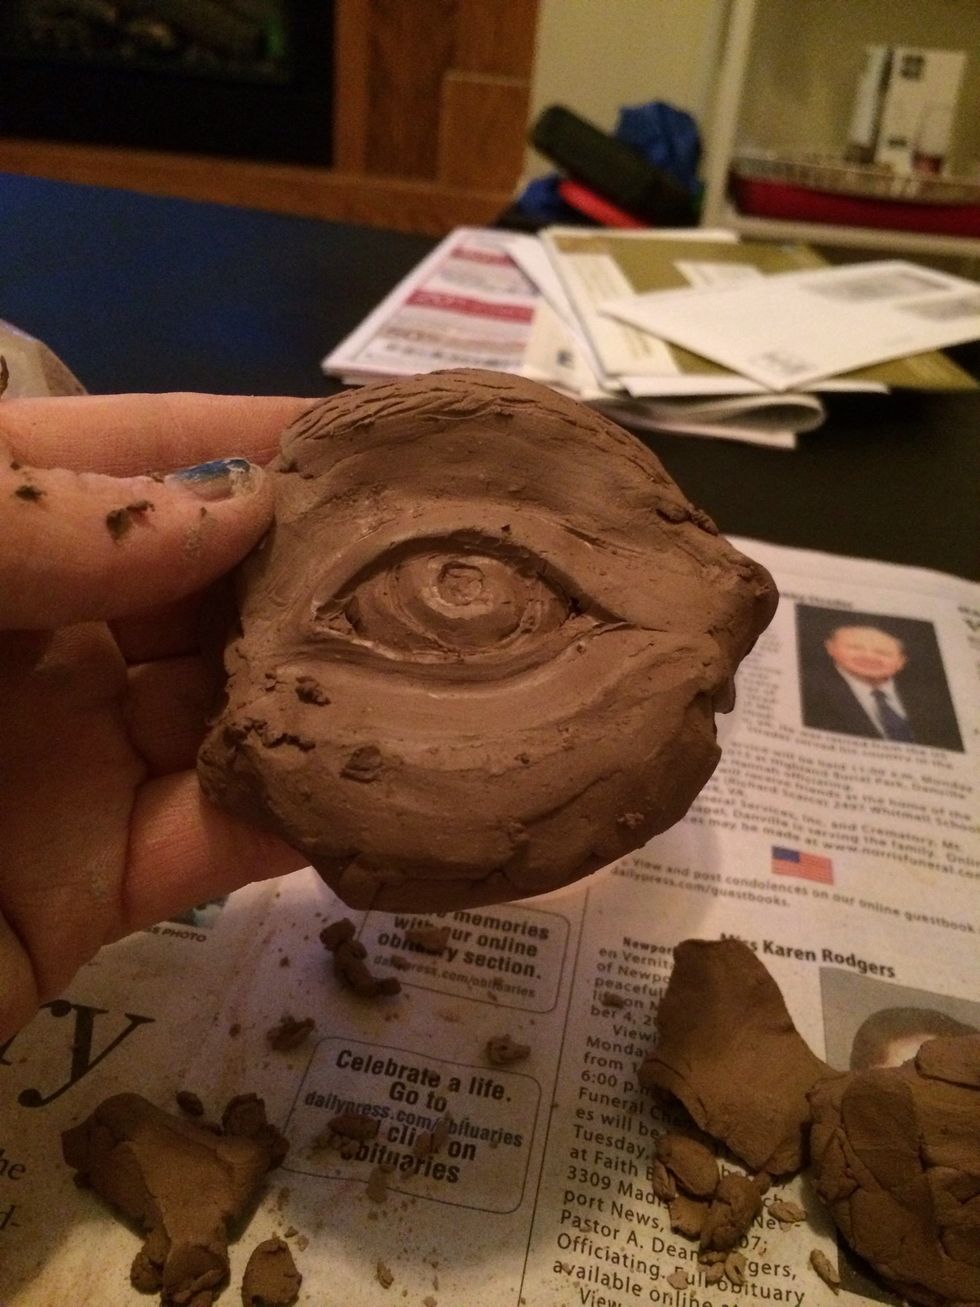
Sculpt the eye ball with a small tool to create a rounded look. Build and shape the corners of the eyes including the tear duct.
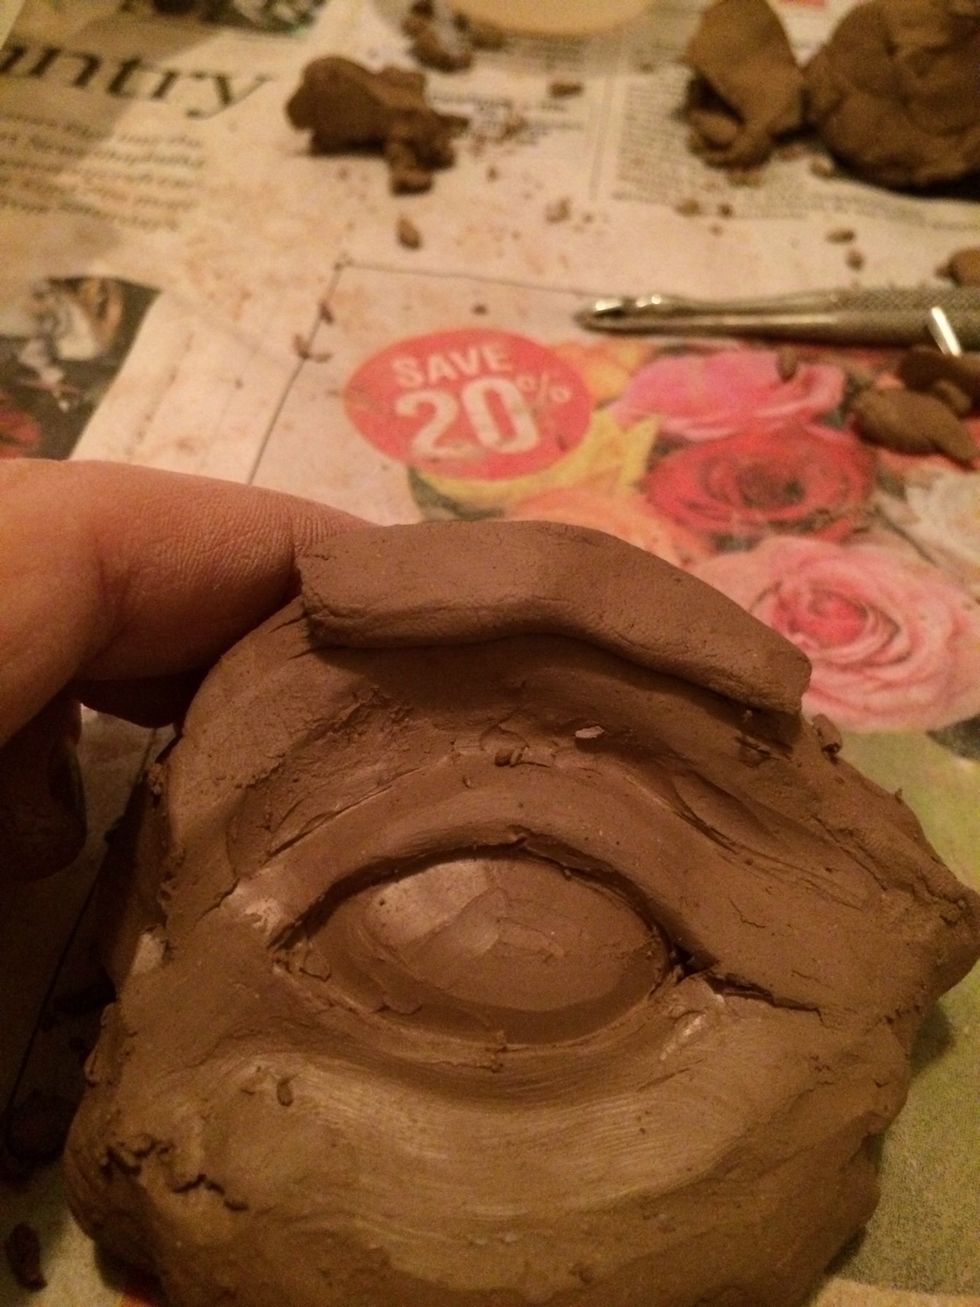
To create an eyebrow add a small amount of clay above the eye. This will be a very thin amount of clay. Don't add the clay too close to the eye.
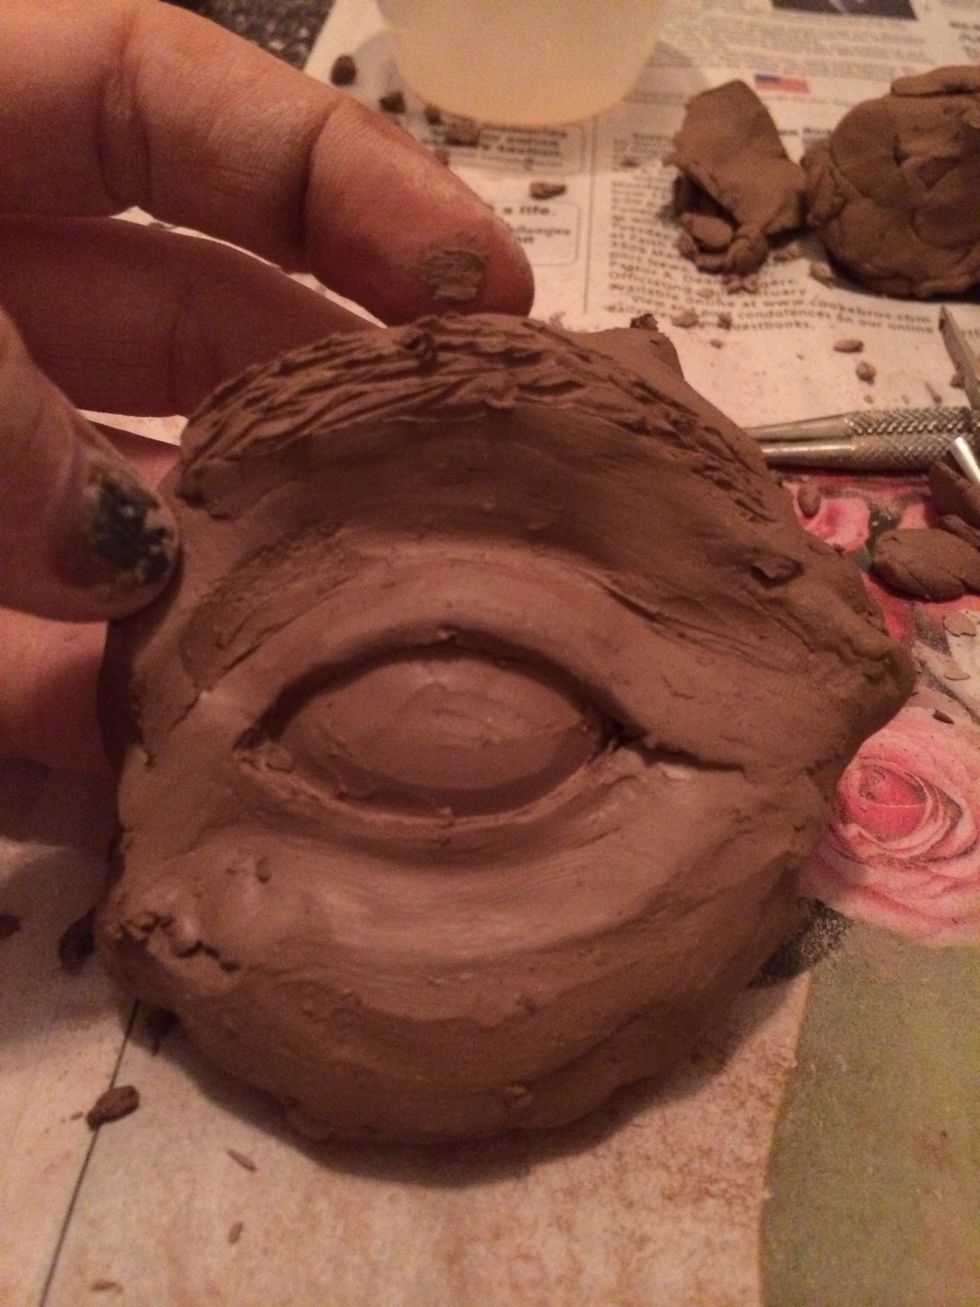
Using a tool add lines to create texture.
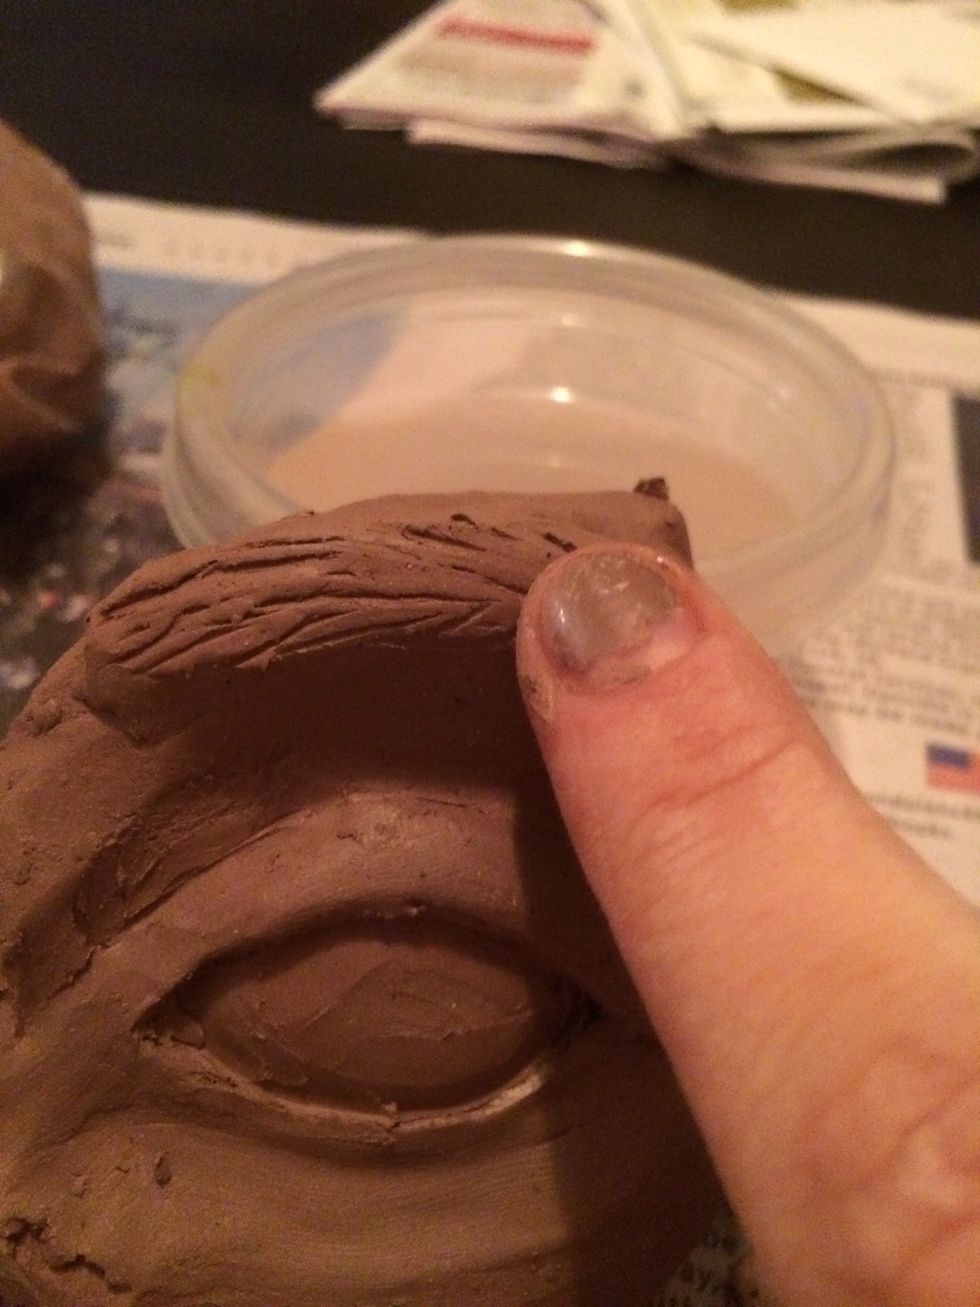
Run your finger over the texture to make the lines less obvious and softer.
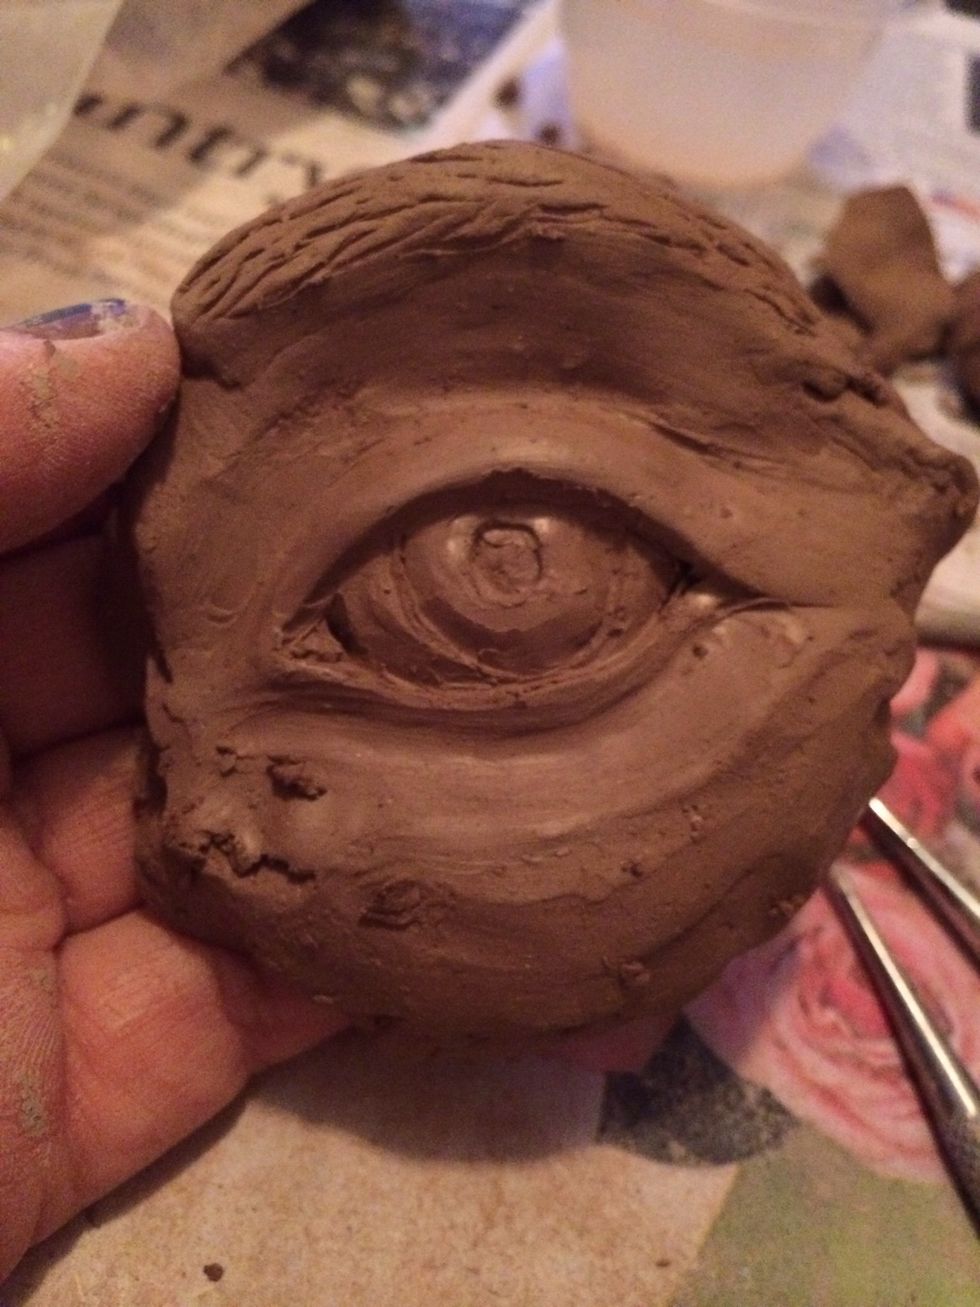
Think about how you would like to show the the iris and pupil. This can be drawn or sculpted into the clay. Normally this detail would be highlighted by several value changes which can't be shown here
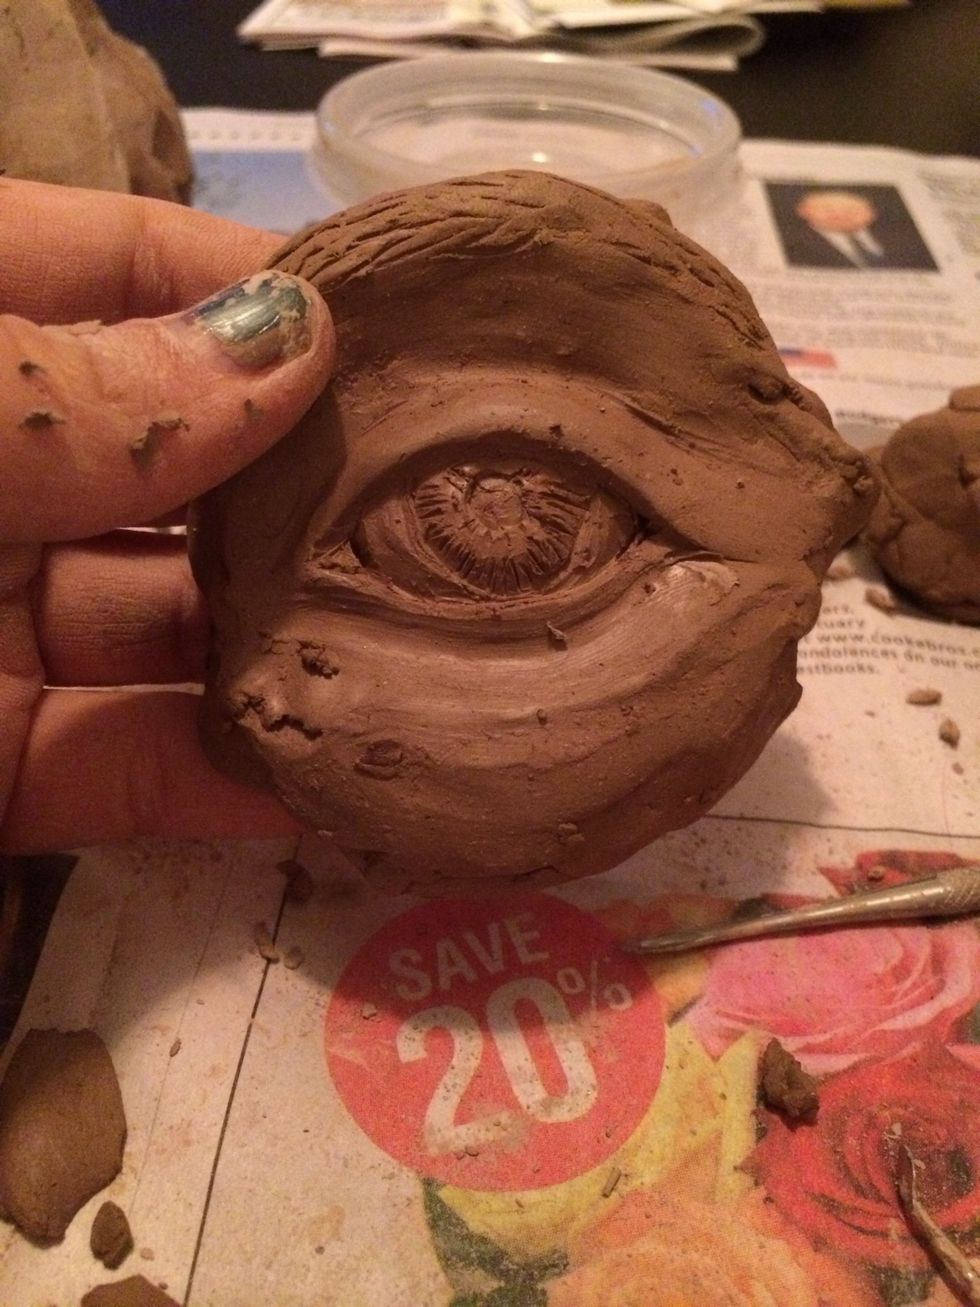
You can also add lines throughout the iris.
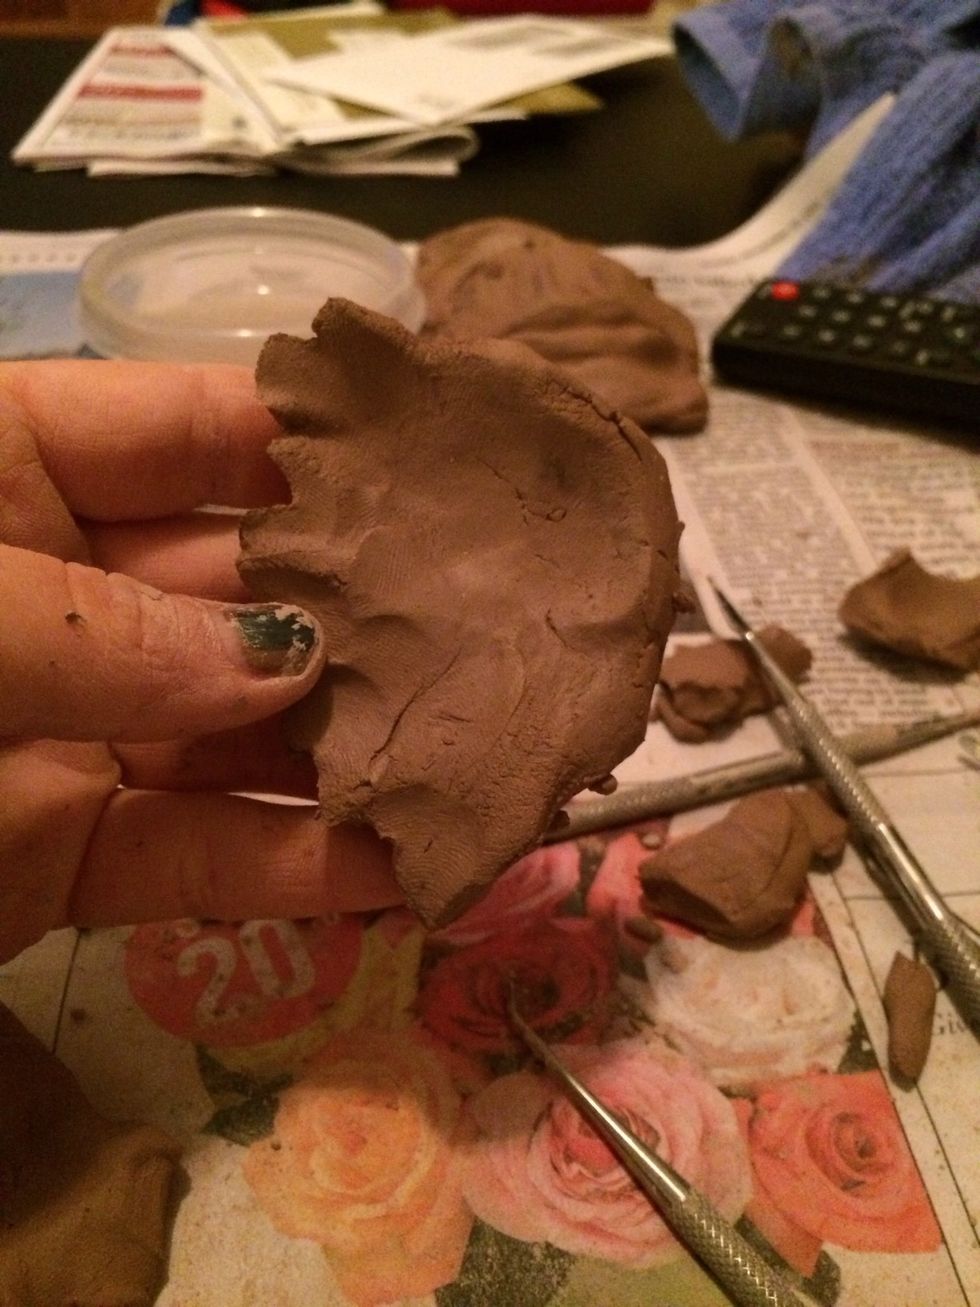
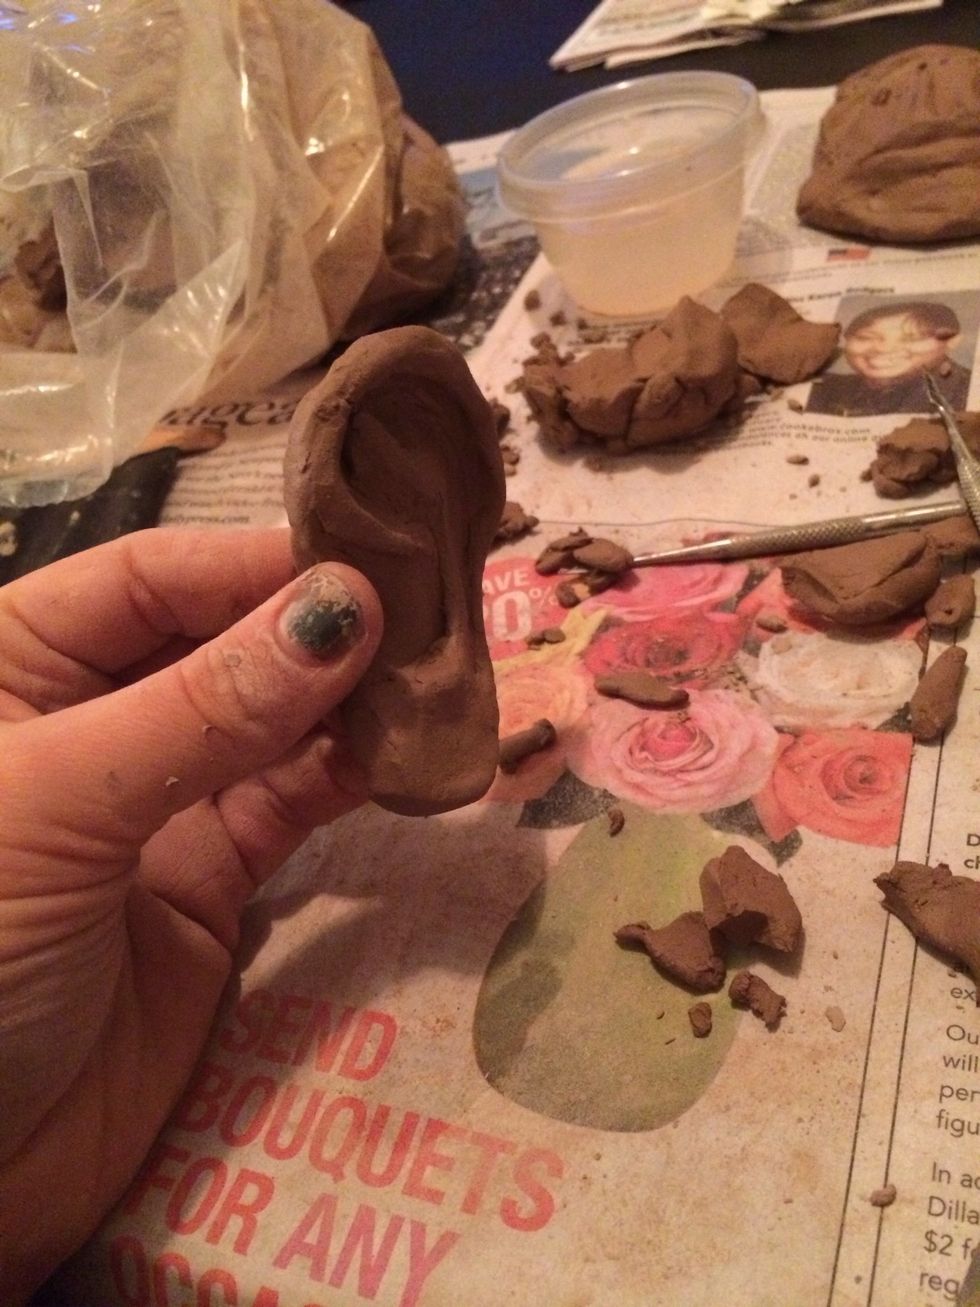
Ear. Start with a slab of clay.
Fairly thick (1/2").
Start by shaping the ear lobe.

Next create a ridge on the side and top of the ear.

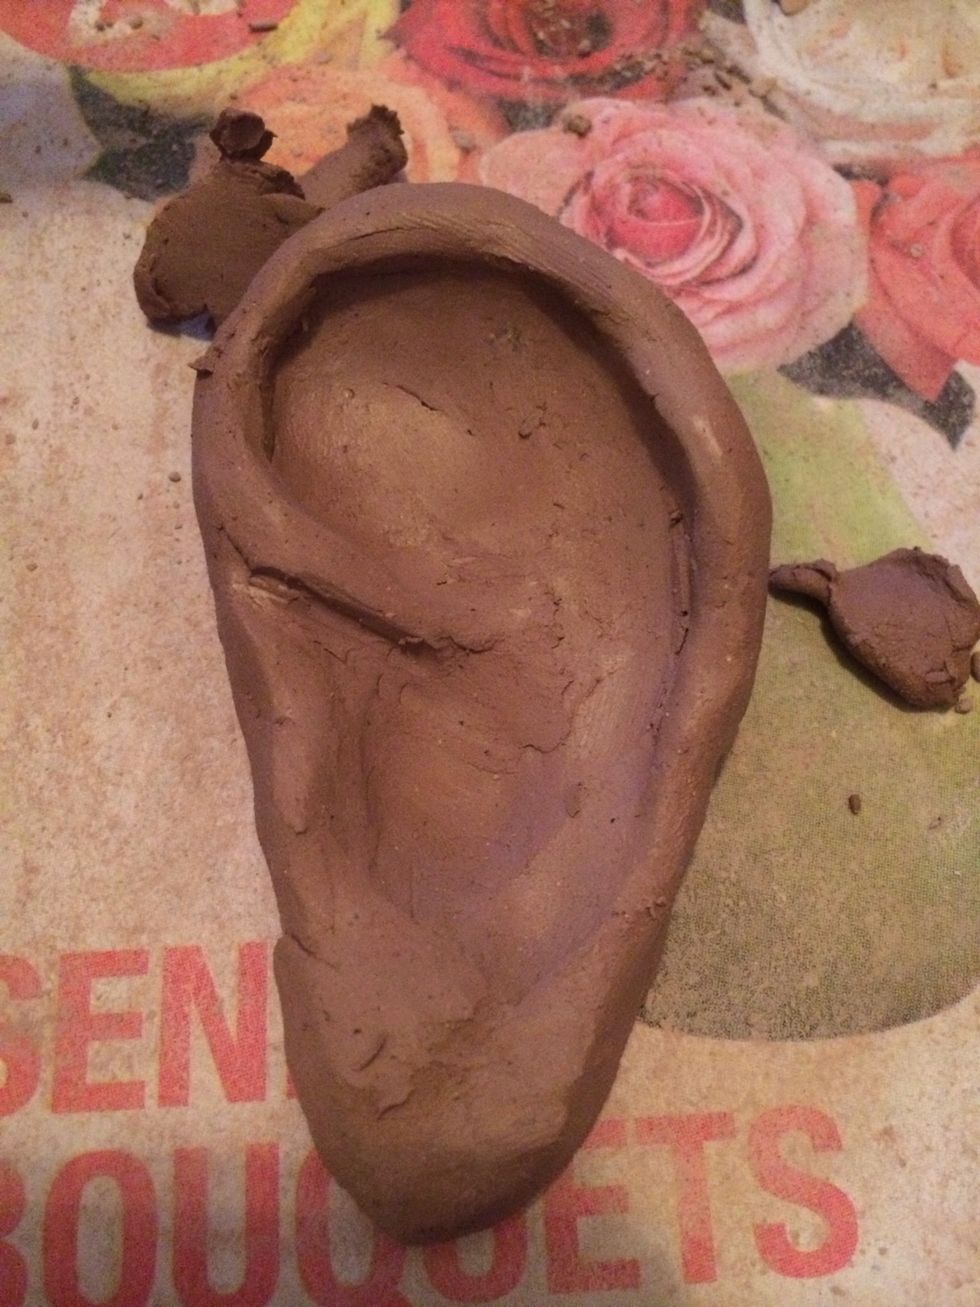
Continue building the ridges on the inside of the ear.

Look at the a reference image to see where all the folds in the ear are.
Once your details are completed, carefully hold the side of the ear that will attach to the head and push the cartilage of the ear slightly back. Now when the ears are attached they won't stick out.