The Conversation (0)
Sign Up

Glue the pieces in place. Any craft glue usually works. Check the label.
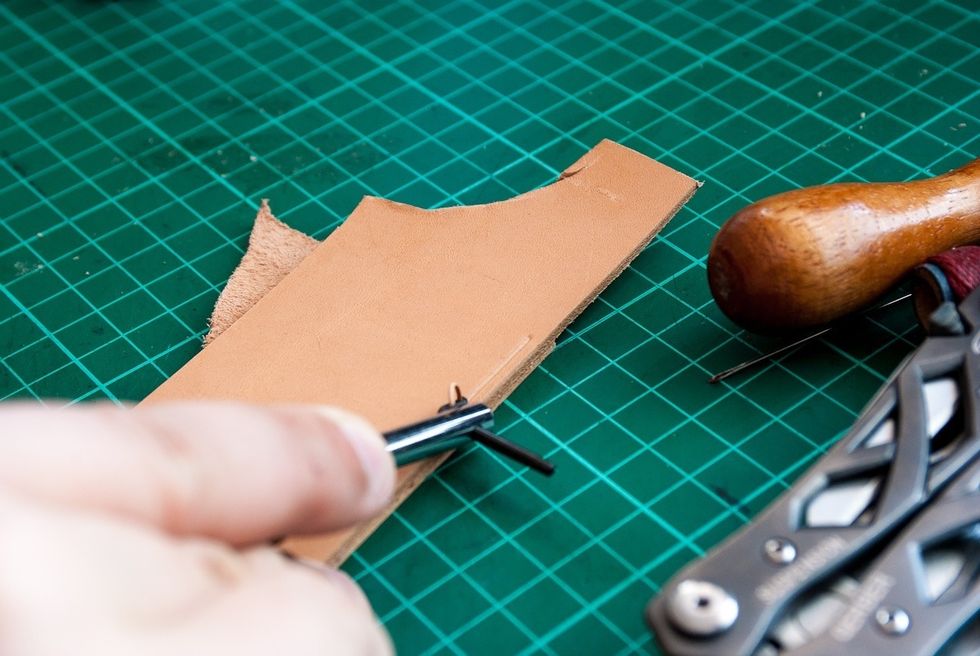
If you have a stitching groover, cut the groove. If you don't have one, mark the leather somehow (ruler or something that lets you control the distance to the edge of the leather & keep it consistent)
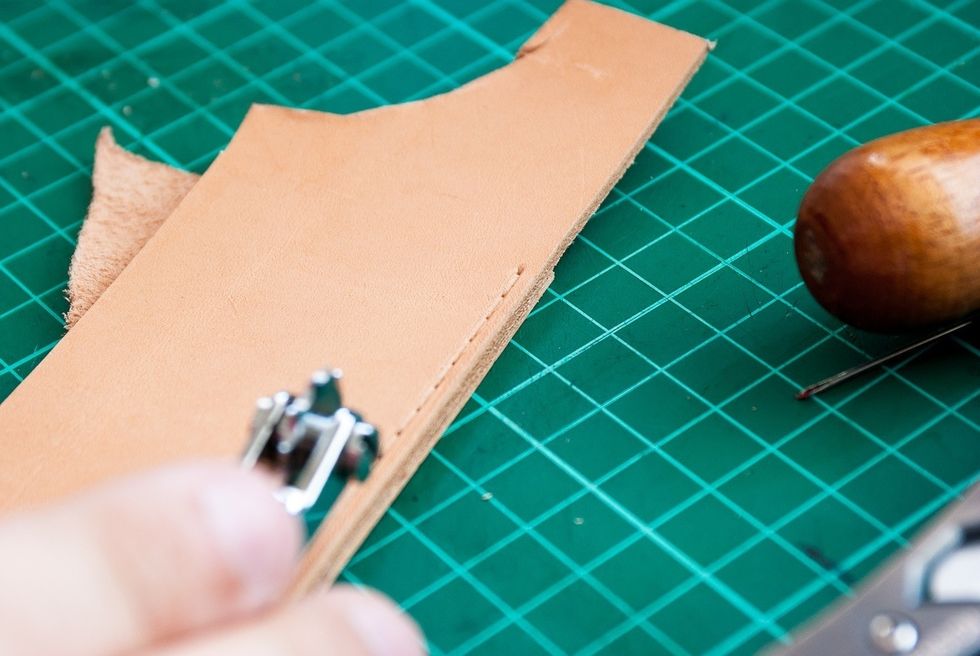
Use a stitching wheel to mark where you will make the stitches. You can also use the awl to mark the leather and measure the distances with a ruler if you don't have a stitching wheel.
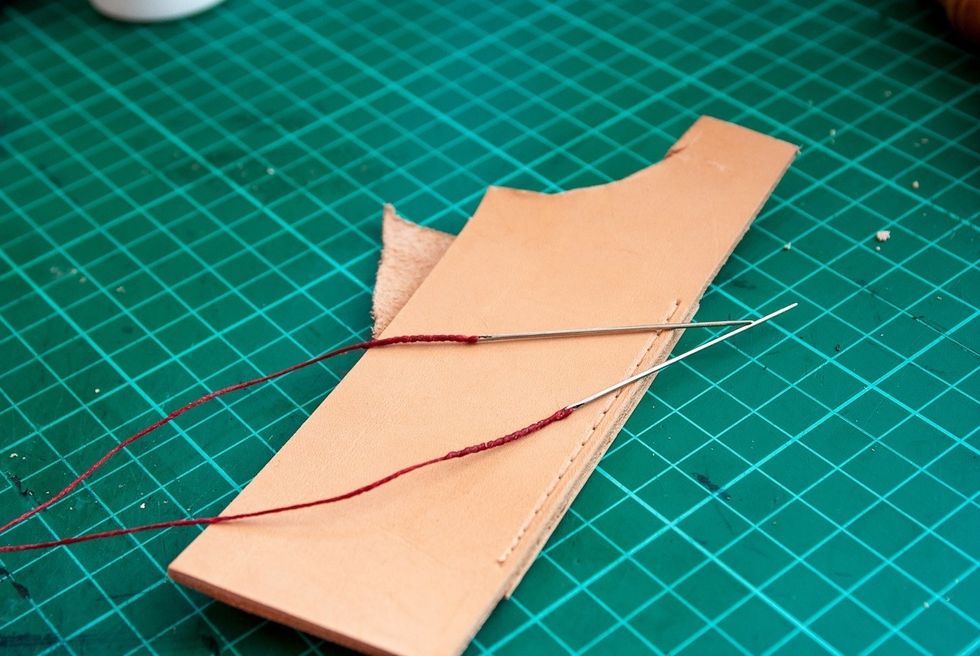
Prepare your thread with one needle on each end. (I have another guide that shows you how to thread your needles)
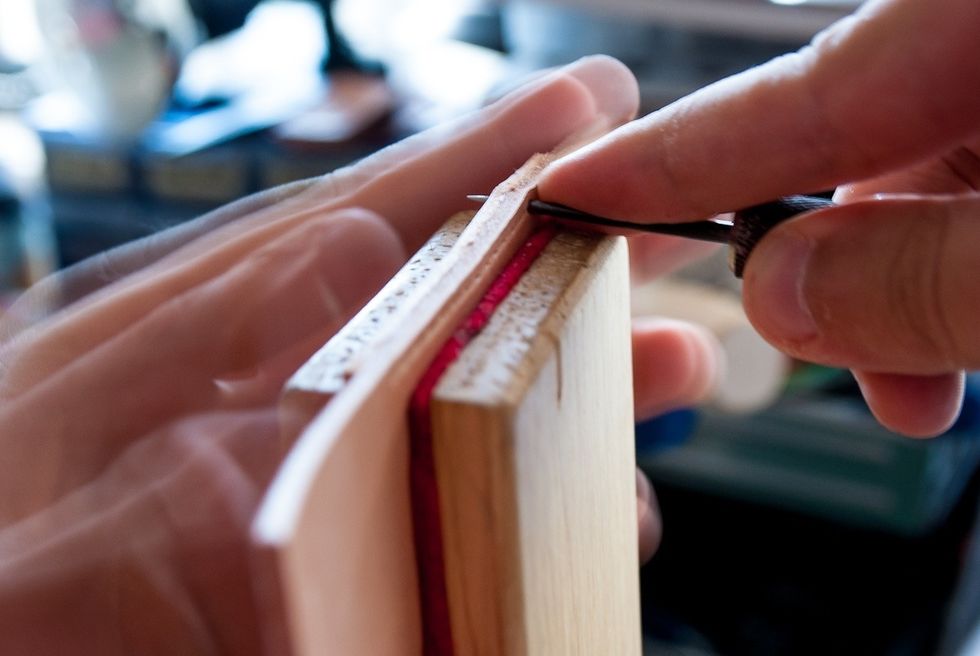
Leather is thick and you'll have to use an awl to pierce it. Always pierce the leather as straight as possible to achieve even stitches. Use left hand to support the leather on the other side.
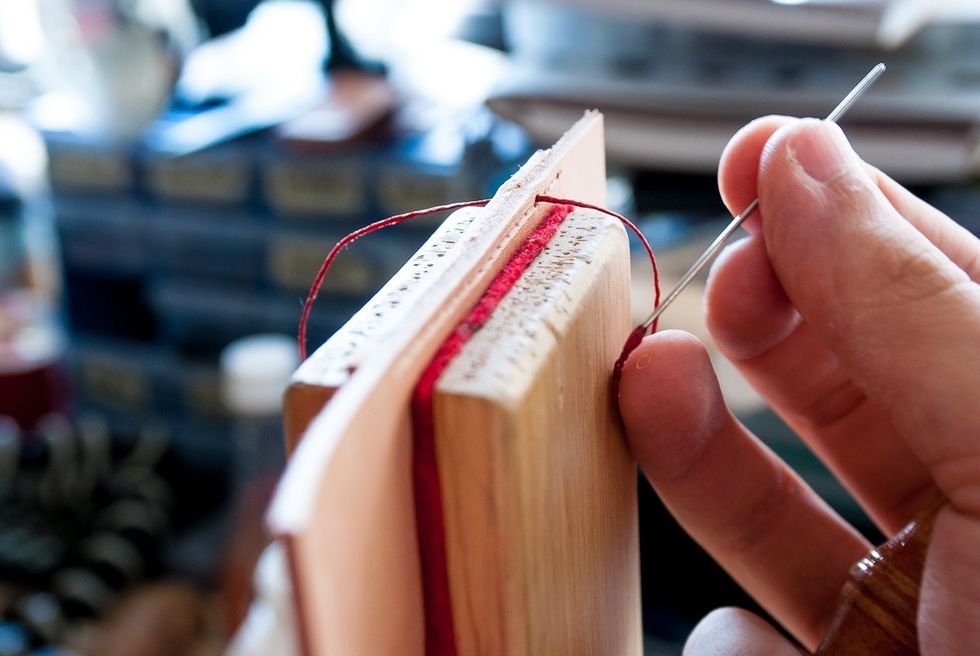
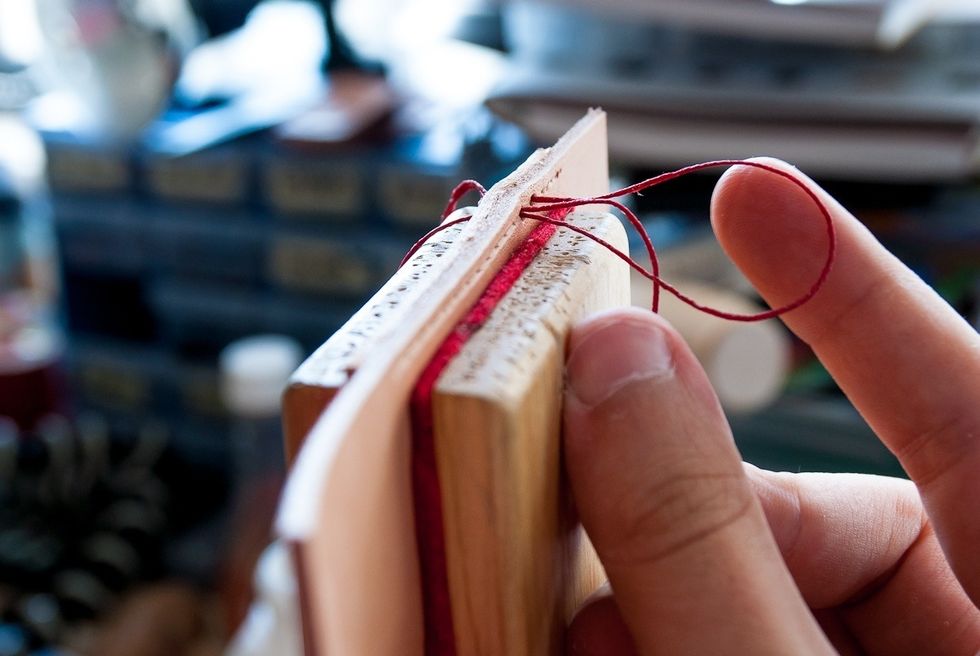
Pull the needle through first hole and line up the thread in the centre (same length on both sides). Note: I'll refer to the needle in your right hand as needle 2 and in your left hand as needle 1
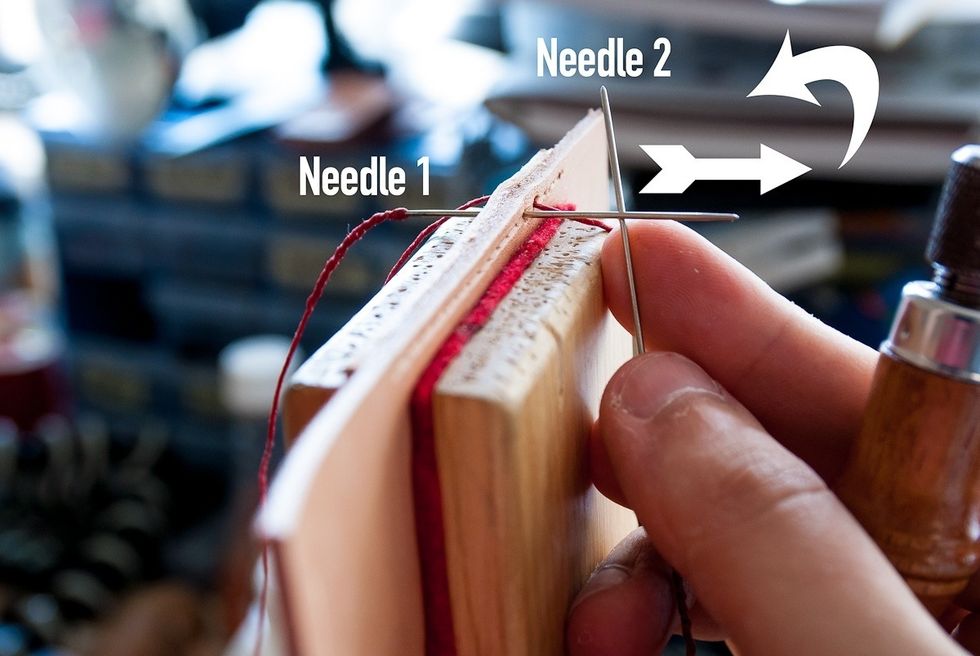
Pierce the next hole using your awl and push the left needle (needle 1) through while holding the needle 2 behind it. In the next step you will hold both needles in your right hand.
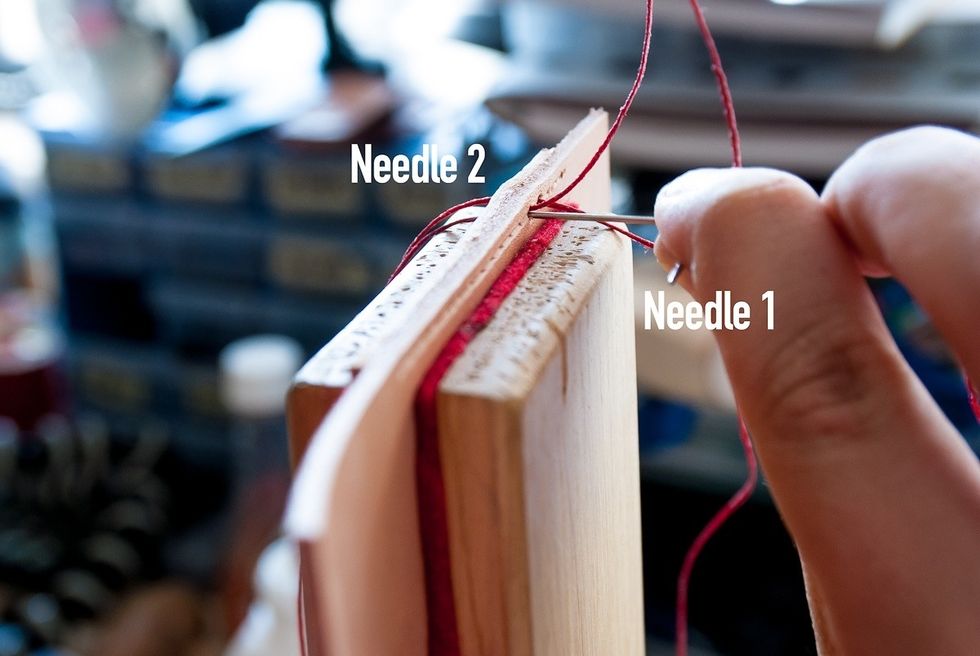
Once you pulled the needle through the hole, twist your right hand (holding both needles) towards you and push needle 2 through the same hole as the thread. Be careful not to pierce the thread!
This is another view of needle 2 going through the same hole. Note that the needle is closer to you than the thread. Don't switch that around or your stitches will be uneven.
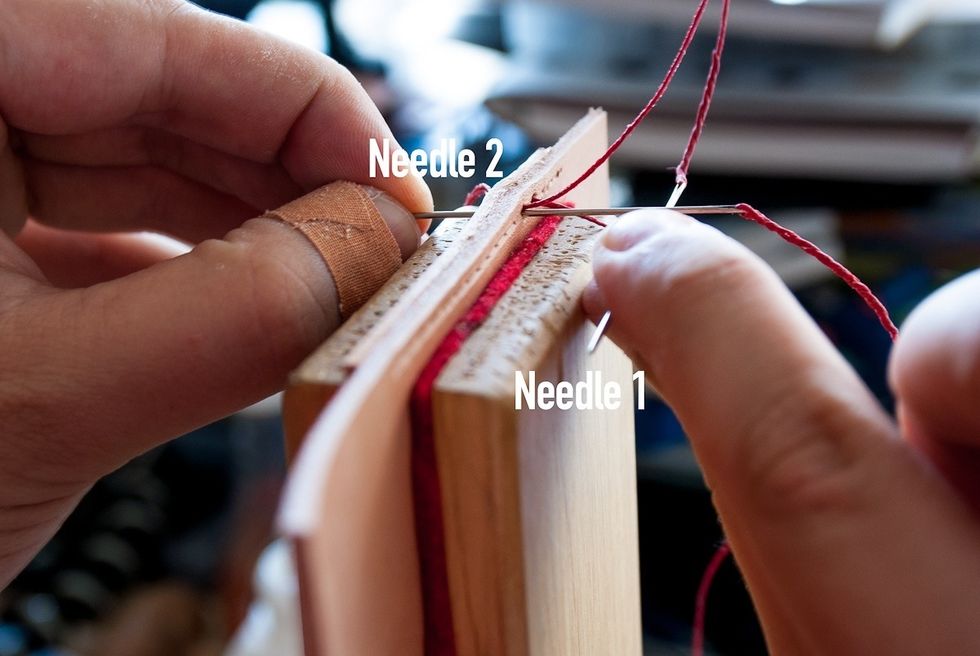
This is what it looks like before you pull the thread all the way through.
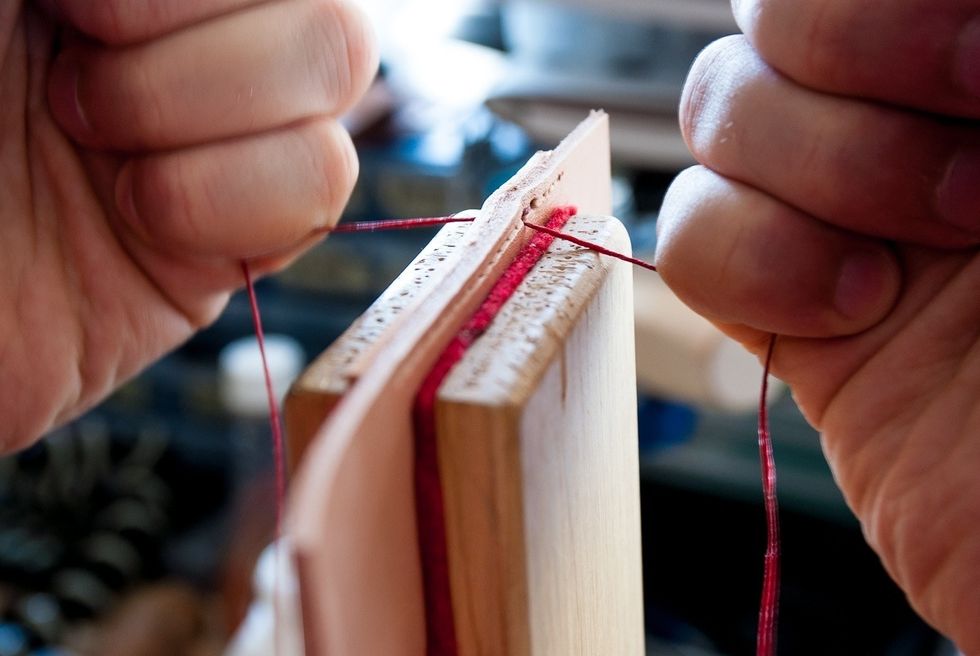
Pull the thread tight and repeat steps 7-11

When you're finished, back stitch 2 stitches to secure the thread. Use the awl to enlarge the holes if needed.
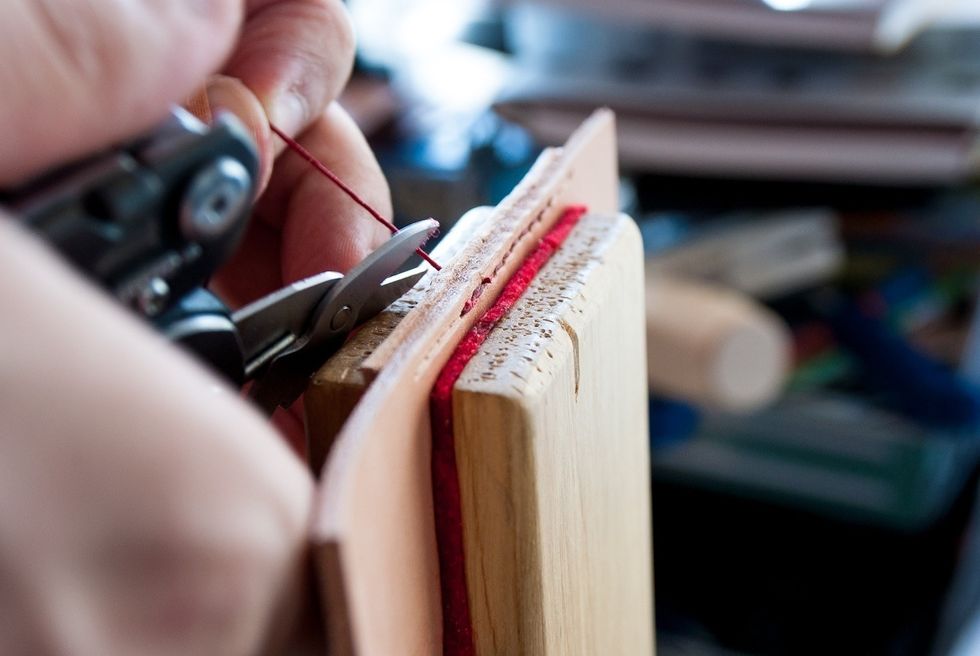
Cut thread as close as you can
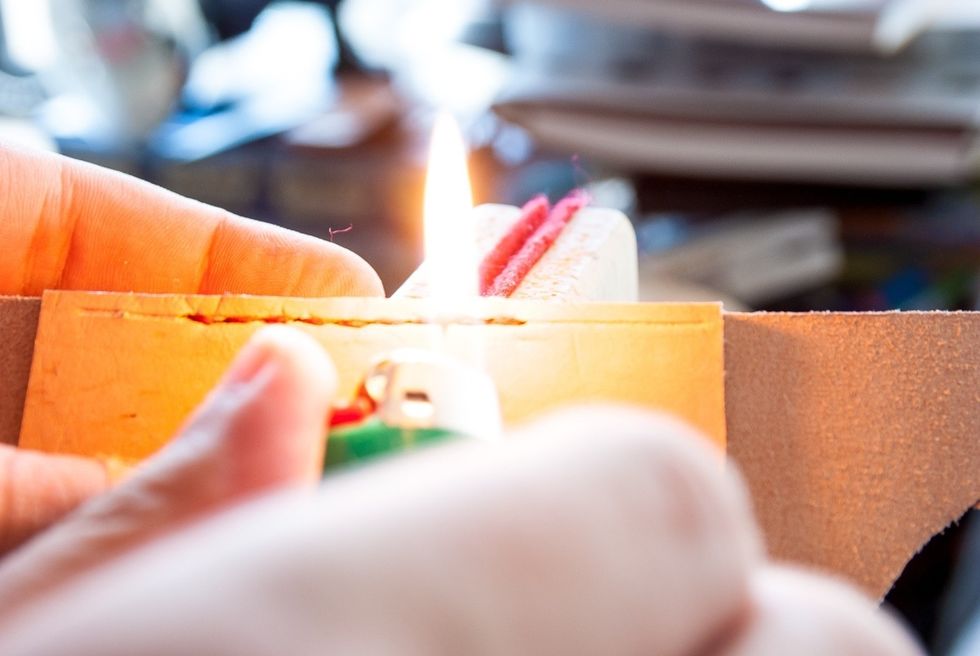
If you are using polyester thread you might want to burn the ends to keep them from fraying. Be careful not to burn or mark the leather.
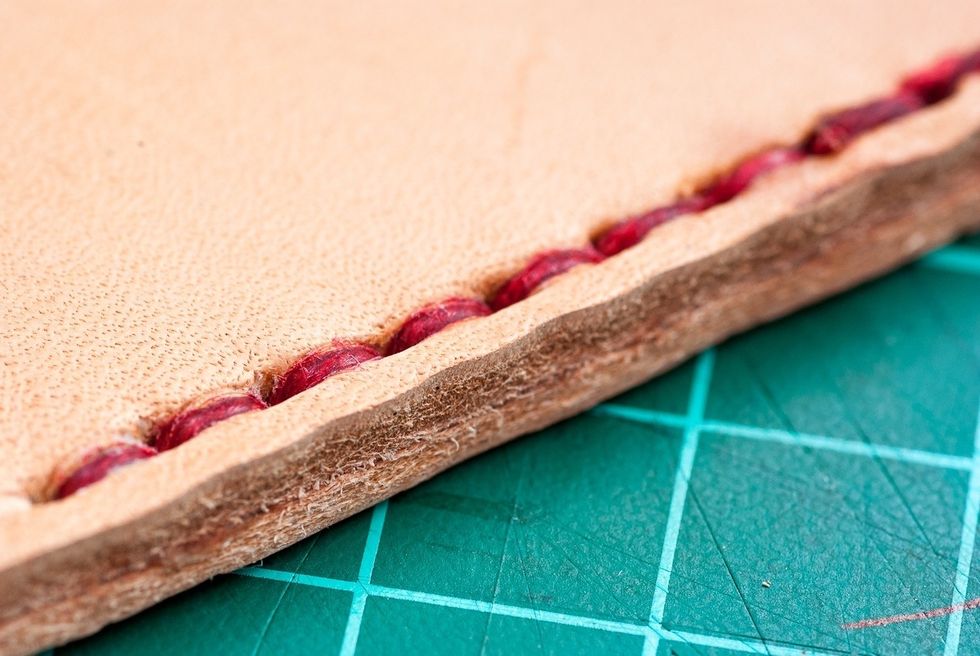
DONE! This is a closeup of the finished stitch. I used the stitching wheel and ran over the thread again. It cleans up the appearance quite well.