The Conversation (0)
Sign Up
Pre-Sewing. Be sure to have a plan to refer to, and have the amount of fabric needed is based on how large you want your cushion to be.

Your plan could be hand draw, or based on a picture, but make sure you have something to refer to. My plan is a simple sketch, and I simply used a highlighter to show the colour.
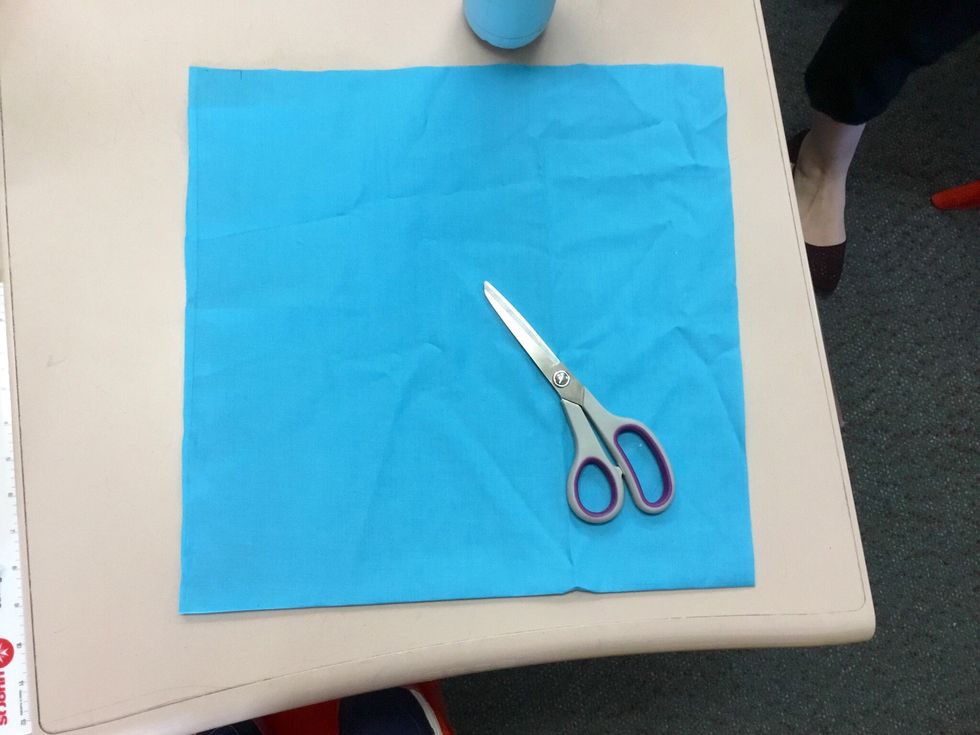
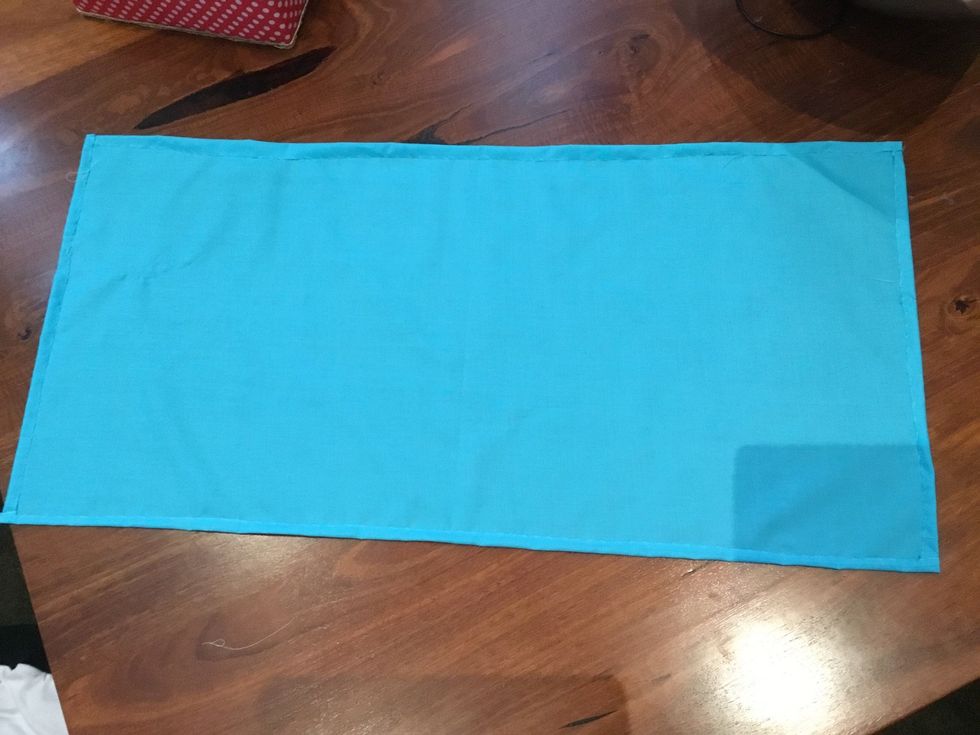
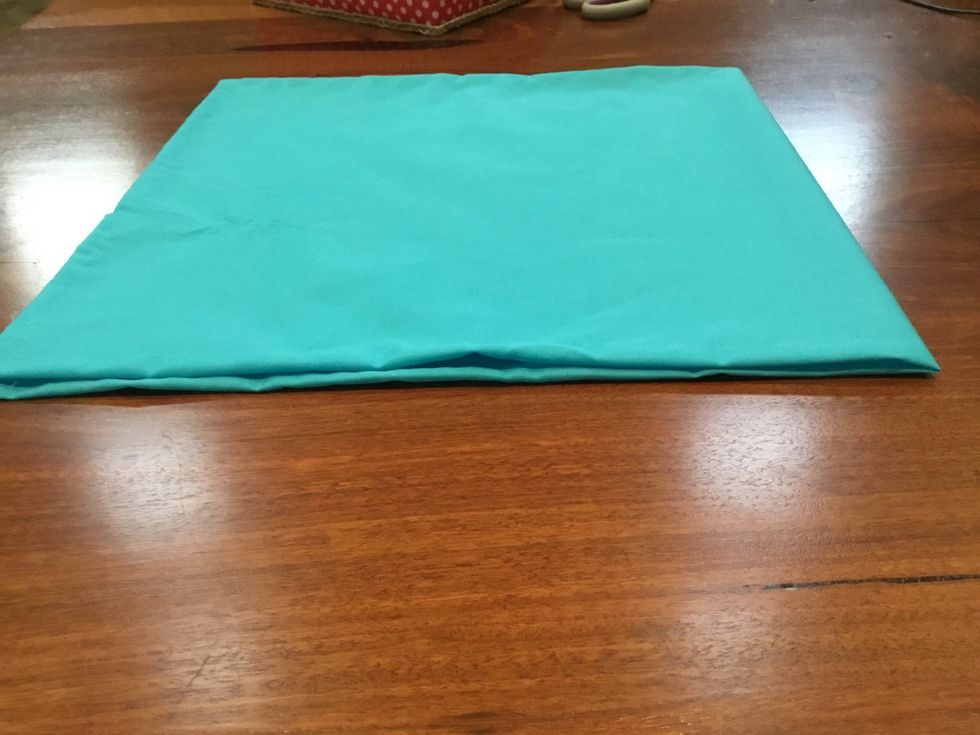
Cut the blue fabric in a rectangle, whatever size you like. I went with 80cm by 80cm. Then fold it into the square shape the cushion will be in. Have the good side facing down. Iron fabric.
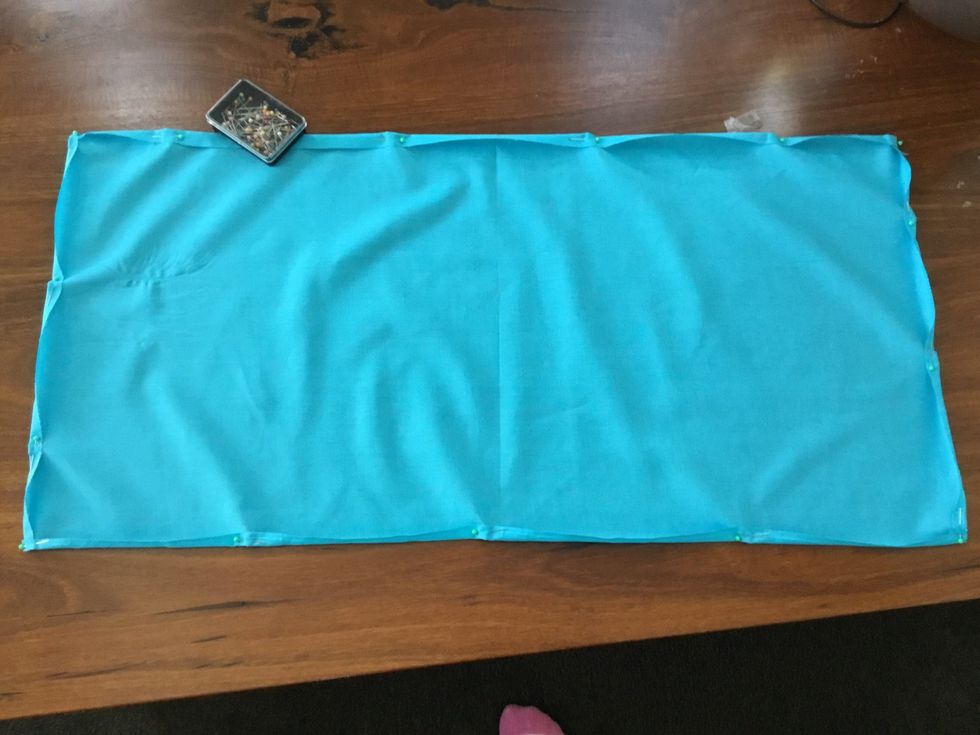
Keep your fabric unfolded, good side face down. Fold down edges, and pin them down with your pins. This is for the hemming, so no rough edges can be seen later. You could iron instead of pinning.
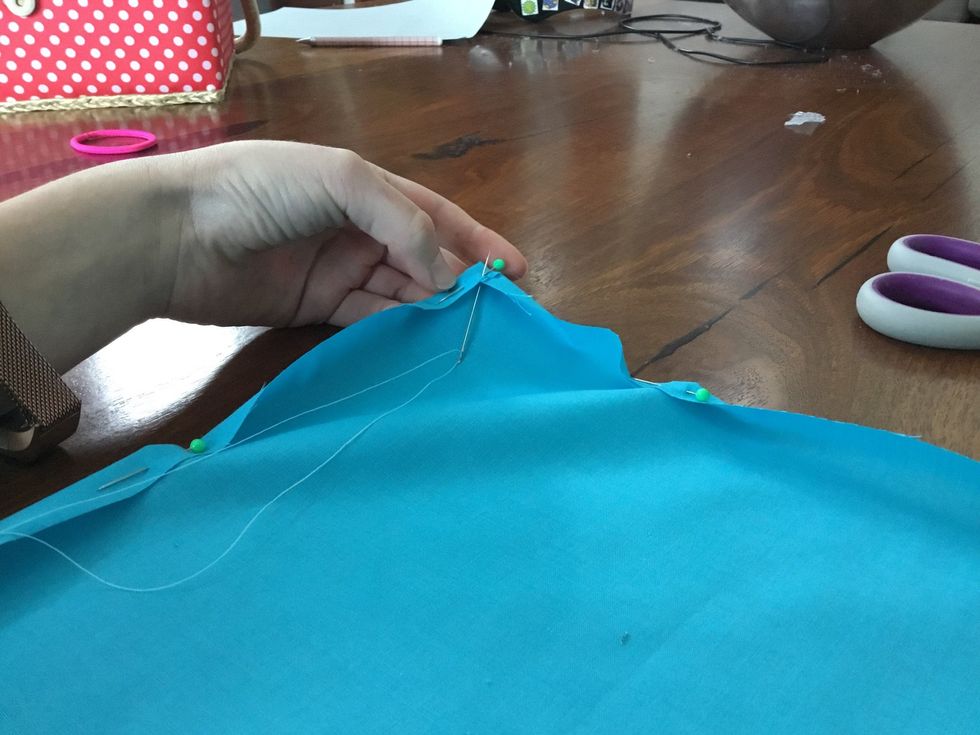
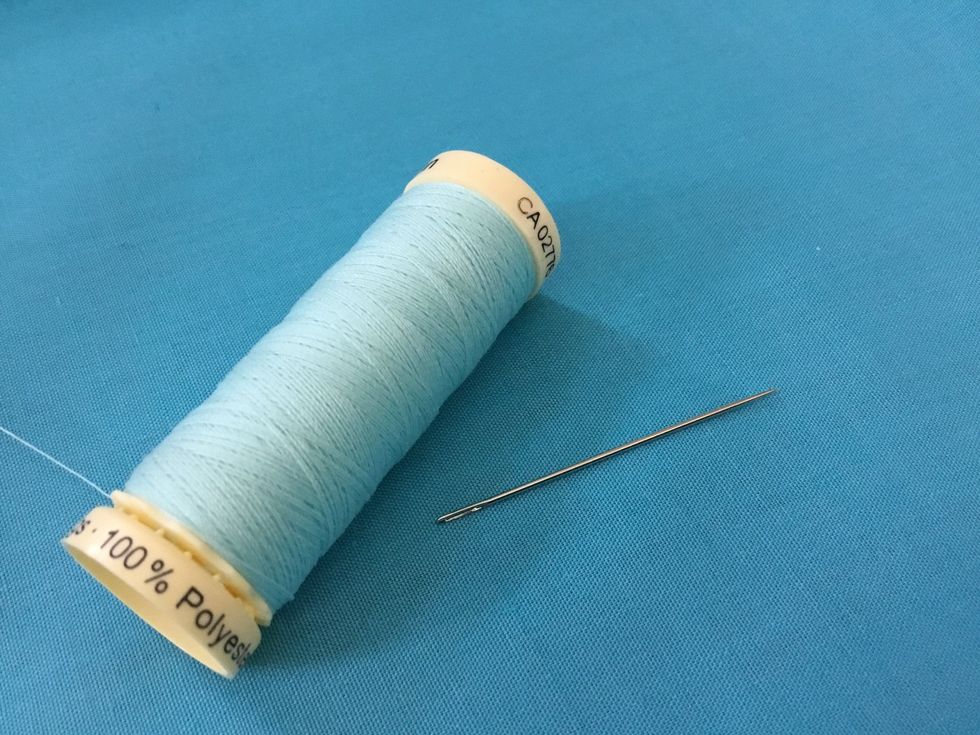
Thread you needle with a colour less noticeable. Knot the end of the thread, I use double knot. Get your needle and poke it through under one of the corners, careful not to go through the bottom.

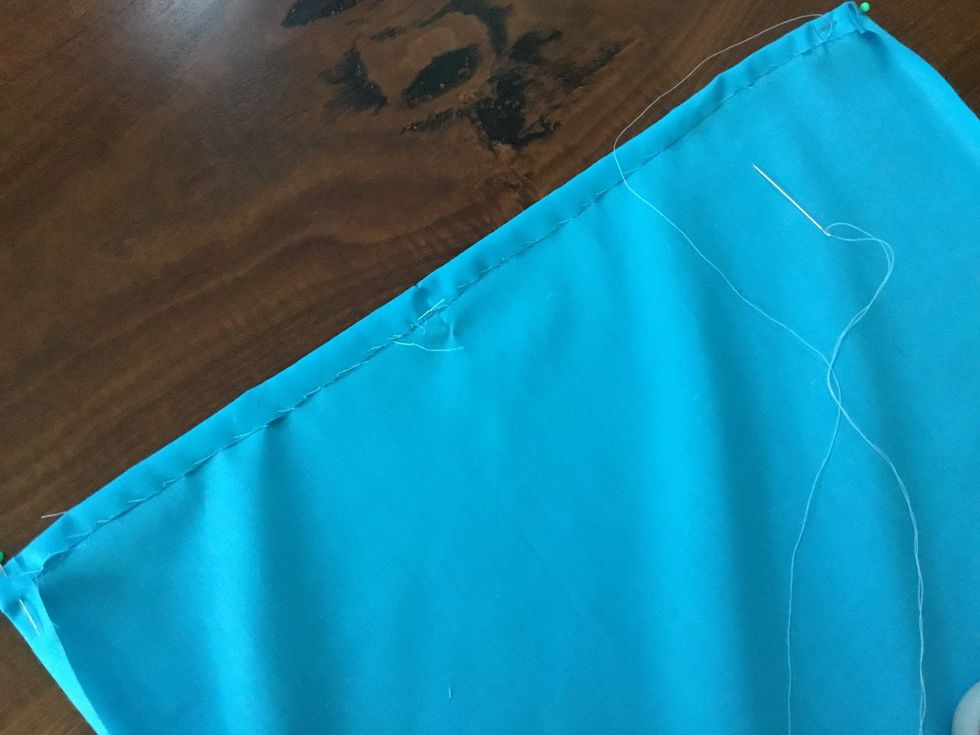
Repeat this step. This is what it looks like after a few pulls. Tip: Getting only a little bit of the fabric, and pulling through the fold closer to the edge leaves your cushion neater.
Keep the hemming close together for best results. You should soon finish a side, and when you come to any corners, do the same thing as you have been doing, no changes are needed.
This is also what you can do when you get knots.Then thread your needle as you did when you started, and pick up from where you left off.
Once you have finished, tie a knot as you have previously done.
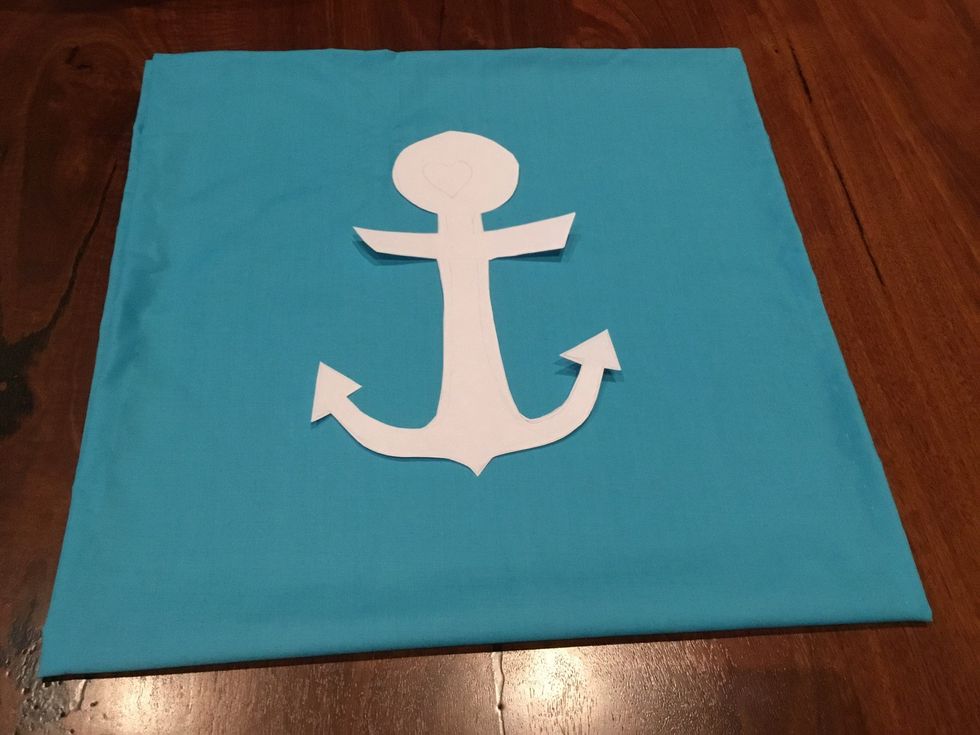
Then fold the fabric over into its square shape and get out your (ironed) patterned fabric and cut out your anchor. (Or any other shape you would like on your cushion)
Draw out a stencil to cut out of your fabric. You could print one off the internet also.

Place your stencil on the patterned fabric and outline on the BAD side, as it will not be seen. I used green as it was visible. Then cut out the shape and position it onto your plain, main fabric.
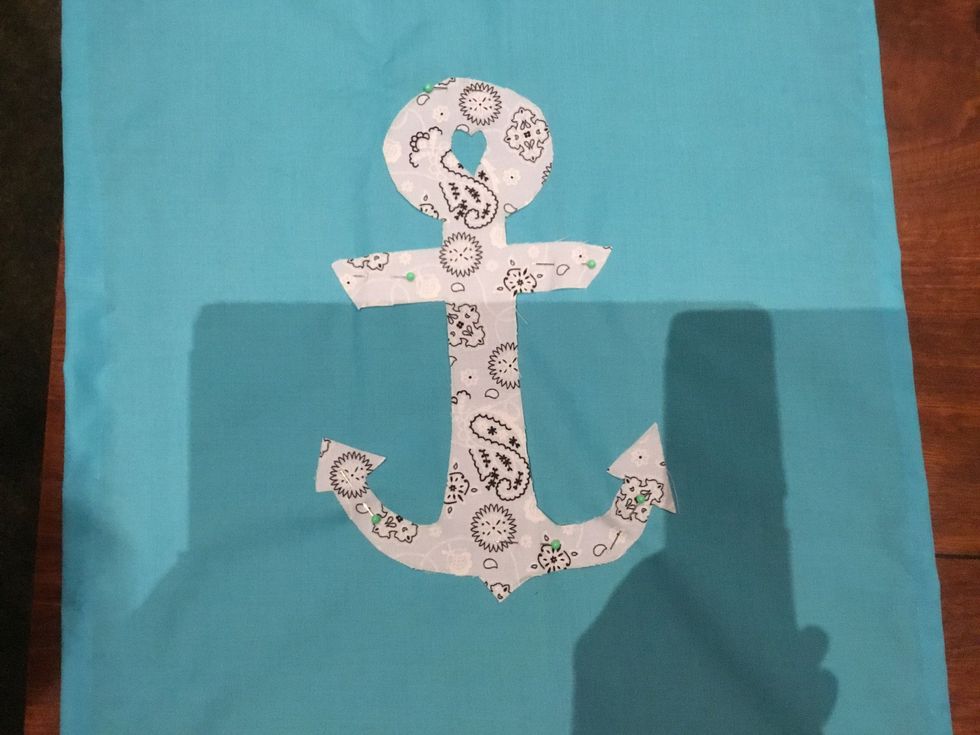
Pin down your cut out shape onto the blue main part of your cushion.
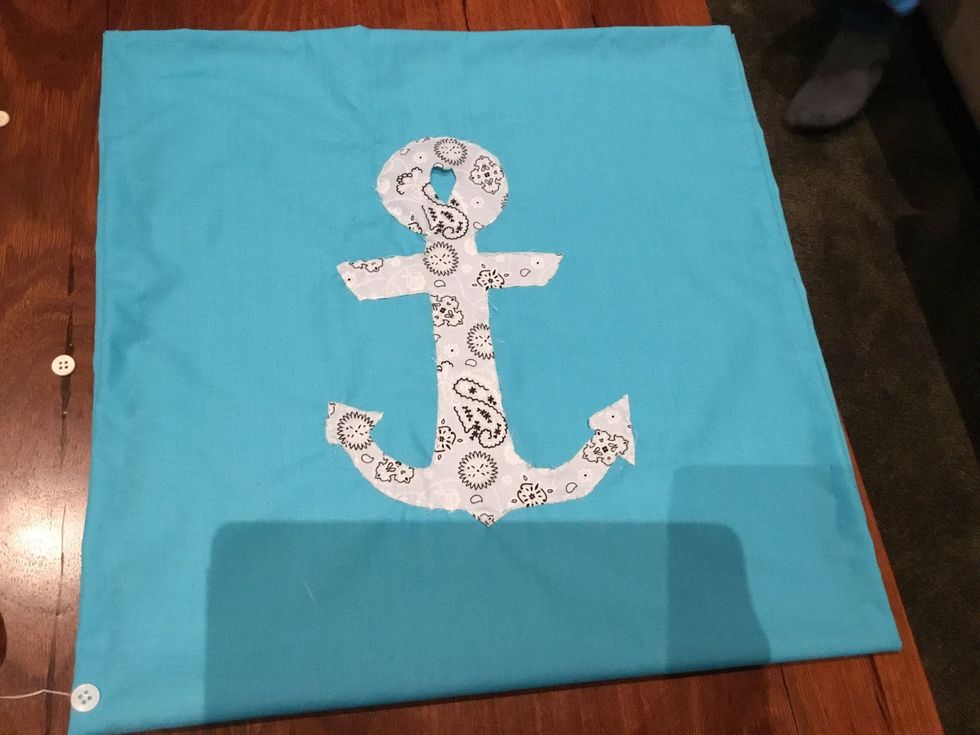
This is an easy step that you should finish in no time. You should finish it quickly.
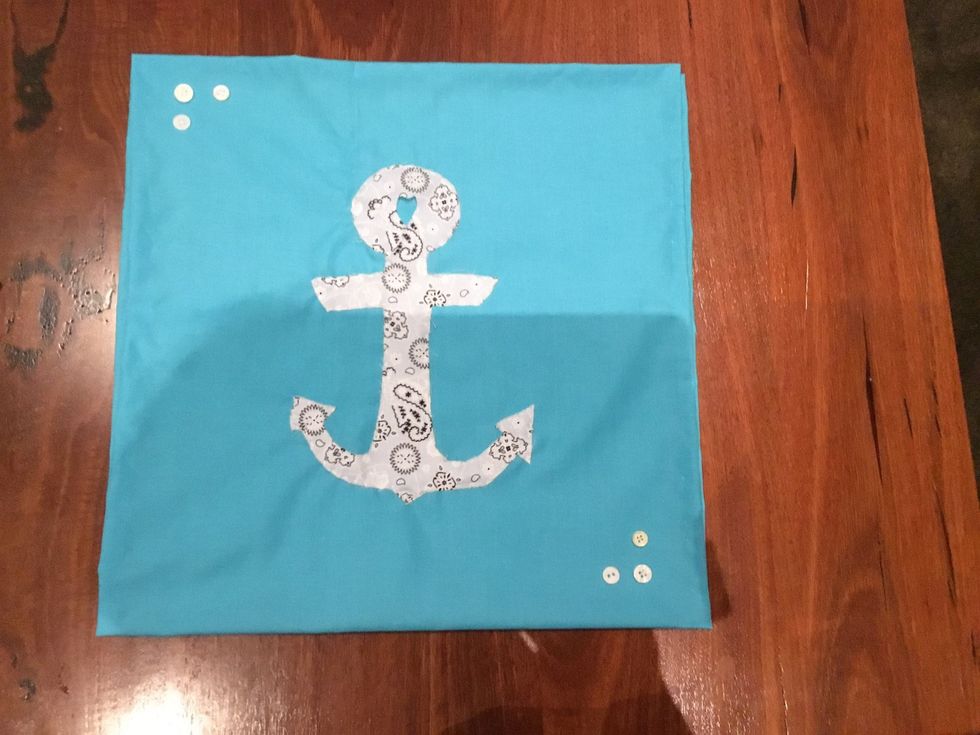
I thought my cushion needed a little extra something, so I decided to sew on a few buttons. This is a really simple stitch and is quite fun also!

You don’t have to sew son buttons, I thought it would a cute extra. Then it is time for sewing it up.
Repeat this step until you have gotten about halfway through the last side. Do not cut off the thread, because this is where you get your stuffing and stuff the cushion.
Once you have stuffed your cushion with enough stuffing, continue sewing until you get to the end, then tie a knot using a stitch. This knot can be outside.

Your cushion makes the perfect present for family members or friends, or a new addition to your couch!