The Conversation (0)
Sign Up
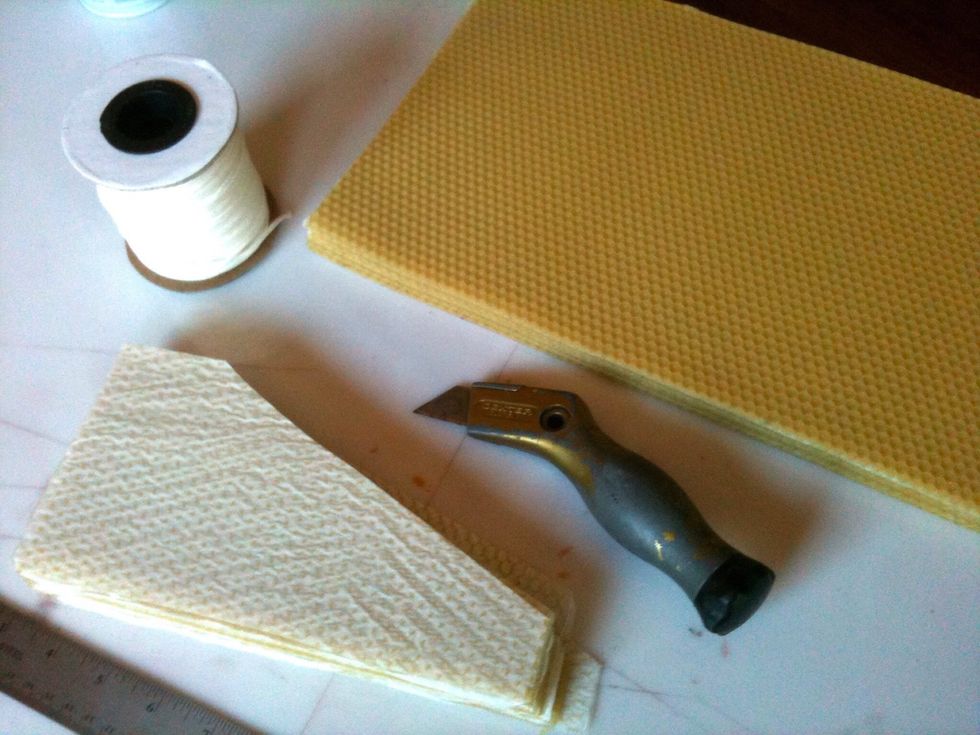
Gather wax, cutting board, Exacto knife, ruler and candle wick. 1 sheet of wax makes 2 candles. Purchase Beeswax online at beekeeping supply companies like Brushy Mountain, Dadant, or Mann Lake.
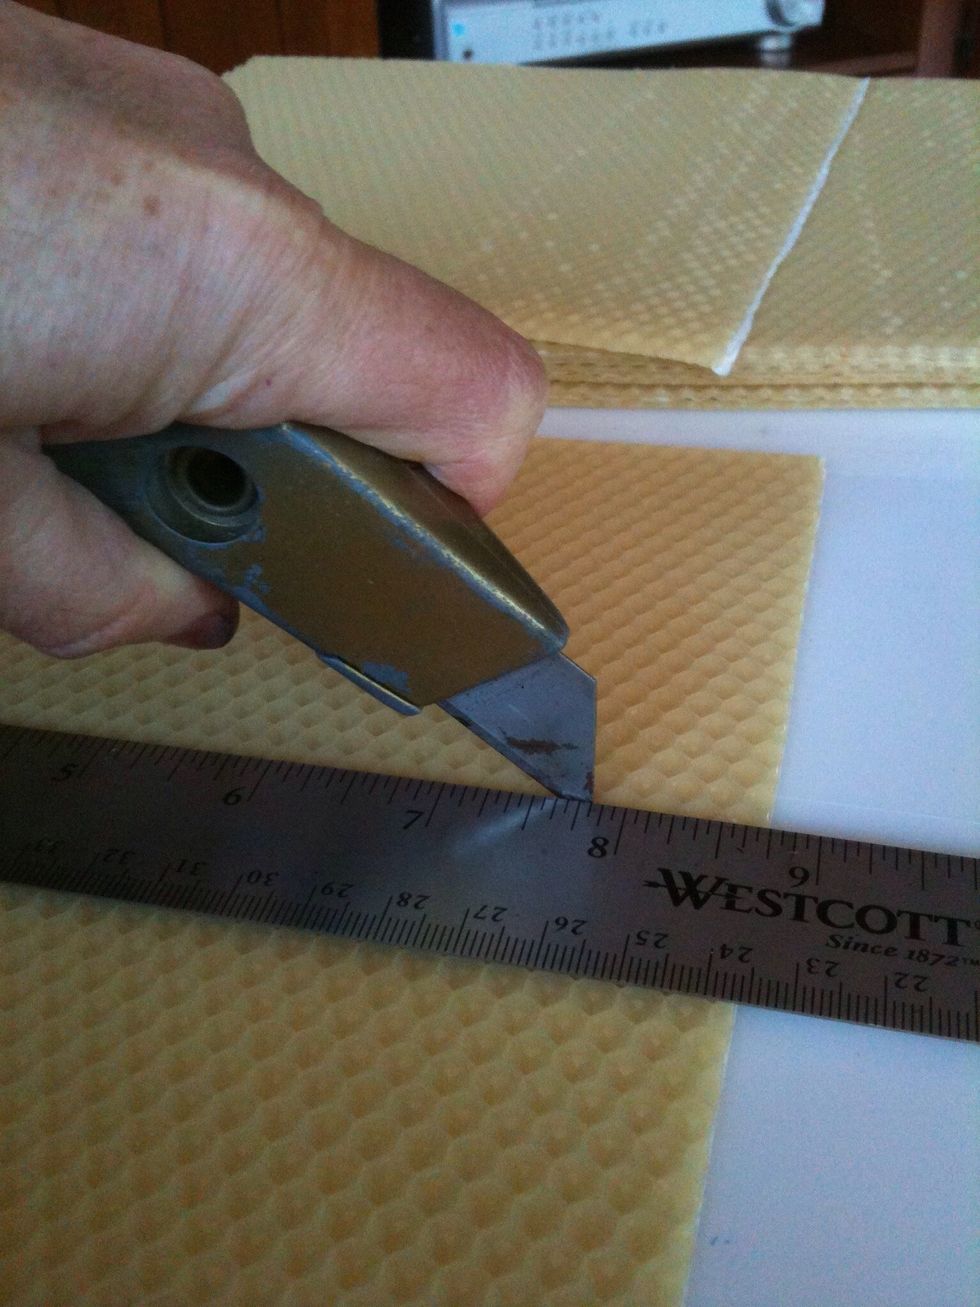
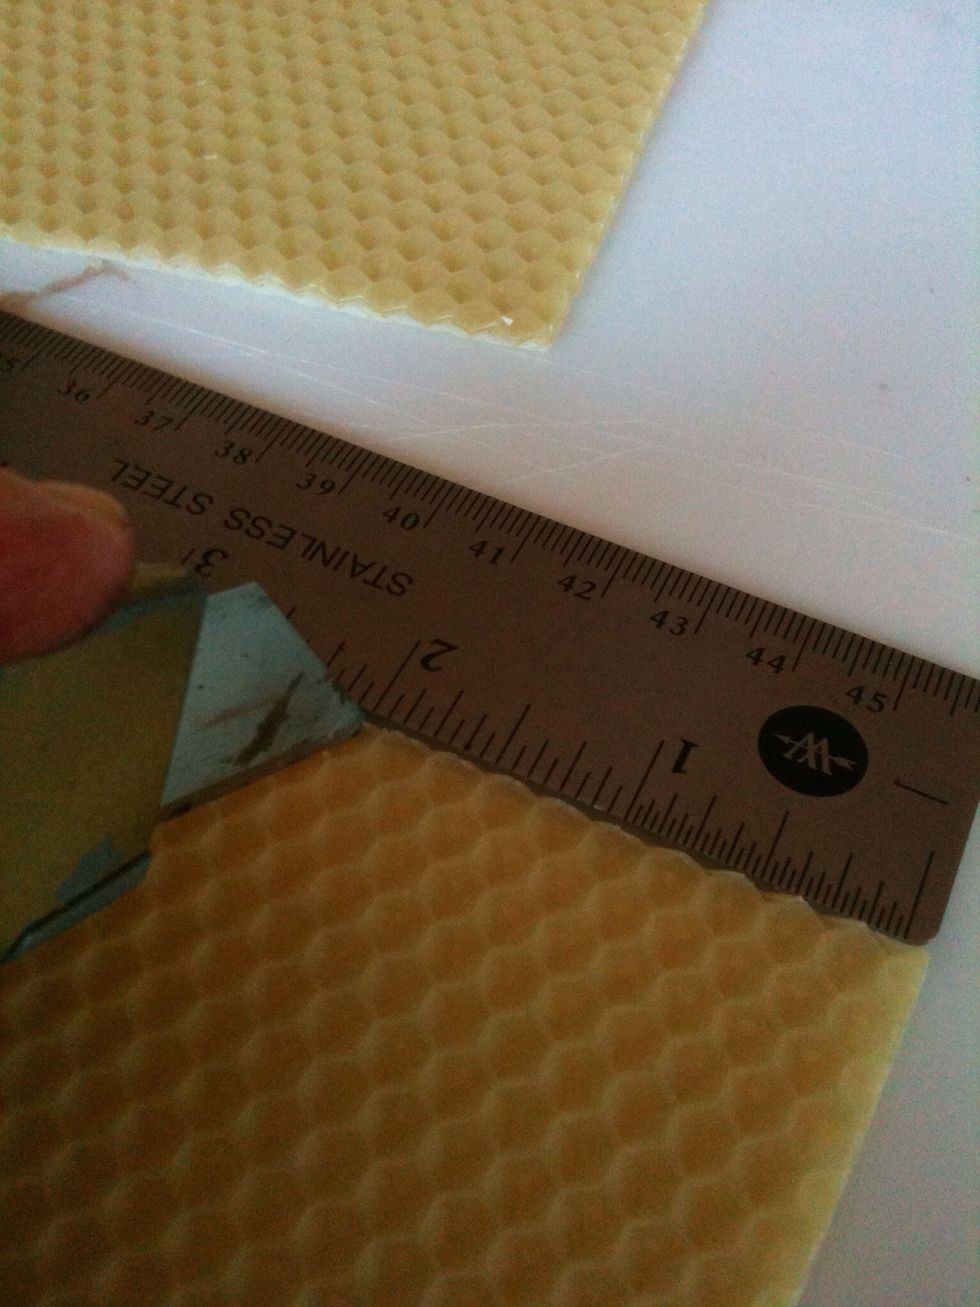
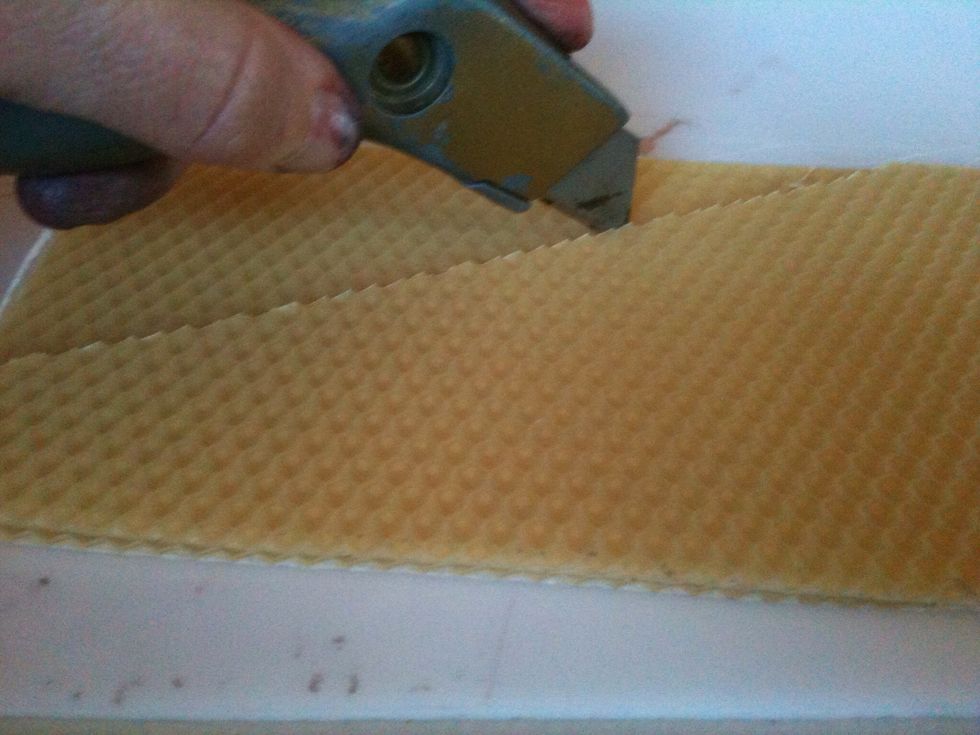
Place 1 sheet of wax horizontally in front of you. Measure the right side and cut a small slit at the halfway mark. Do the same on the left side. Measure and cut the sheet horizontally in half.
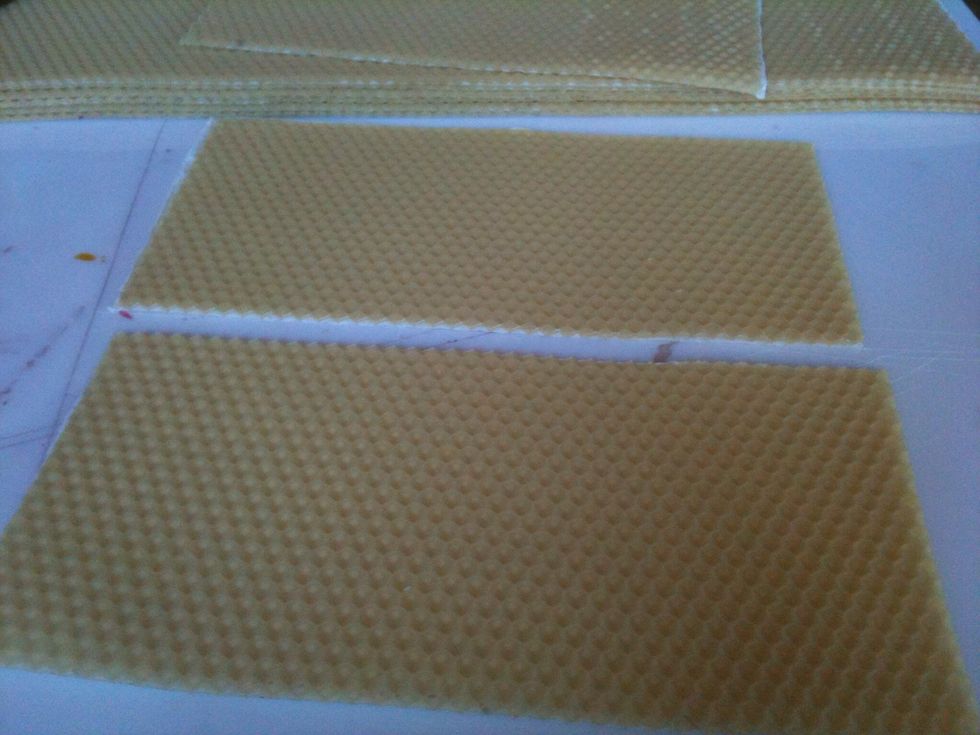
On both pieces, measure the top edges and mark the half way points. Do the same for the bottom edges. Cut both pieces in half vertically so you have 4 quarters. You'll need 2 pieces for one candle.
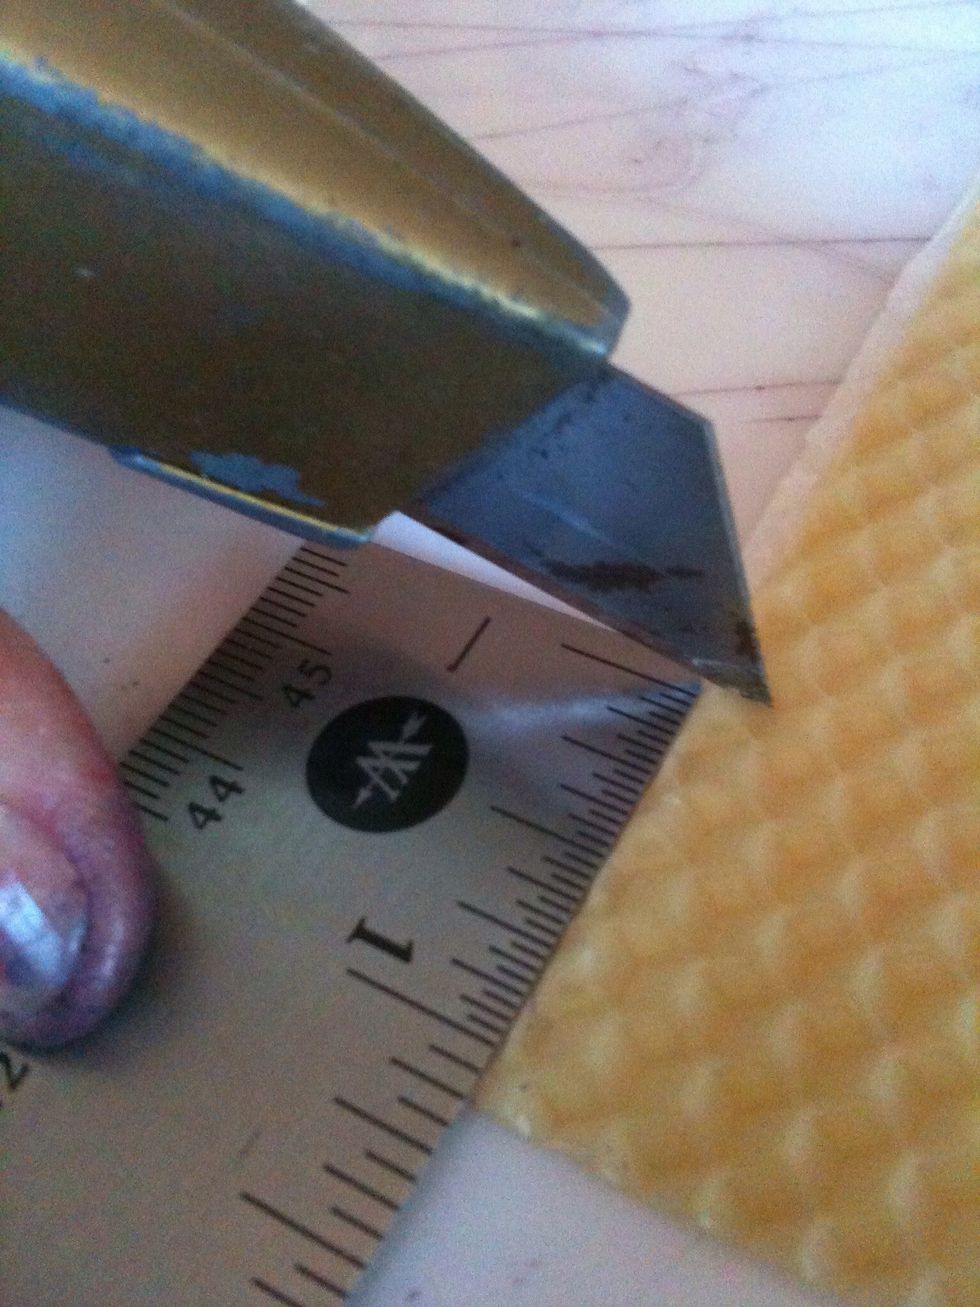
At the bottom left corner, measure 1 inch from the bottom and mark with a small slit.
At the top edge, measure 2 inches in (to the left) from the right corner and mark with a small slit.
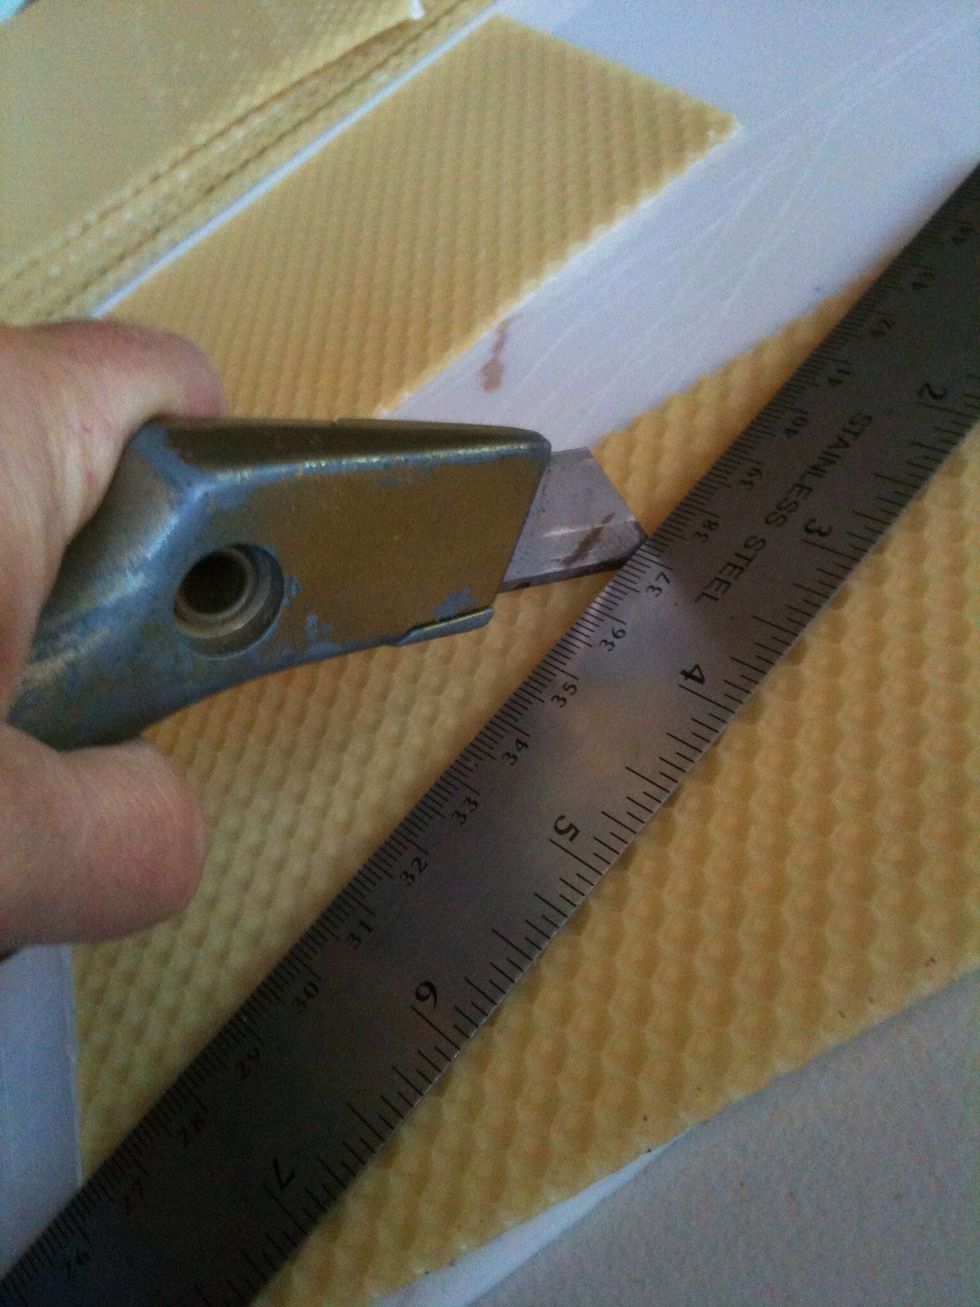
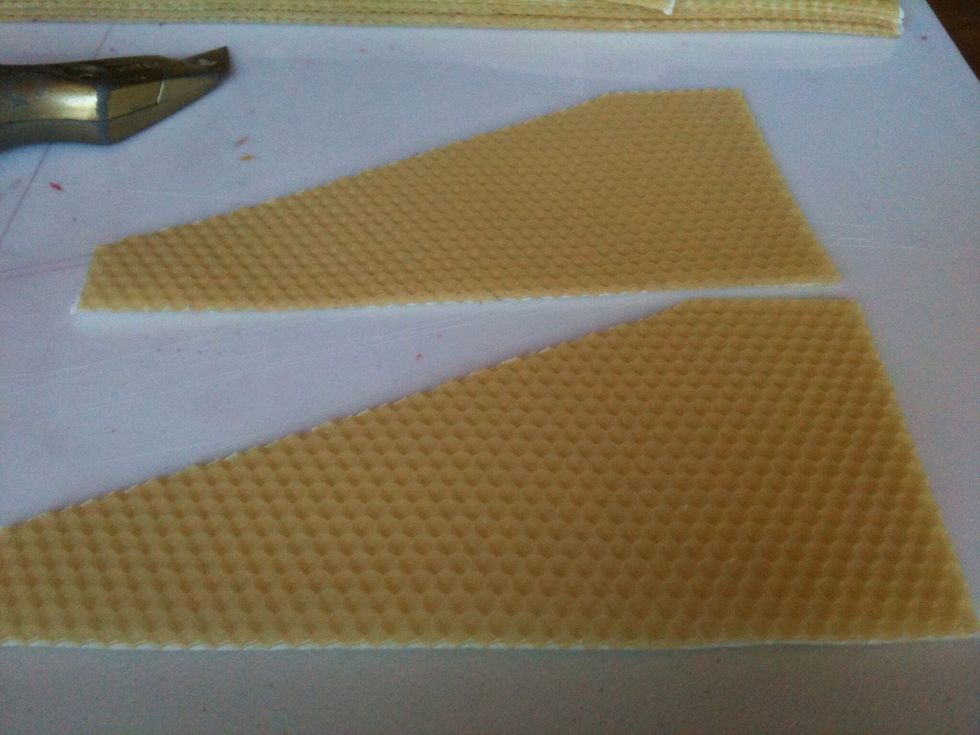
Align the top of the ruler between the two slits and cut along the top edge of the ruler to remove a triangle shaped piece of wax.
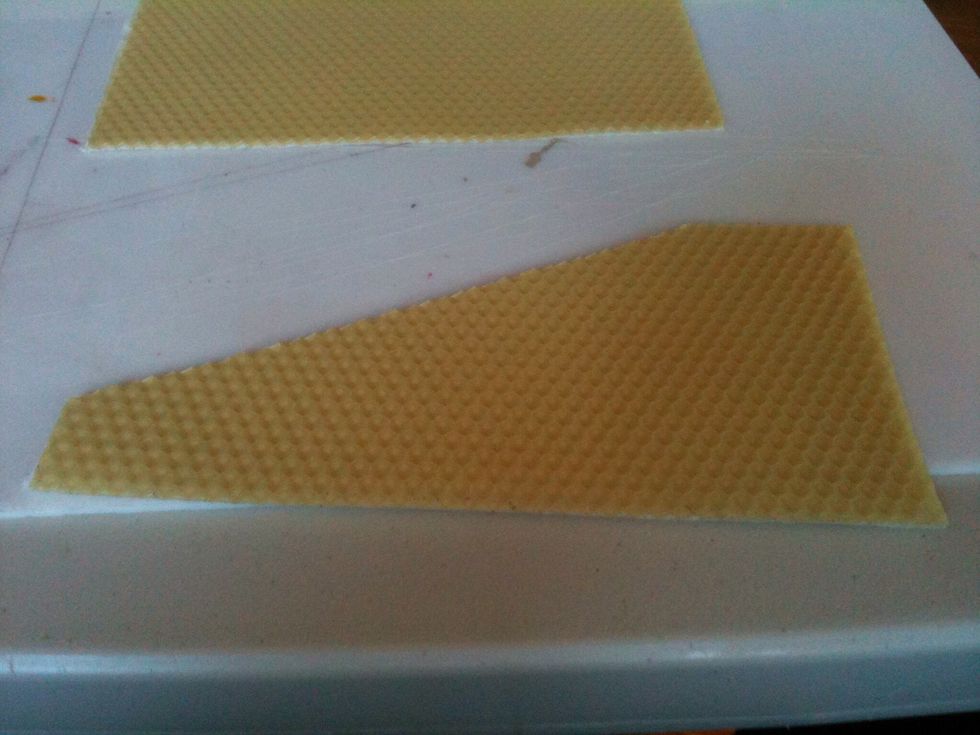
This is what your piece should look like. Use this piece as a template to cut additional pieces of wax. You can also cut a cardboard template to this shape for future candle making projects.
Place the cut piece on top of the other quartered sheet, making sure the side and bottom edges are aligned.
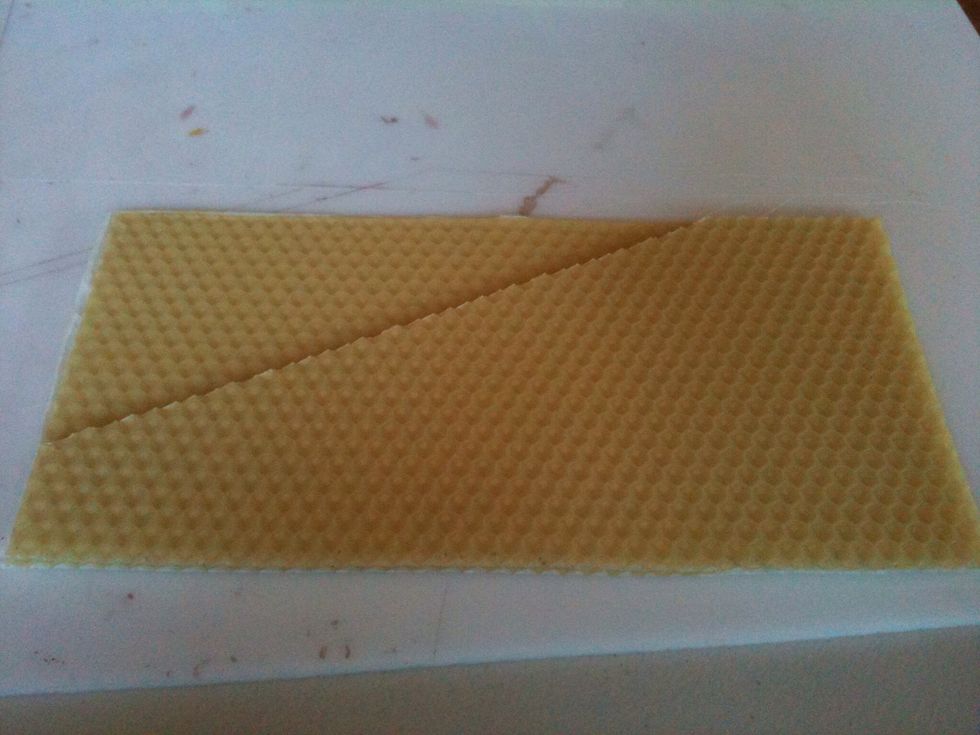
Cut along the edge of the top piece to create a matching shaped sheet of wax.
You should now have two matching pieces. Set one piece aside.
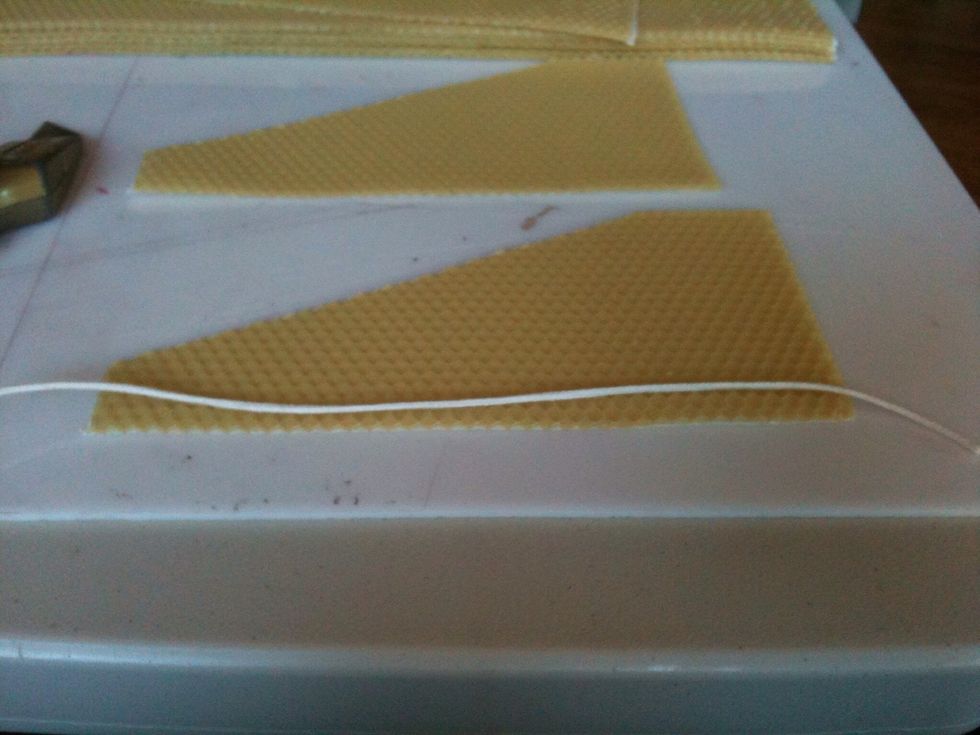
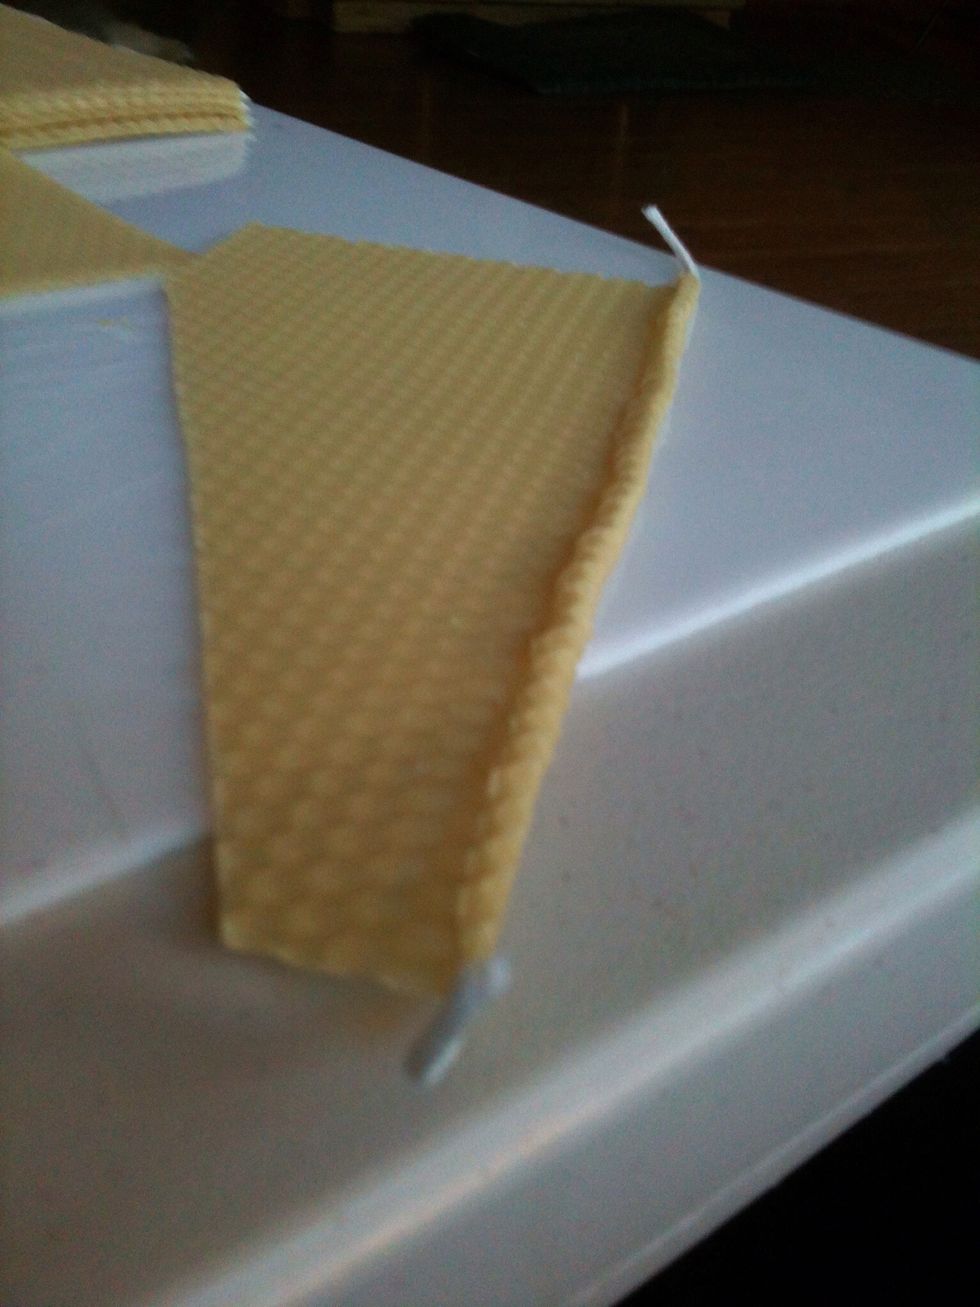
Extend one piece of wick evenly across the bottom of the sheet of wax, about 1/8 inch above the bottom edge.
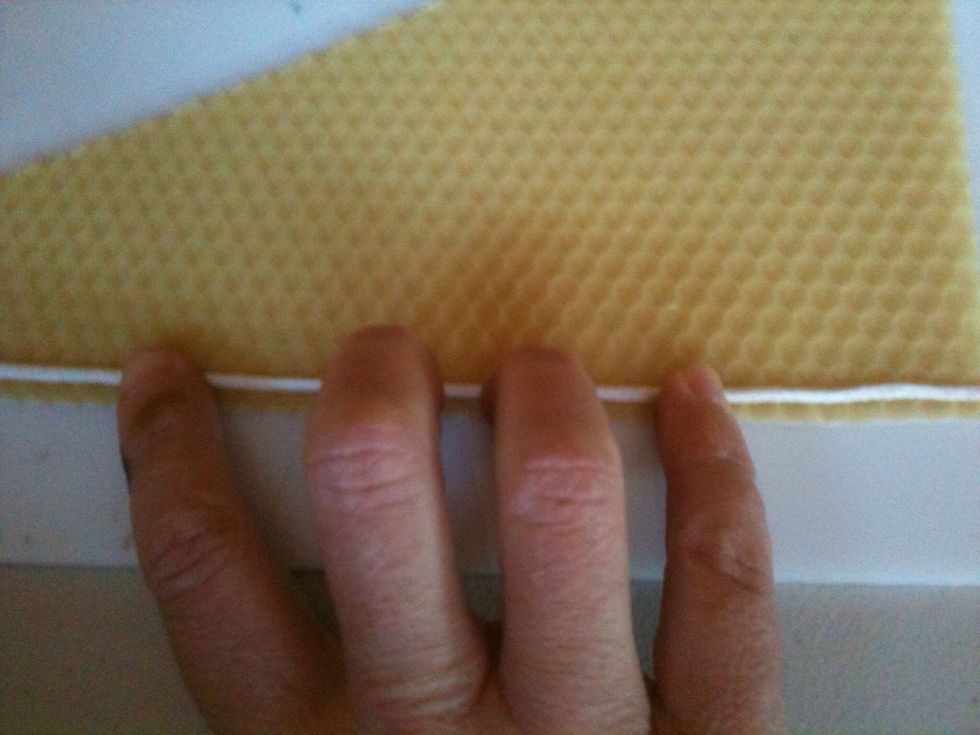
Press the wick gently into the wax, causing it to stick and stay in place.
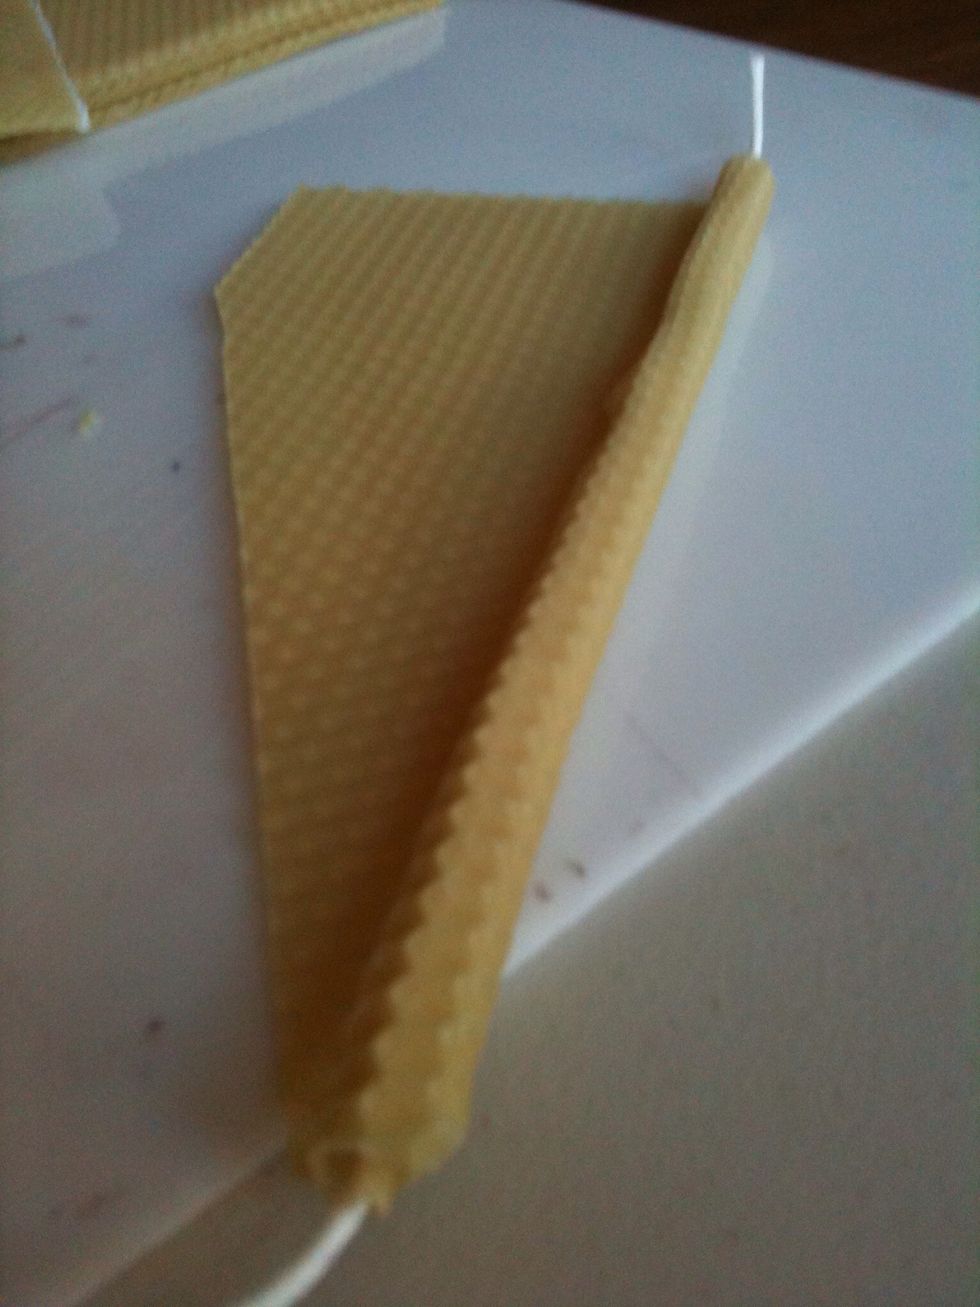
Gently push up the bottom edge of the wax and slowly roll it over the wick one time,then stop.
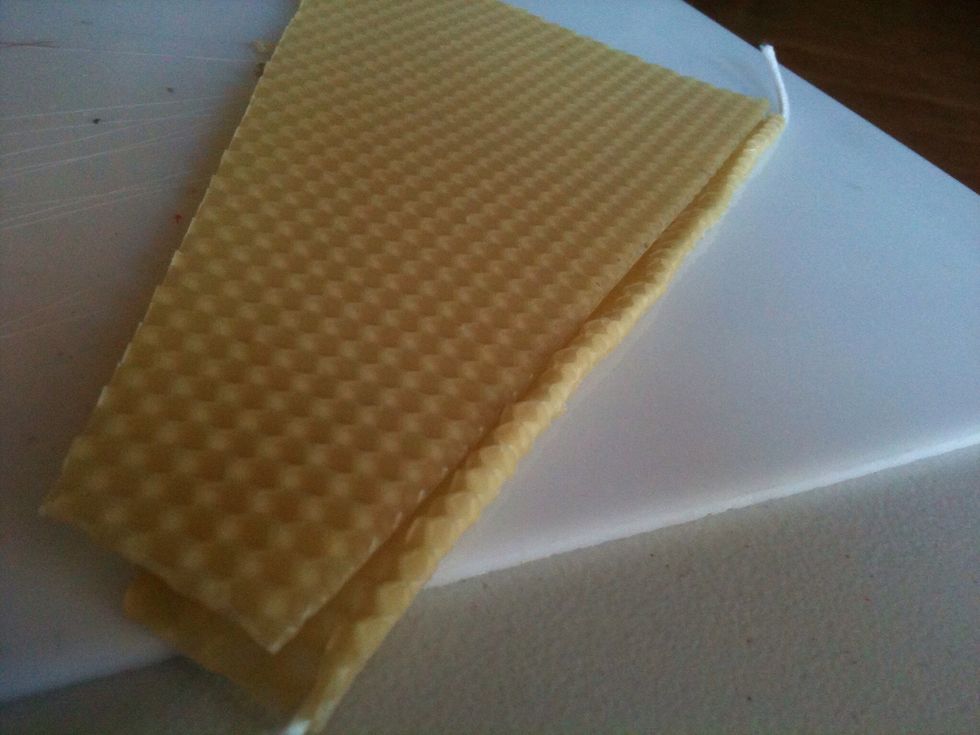
Place the second sheet of wax on top of the first sheet, making sure that both side edges are aligned, and that the bottom edge of the top piece aligns across the top edge of the first roll.
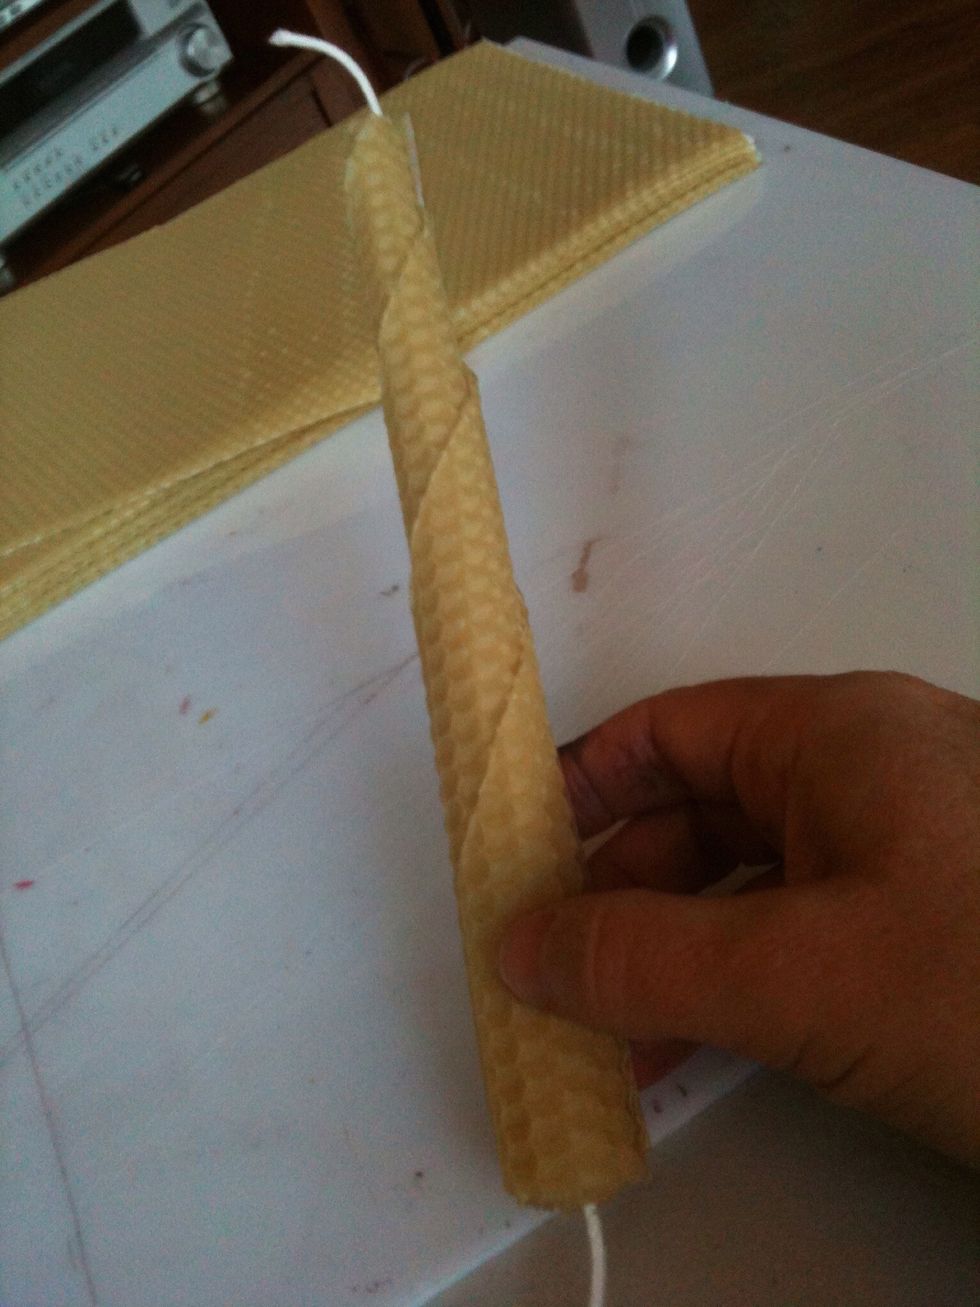
Continue rolling the bottom edge into the bottom of the top piece so that you begin to roll the two sheets of wax together.
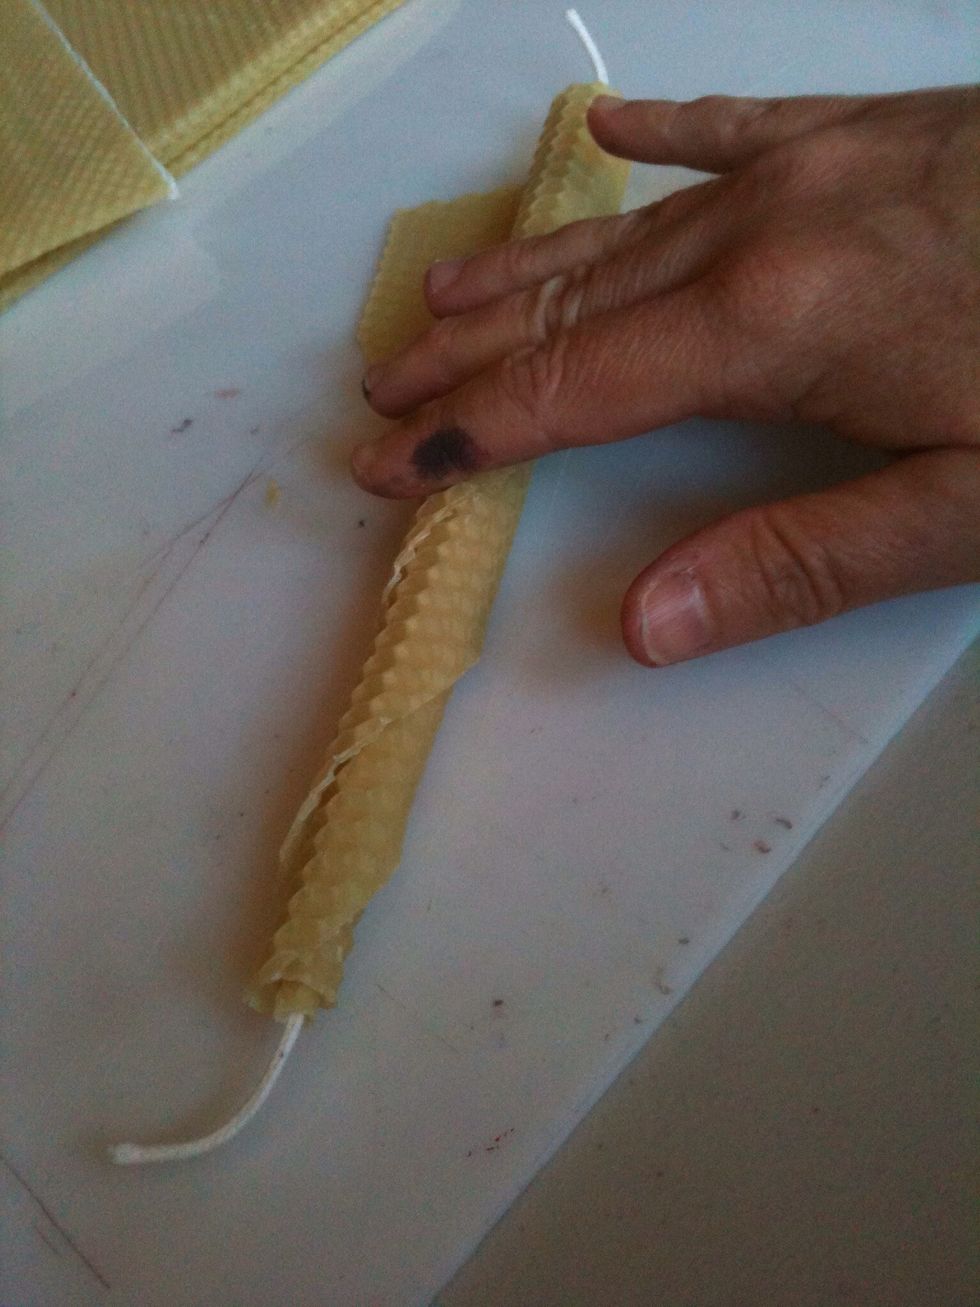
Continue rolling the two sheets of wax together, keeping the roll tight and smooth. Soon you will be able to easily roll the candle all the way through using your fingertips.
The rolled candle is complete! One more step.
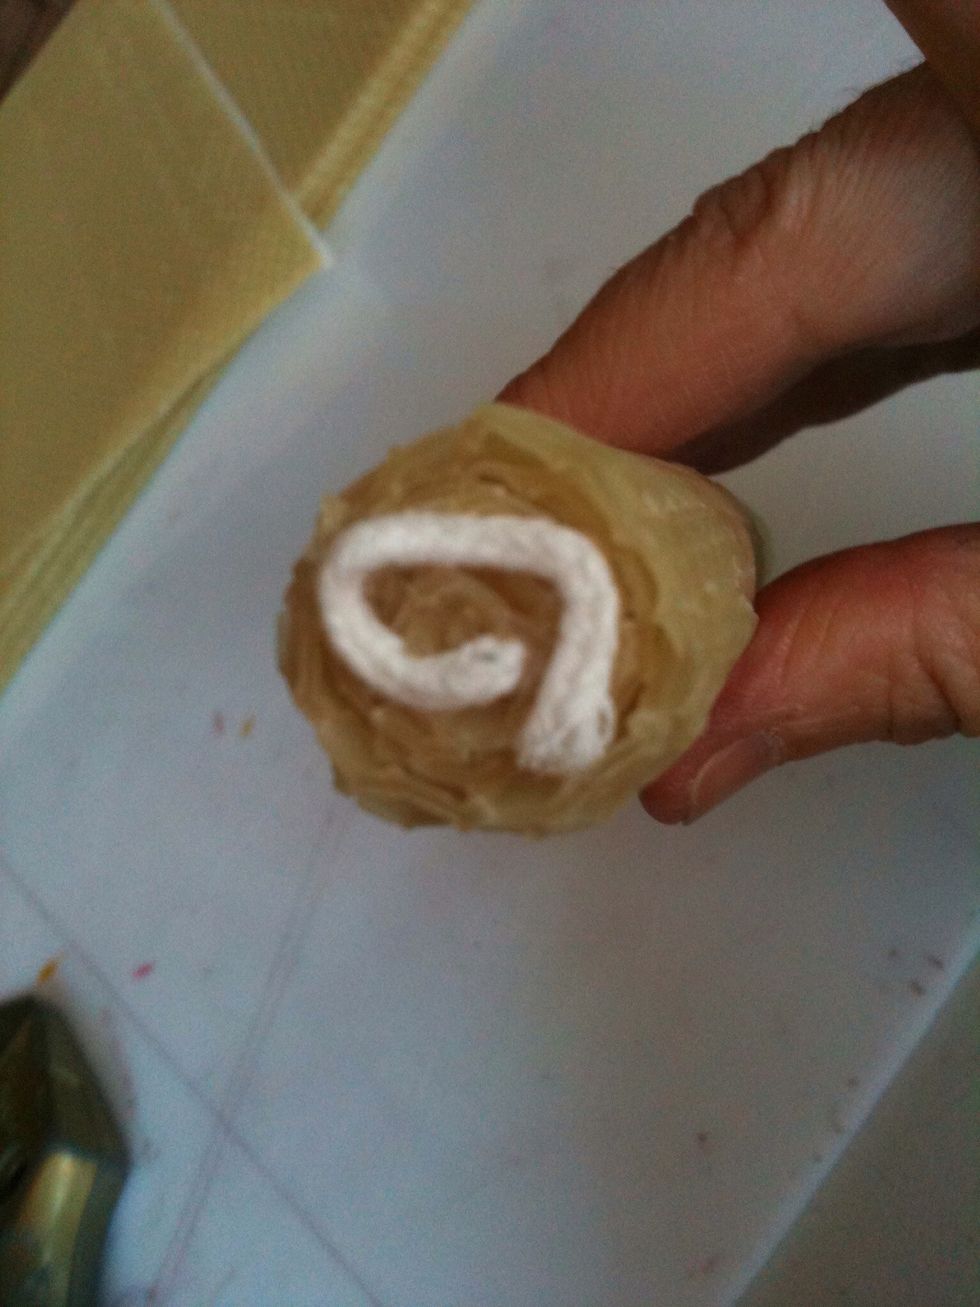
Turn the candle upside down, curl the bottom wick and press it tightly into the bottom of the candle.
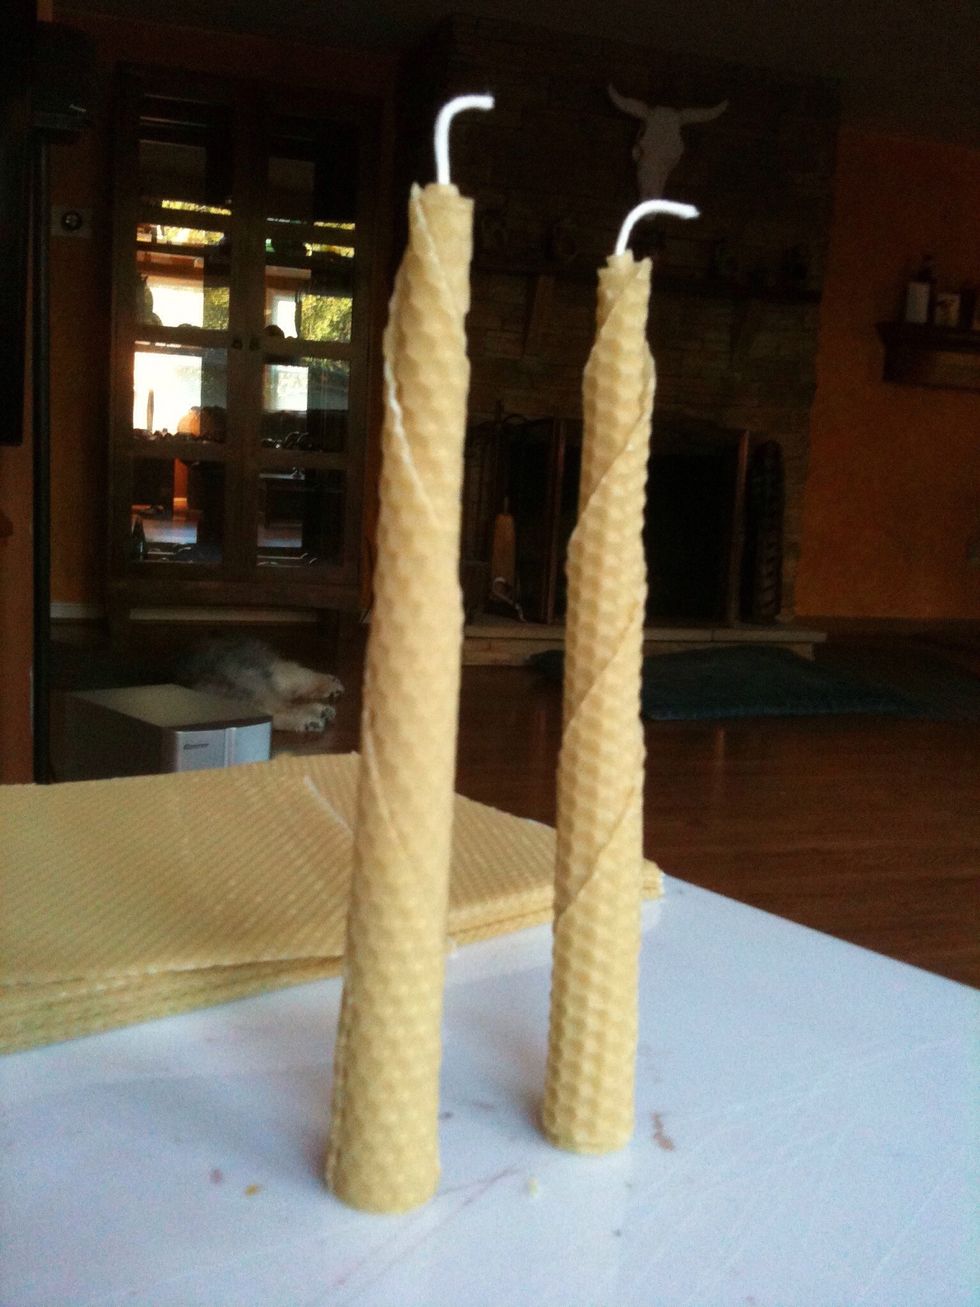
Voila, your candle is ready to burn. Use the other two pieces to create a matching pair of beeswax taper candles.
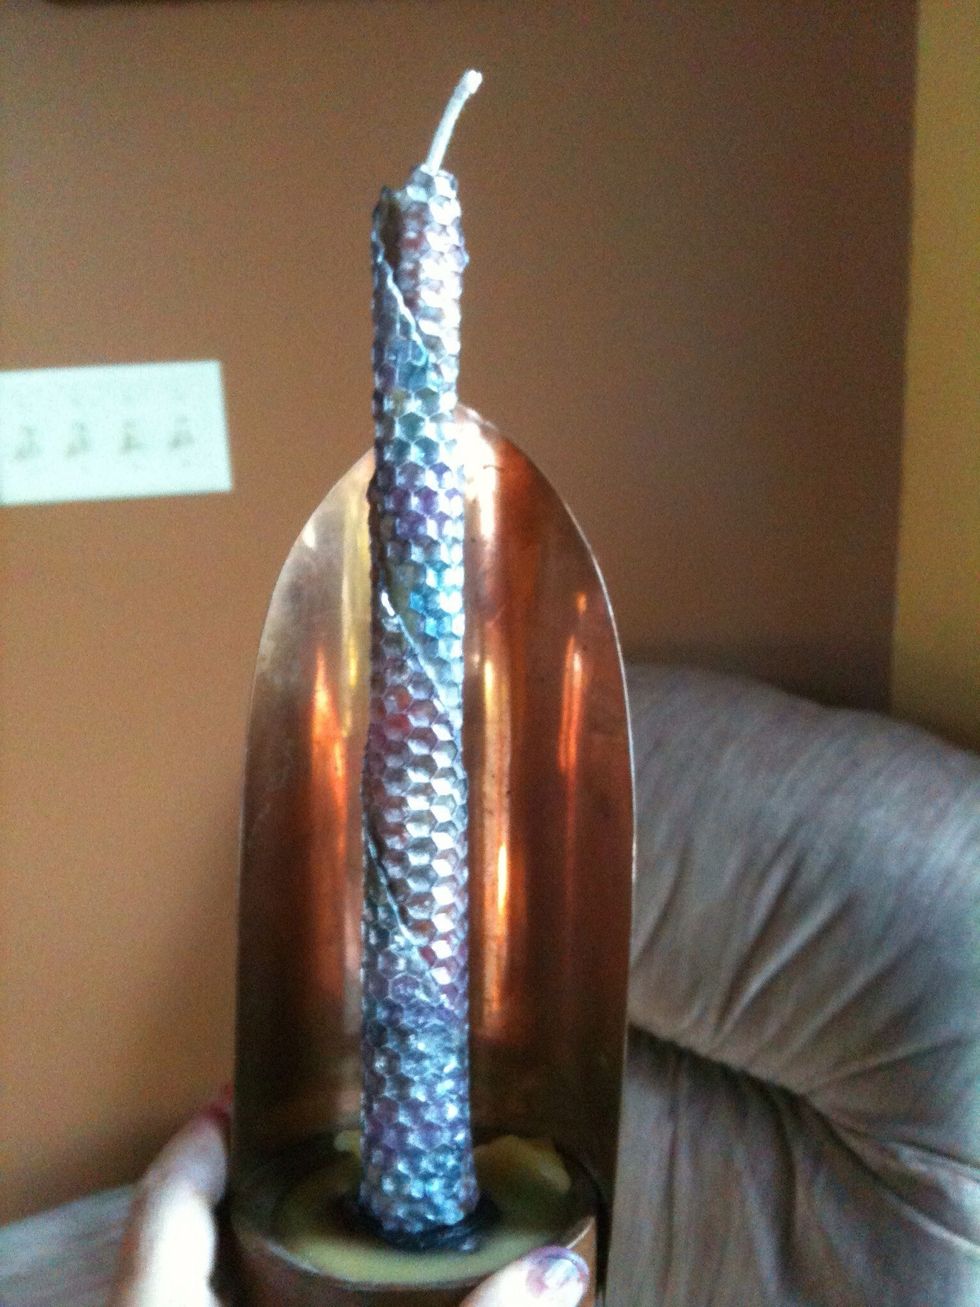
They look great natural, or you can I paint them with alcohol inks. Have fun with these!