The Conversation (0)
Sign Up
Begin with Shrine Chipboard Frame 2 from Sin City Stamps.
Remove spiderweb frame and set aside.
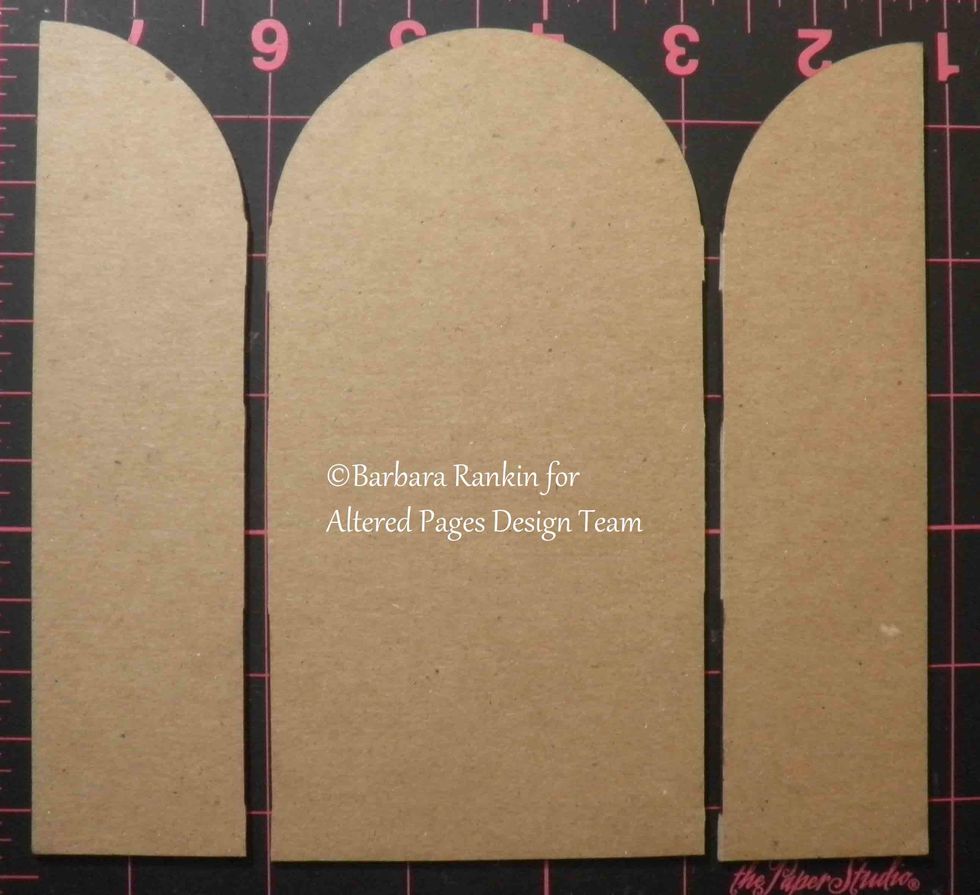
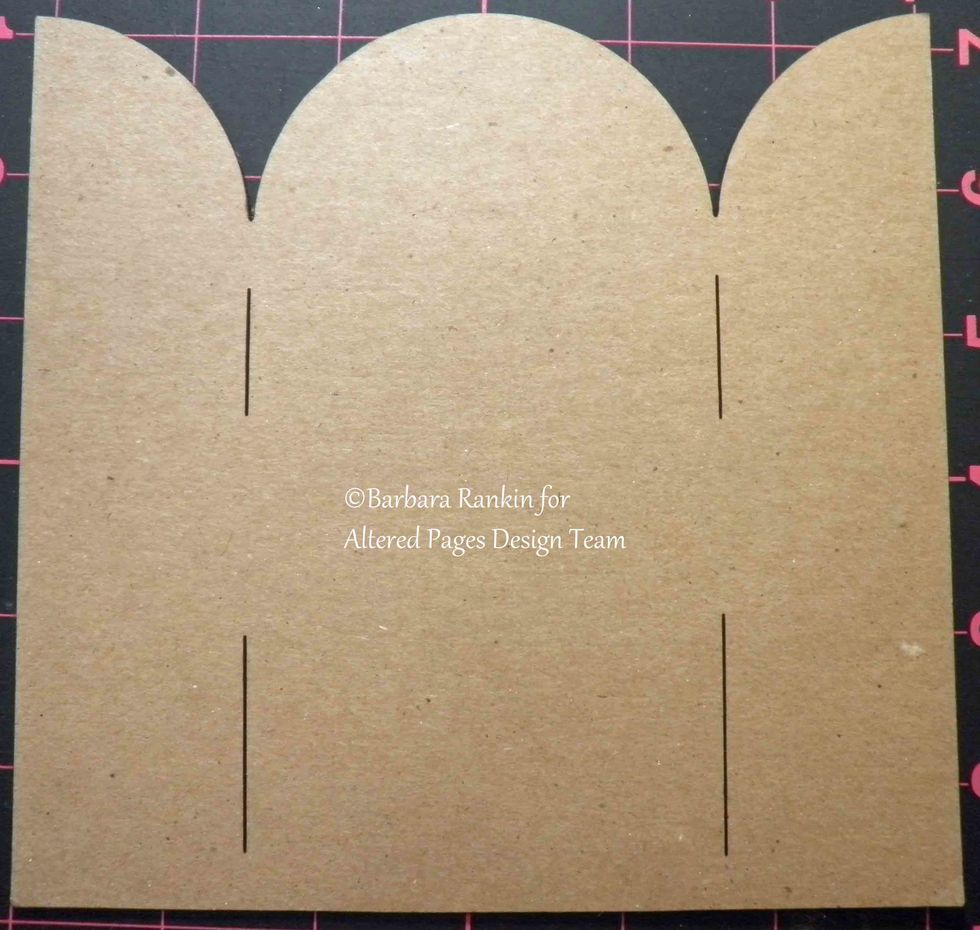
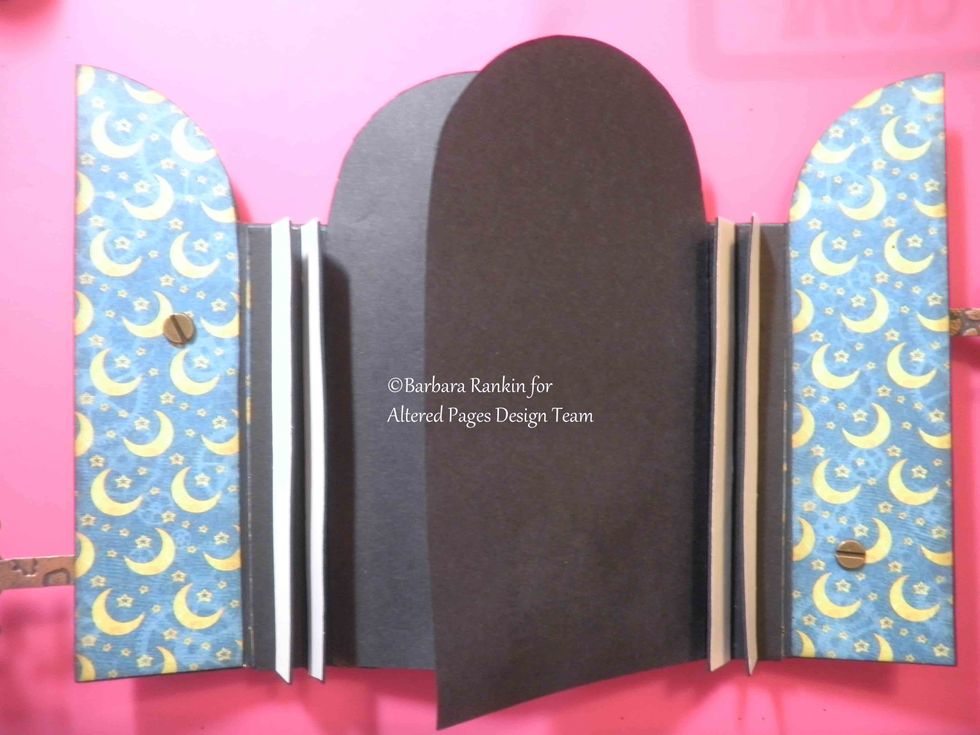
Cut chipboard shrine apart at the seam lines. Use center piece as a template to cut six pages from black card stock, set aside.
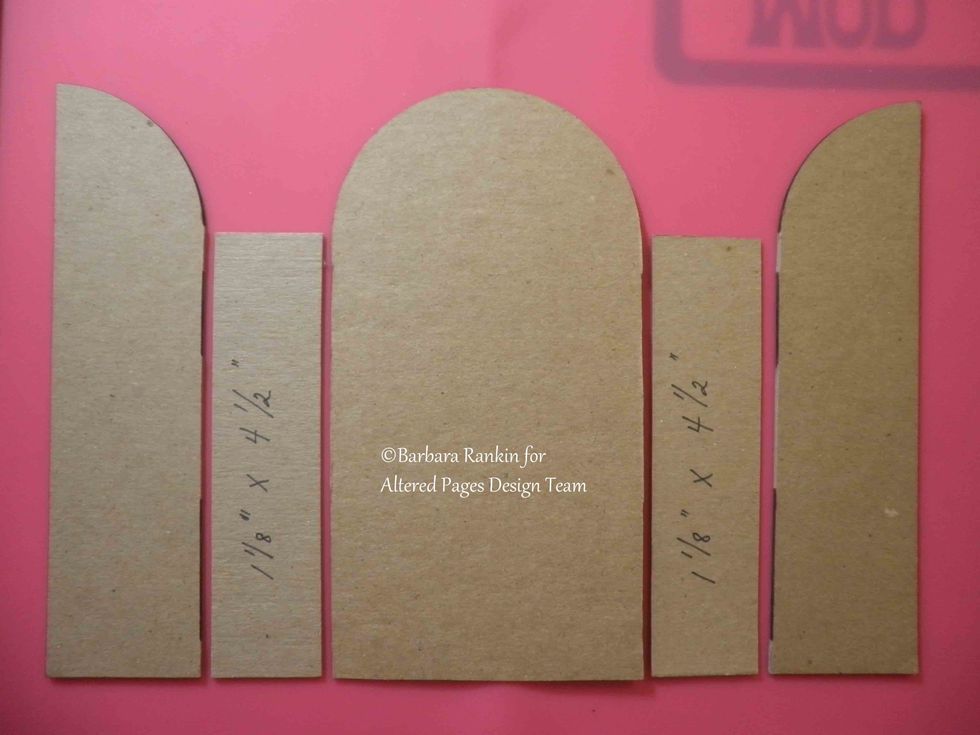
To make book spine, cut two extra pieces of chipboard to 1-⅛" x 4-½". Place between the door panels and center panel, as shown.
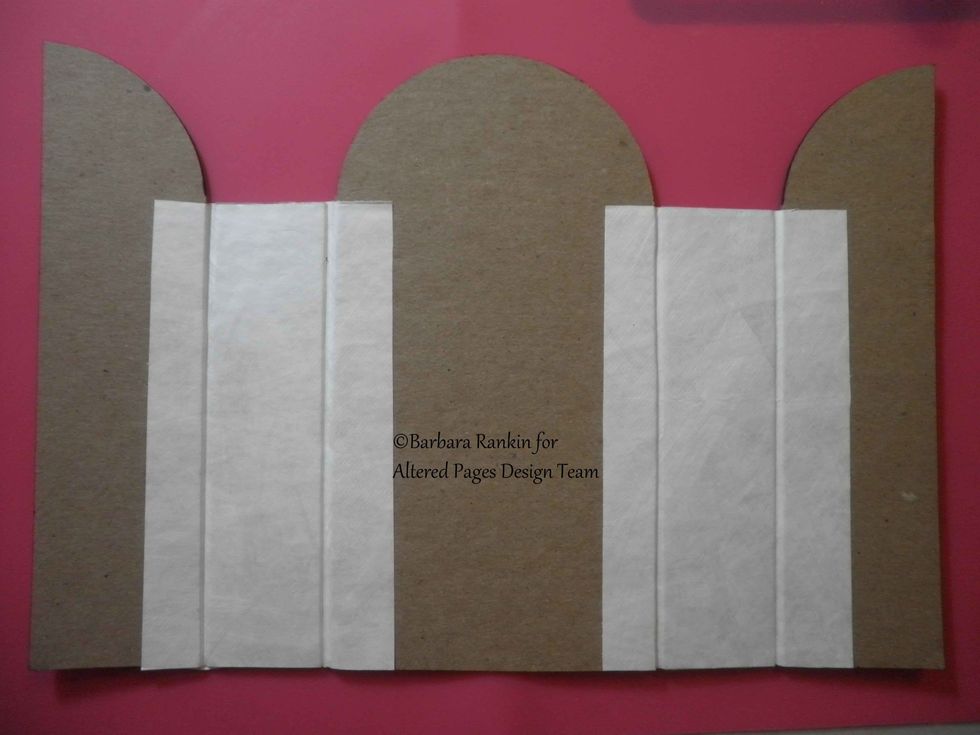
Adhere spine pieces to covers using 2-½" x 4-½" strips of Tyvek (or card stock) with Tacky Glue, on both the inside and outside. Leave a gap between chipboard pieces for flexibility.
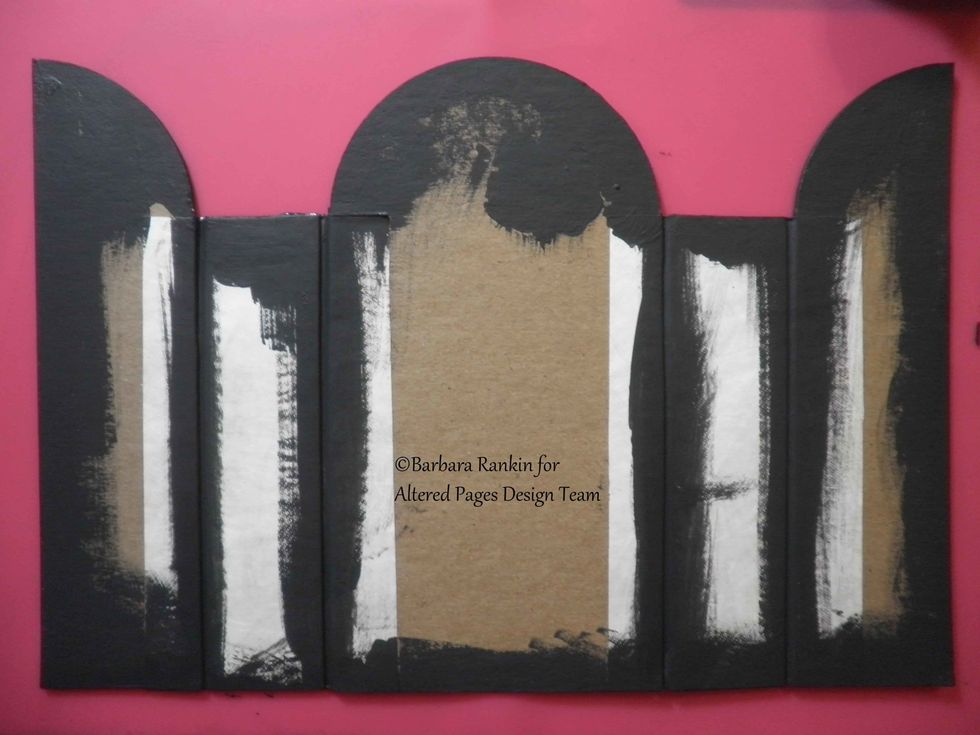
Paint edges, inside and out, and along Tyvek hinges, with black acrylic paint. Allow to dry.
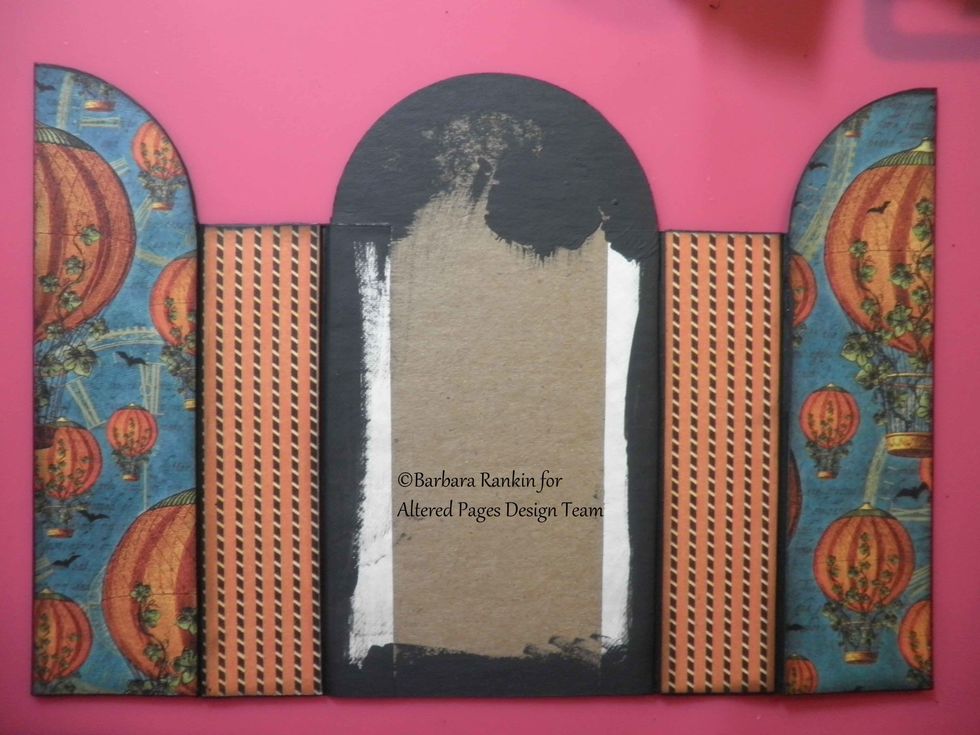
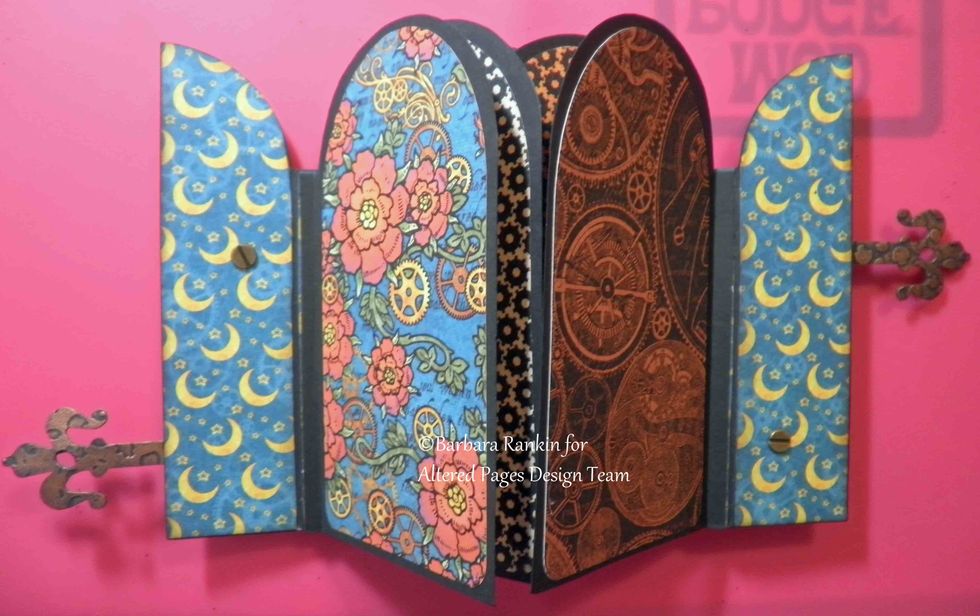
Adhere Graphic 45 papers to front door panels and spines on the outside, as shown. Run each paper piece through your Xyron. Leave center panel blank for now. This will be decorated last.
Die cut two hardware hinges from grunge board and mark placement for the holes on the outside of the book cover, as shown.
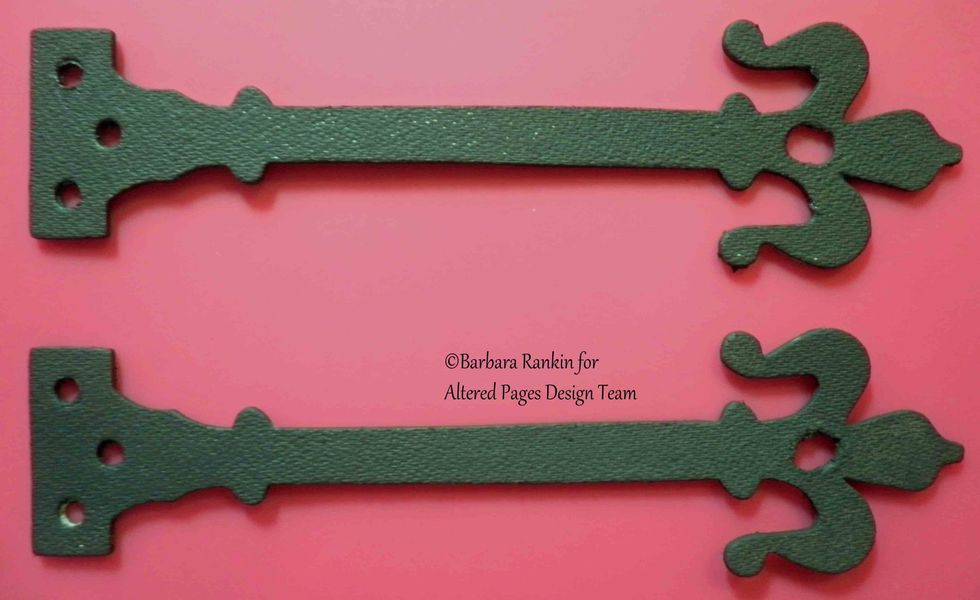
Paint hinges with black acrylic paint on both sides.
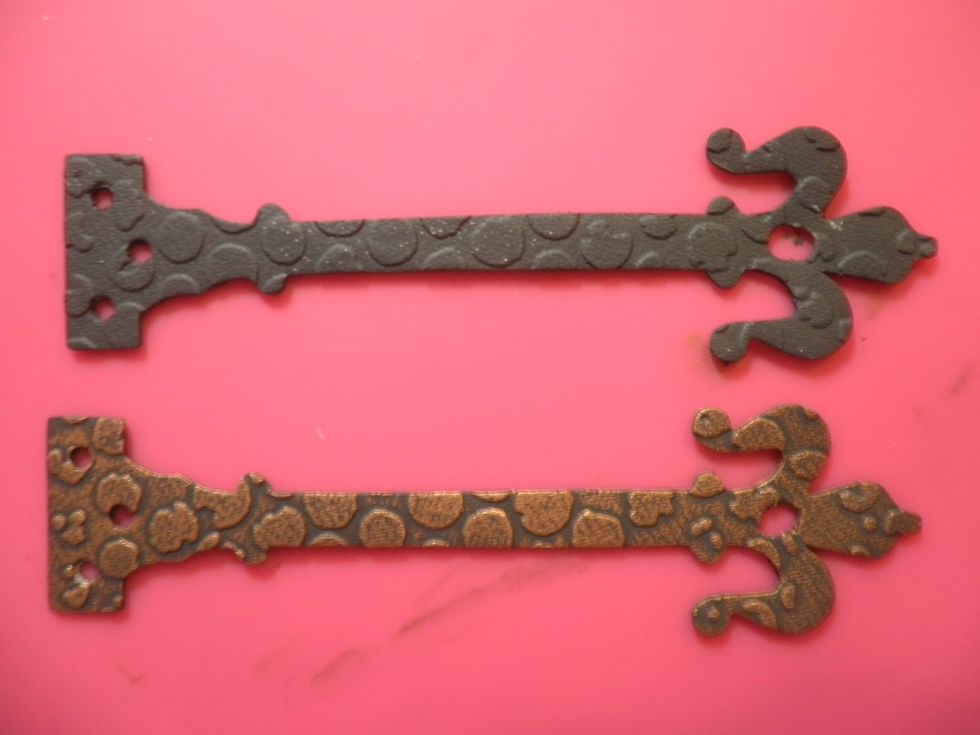
Emboss hinges with bubble embossing folder. Highlight with Foundry Bronze Gilder's Paste.

Cover inside center and door panels. Leave spine sections bare for now. Again, run papers through Xyron for easy, edge-to-edge adherence.
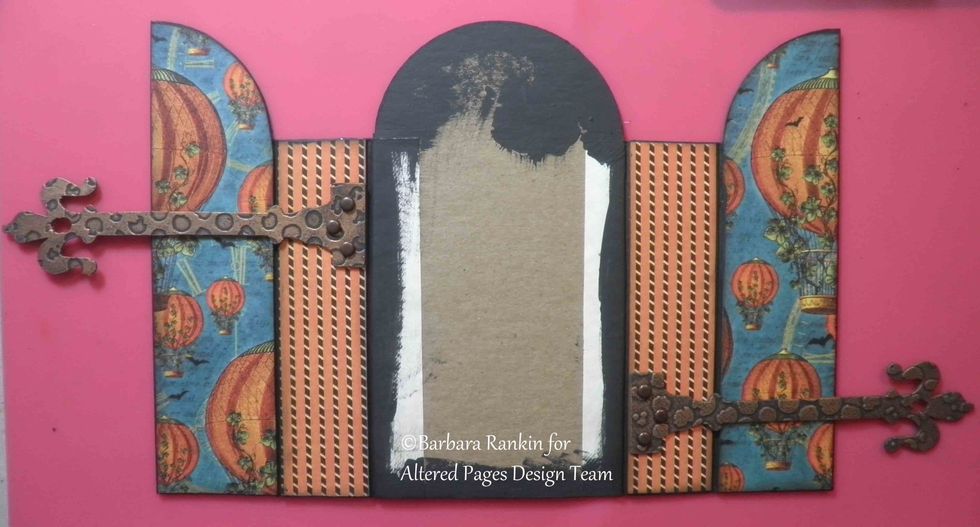
On the outside, attach hardware hinge die cuts with brads to the book spines, as shown.
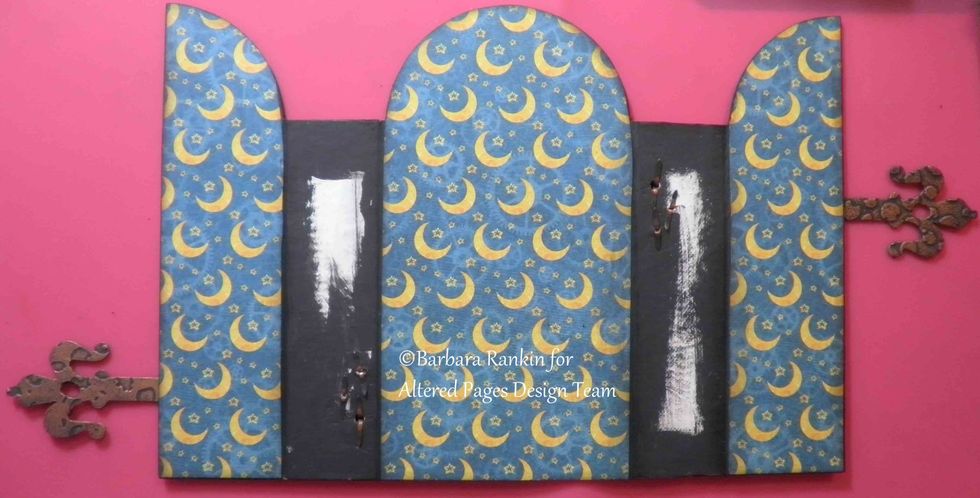
On the inside, you can see the brad prongs, which will be covered later with the page hinges.

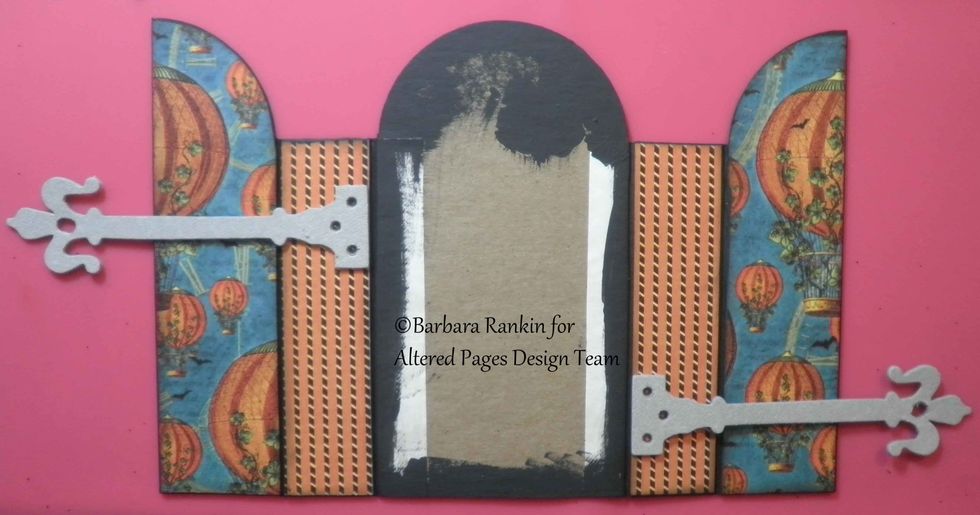
On the outside front door panels, mark and punch placement holes for the hitch fasteners and attach. Enlarge holes to fit over fasteners and leave extra room for growth.
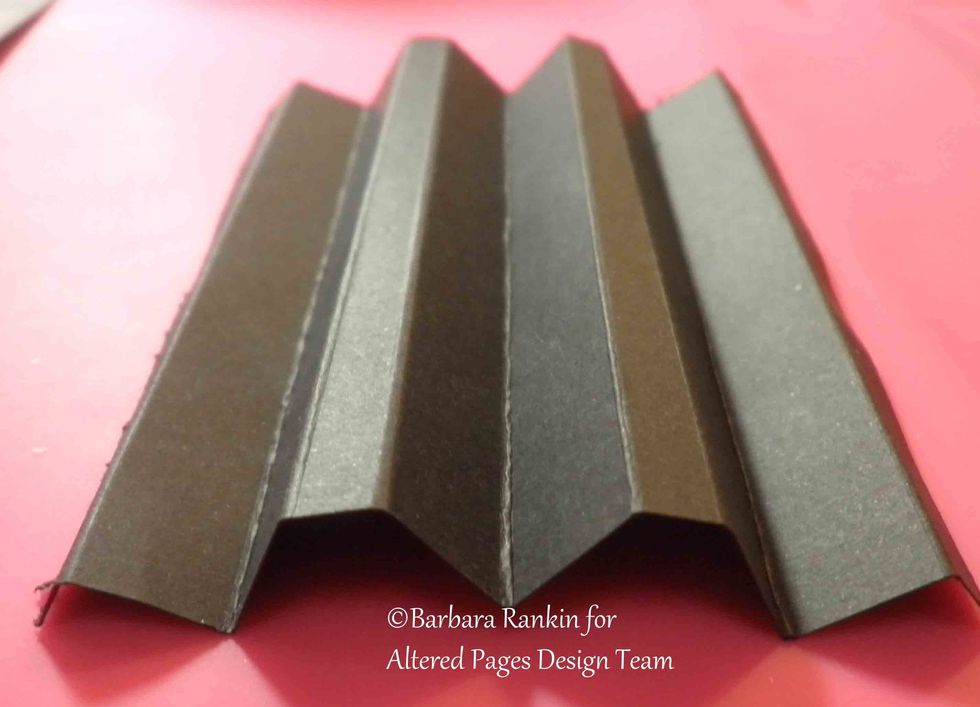
For page hinges, cut two pieces of black cs to 4-½ x 4". Score along 4" side at ¼", ¾", 1-¼", 1-½", 2", 2-½", 2-¾", 3-¼", 3-¾". Accordion fold so both your hinges look like this.
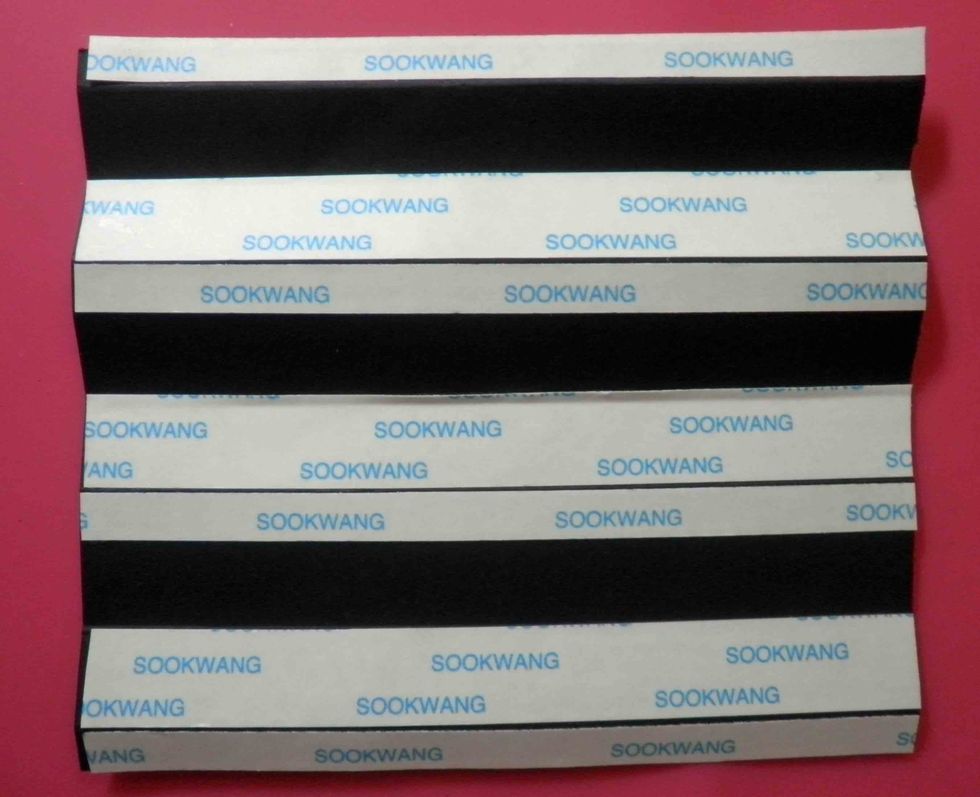
Add strips of Scor-tape along score lines, using ¼" strips on the smaller folds, and ½" strips along the wider folds, as shown.
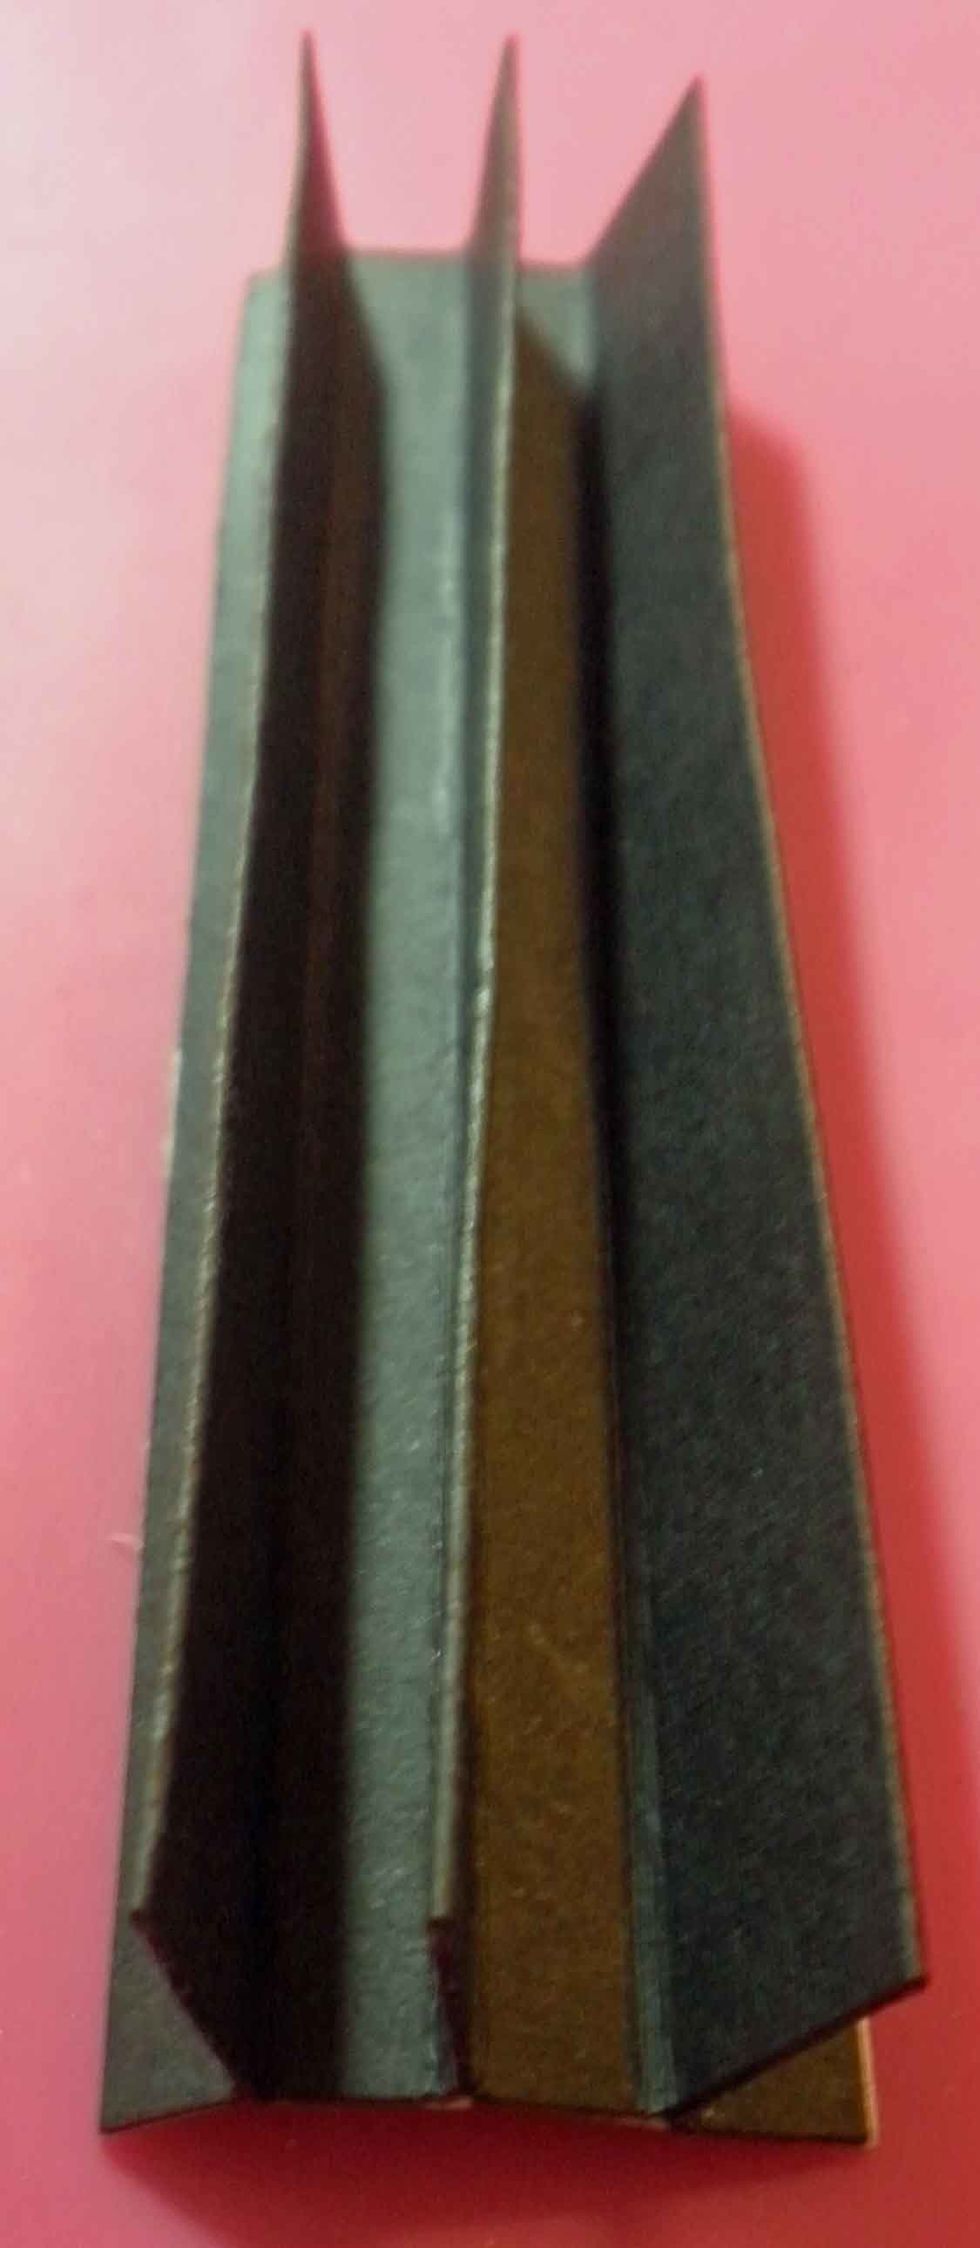
Remove only the ½" strips and fold the two ½" sections together. This will give you a hinge that will hold three pages, as shown.
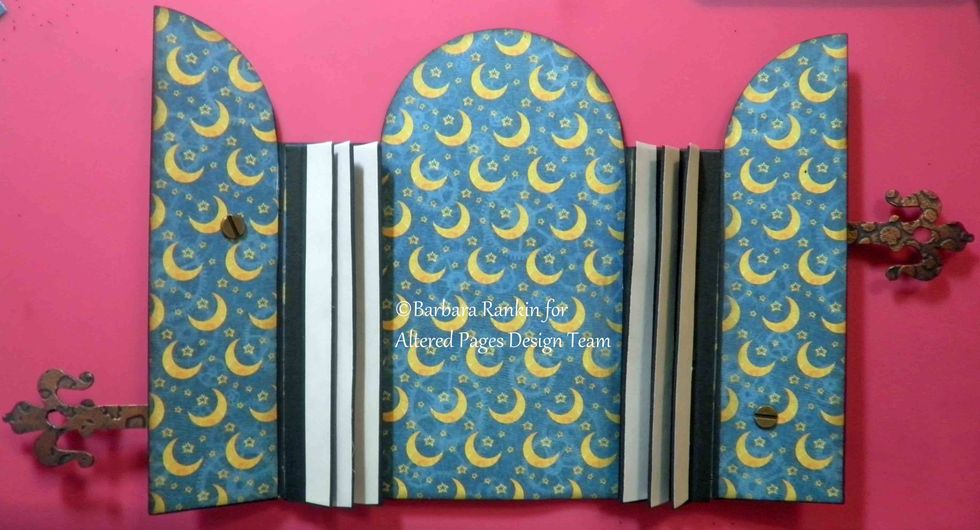
Remove remaining ¼" strips and adhere hinges down over inside spine pieces, covering brad prongs. Next, apply ½" strips of Scor-tape along the three tabs, as shown.
Begin adding your black CS pages to the tabs, as shown, to the strips of Scor-Tape.
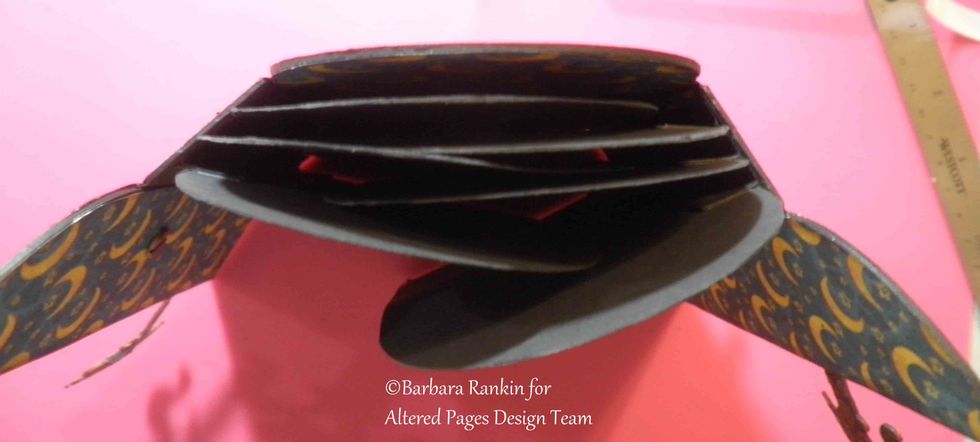
The pages will alternate from left to right, as shown in this overhead shot.
Add Graphic 45 Steampunk Spells papers over black CS pages, leaving a small border of black around each page. Again, adding your Xyron adhesive to each paper will make this an easy process.
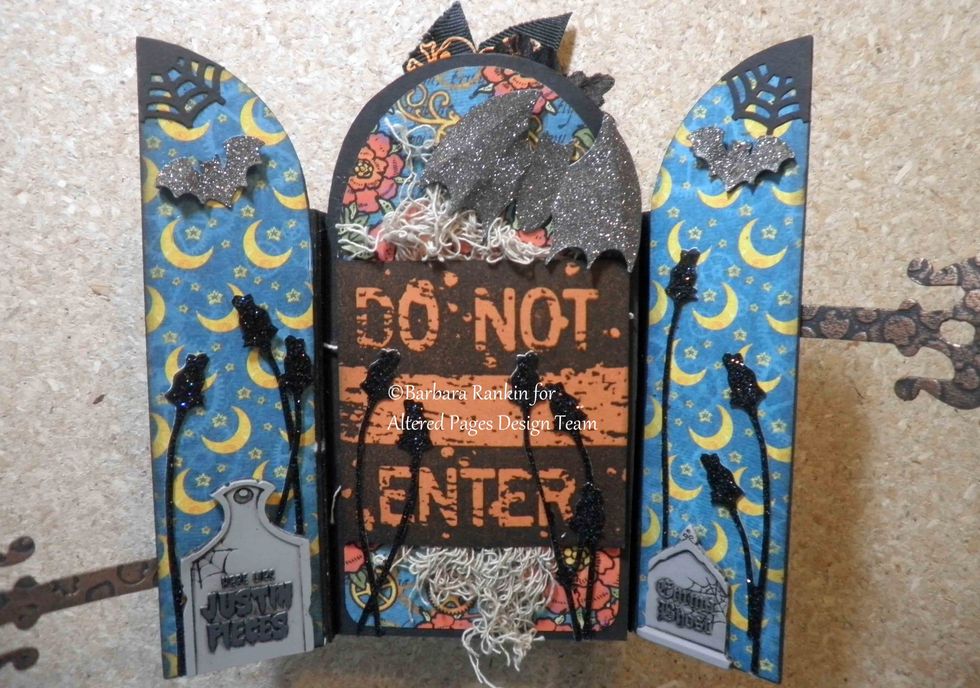
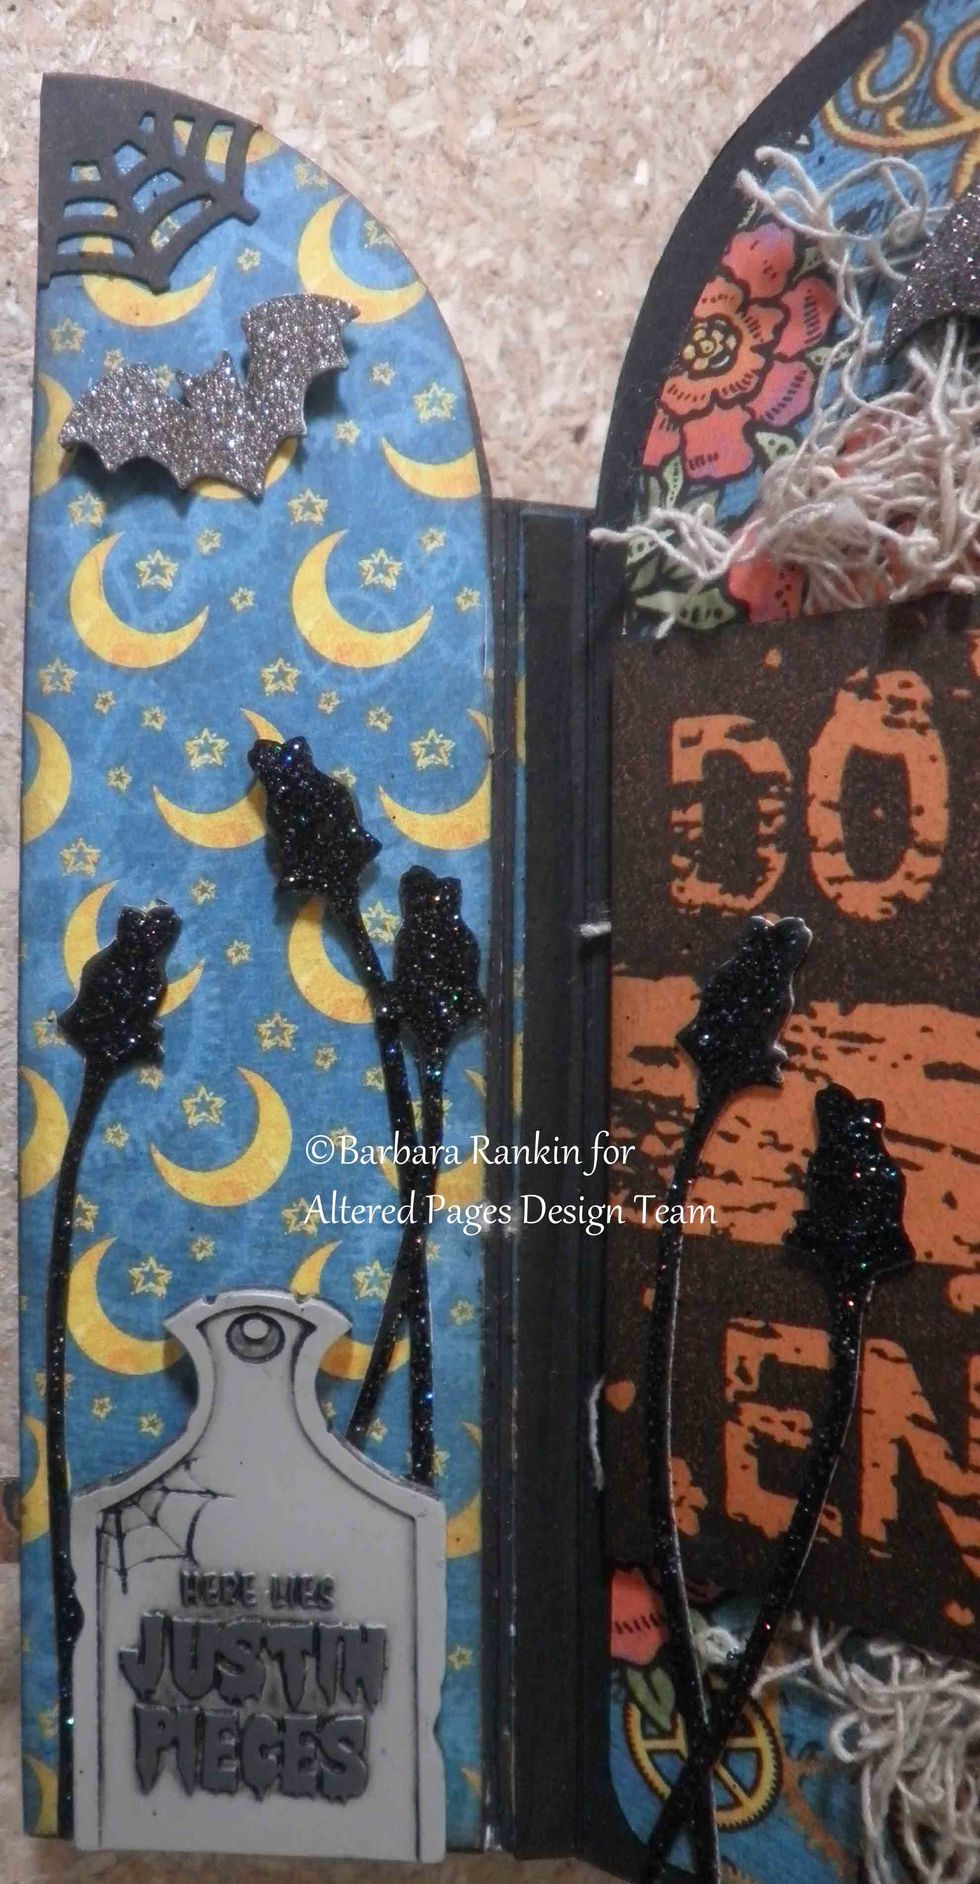
Inside cover and page 1: Sin City Stamps Do Not Enter stamped onto orange CS with black ink, creepy cloth, punched bats, spiderweb corners, die cut black roses, Stickles glitter, tombstone stickers.
Close up of inside left door panel, tombstone sticker covering back of hitch fastener.
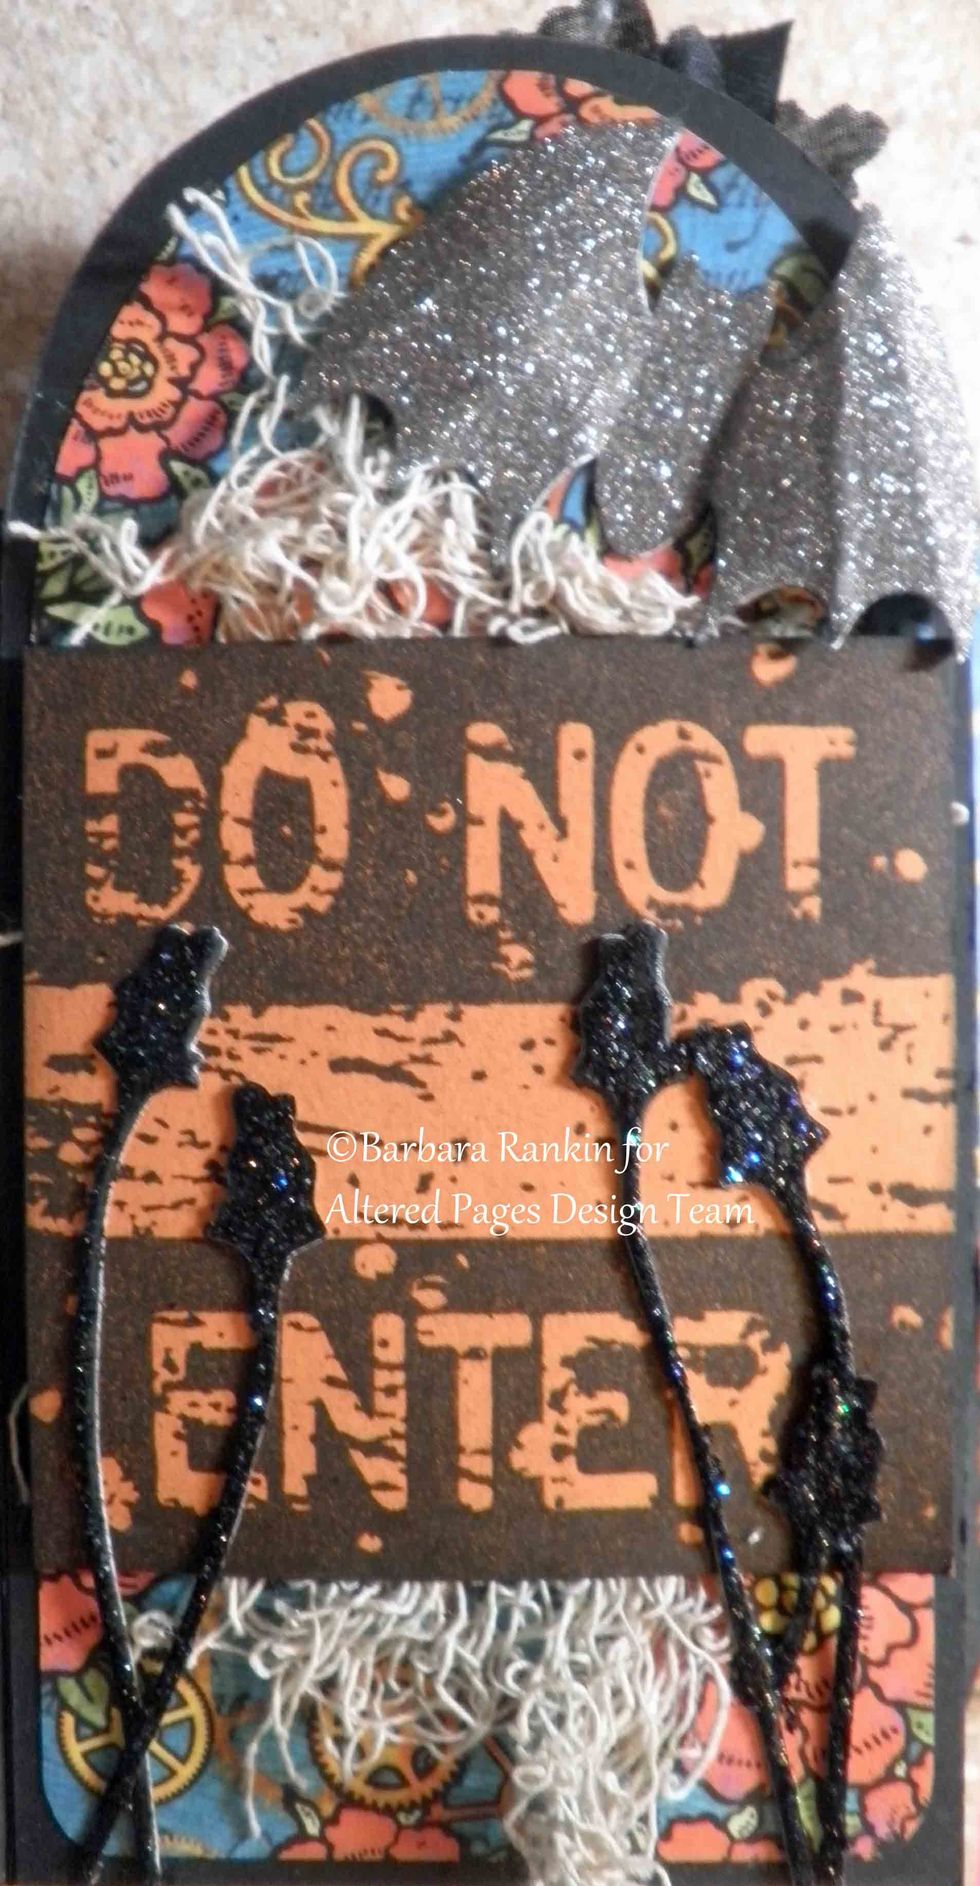
Close up of Page 1, Sin City Stamps Do Not Enter sign, die cut roses glittered with Stickles glitter glue, adhered over creepy cloth, punched Bat.
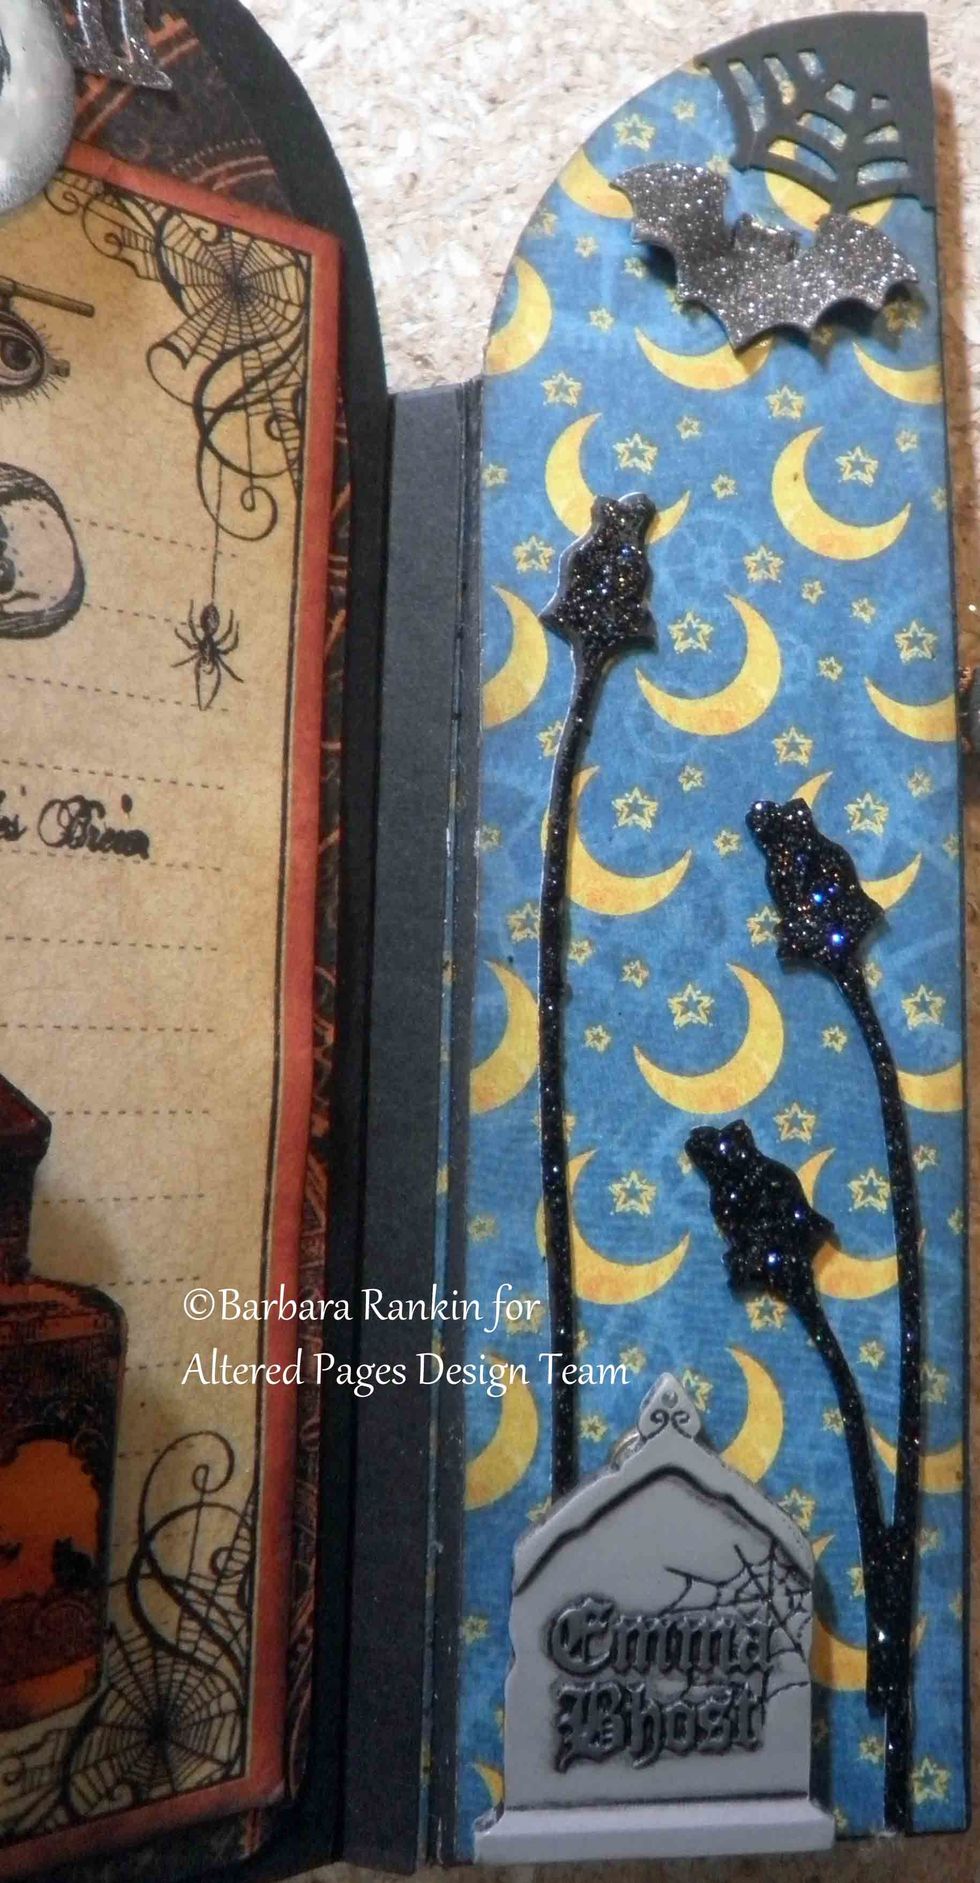
Close up of inside right door panel. Rose on far right covers the back of the hitch fasteners.
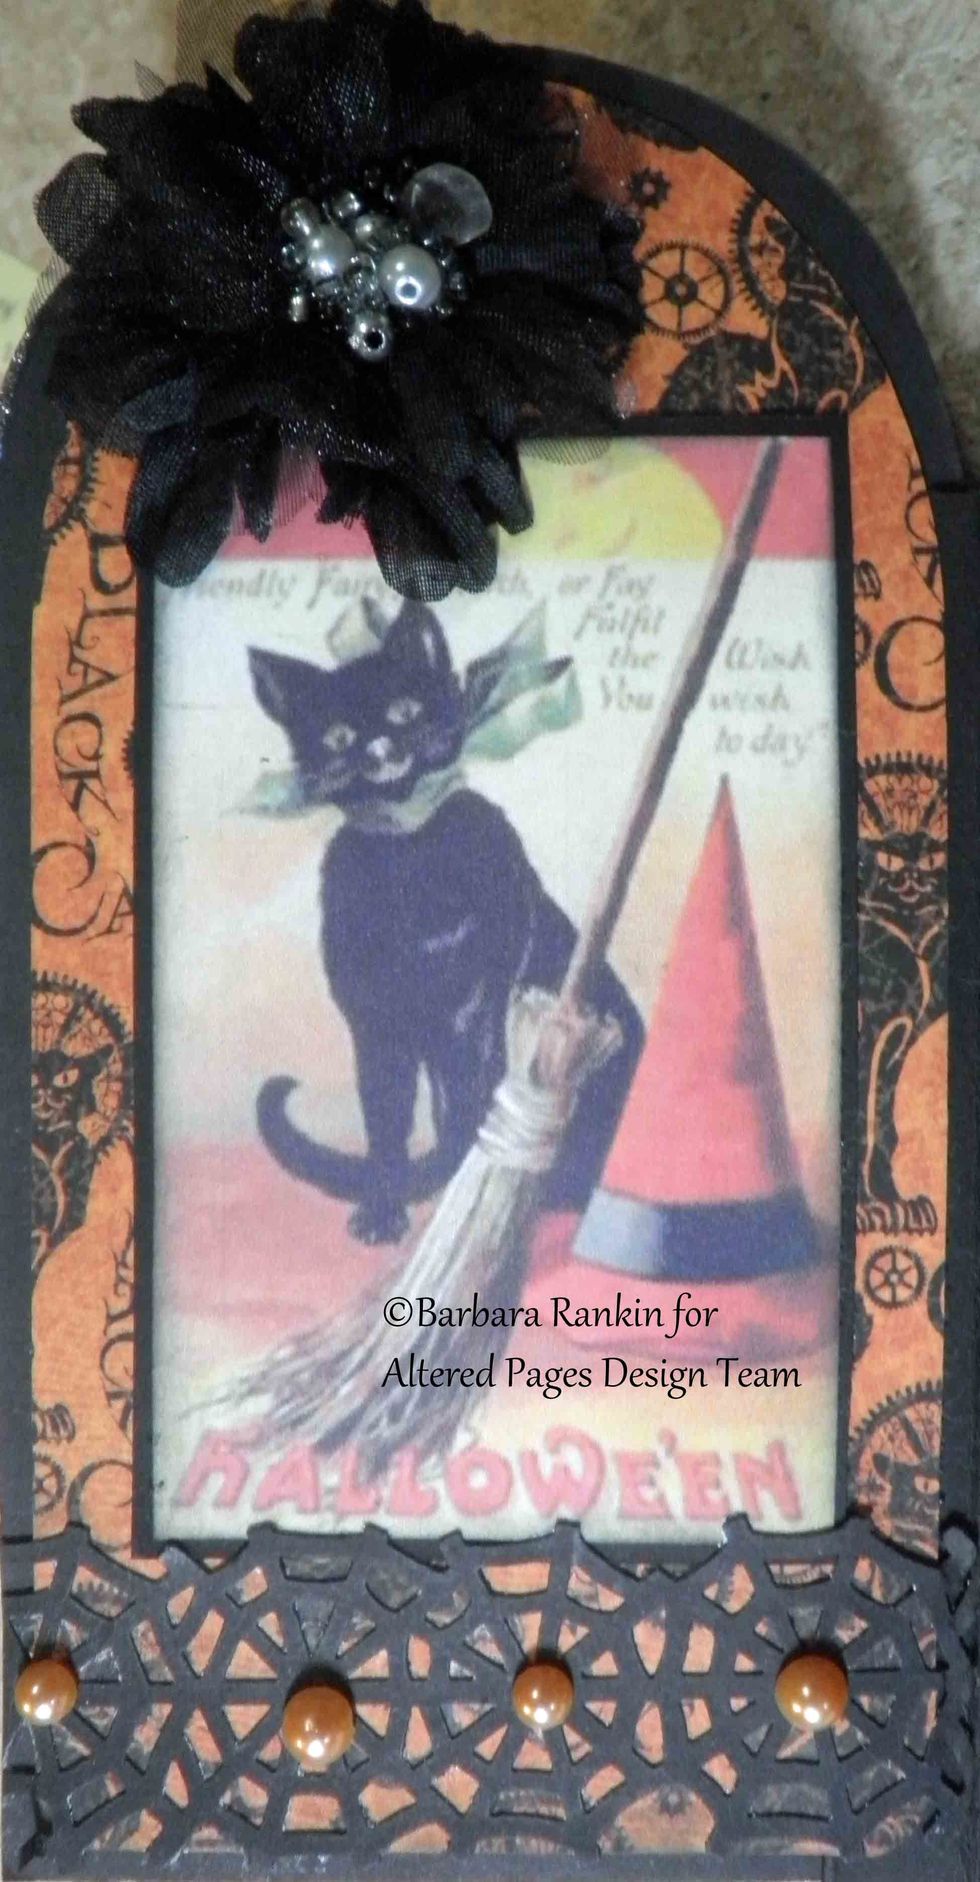
Page 2 left: Altered Pages AP288-Happy Halloween collage sheet image, Petaloo flower, punched spiderweb border, pearls.
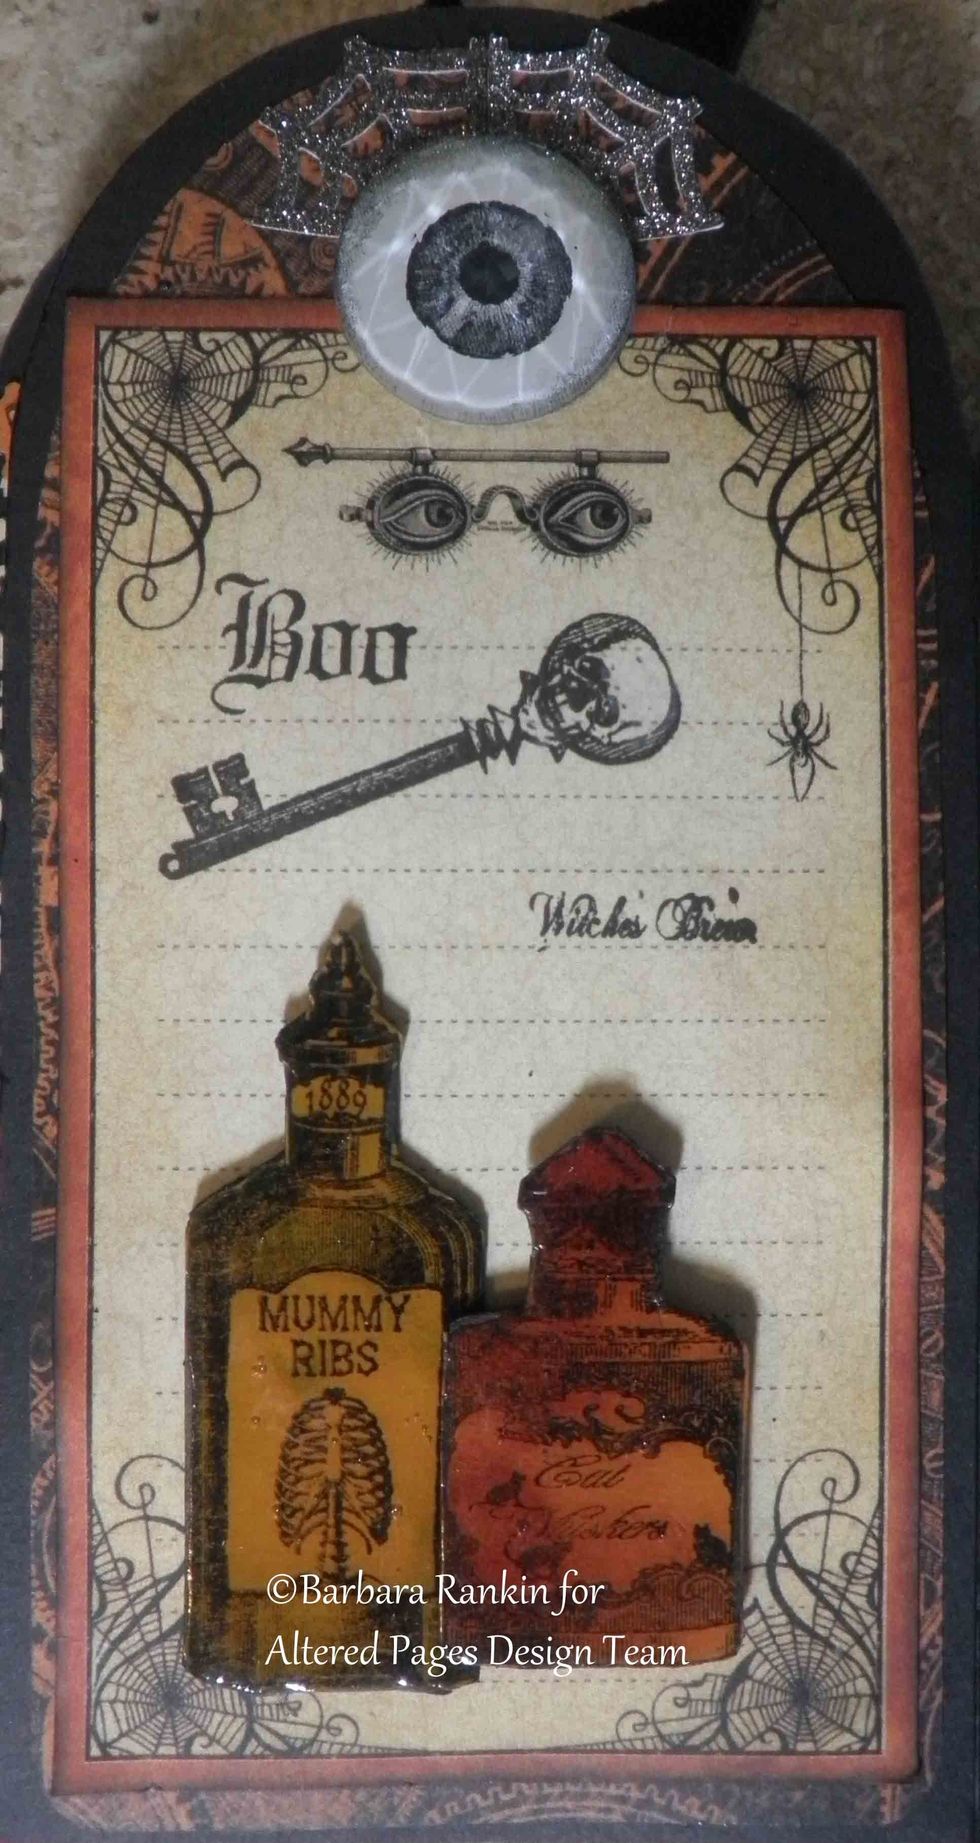
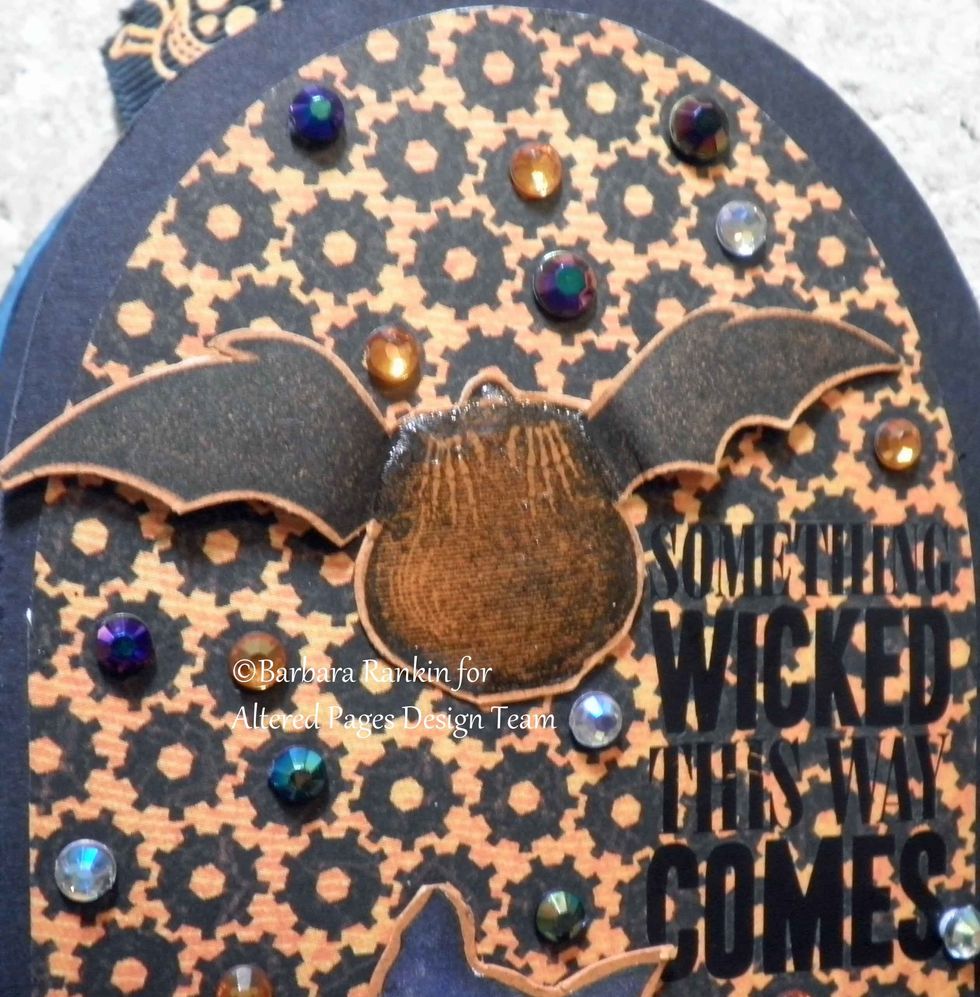
Page 3 right: SCS stamps: potion bottles colored with orange and green & covered with crystal lacquer, fussy cut. SCS stamps: Boo, Witch's Brew, Skeleton Key tamped onto G45 card, Glitz Eye gemstone
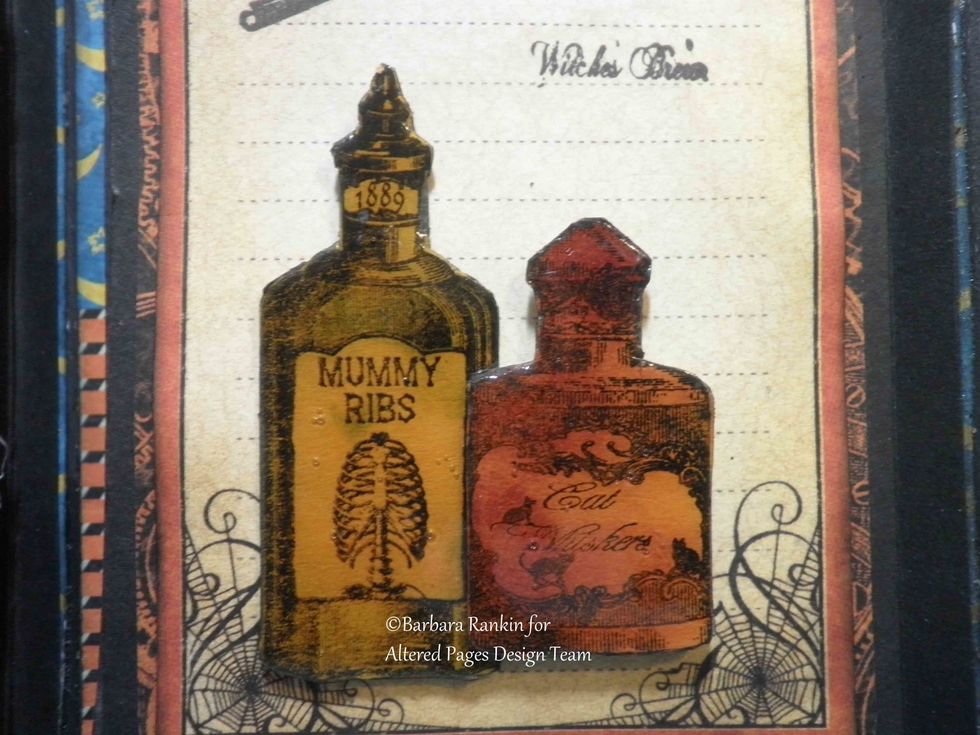
Close up of stamped SCS potion bottles.
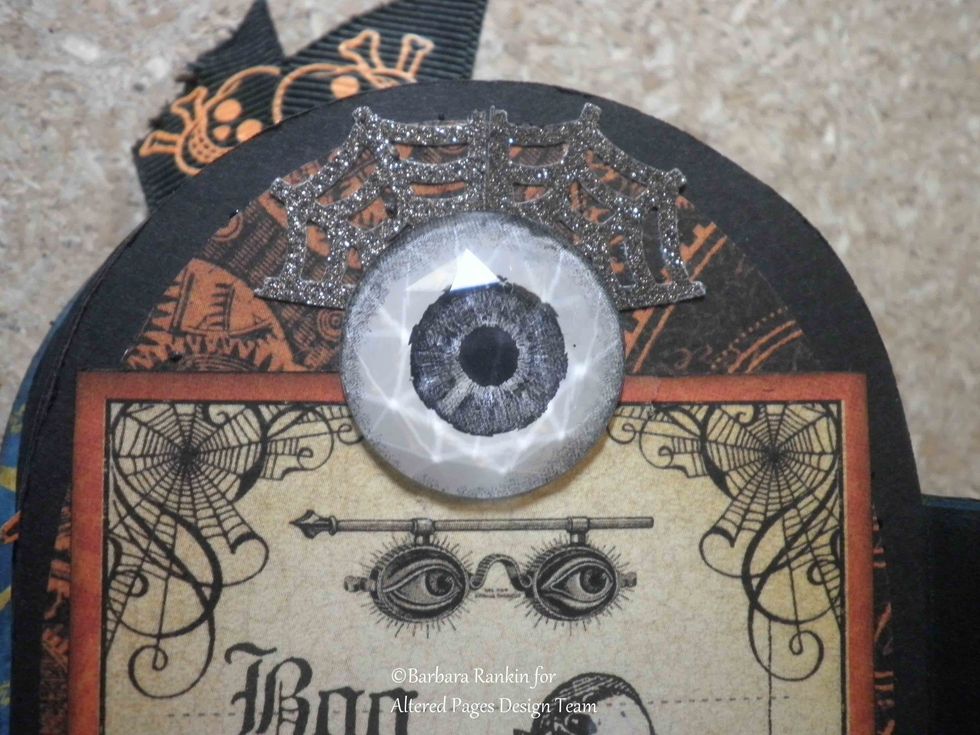
Close up of Glitz Design giant rhinestone eyeball, punched spiderwebs placed behind eye as eyelashes.
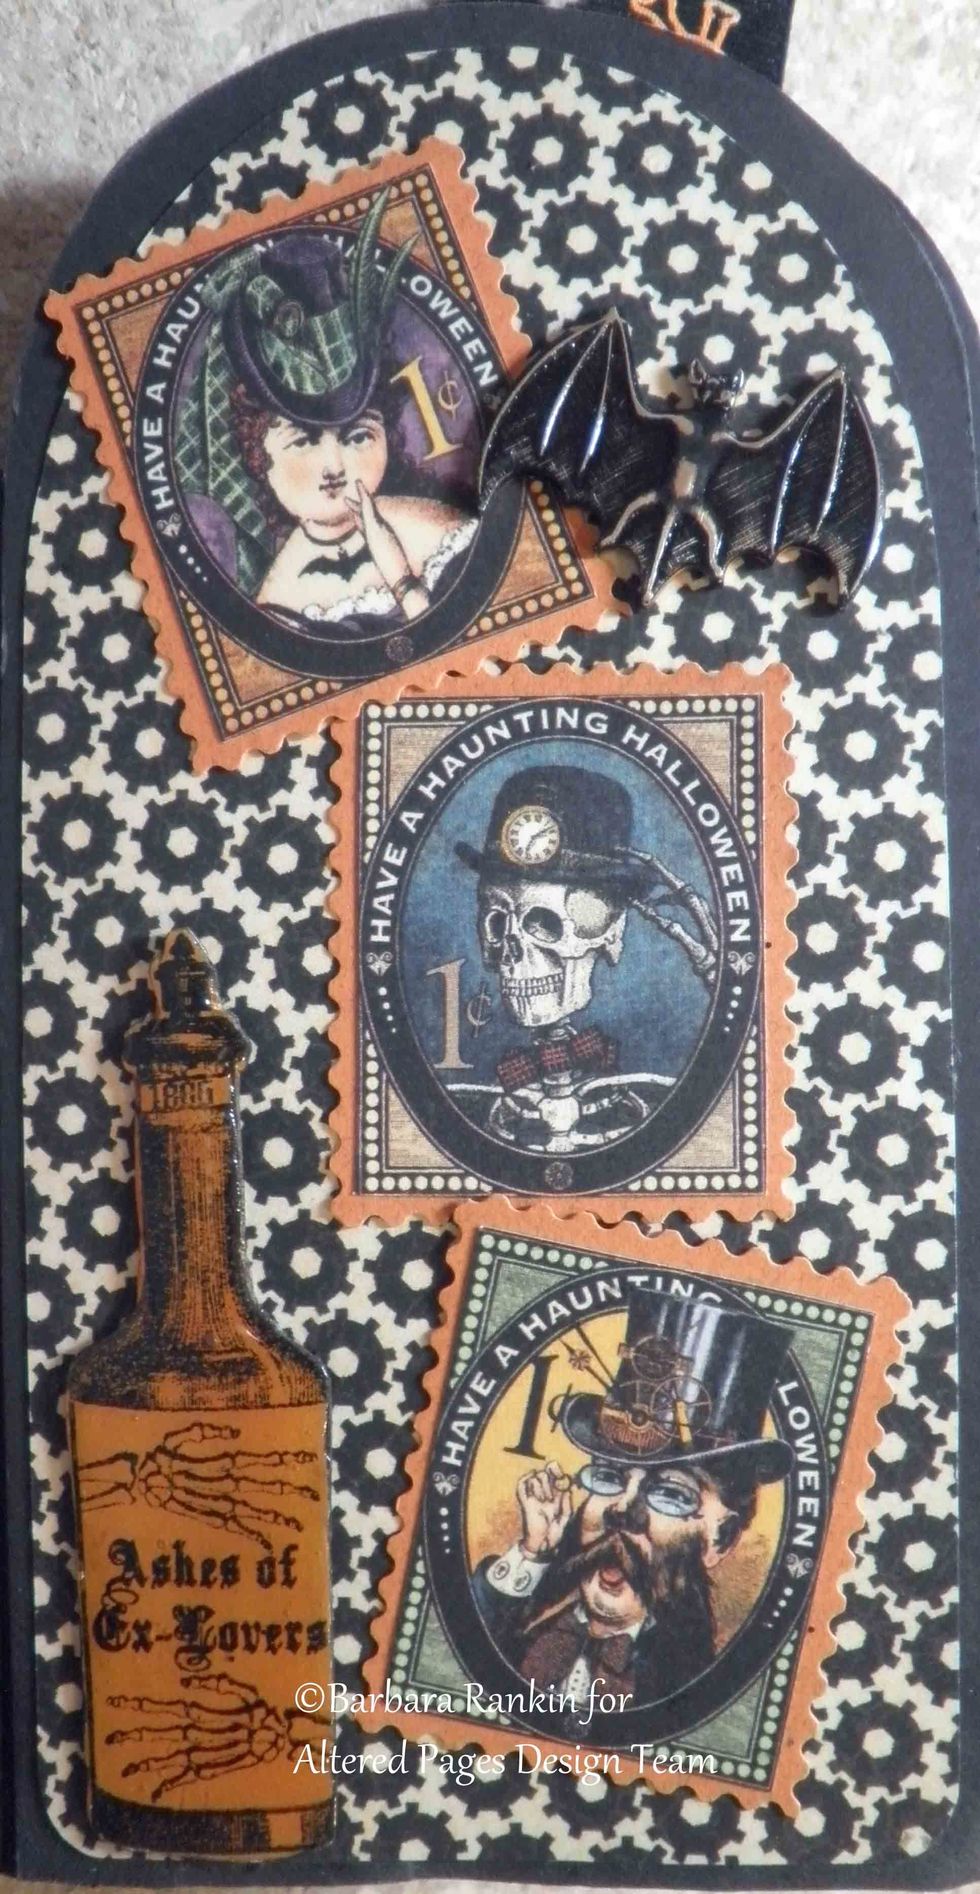
Page 4 left: SCS Potion bottle stamped onto cs, orange ink, crystal lacquer, fussy cut, pop dotted, bat charm, G45 paper images cut out.
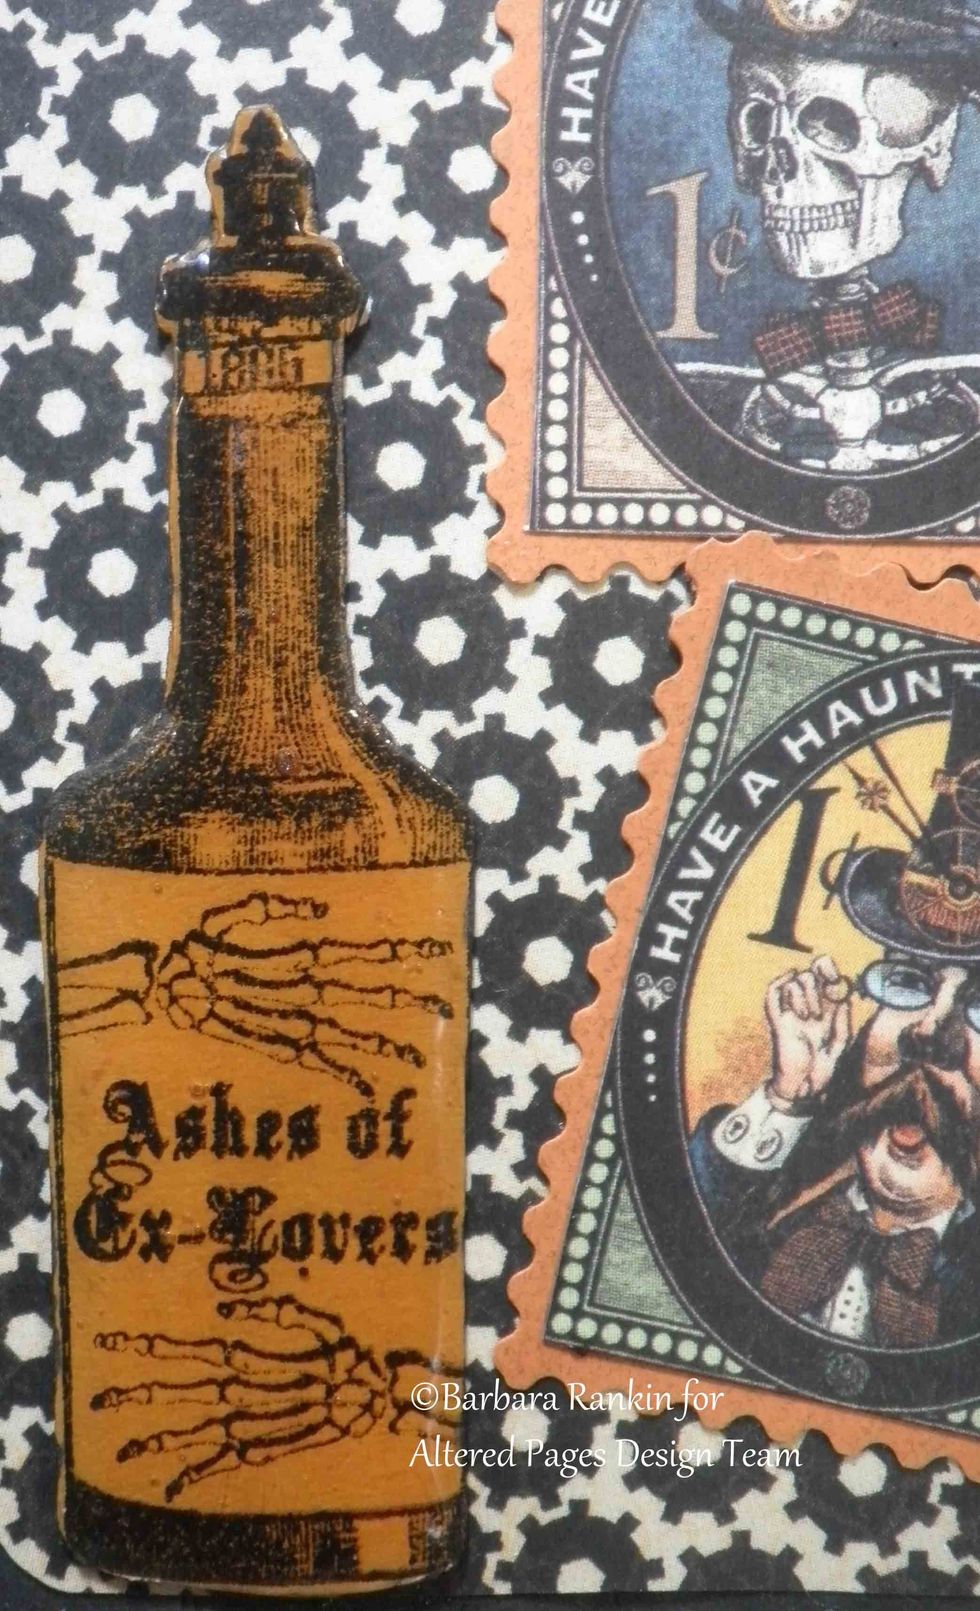
Closeup of fussy cut Sin City Stamps potion bottle, inked with orange ink, covered with Crystal Lacquer.
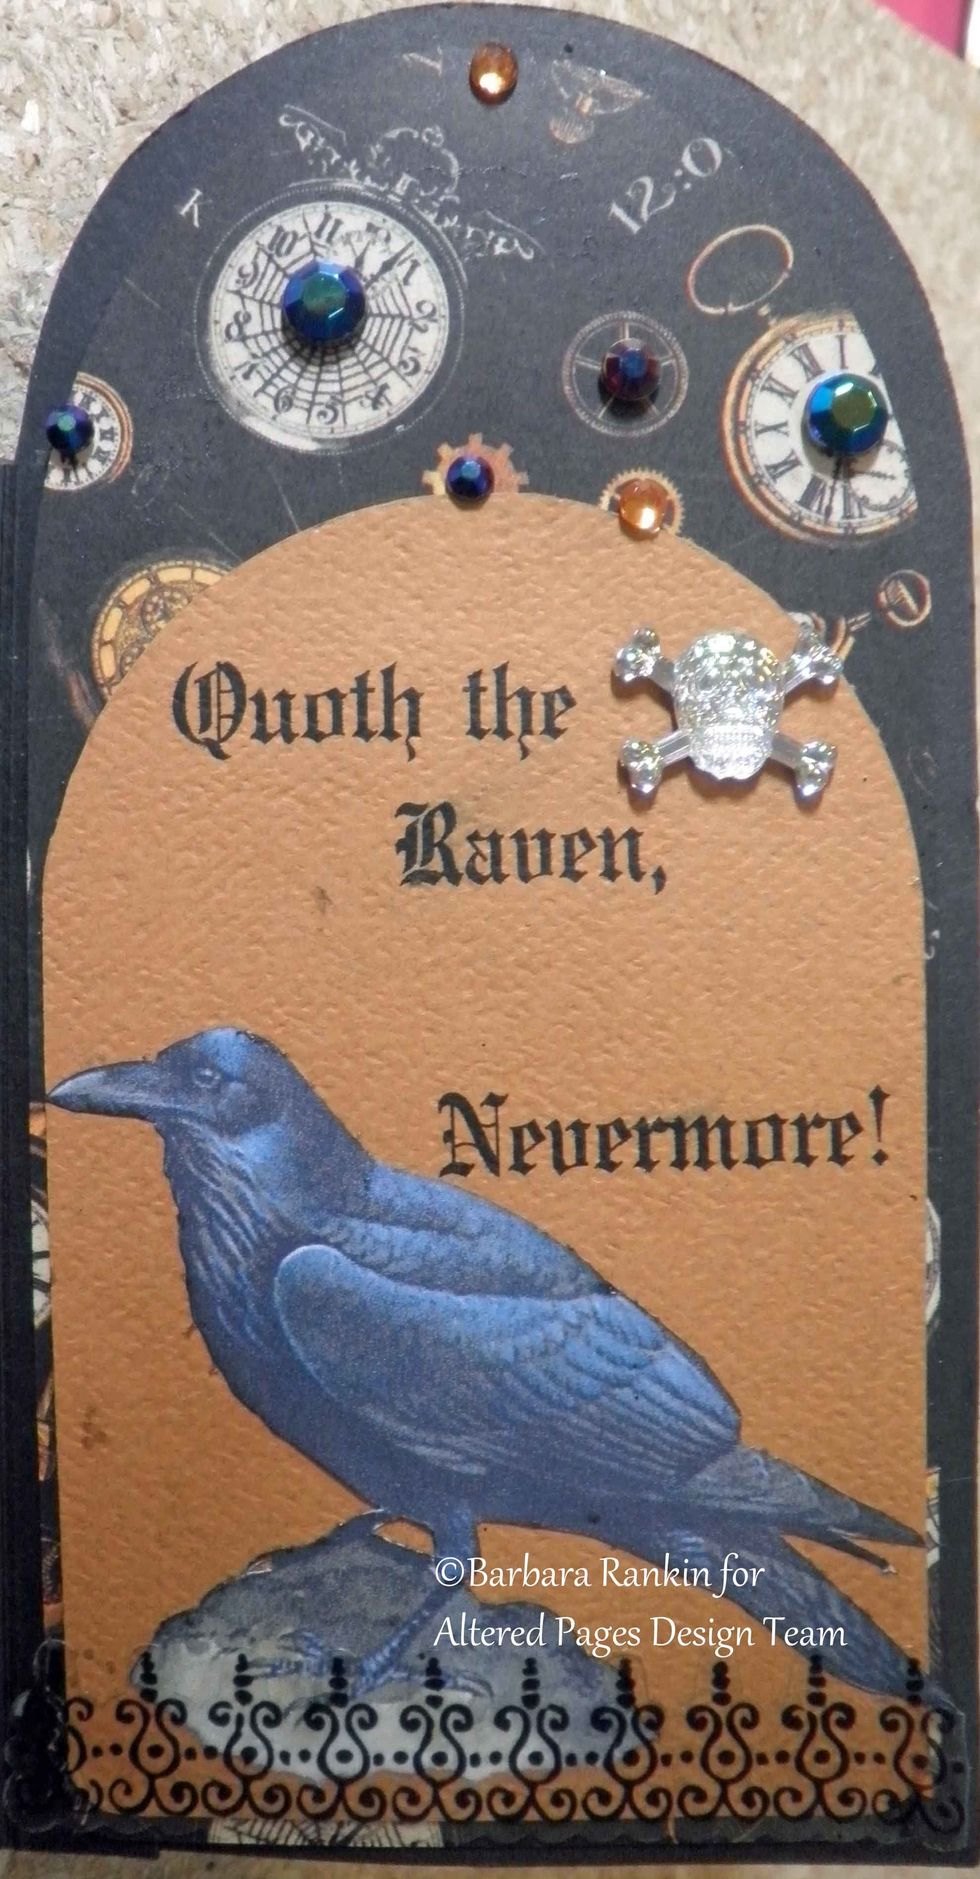
Page 5 right: Computer generated quote onto orange tag, Raven fussy cut from AP-1820 Quoth the Raven Nevermore collage image, wrought iron sticker, gem stones.
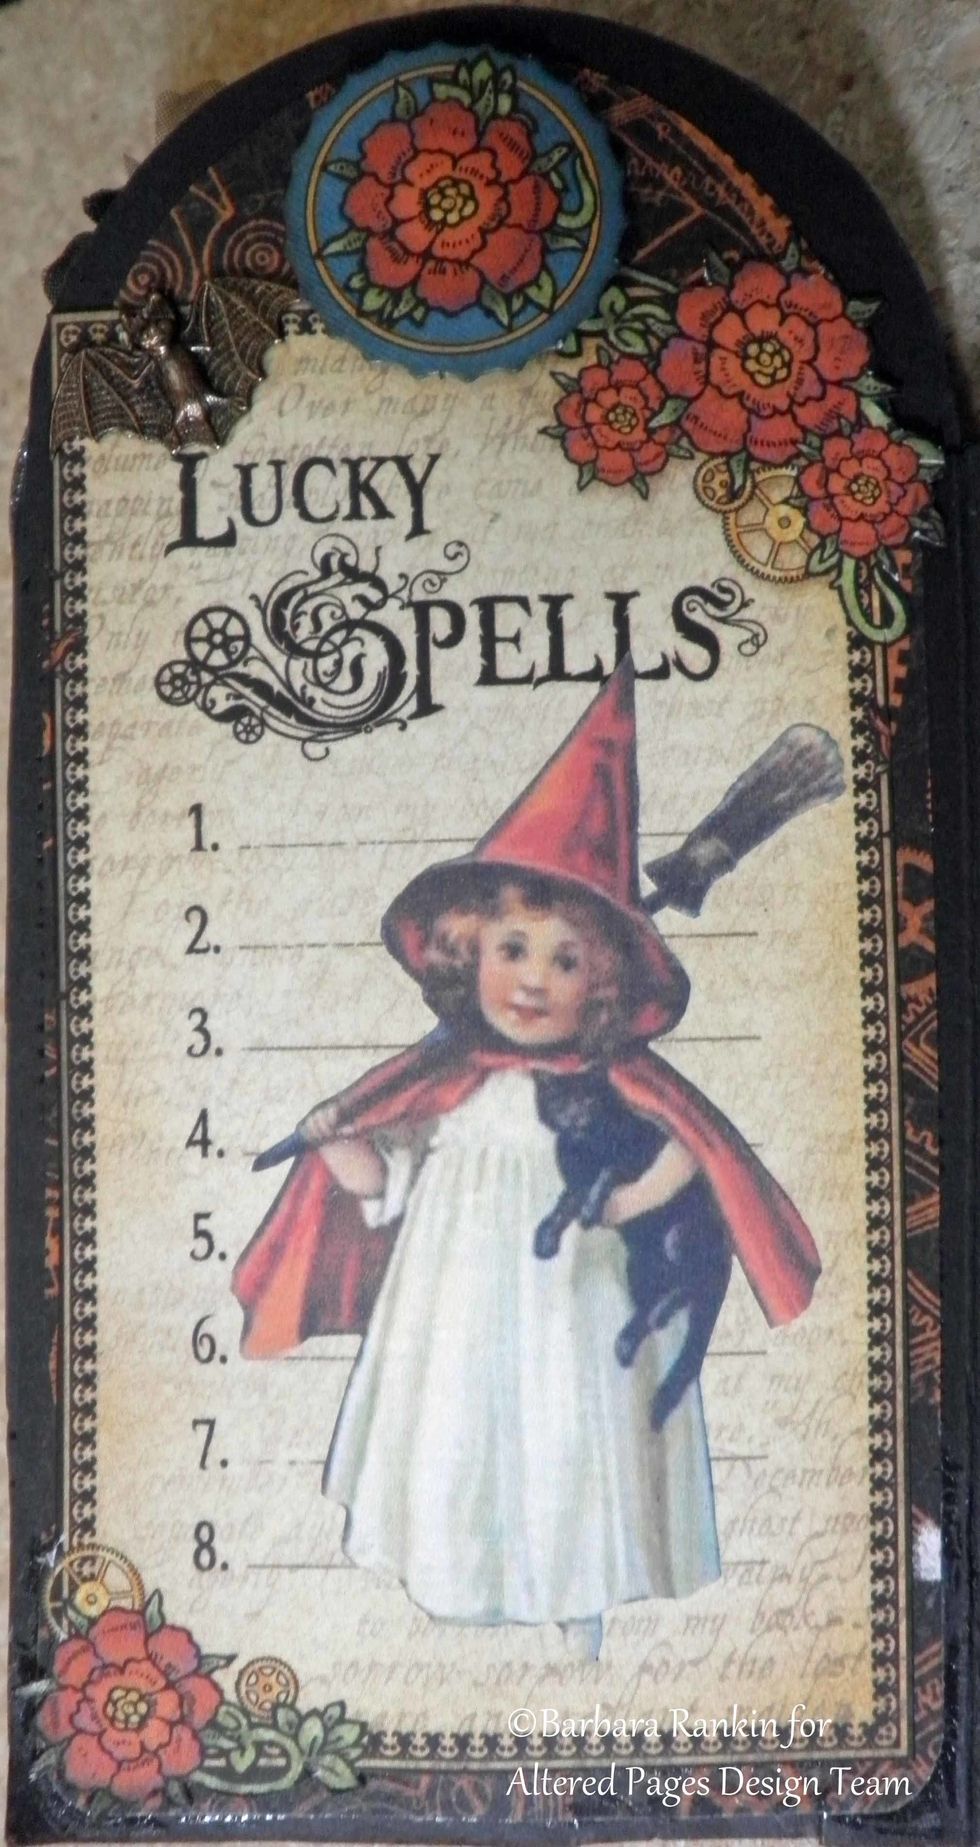
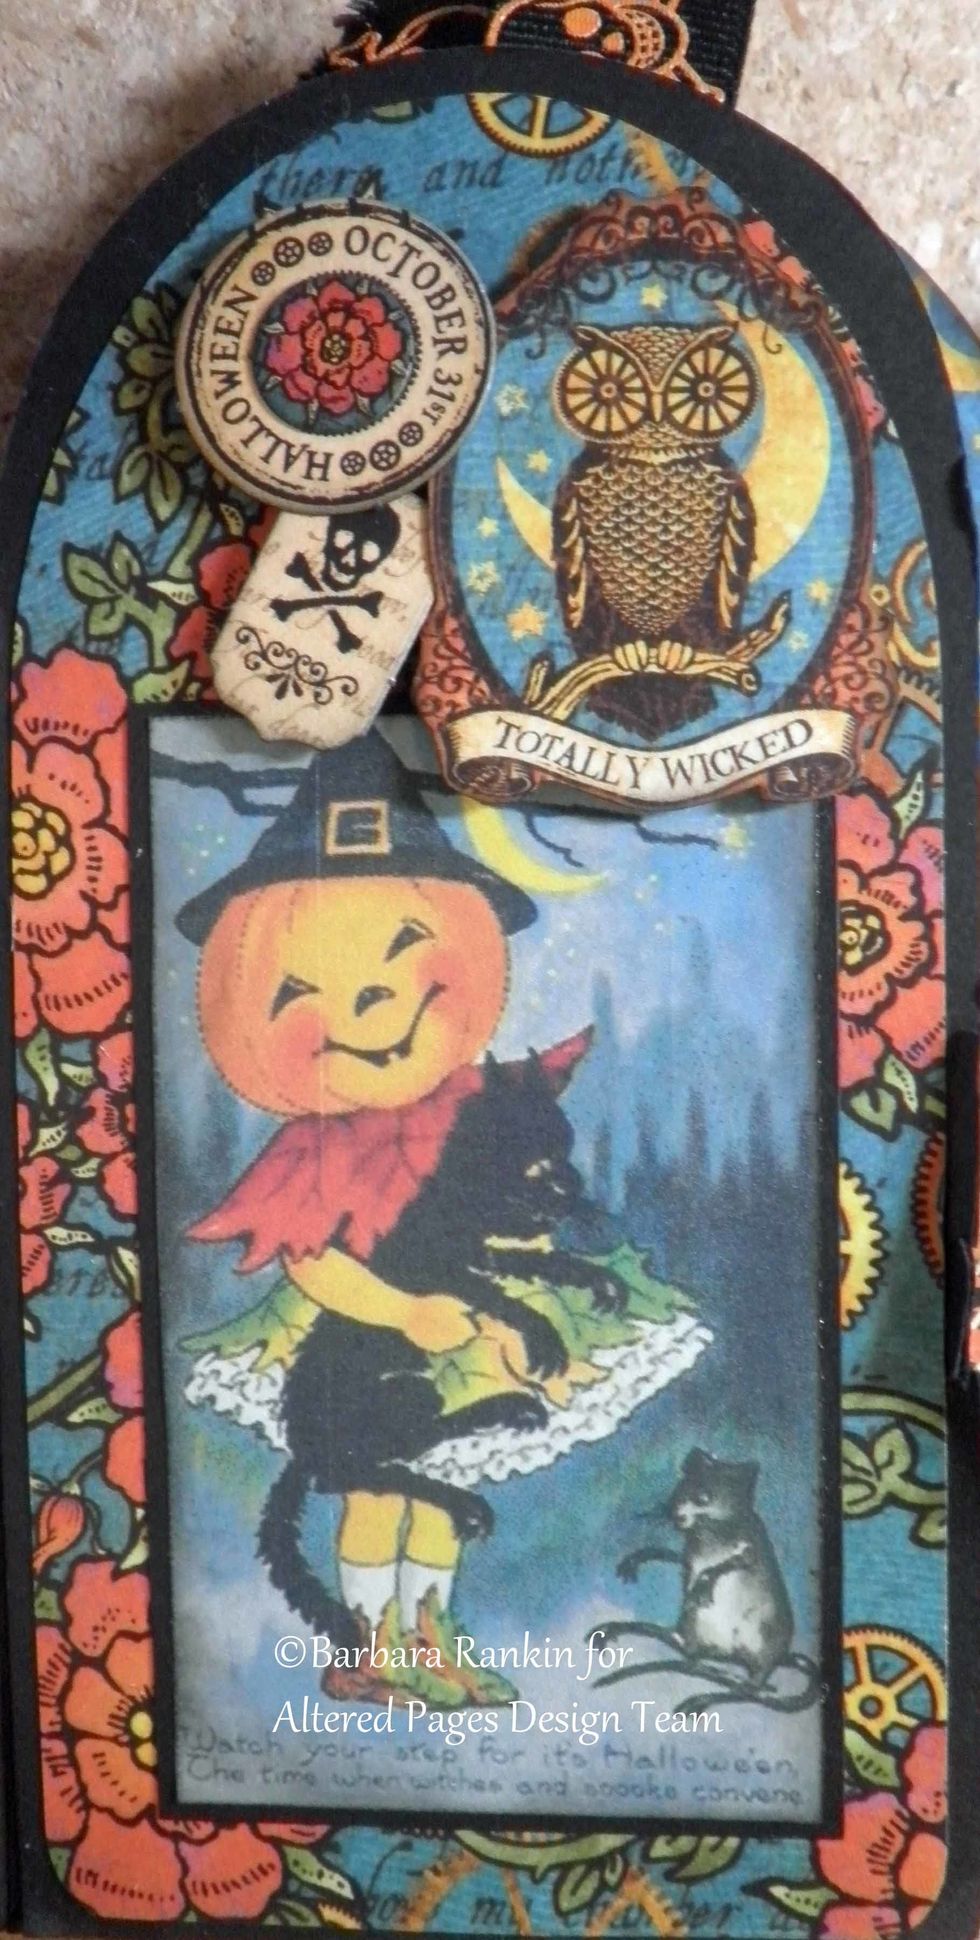
Page 6 left: G45 journal card, girl witch fussy cut from AP-288 Happy Halloween collage image. G45 sticker embellishment.
Page 7 right: Fussy cut AP-288 Happy Halloween collage image, wrought iron sticker, rub on quote, Sin City Stamps flying pot stamped in black onto orange CS, fussy cut, Crystal Lacquer on pot.
Closeup of SCS flying pot, Crystal Lacquer added to pot only, pop dots beneath wings for dimension.
Page 8 left, AP-1080 Antique Halloween collage image, fussy cut images from G45 papers.
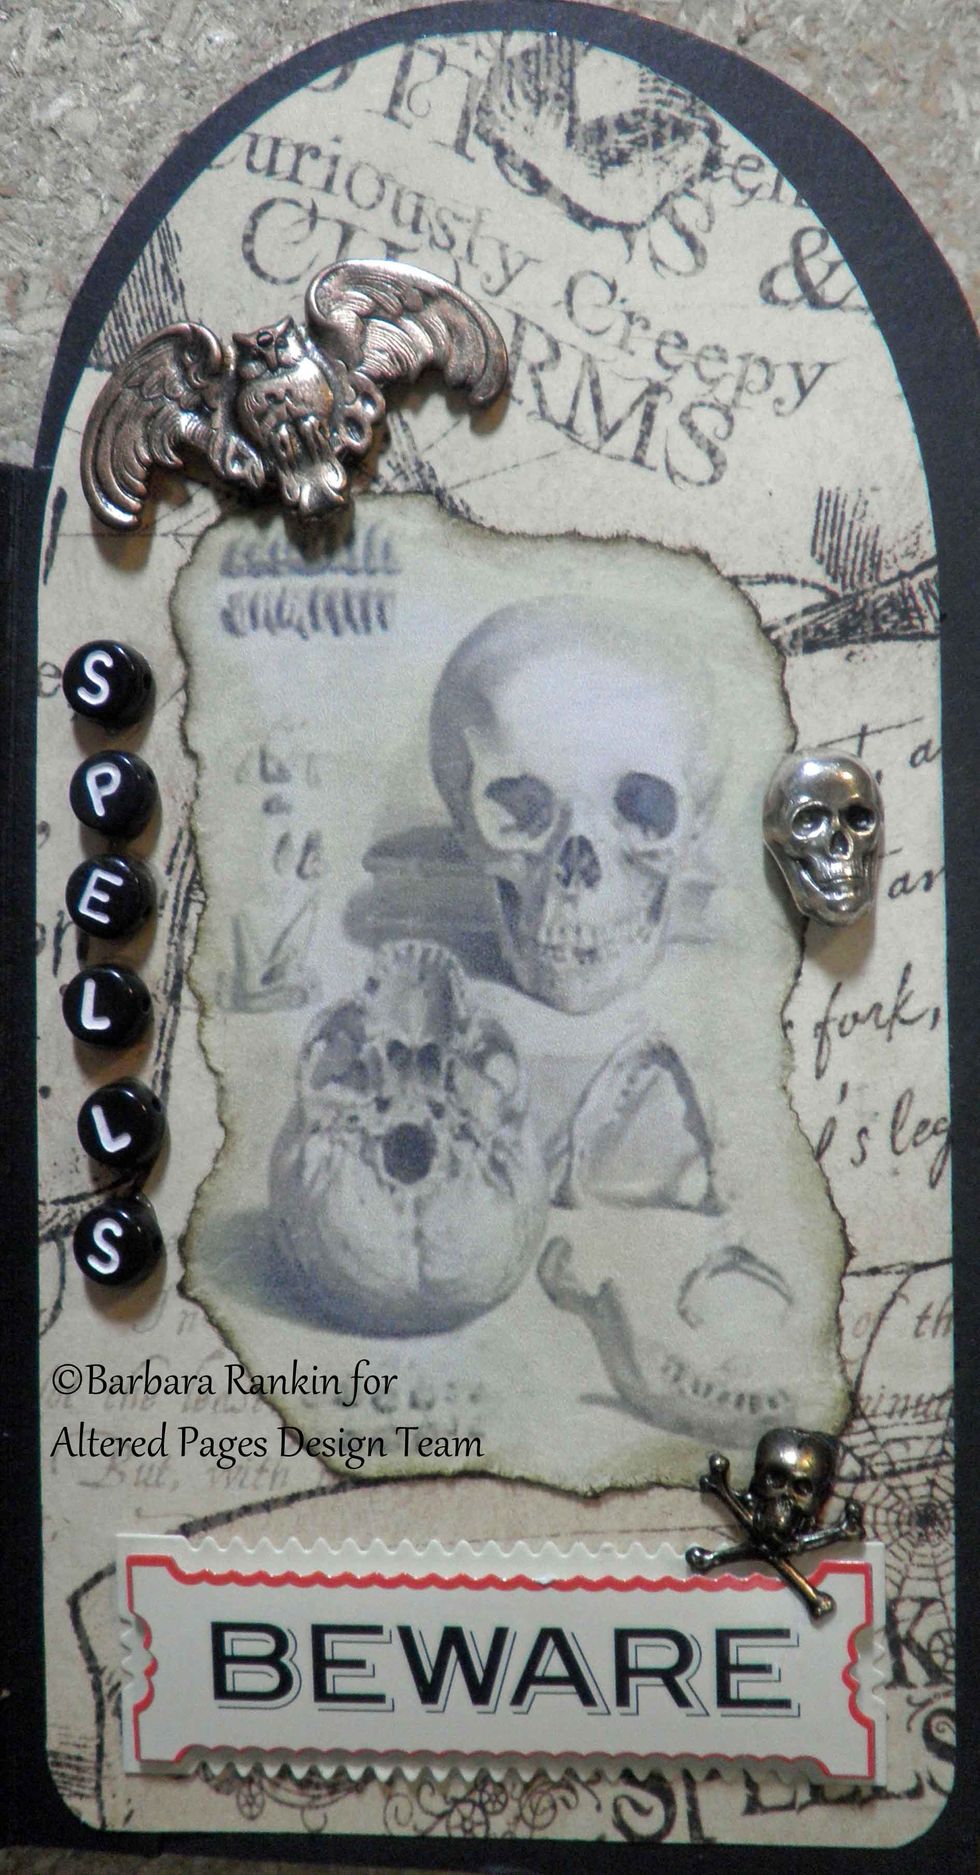
Page 9 right: AP- 2084 Screaming Skulls image torn, inked edges, Beware sticker, metal charms and letters.
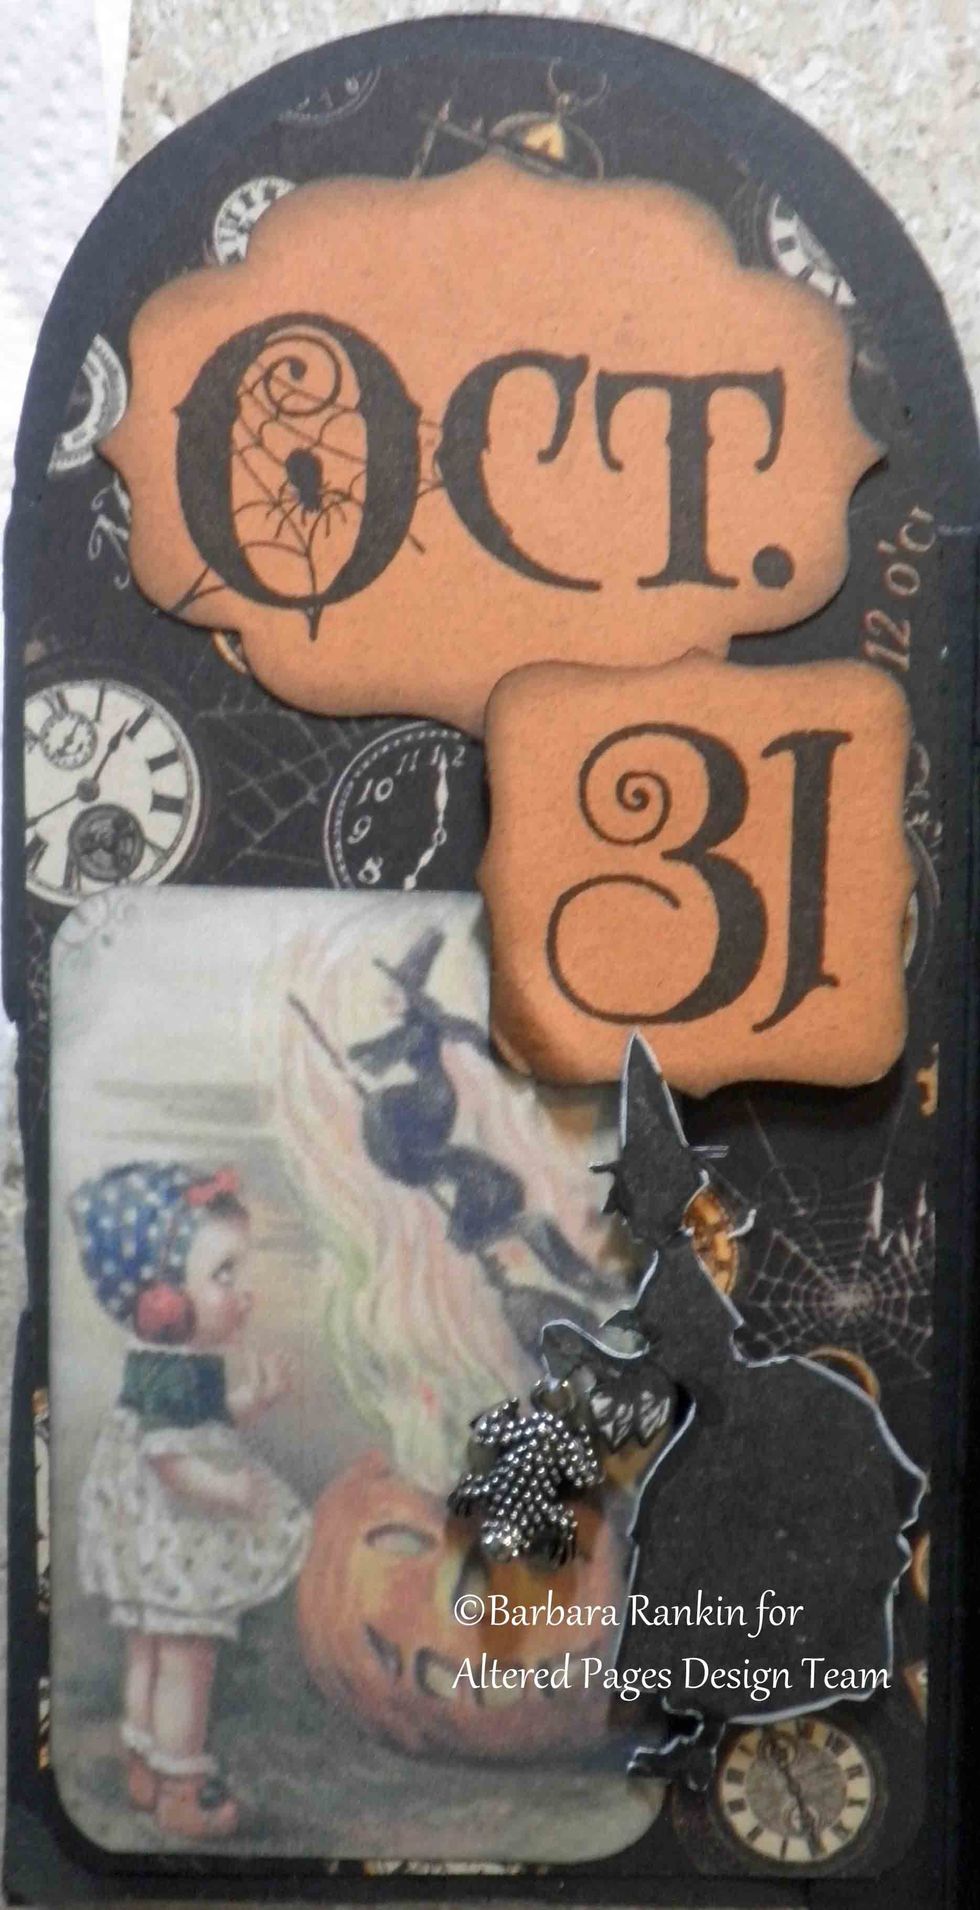
Page 10 left: AP-288 Happy Halloween collage image, SCS Oct. 31 stamped onto orange CS, decorative punch, black witch silhouette stamped and fussy cut, metal charm.
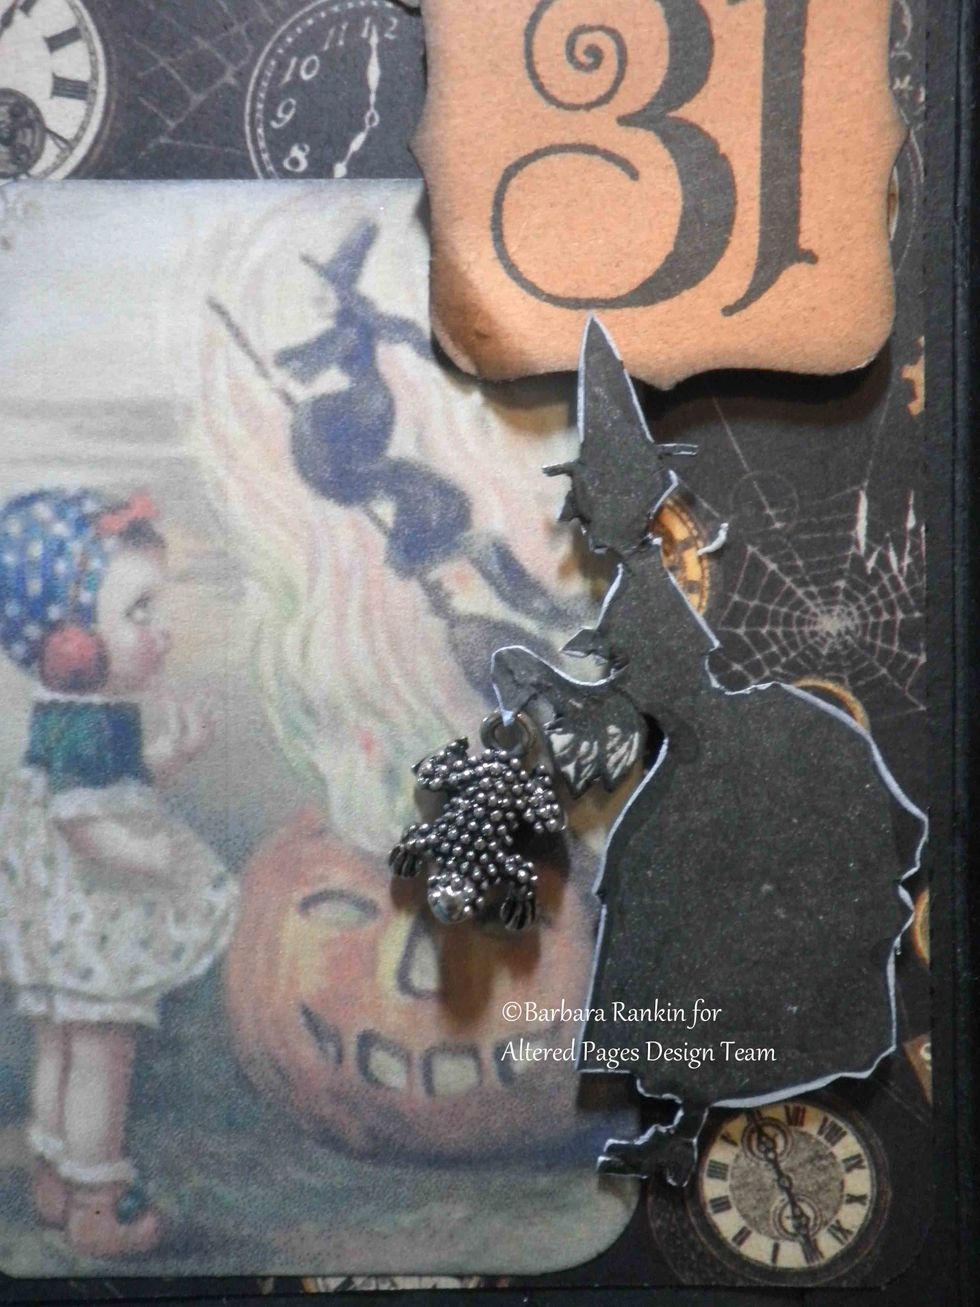
Close up of stamped witch silhouette. Uh oh, looks like that frog is going in the pot!
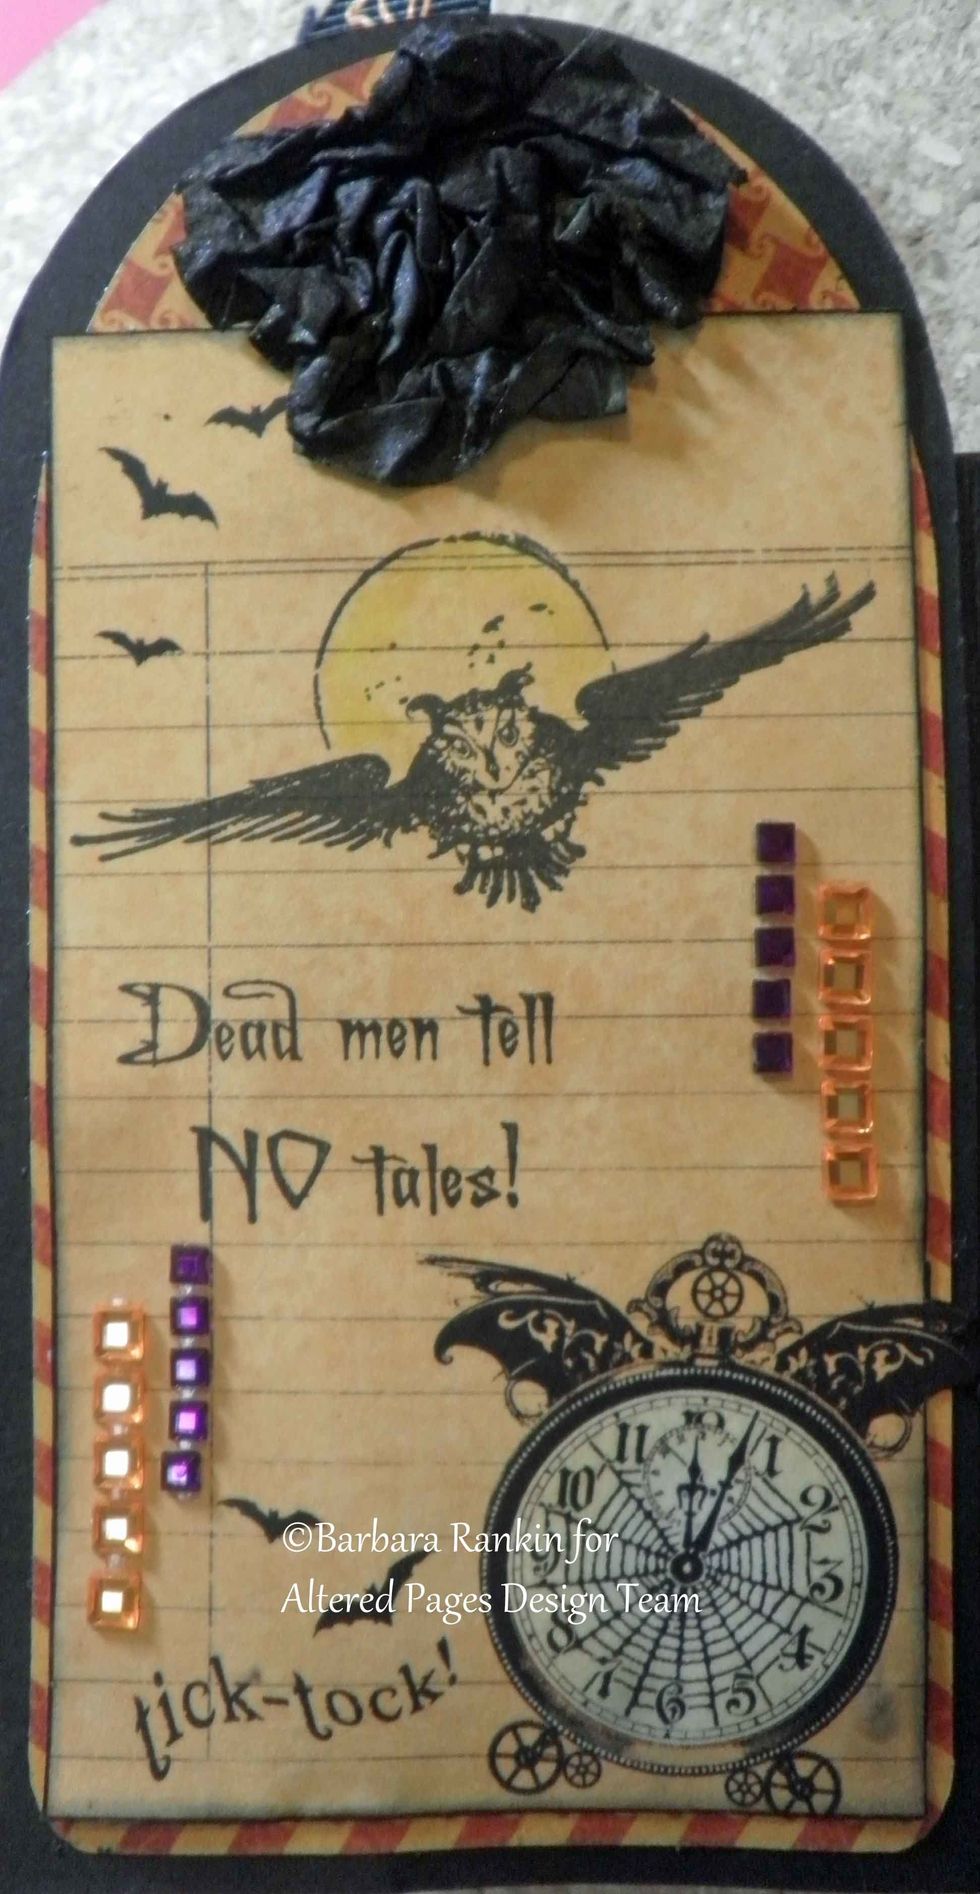
Page 11 right: G45 journal card, Sin City Stamps: Dead Men Tell No Tales, Owl with Moon, stamped in black, black handmade paper flower, gem stones.
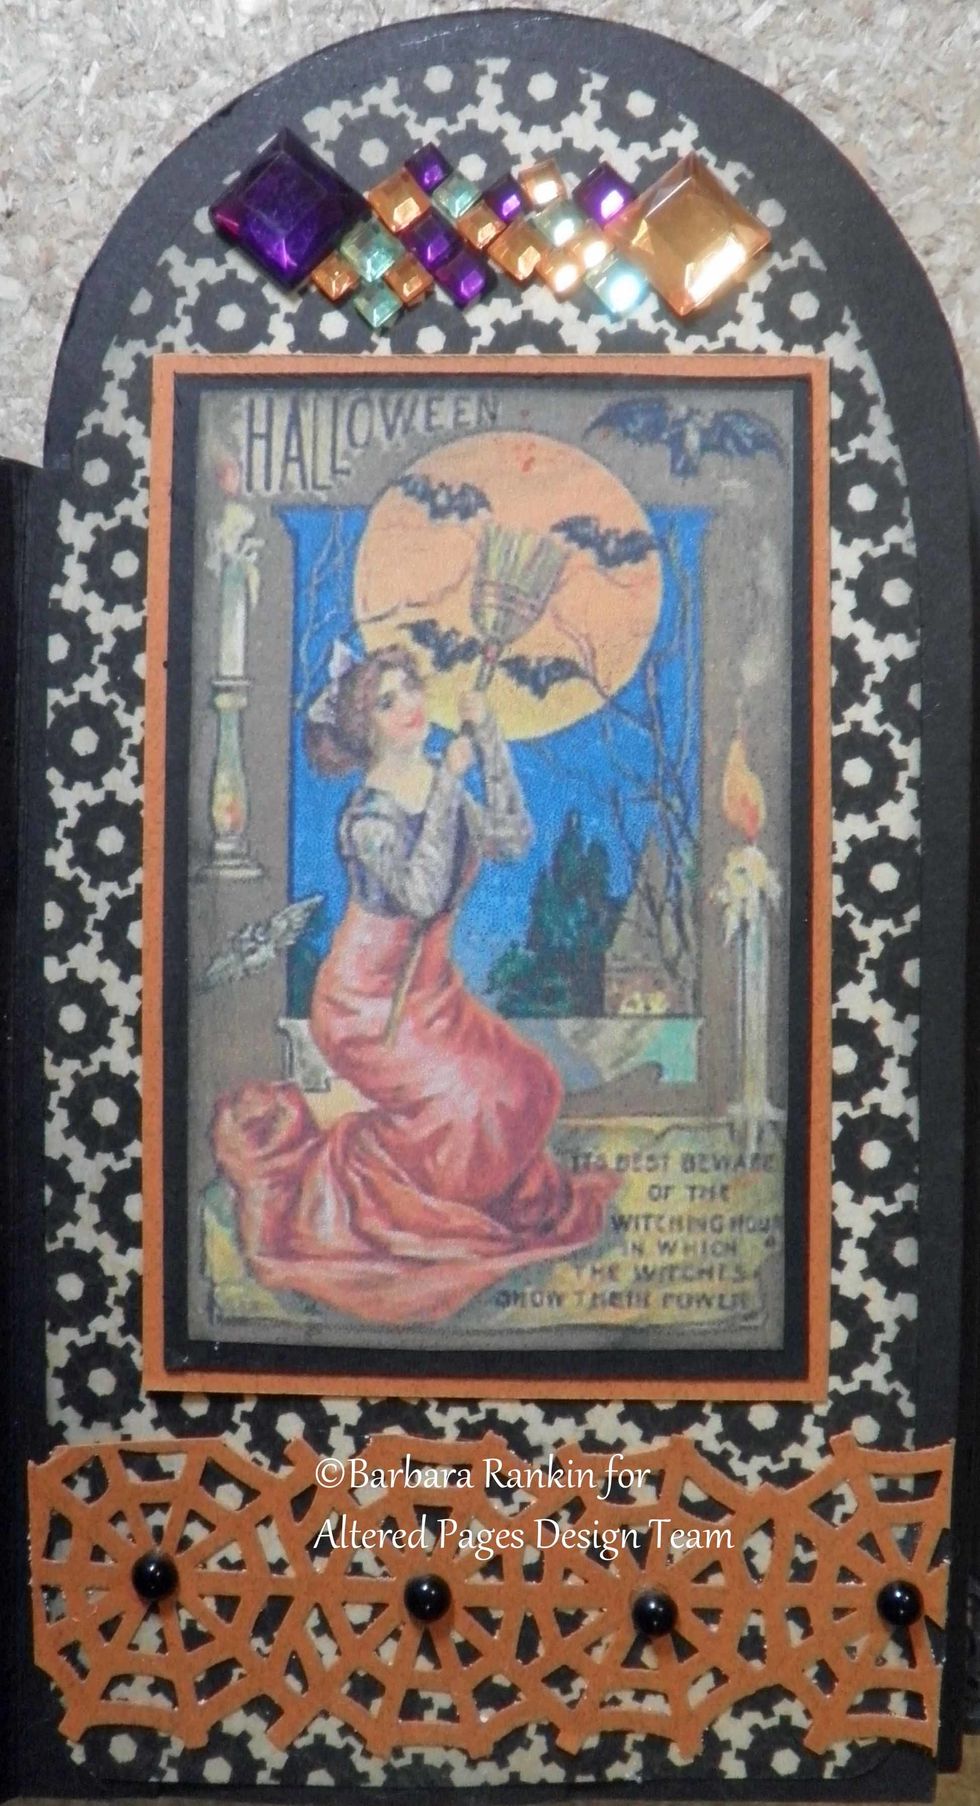
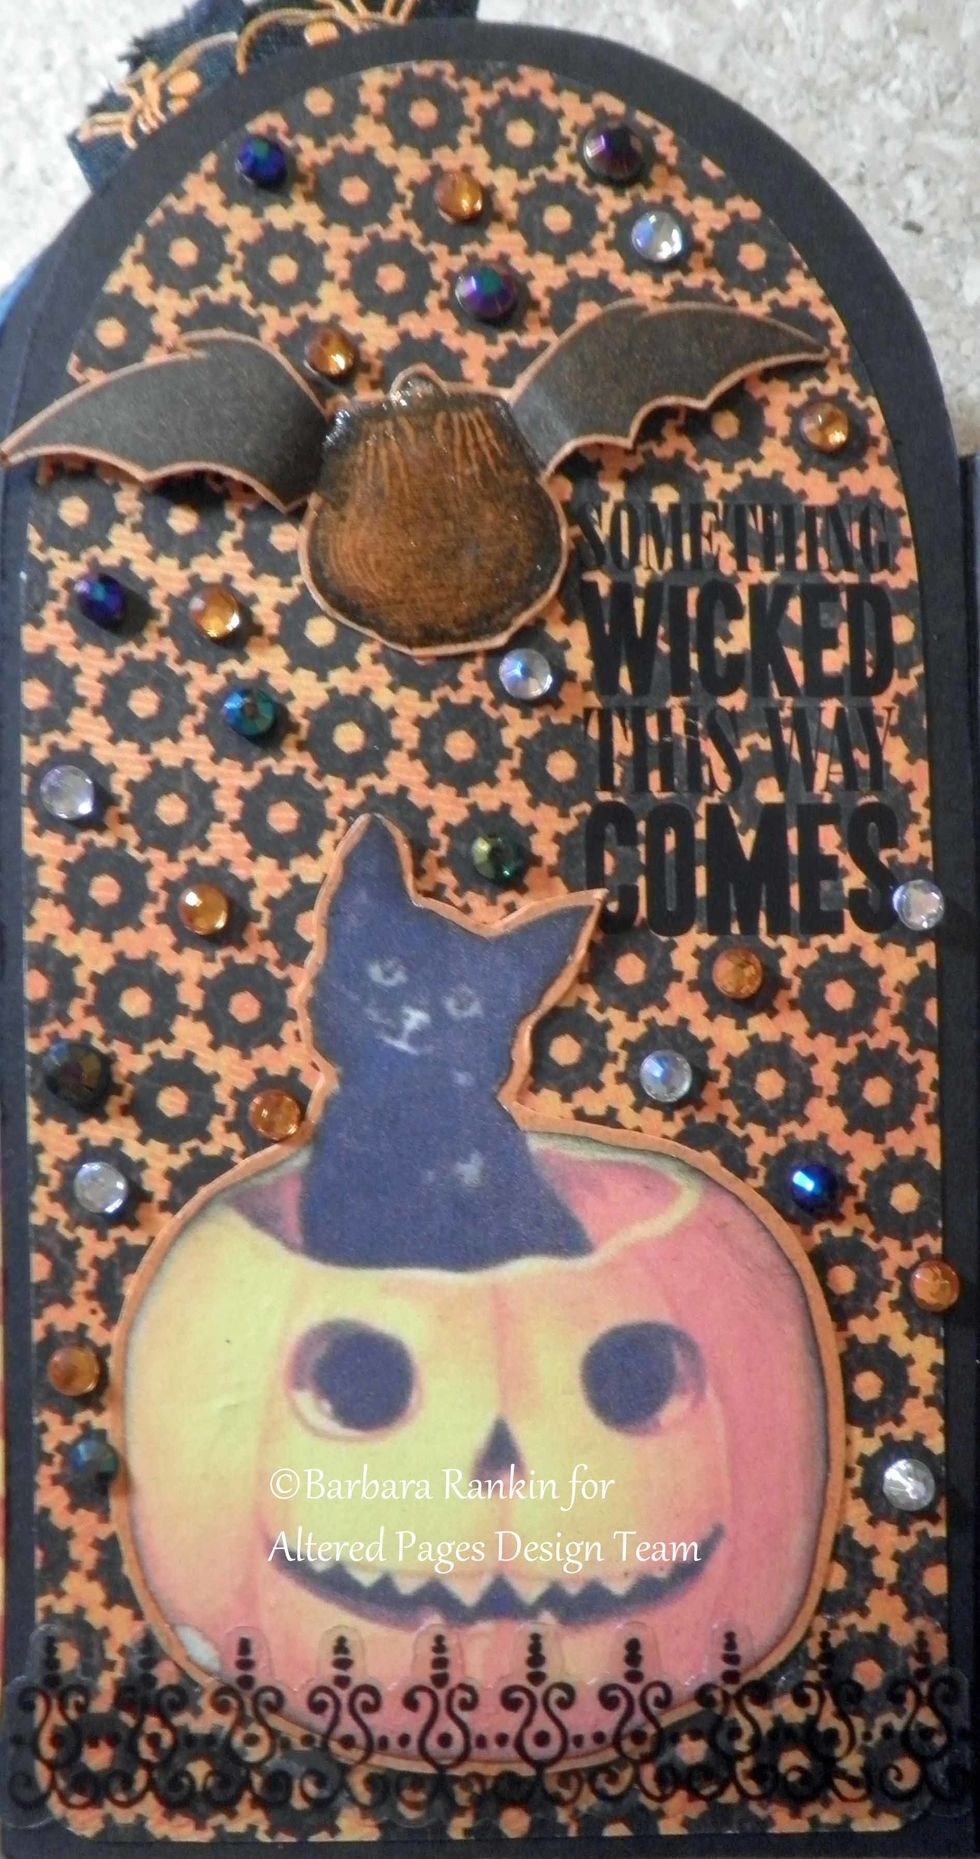
Page 12 right: AP-562 The Other Side of Halloween collage image, gems, punched spider web.

Inside center back panel. Small pocket made with G45 strip of paper to hold tag. Sin City Stamps Halloween postage stamped onto light orange CS in black, acrylic bubble over center, punched web.
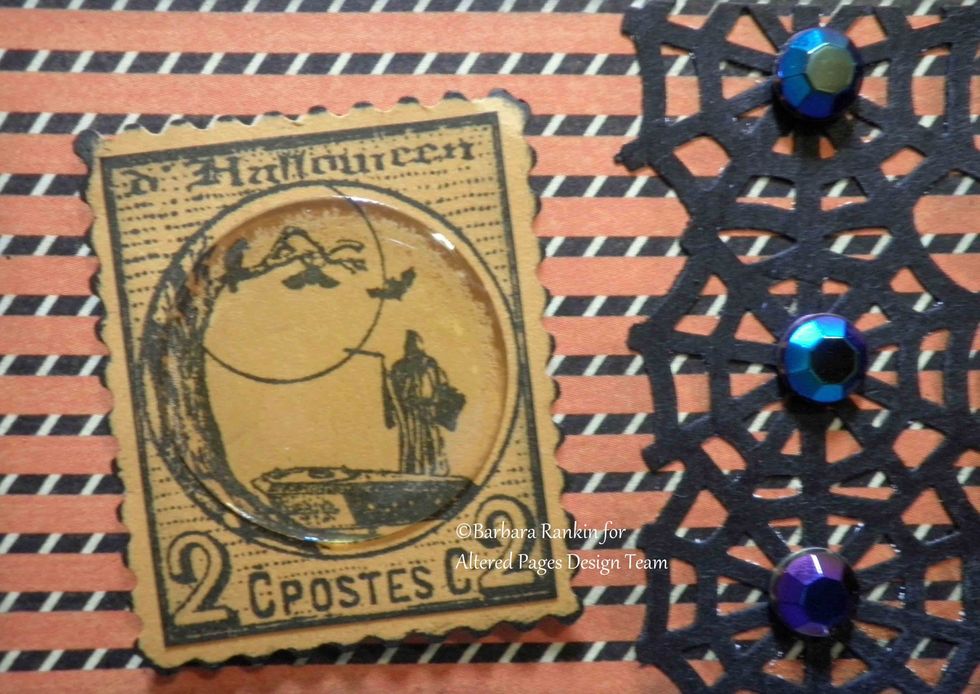
Closeup of SCS Halloween postage stamped onto light orange CS and acrylic bubble added.
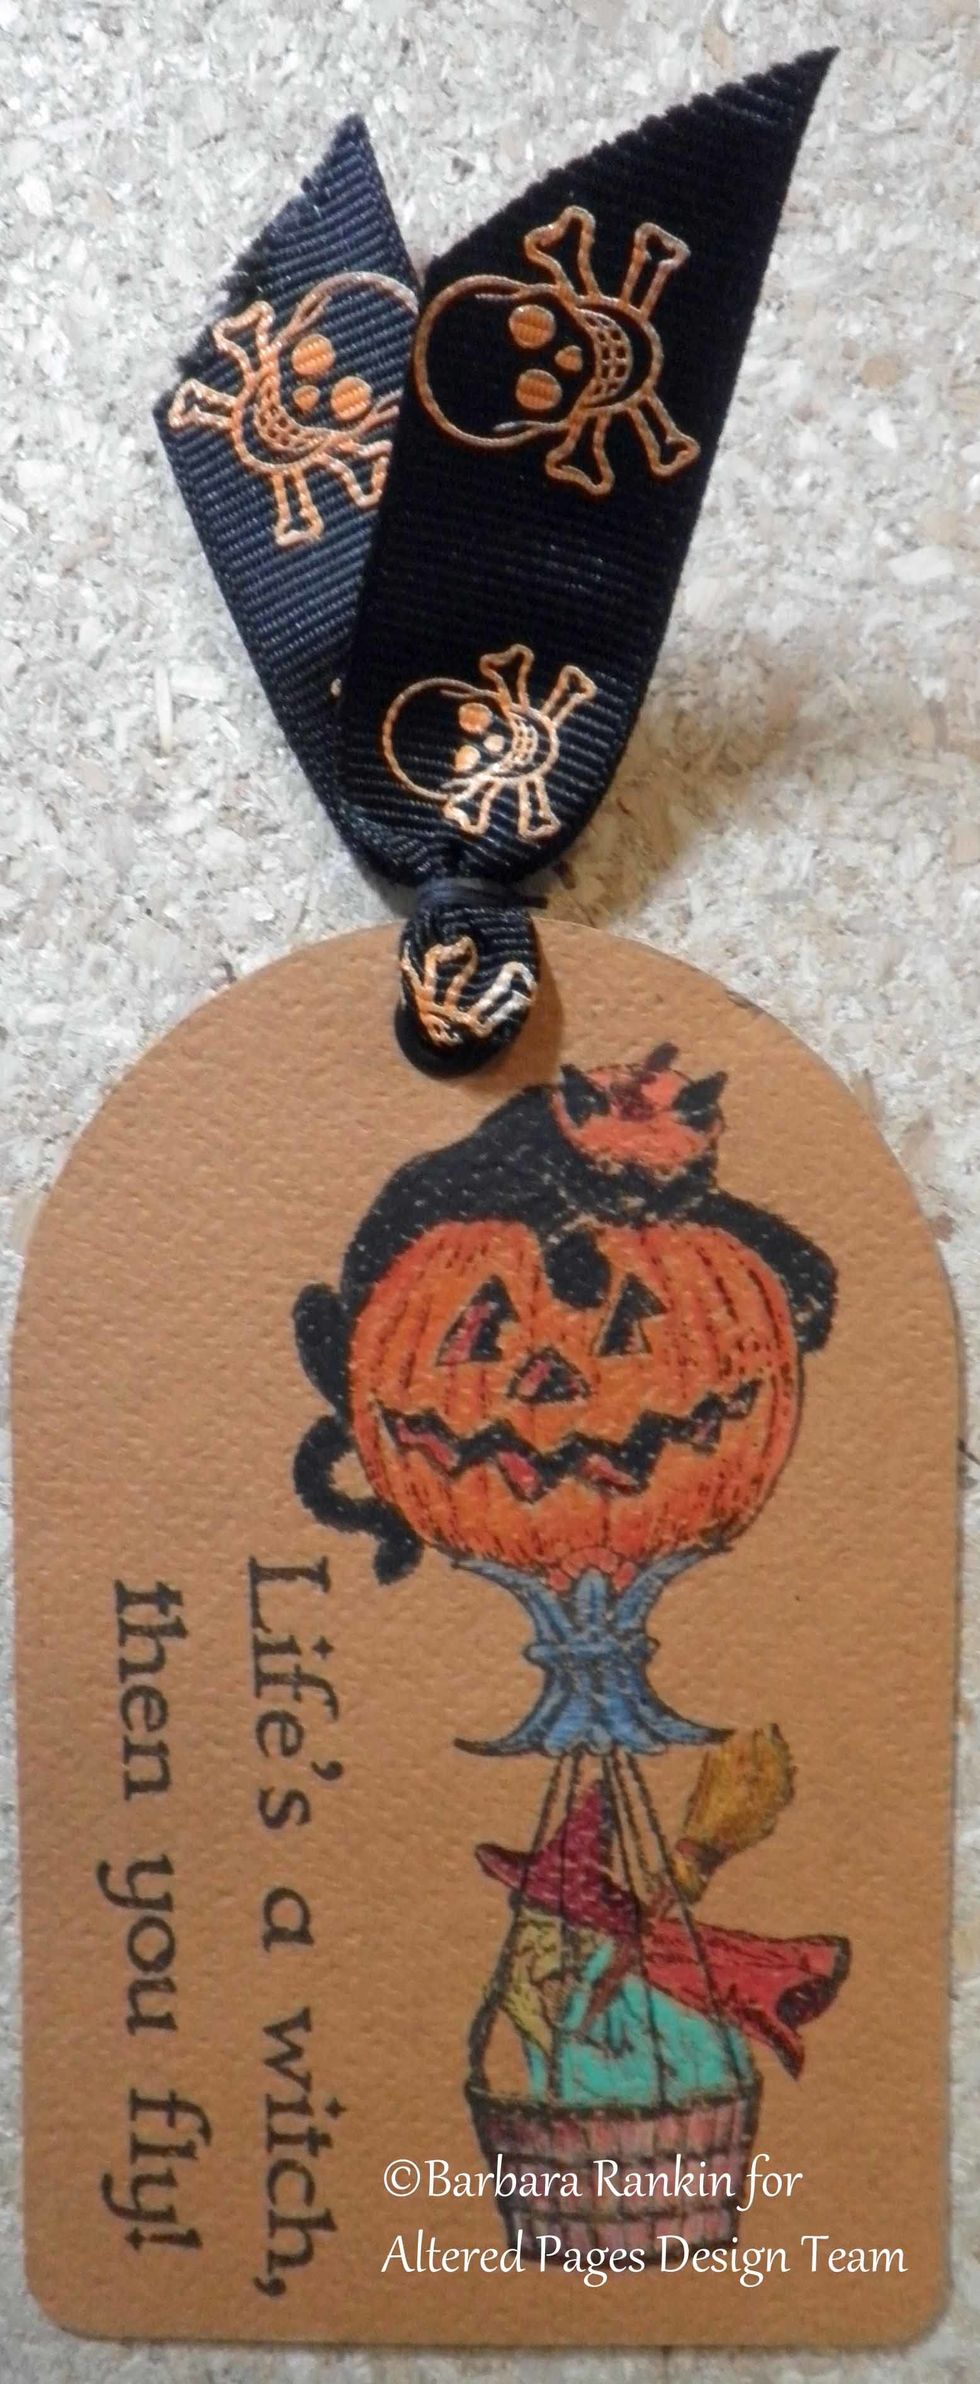
Sin City Stamps: Pumpkin balloon and Life's a witch, then you fly! stamped onto tag with black ink. Image colored with colored pencils. Skull ribbon colored with orange zest StazOn ink added to tag
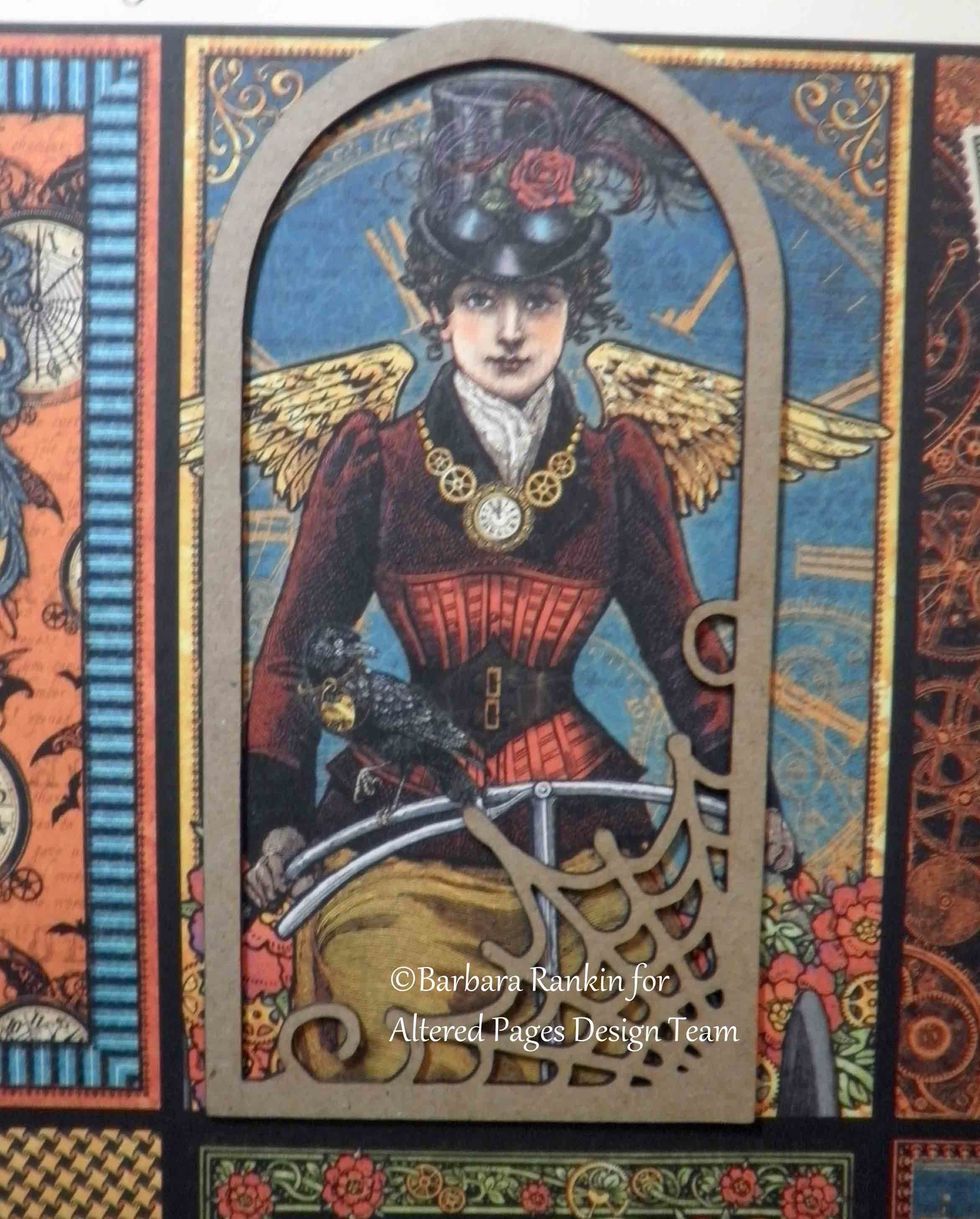
To finish the back cover, trace chipboard web frame over G45 image. Cut image out to fit behind frame.
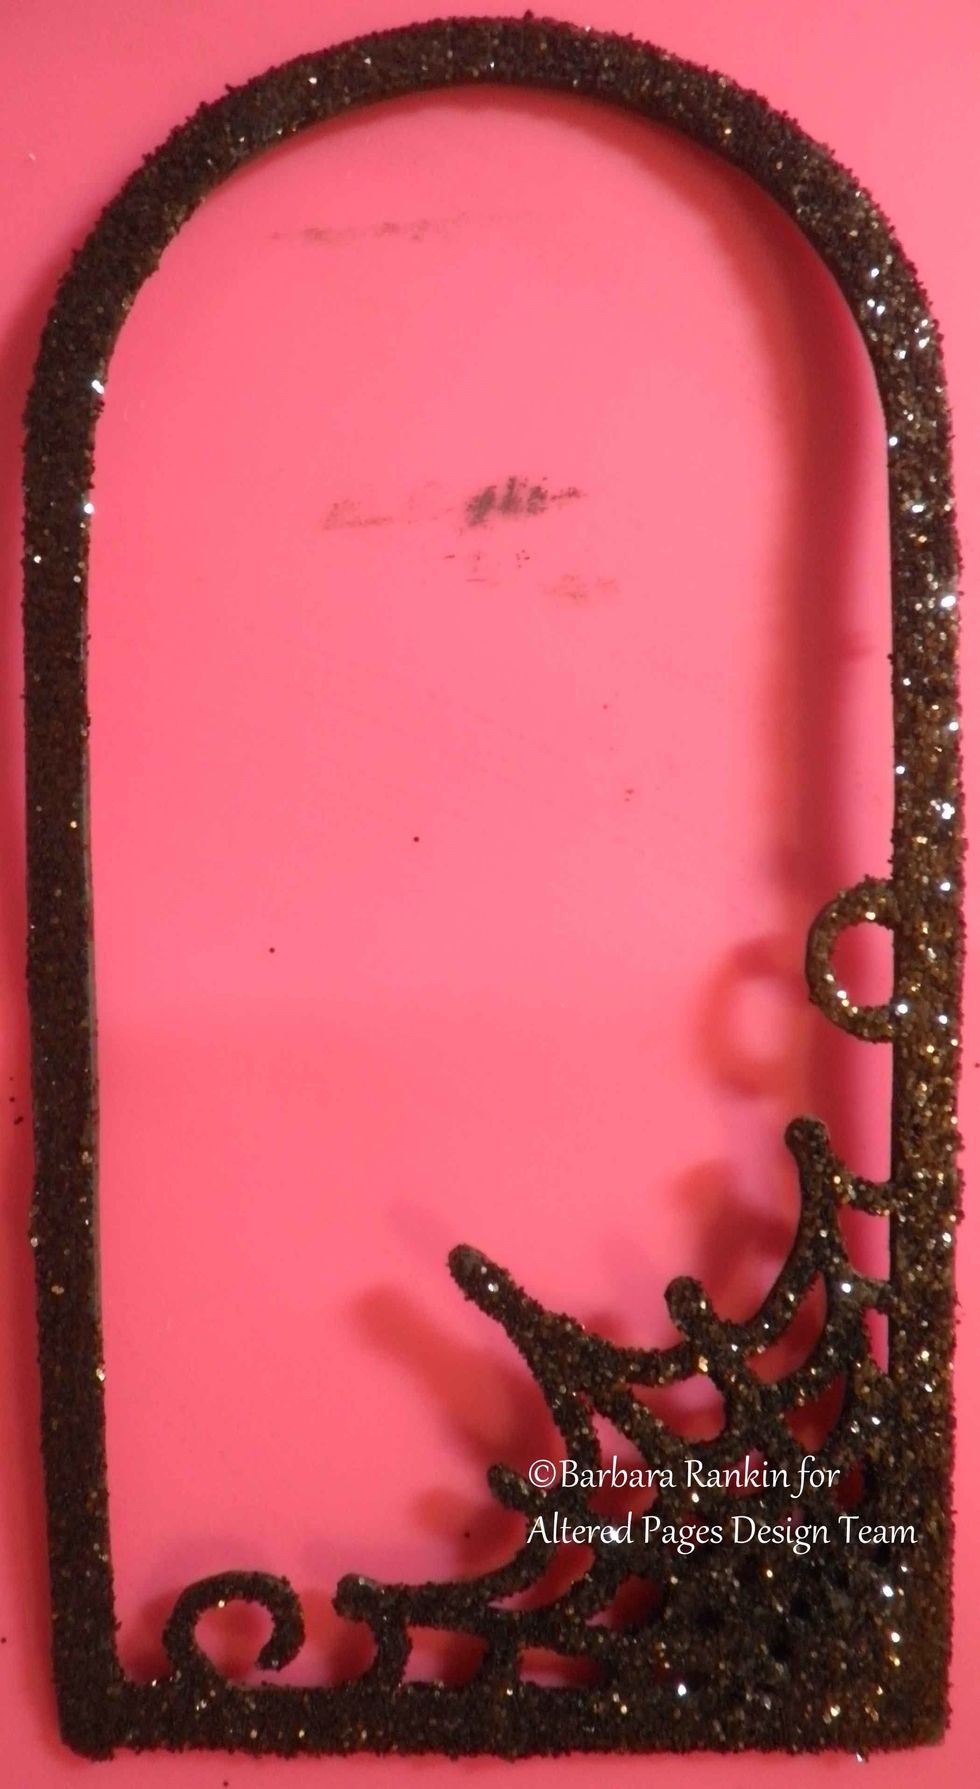
Apply a coat of glue to the web frame and add black soot distress glitter. Allow to dry.
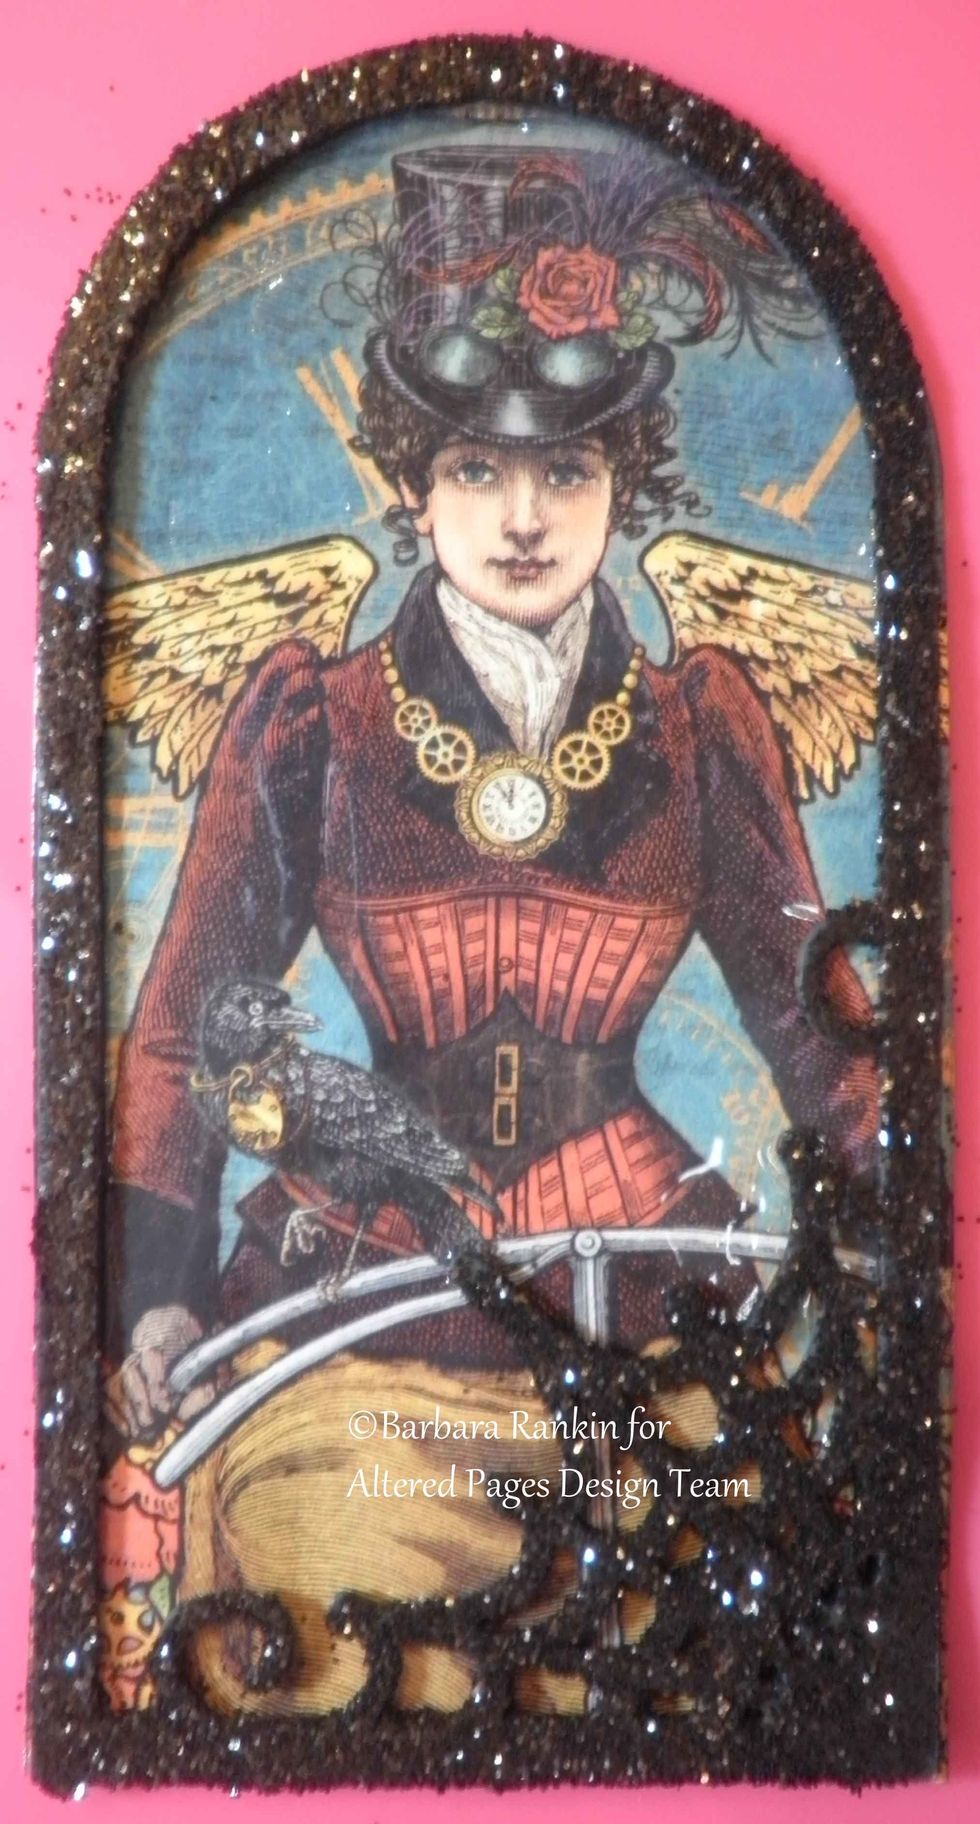
Add clear distress crackle paint to entire G45 image, and attach web frame. The crackle paint will adhere the frame like glue.
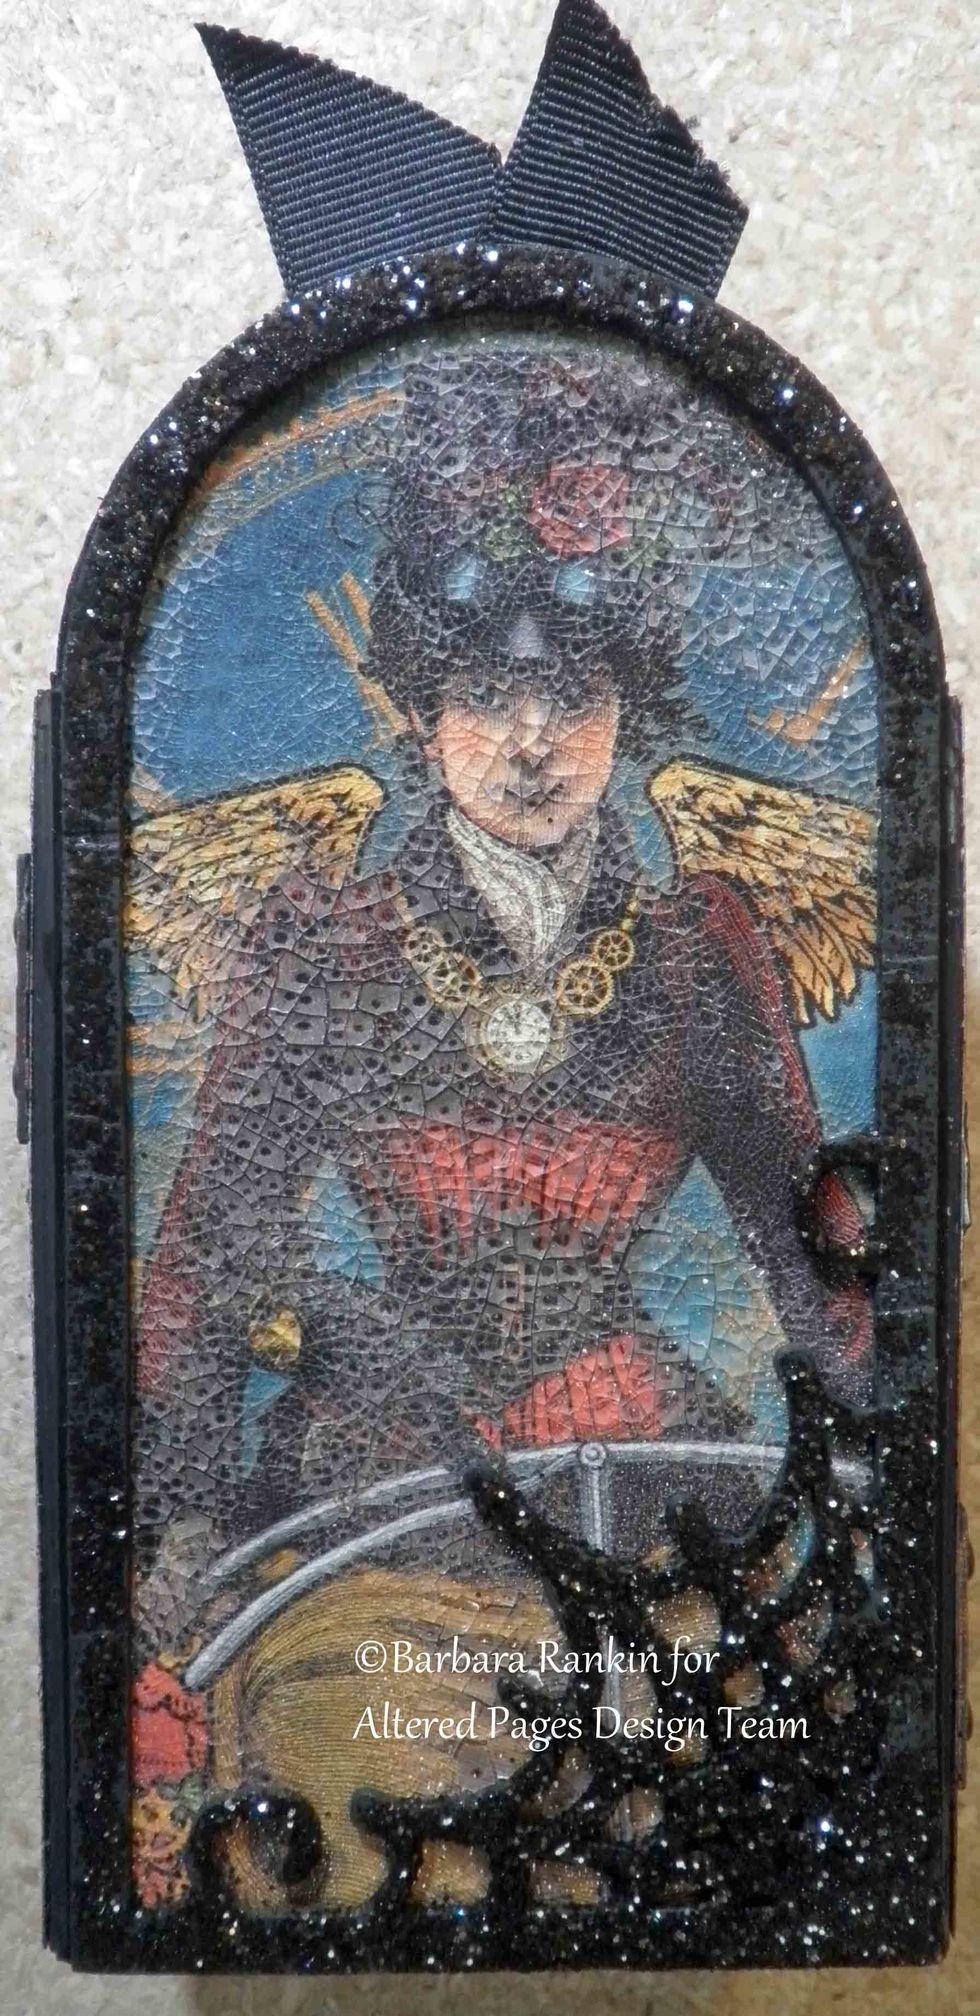
Adhere framed piece to back center panel of book. Here, you can see the great crackle effect. I find I get better results applying the crackle paint with my finger rather than a brush.
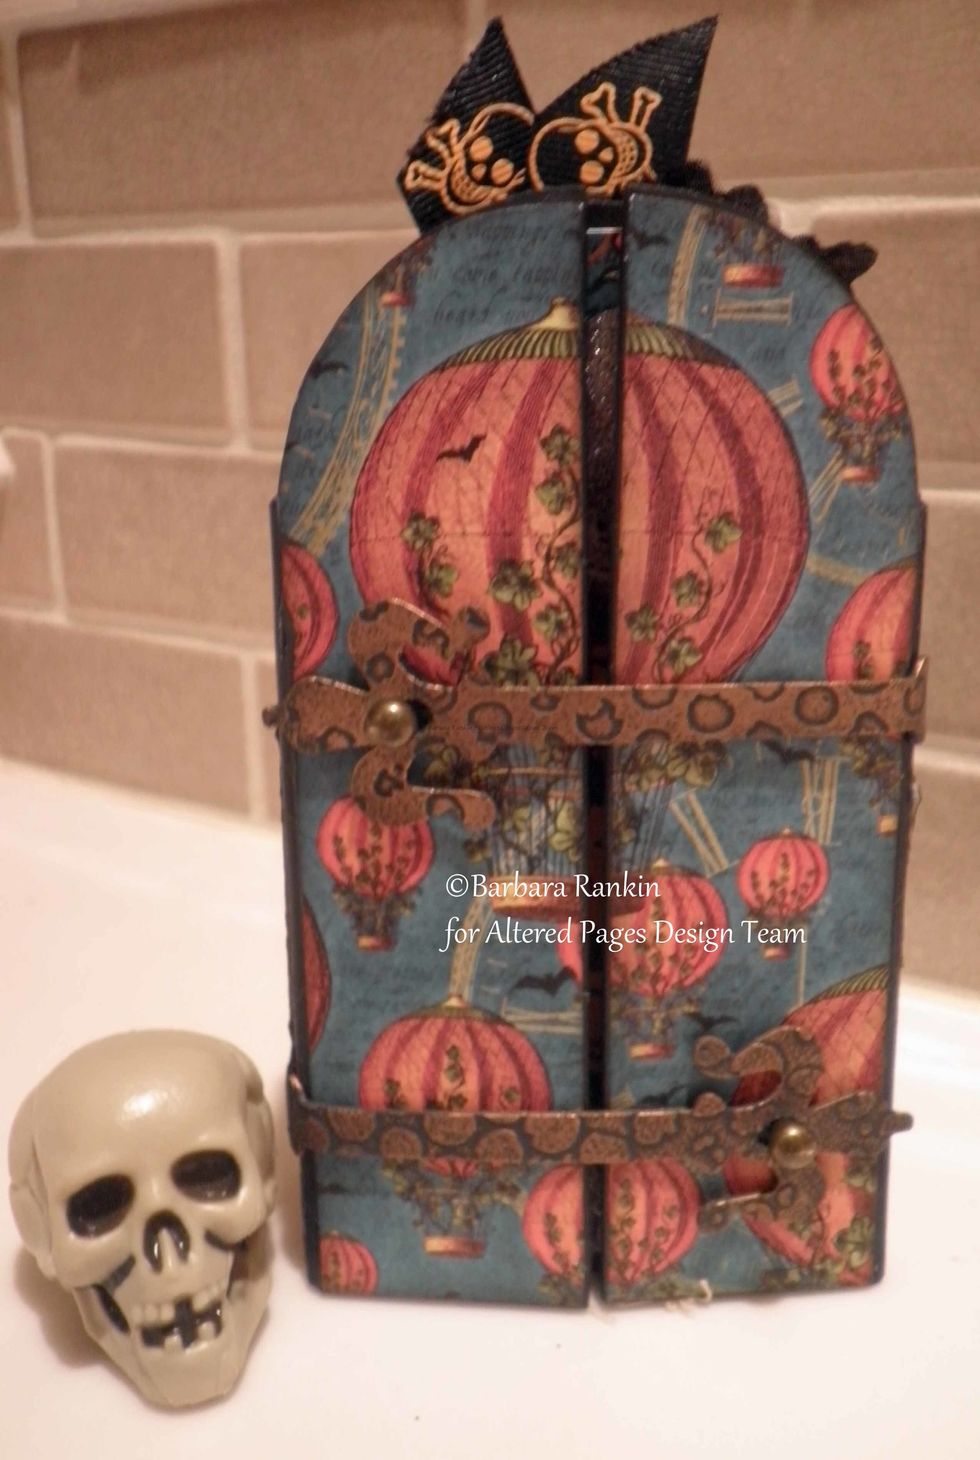
Front Book cover: As you can see, the hardware hinges are now taught from the addition of embellishments, but check the fit as you decorate to make sure you can still close your book.
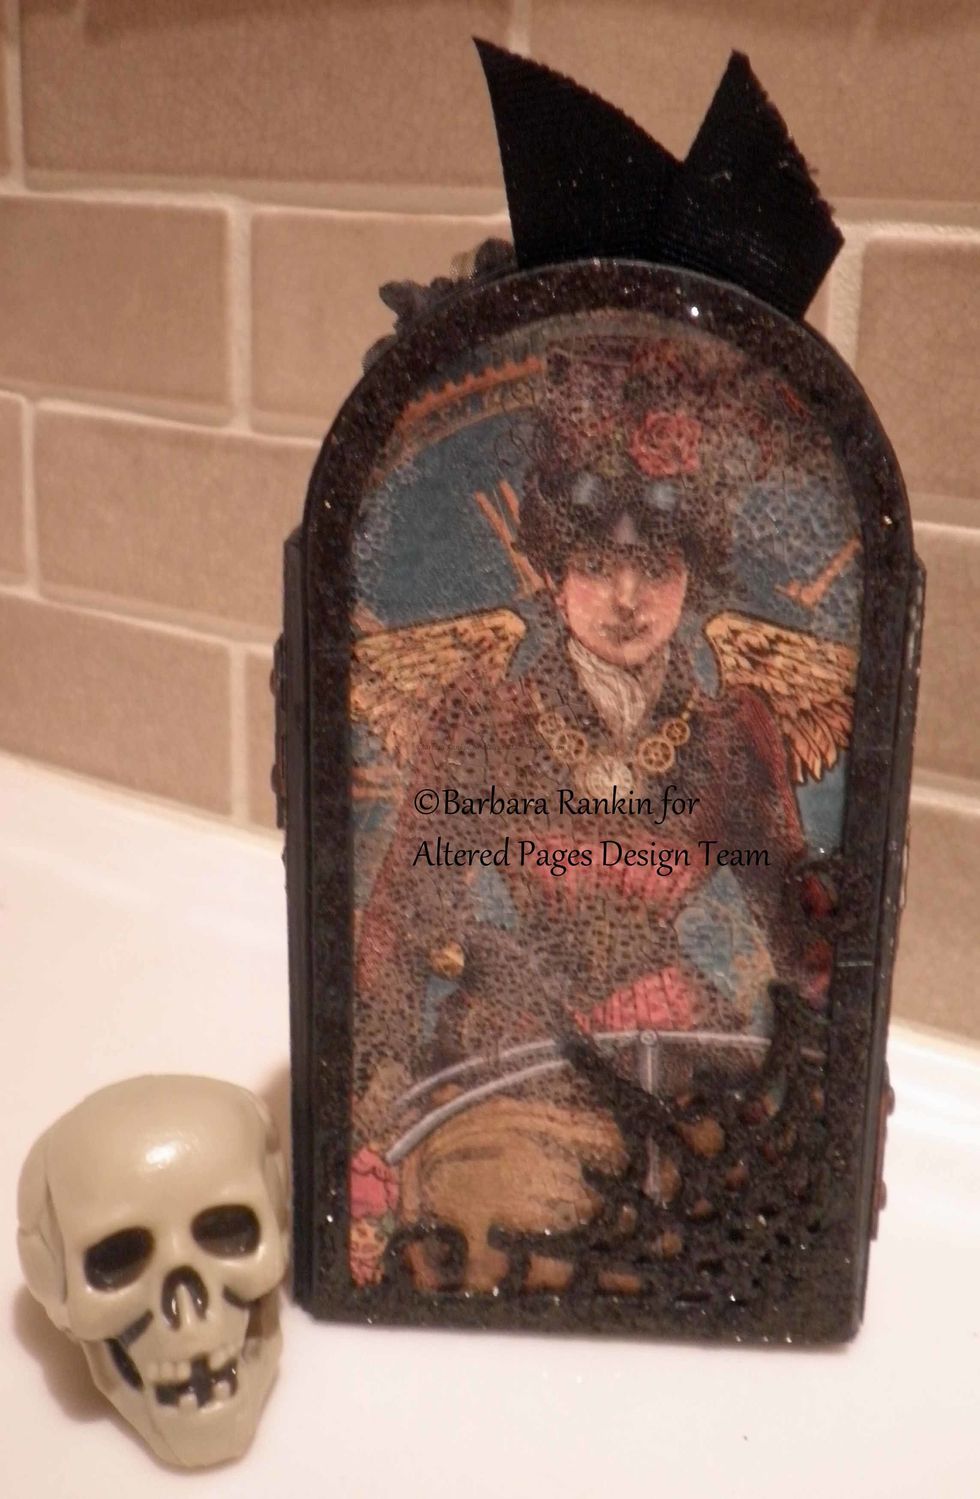
Back book cover: And here she is, all finished.
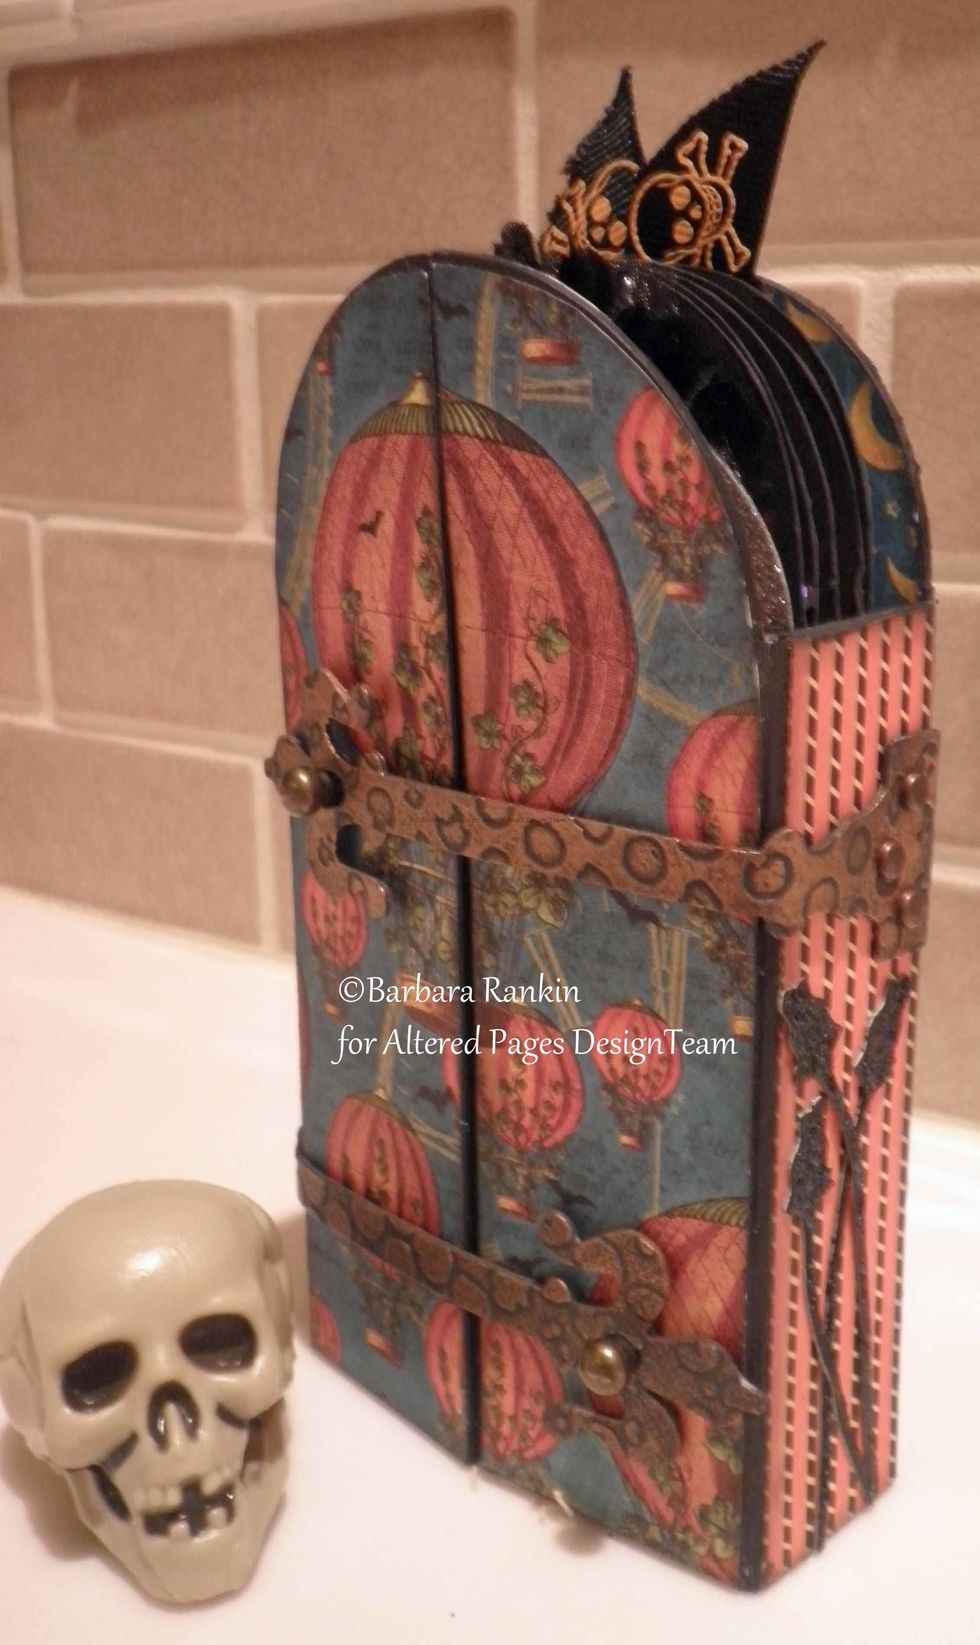
Front and side view. I added a few more of those black die cut and glittered roses. I do love them for Halloween!
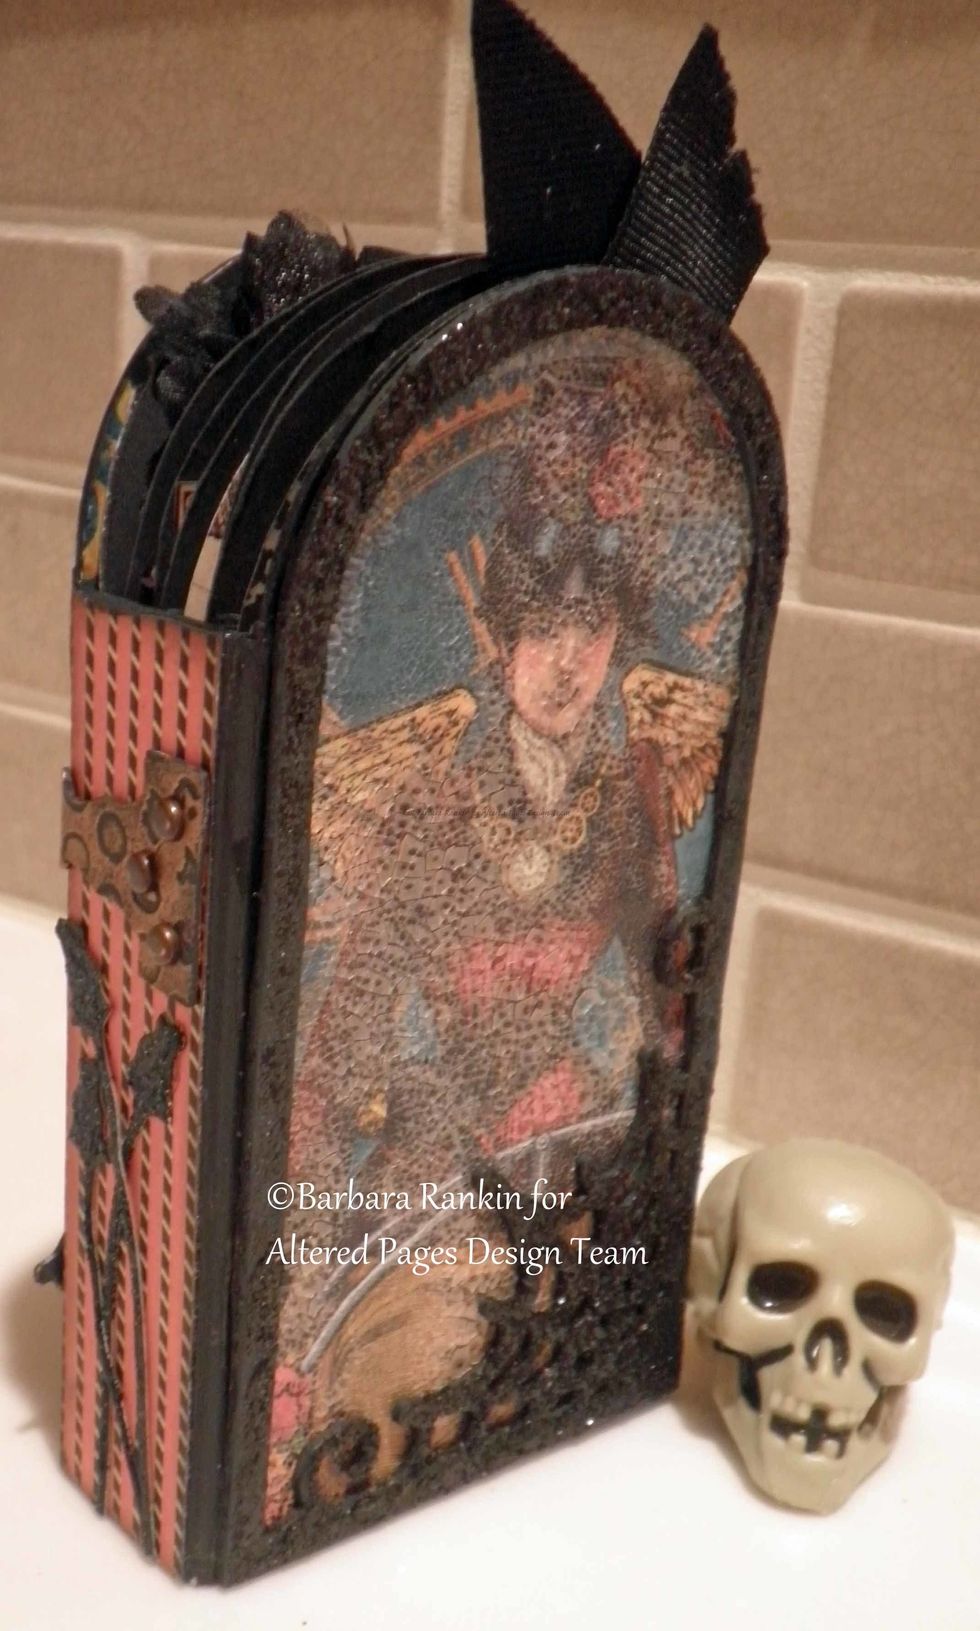
And a view of the back and side.