The Conversation (0)
Sign Up
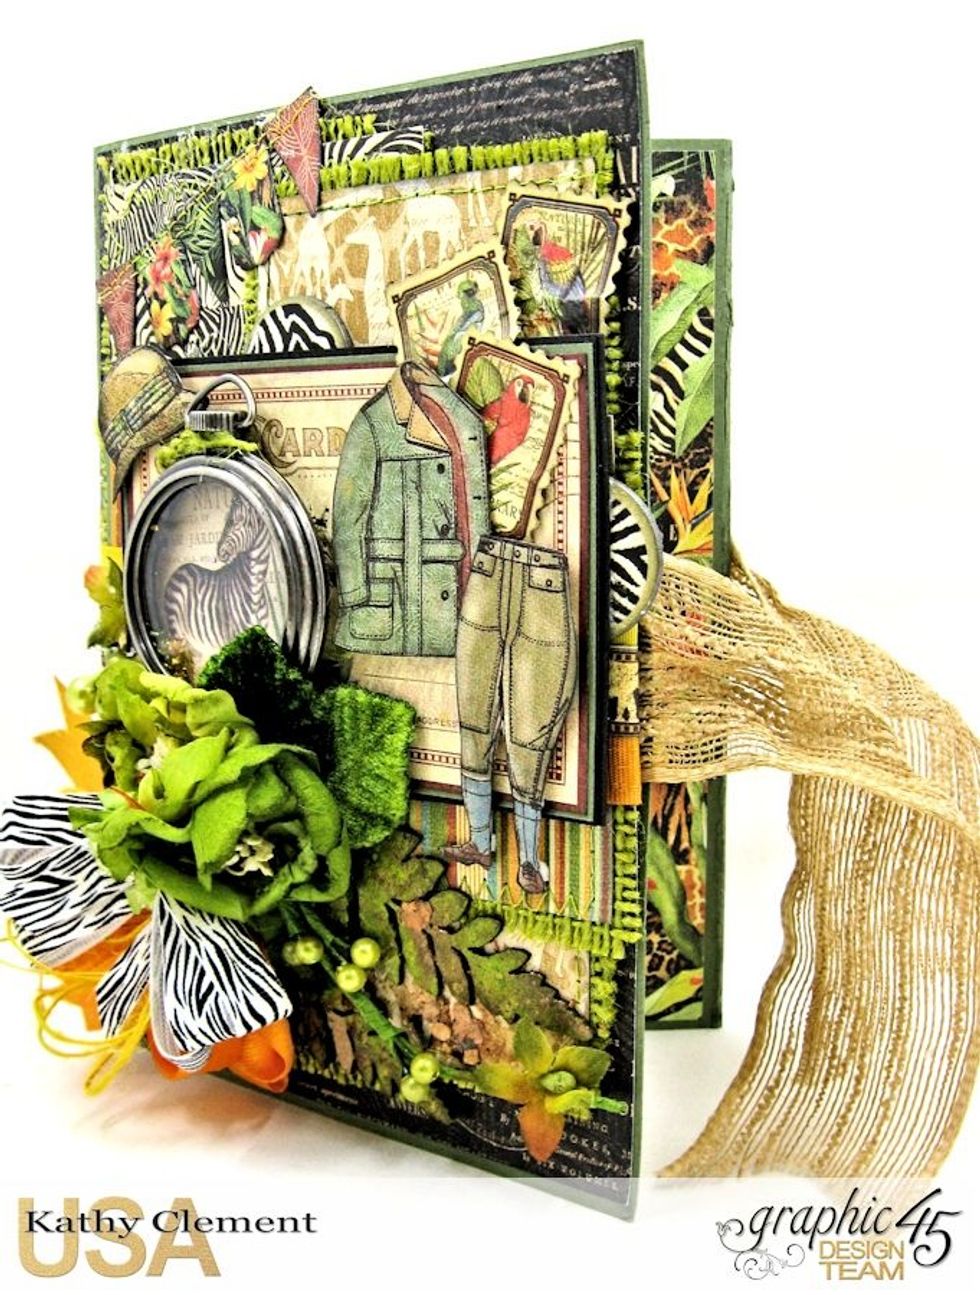
This trifold album is made by overlapping two card bases. It has a ribbon closure, a waterfall folio, pockets and loads of room for journaling. I will show you the completed album, then the steps.
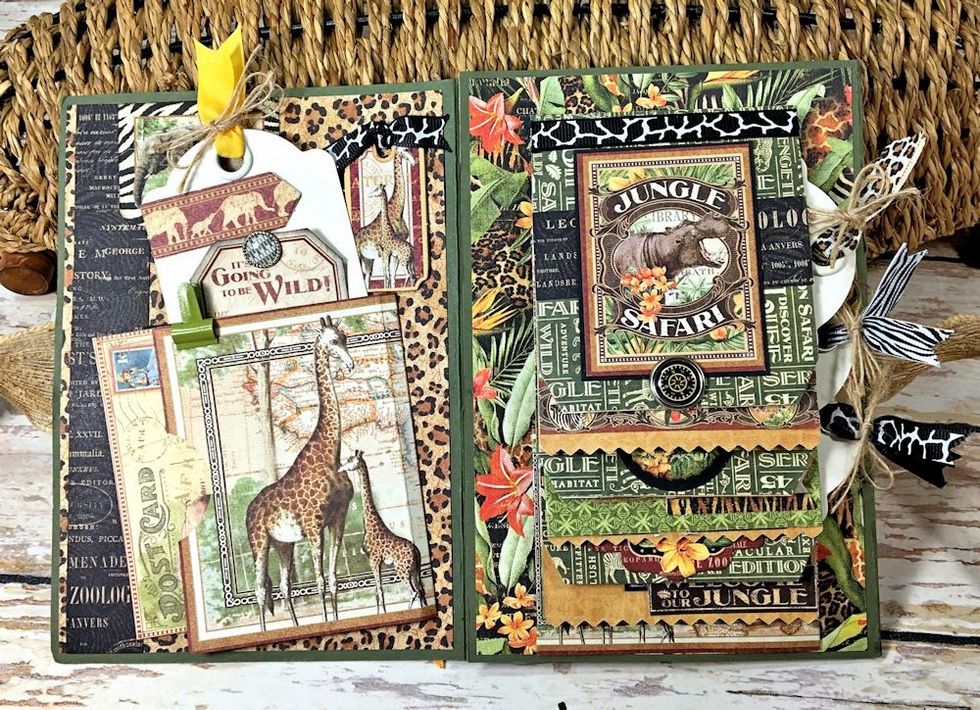
This is the first page spread. The page on the left has a flip out with pockets. The page on the right is a waterfall folio with room for wallet sized photos. The album measures 5" wide by 7" tall.

This is the album fully opened. There is a pocket page in the center, and a larger photo page on the right with hidden pockets behind the photo.
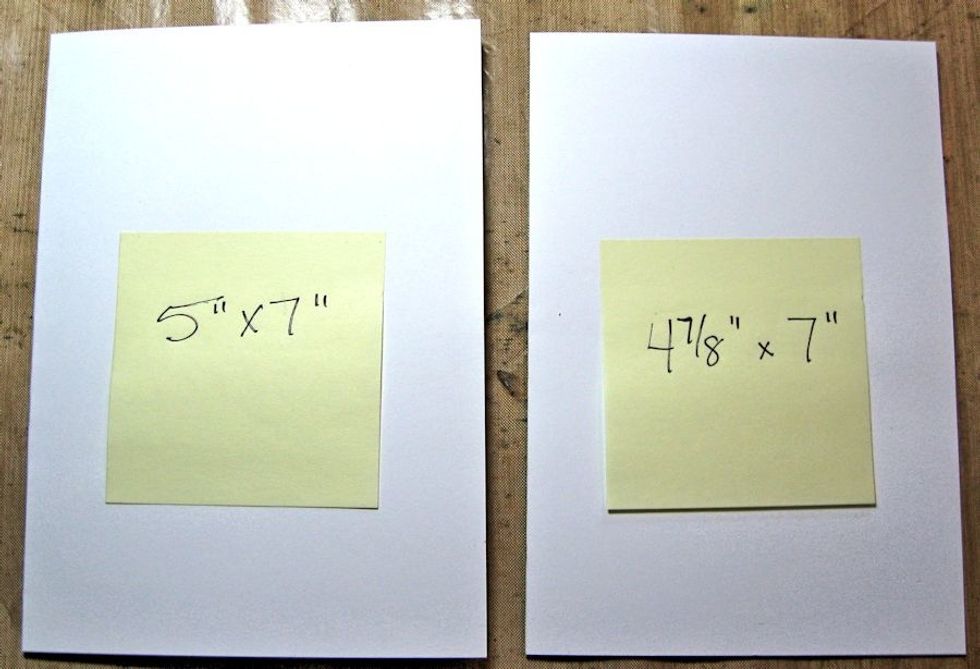
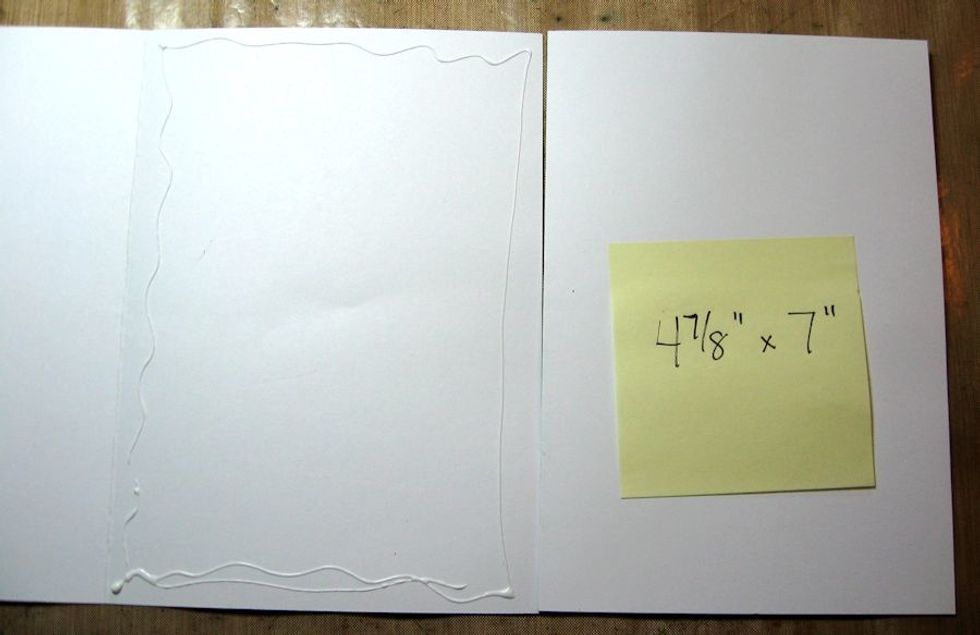
I'm using white paper for better visibility. Cut two card bases: one measures 5" wide x 7" tall. The other measures 4 7/8" wide x 7" tall.
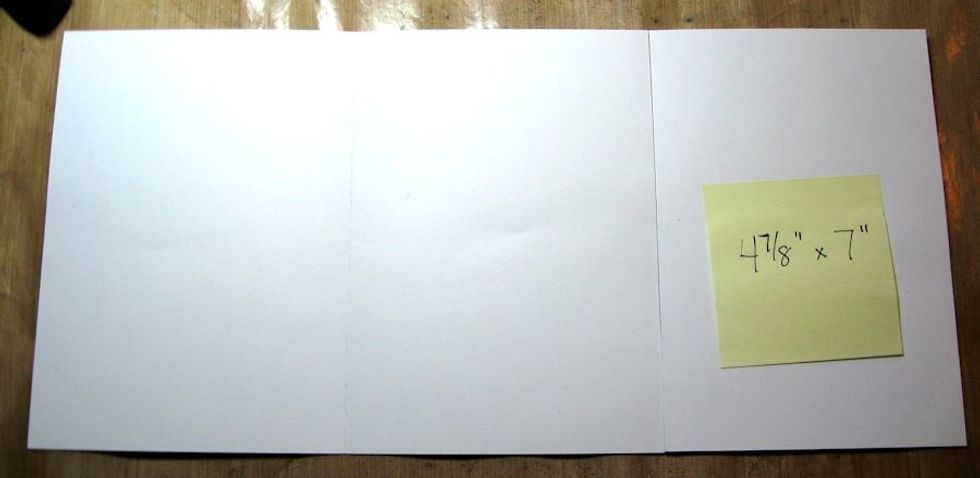
Open the card bases and lay them side by side so that the narrower card is on the right. You are going to overlap the left hand panel of that card onto the right hand panel of the card on the left.
Place adhesive on the right hand side of the card on the left. Then line up the left hand side of smaller card over the adhesive so that you have about 1/8" clearance from the fold.
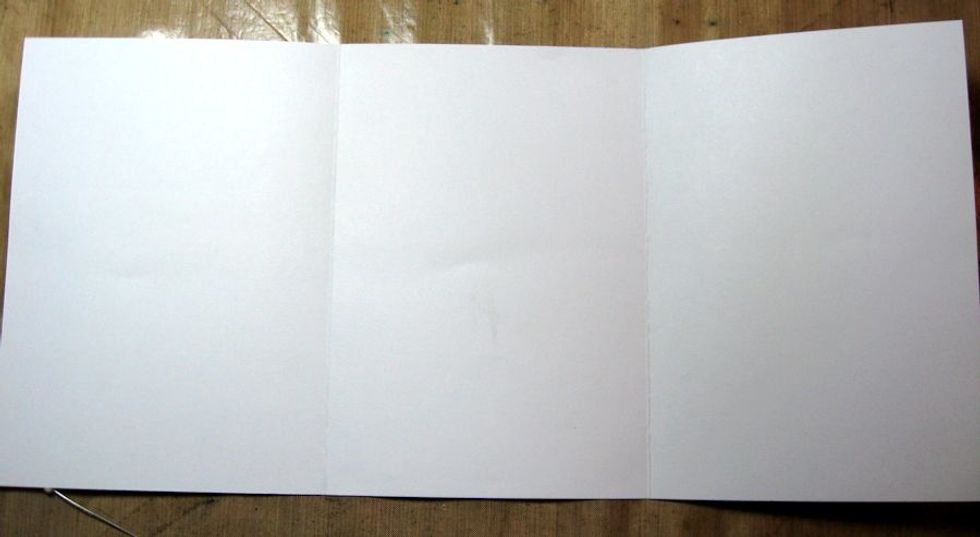
This is what your base should look like. There are 3 5" x 7" panels. The right hand panel closes over the center panel. The left hand panel closes over the top to form a booklet.

Now we will make the pocket for the inside center panel. Cut cardstock to measure 6" wide x 3.5" tall.

Place the long side on scoring tool and score at 5.8" and again at 5.5". Then turn to the short side and score in 1/2 inch on the bottom.
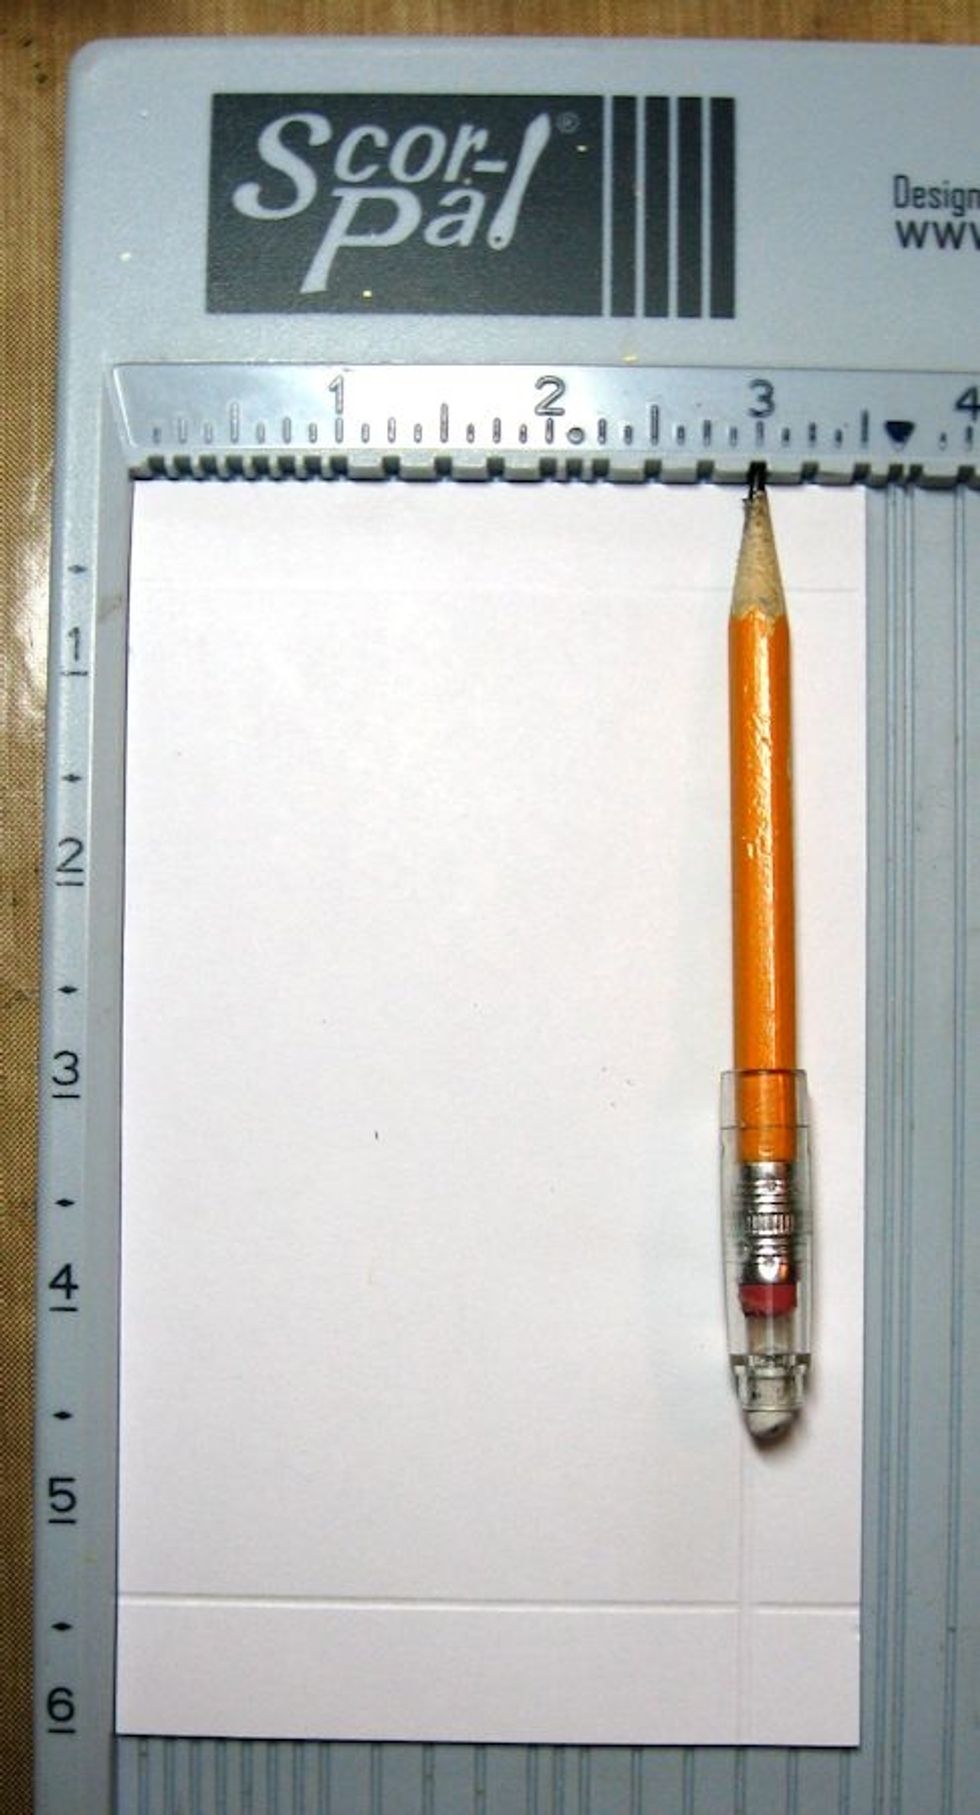
Turn 90 degrees and score at 3".

This is the back side of the pocket. Use a circle punch on the top (unfolded) edge to make a thumb hole. Bevel the bottom edge as seen here. Then add adhesive to seal the corners and form a pocket.
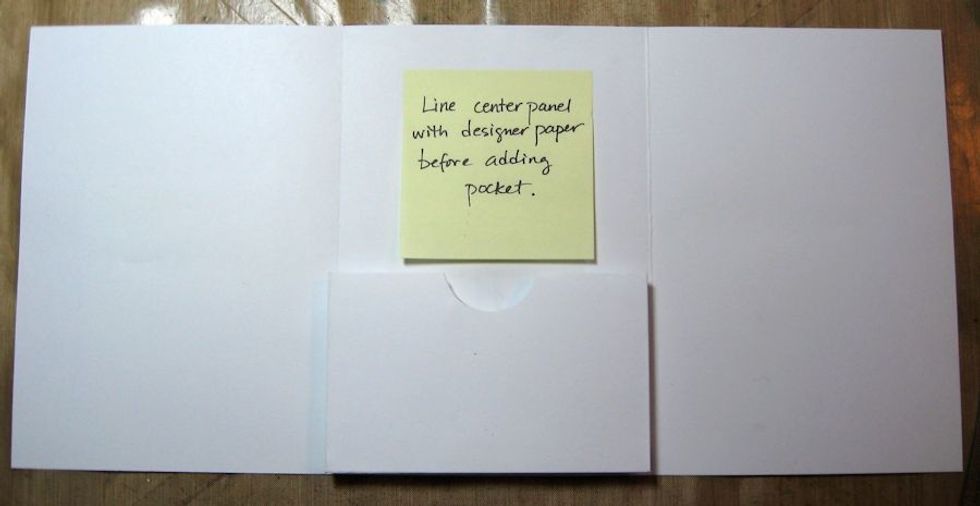
This is where you will place the pocket. Line the center panel with designer paper first. Line pocket front with patterned paper. Then glue the sides and bottom of the pocket. Center & glue in place.
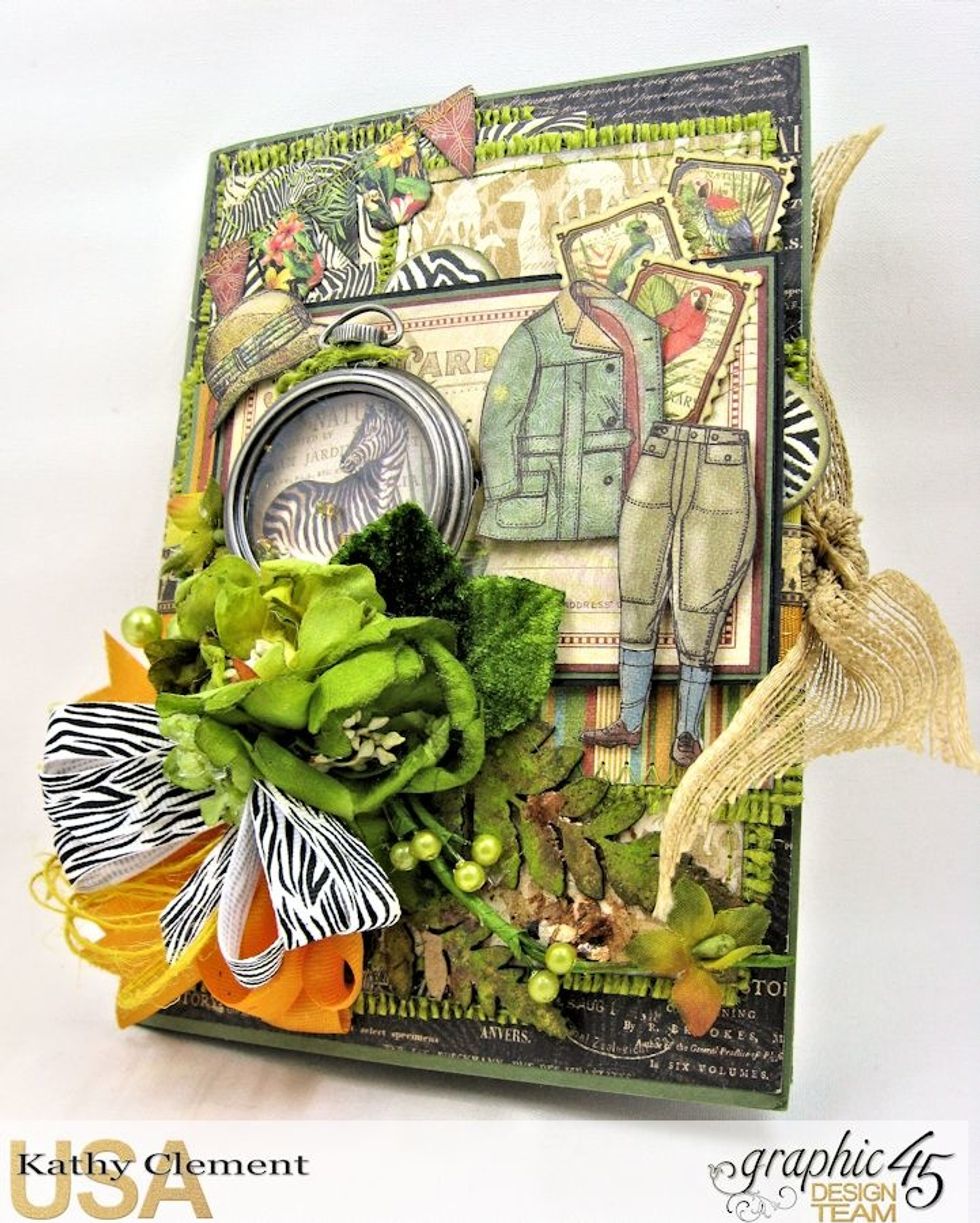
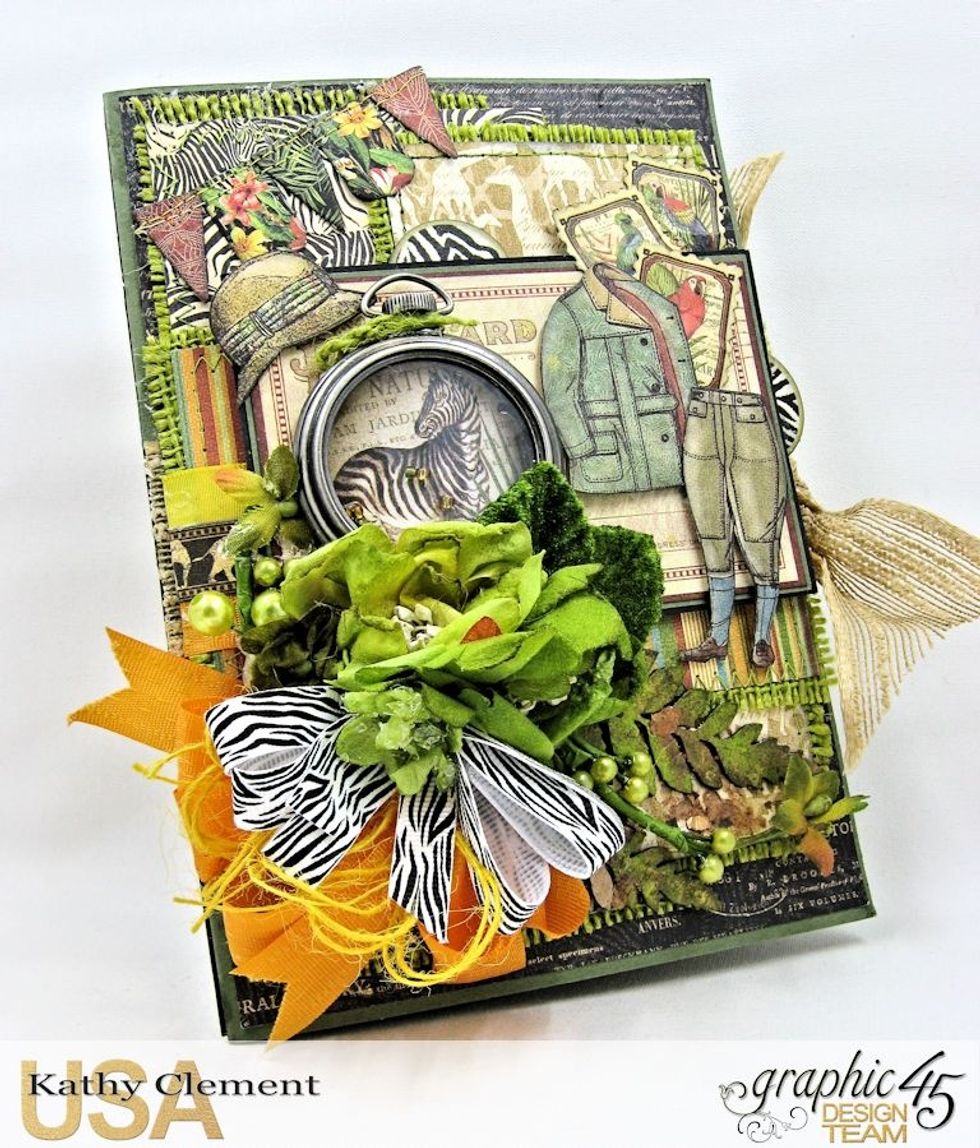
Now we will decorate the album cover. Complete the front cover panel before gluing in place. Ready? Let's go!
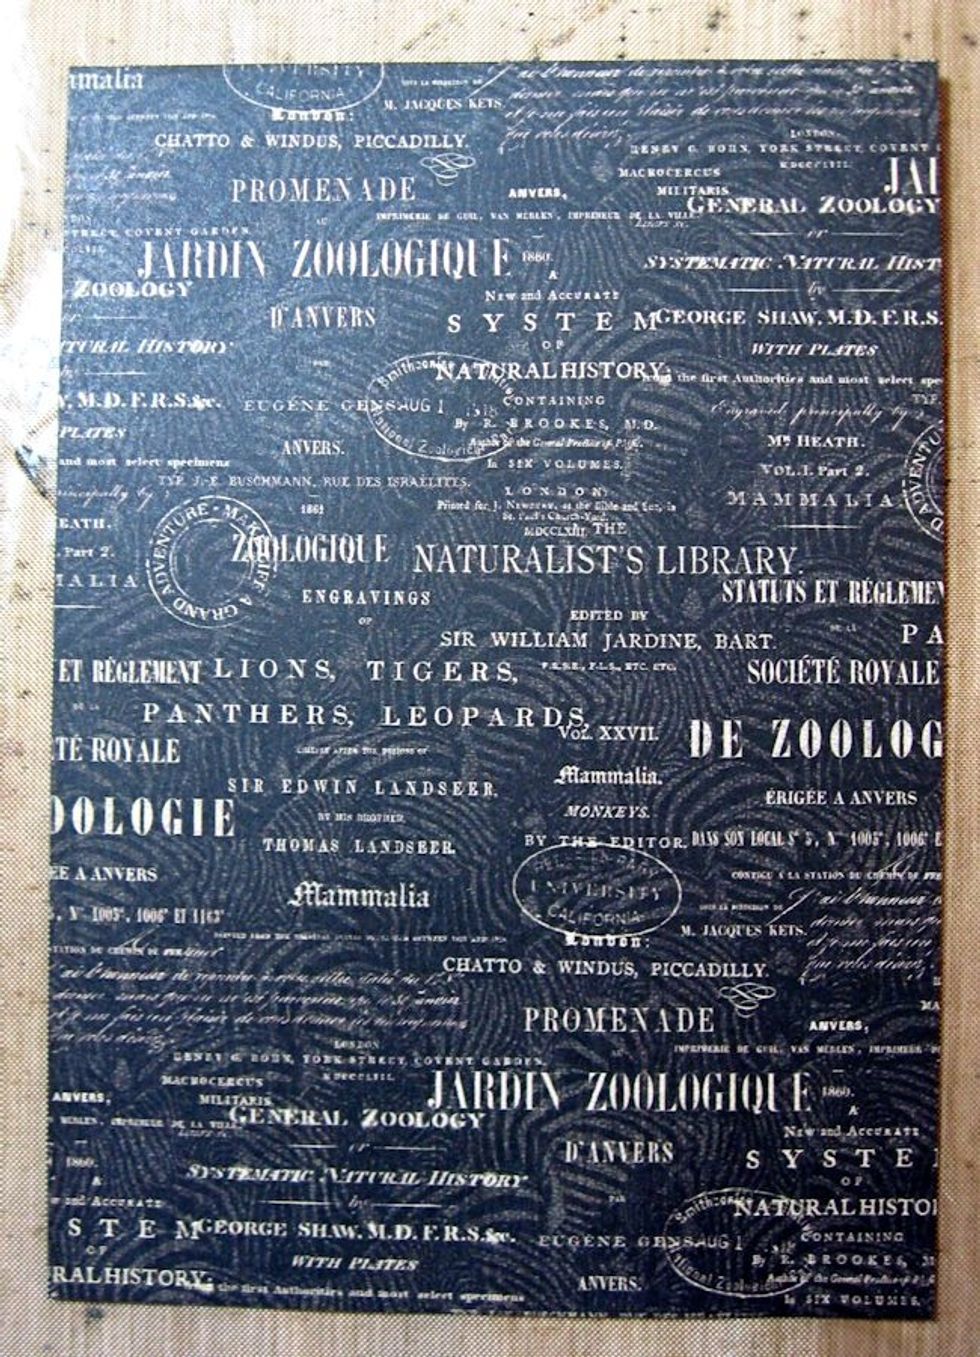
Cut a 4.75" 6.75" panel of Natural Habitat paper from the 8x8 pad. Ink all edges of all cut papers with Black Soot Distress Ink unless otherwise instructed.
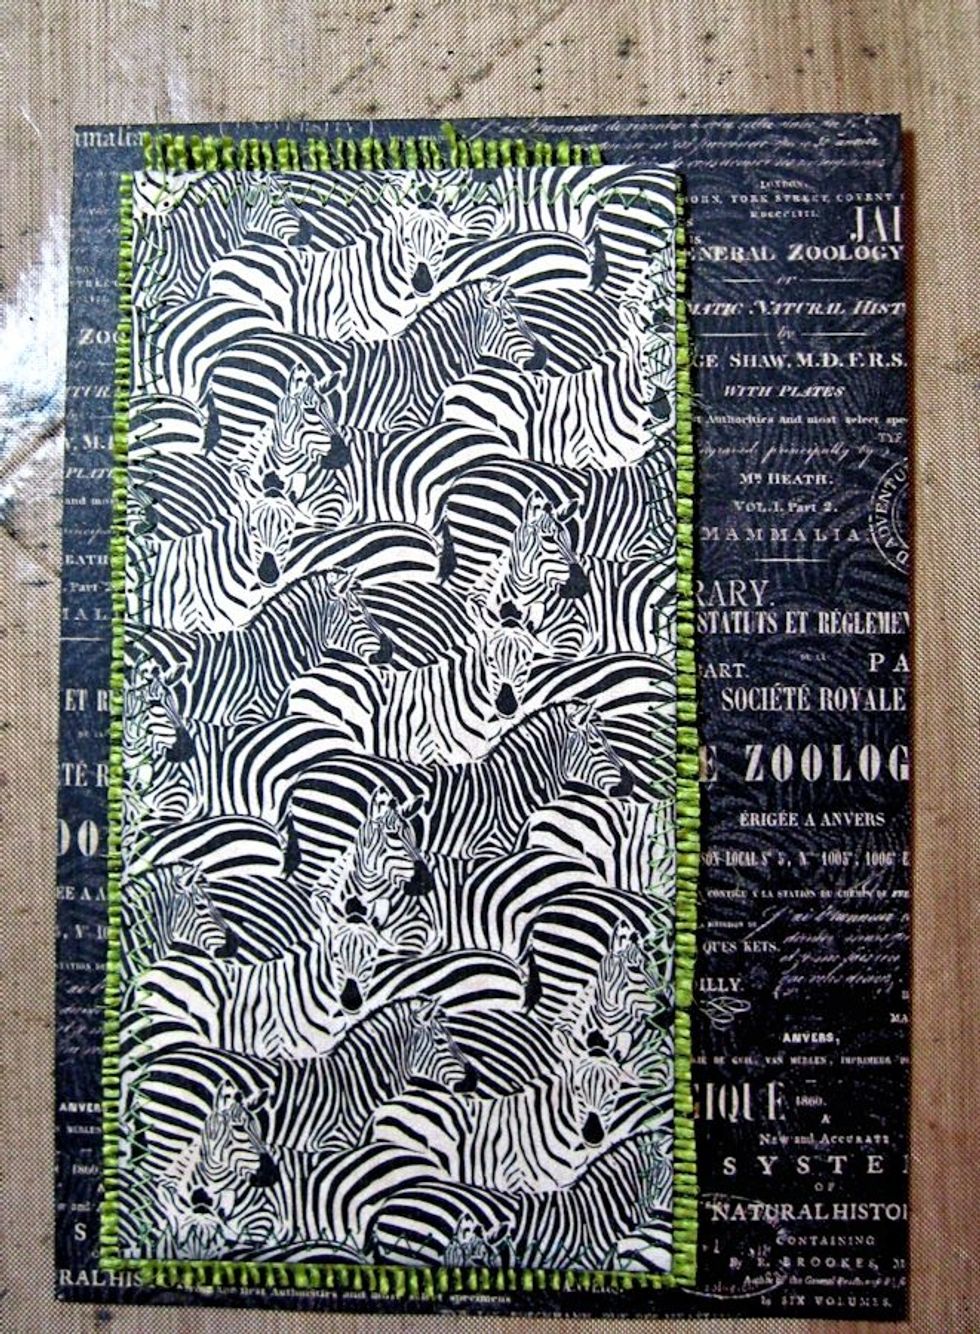
Stitch a 3" wide x 4 5?8" tall panel of Natural Habitat Zebra pattern onto green burlap. Glue in place as shown.

Cut a smaller panel of Amazing Africa Paper, stitch to green burlap and layer over the zebra paper, as seen here.
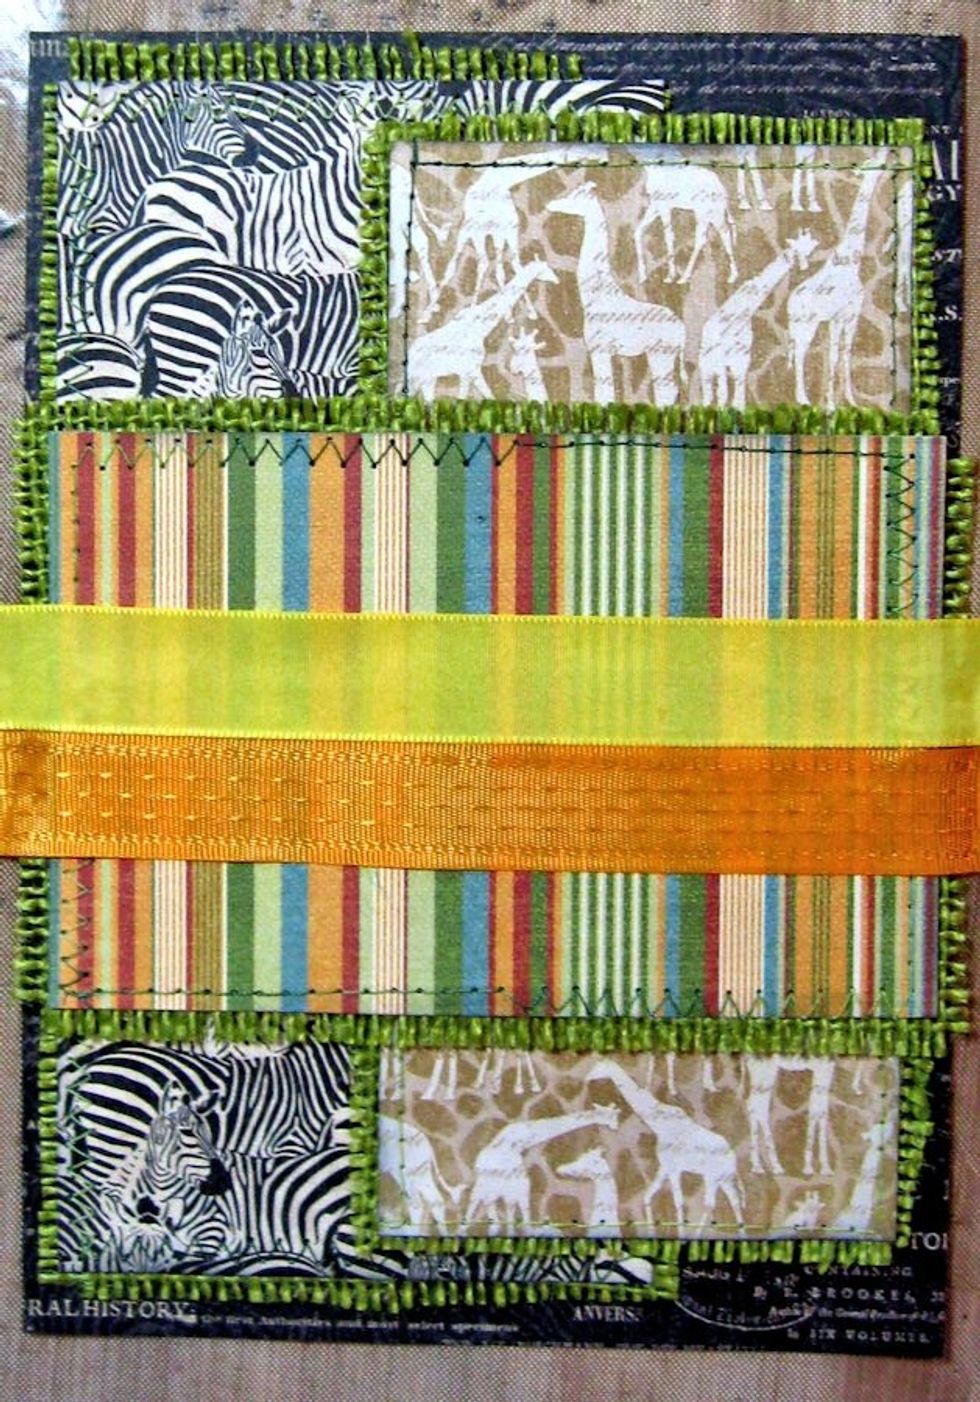
Create a 4 1/2" wide x 2.75" tall belly band with Serengeti Outfitters strip. Stitch onto green burlap. Wrap with Maize & Tangerine Delicate stitch Satin ribbon. Glue in place as seen here.
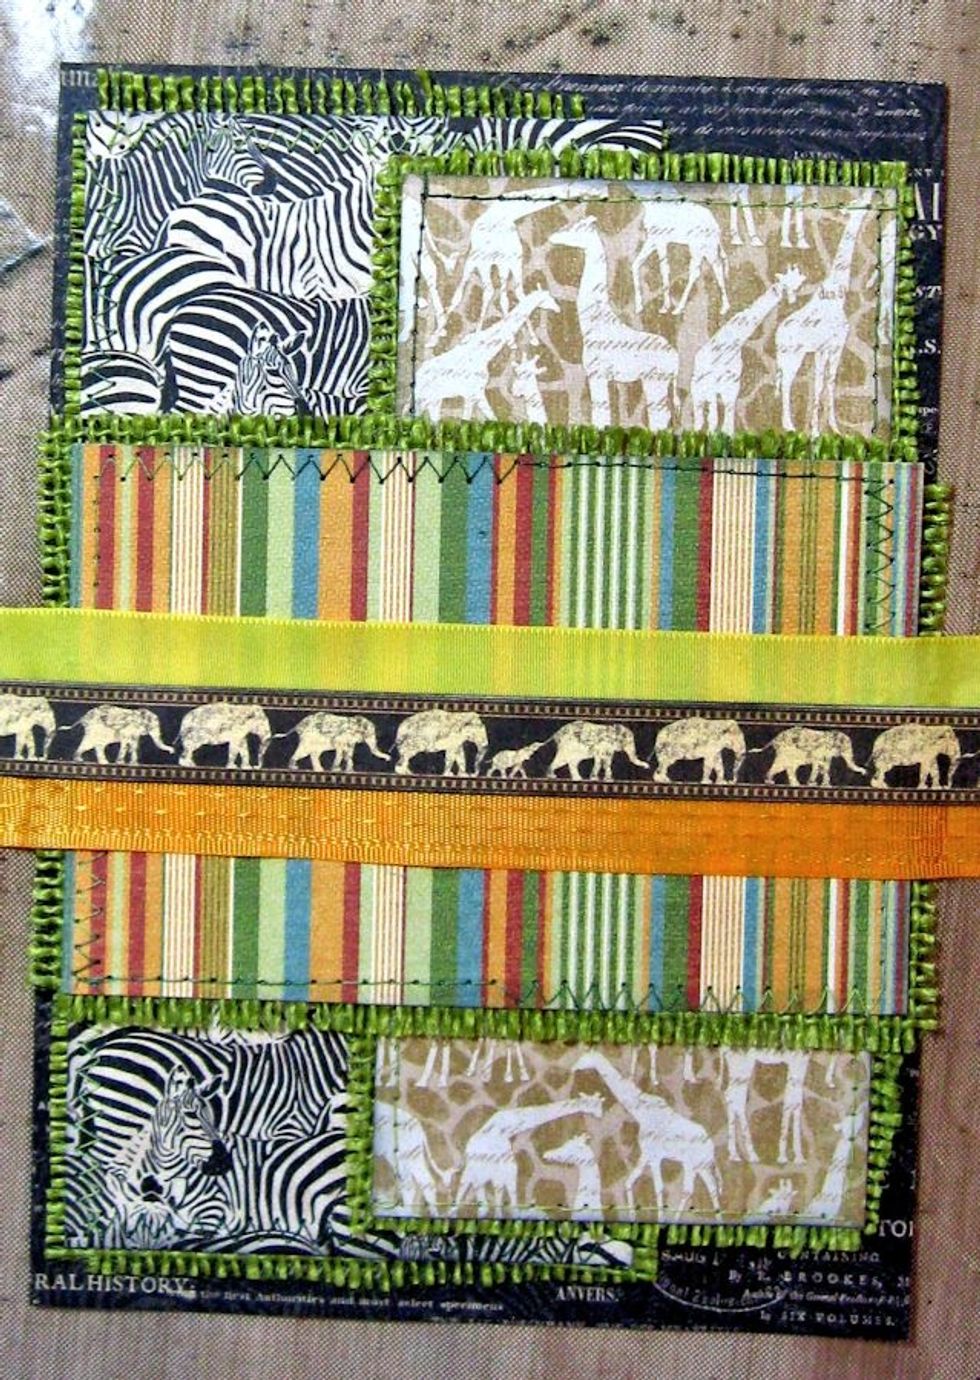
Trim elephant border from 8x8 Amazing Africa. Glue in place.
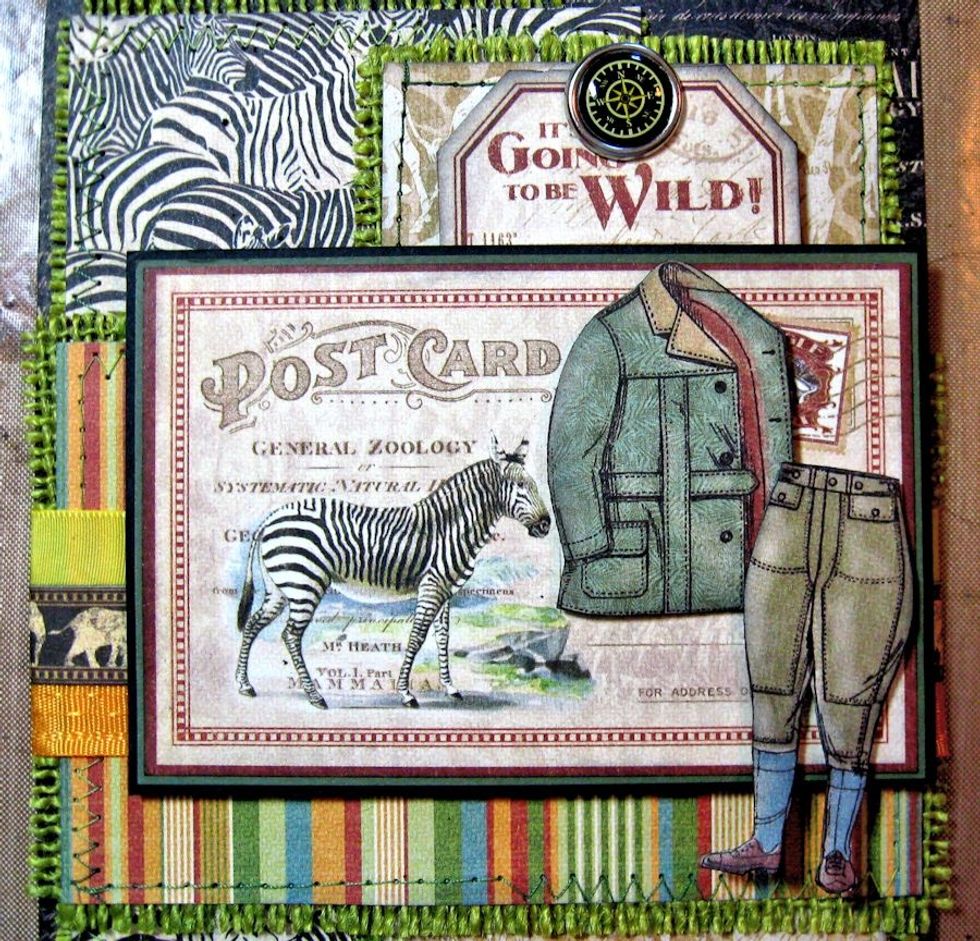
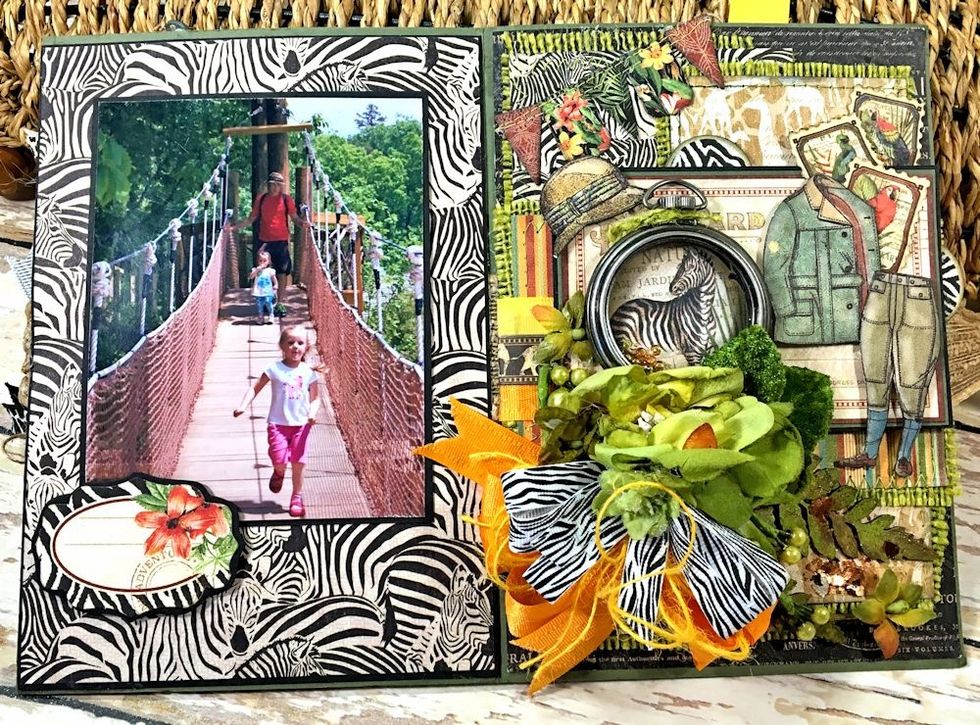
Cut post card from 8" x 8" Jungle Expedition. Mat on green and black cardstock. Fussy cut safari clothes from Serengeti Outfitters. Place on postcard as seen here.
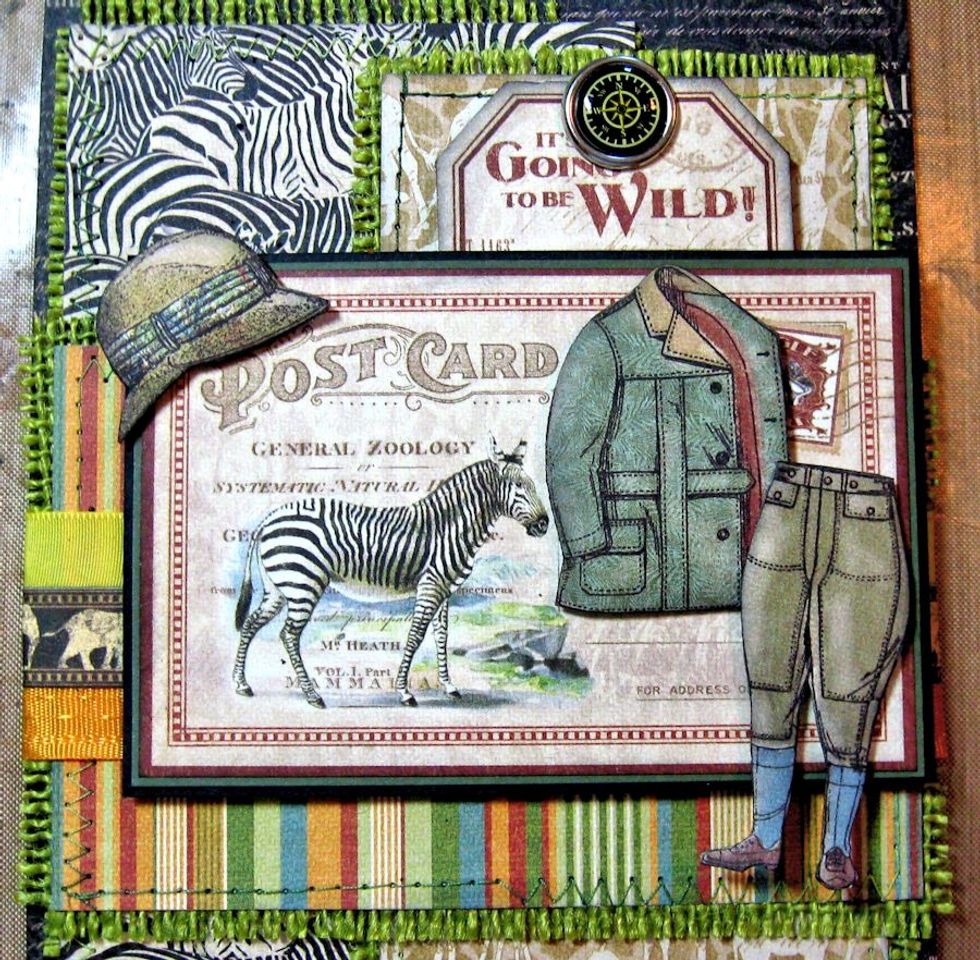
Cut tag from Jungle Expedition. Add Compass Brad to the top. Use foam adhesive to place on giraffe panel as seen here. Top with prepared postcard. Fussy cut pith helmet and secure w/ foam adhesive.

Paint GSL fern chipboard with Distress Paints (Twisted Citron, Peeled Paint, Walnut Stain.)
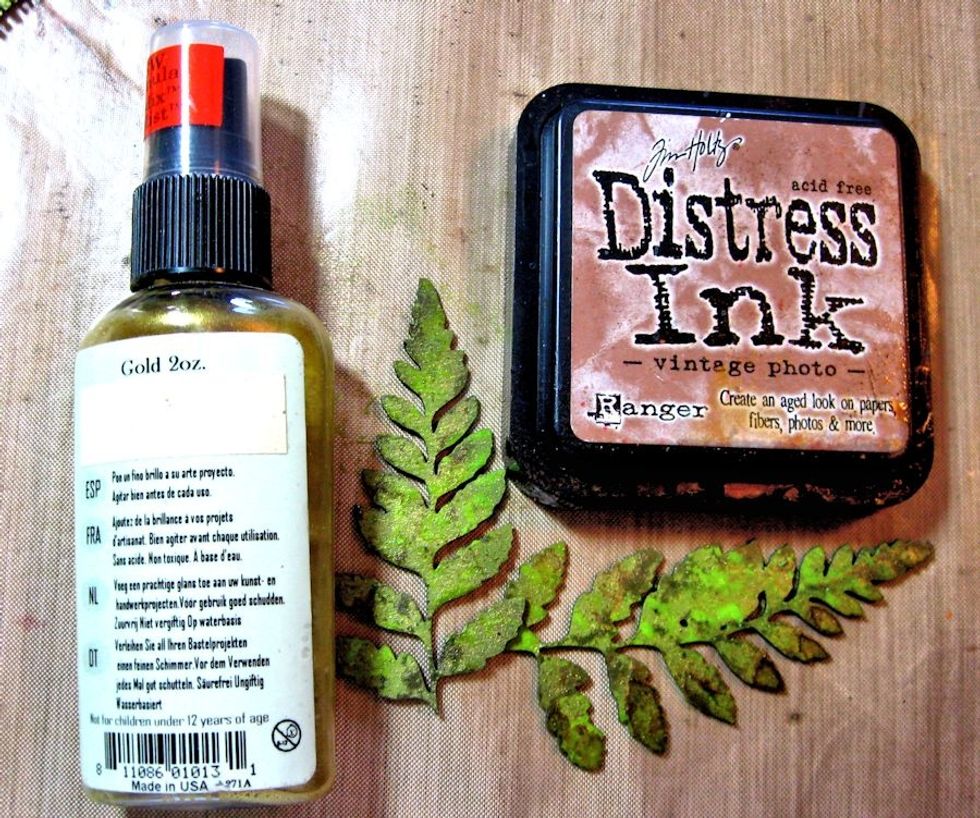
Ink Edges with Vintage Photo DI. Spritz with Tattered Angels Gold Glimmer Mist.
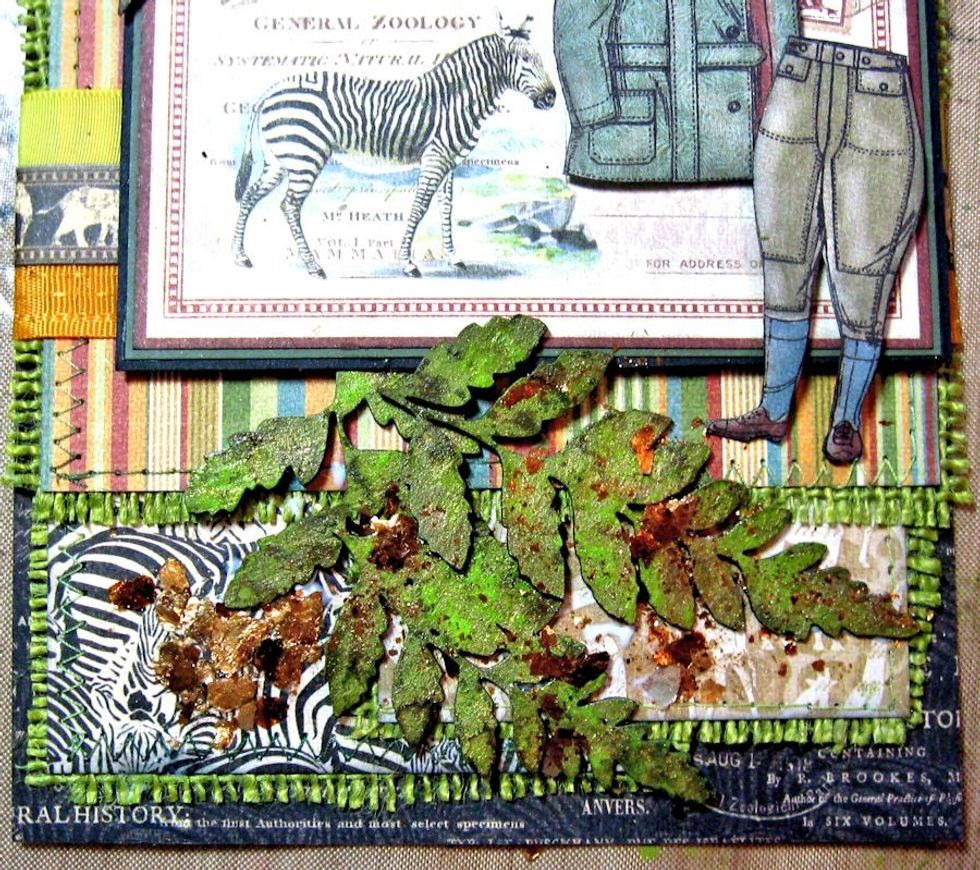
Hot glue in place, as shown. Scribble Art Institute Dries Clear adhesive randomly and add Bronze Mica Chips, as seen here.

Glue banner in upper left hand corner above the pith helmet, as seen here.
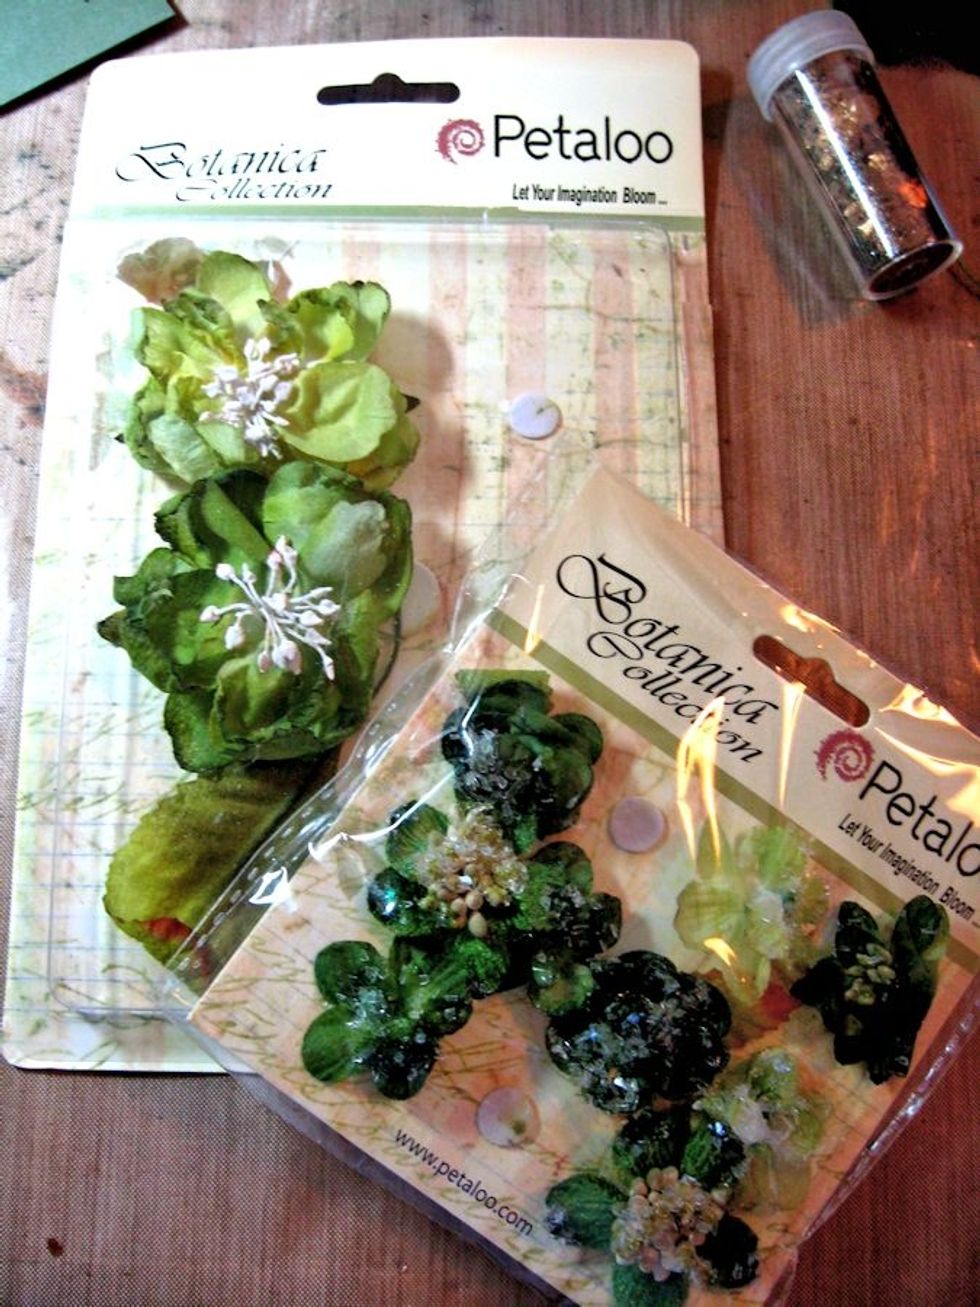
You will need these Petaloo flowers to decorate the cover.
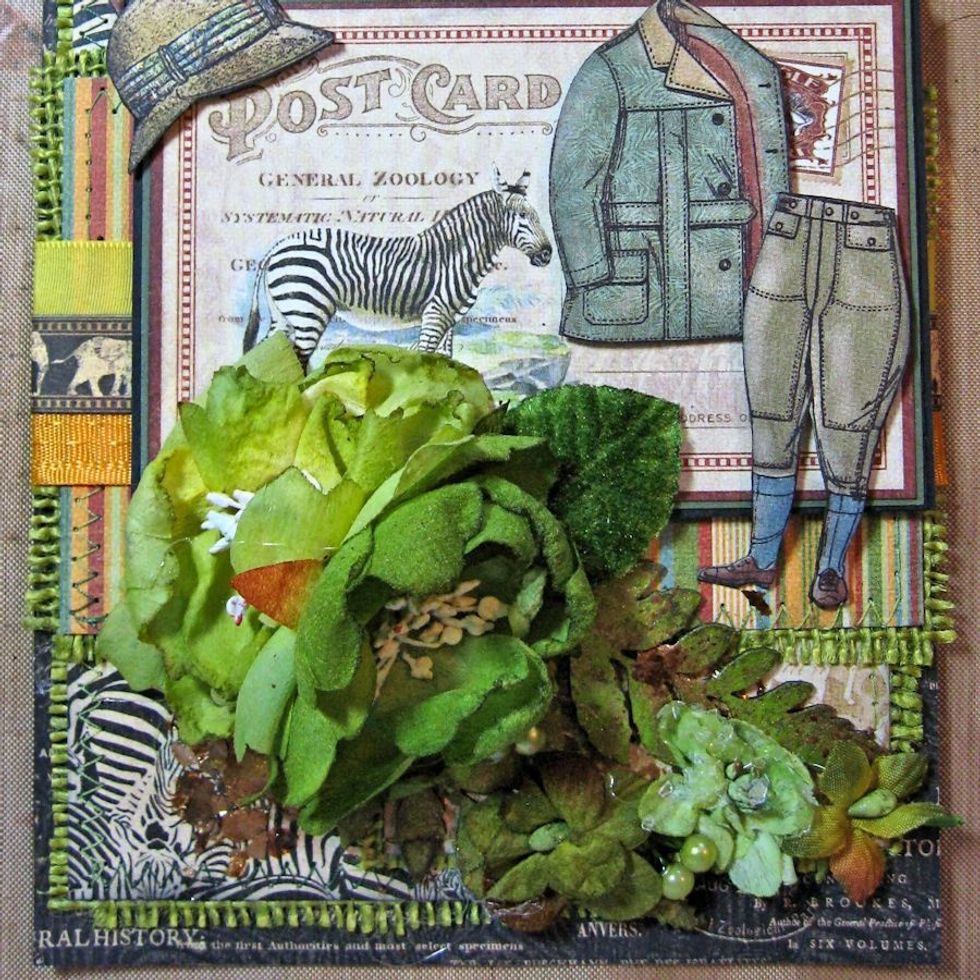
Use hot glue to secure, as seen here. Add some pearls, if desired.

Tie bows with Tangerine Delicate Stitched Satin and Zebra Print grosgrain ribbon. Add a dot of hot glue beneath the flowers and push ribbons in place with points of scissors.

Make Pocket watch: Die cut zebra image from 12x12 Safari Adventure Border. Die cut acrylic circle to fit inside frame. Glue image to bottom. Attach acrylic with Glossy Accents. Add seed beads.
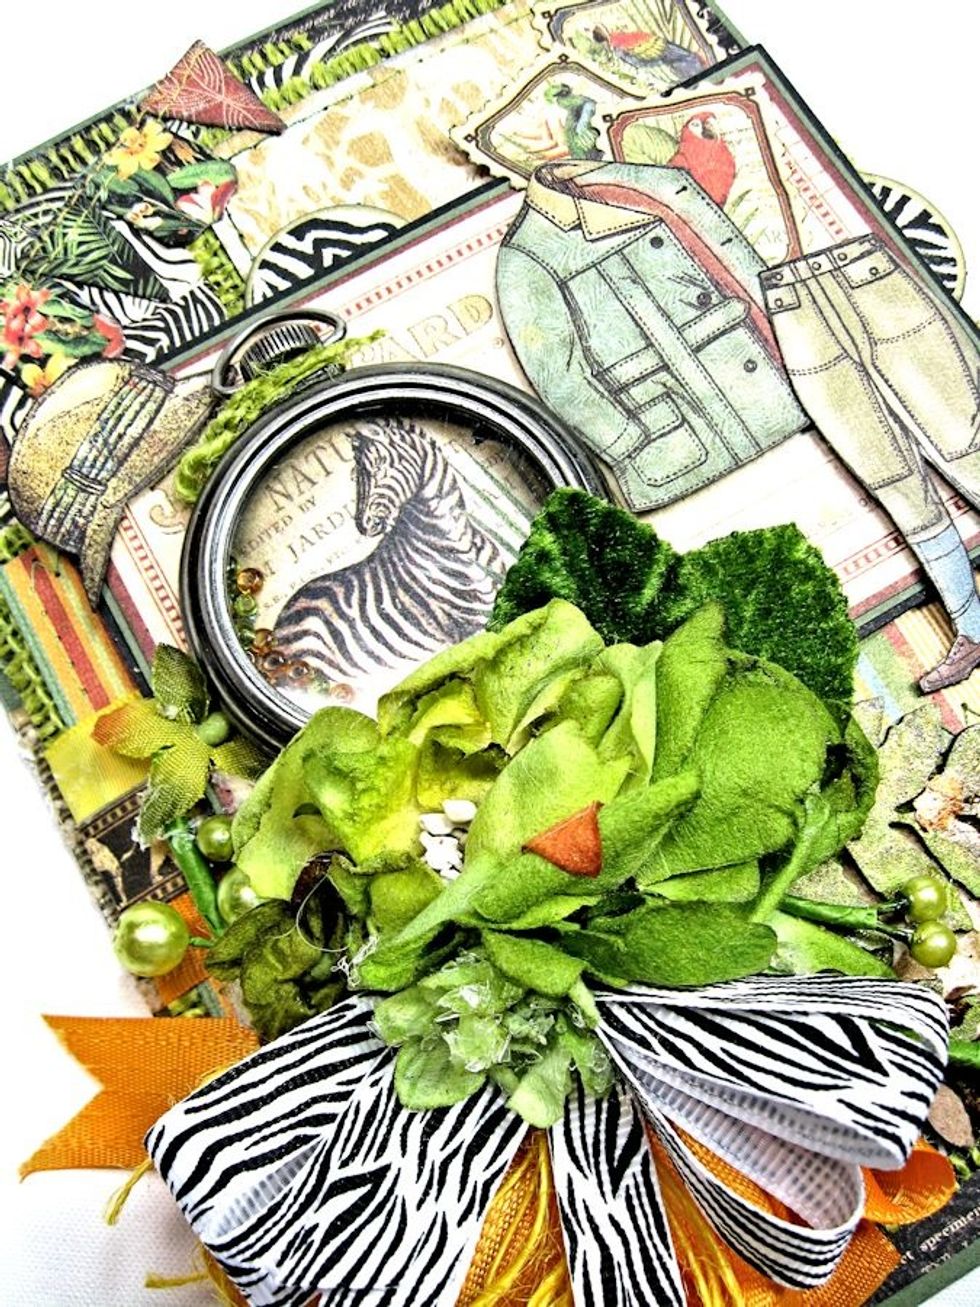
Press firmly to seal the top half tobottom half. Hot glue in place. Tie string around the stem. Wrap center of album base w. Scor-tape. Add Antique Gold ribbon. Leave enough length to tie.
Glue completed album cover to album base. Now we will decorate the inside of the album.
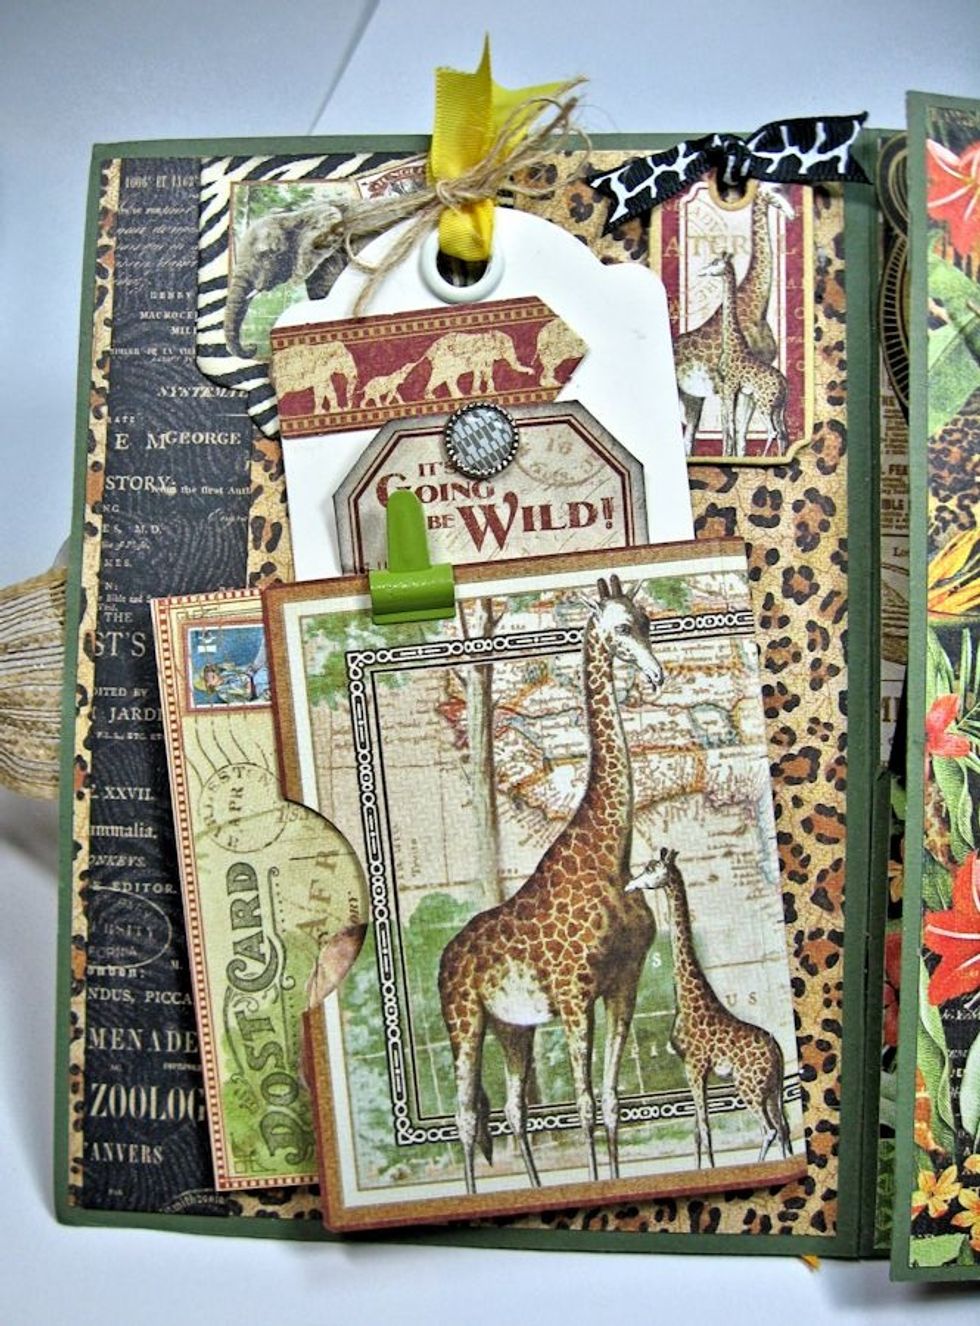
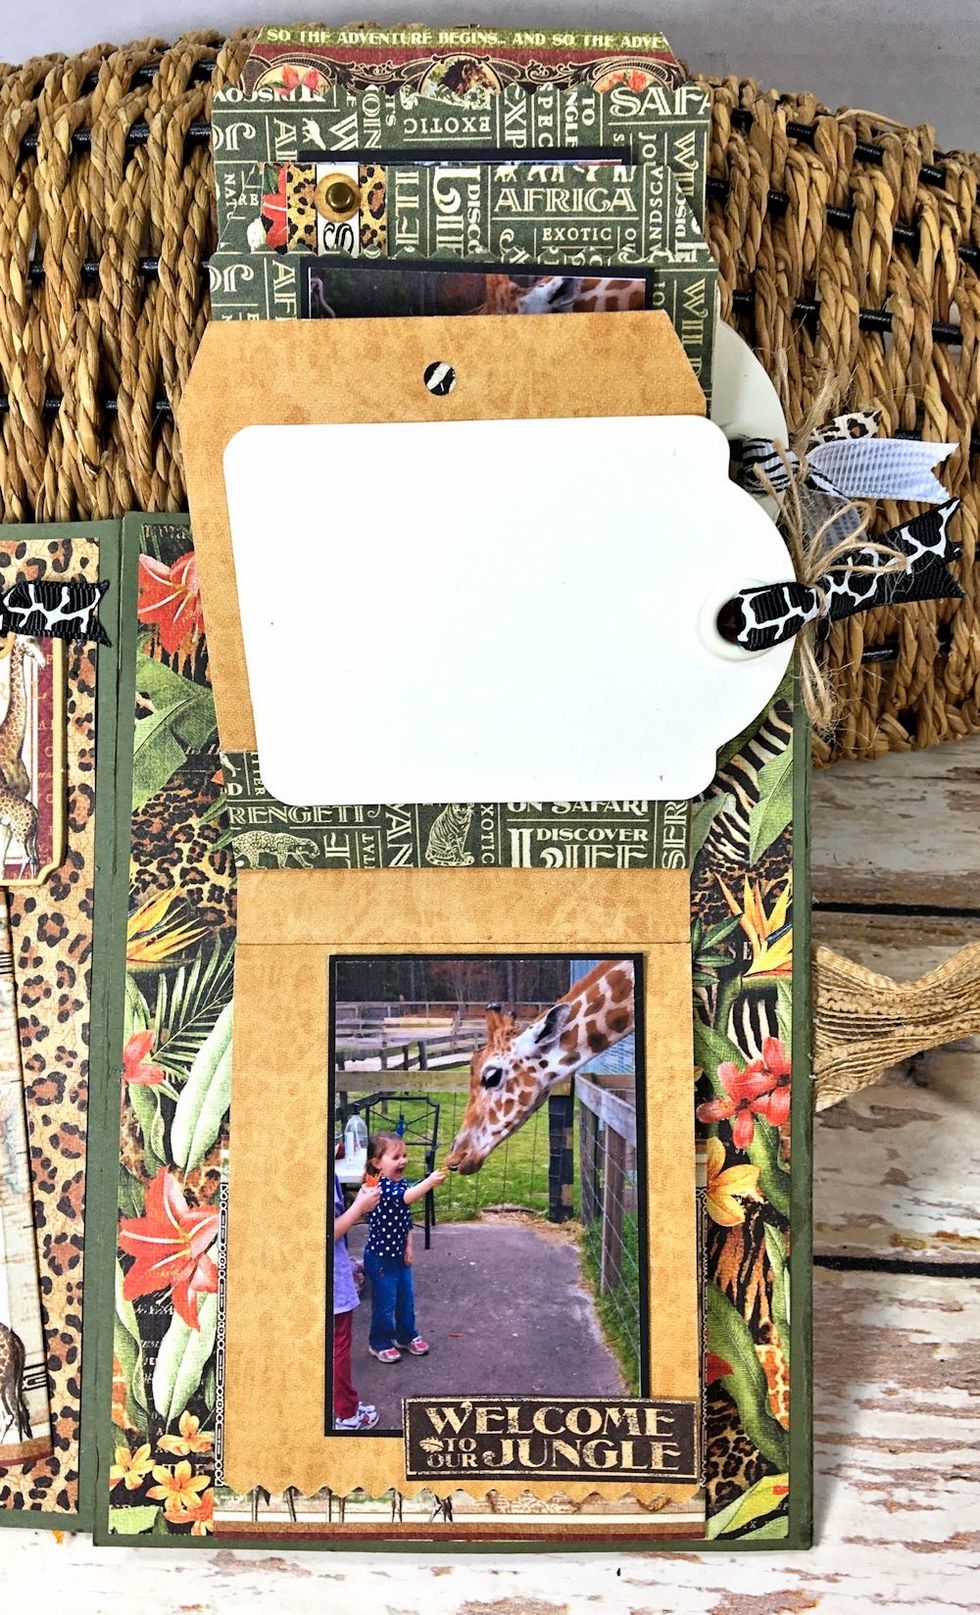
Line inside cover with patterned paper. Create fold out element by scoring a large ephemera card and punching a thumb hole. Glue in place leaving the top edge open to form pocket. Add fussy cut tag.
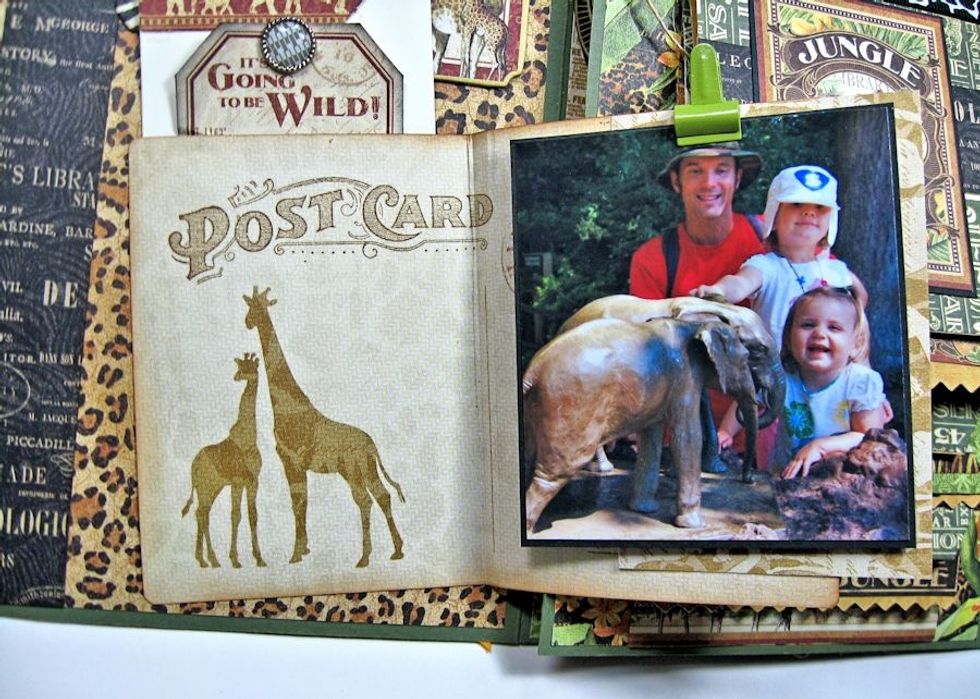
Clip photo in place. Tuck Ivory ATC tag behind the post card for journaling spot. You can add more than one photo with the clip.

Line right hand panel with designer paper. Use 12x12 Prints to die cut waterfall. Decorate and add photos.
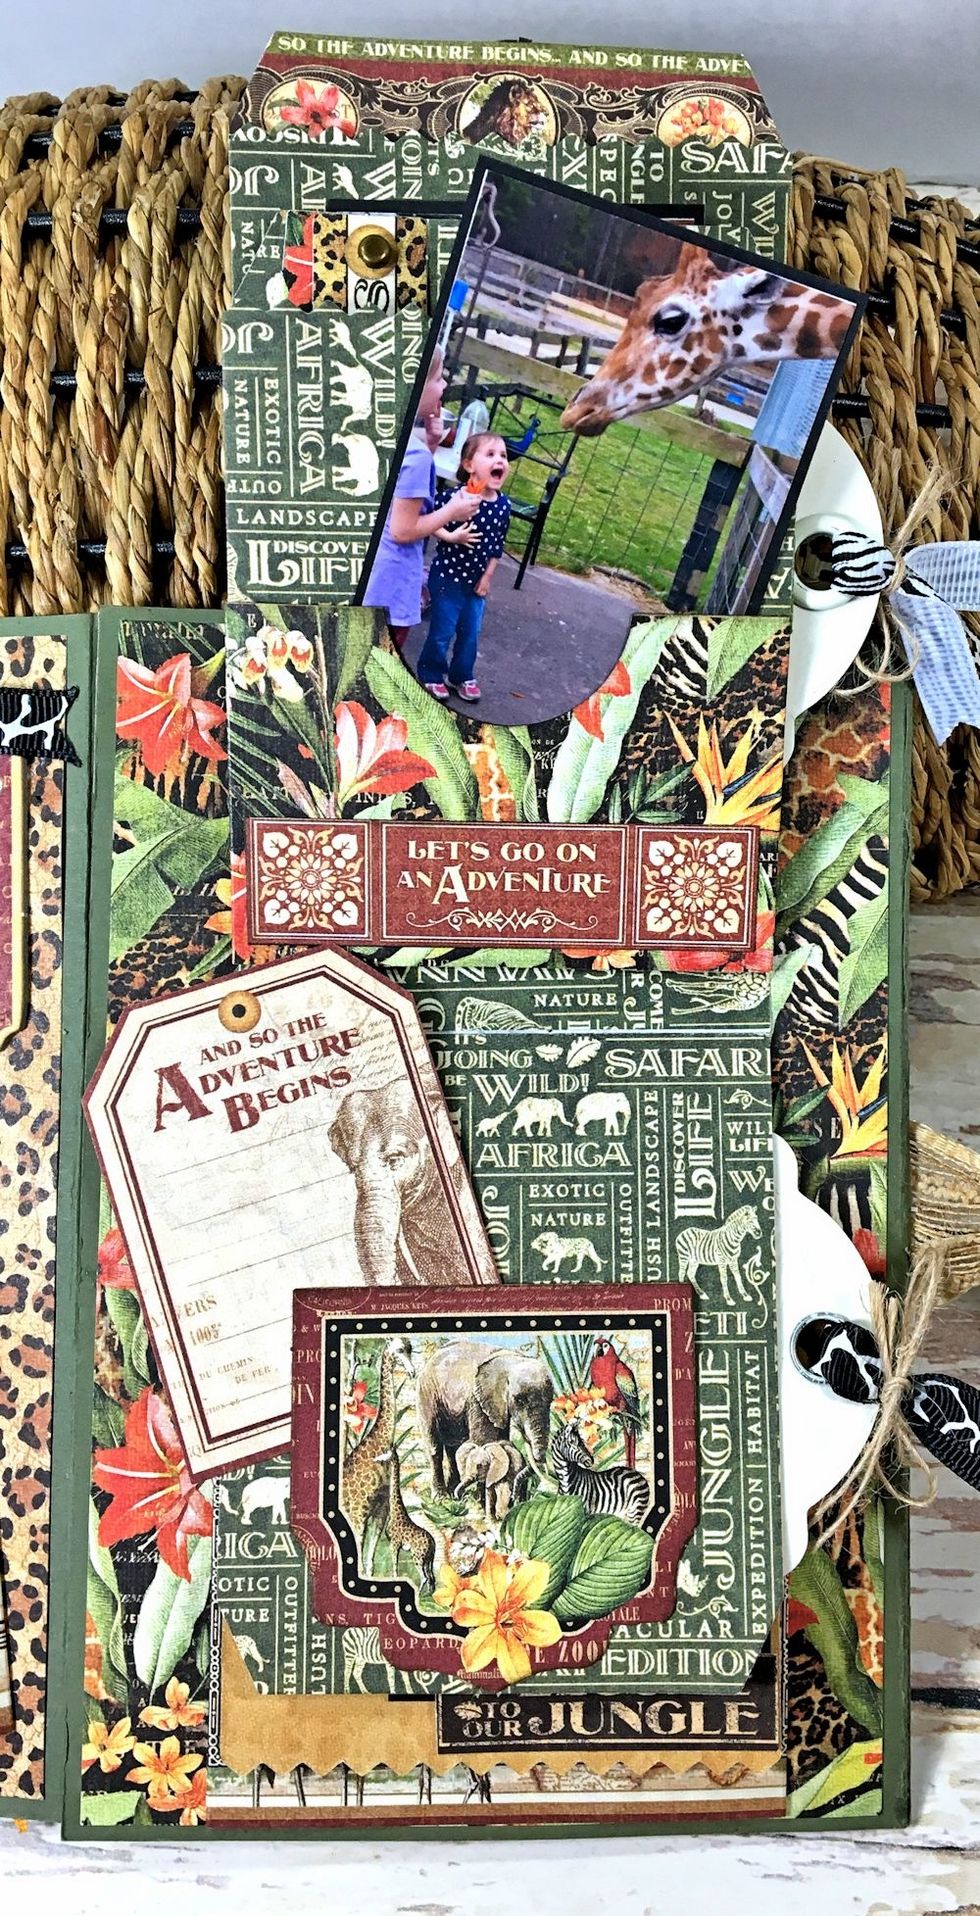
Create pockets to hold photos. Cut apart elements from tags and pockets to make small pockets for small journaling spots.
Tie ribbons through ATC tags and glue in place to create journaling spots.
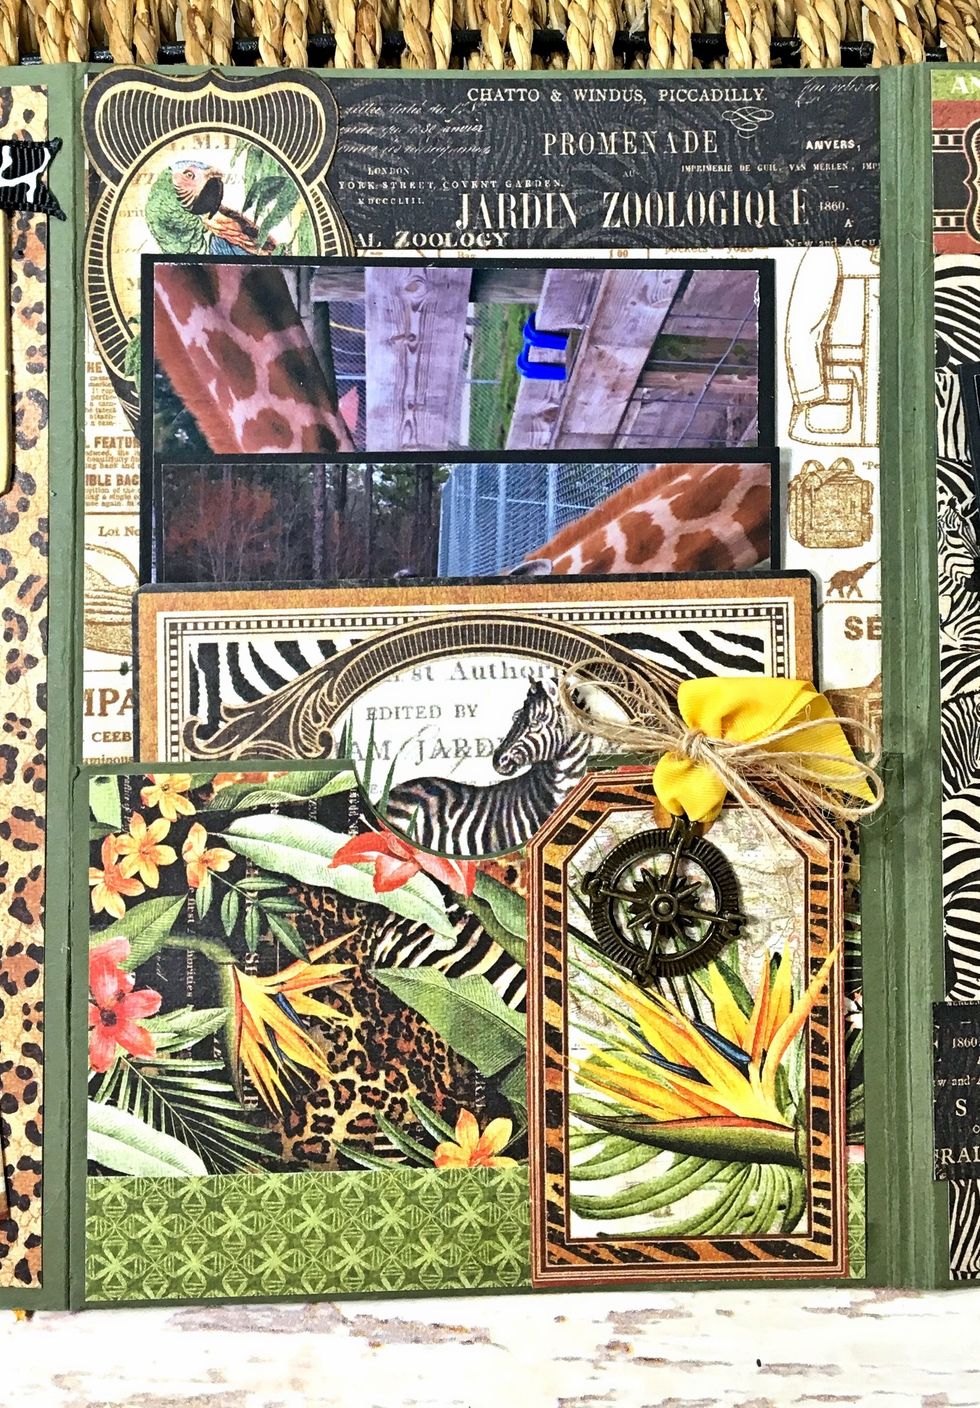
Decorate center panel and add prepared pocket. Fill with photos. Use the reverse of ephemera cards as photo mounts.

You can fit a lot in this pocket!
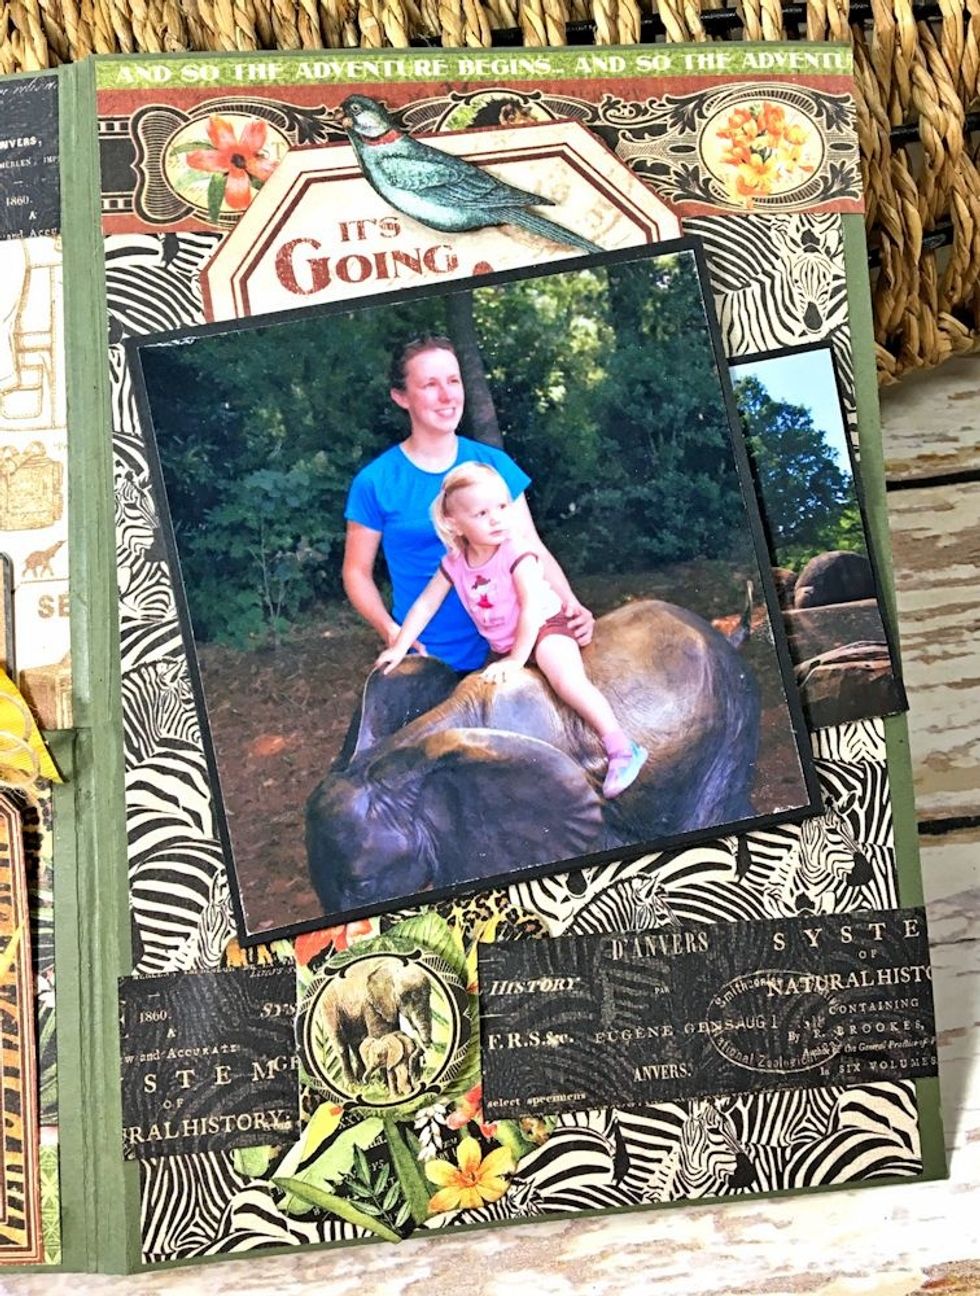
Decorate the far right inside panel. Create a 4x4 photo mount. Use small strips of foam tape to secure, leaving room for a pocket on both the top and the right hand side. Fussy cut tag for the top.

Tuck tag and photo into prepared pockets.
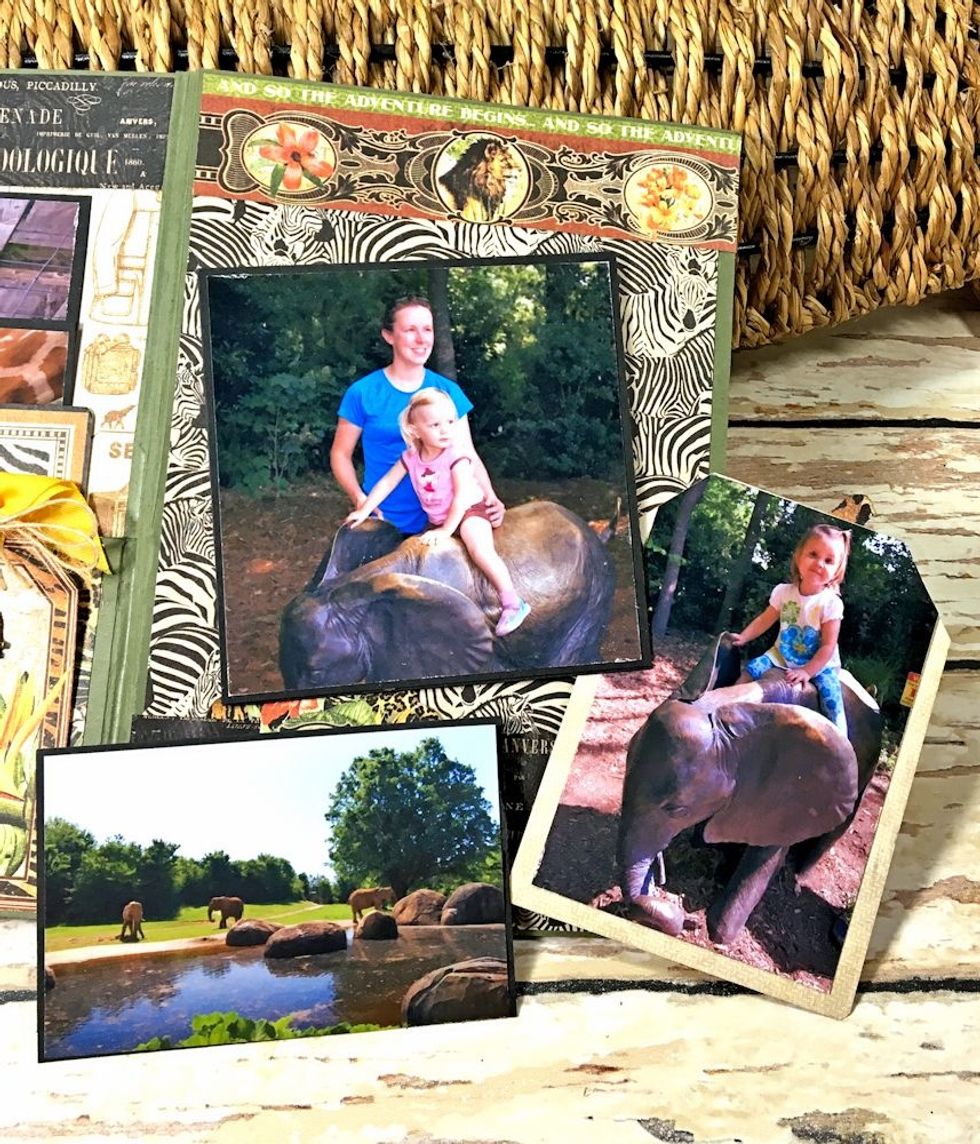
You can add small photo to the back of the fussy cut tag.
Create a large photo mat for the back side of the album and add photo and small tag from Safari Adventure tags. This is the front and back cover open.

One more look at the inside of the album. You can watch a video tour of this album on my YouTube page. https://www.youtube.com/user/kwclement/videos Thanks for stopping by!