The Conversation (0)
Sign Up
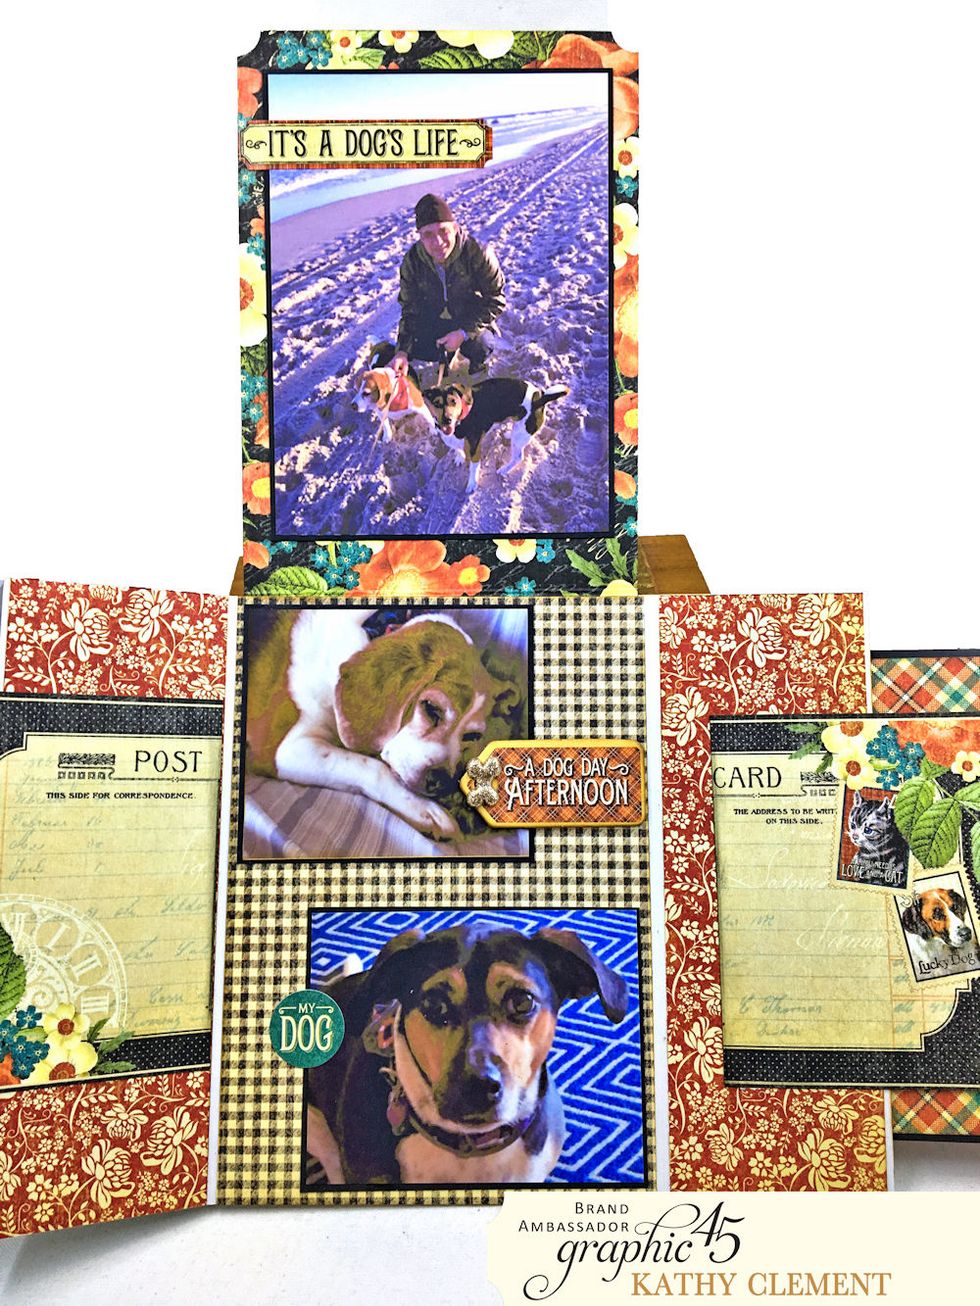
The interior of the gatefold card base has a fun flap that lifts for photo display. It's simple to do, and a great way to preserve photos of your fur babies. We'll start with building the base.
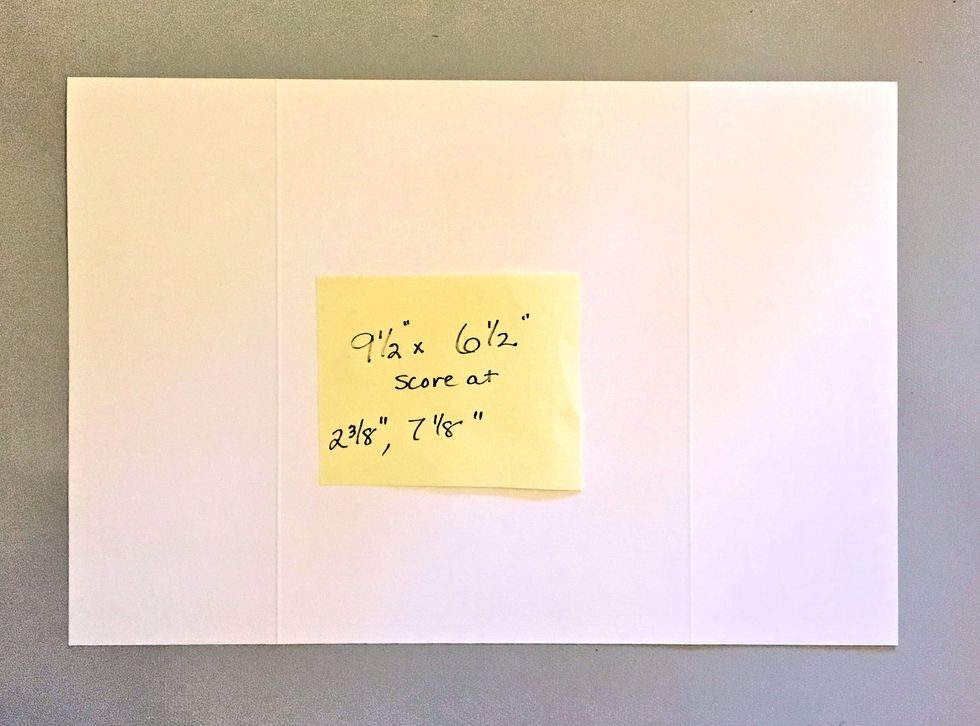
Cut cardstock to measure 9.5" wide x 6.5" tall. Score from the left at 2 3/8", and again at 7 1/8". Crease and burnish folds to form a gatefold card base.

Cut a 4 5/8" x 6.5" panel of Pitter Patter. Do not glue yet.

Cut a 4.5" x 6.75" panel of Cat's Meow. Place long side on scoring tool and score a 1/2" hinge along the top edge. This will become the flap page that we will join to the Pitter Patter panel.
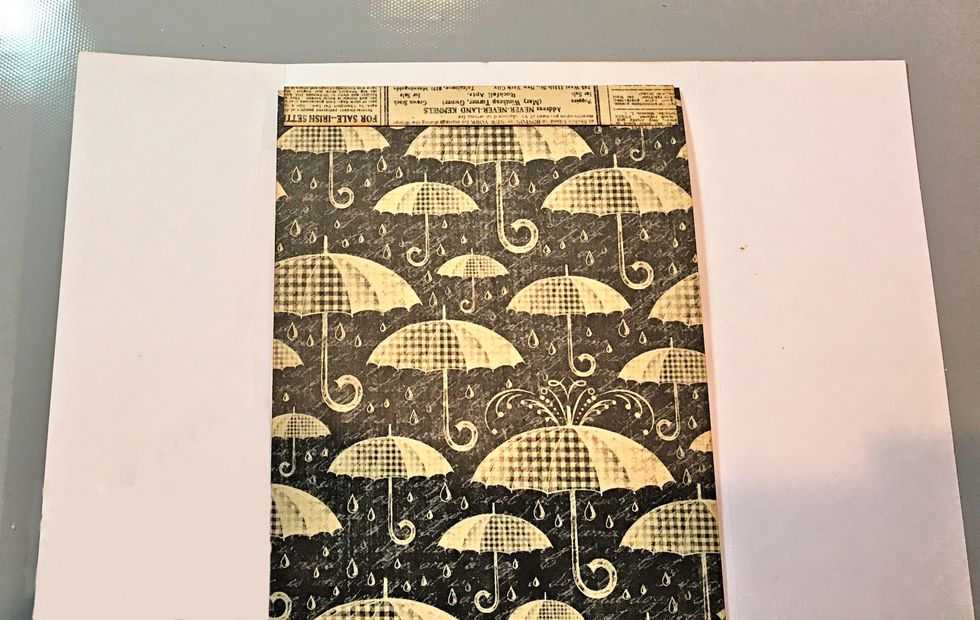
Adhere the 1/2" hinge to the back side of Pitter Patter.
Now adhere the flap page to the center panel inside your gatefold card base.

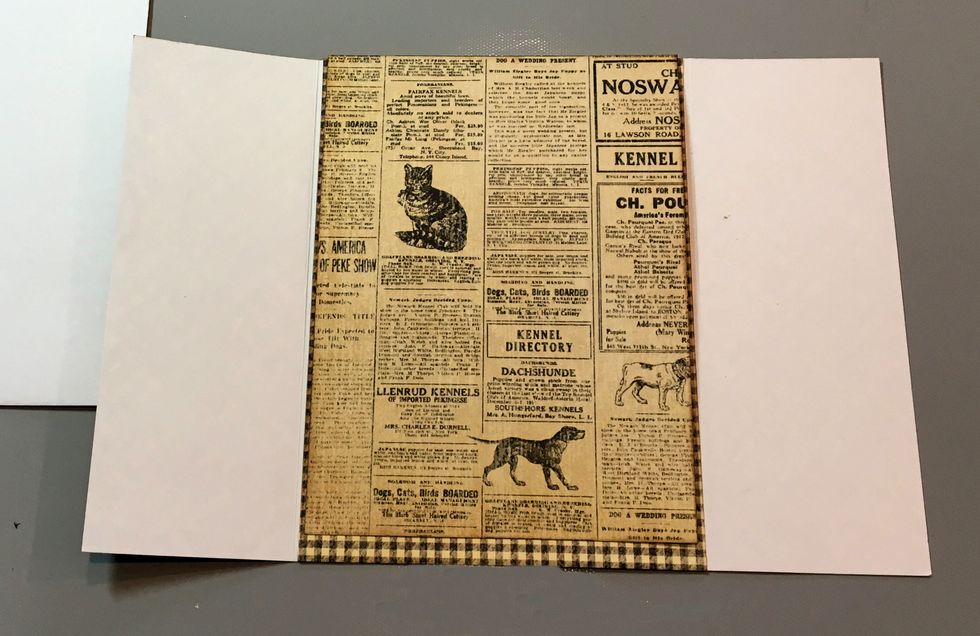
This is what the flap page will look like. Now you need to print your photos to fit. I printed one photo at 4" x 6" and two photos at 3" x 4".
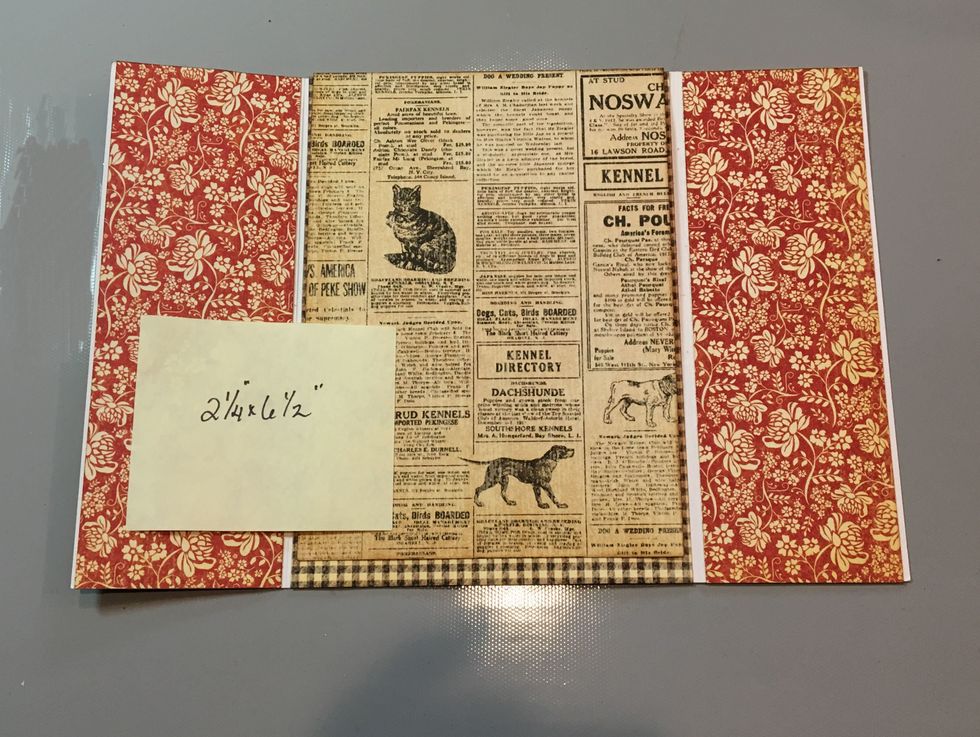
Cut two 2.25" x 6.5" panels of Precious Pets and glue on either side of the center panel. NOTE: I ink all my raw paper edges with G45 ColorBox Cashmere Ink.
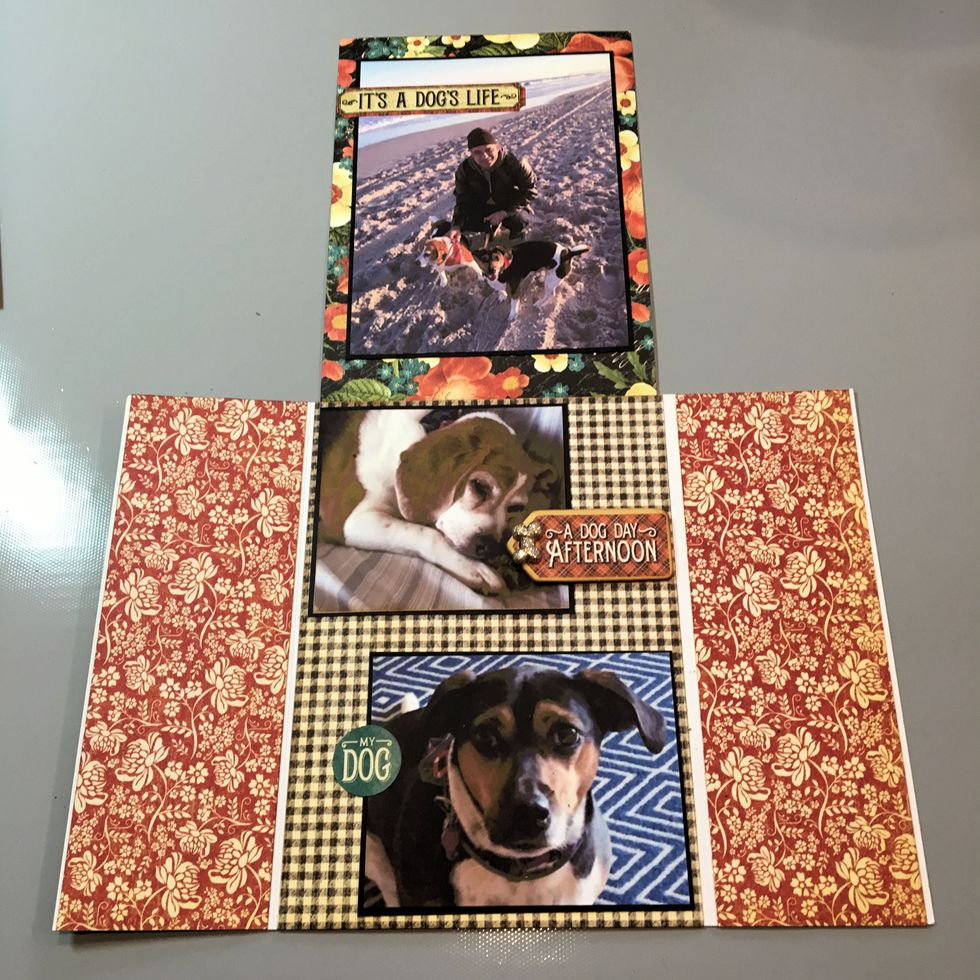
Mat photos on black cardstock. Adhere to card. Add stickers and embellishments.
Mat this image from Well Bred on black cardstock and adhere to top flap.
Cut border strip from Animal house to fit the width of your image. Cut a fishtail banner on the end. Adhere to image as seen in photo.

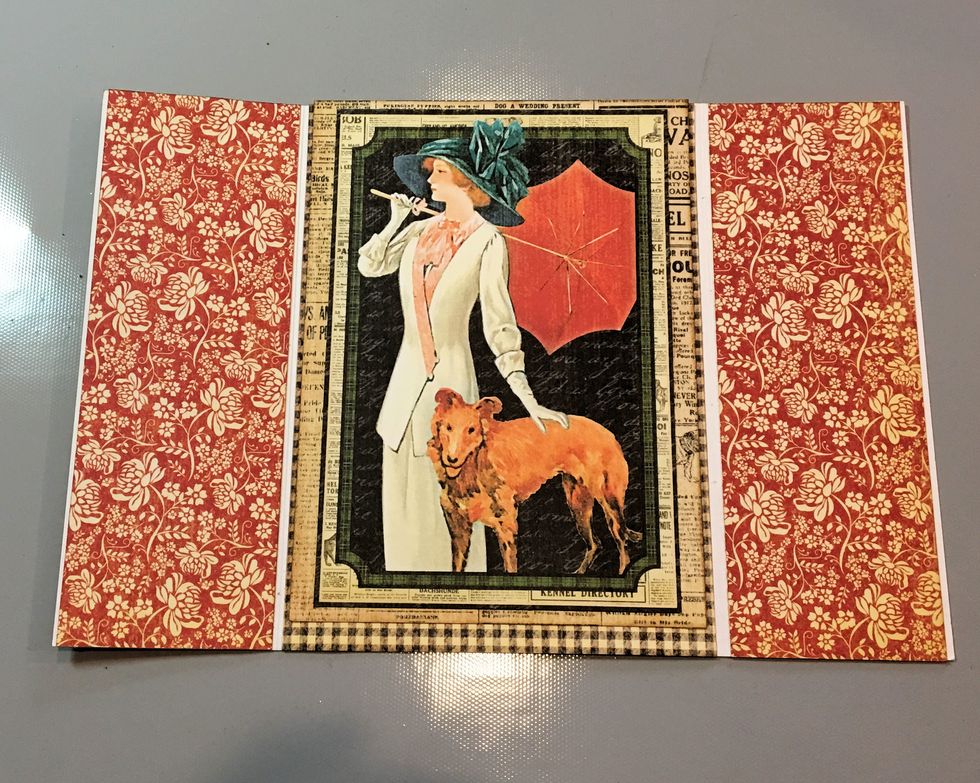
Click on photo for full view. Cut Four-Legged Friend Post card in half. Adhere one half on each side panel as seen in photo.
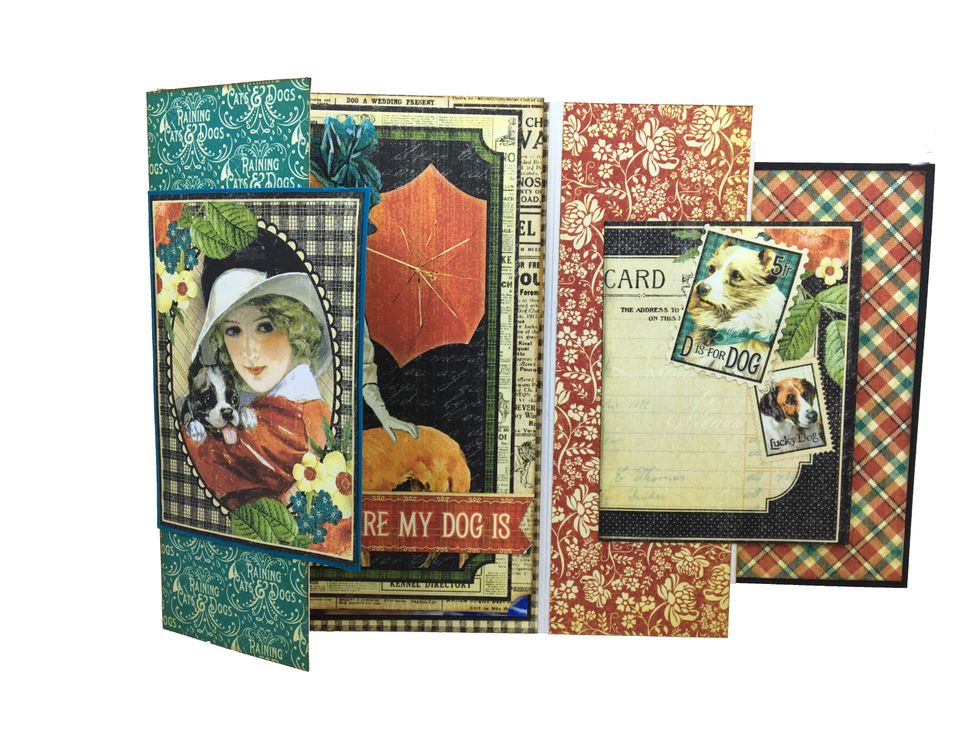
Fussy cut stamp from Mr. Whiskers and adhere to right hand side post card. Cut girl & puppy image from Four Legged Friend. Mat on Teal Cardstock. Adhere to front side of left hand gate.

Cut two 2.25 x 6.5 panels of Puppy Love. Adhere to front gates. Cut 4.5" x 5" panel of Puppy Love. Mat on black card. Glue just the right hand side to the right hand gate as seen in this photo.
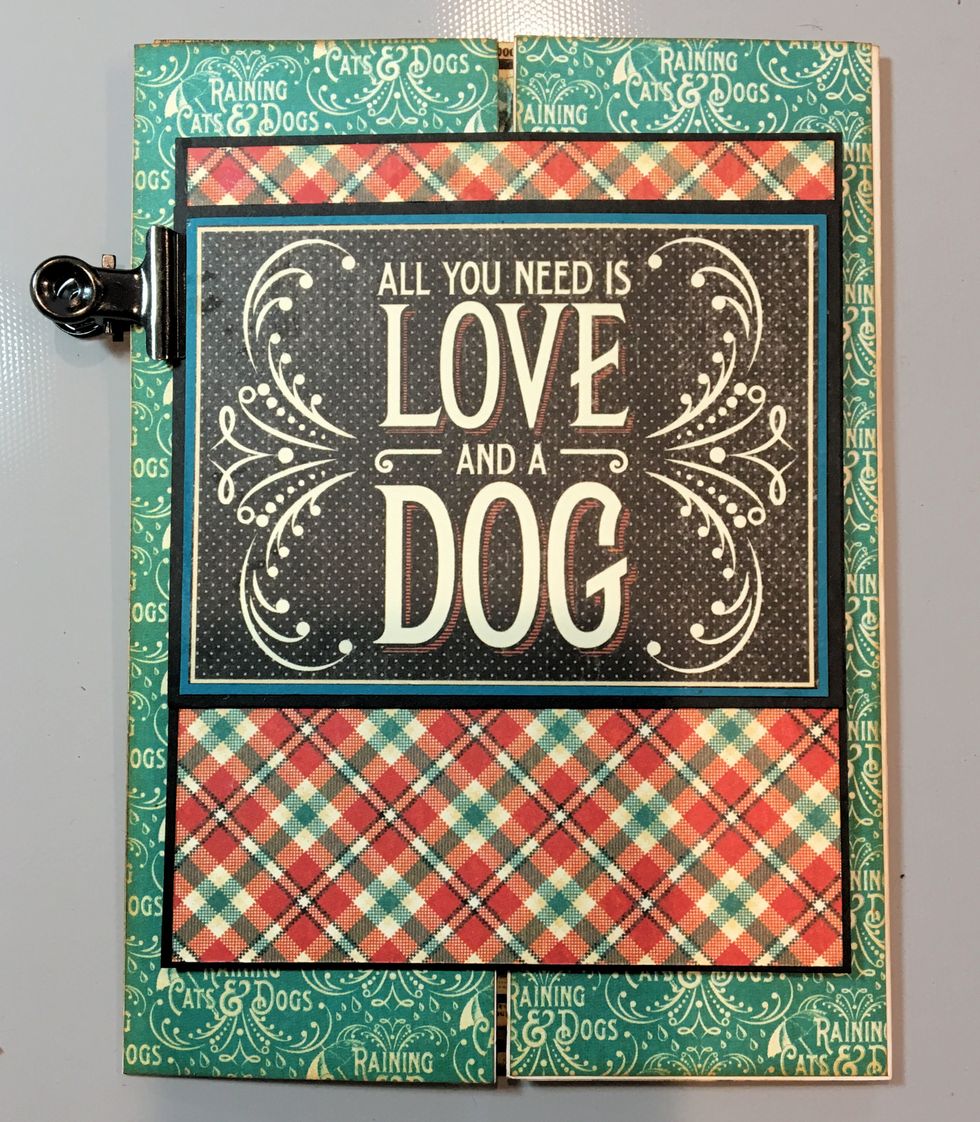
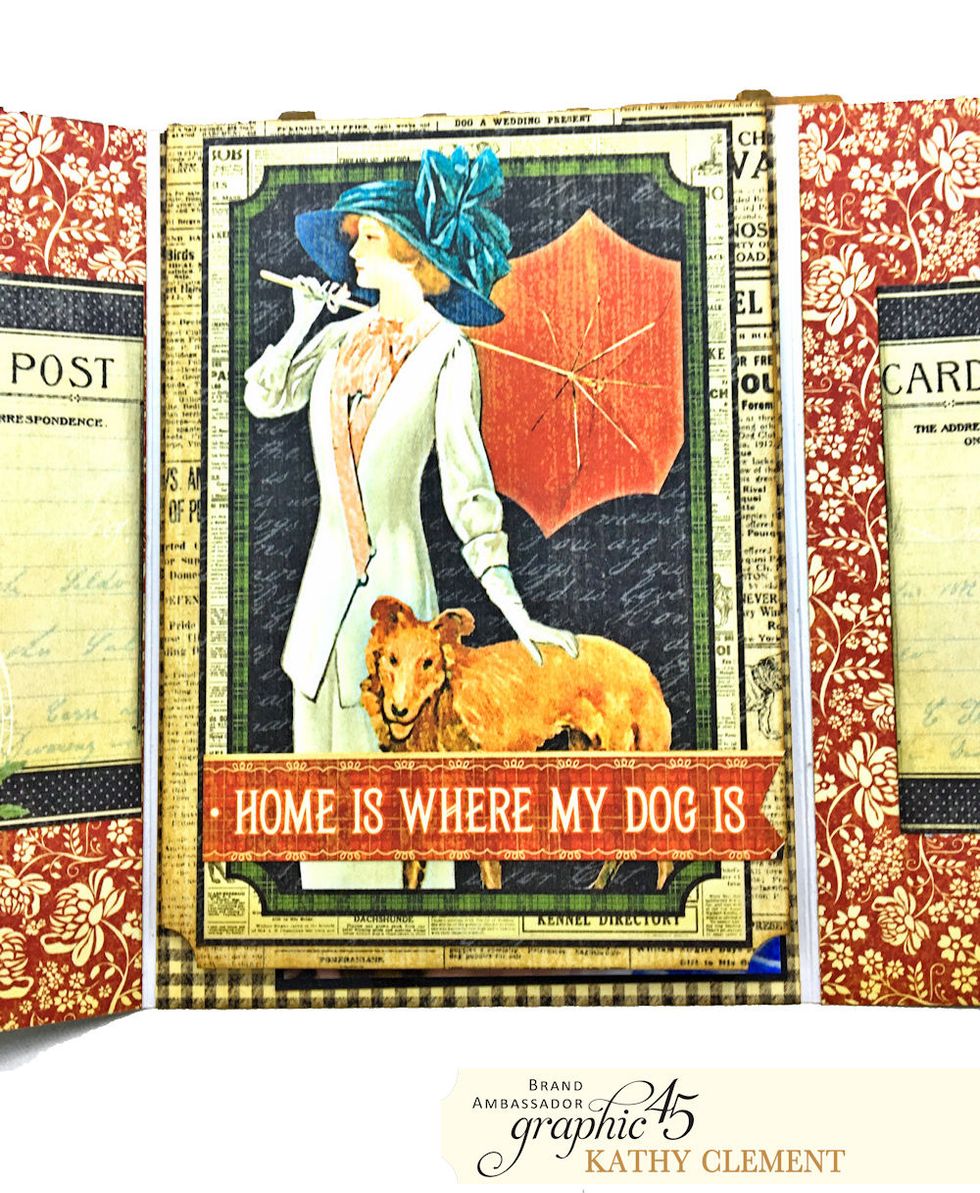
Cut All You Need...sentiment from Well Bred. Mat on teal and black cardstock. To elevate the sentiment back with foam tabs or waste chipboard. Adhere approx. 1/2" from top of plaid panel.

Mat another section of the border sentiment on black cardstock. Back with dimensionals. Adhere so that bottom edge is approx. 1/2" from base of plaid panel.
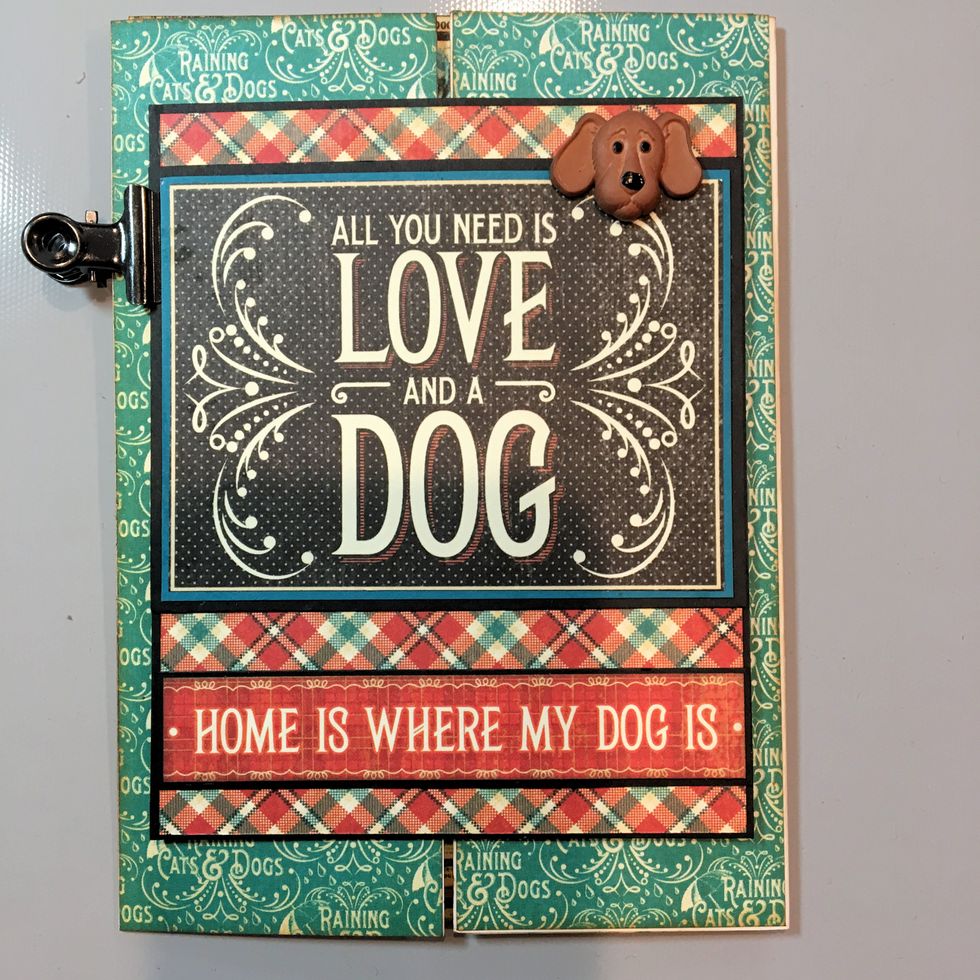
Cut the shank off the Jesse James Button and adhere in top right corner of sentiment panel.
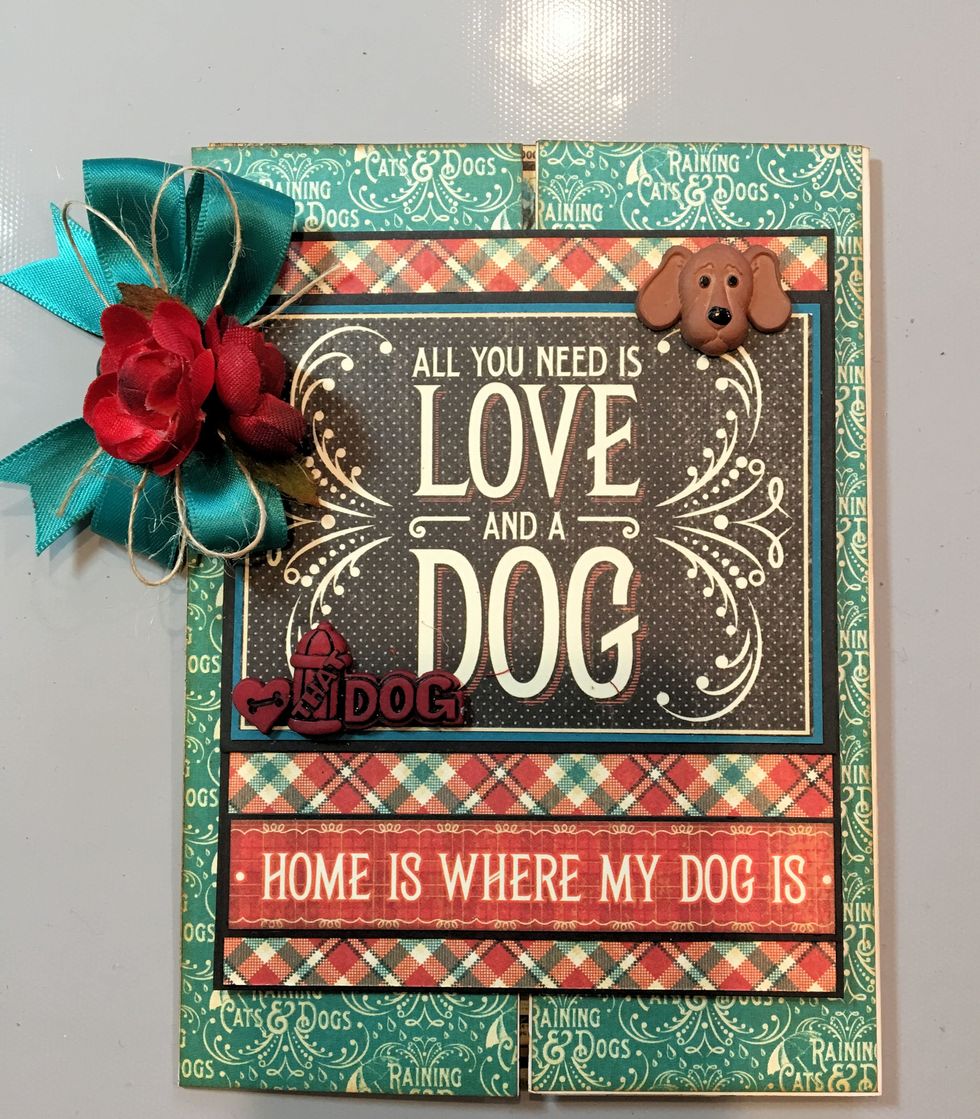
Click on photo for full view. Adhere red dog button in lower left hand corner of sentiment panel. Tie double loop bow from Tropic Satin & burlap string. top with 2 red flowers. Adhere to hinge clip.
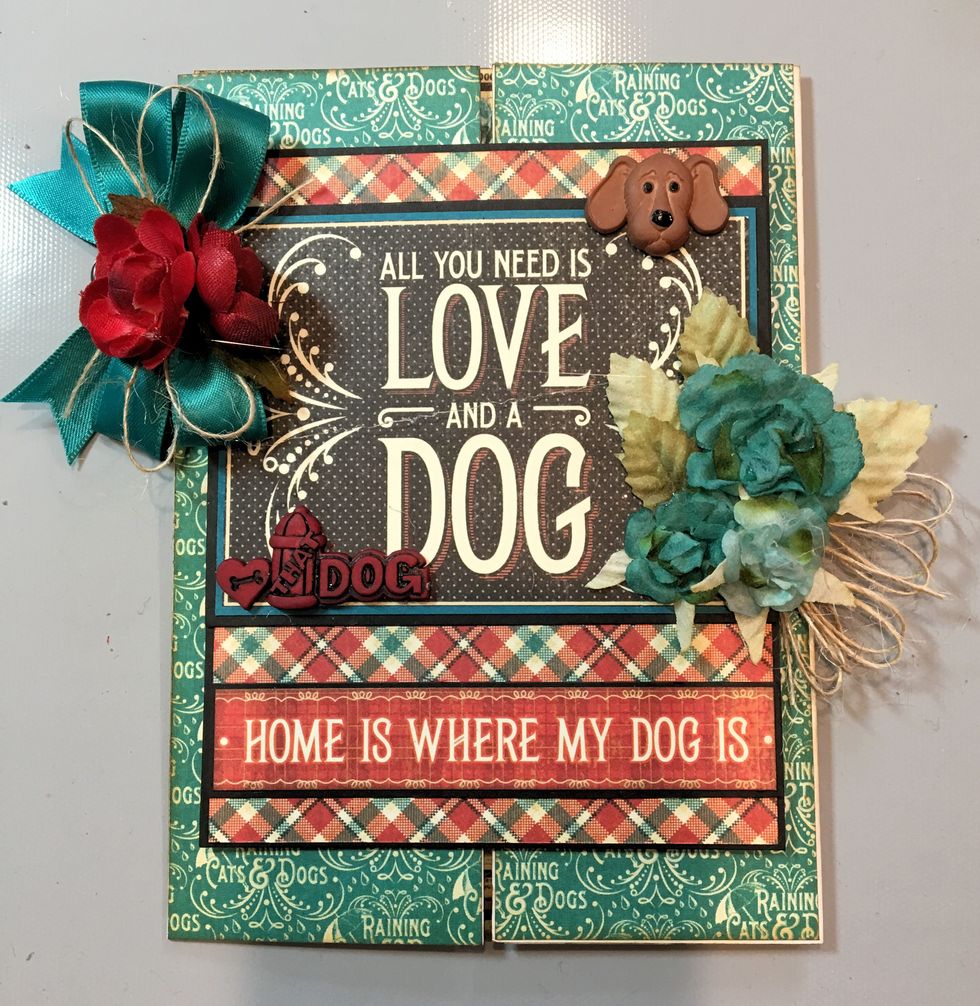
Click on photo. Attach hinge clip to top left corner of plaid panel to hold gate closed. Create second flower cluster with teal flowers and burlap string. Adhere as seen in photo.
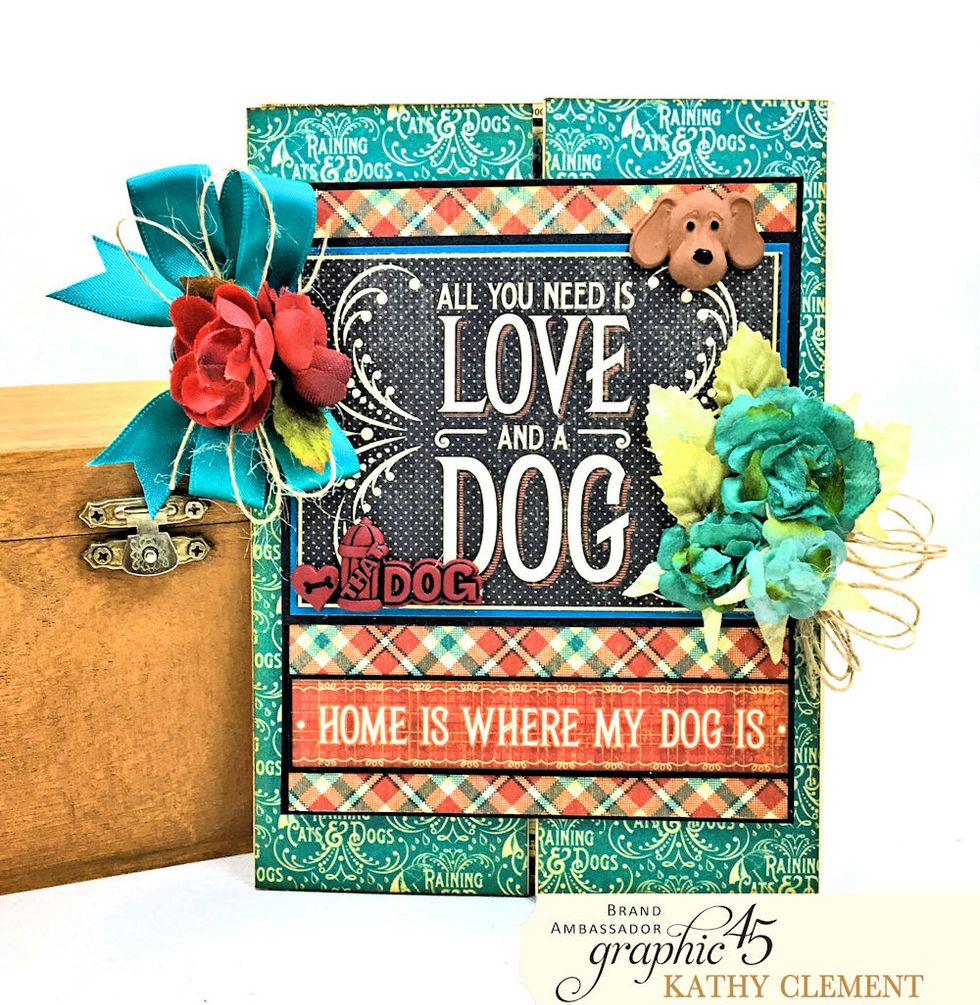
Now your card is finished and ready to give as a personal gift. Thanks for joining me. If you enjoyed this tutorial, please click the "like" button. Happy crafting!