The Conversation (0)
Sign Up
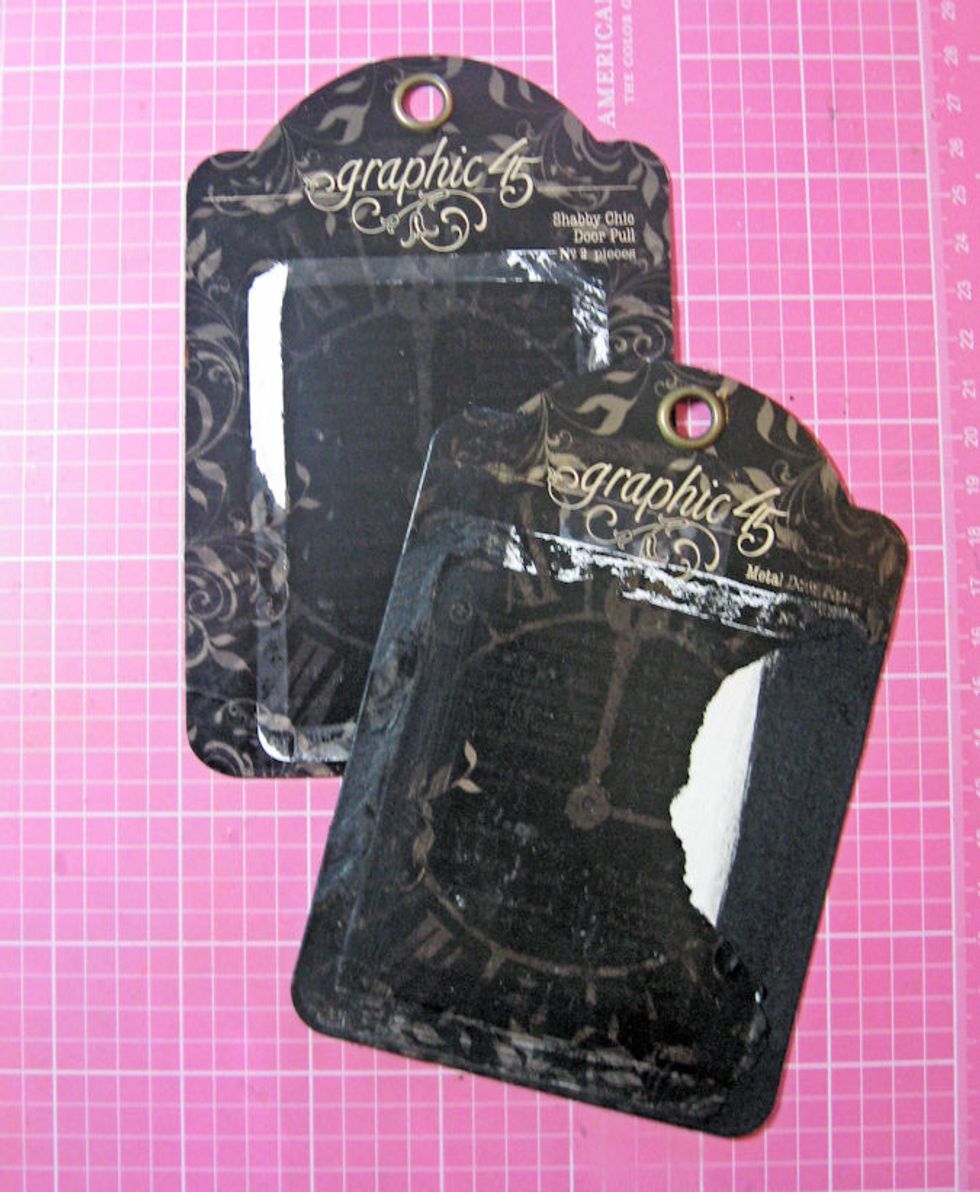
You will need 2 Staples packaging tags. Remove clear plastic cover. Carefully sand off or glue down any loose edges, then paint the edges with black chalk paint. Do this on both sides of each tag.
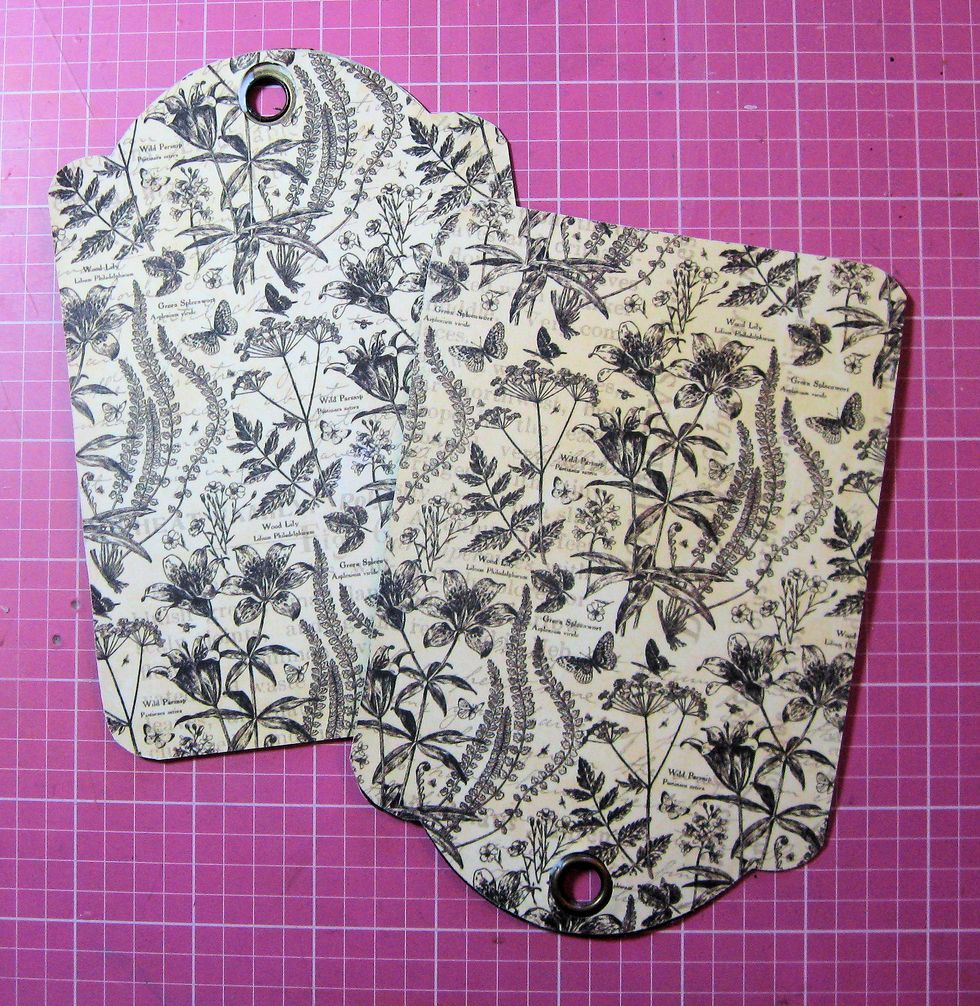
Select a 12x12 pattern from Patterns & Solids pad. Trace around the tags onto the paper. Trace inside the grommet for placement. Punch grommet hole with 1/2" paper punch. Trim paper & glue onto tag.

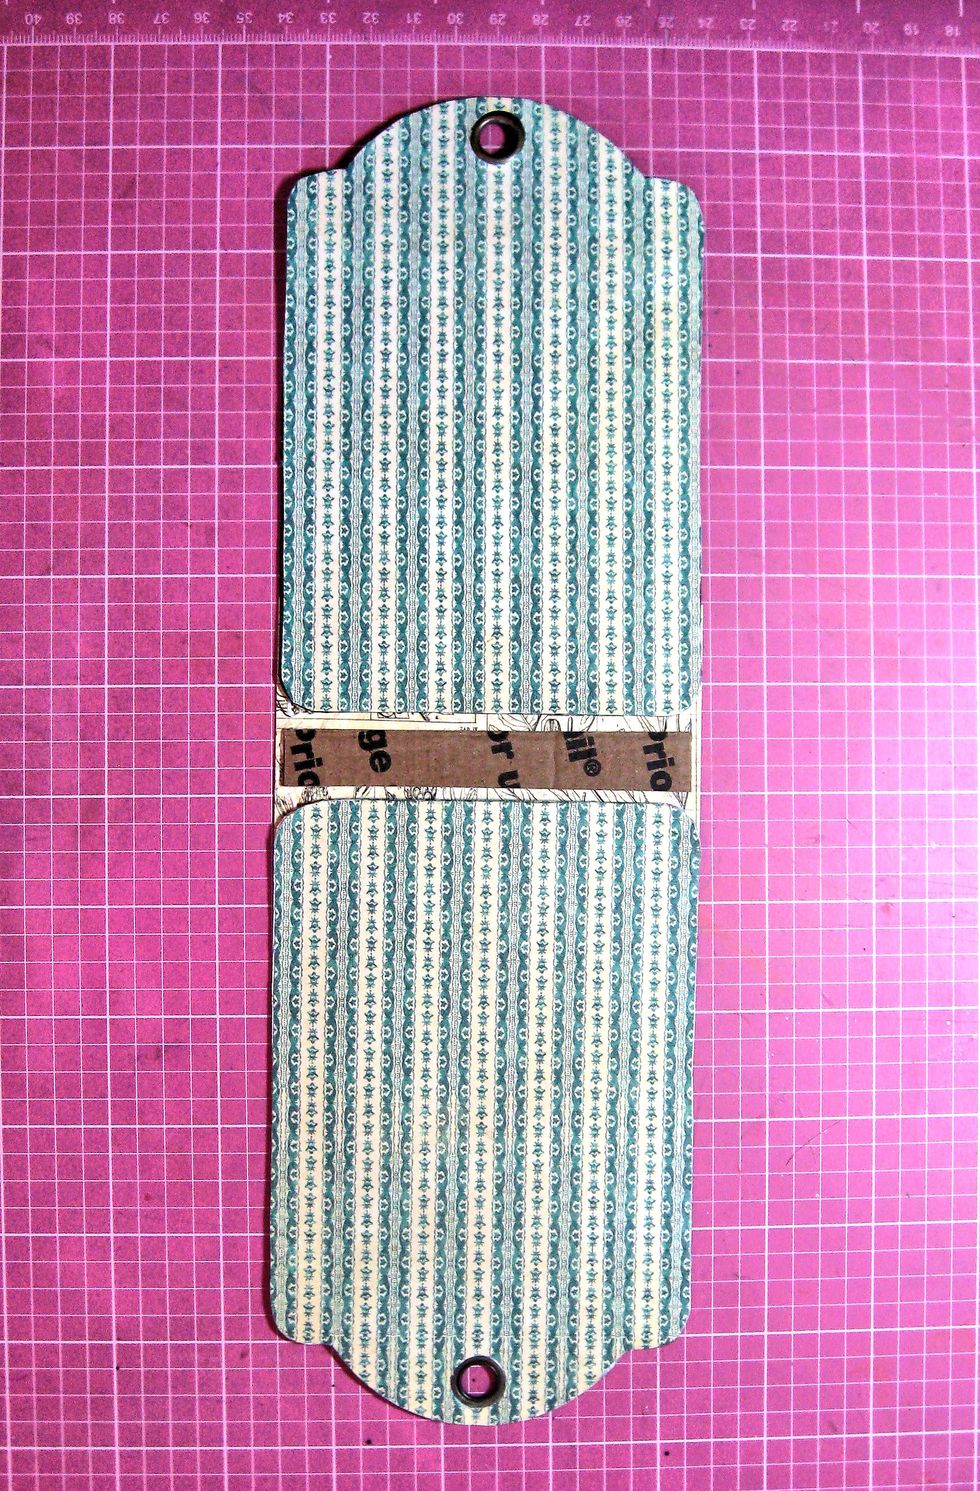
After covering the back side of tags with contrasting patterned paper, cut a 1/2" spine from waste packaging. (I used a Priority Mail box). Lay tags out with the front cover on bottom, as seen here.
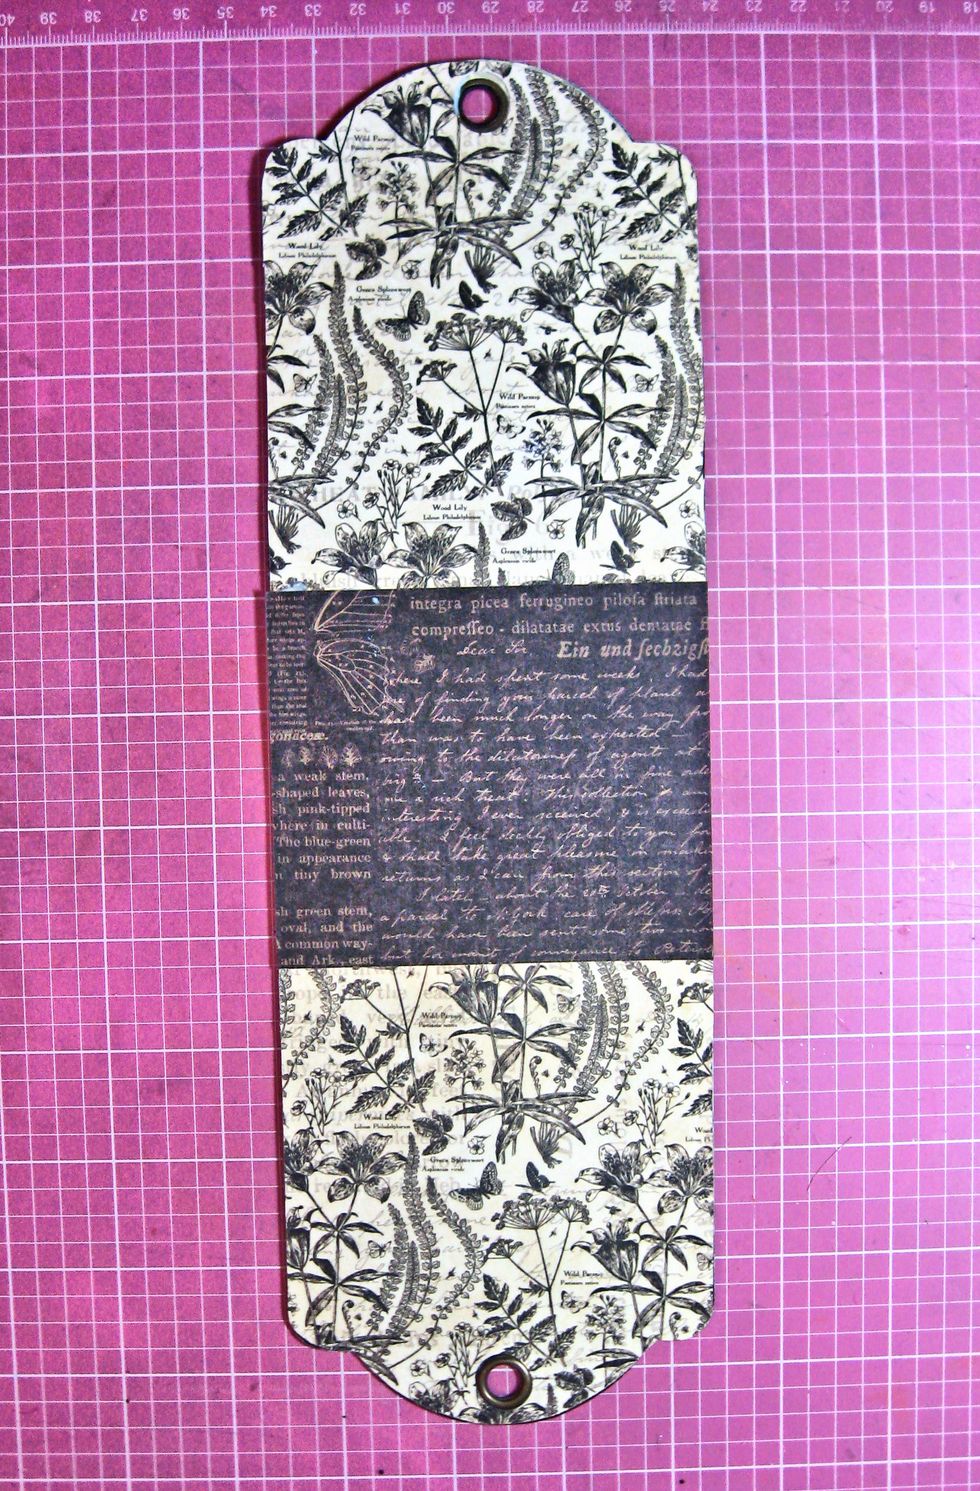
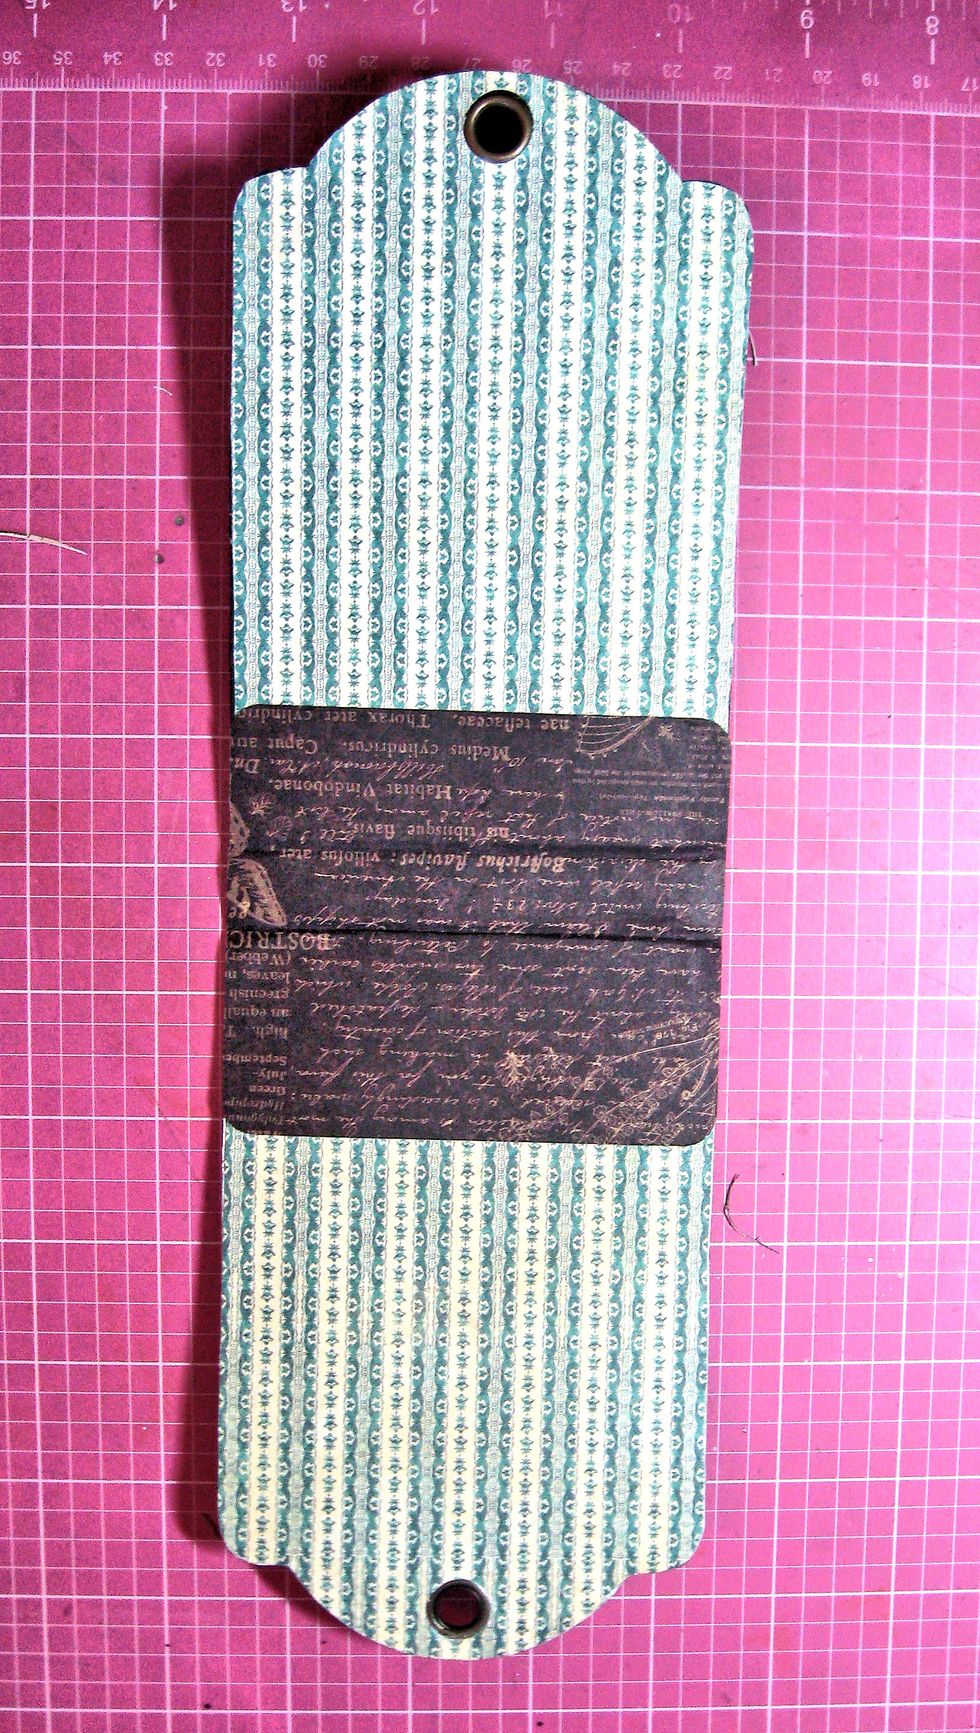
Be sure to leave a small gap between the spine & covers on each side. Cut a 3 7/8" x 3.25" rectangle from 8x8 Plant Kingdom. Center between the front and back covers as seen here. Glue in place.
Flip over. This is the inside of the notepad holder. Glue the 1/2" spine in place between the two covers, being sure to leave about 1/8" clearance between the two covers. Fold gently to crease.
Cut another 3 7/8" x 3.25" rectangle and glue over spine and covers on the inside. Use a bone folder to gently burnish and crease this area. Gently fold to crease. Now we will decorate the inside.
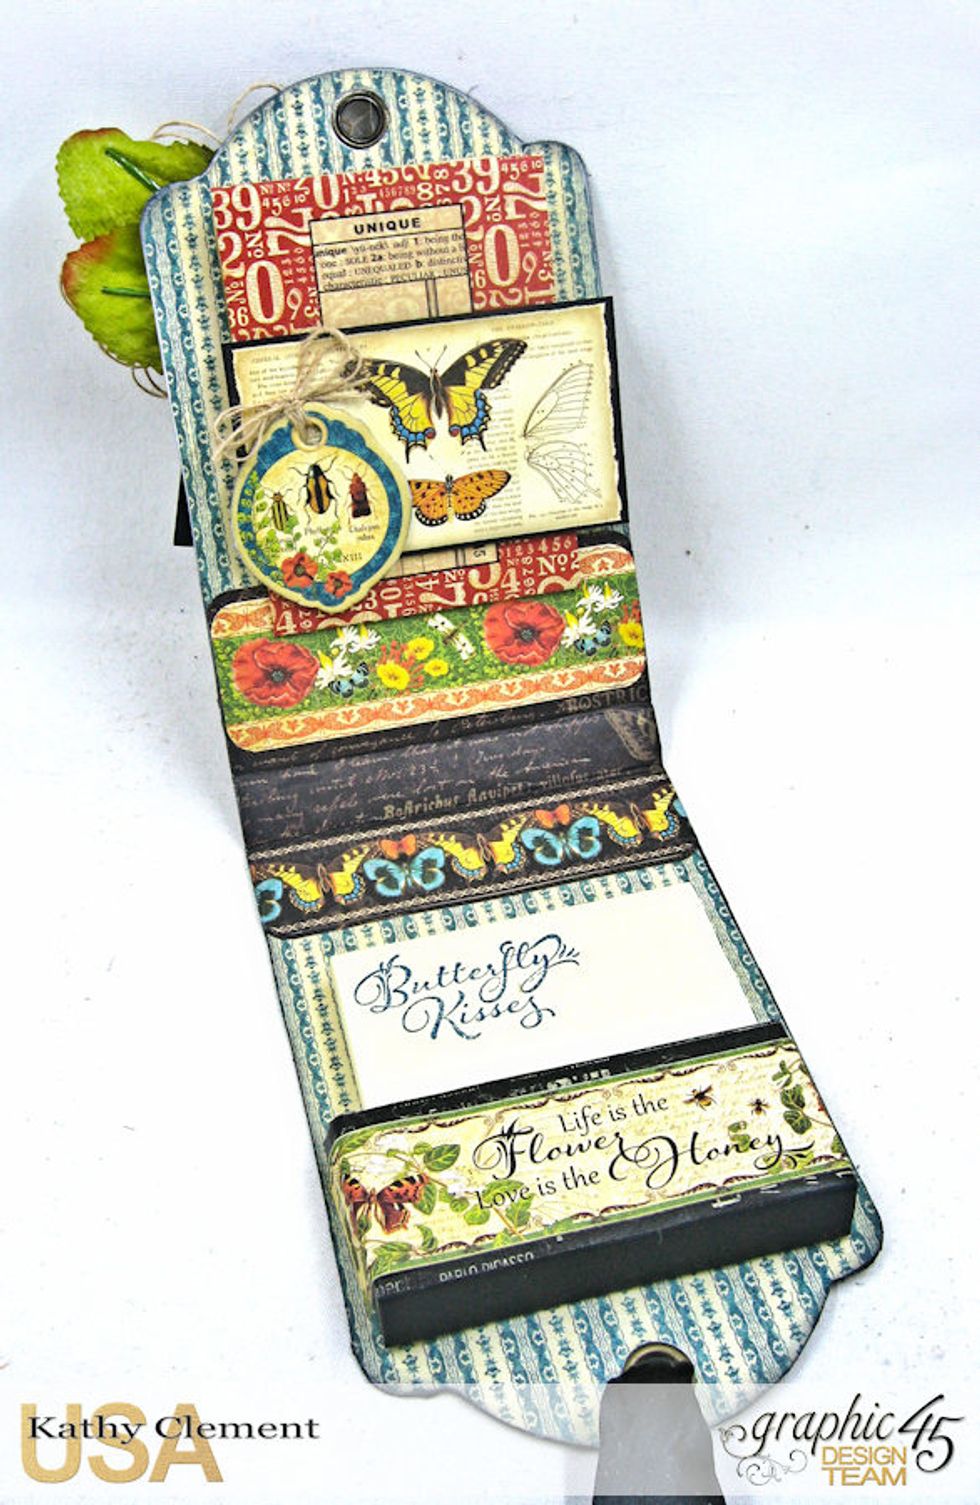
This is what the inside of the notepad will look like when finished. We will now create the little tray that holds the notepad. You will need 2 pieces of 3.25 x 1.5 chipboard & 1 piece 3.25 x 1/2.
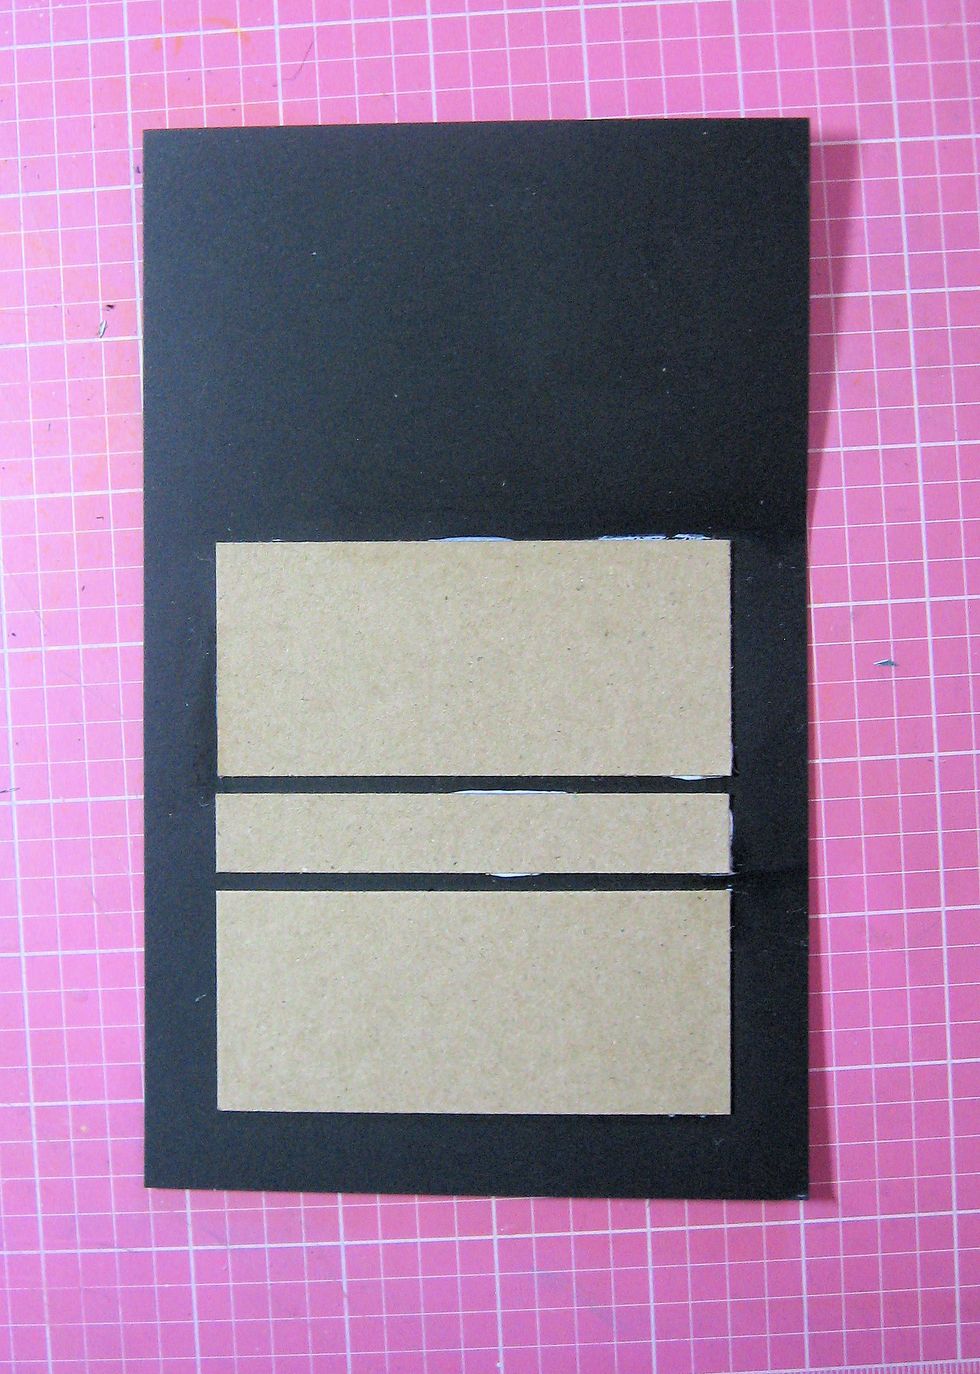
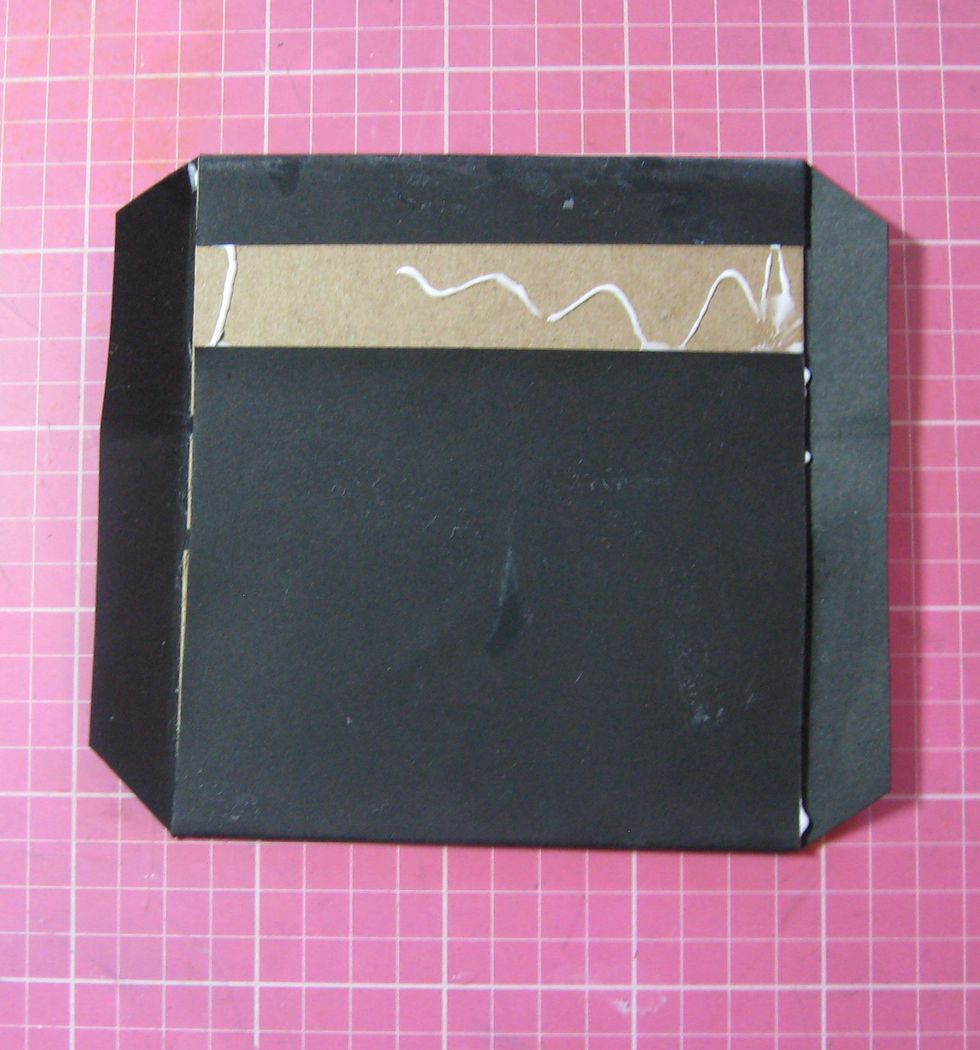
To build the tray, cut a 4.25" x 6.5" piece of black cardstock. Glue chipboard to paper as seen here, leaving a 1/2" margin on sides and bottom edge. Fold & crease paper over chipboard.
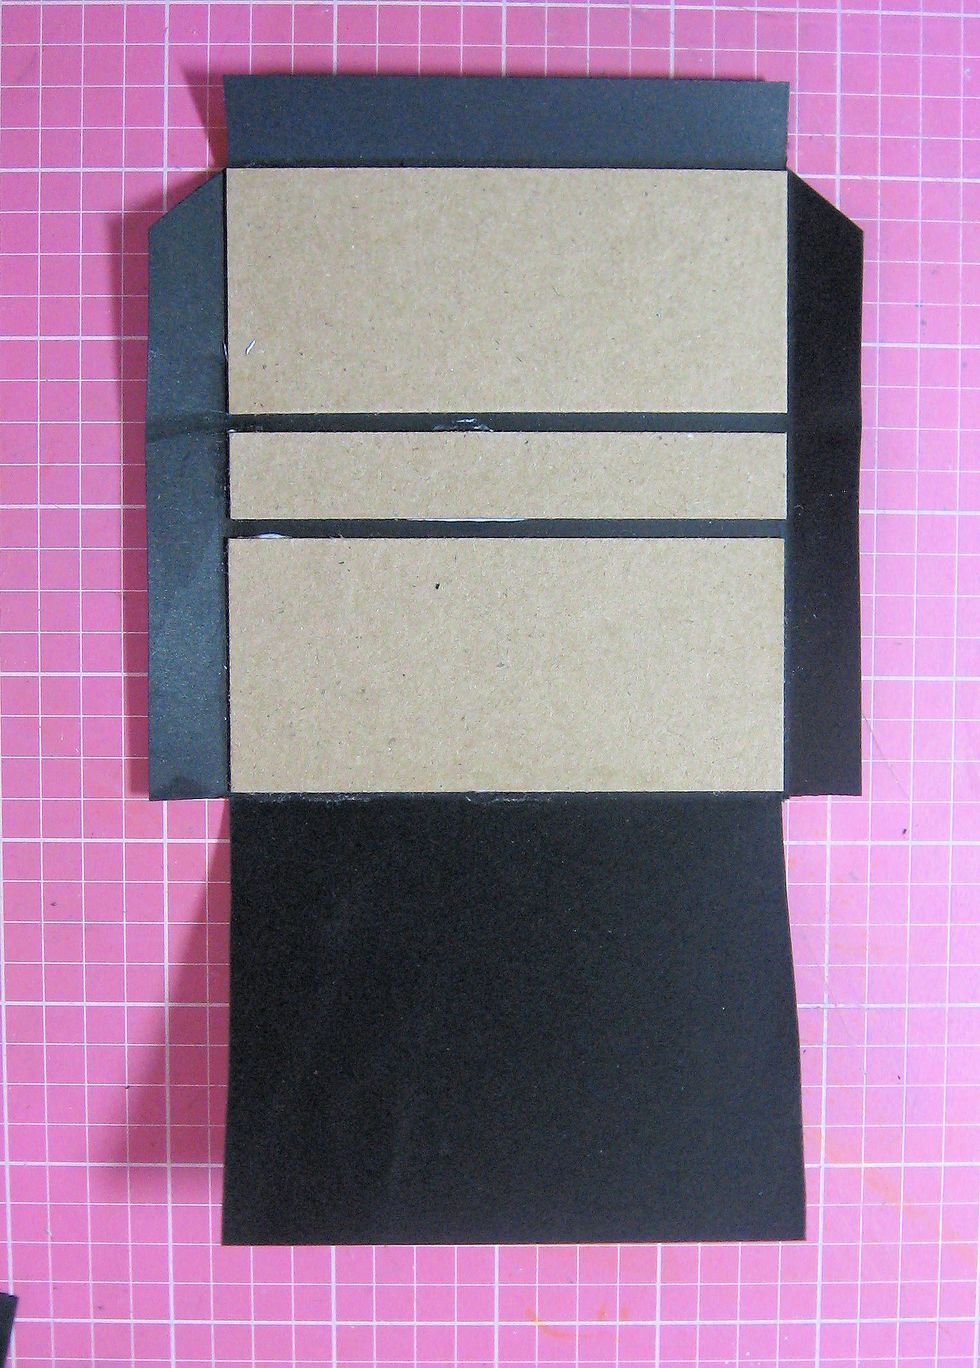
Cut along the fold lines and bevel the corners as seen here.
Add glue to the chipboard, then fold the cardstock. Use bone folder to seal the edges.
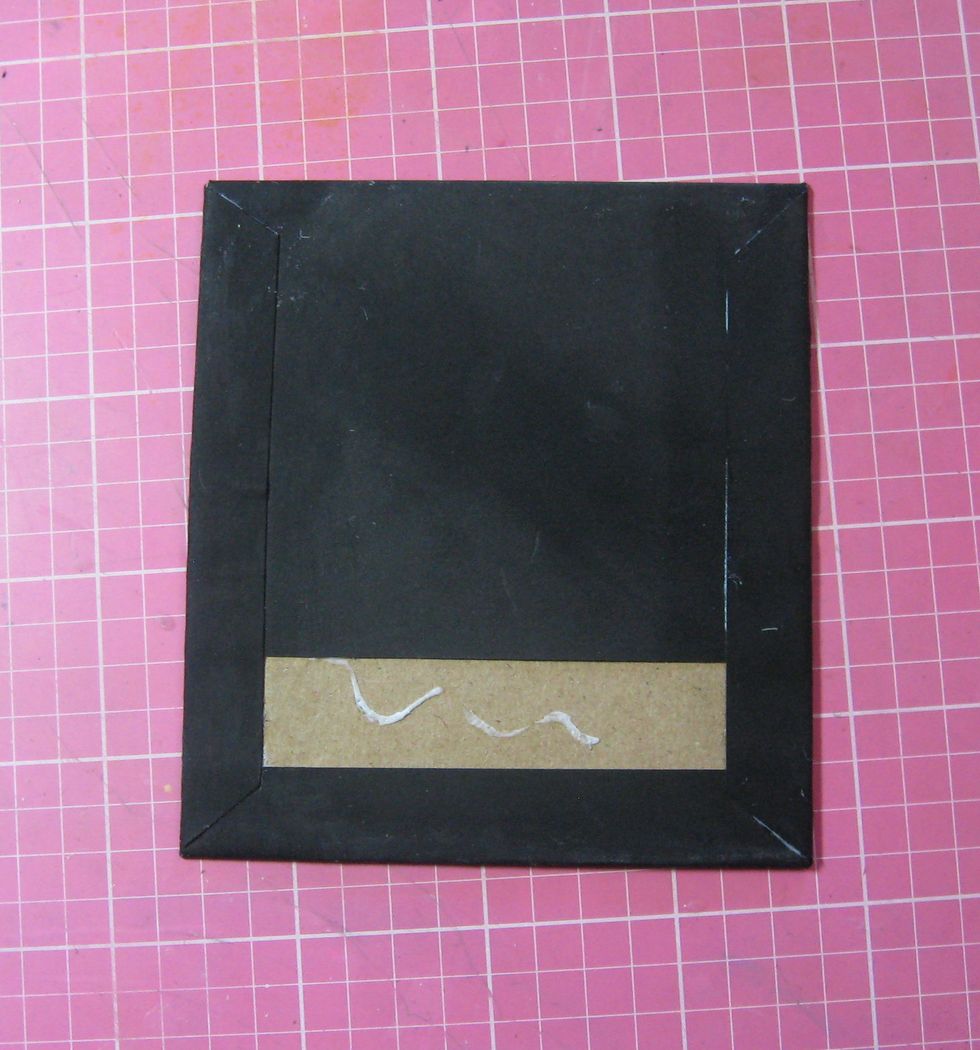
I usually glue the straight edges first, then fold the beveled edges so that the corners are mitered.
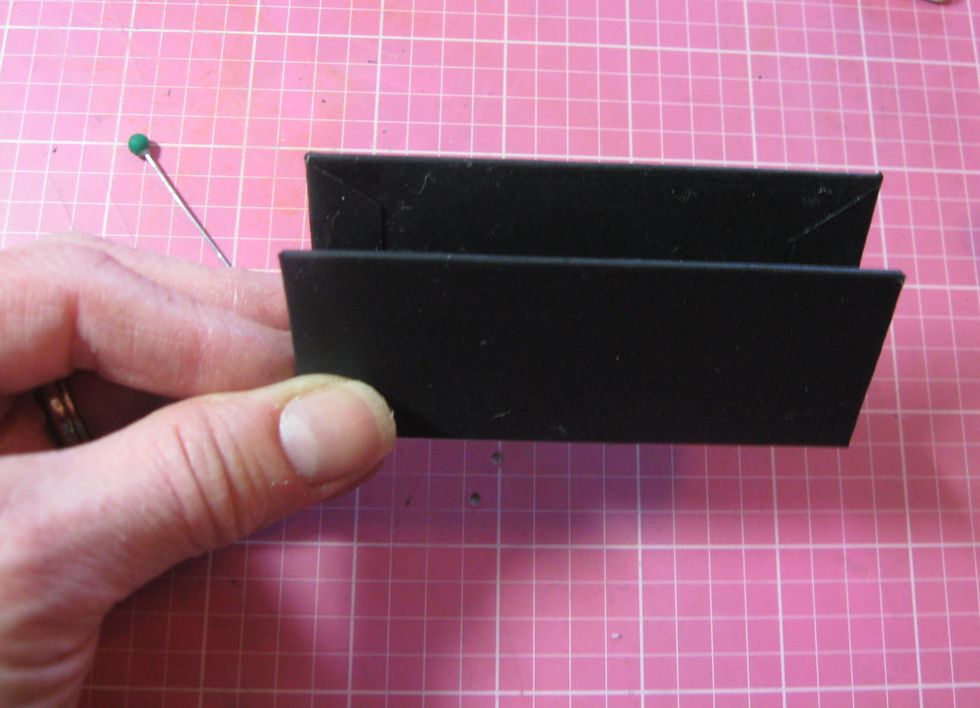
Gently fold to form a little tray that looks like this. The sides will be open, but we will fix that in the next step.

Wrap 2 layers of washi tape all the way around the tray.
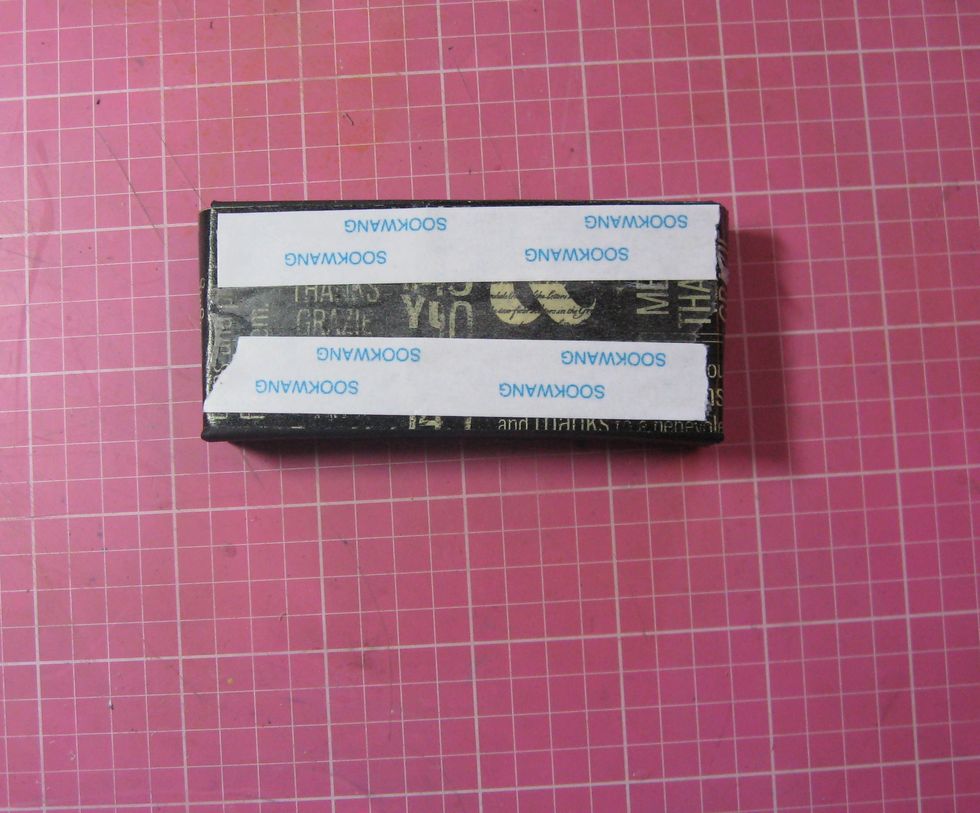
Add 1/2" Scor-tape to the side of the box where the washi tape seams meet.
Use a bone folder to help you press the little tray to the bottom half of the tag base. The bone folder can also be used to square up the corners and sides.
The sticky note pad fits perfectly!
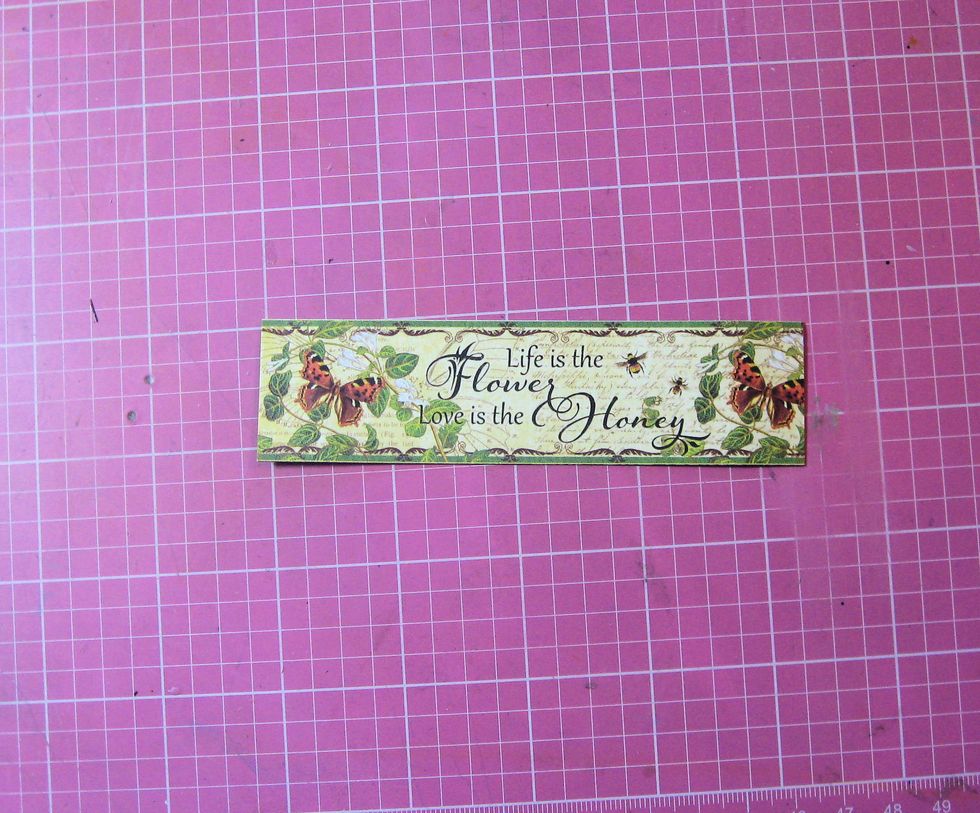
Cut a border strip equal in length to the front and sides of the tray you just built. Add adhesive of choice to the back.
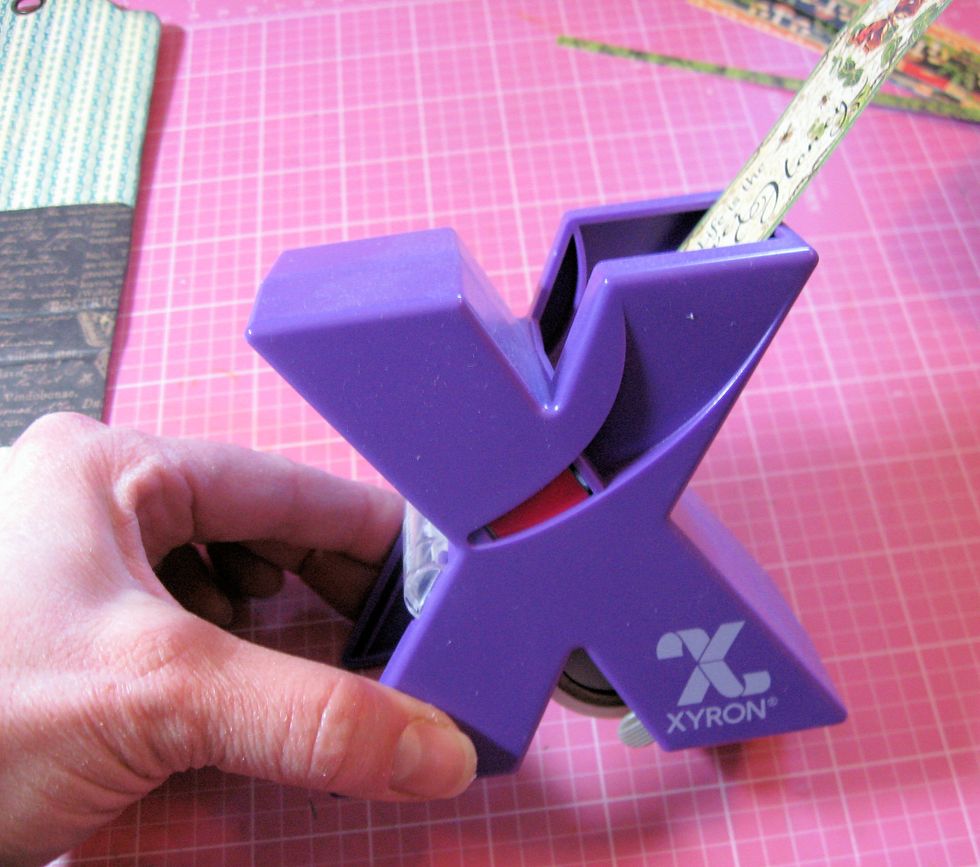
I ran mine through my Xyron 1" sticker maker.
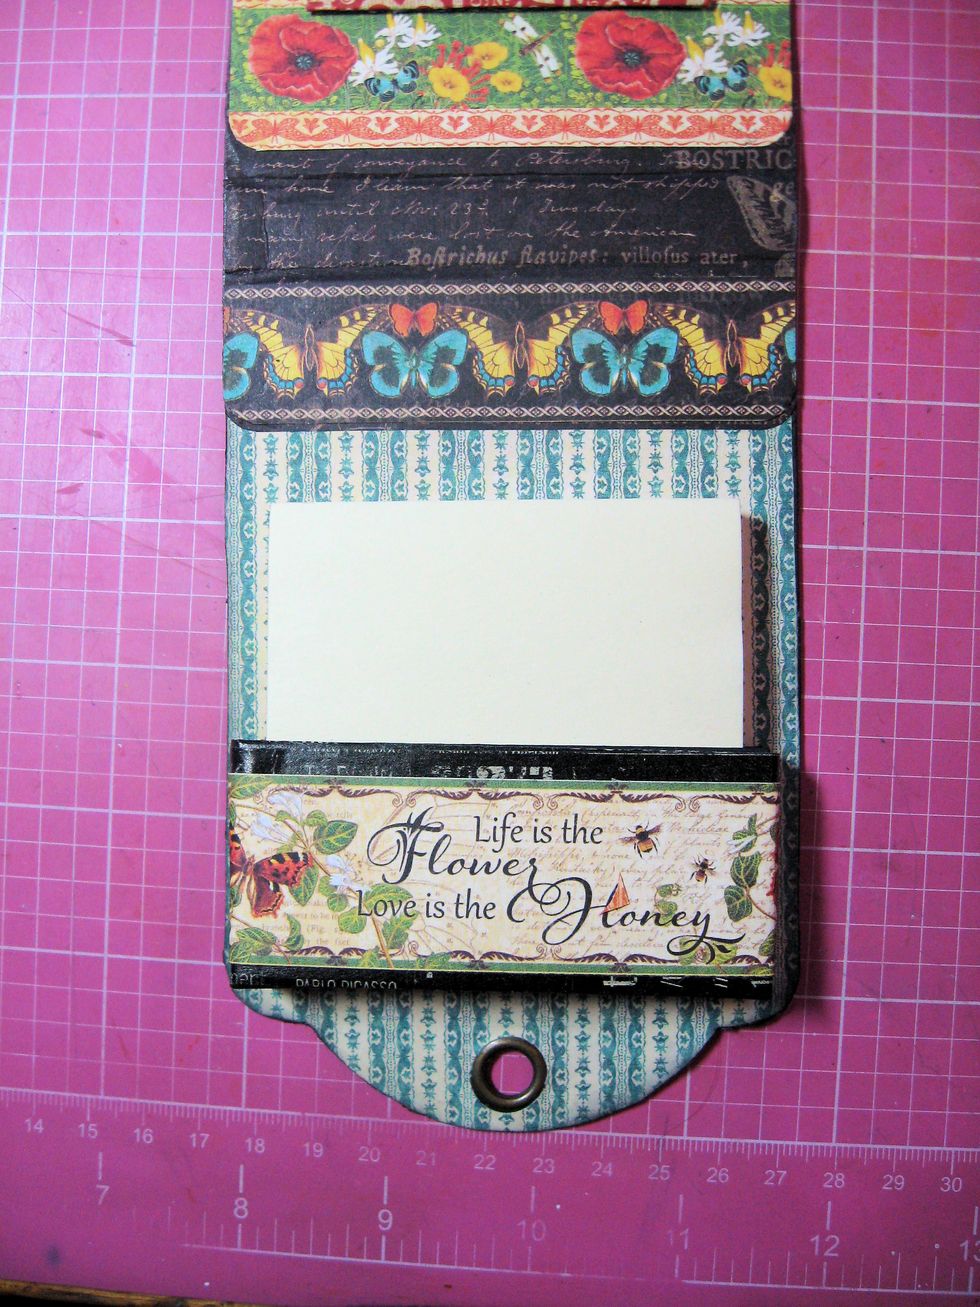
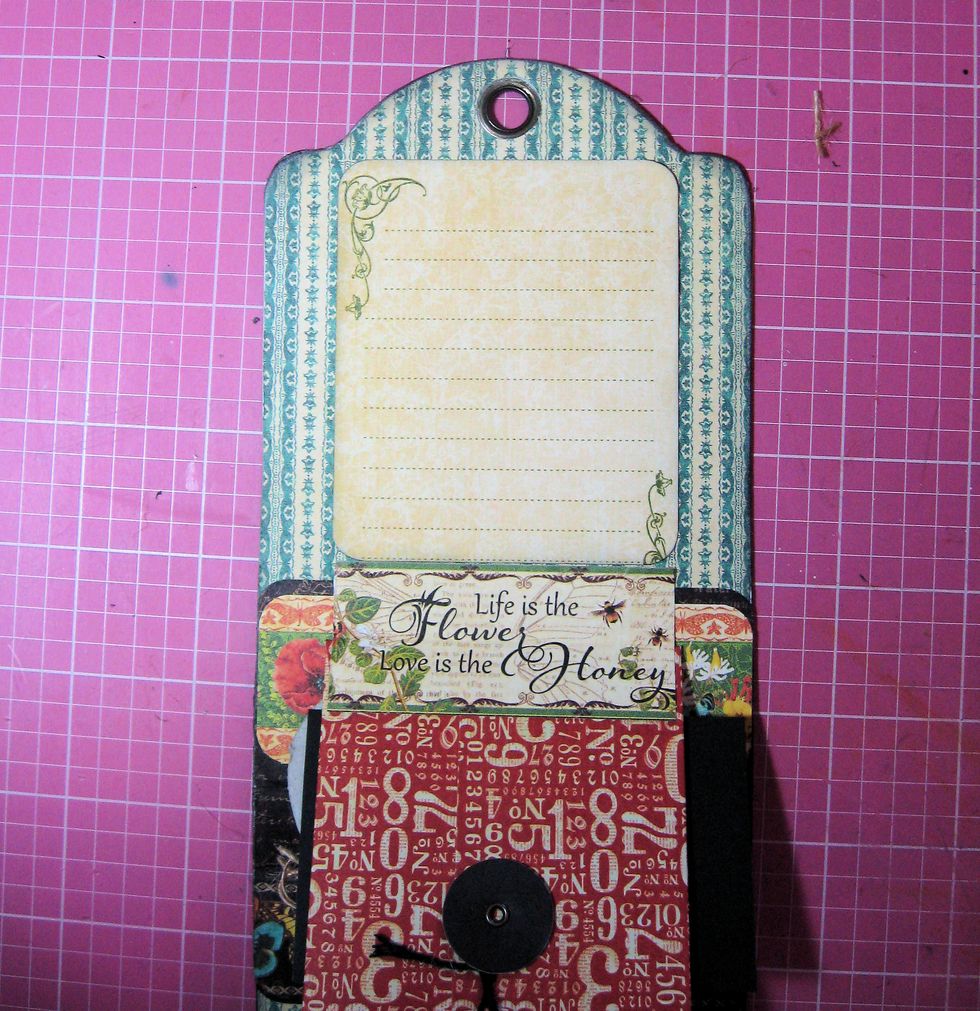
Add this border to the tray front and sides. Use other borders to decorate the interior of the notepad holder, as seen here.
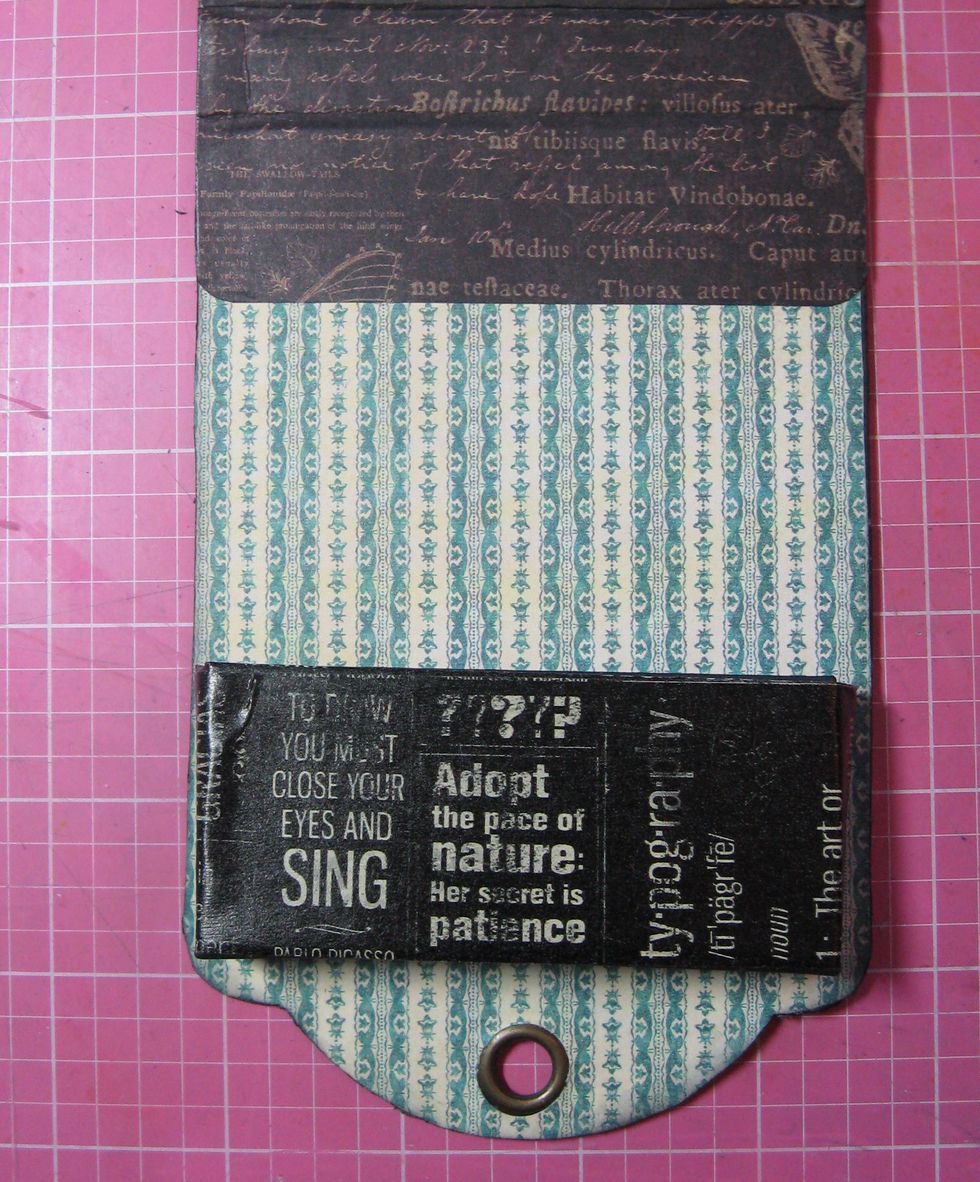
Cut a strip of this same border to equal the width of a Staples Red ATC policy envelope. Fold in half along the long edge. Glue the top edge of the folded border to base of envelope, as seen here.
Glue the other side to the notepad holder base, as seen here.

Mat small image on black card, and glue to the ATC envelope front, using foam tape or waste chipboard to add dimension. Add a small chipboard element to the left hand side.
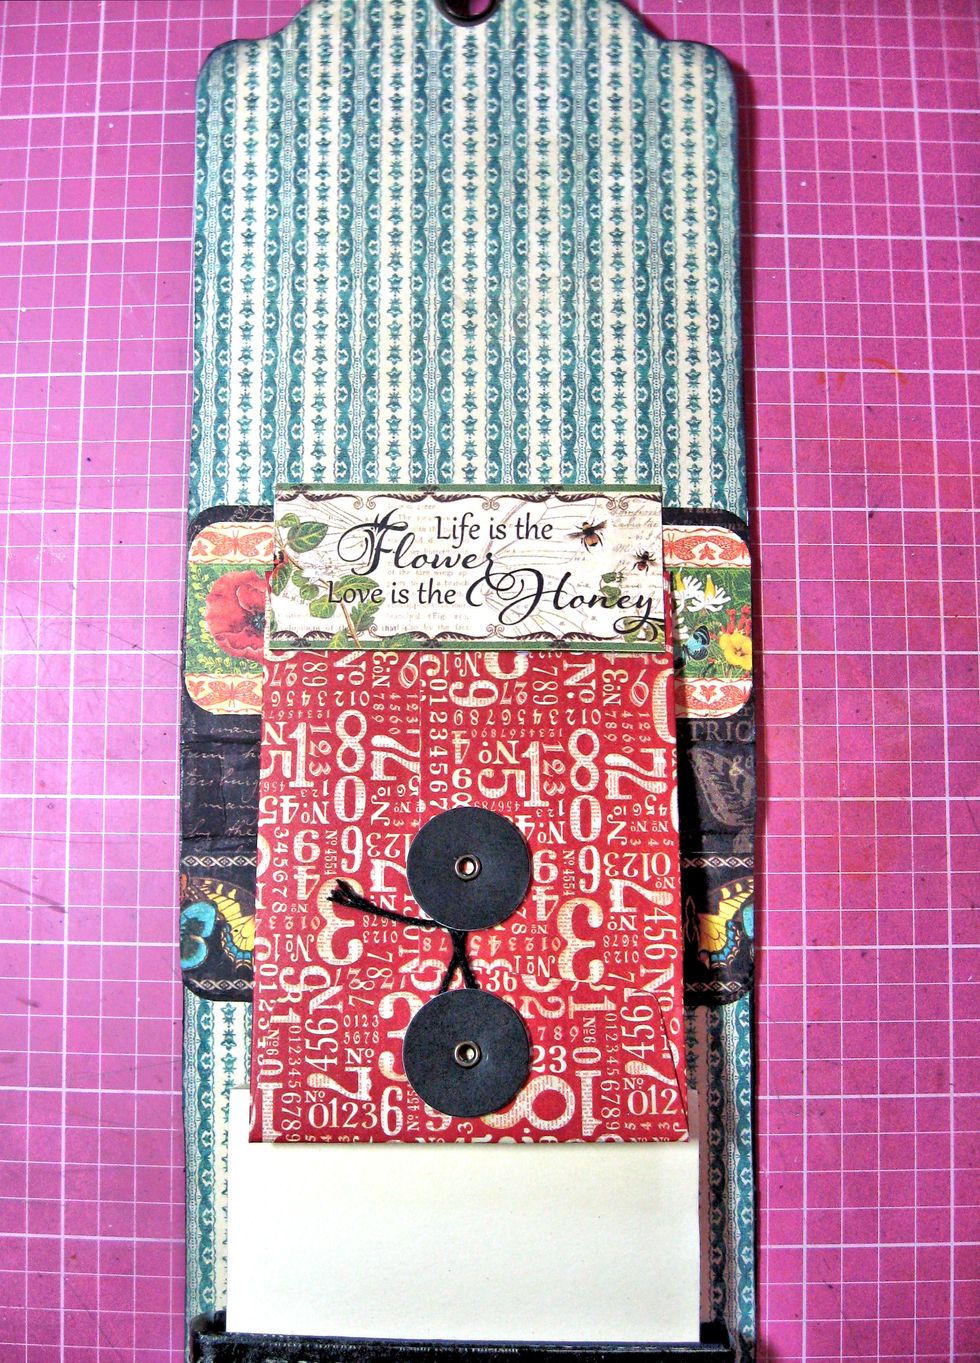
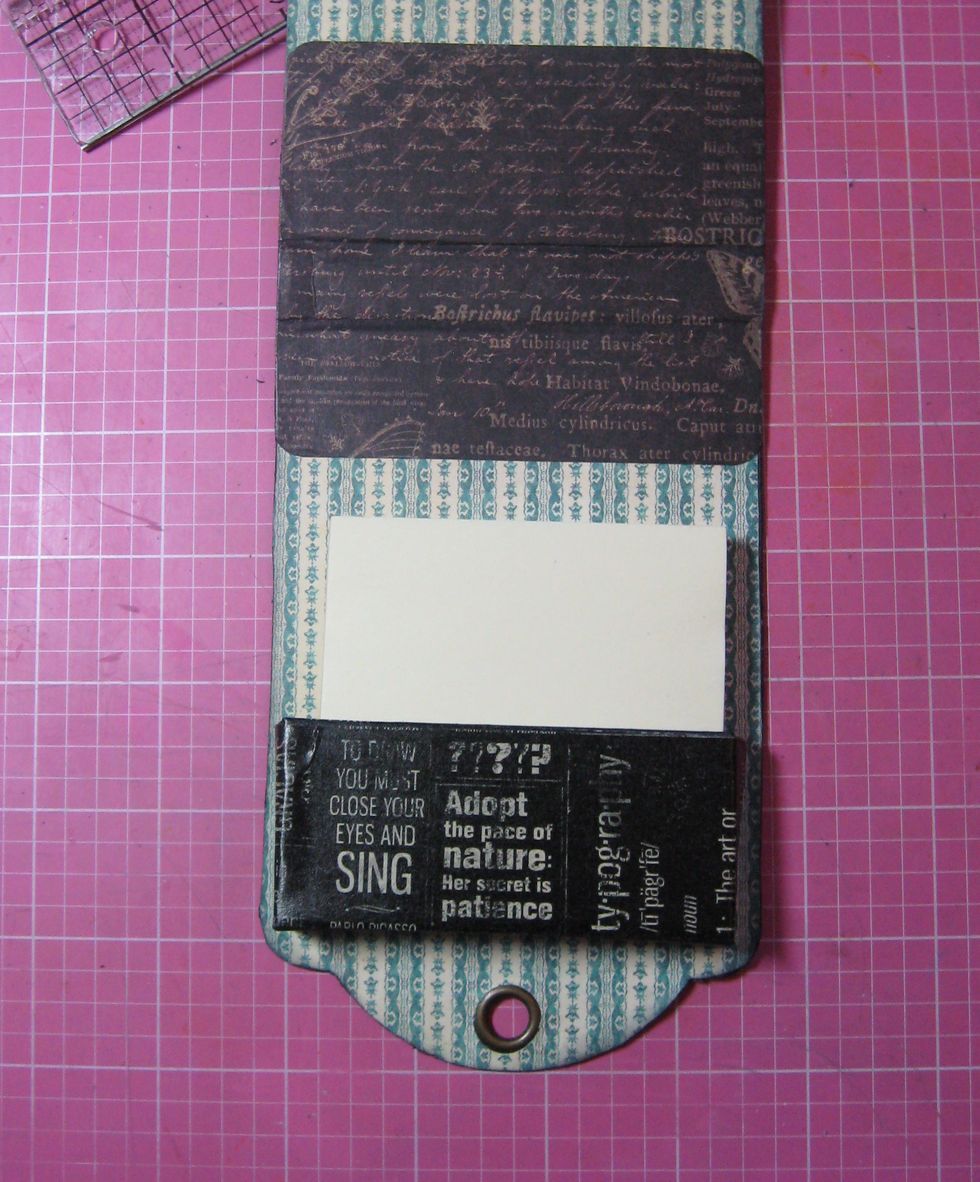
The ATC envelope can be folded down, and you can store postage stamps or other small items inside.
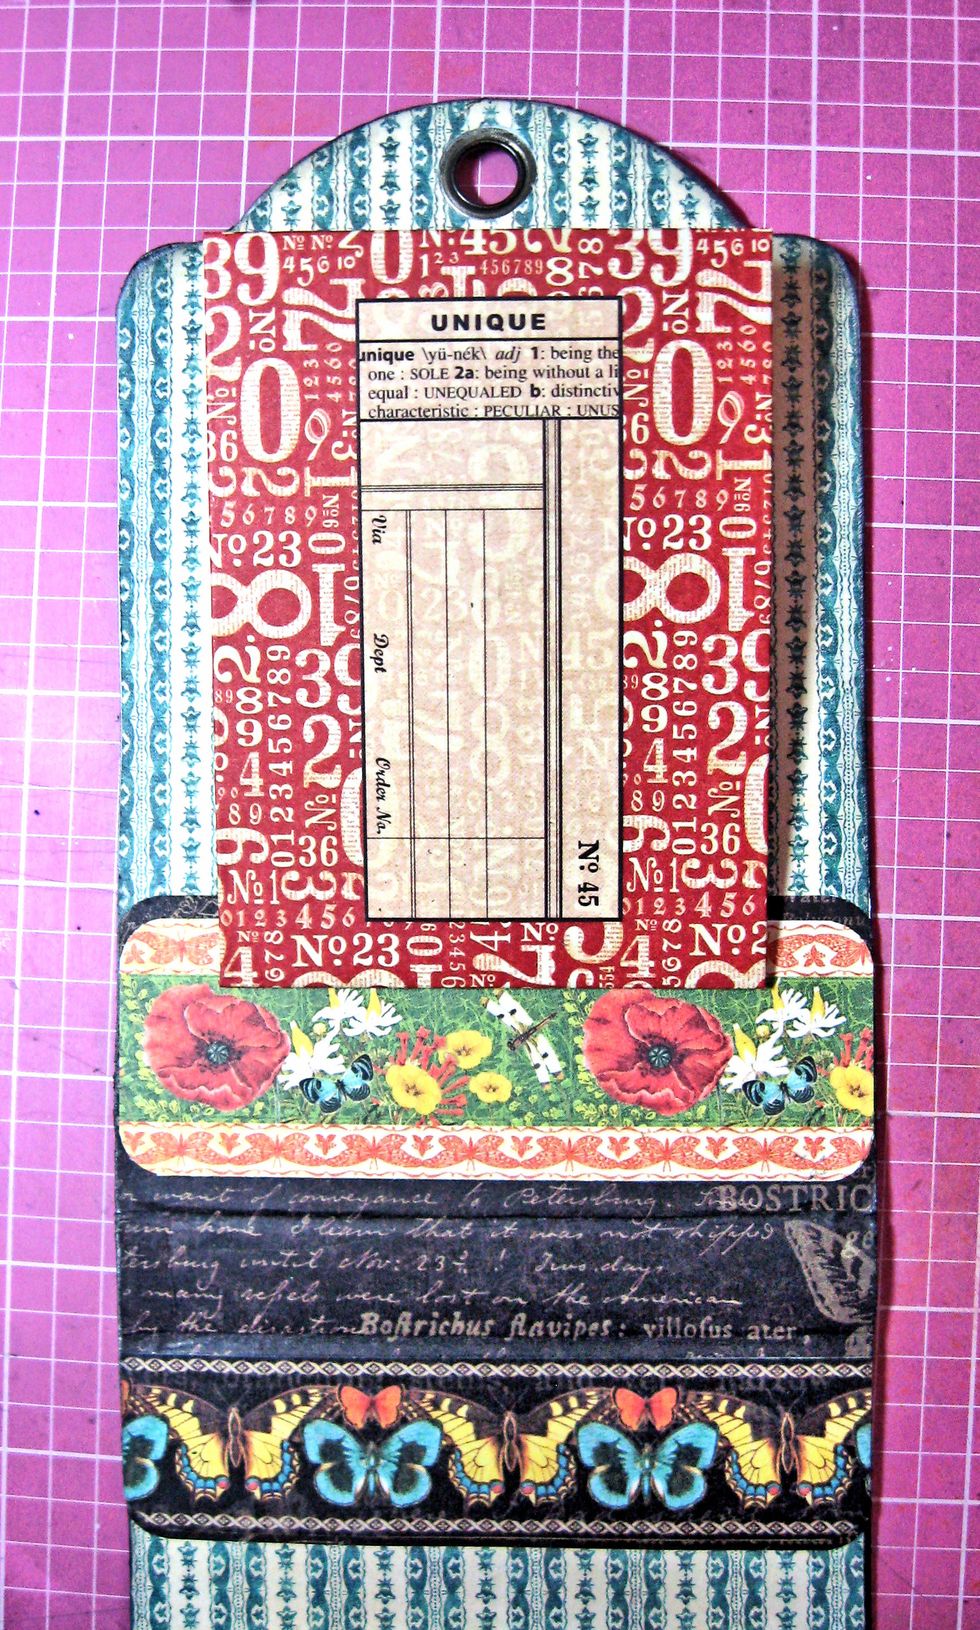
Trim down a small ephemera card to fit behind ATC envelope. You can add important phone numbers or addresses here.
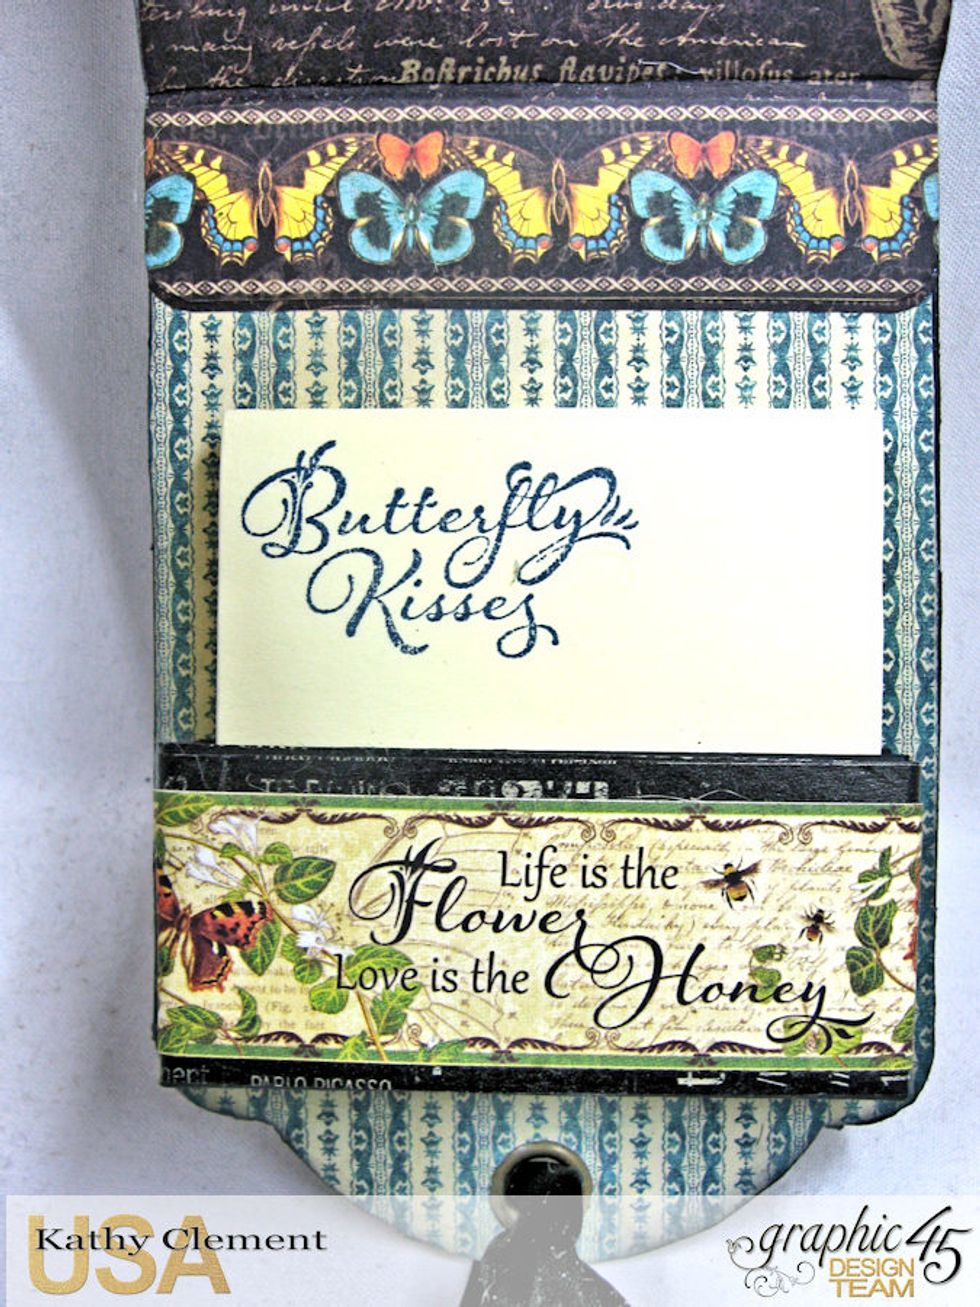
I used a Nature Sketchbook cling stamp to add a little sentiment to my sticky note pad.

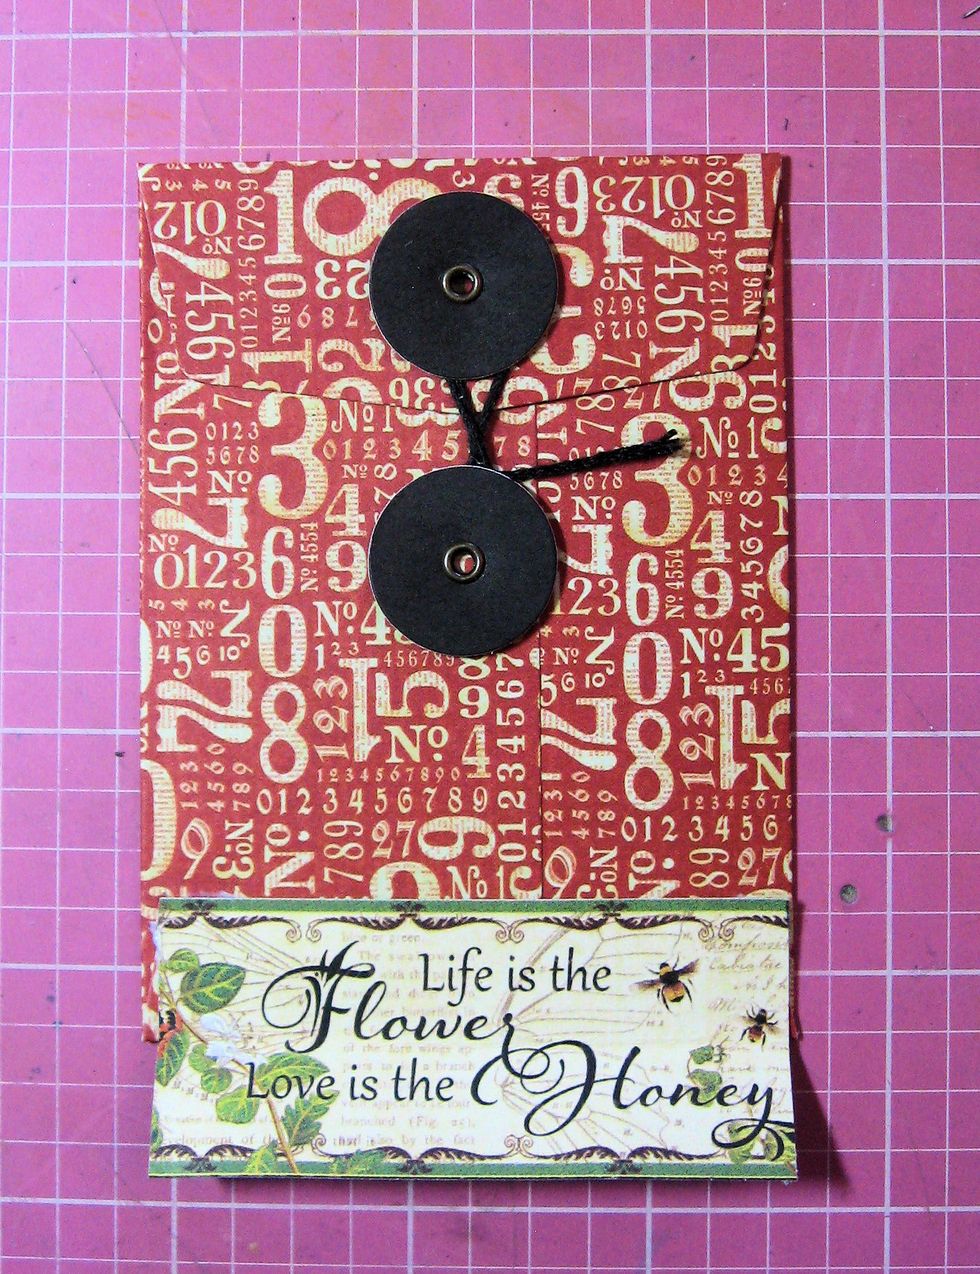
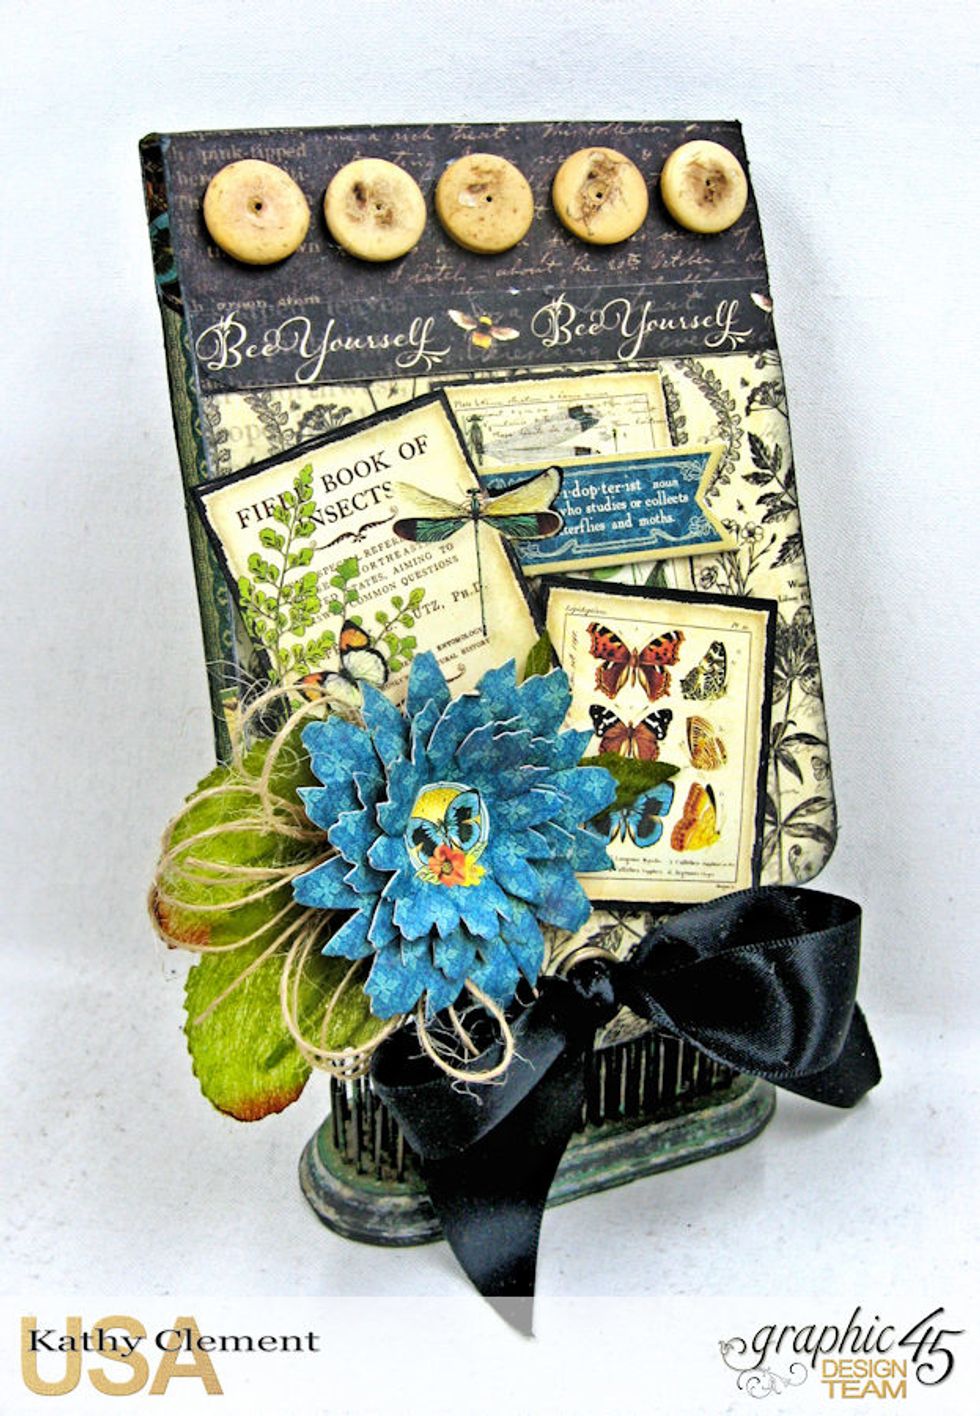
Run a piece of black satin ribbon through both grommet holes and tie to form the closure. Then decorate the notepad holder front. I added some vintage buttons, another border strip, and chipboard.
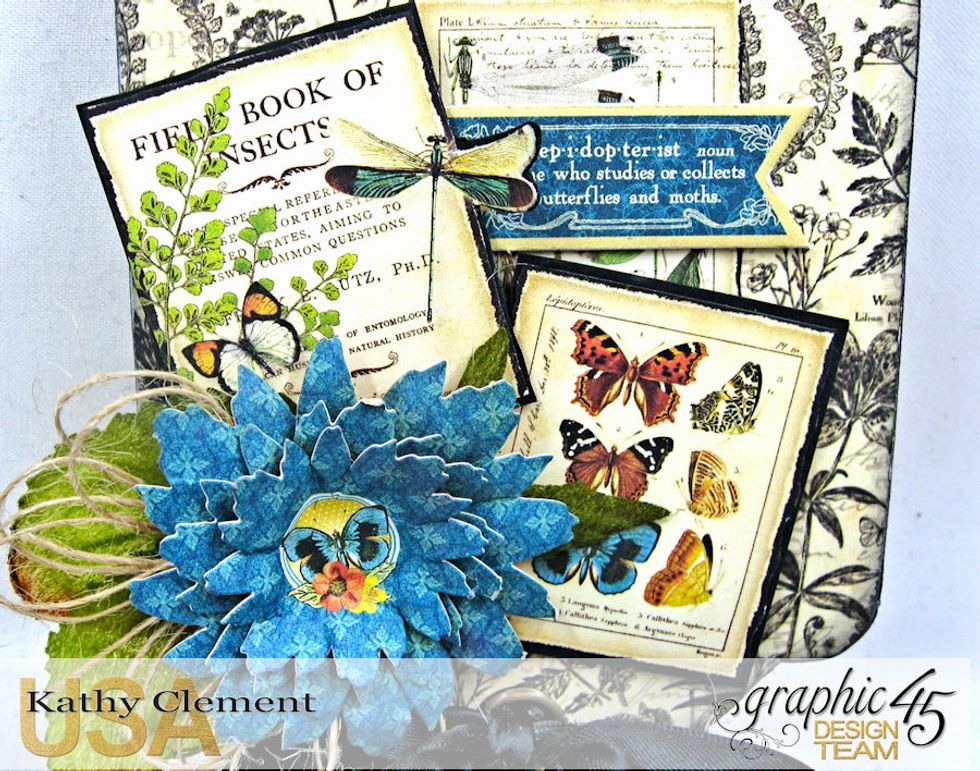
Mat images from 8x8 papers onto black cs. Cluster together as seen here. Add dimension with foam tape or waste chipboard. Punch out 3 die cut flowers, shape with a stylus and layer together.

I added some leaves from my stash and a loopy string bow to finish out the flower cluster.

Your Nature Sketchbook Upcycled Note Pad is now finished and ready for gifting. I like to make several of these at a time, then keep them on hand when I need a last minute gift.

It's easy to tuck a little gift card or other treat inside the envelope.

When you've used up the sticky note pad, just add a new one to the pocket.
Thanks for joining me! I'd love to hear from you in the comment section below. Now go get your craft on!