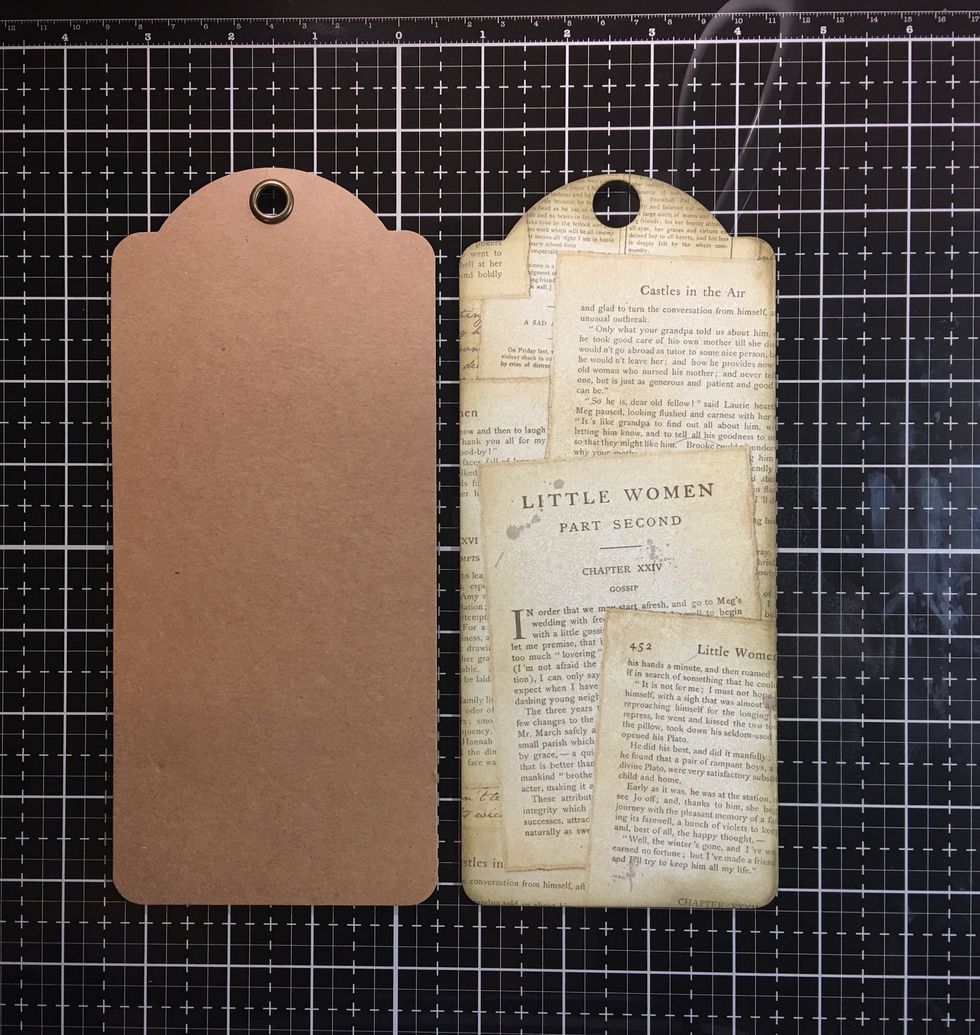
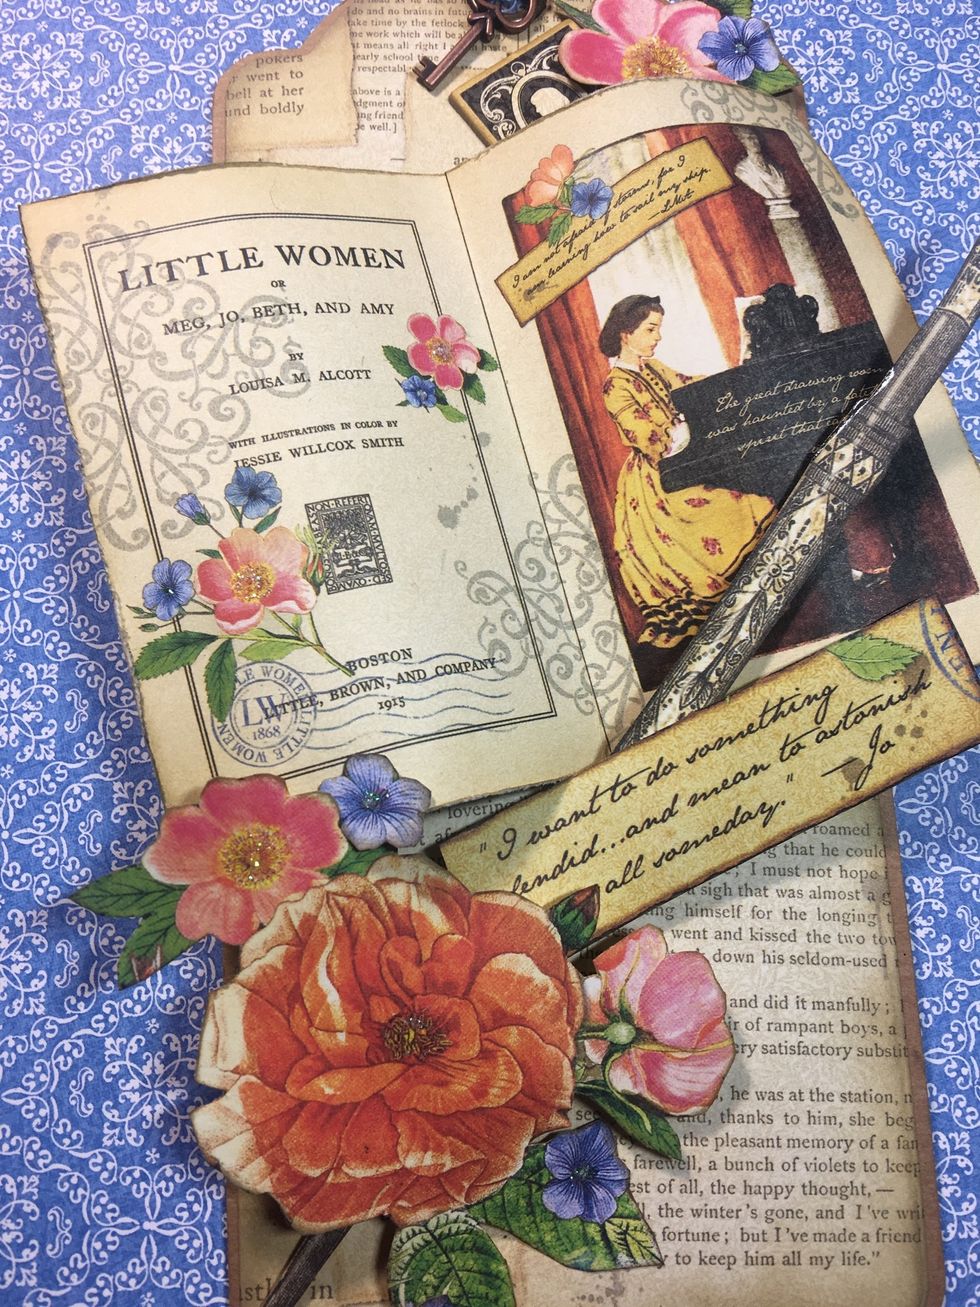
Start with a large Graphic 45 tag. I chose the Kraft color.
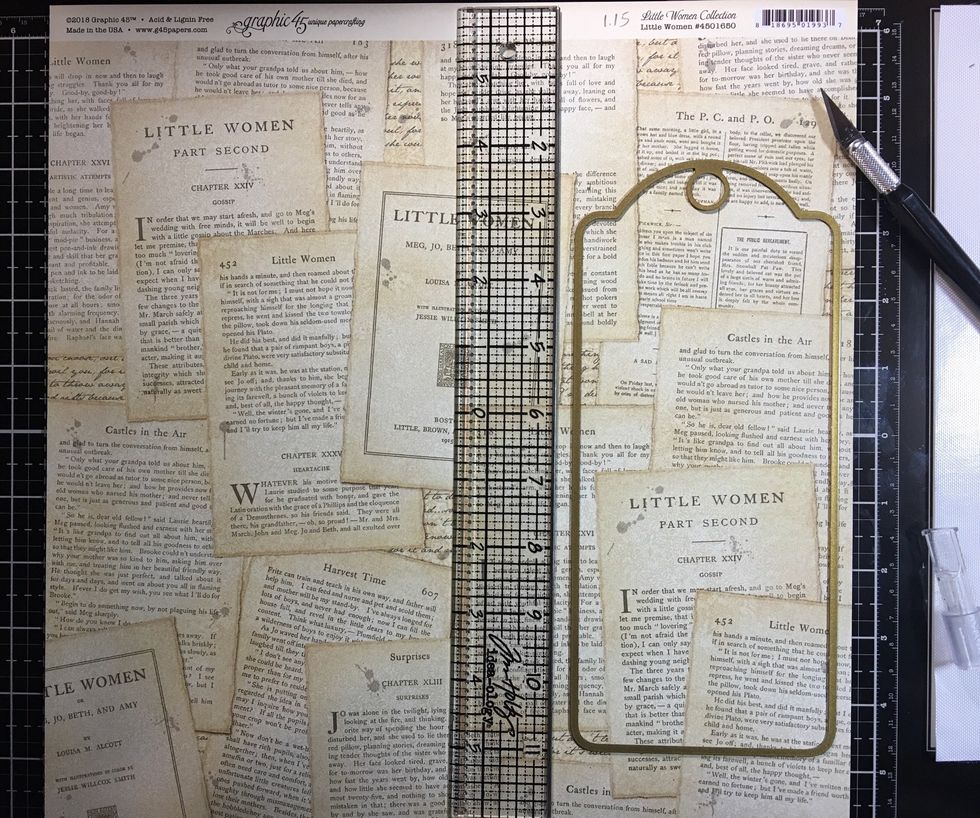
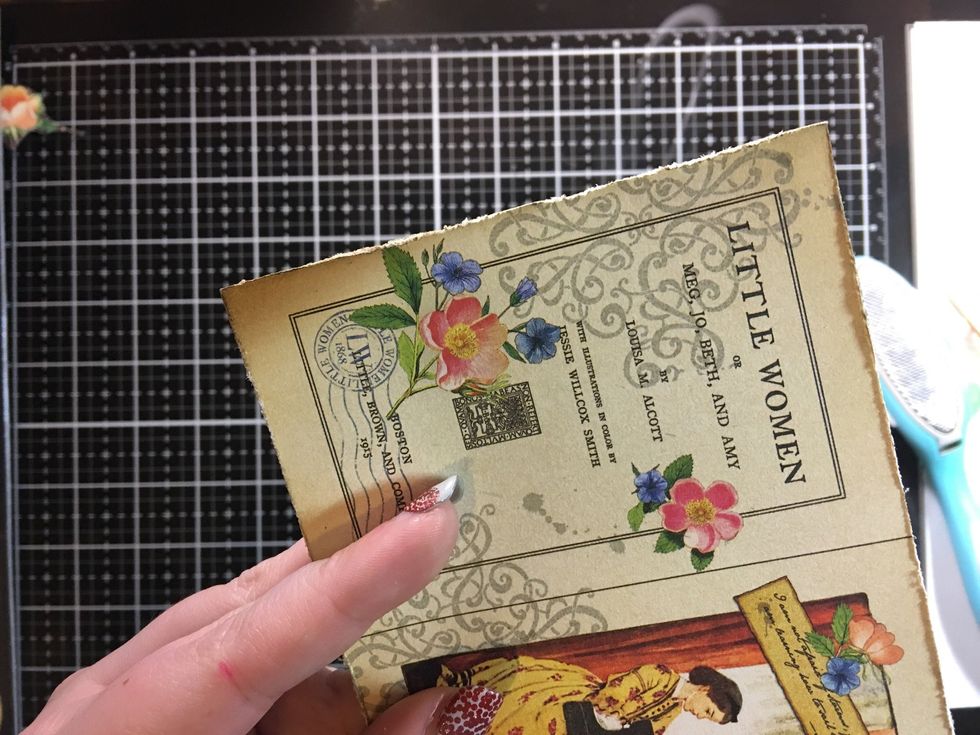
Taking the 12x12 title page from the Little Women collection cut the paper down to fit your die machine with the large tag die.
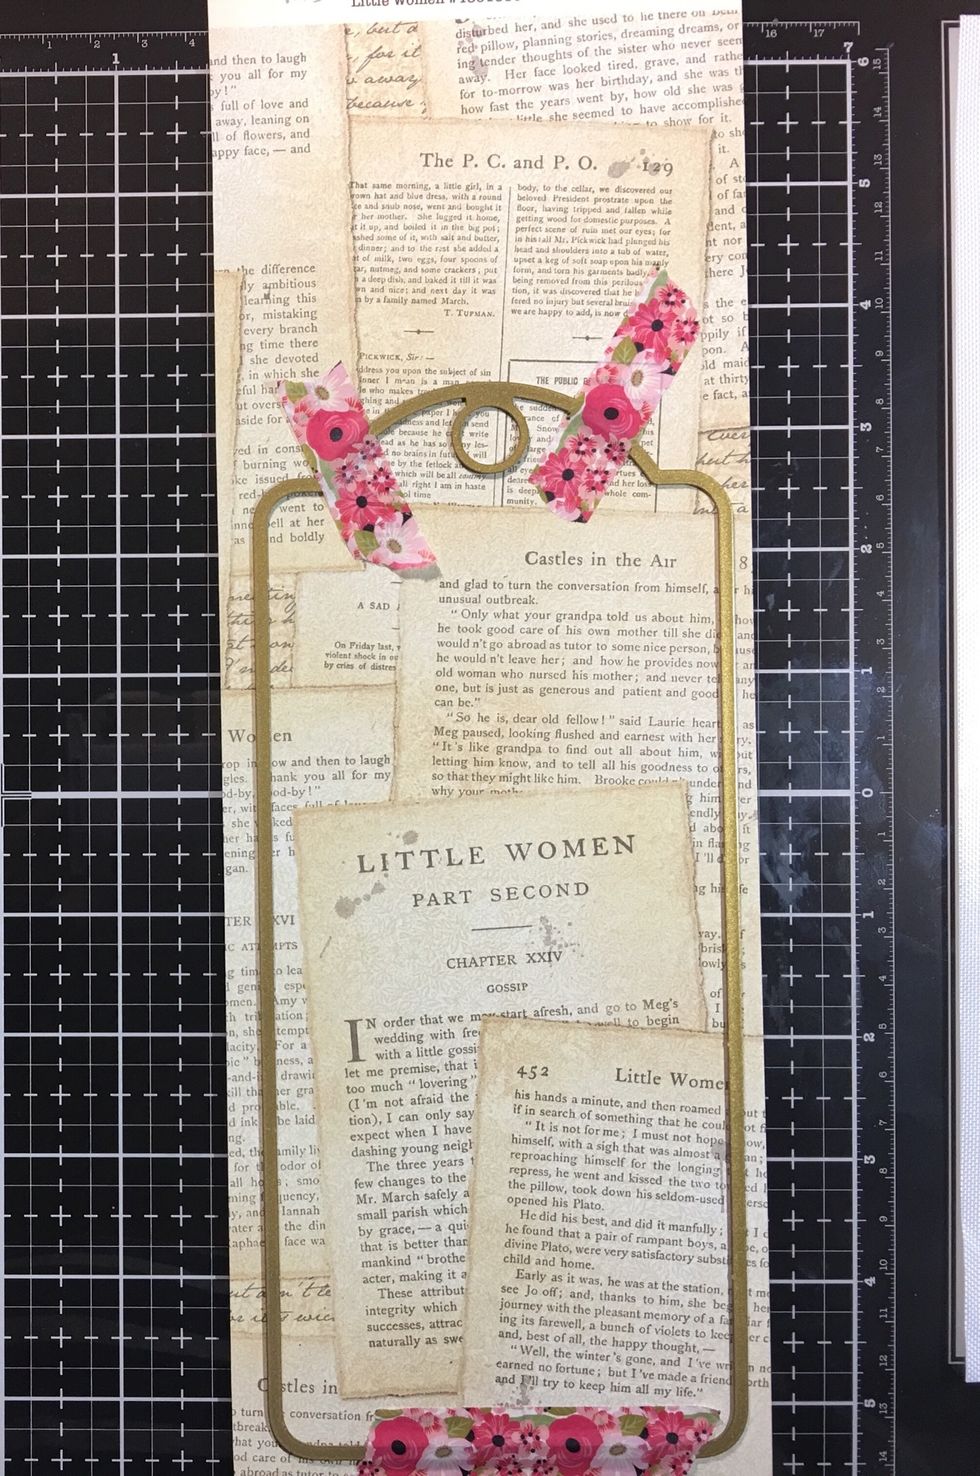
I use washi tap to hold my die in place when running it thru my big shot.
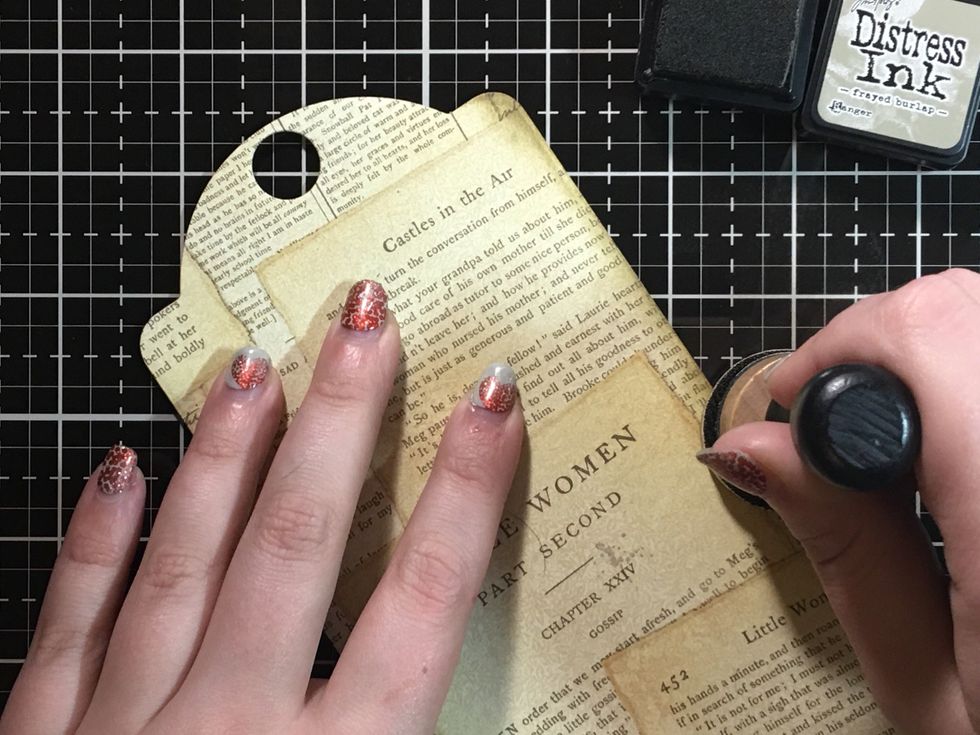
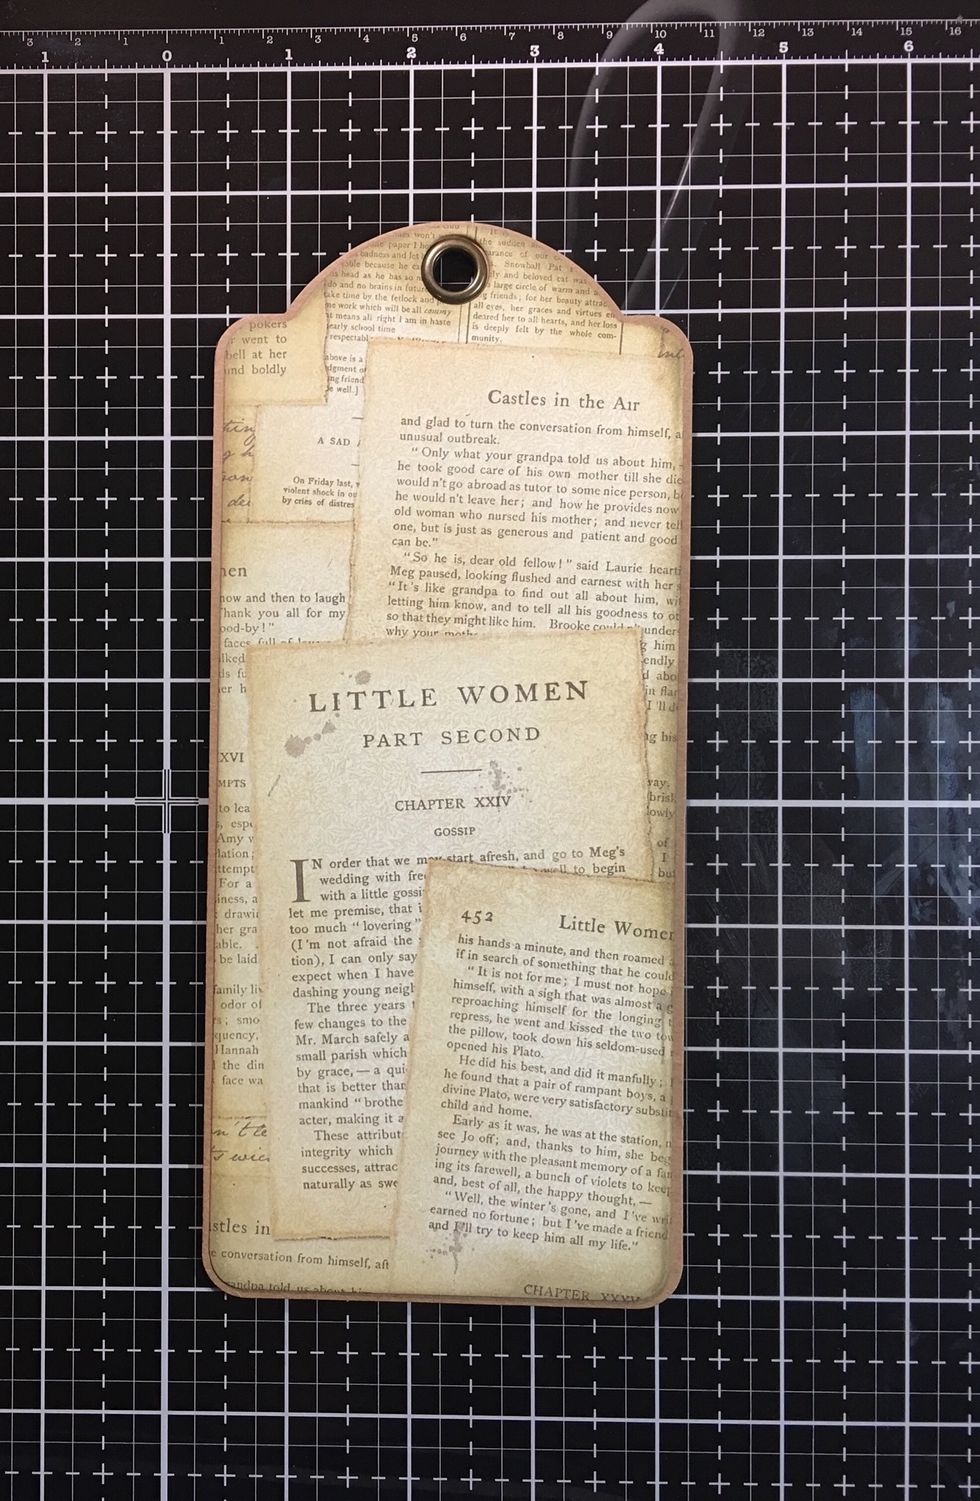
Use distress ink in frayed burlap to lightly go over the edges of the die cut.
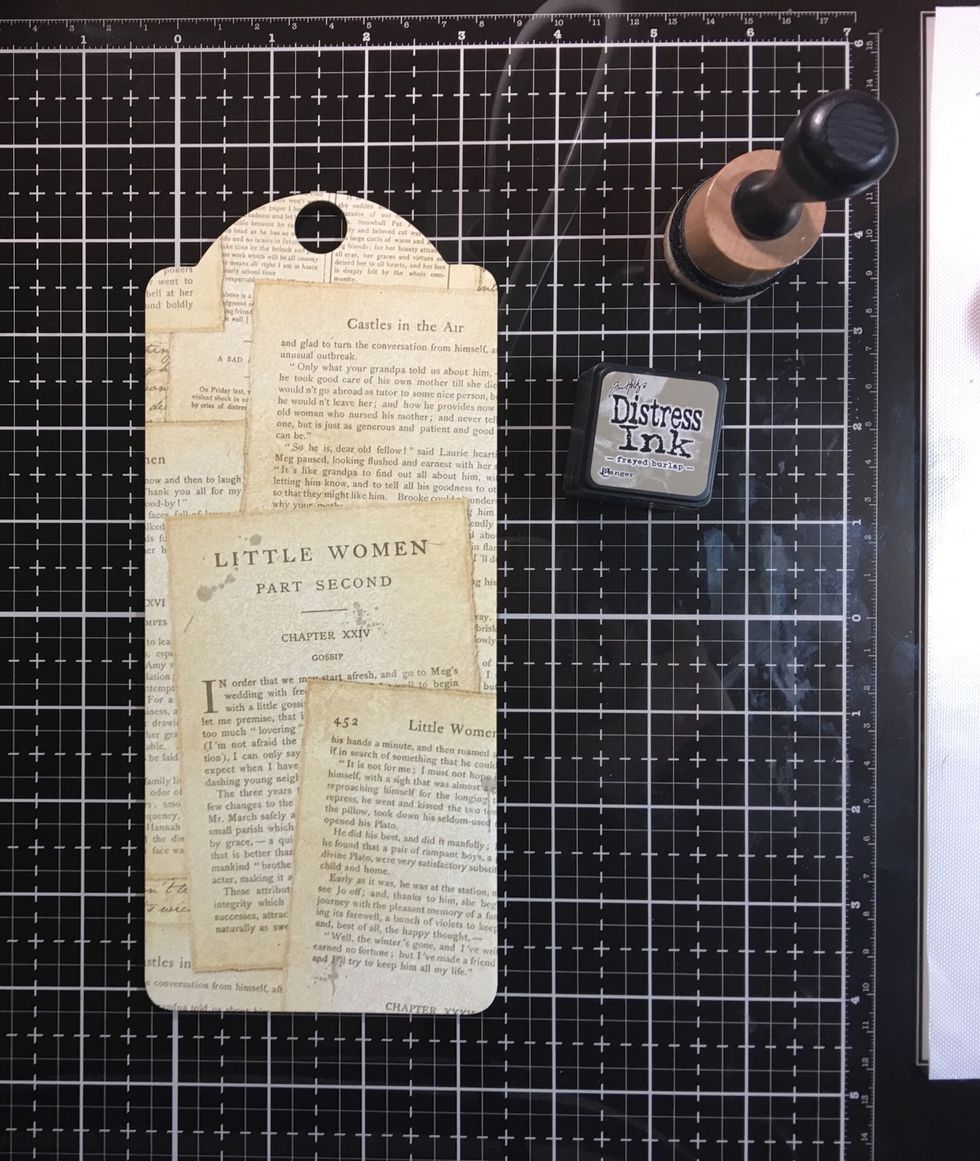
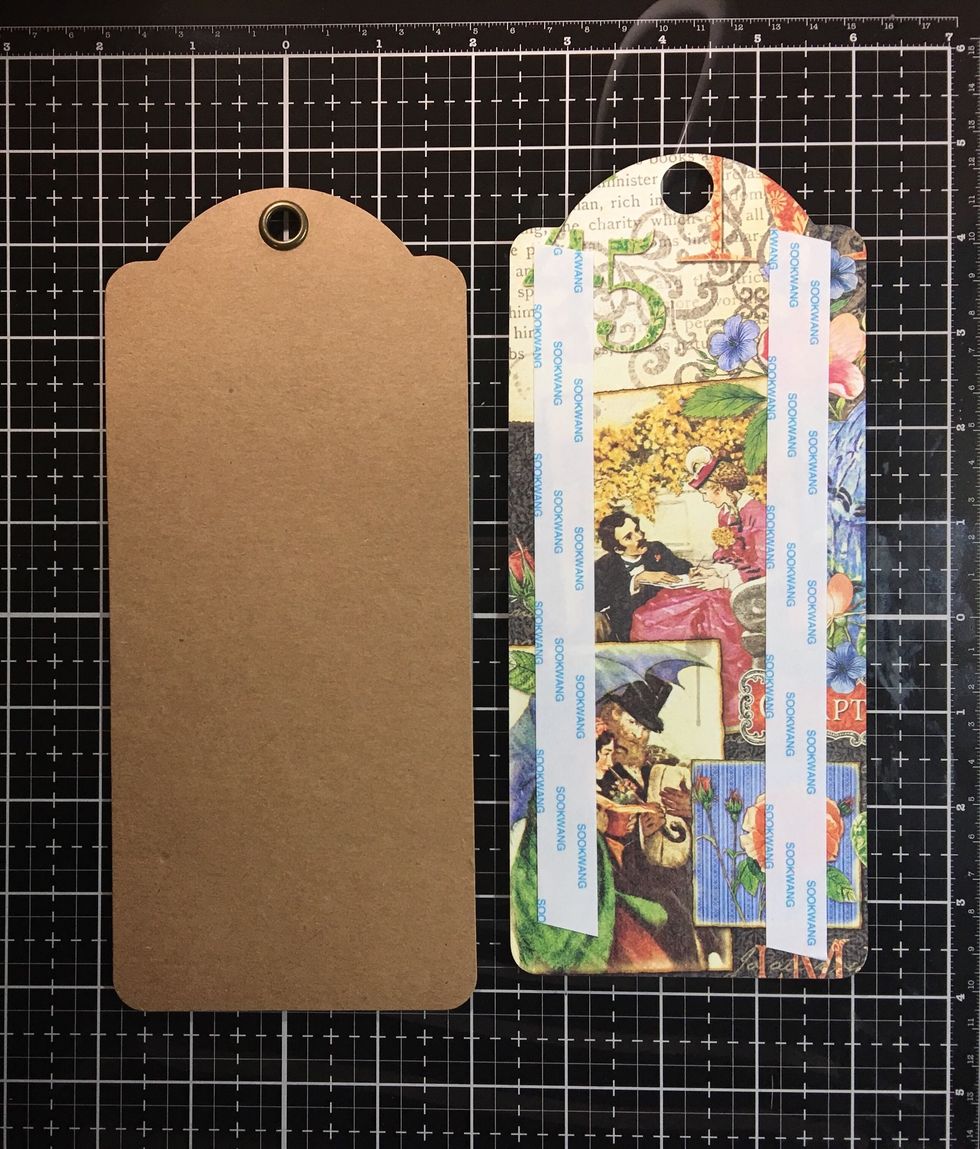
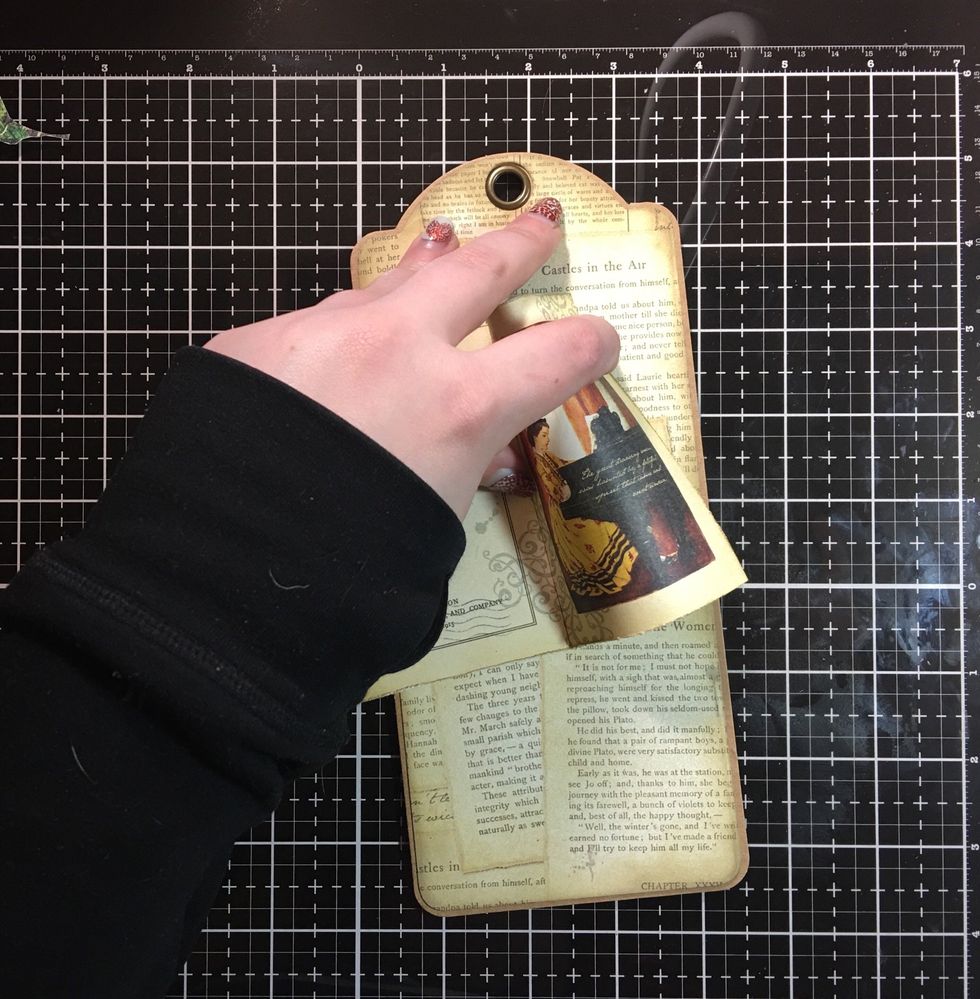
Use score tap or a wet glue to adhere the cutout to your tag.
Voila! A perfect fit.
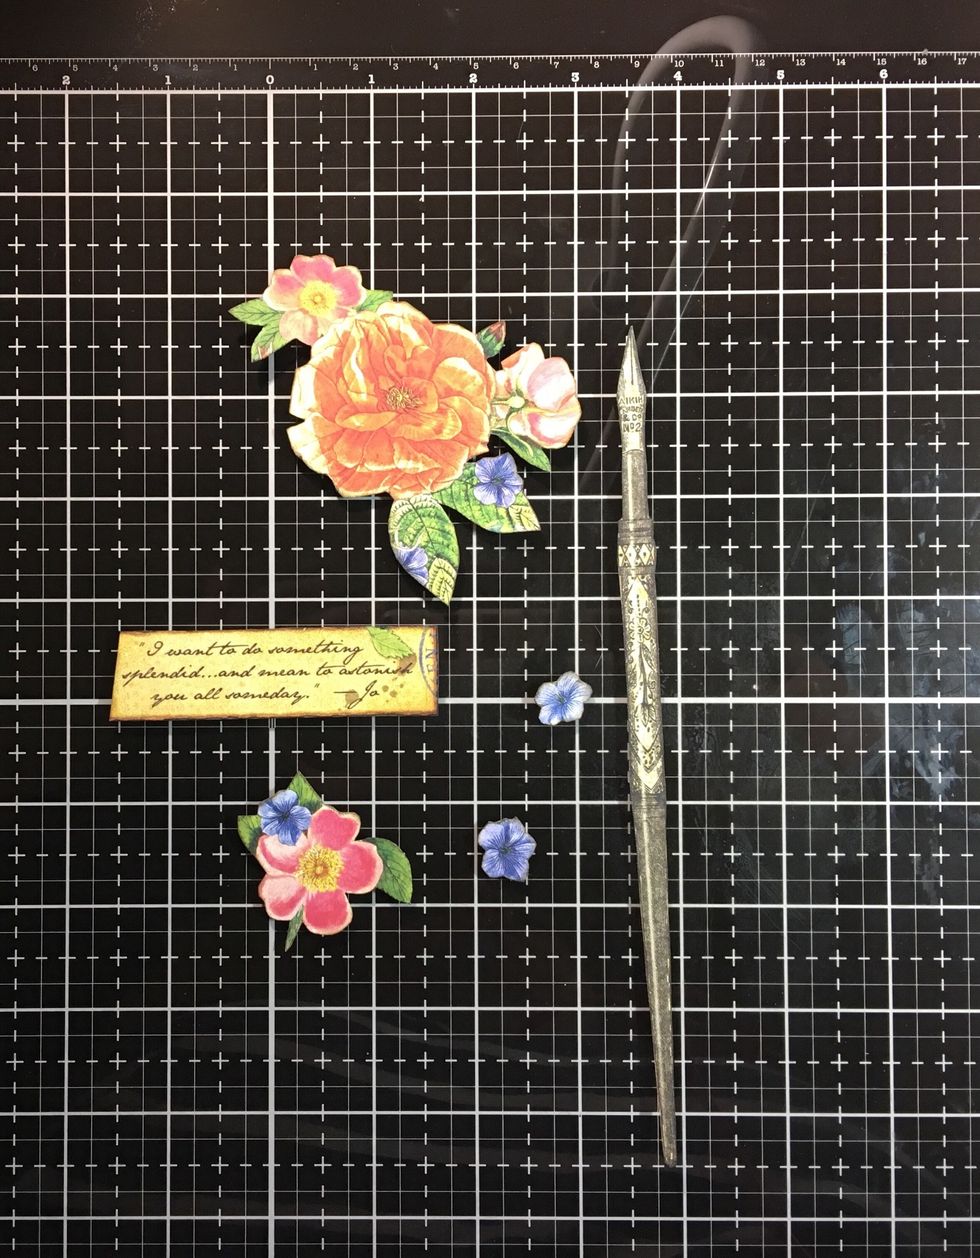
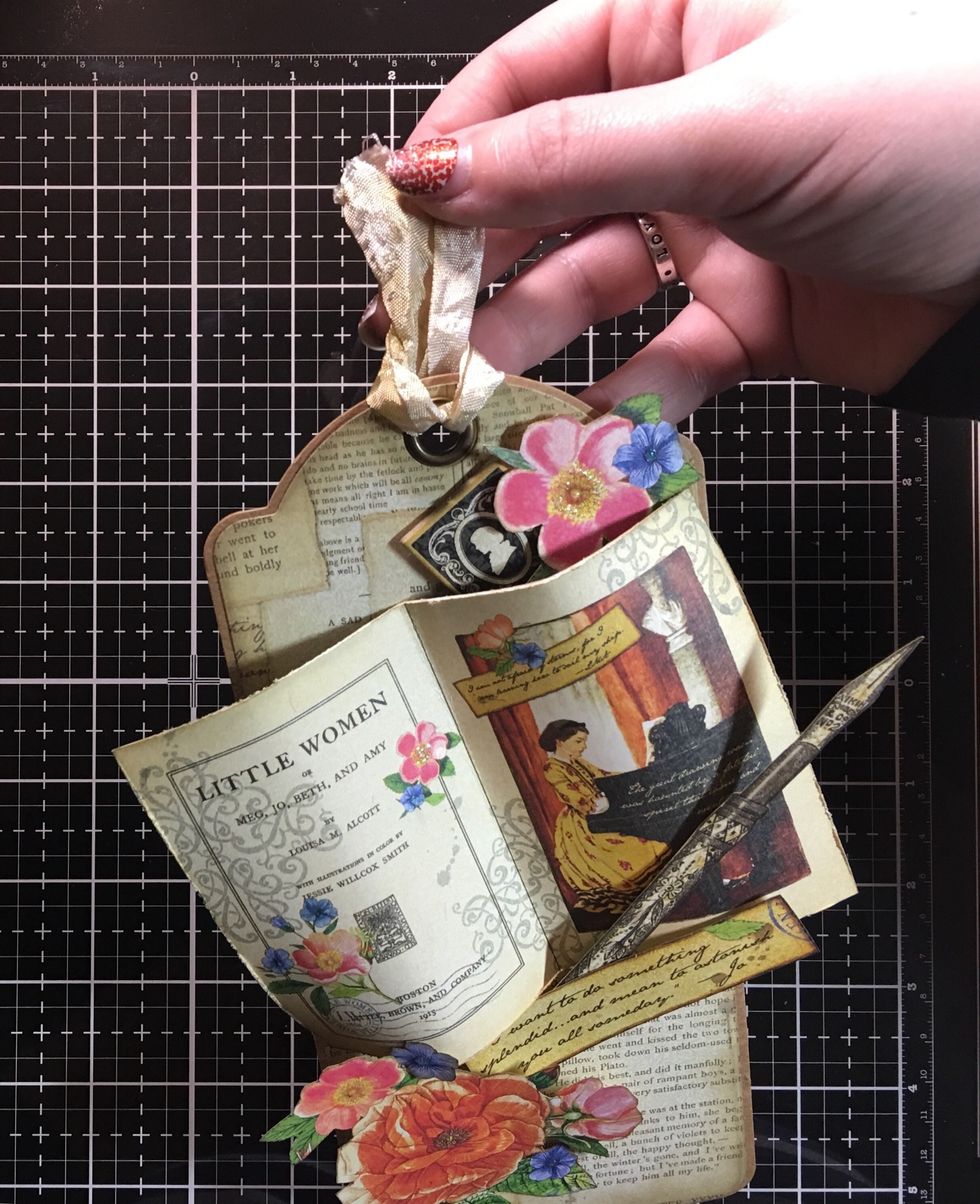
Fussy cut some flowers, the pen, and the quote from the title page. Tip: I made sure to cut my tag on the side opposite of the images I wanted. This way I only used one piece of paper!
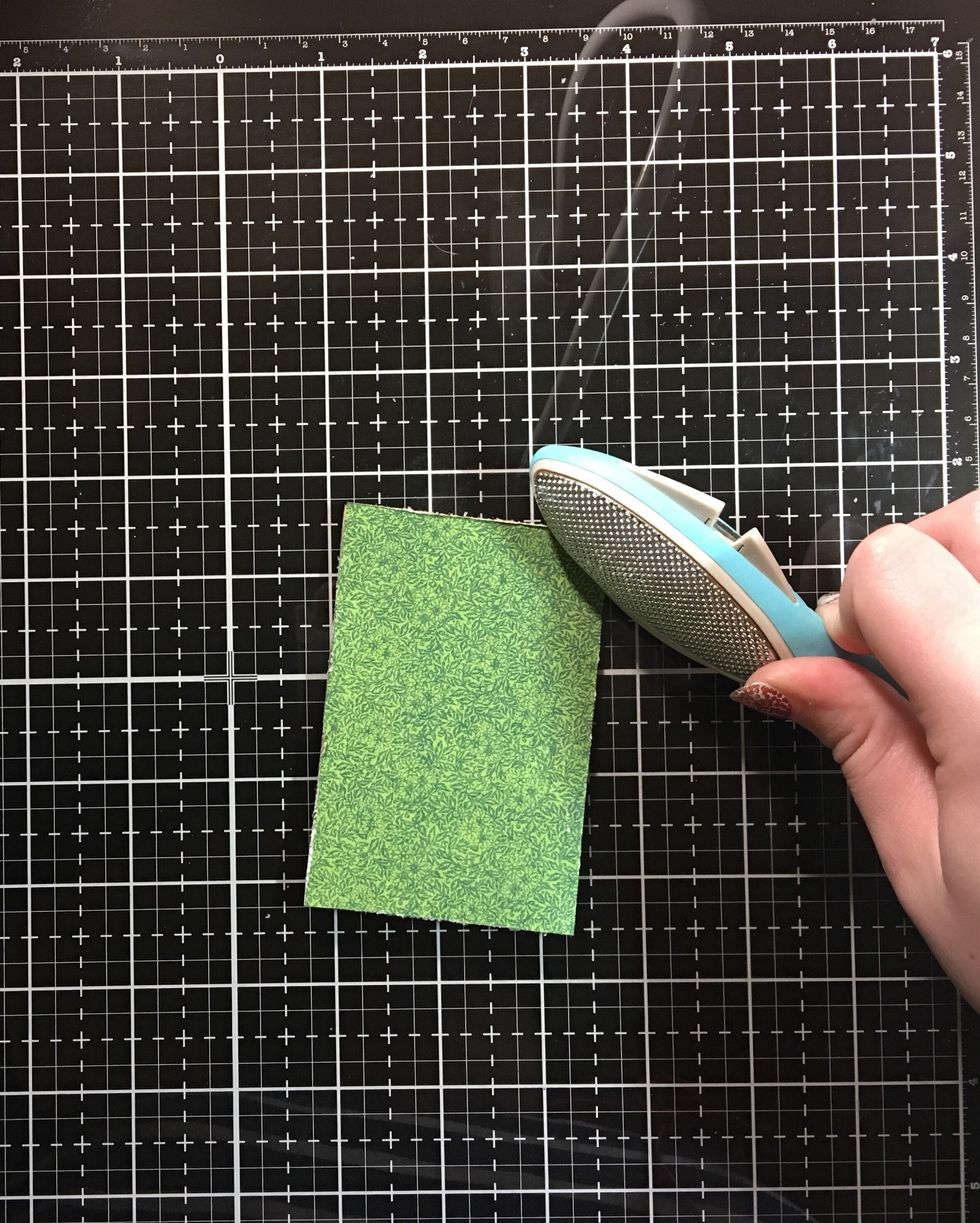
Cut out one of the book pages from the 8x8 paper. Using a distress tool lightly distress the edges.
Fold in half.
Use a bone folder to sharpen the crease.
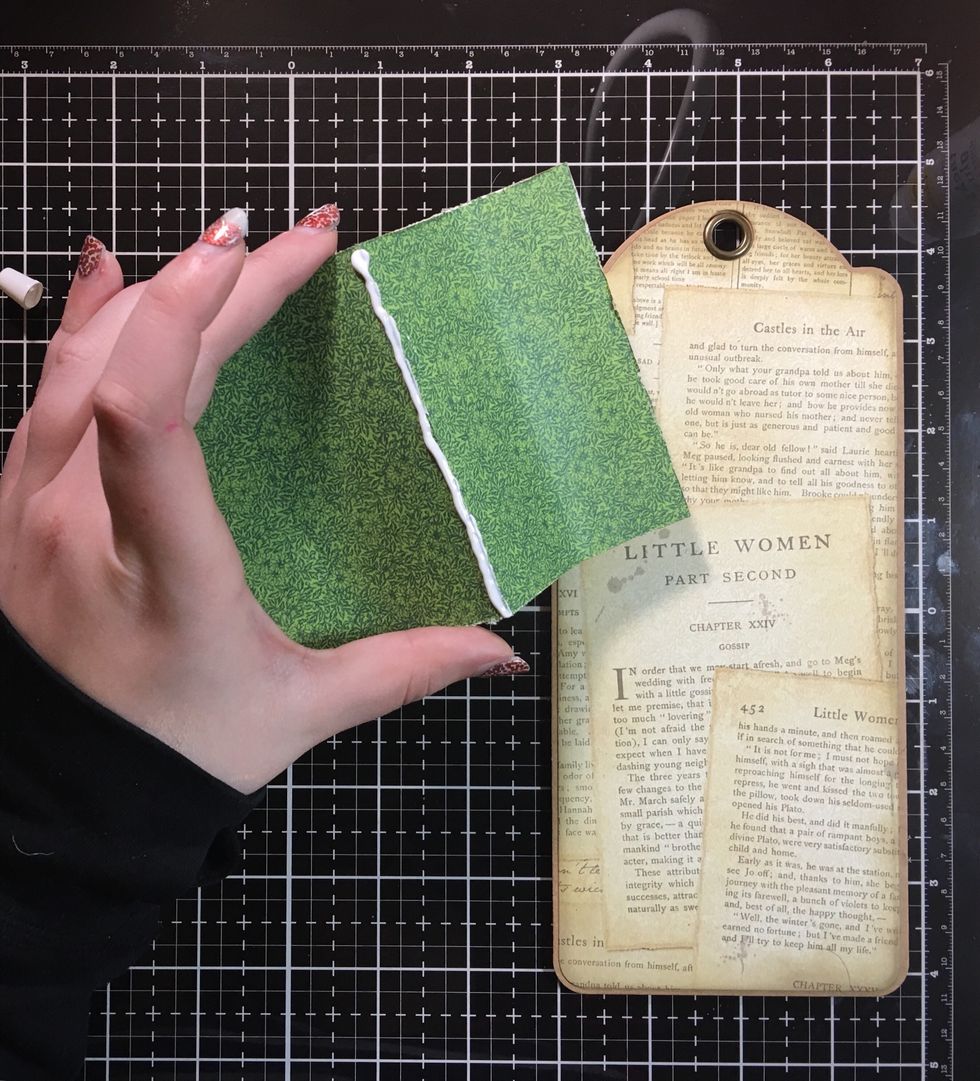
Gently curl the pages
Use a wet glue down the crease
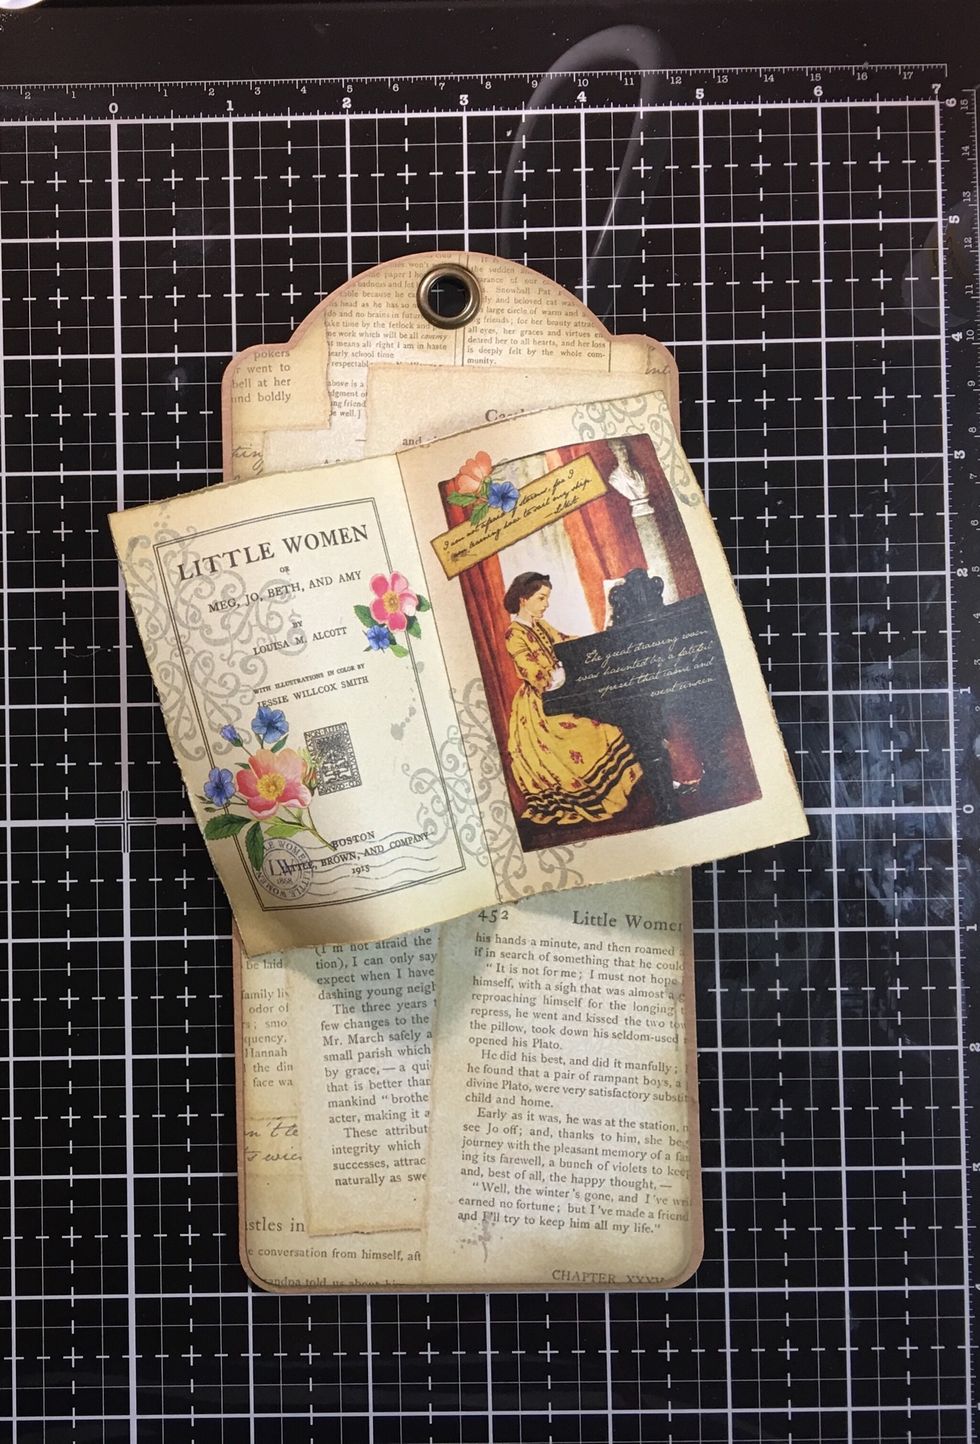
Adhere at a slight angle to the tag
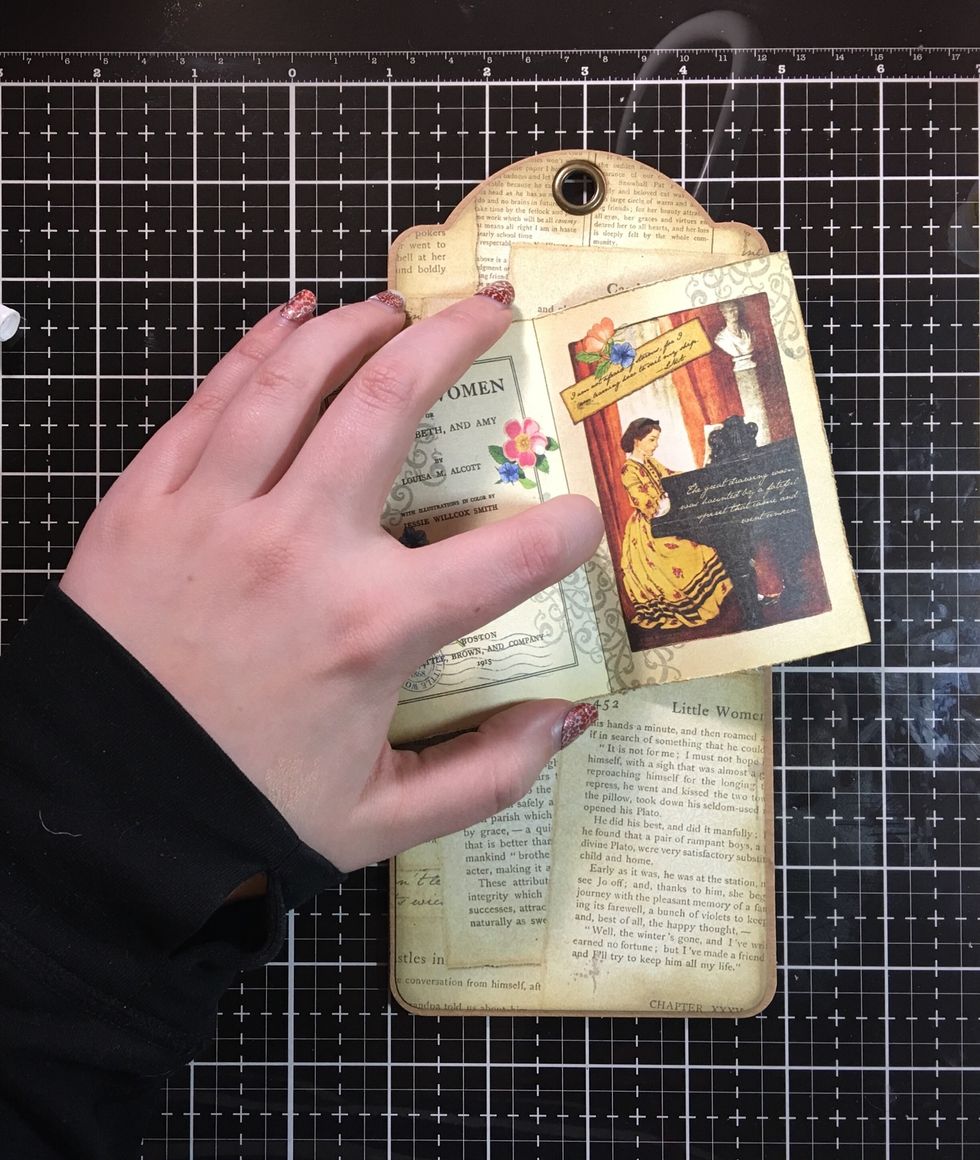
Once dry curl the pages a little more
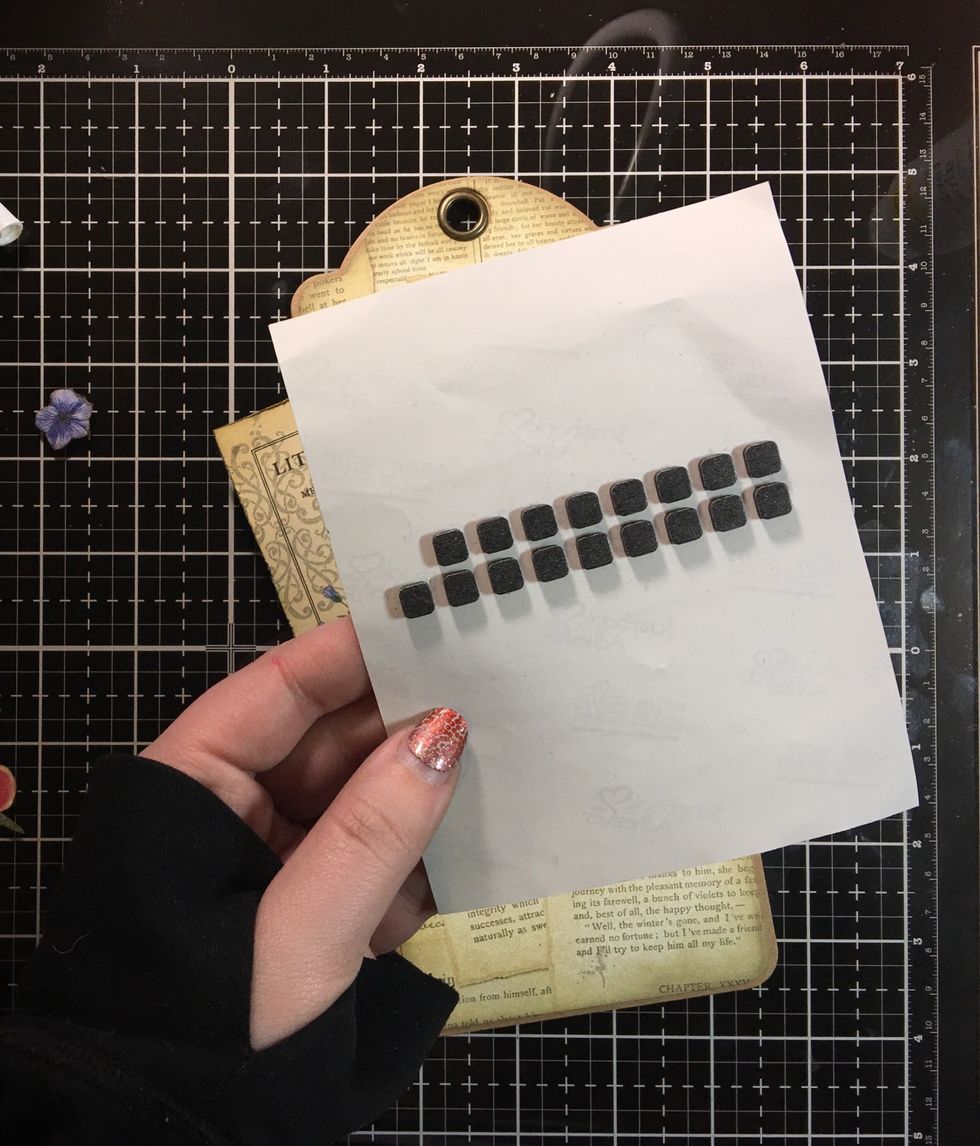
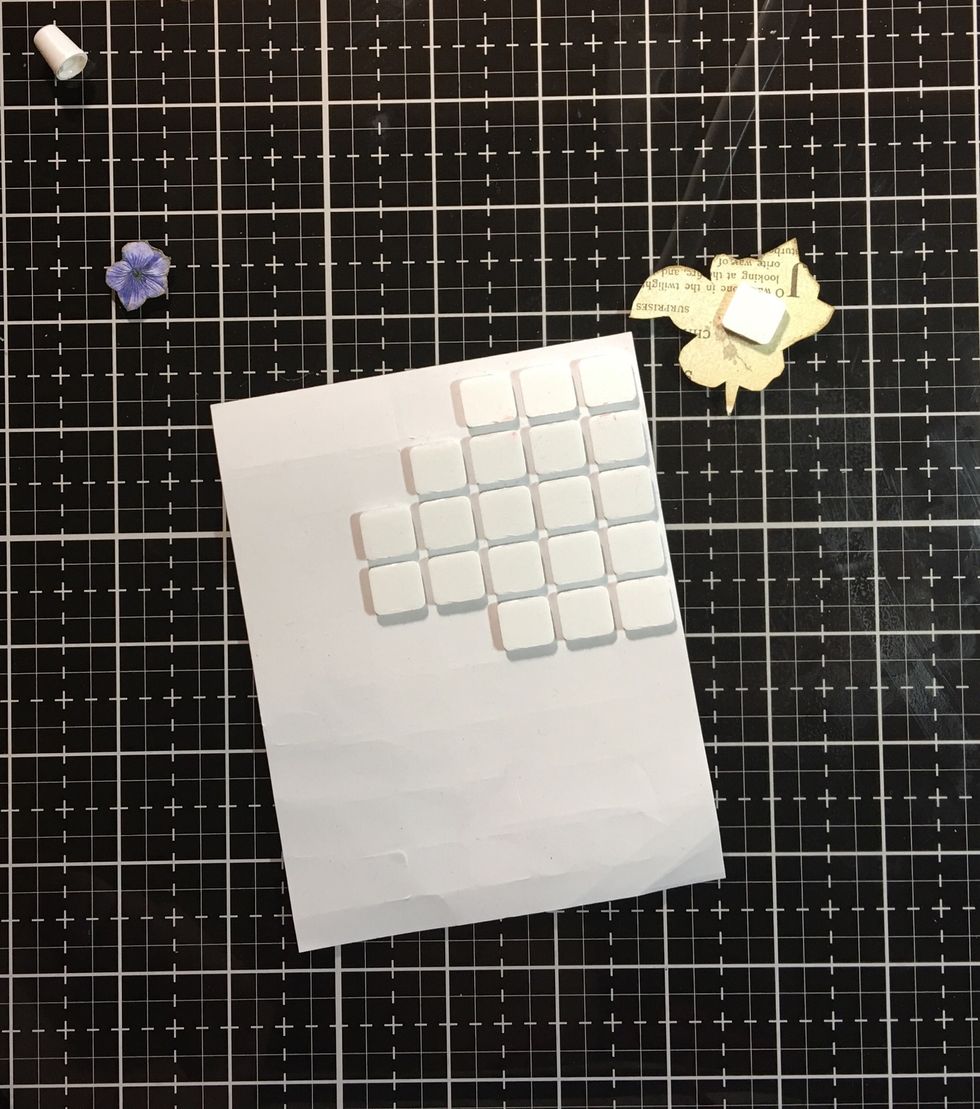
Use some small pop dots to stick the edges of the “book” down
I put one on the bottom corner of one page
And on the top of the other
I used the pop dots to help keep the shape
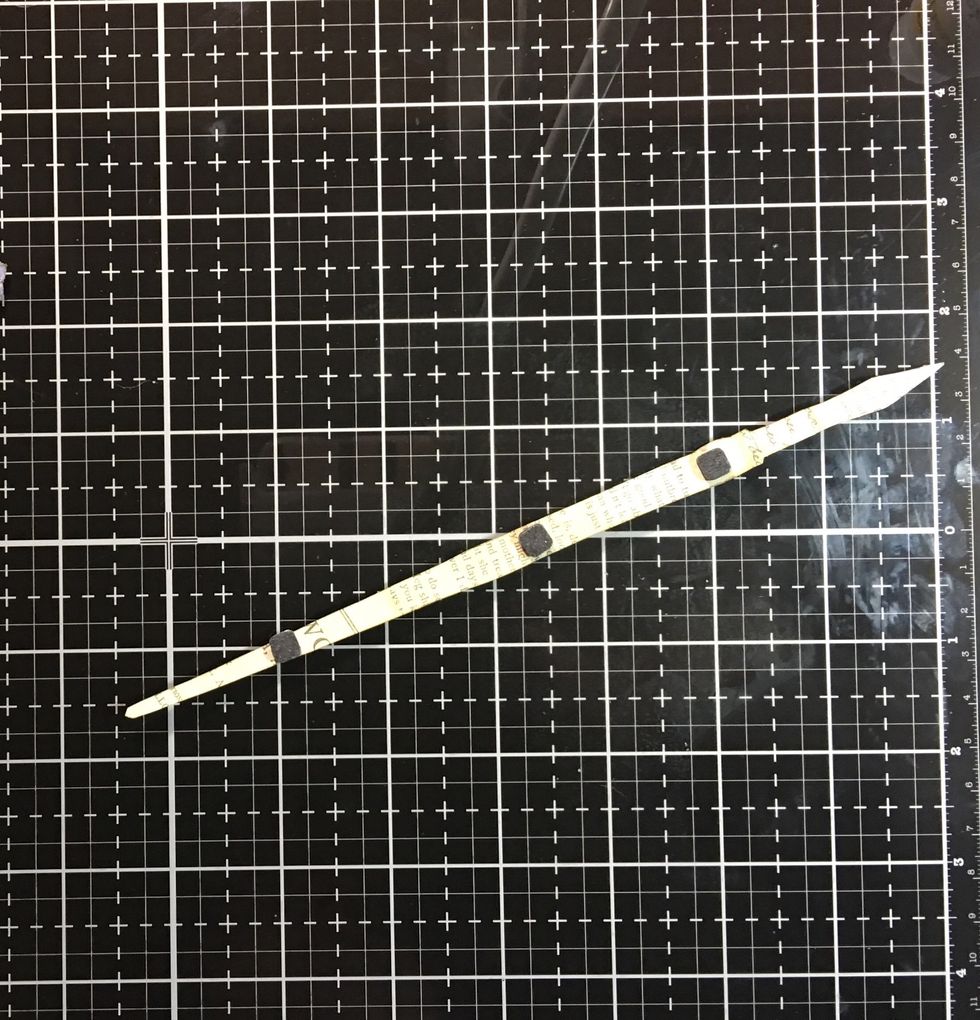
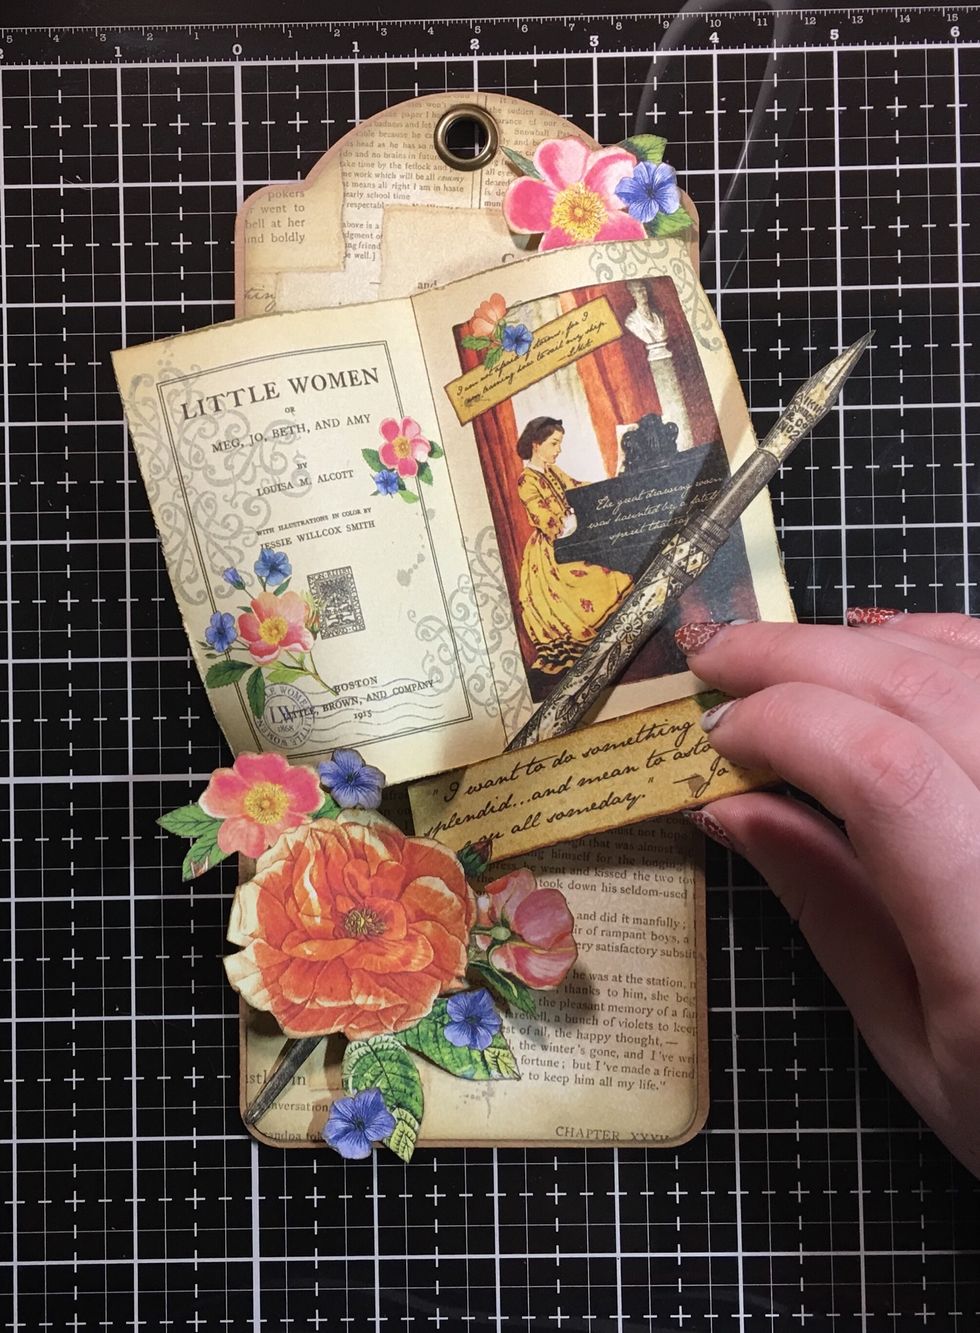
Add pop dots to the back of the pen
Lay at an angle across the tag, sticking part of it over the “book”
Use the large pop dots for the smaller flower
Stick on the top of the tag, tucking under the “book”
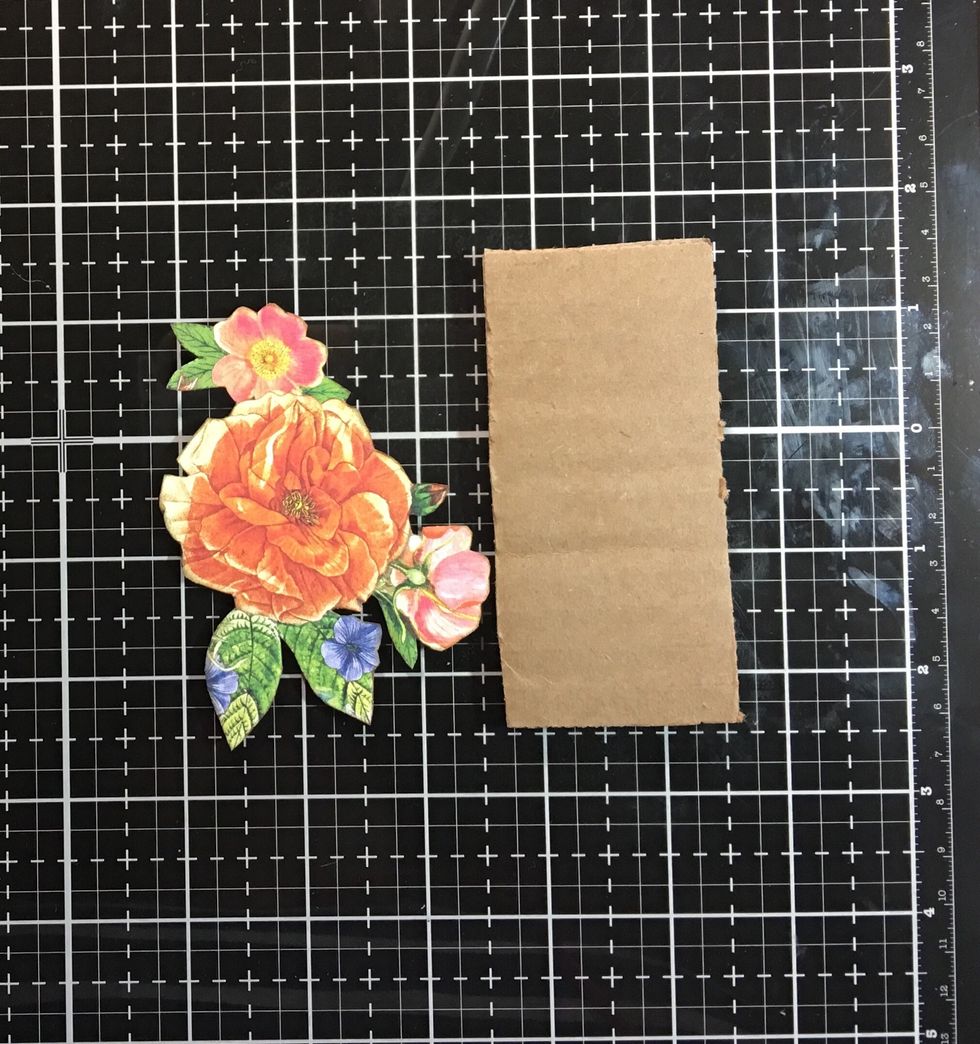
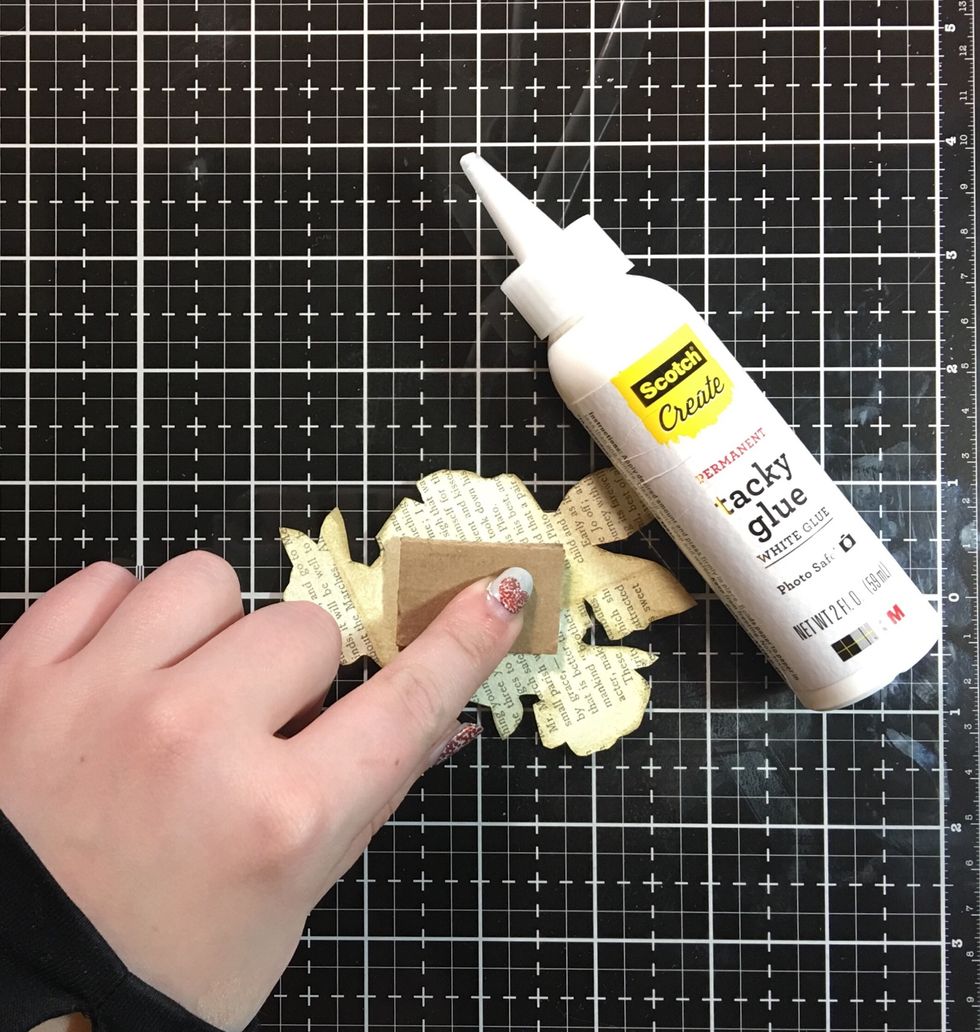
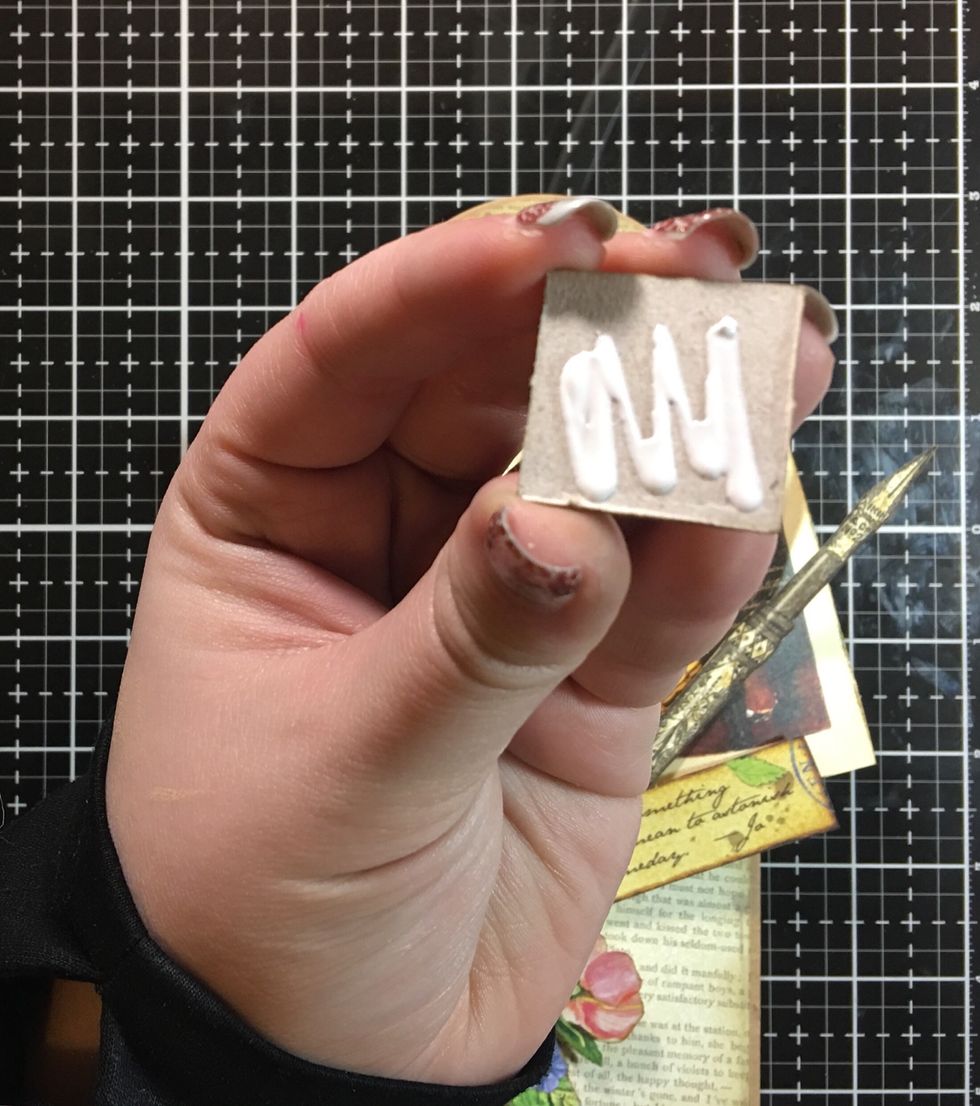
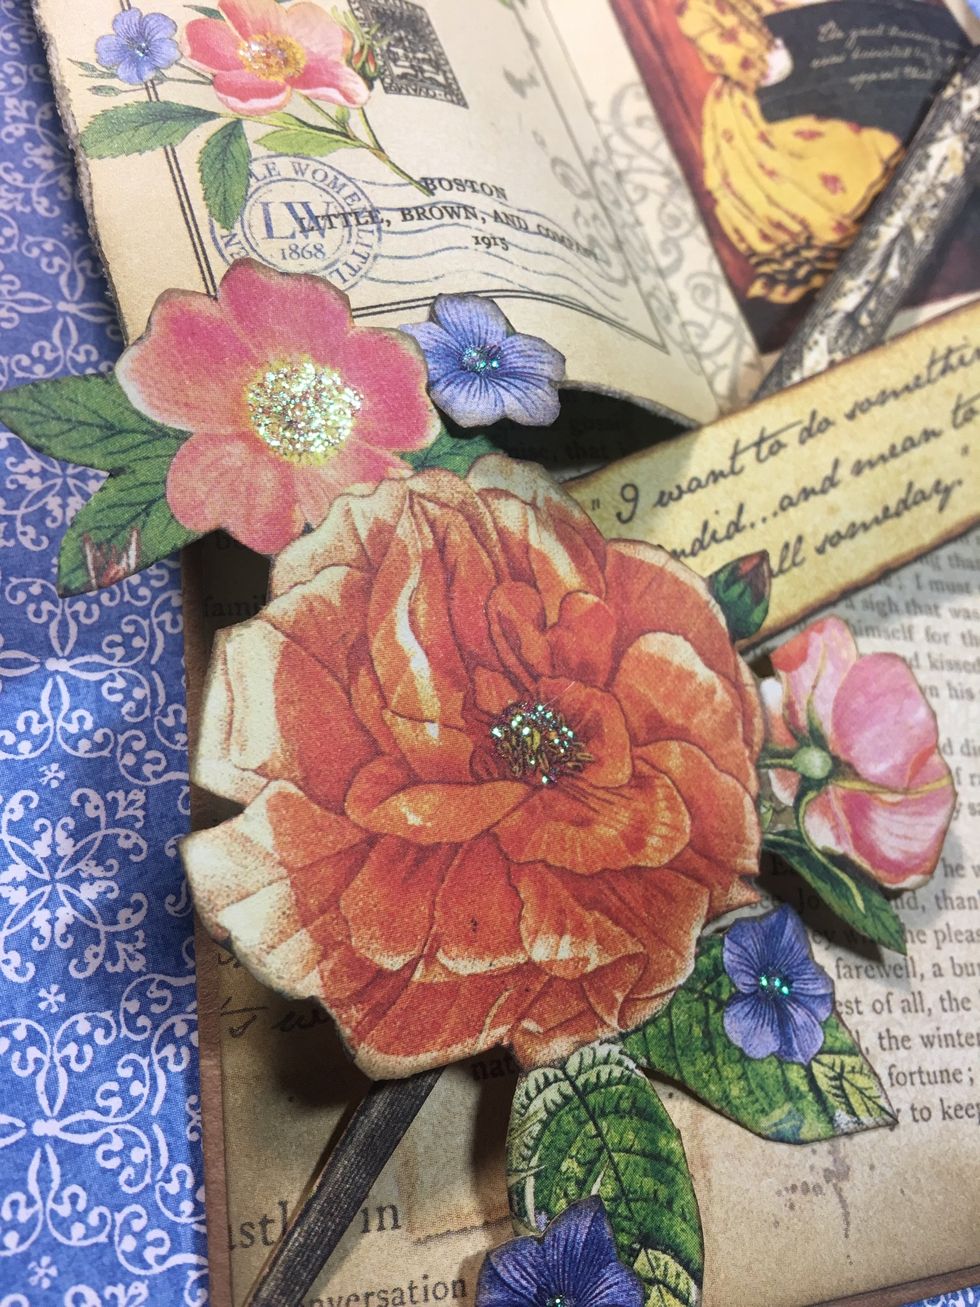
I like to use scraps of cardboard to help give more dimension to my fussy cut images.
I sized the cardboard to fit the larger flower cutout.
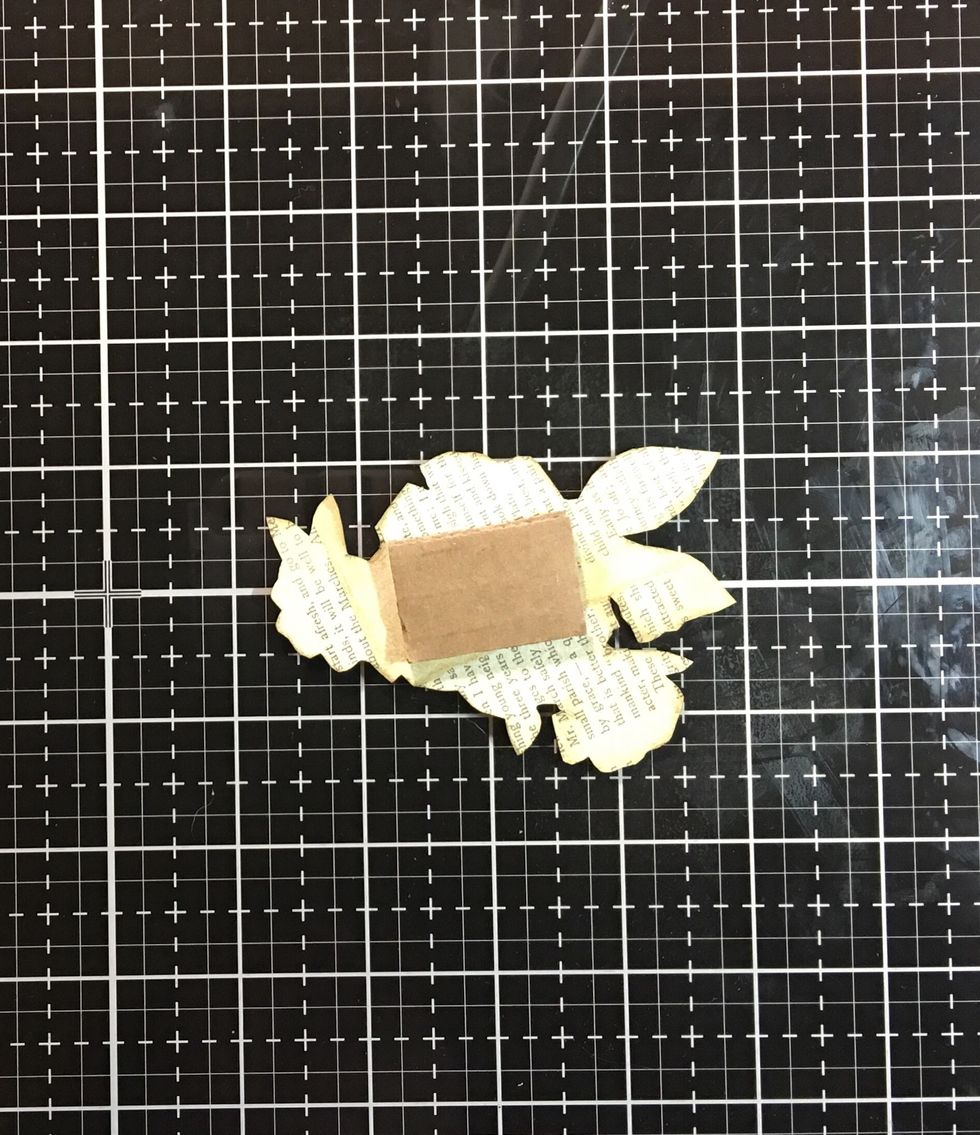
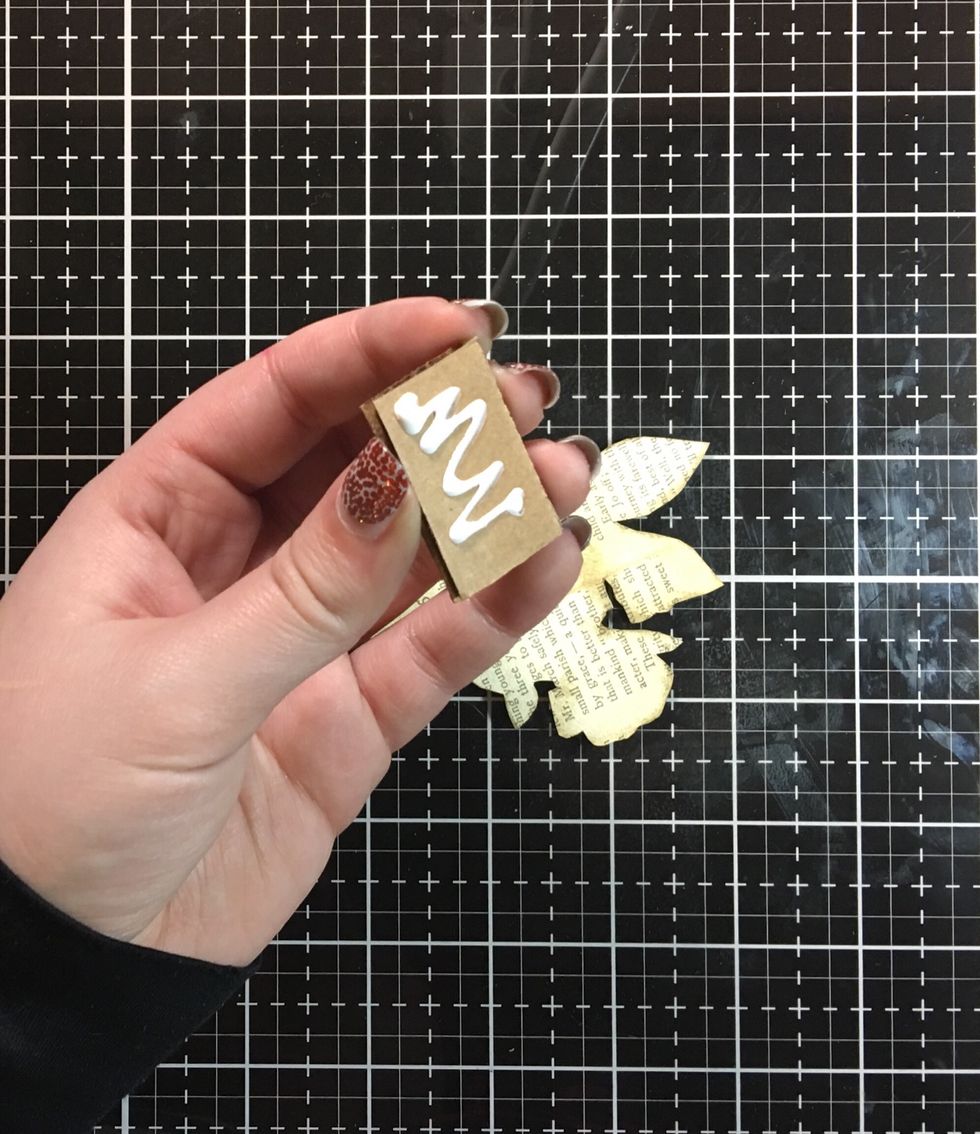
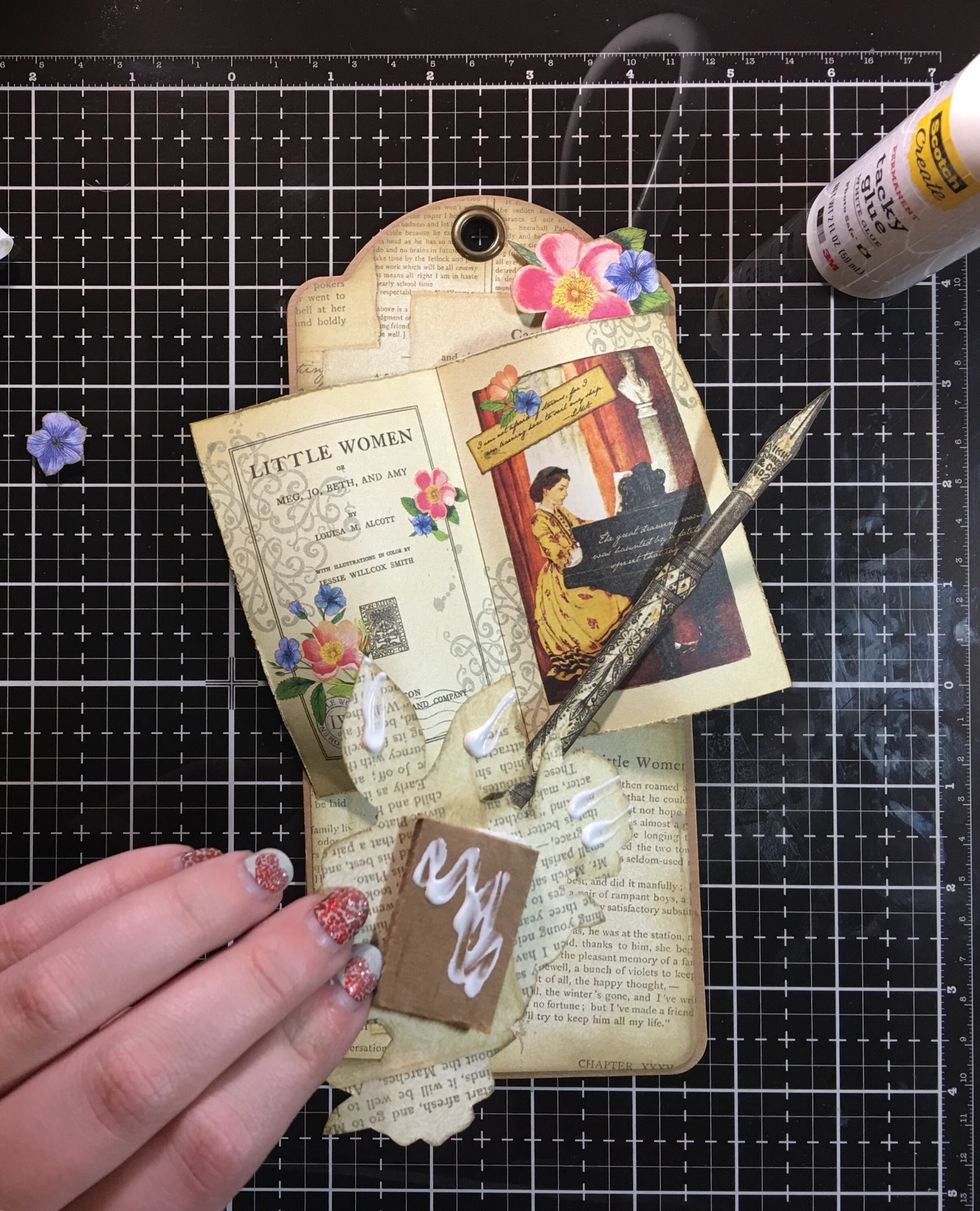
Add glue of choice
Add some wet glue to the cutout
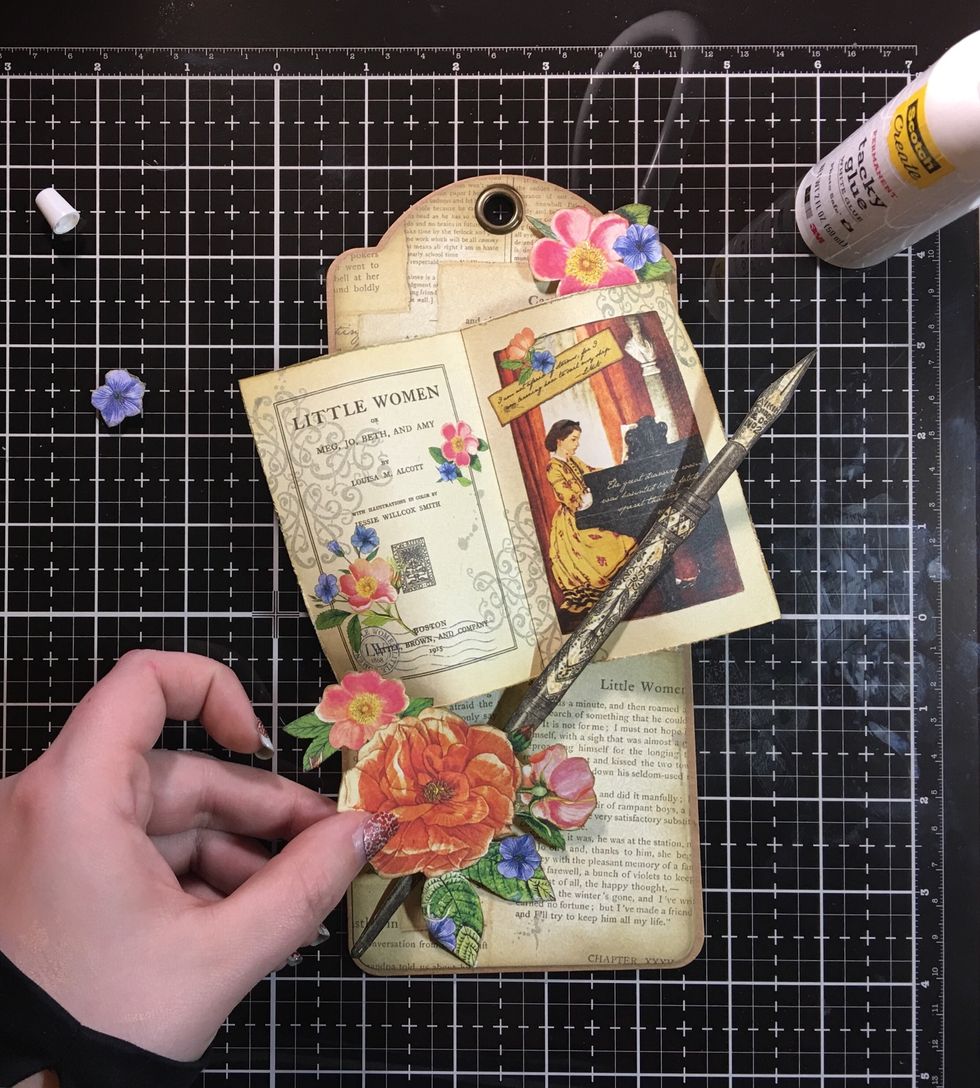
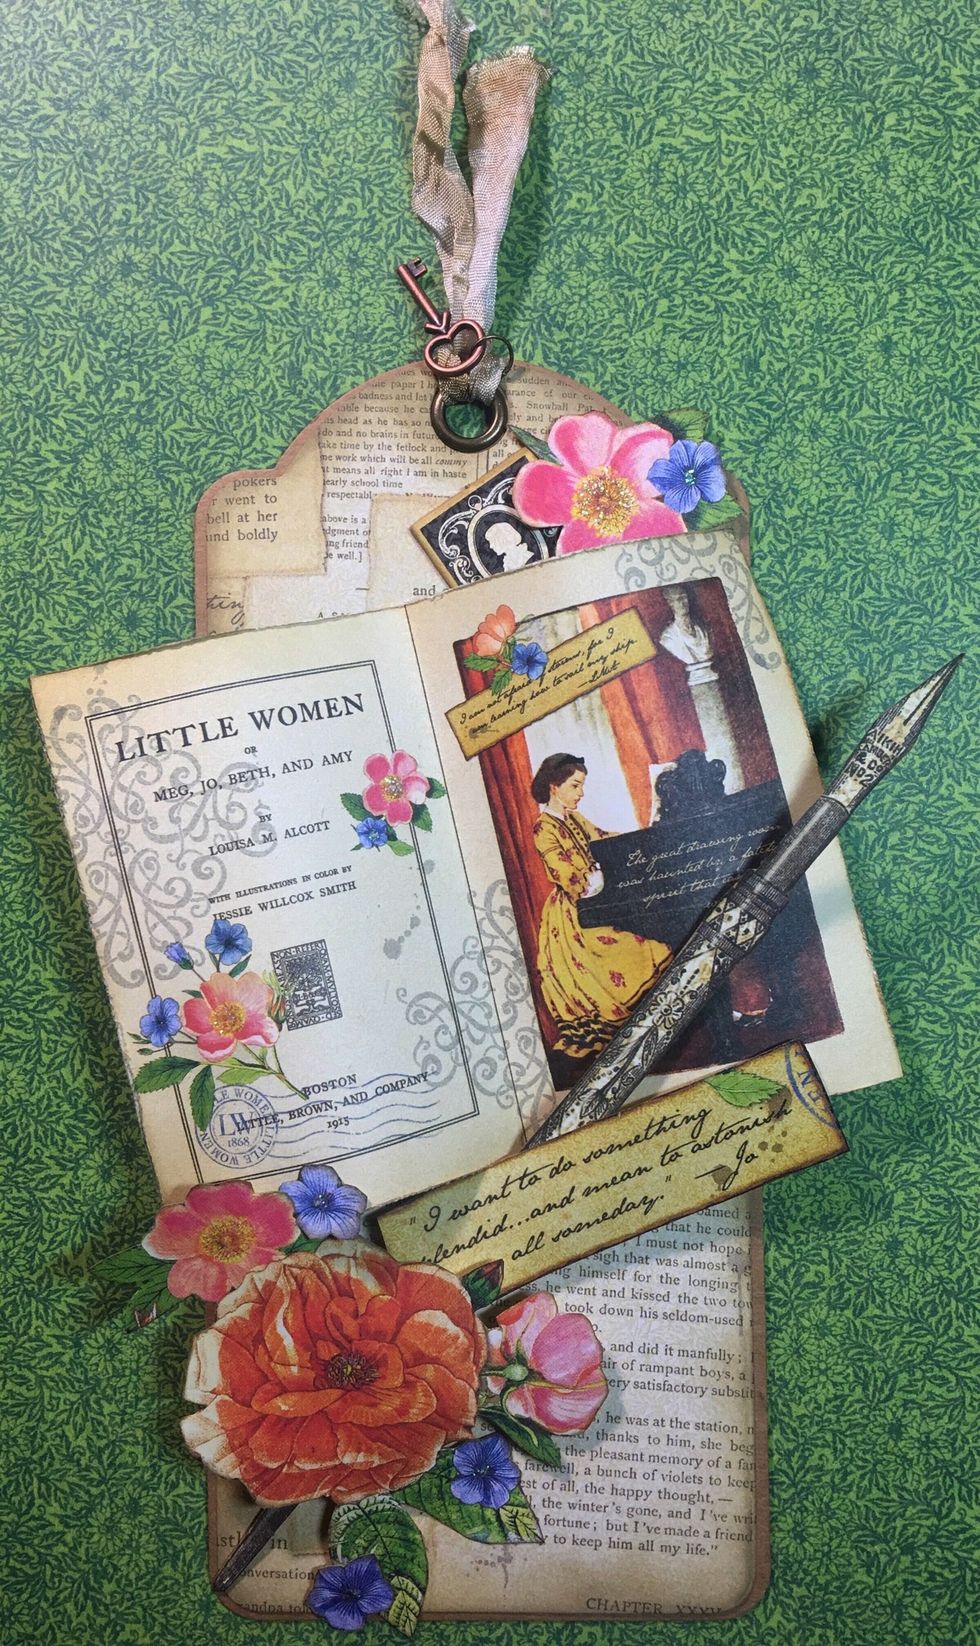
I set this image at an angle on the tag, and glued the leaves down on the tag for a better hold
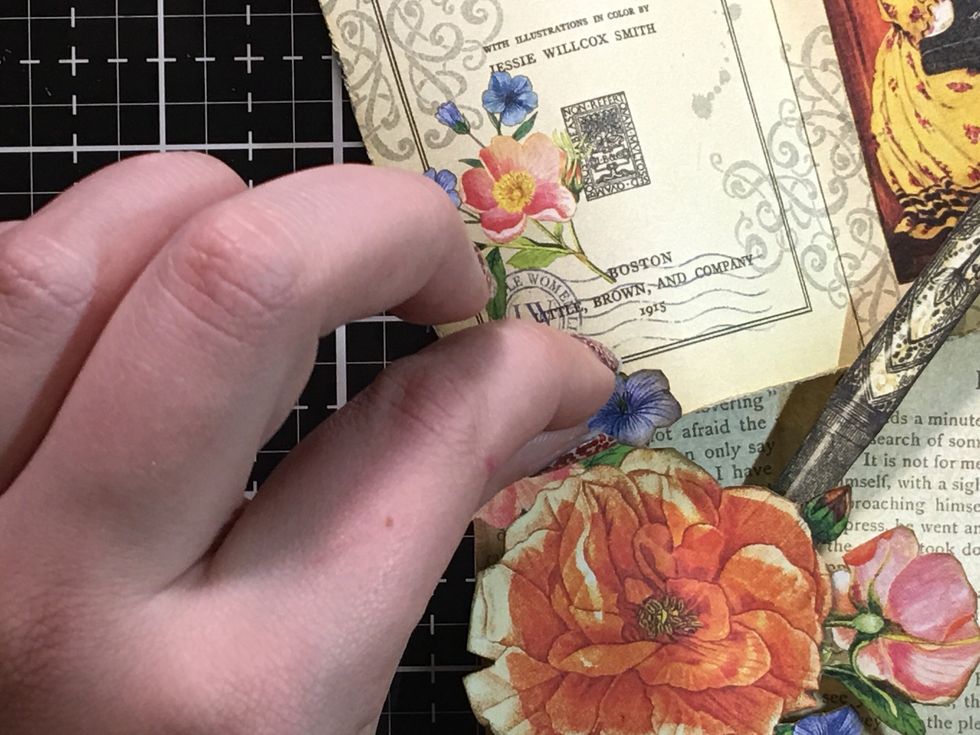
I cut out some of the small blue flowers and added the around the large flowers for some extra color
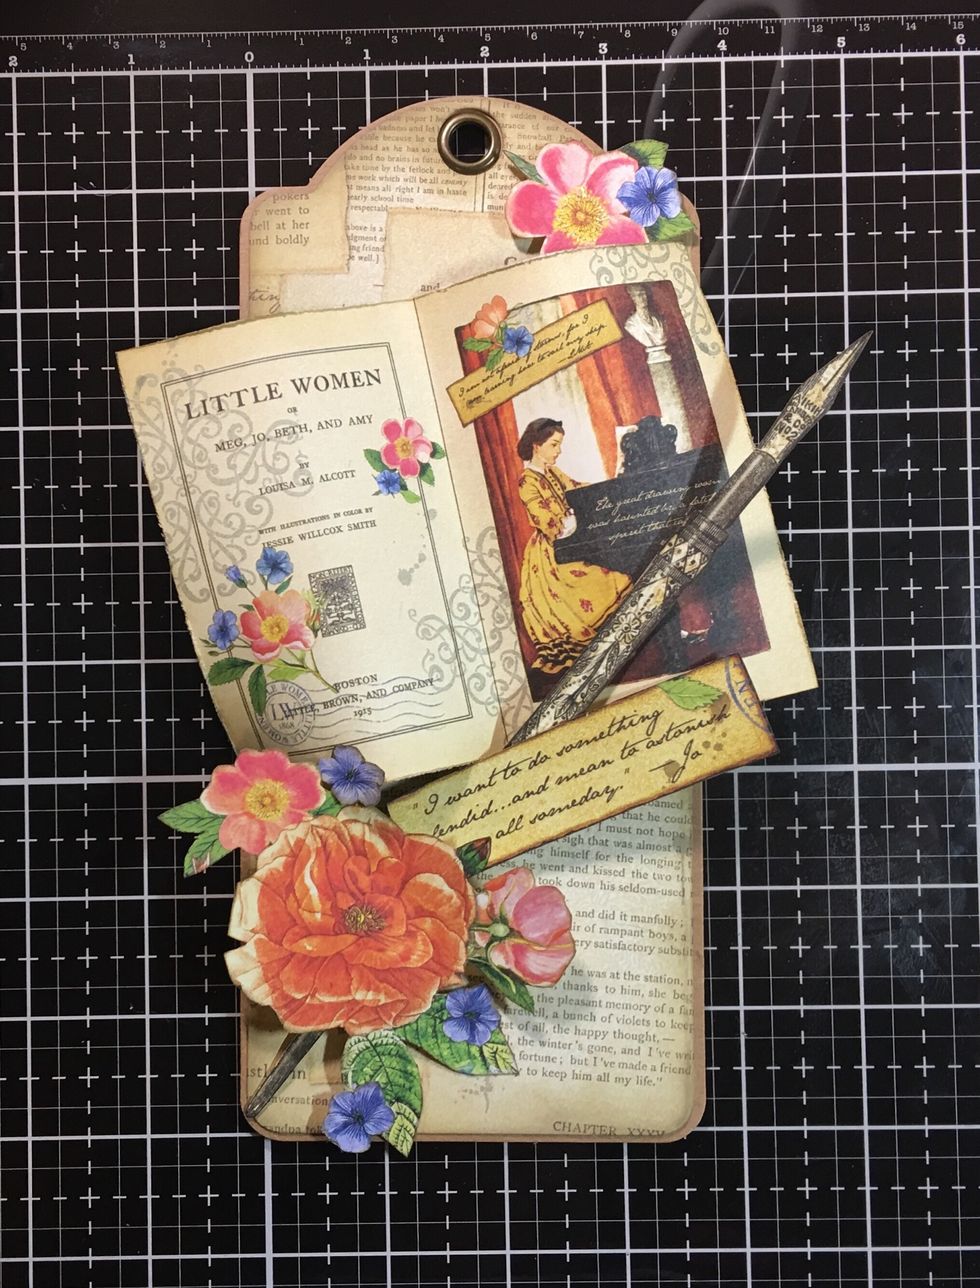
Add in the quote cutout, tucking the edge behind the flowers
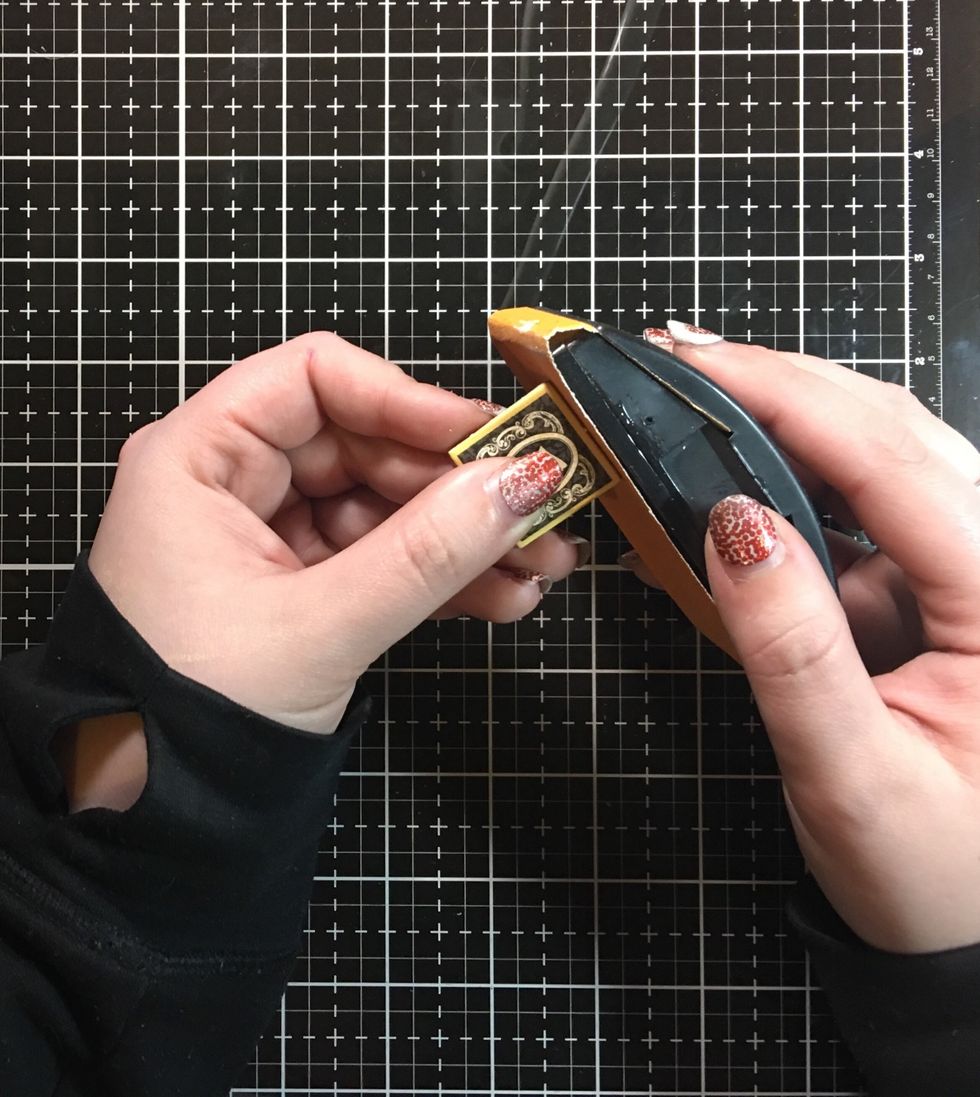
Taking one of the chipboard cutouts, I sanded the edges to get rid of the small bumps
Add frayed burlap ink on the edges
Add adhesive
Tuck under the flower at the top of the tag
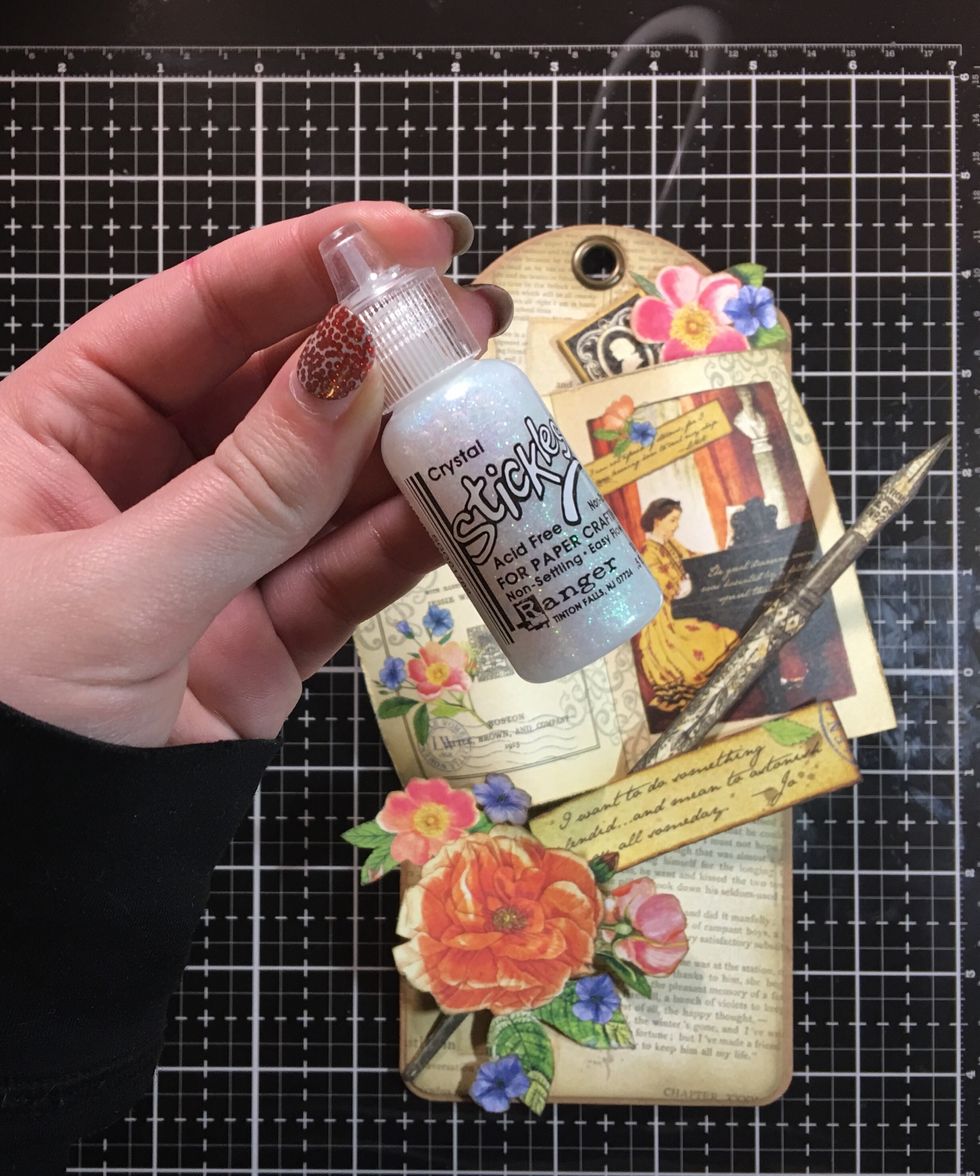
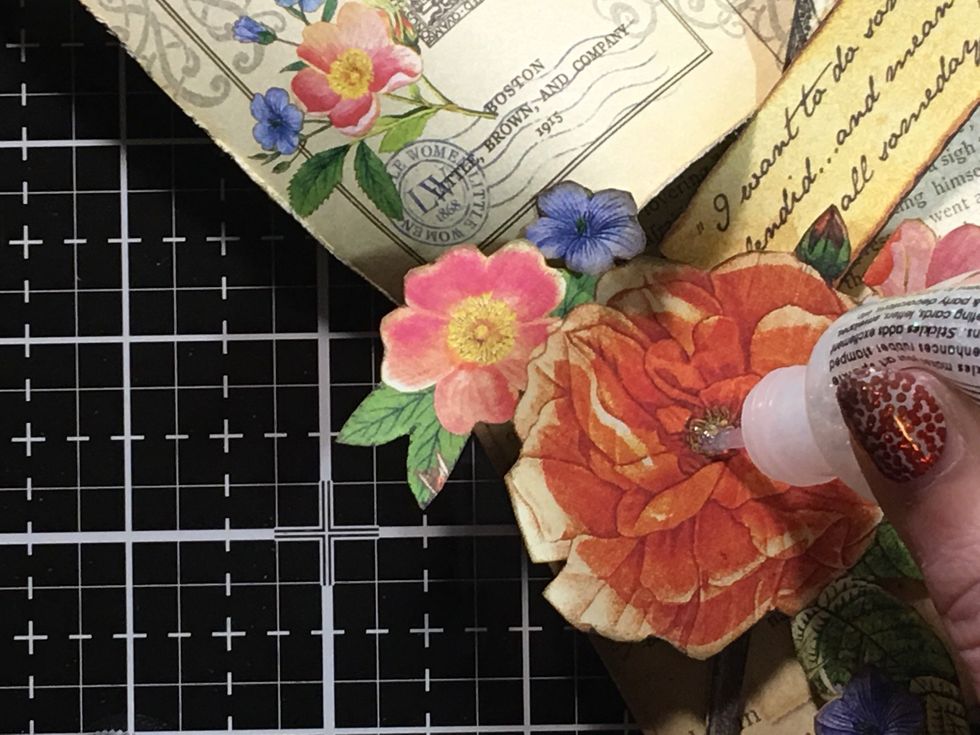
Take stickles in crystal and add to the center of the flowers
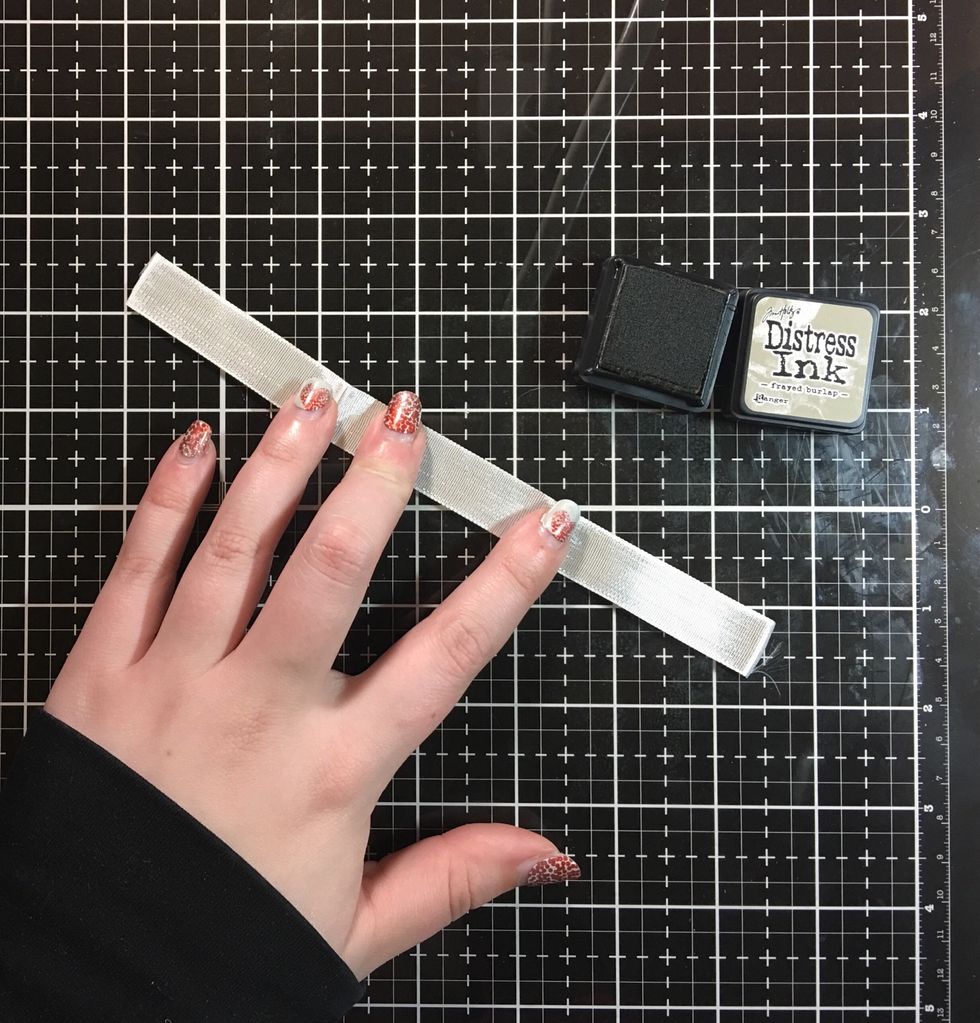
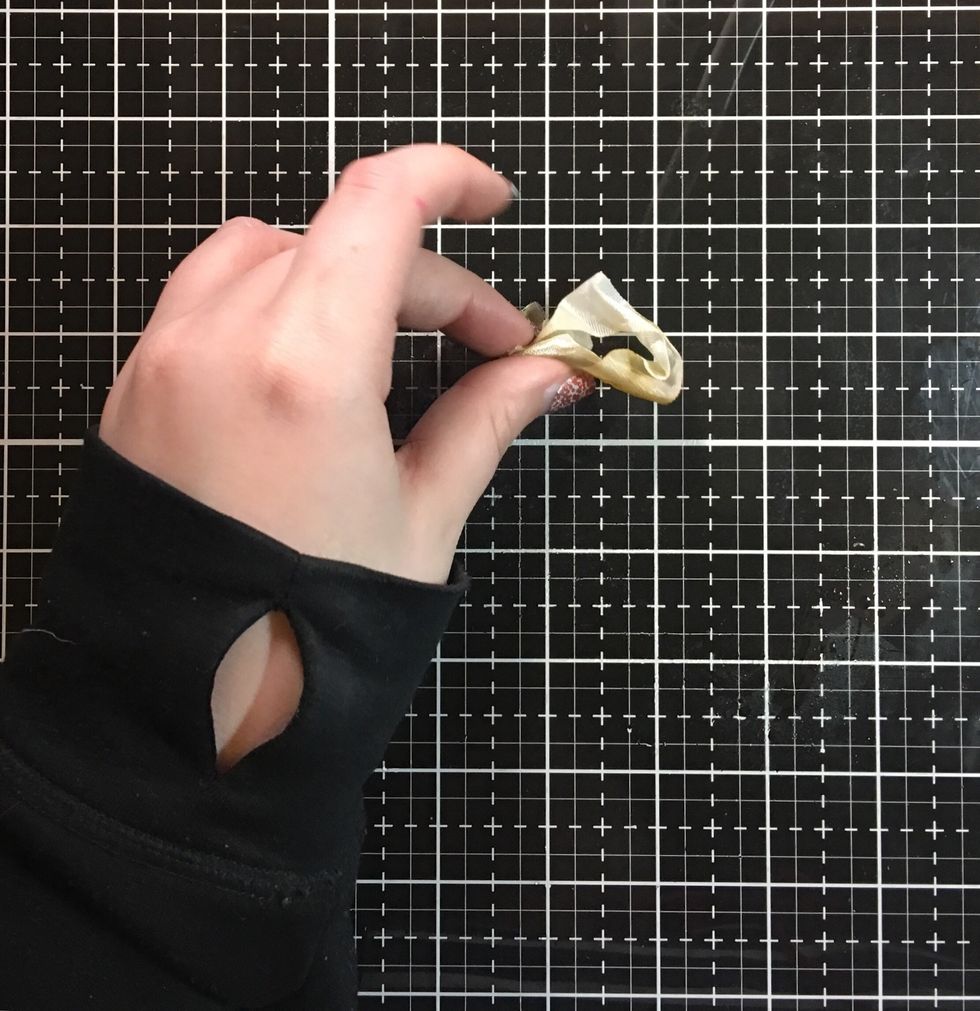
Cut a small strip of Tim Holtz crinkle ribbon
Using frayed burlap ink, randomly add ink to the ribbon
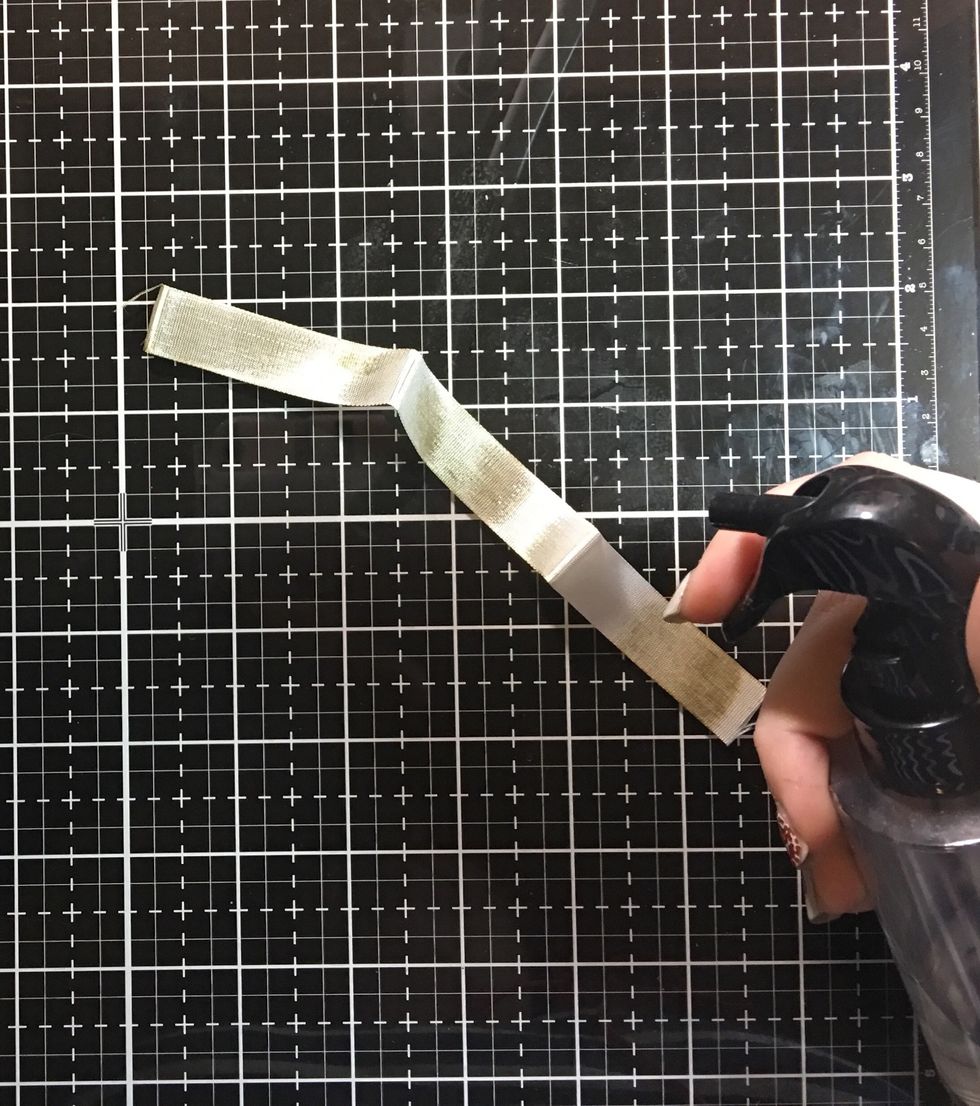
Spritz with water
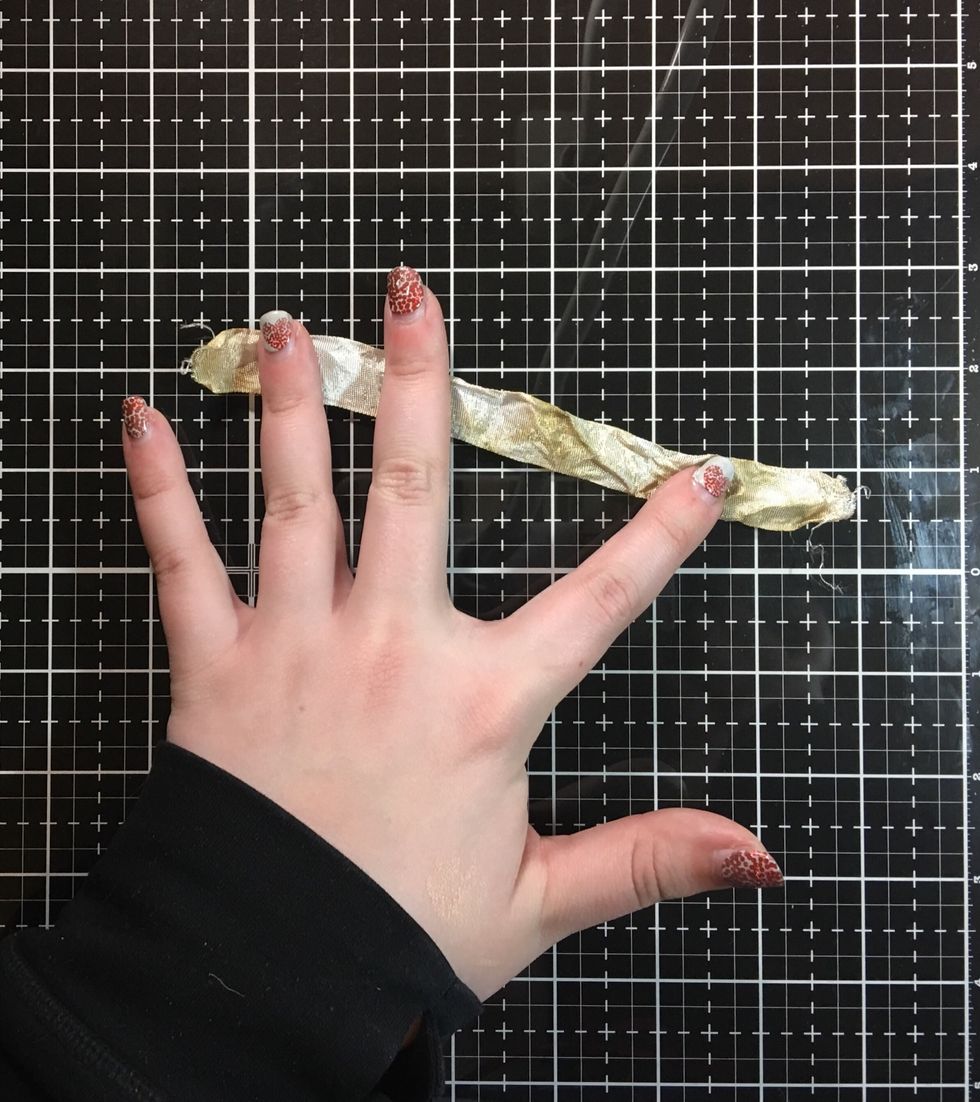
Crinkle into a ball. I love how wrinkly this ribbon gets!
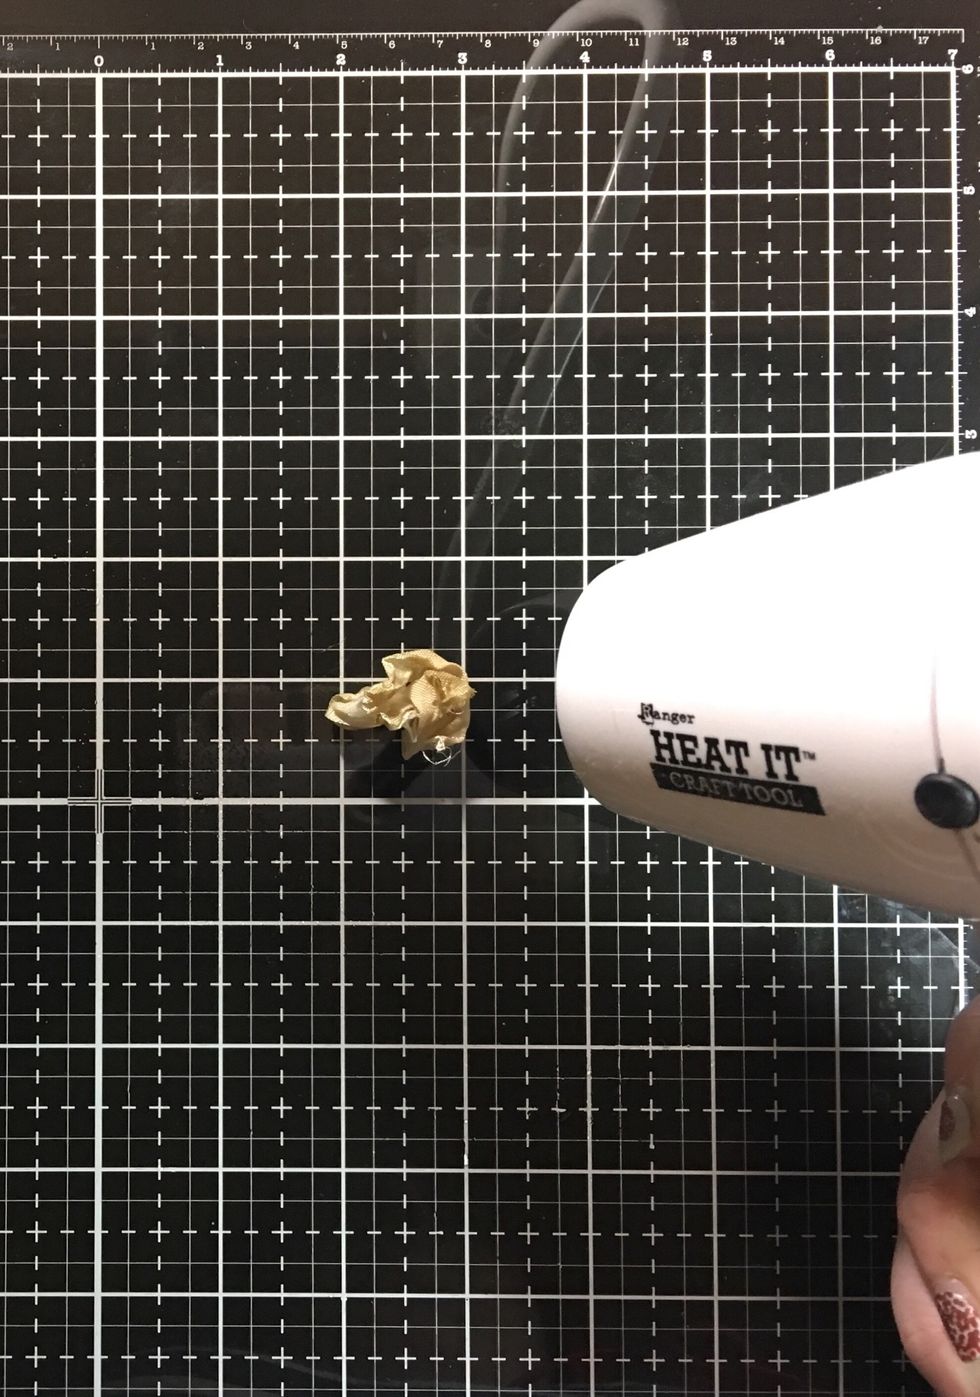
Air dry or use a heat tool to dry
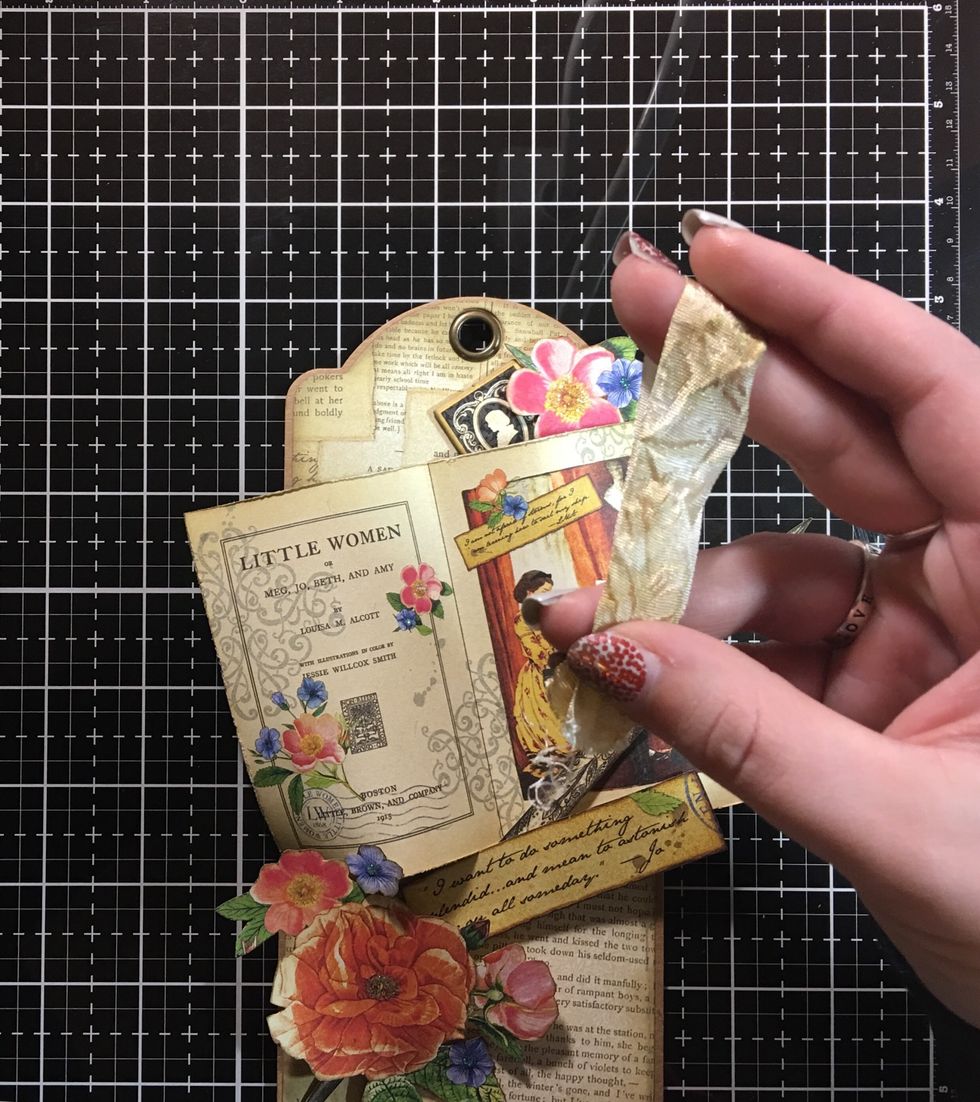
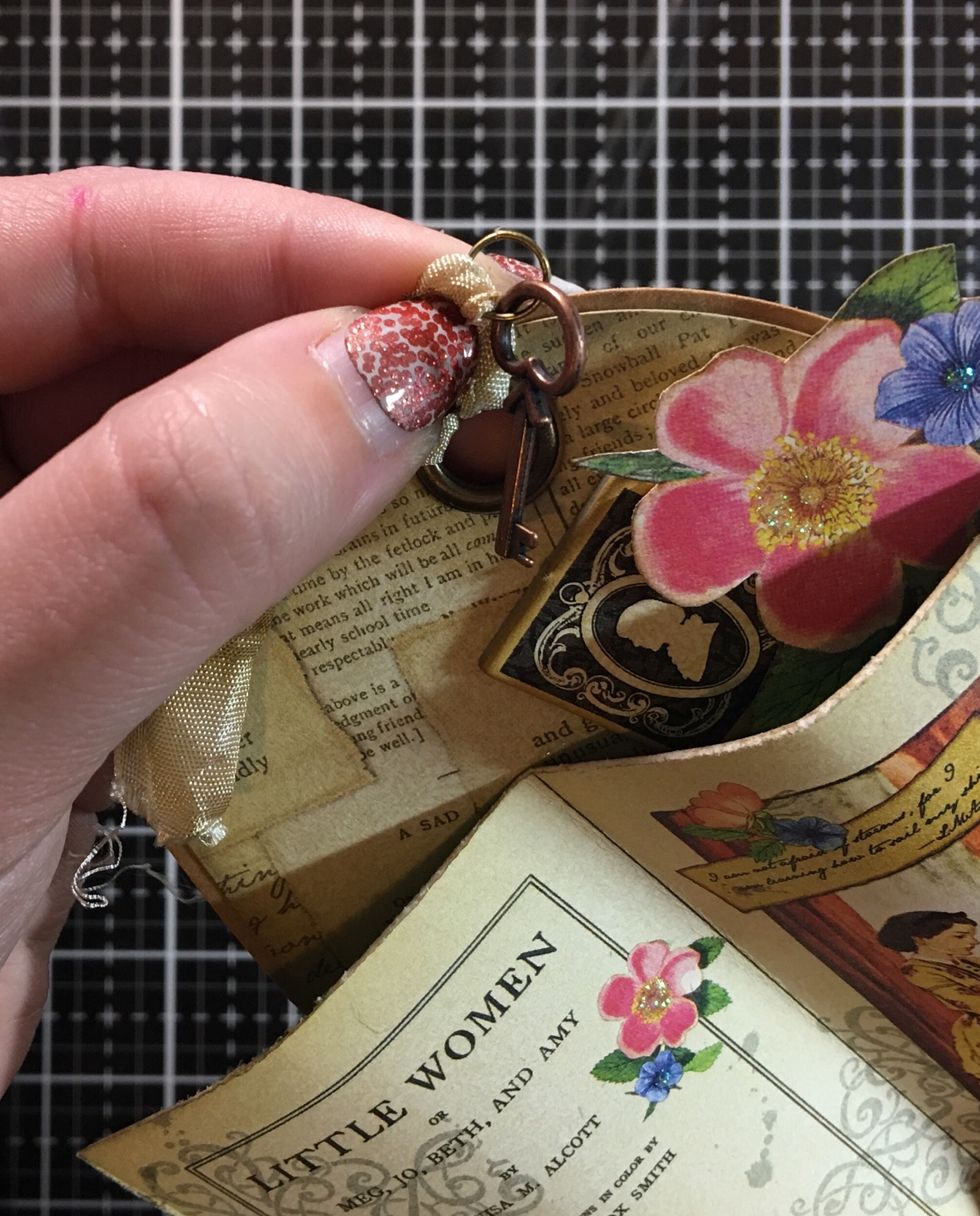
Fold ribbon in half
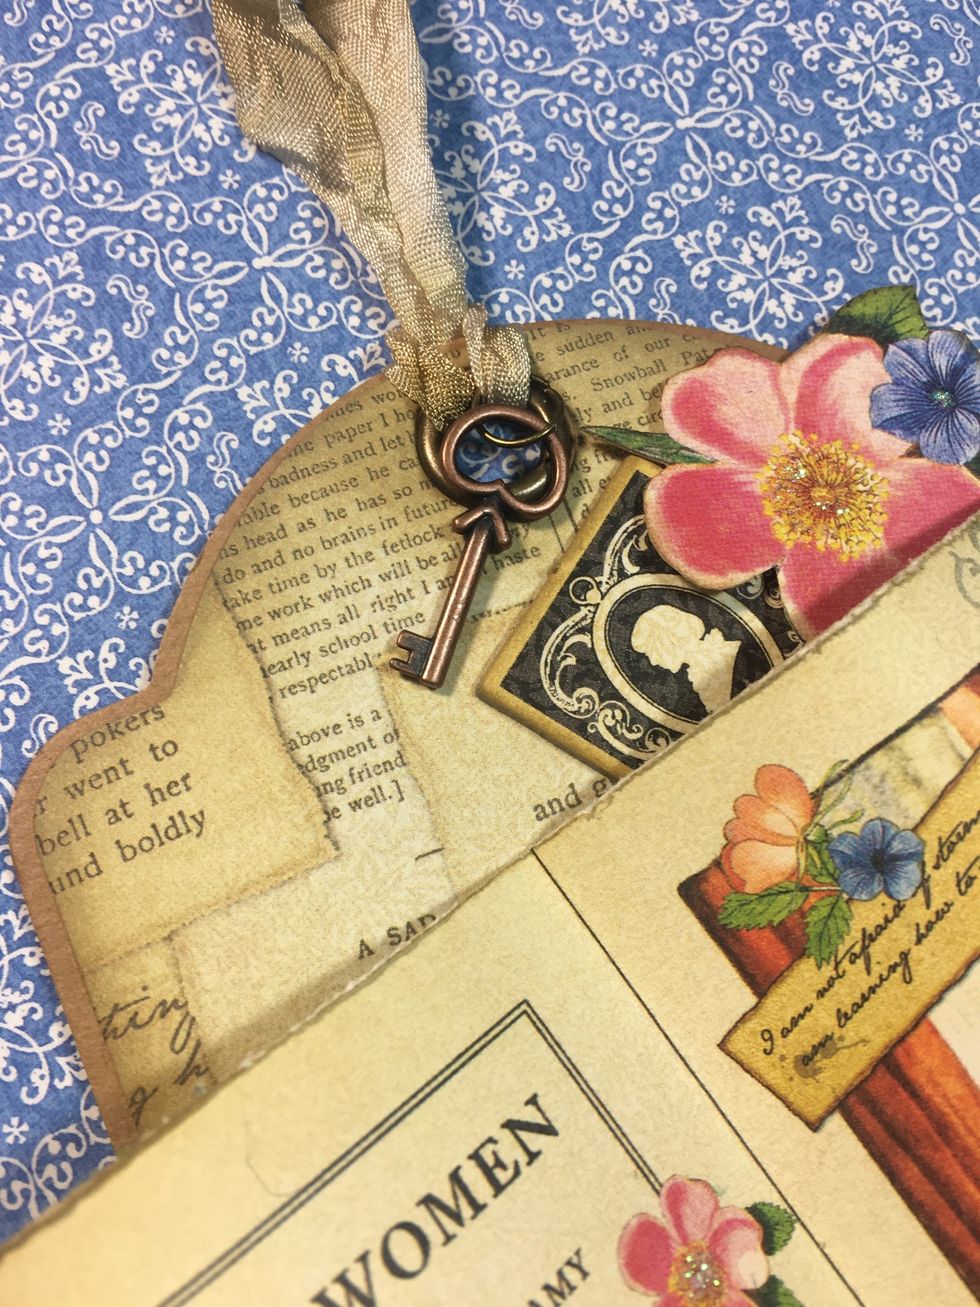
String the looped end thru the hole in the tag
Pull ends thru loop
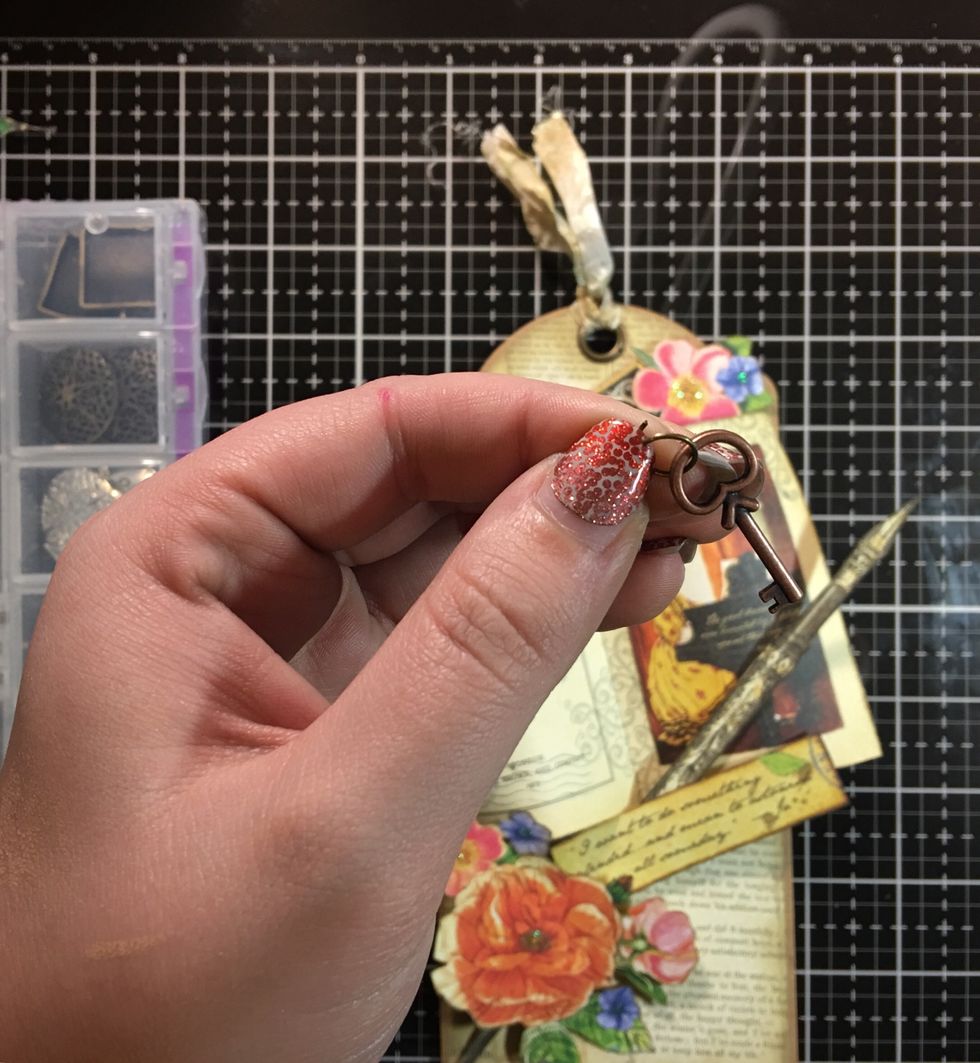
Using a jump ring, add the small key charm to the tag