The Conversation (0)
Sign Up
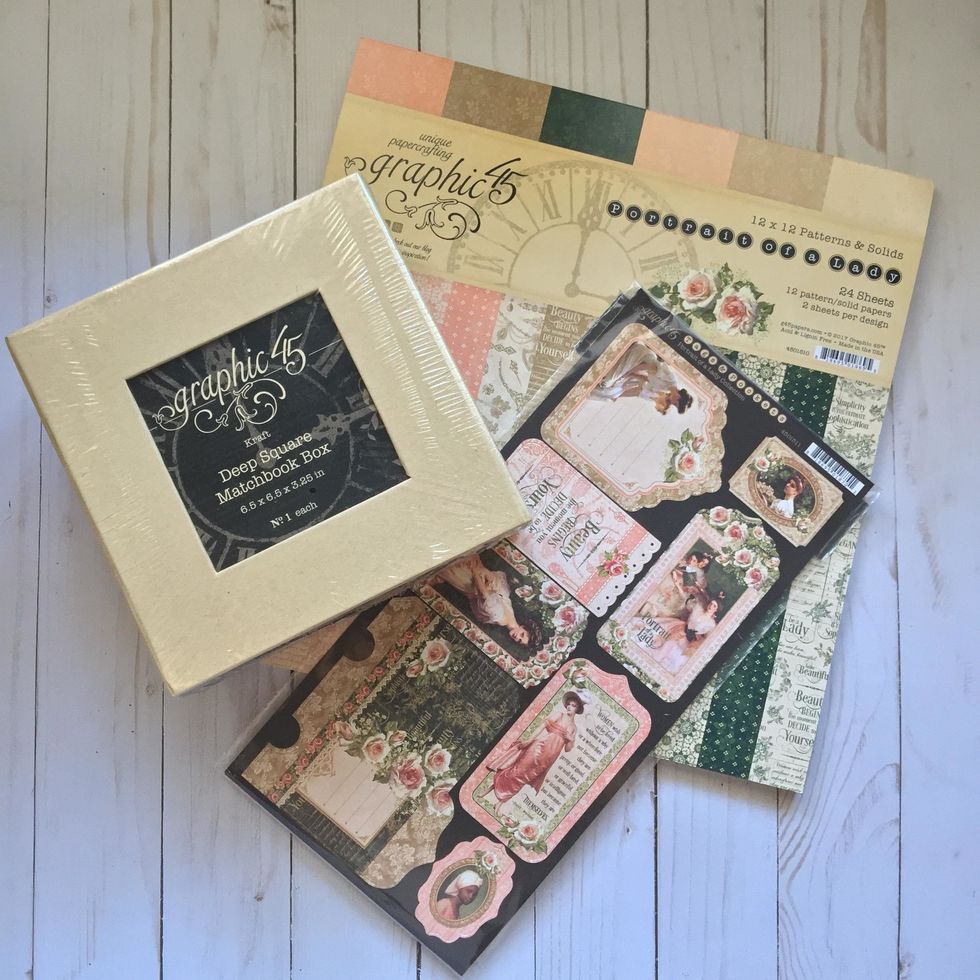
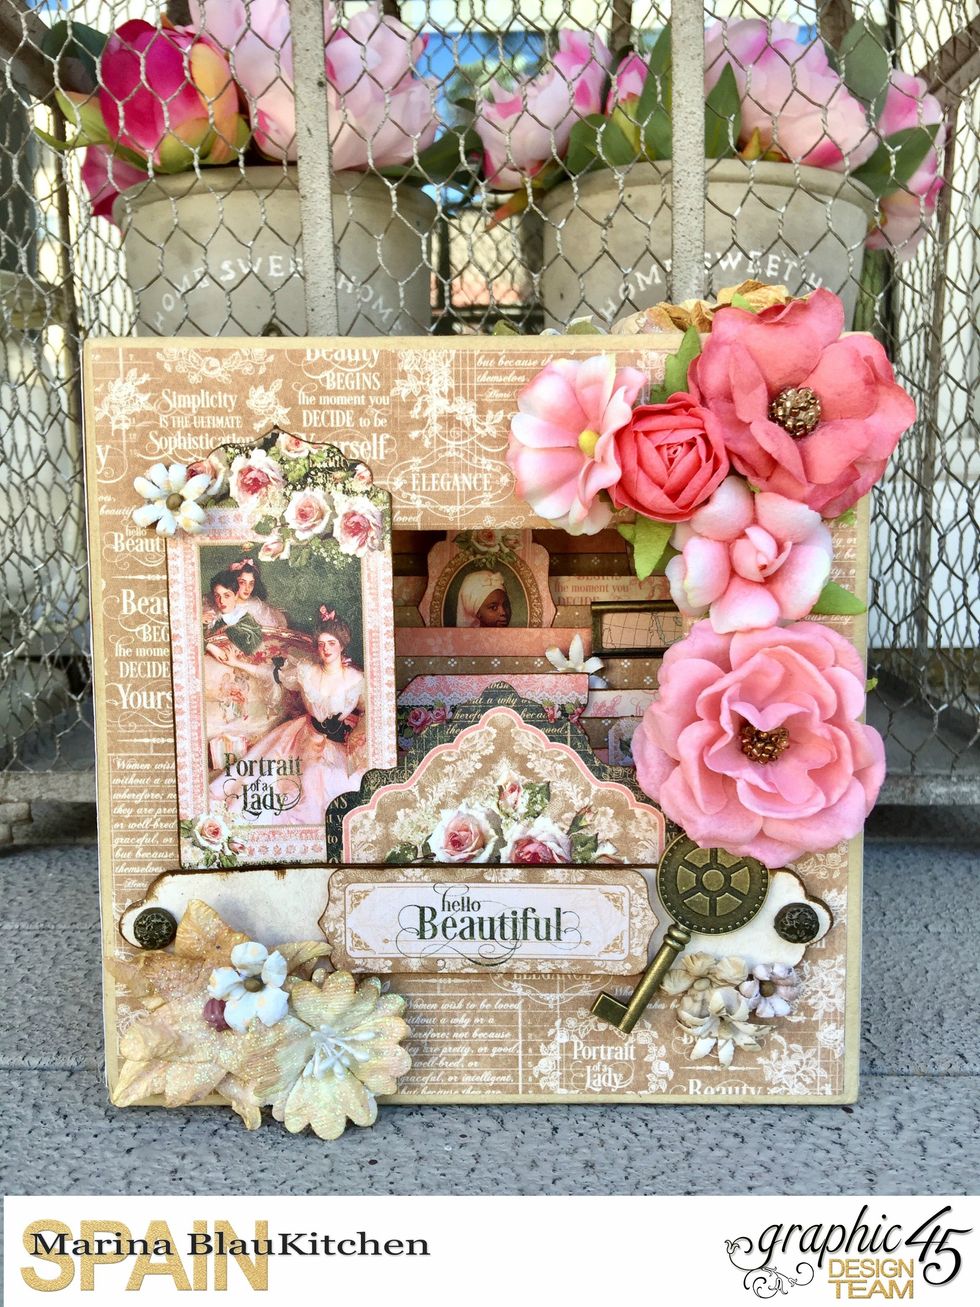
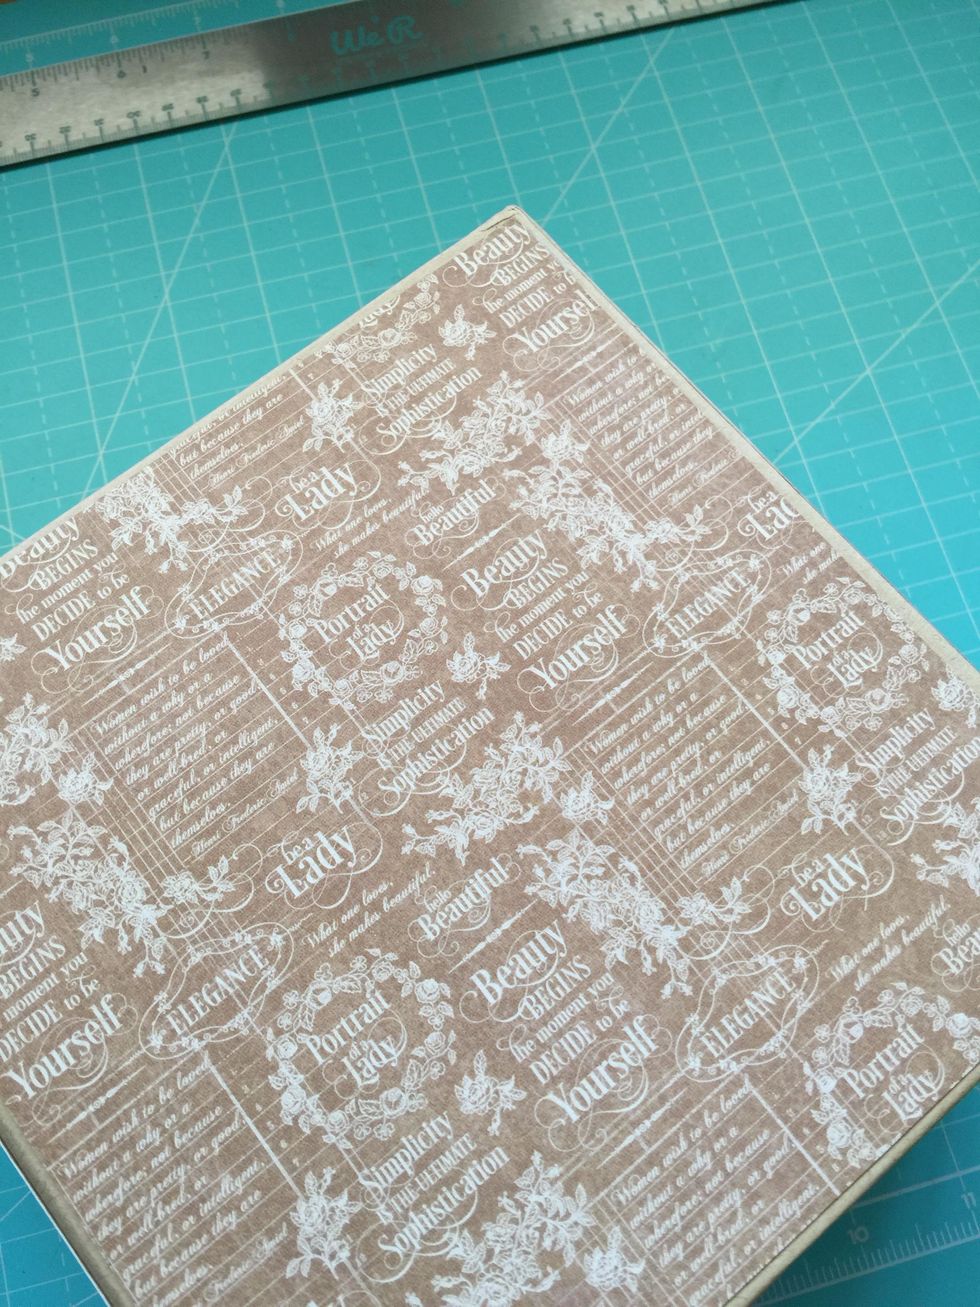
Graphic 45 asked me to make a project with these three products. You can see more pictures visiting https://g45papers.com/Graphic%2045%20Blog?journal_blog_post_id=35

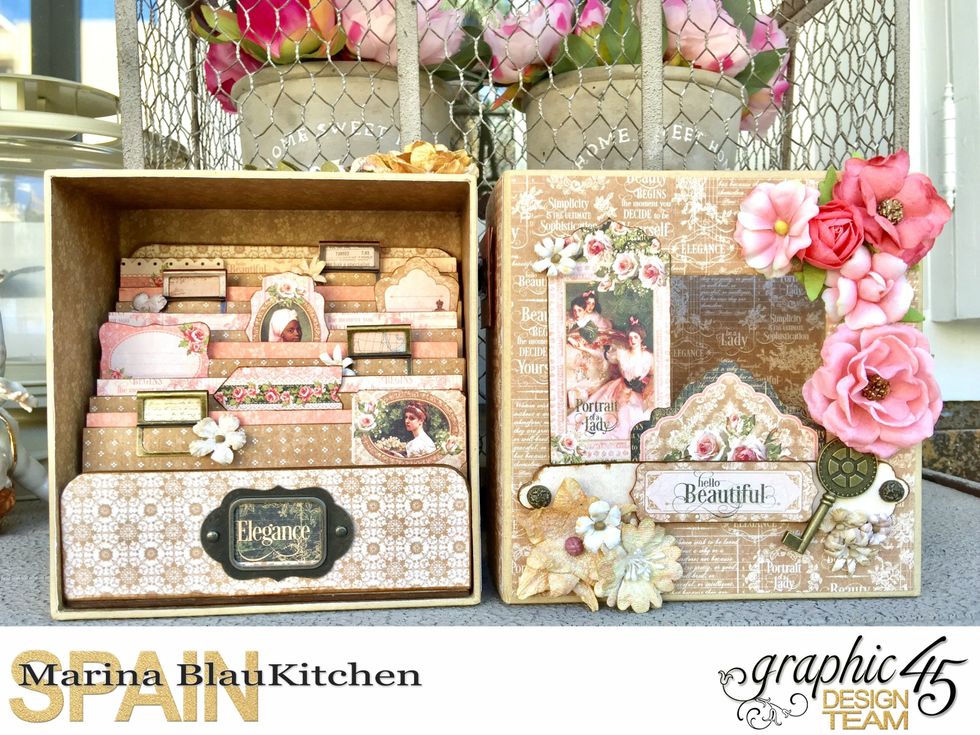
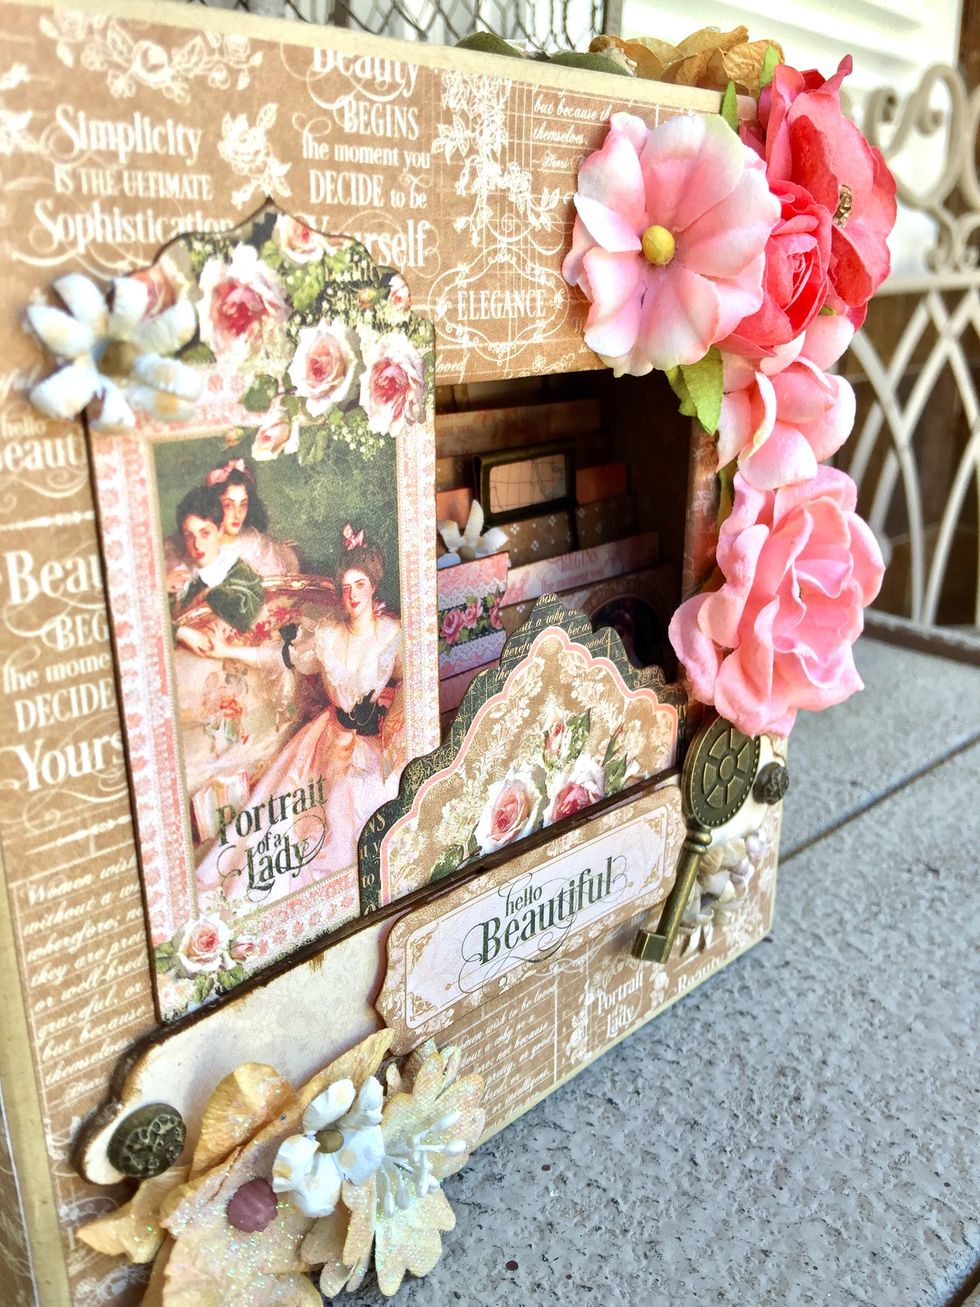
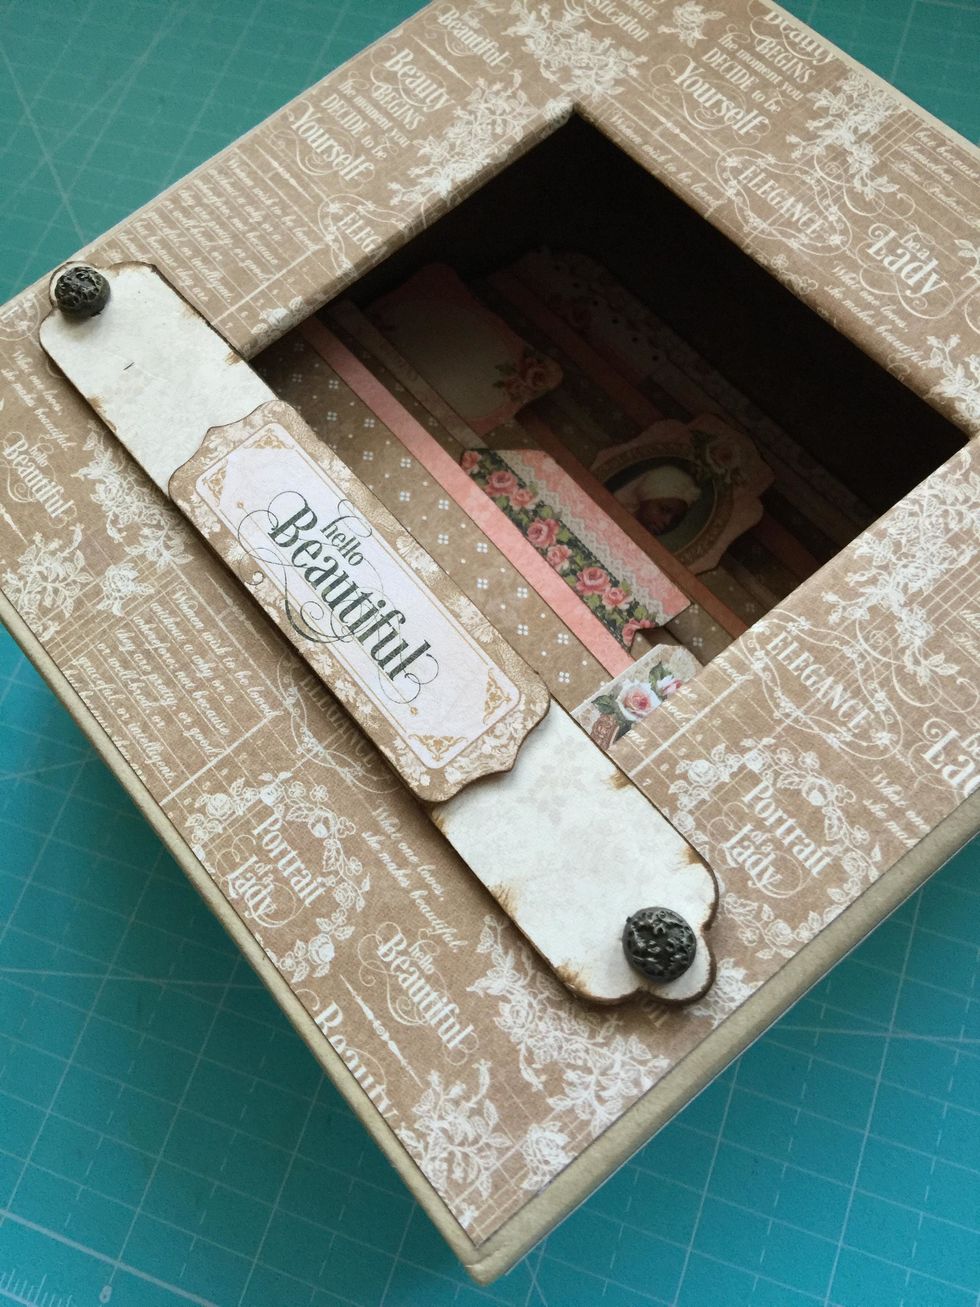
This is Deep Square Matchbook box.
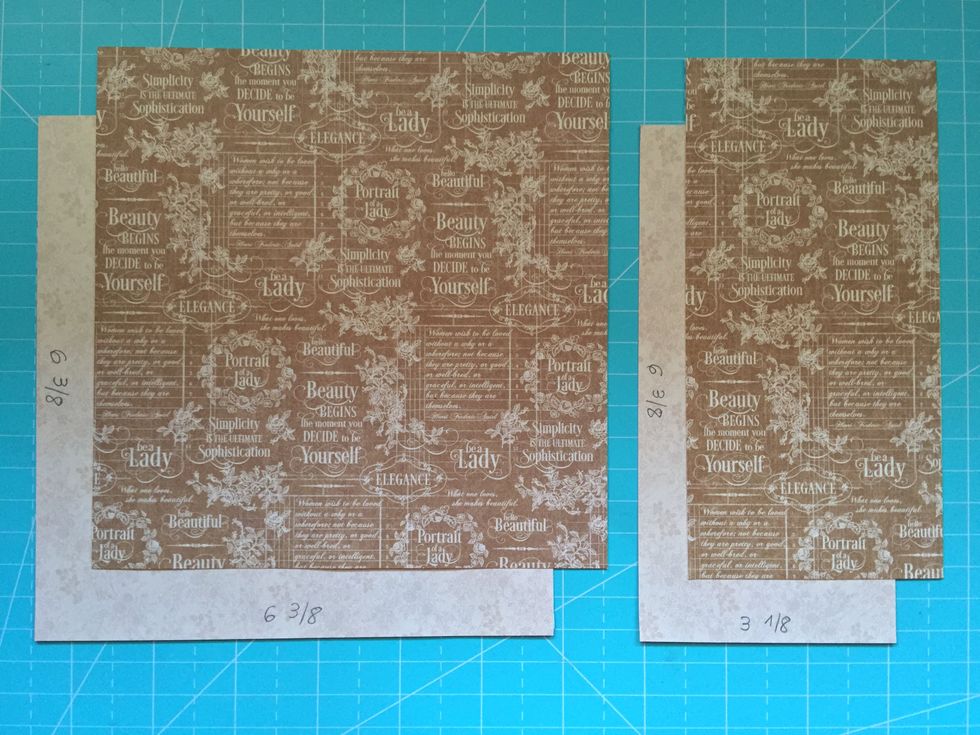
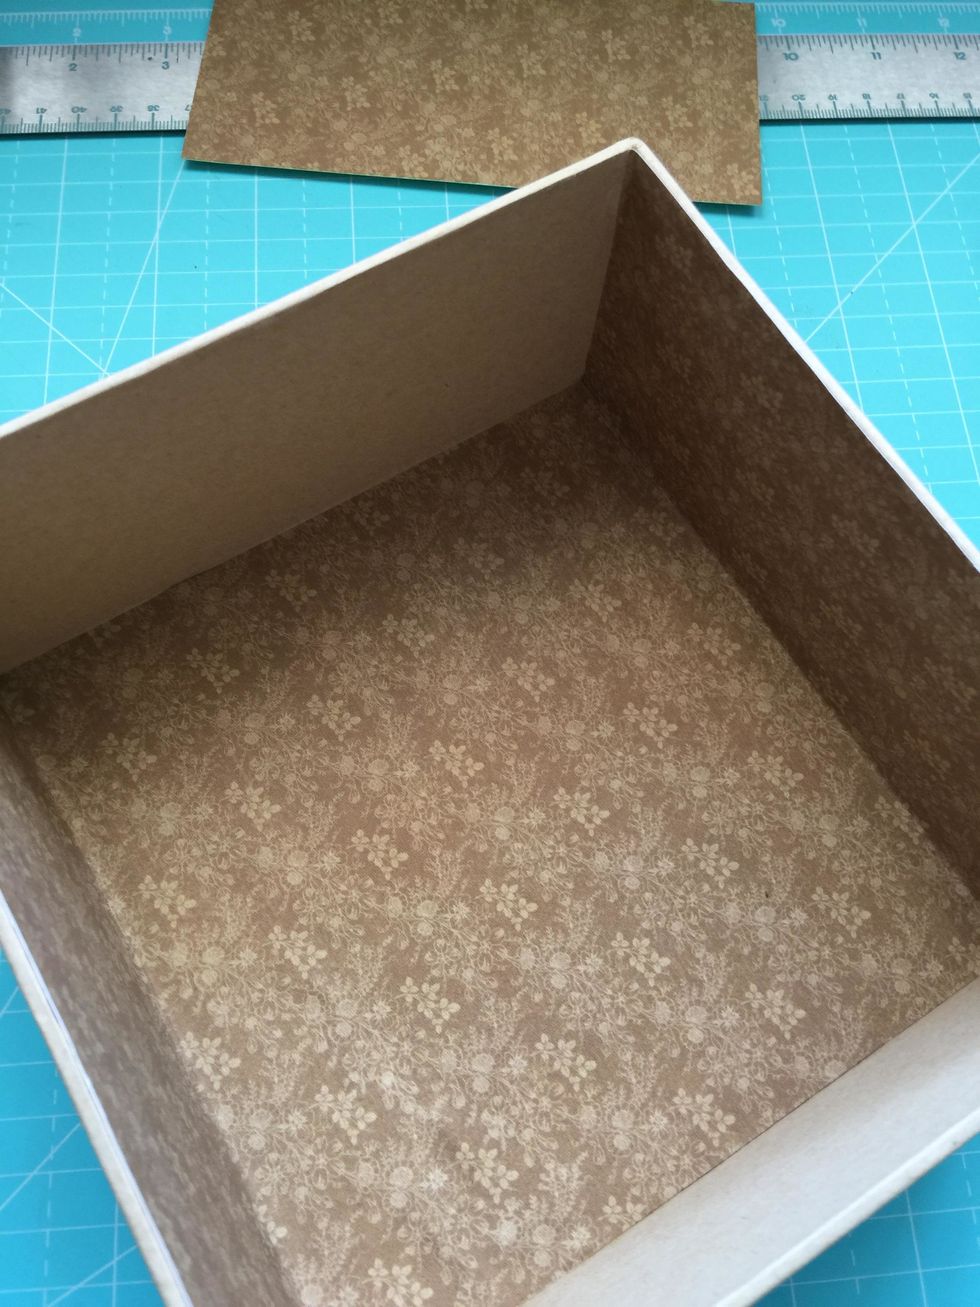
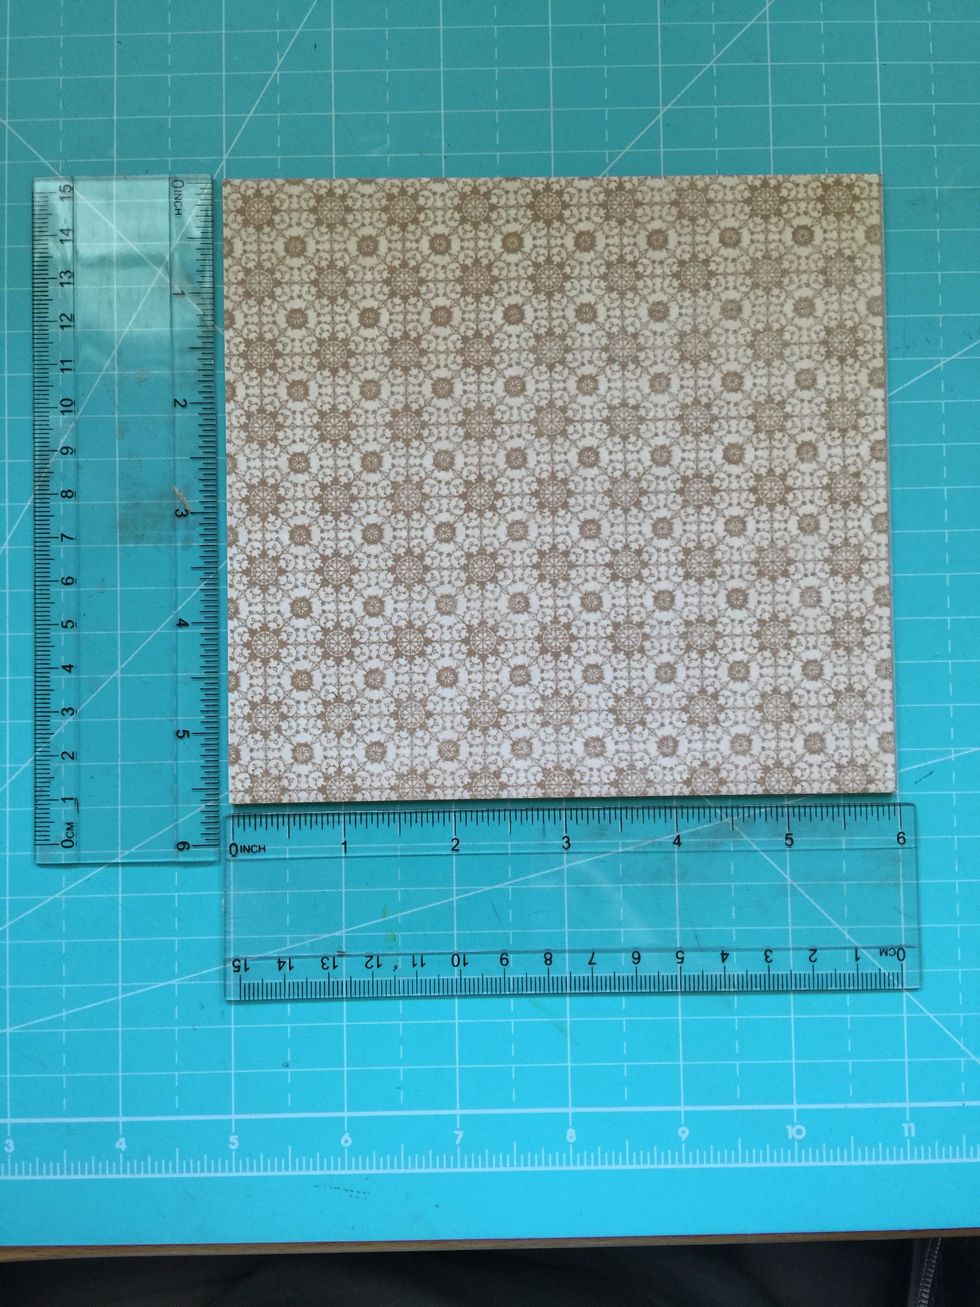
I measured the box and cover with this beautiful paper.
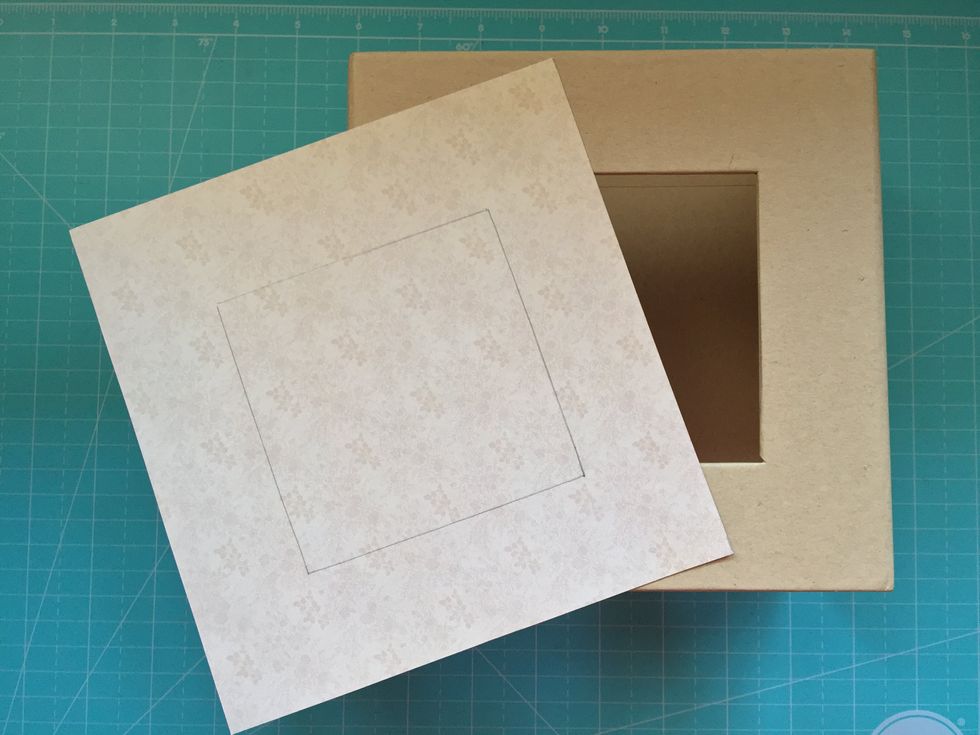
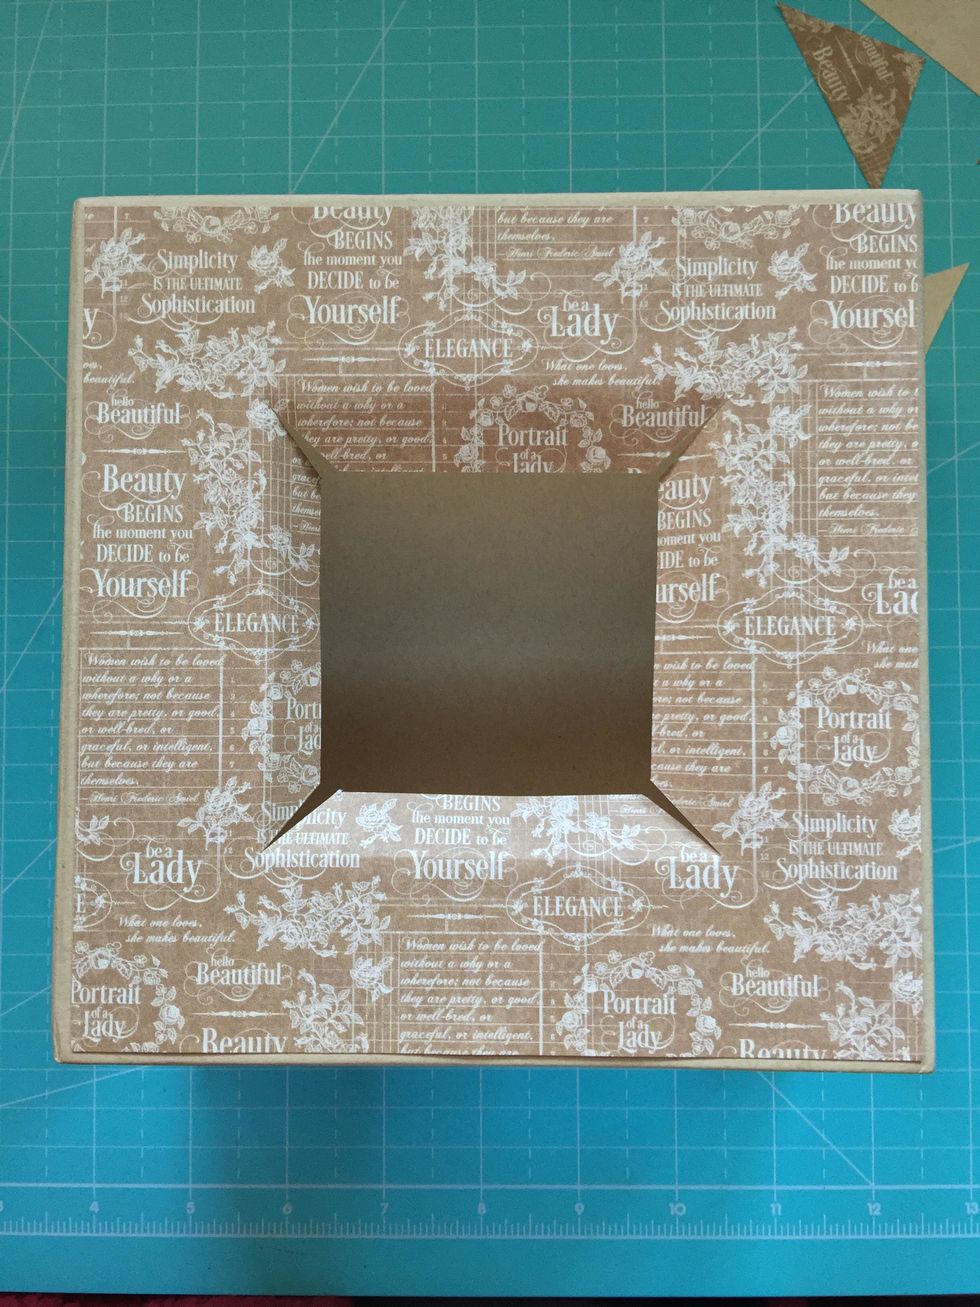
Measure the front of the box and the mark a space for the window.
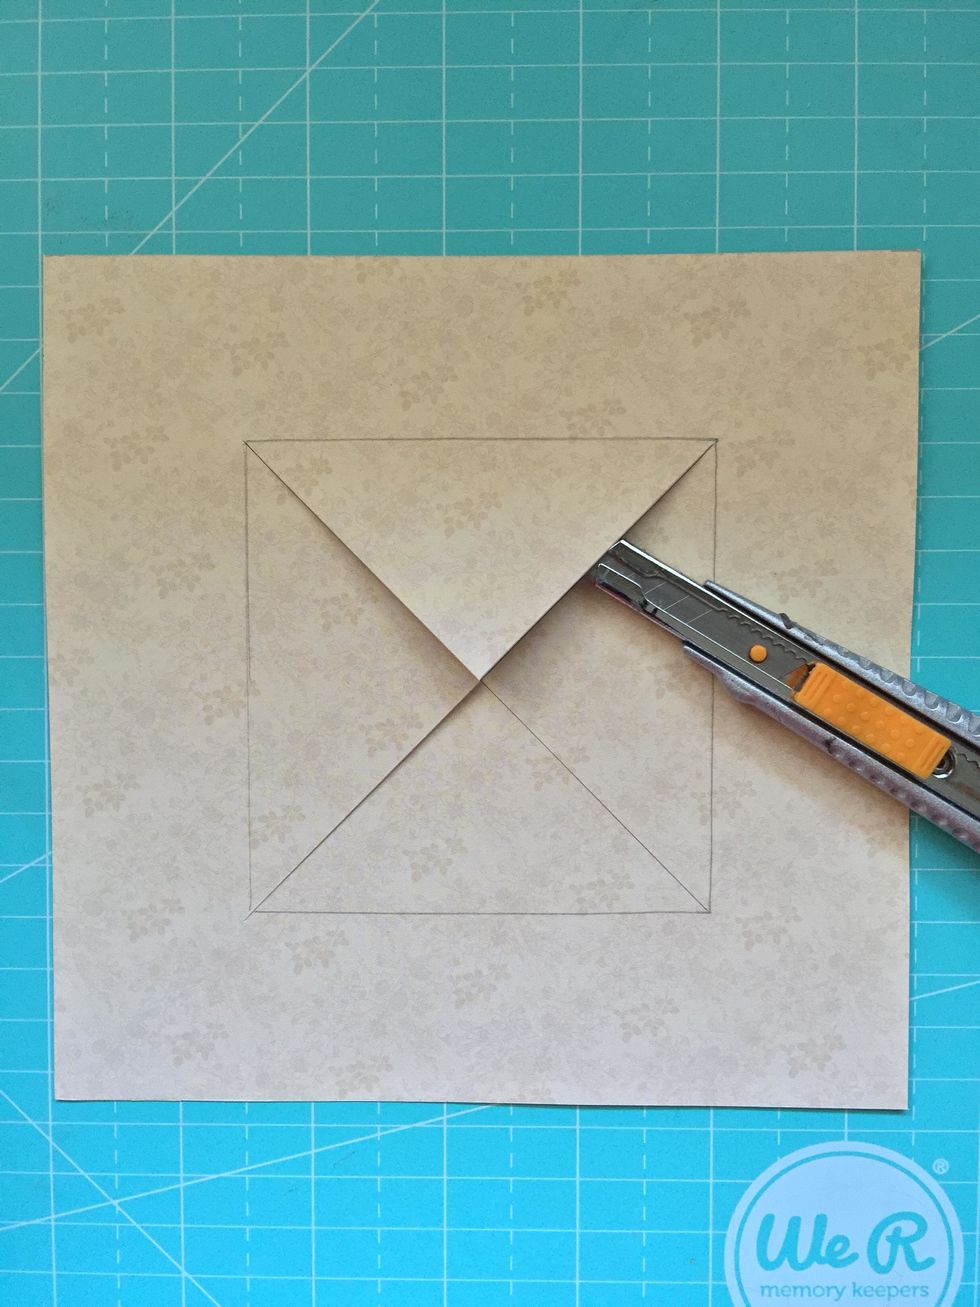
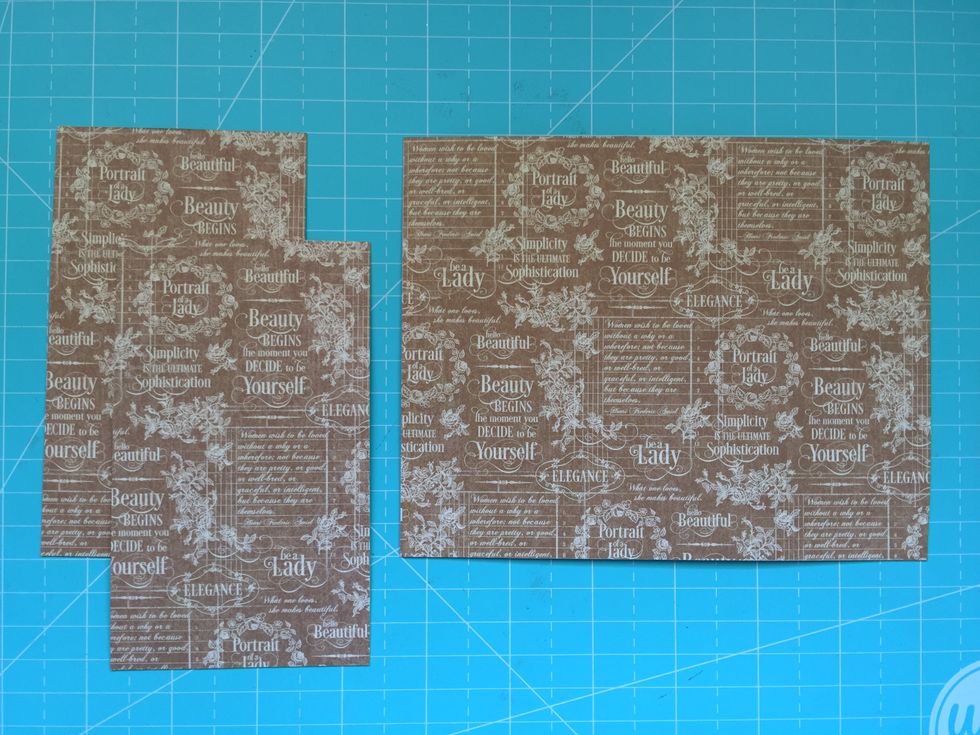
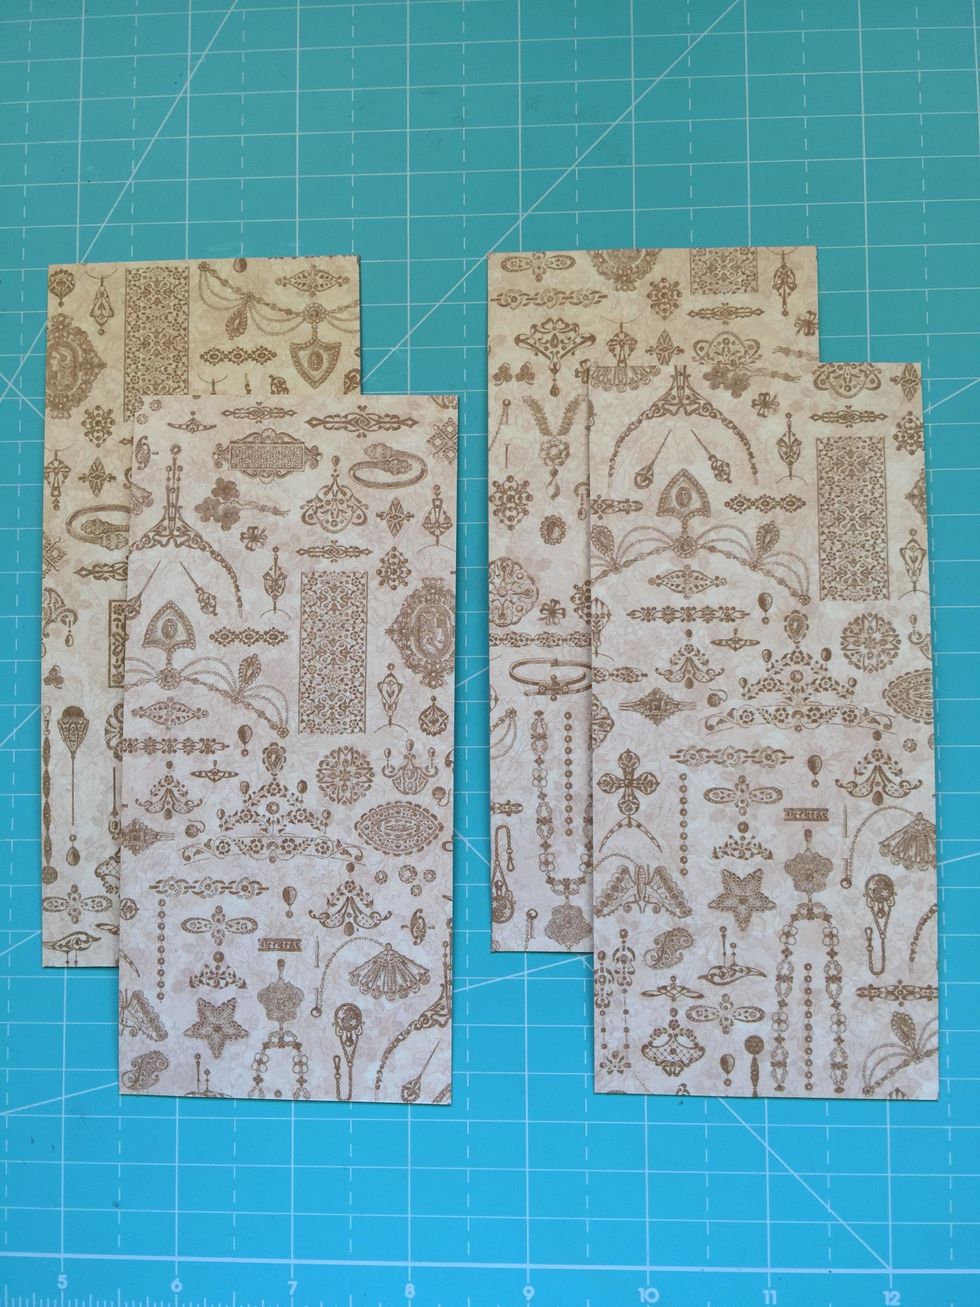
Cut paper as shown.
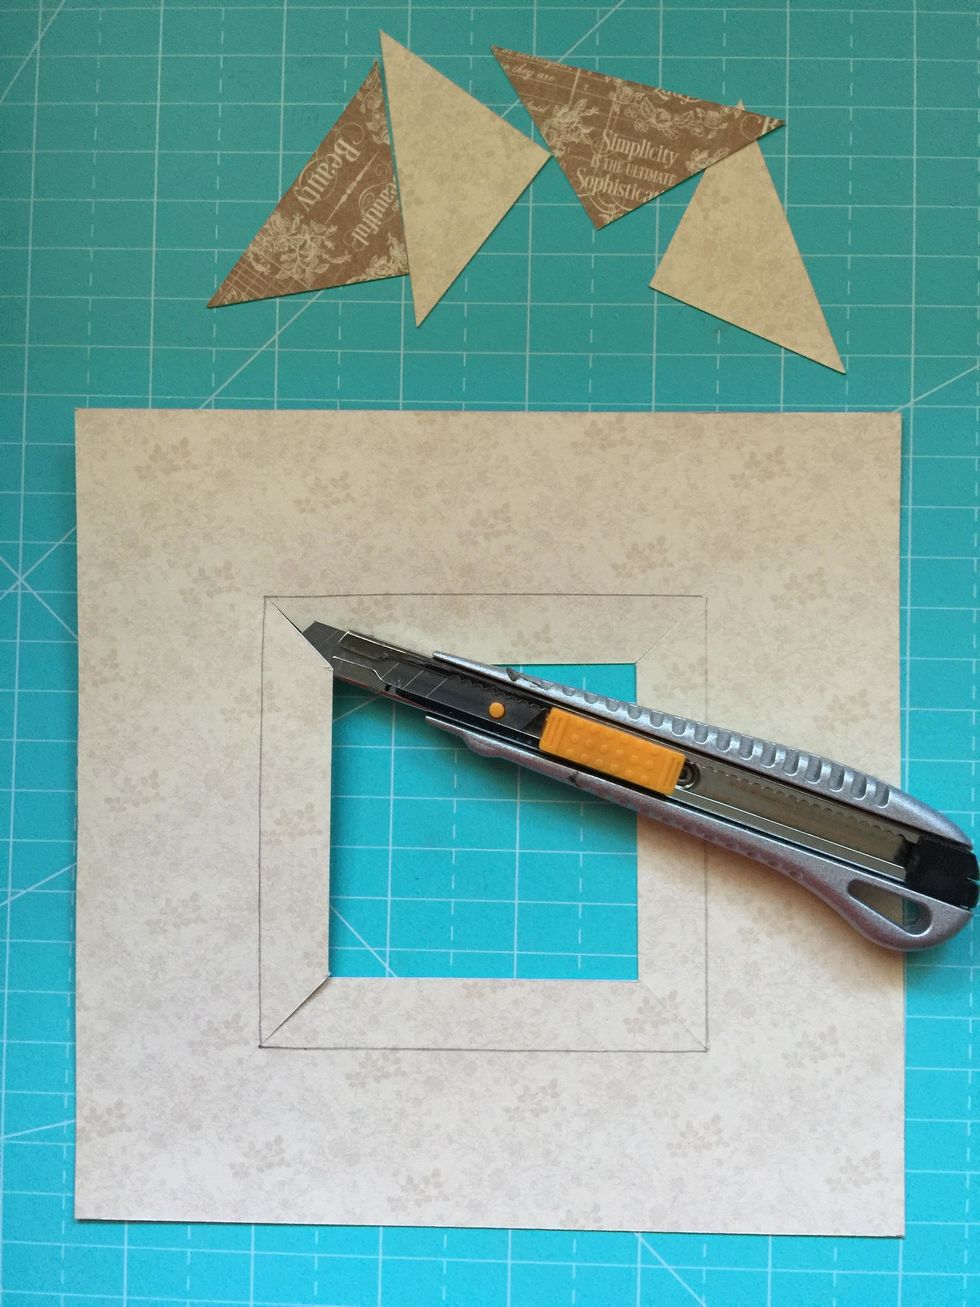
Cut the angles.
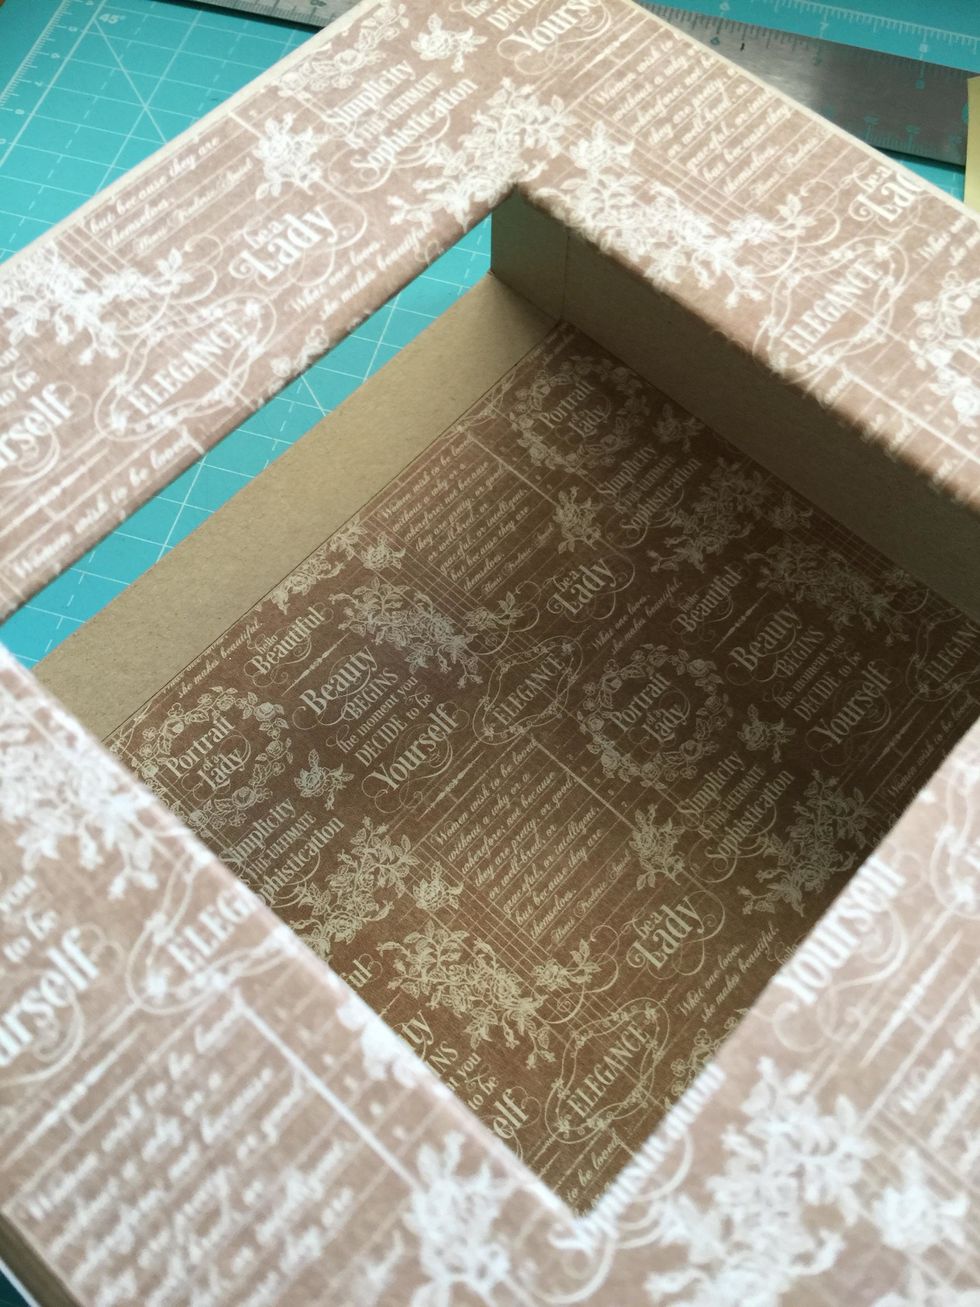
Adhere the paper.
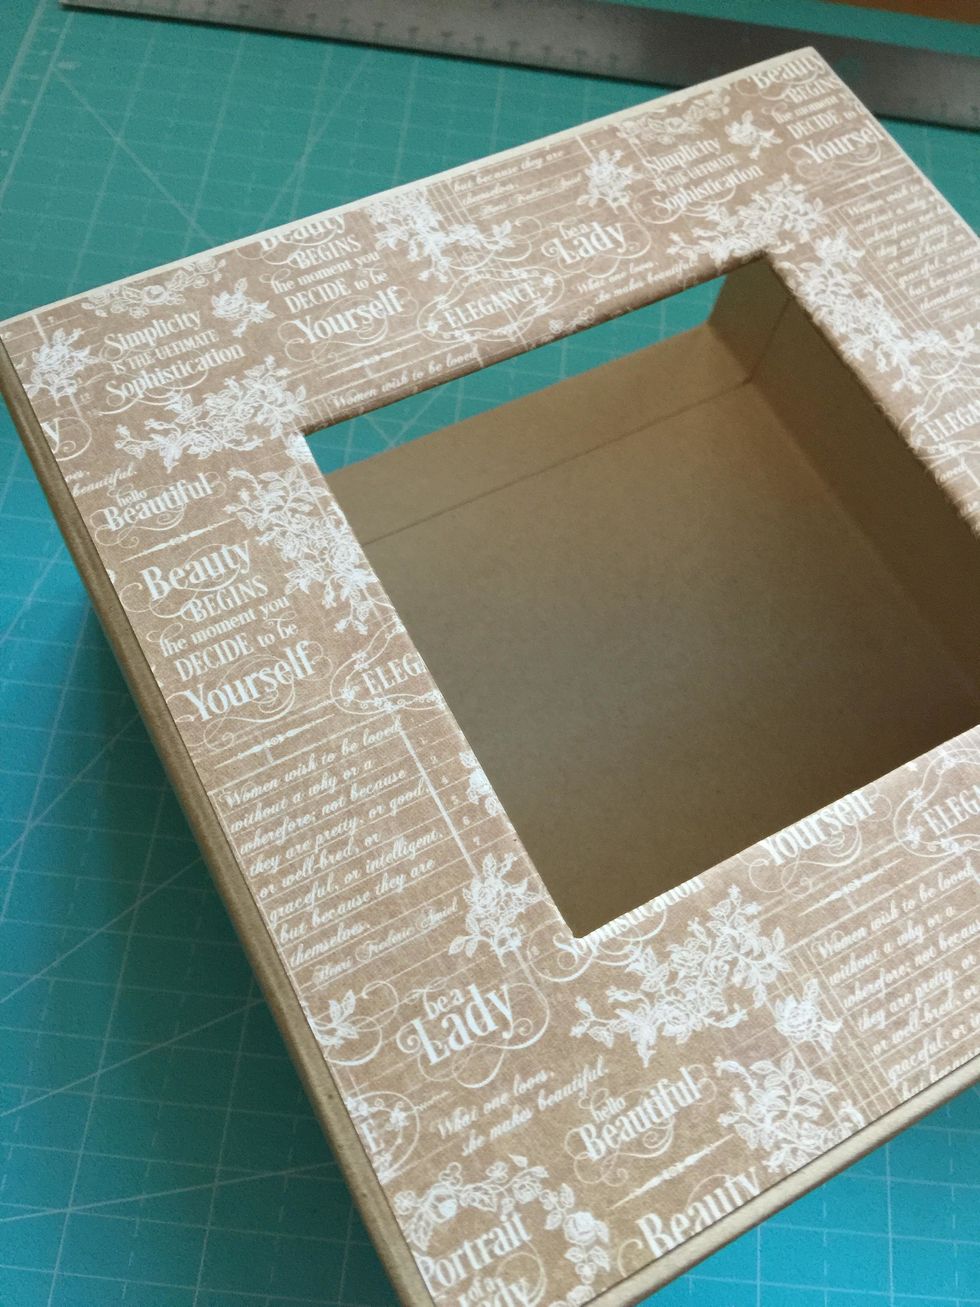
Then adhere the taps covering the edge of the window.
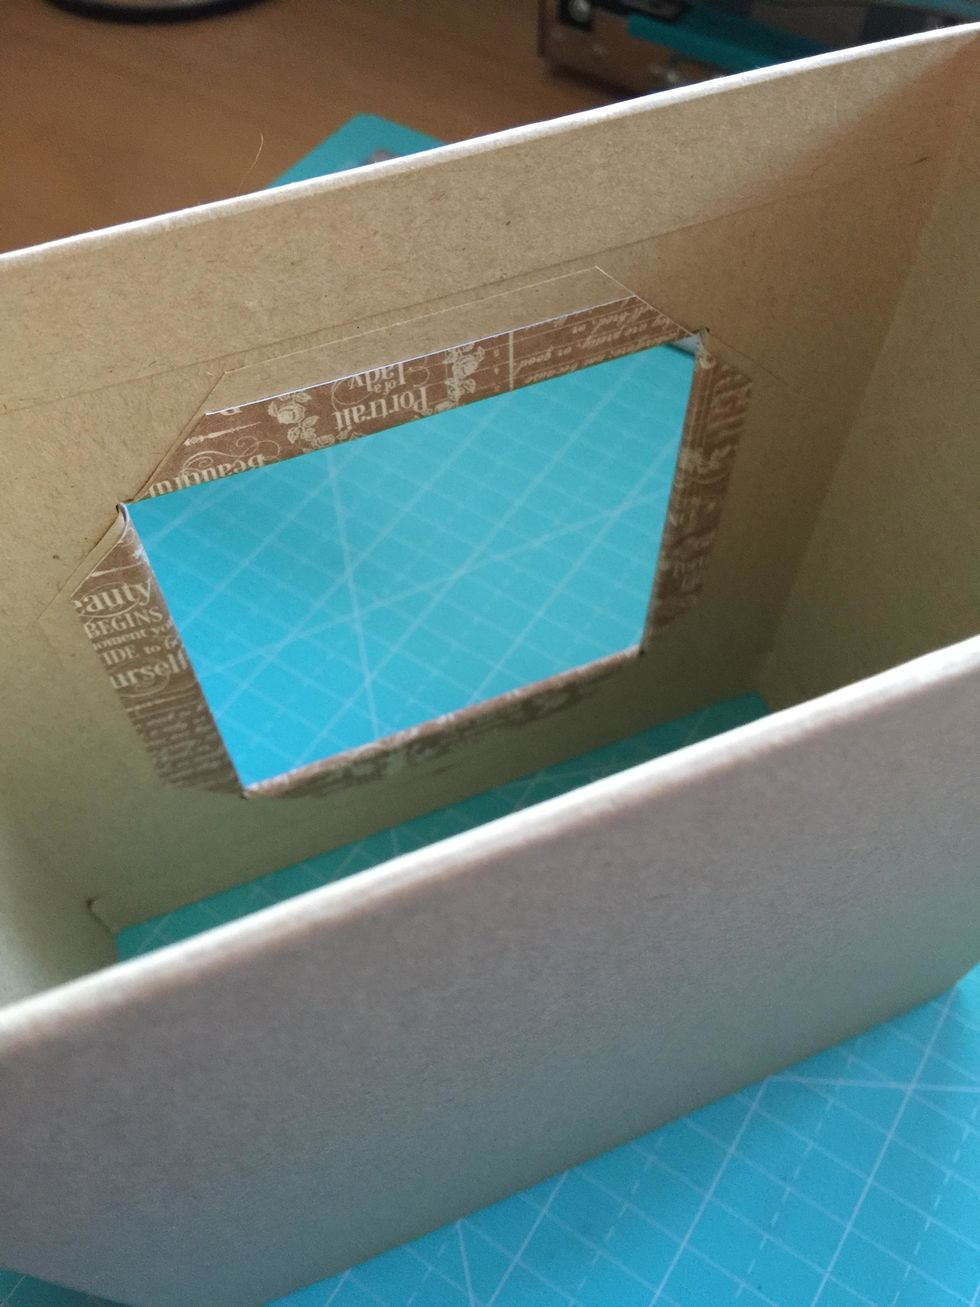
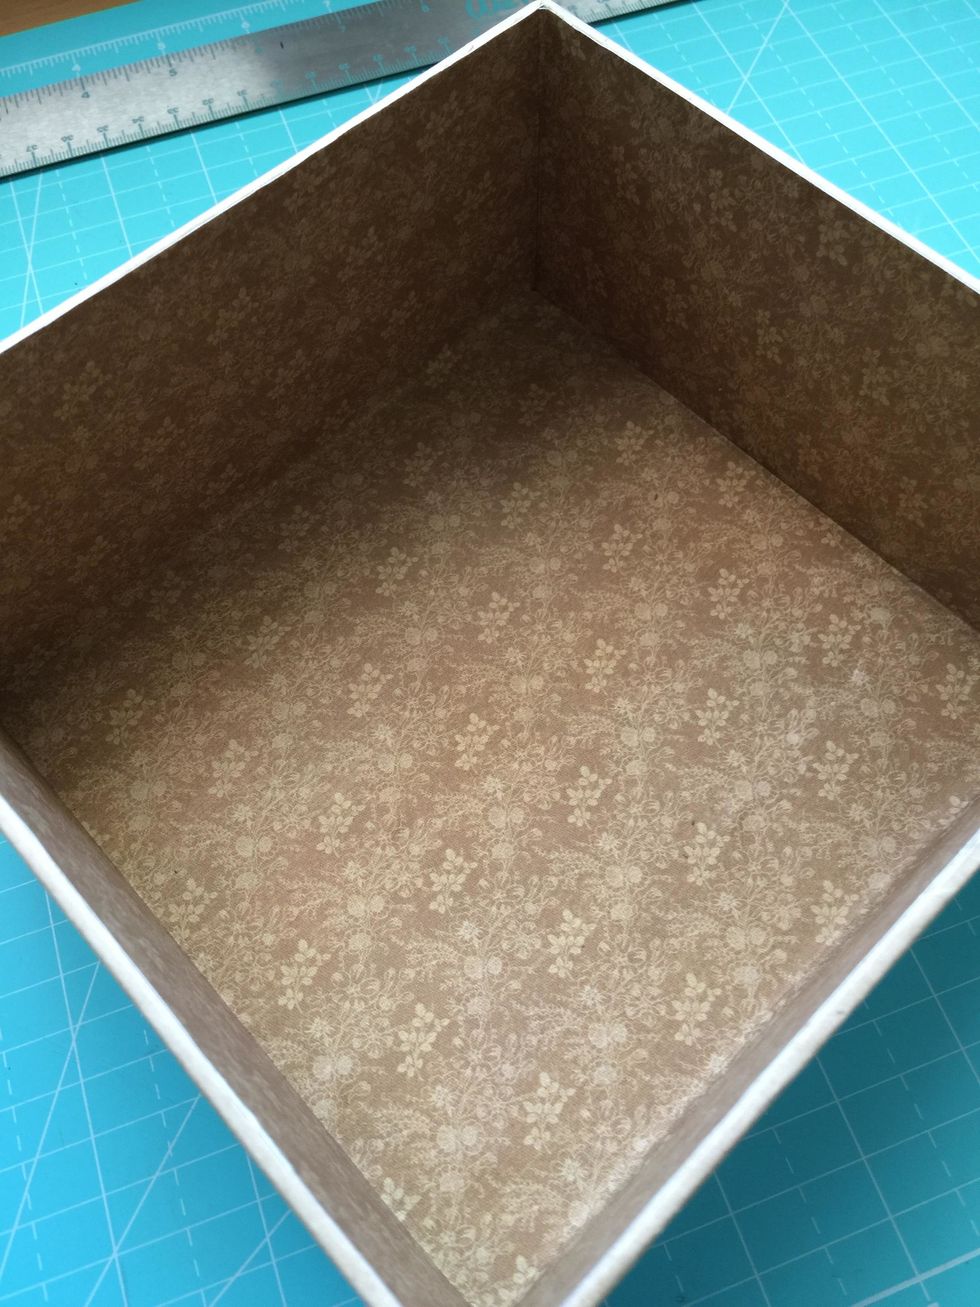
This is how it looks inside.
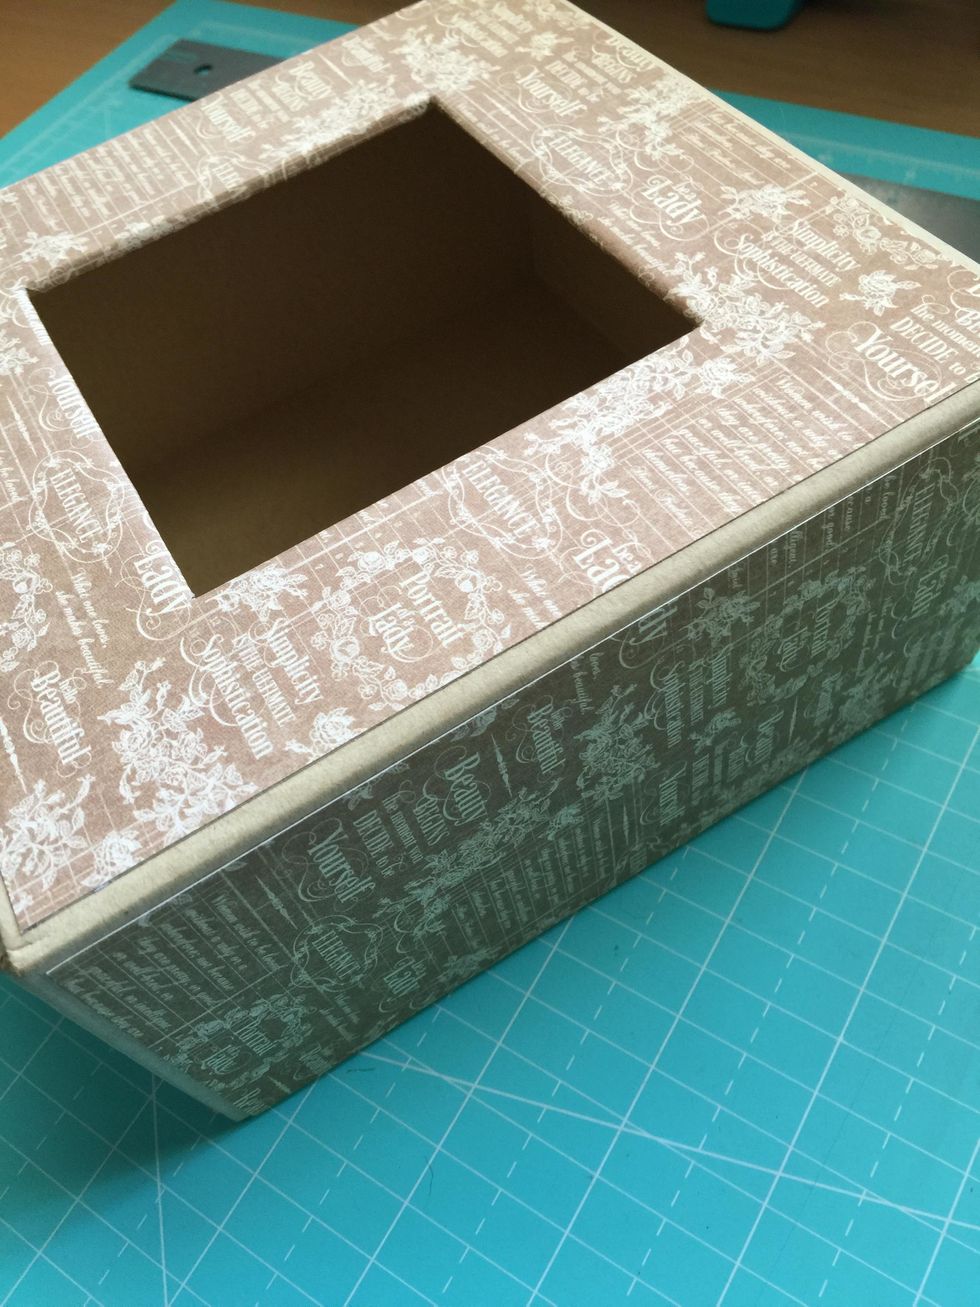
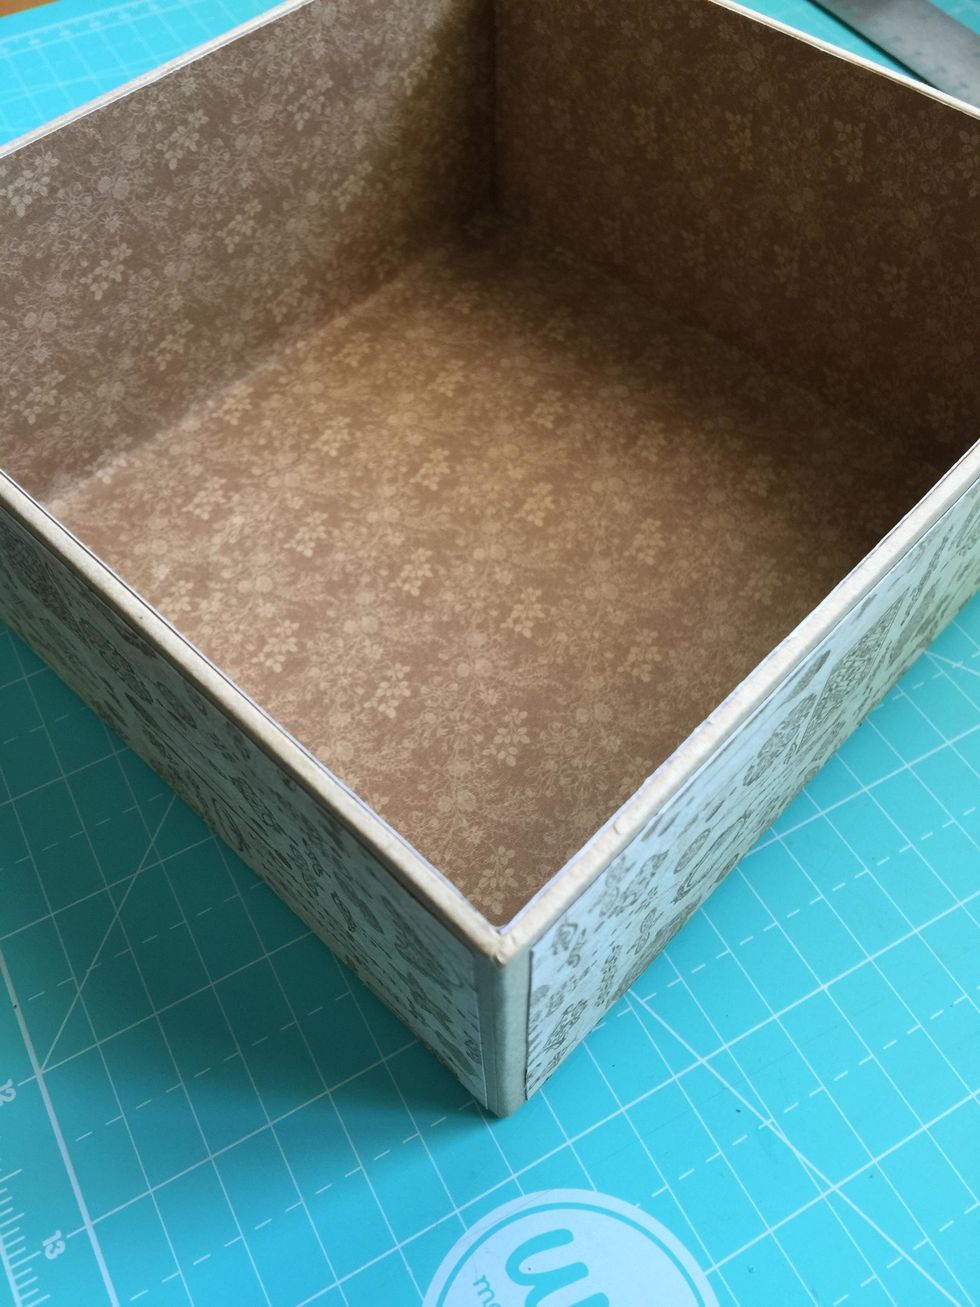
Cover with paper the rest of the sides of the box.
And cover the back too.

You can also cover the inside, so when you open the matchbook box it will look perfect.

Then measure the inside of the box and cut these pieces or paper.
Glue the paper inside.
And glue the sides too.
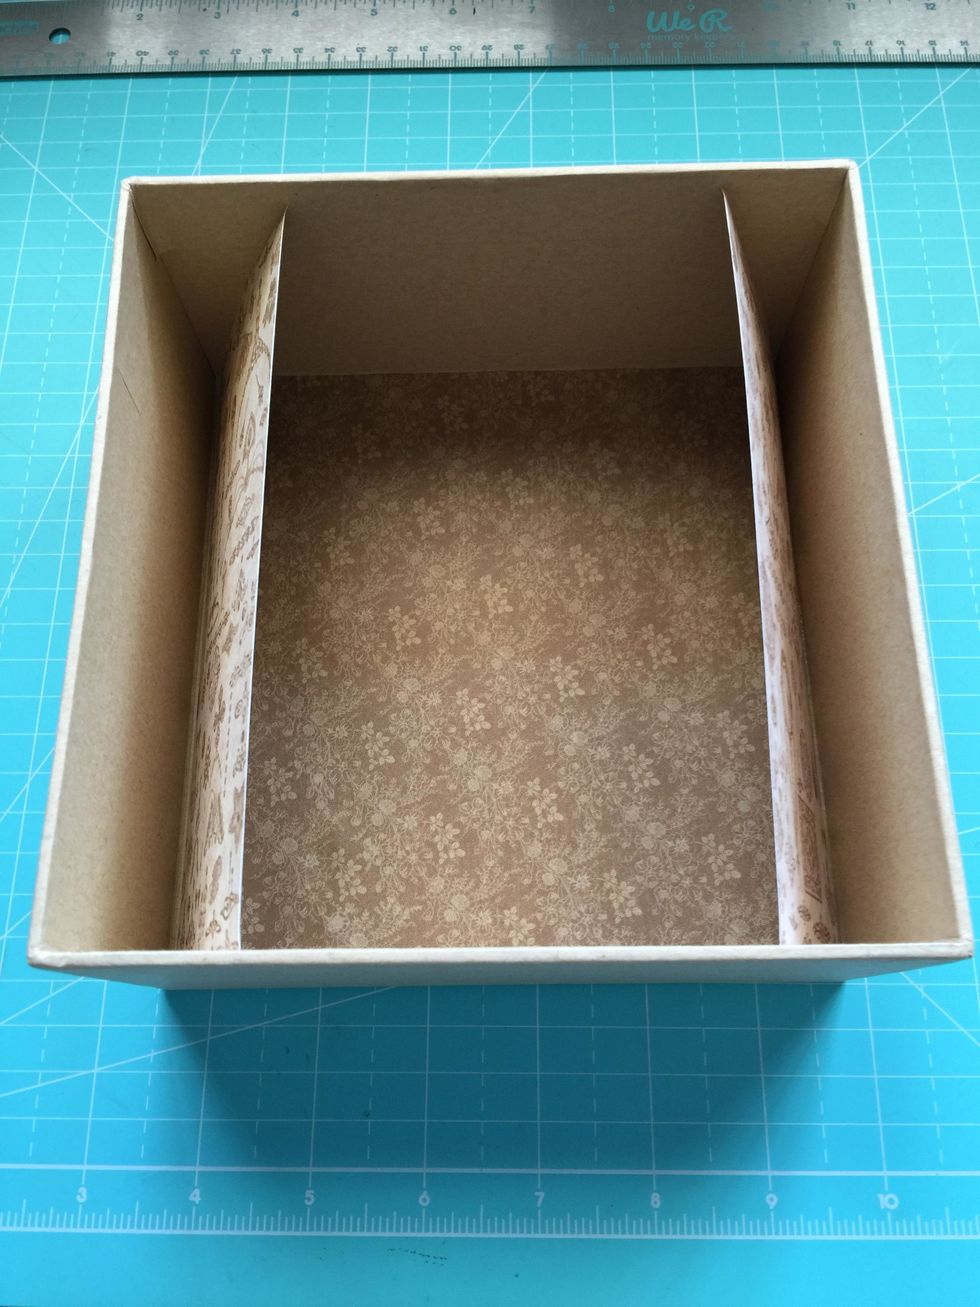
Measure the external sides of the inside box.
Glue them as shown.
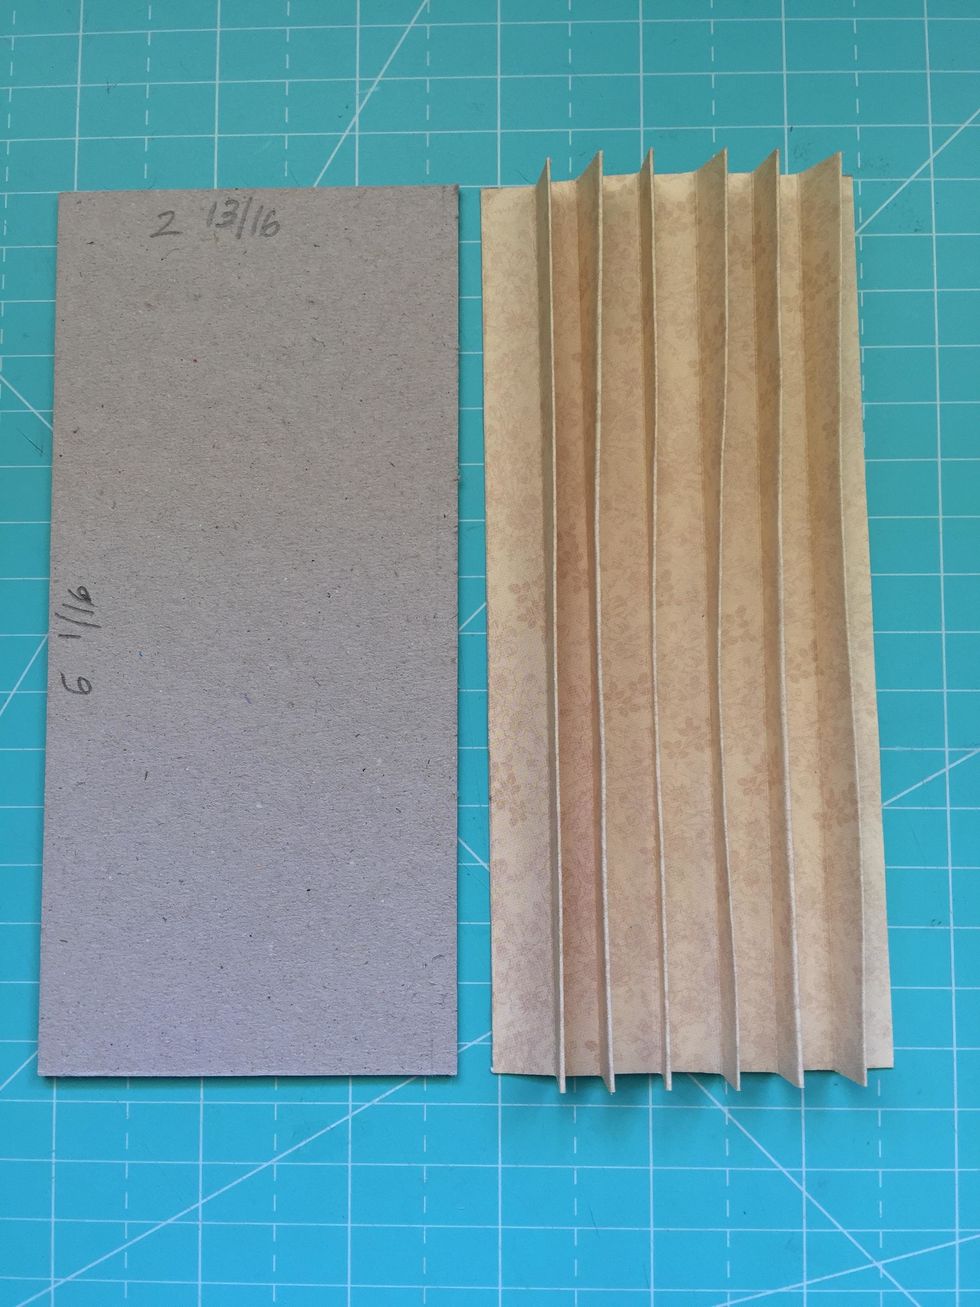
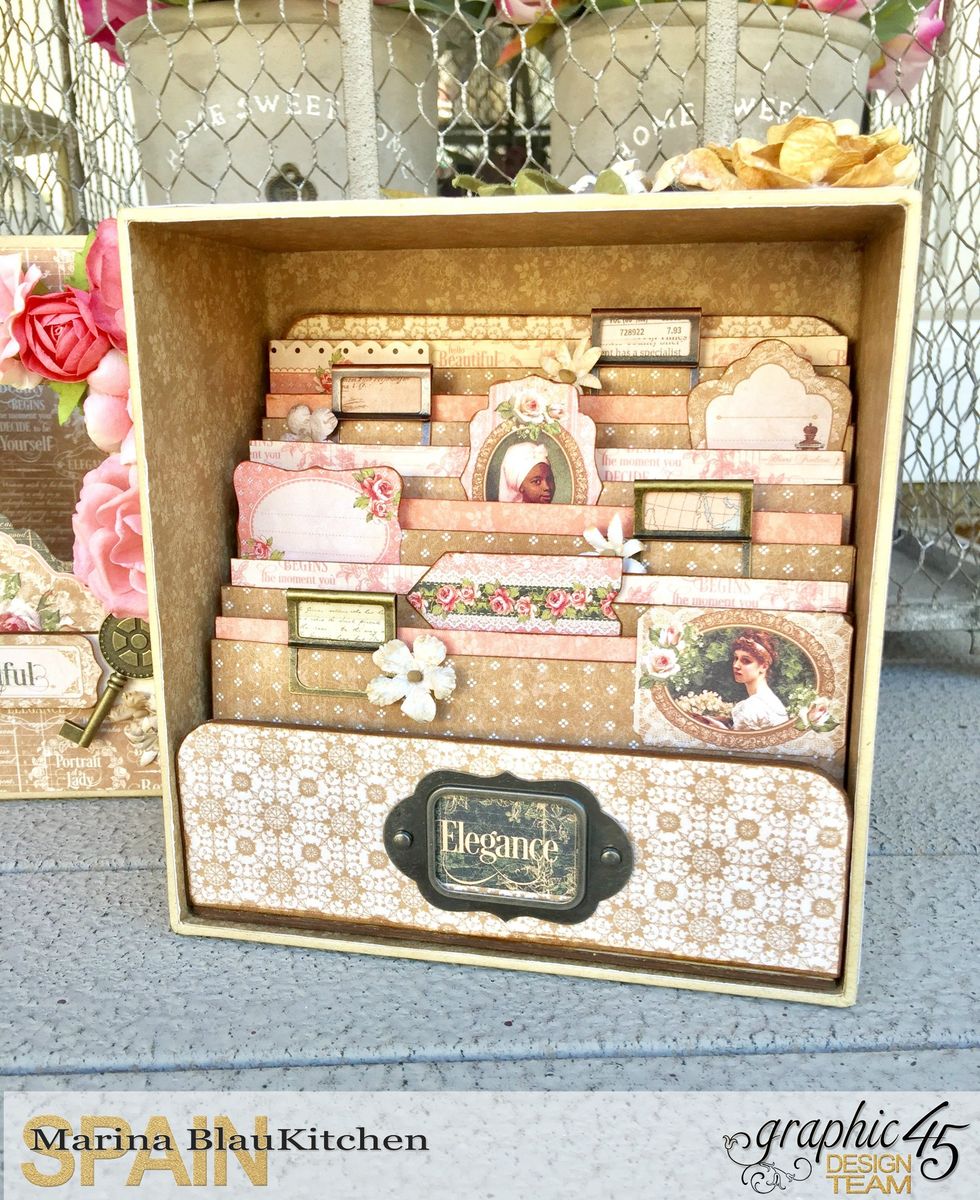
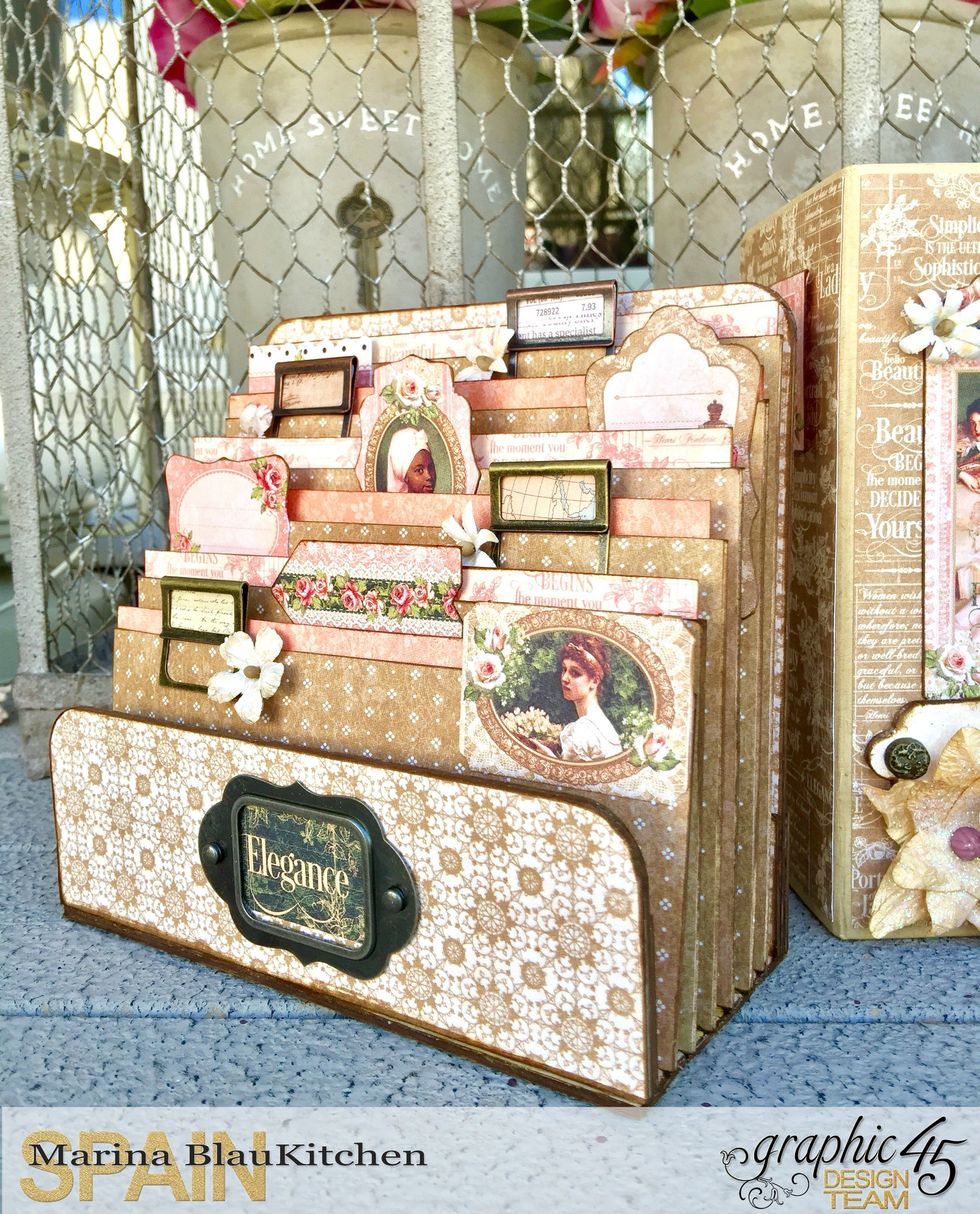
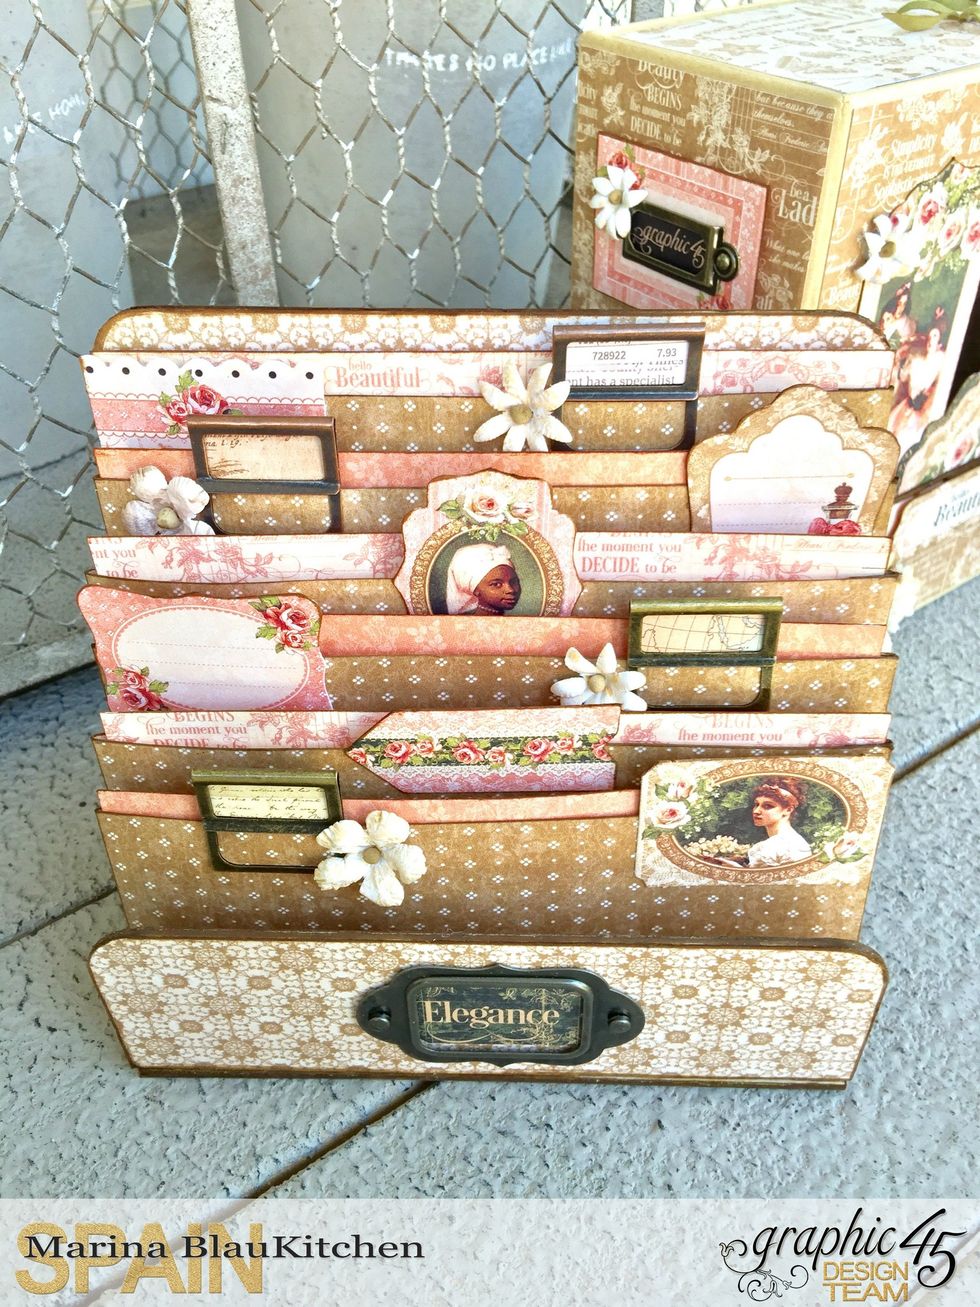
Now let's make the project to put into the box. It will be a kind of small filing cabinet. We need to cut a 6" 1/16" x 2" 13/16" cardboard and make this spine that matches with it.
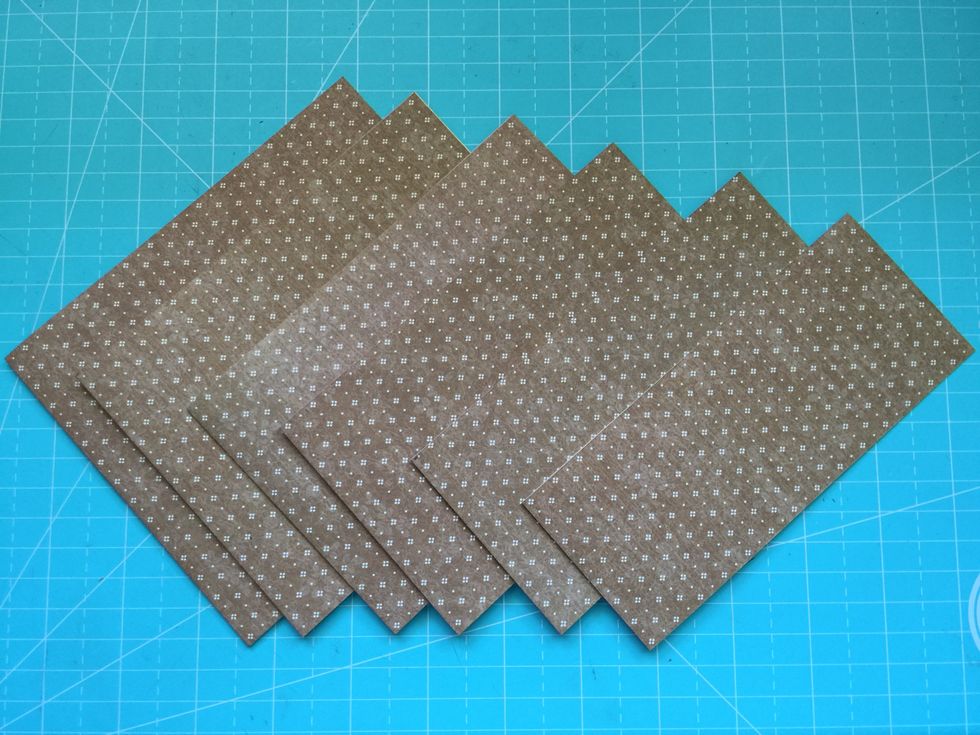
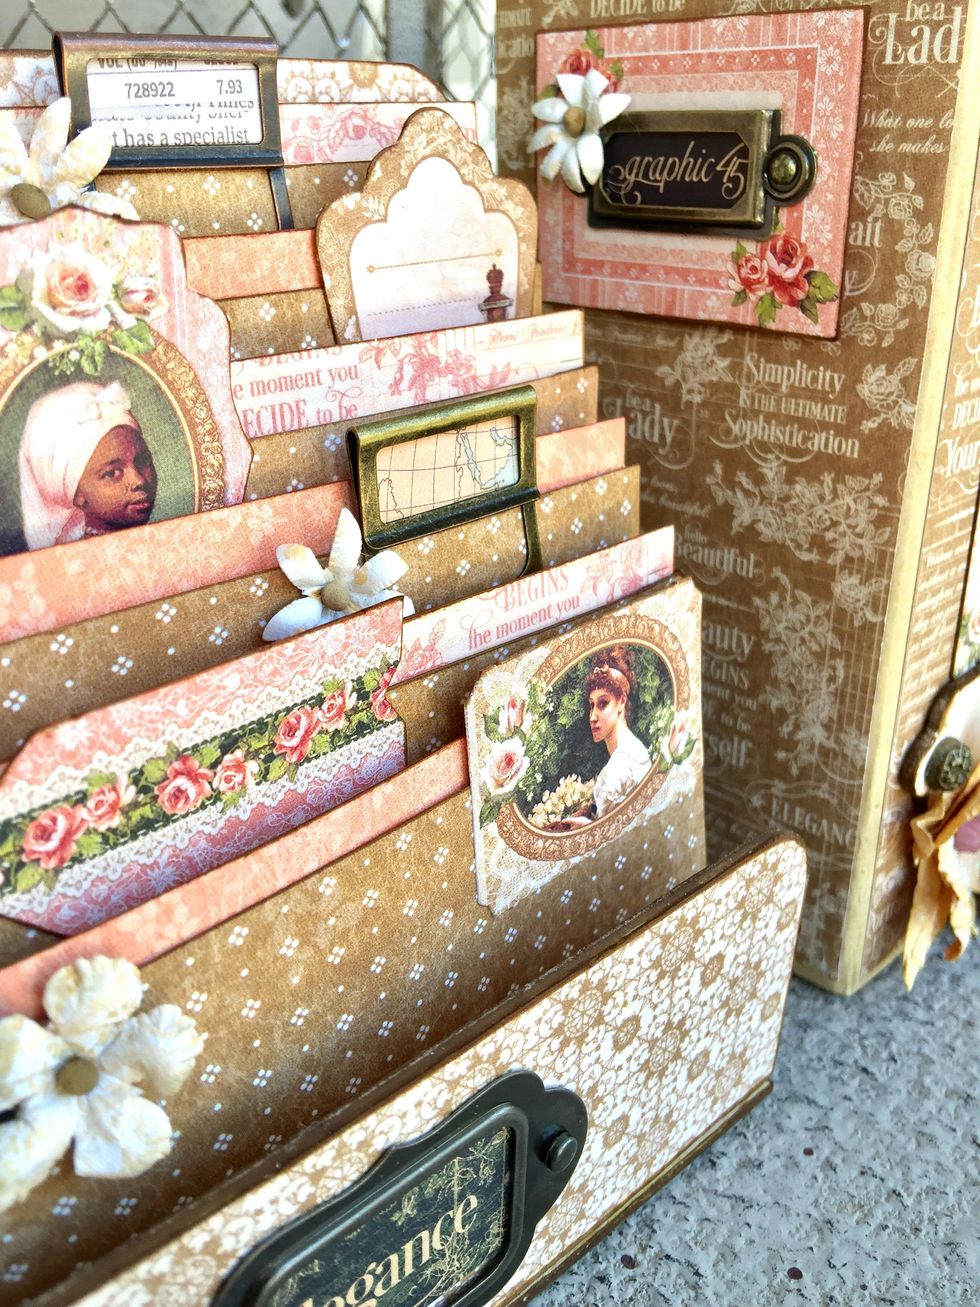
Then we make six pockets with different heights as if it were a cascade. Take the measure of your spine.
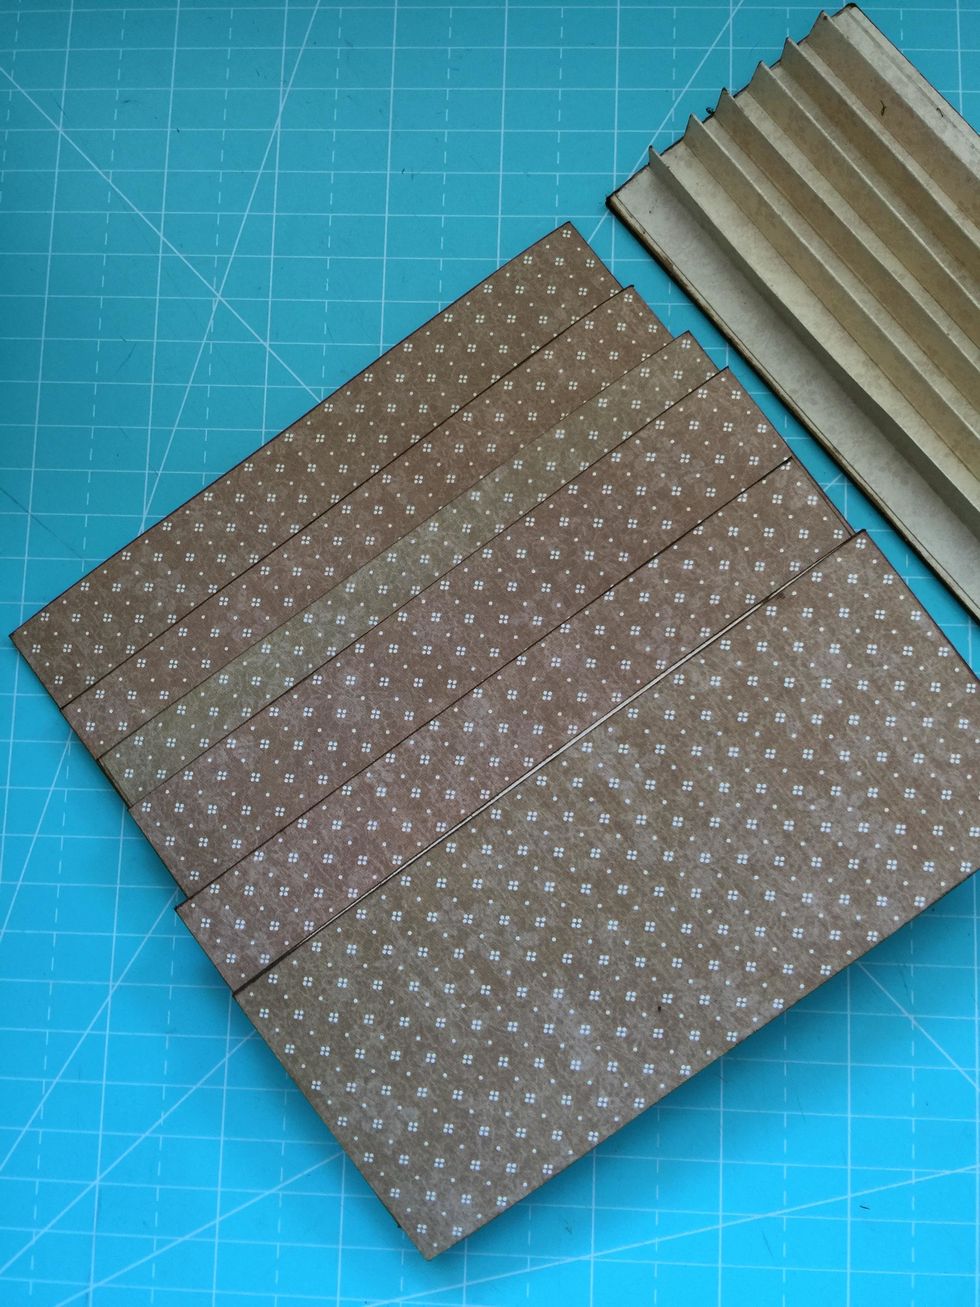
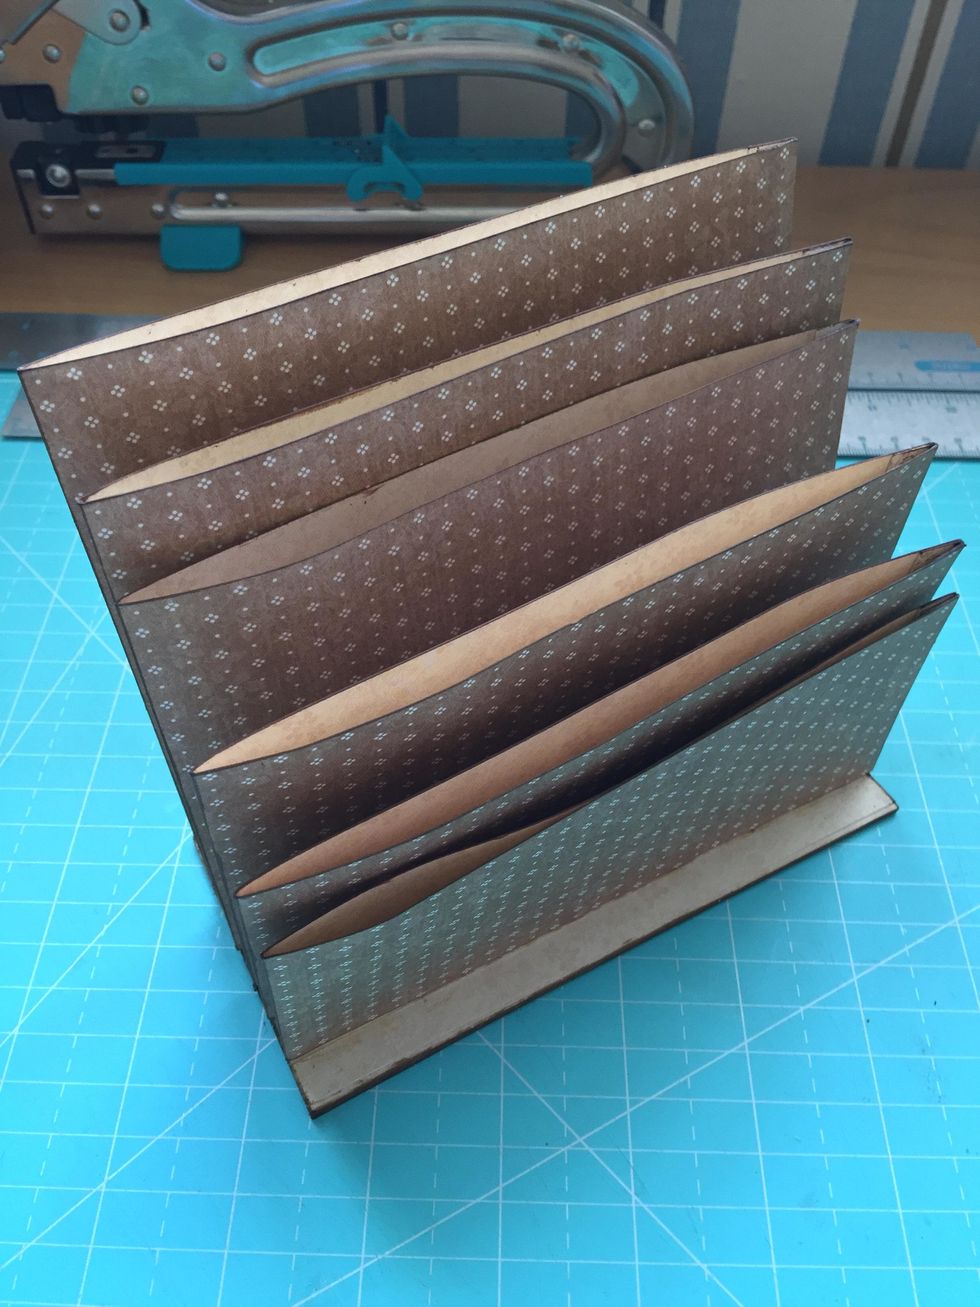
Glue the pockets on the tabs of the spine.
This is the back side. We need a cardboard and cover it with paper.
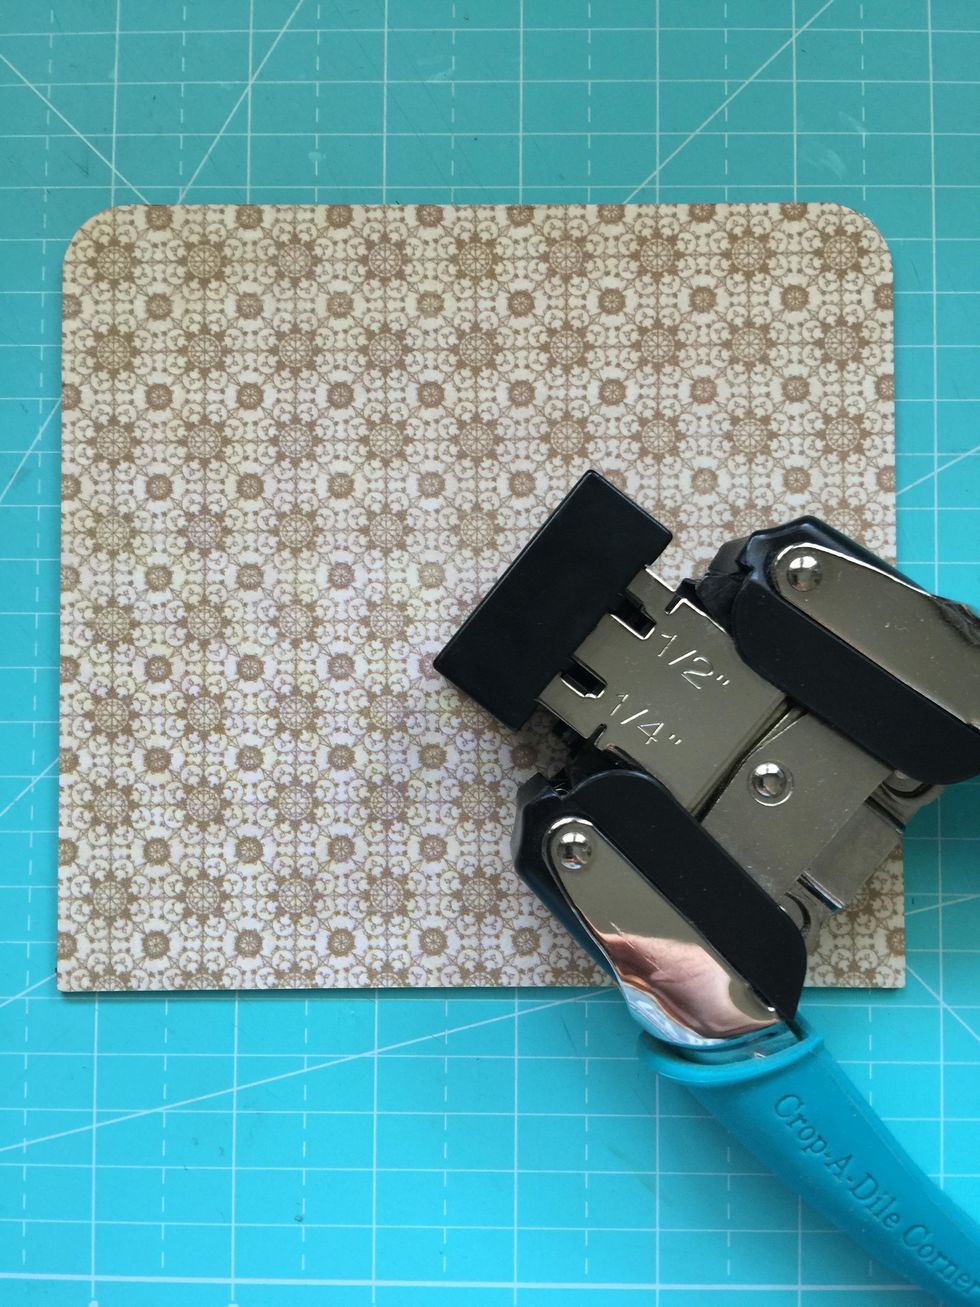
Round corners.
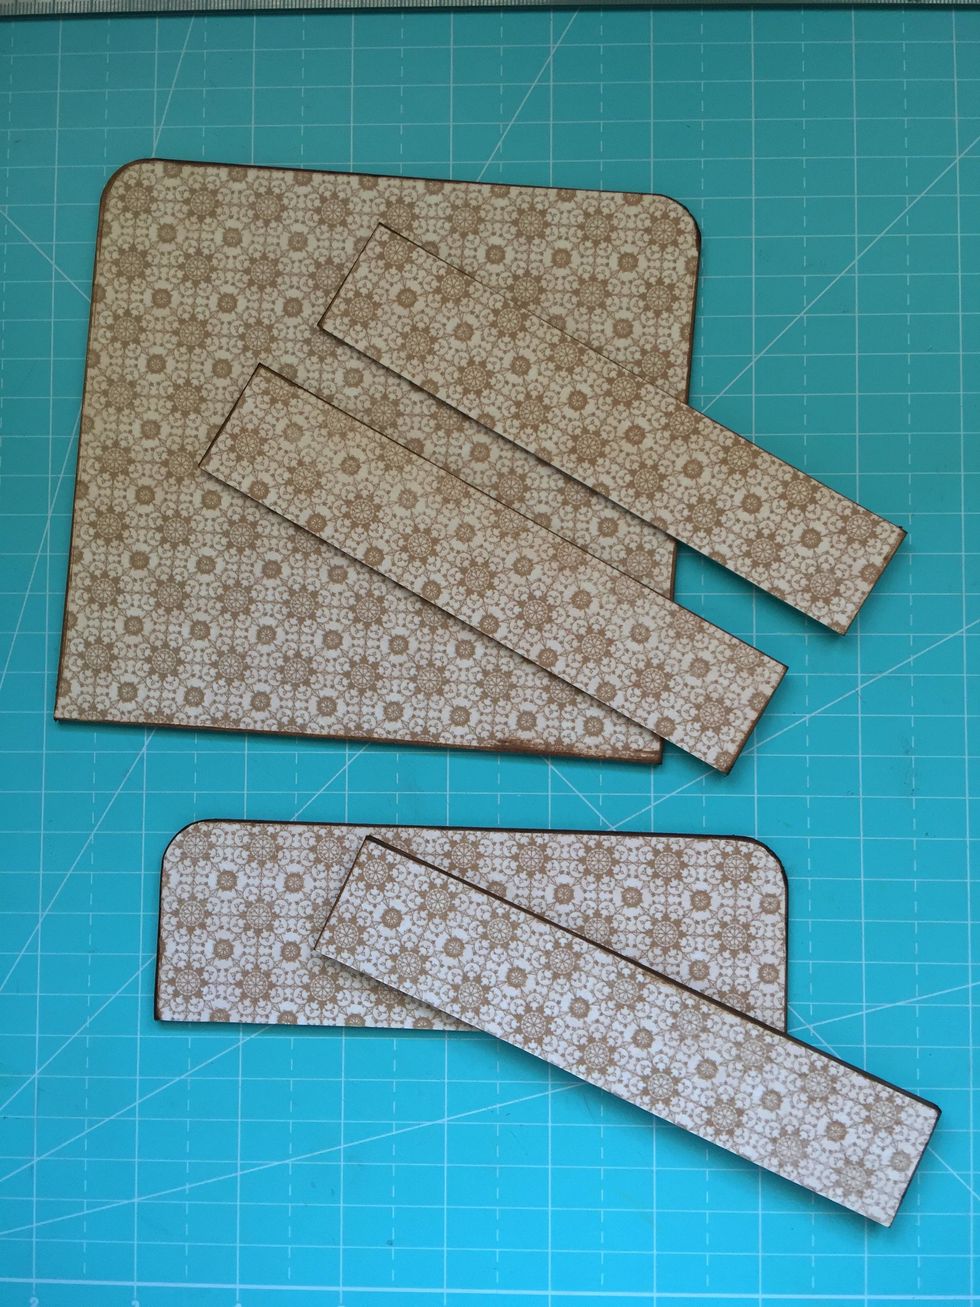
Make some pieces to reinforce the structure. One inch wide is enough. Make another piece of 2" wide with cardboard for the front of the cabinet, cover with paper and round corners.

Put an embellishment on the front before gluing to the structure.
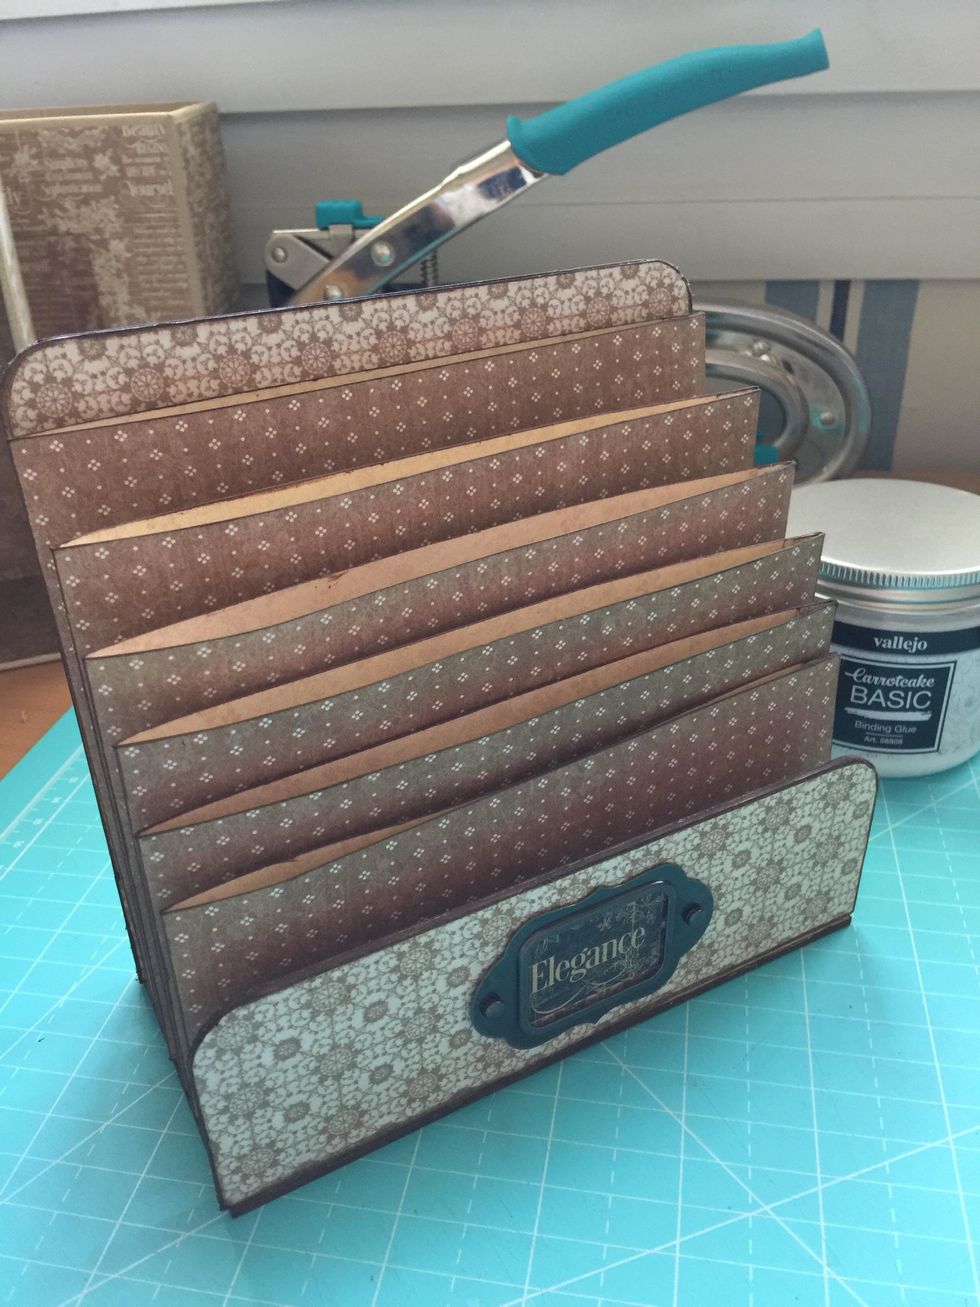
Here it is.
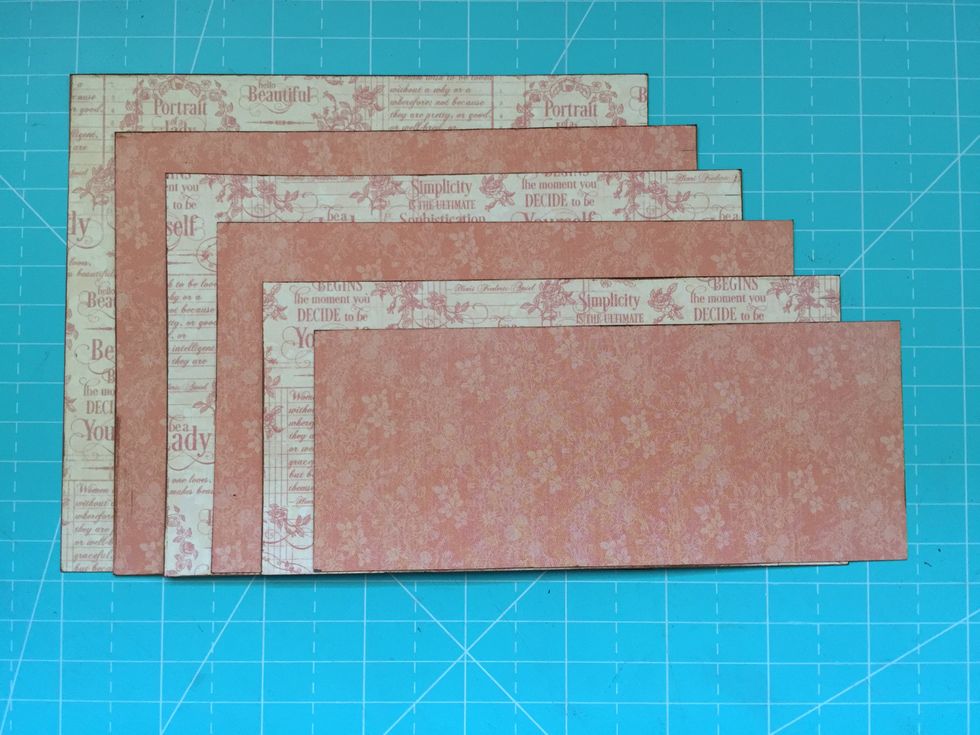
Cut six pieces of paper that will fit into the pockets. Make them a little bit higher than the pockets so you can see the paper when the papers are into them. Ink edges!
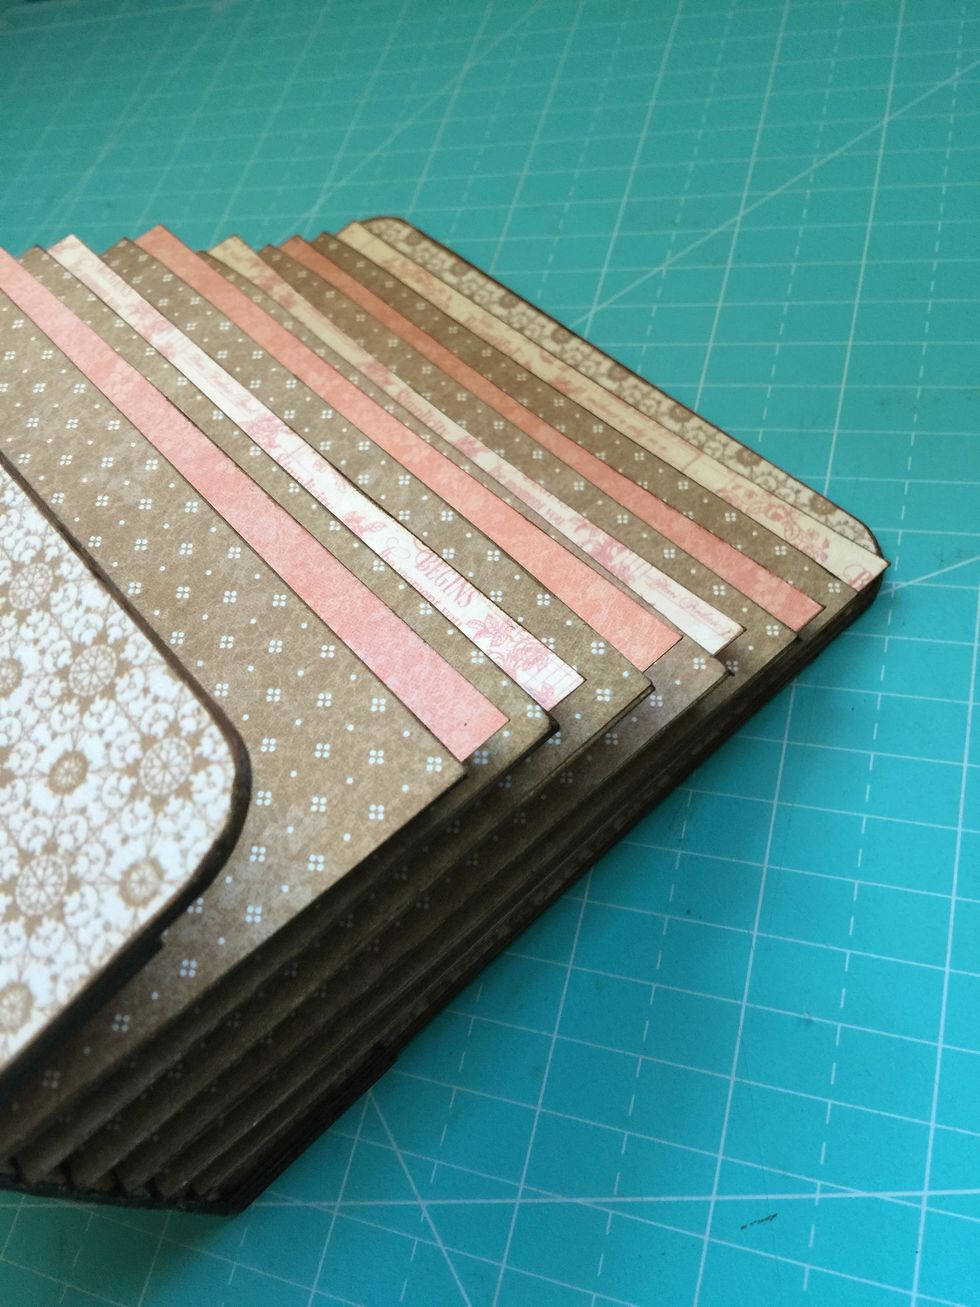
Put the papers into the pockets.

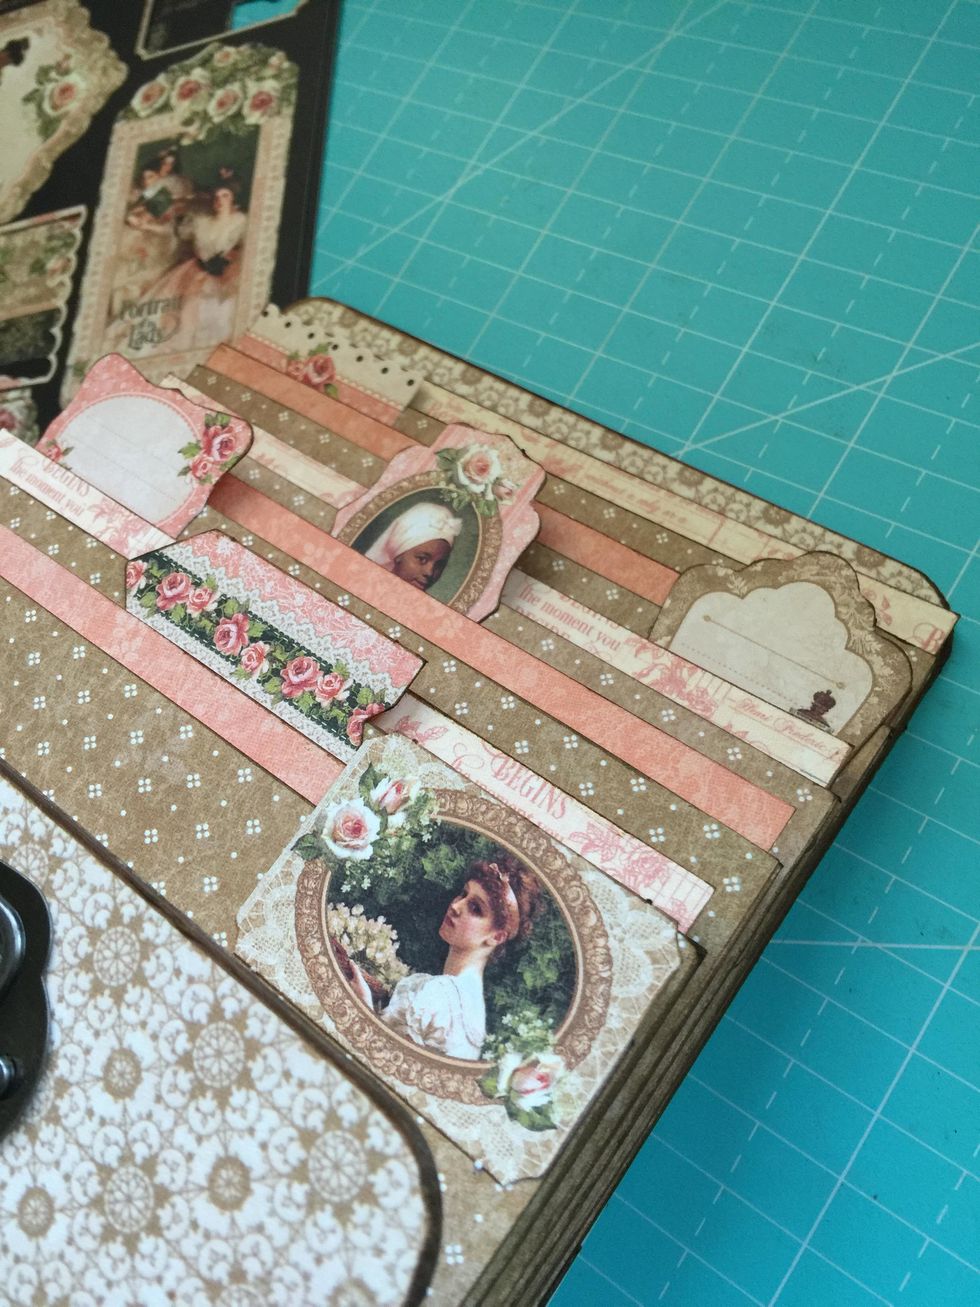
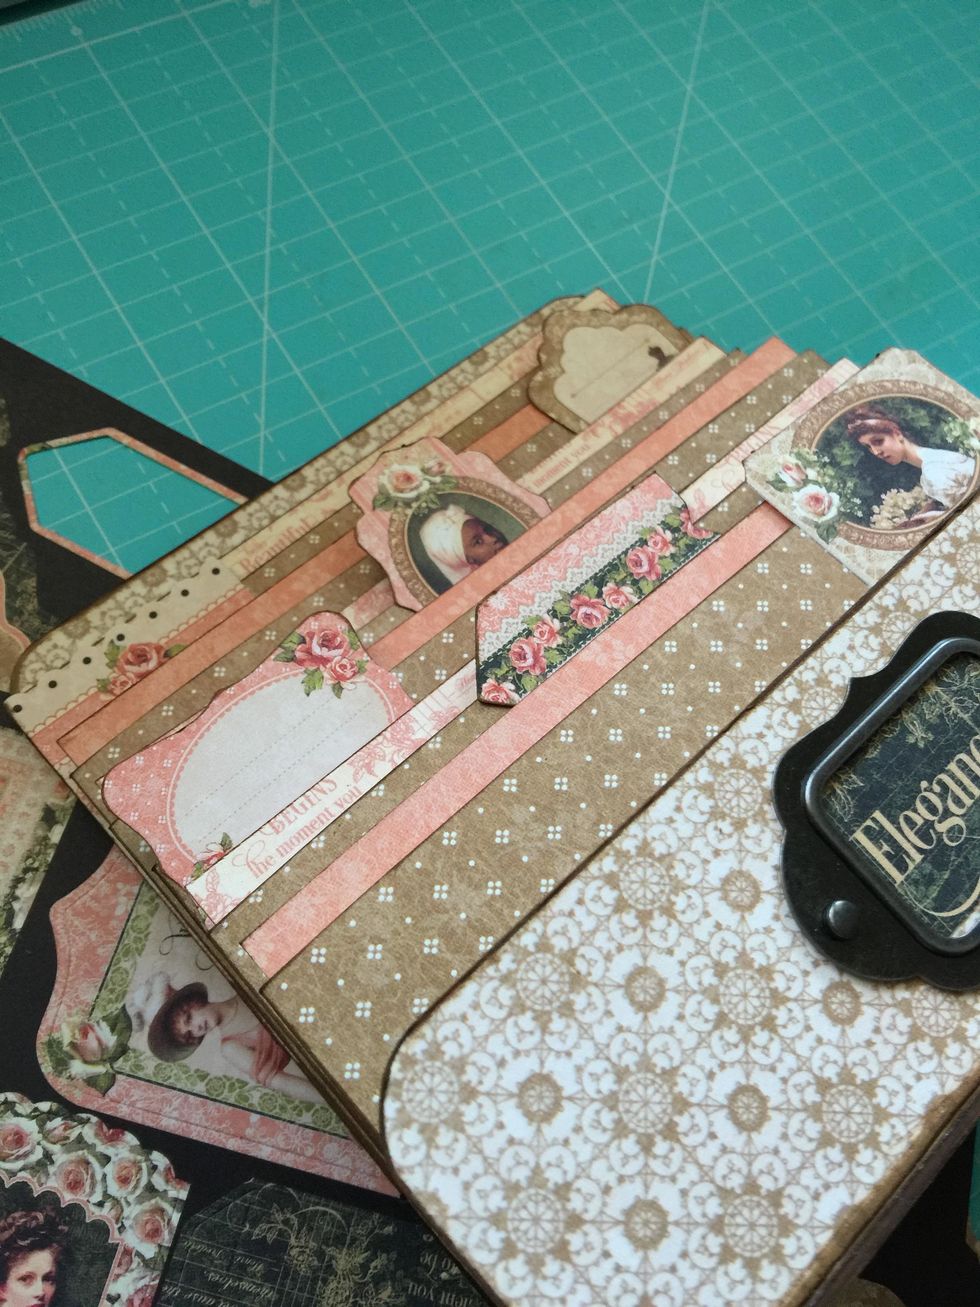
Then add Tags&Pockets to decorate all the pockets.
Then decorate the Matchbook box outside.
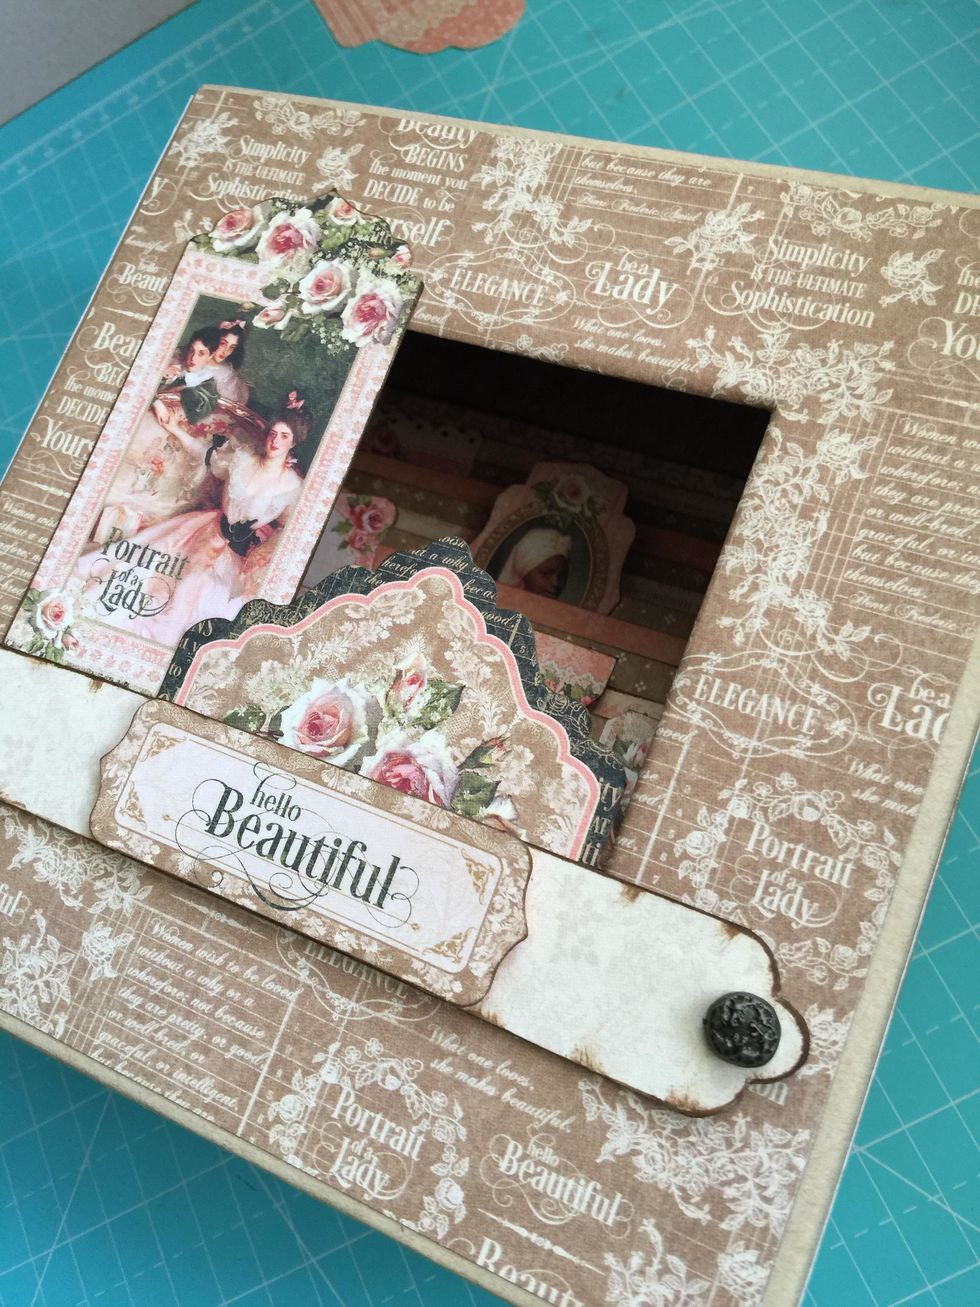
Add more Tags&Pockets.