The Conversation (0)
Sign Up
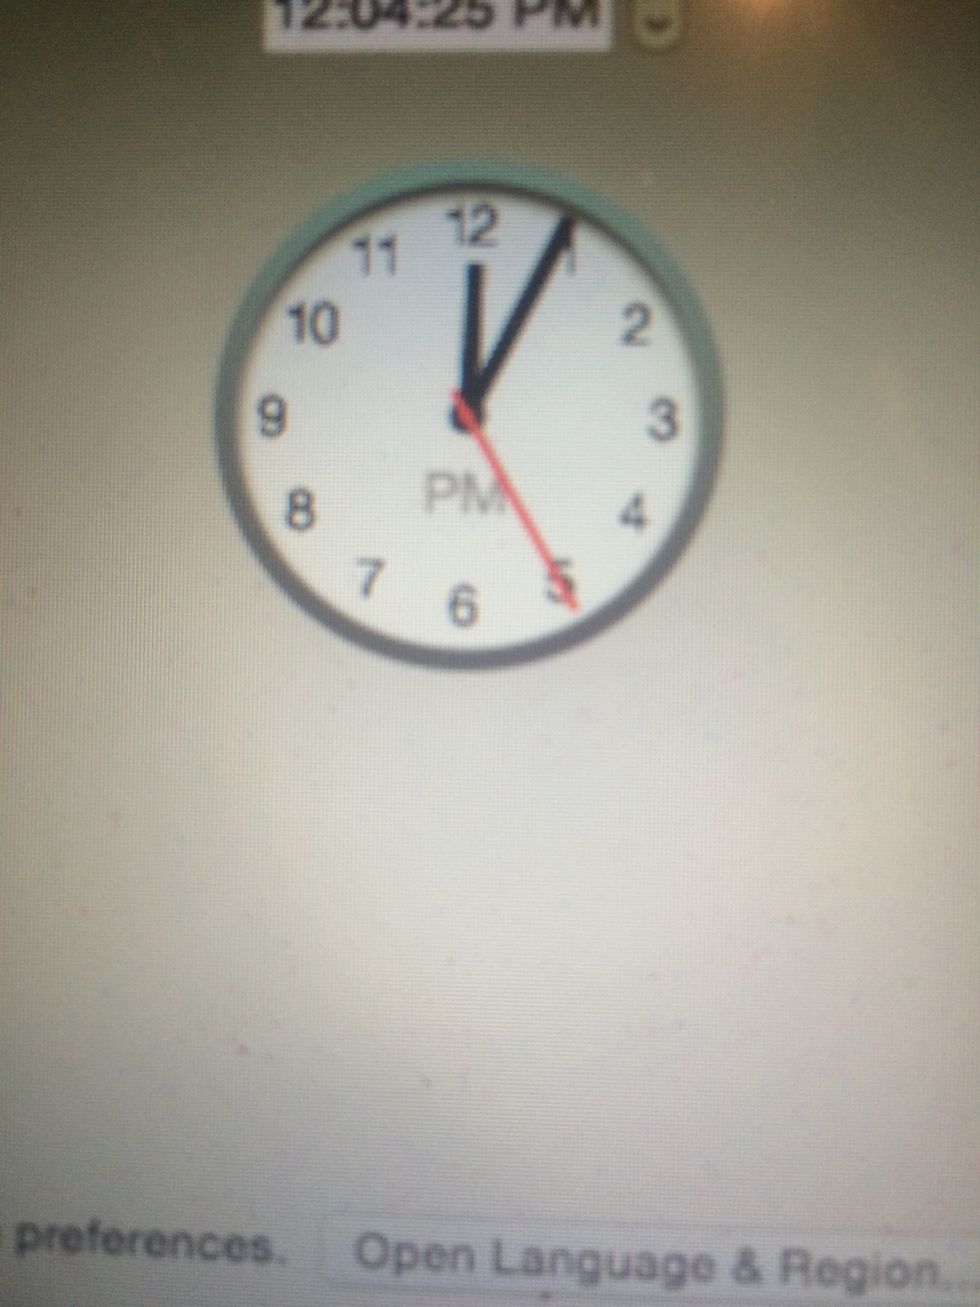
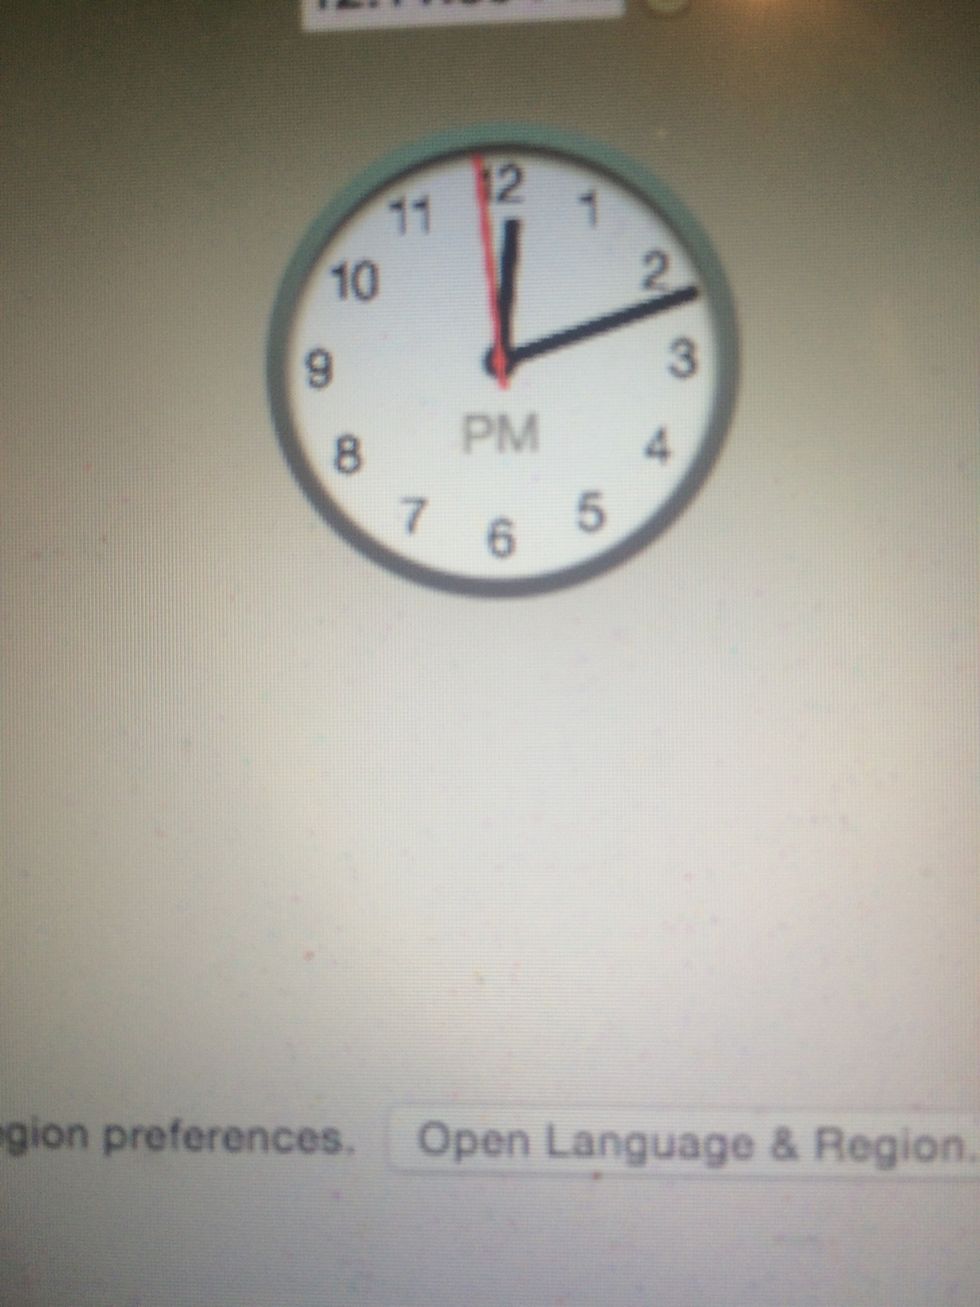
Record your start time
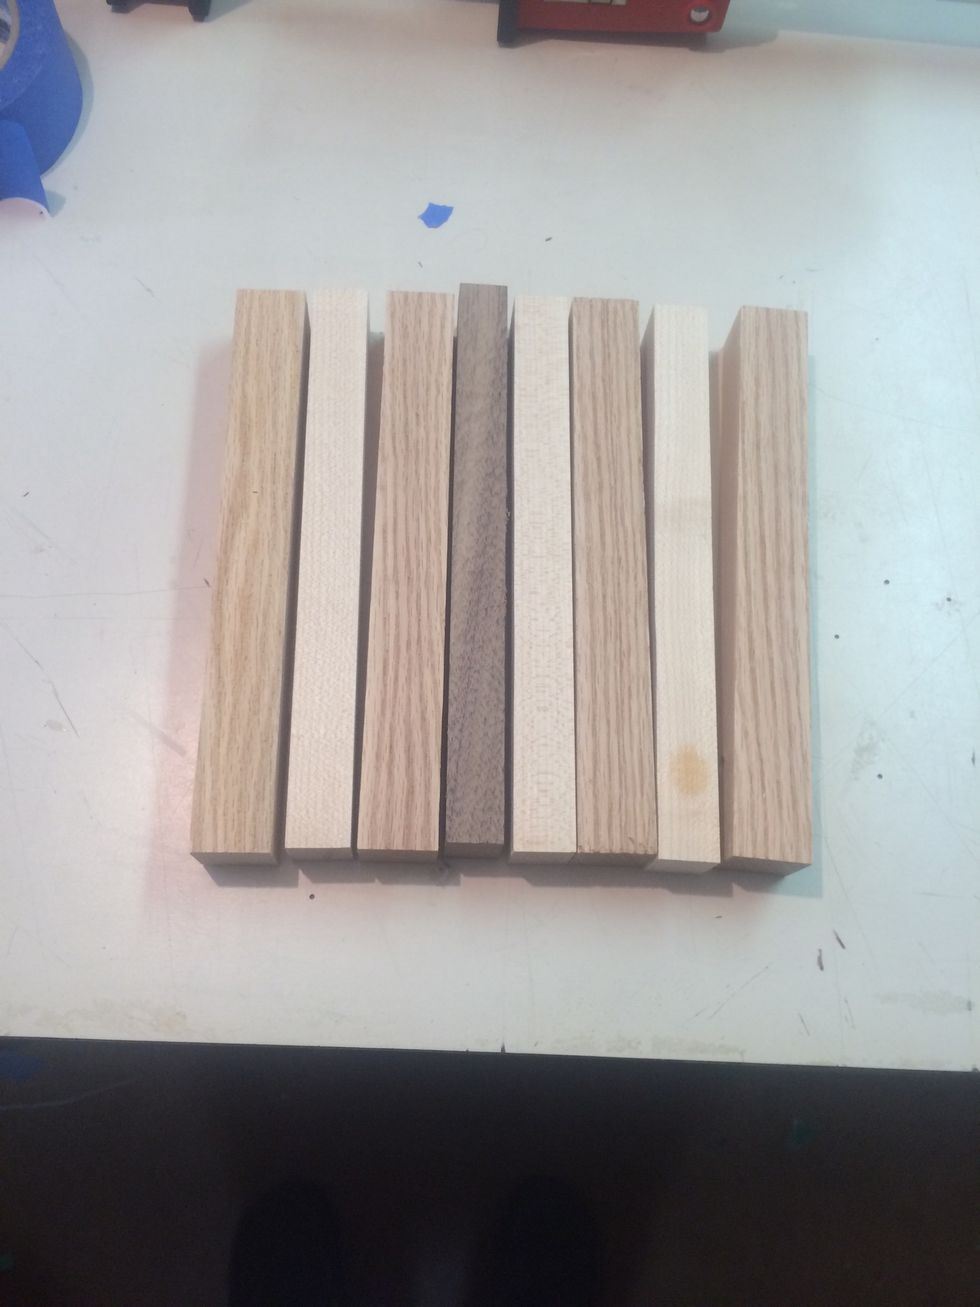
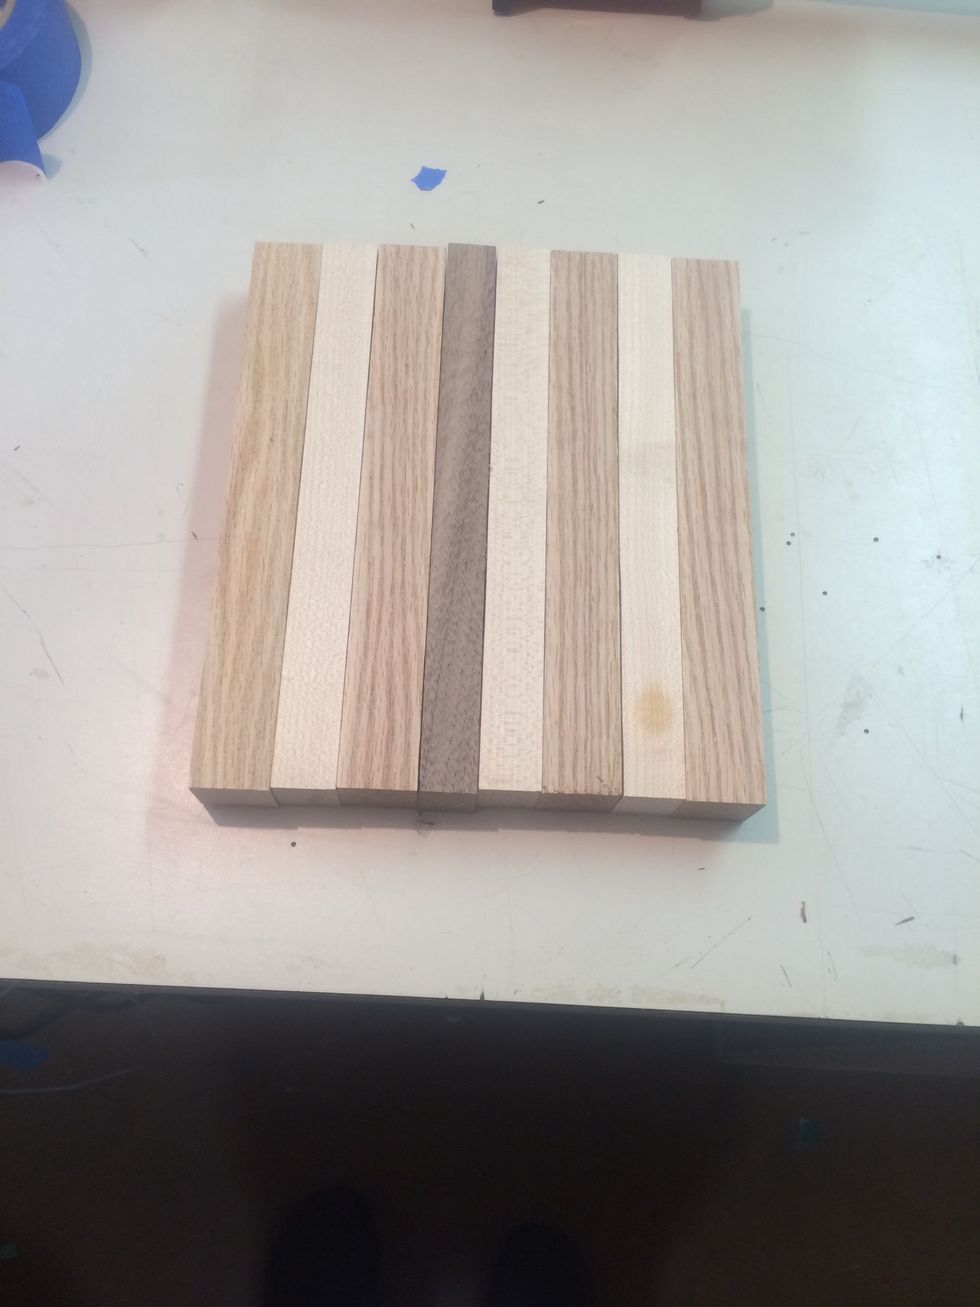
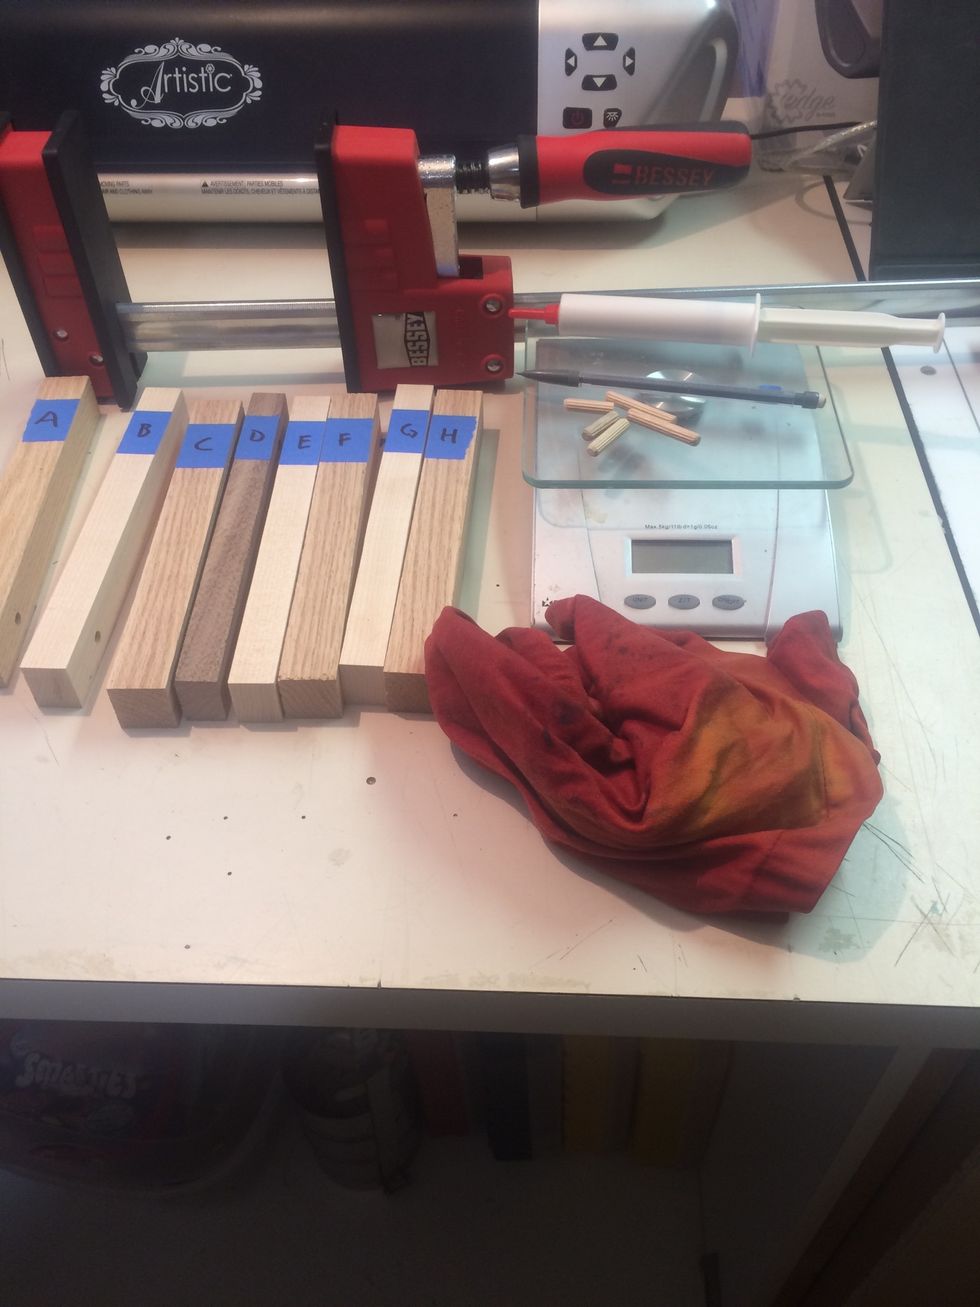
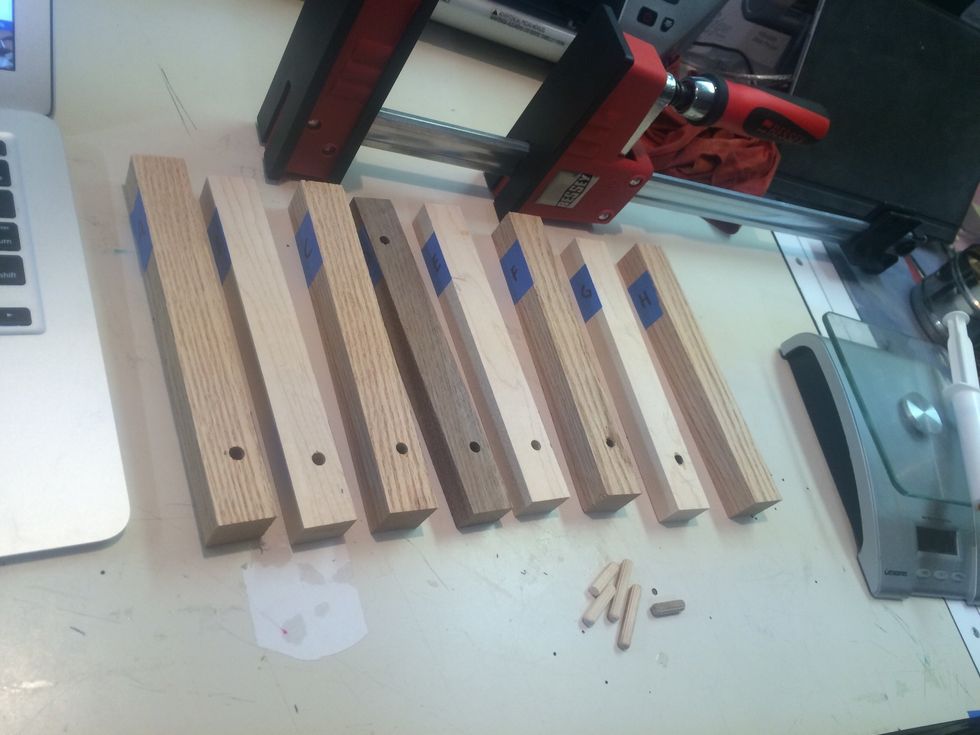
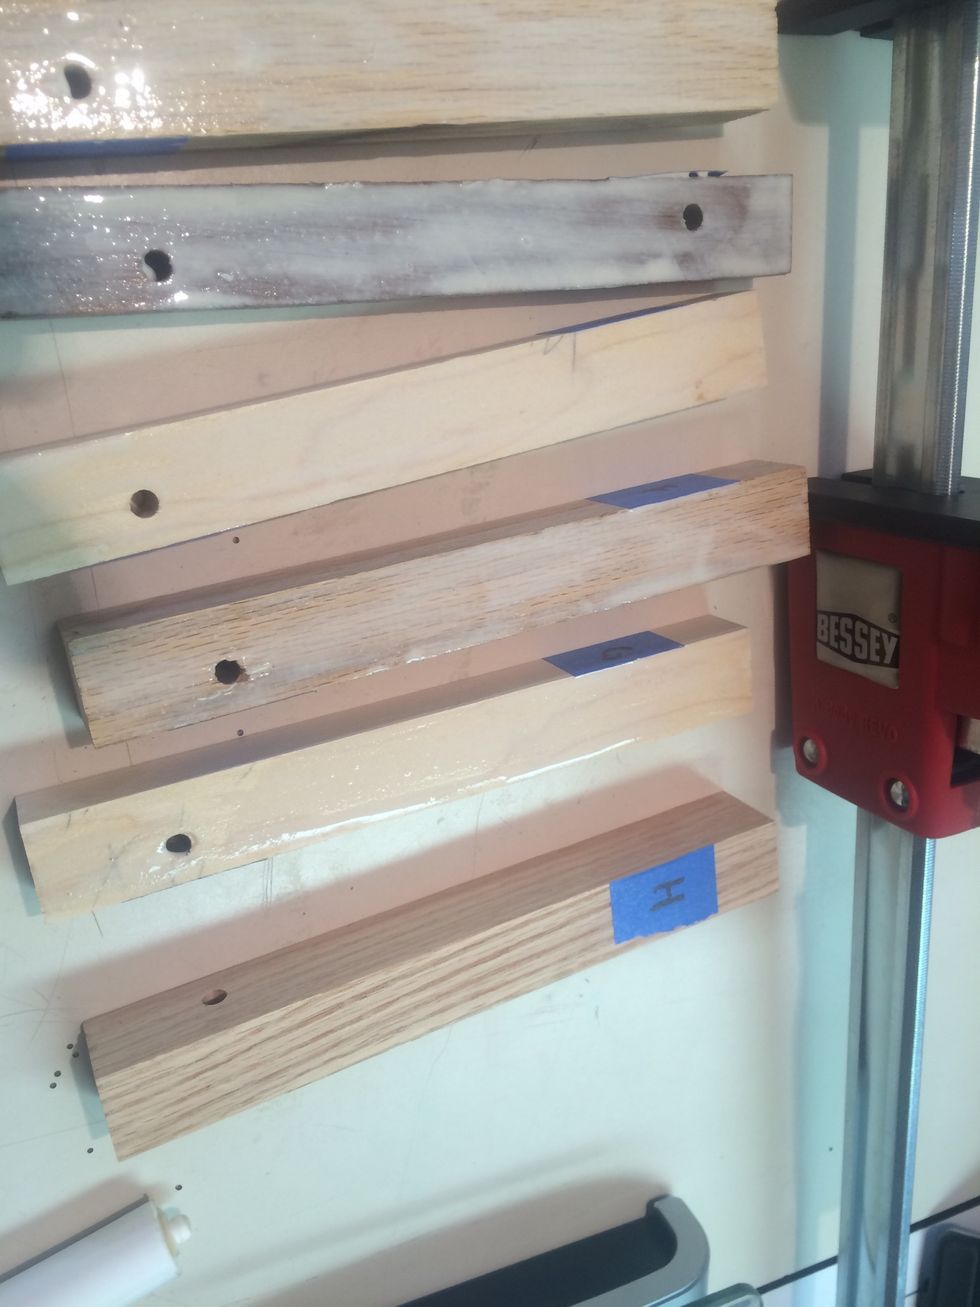
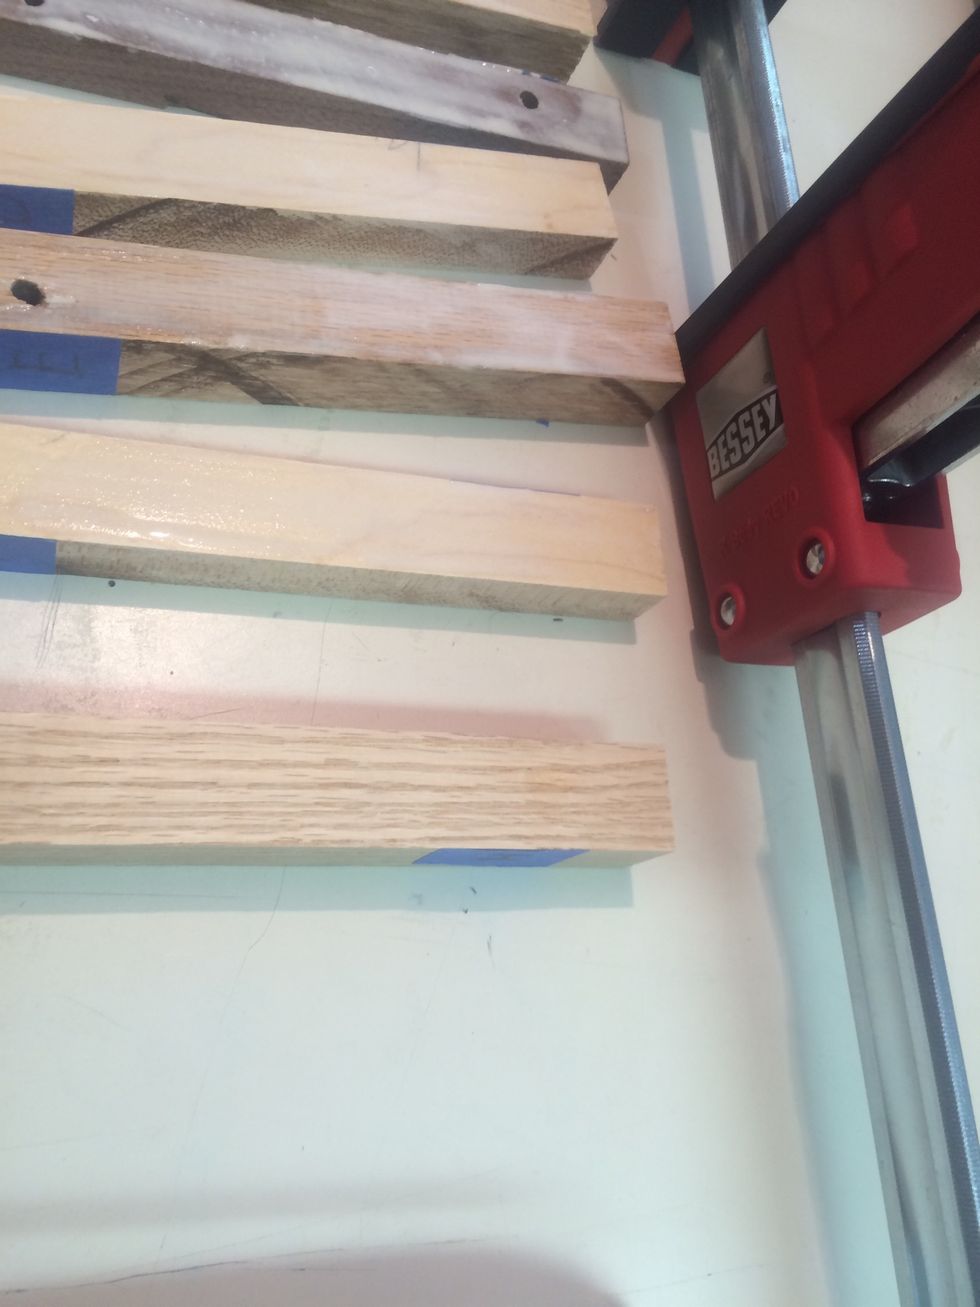
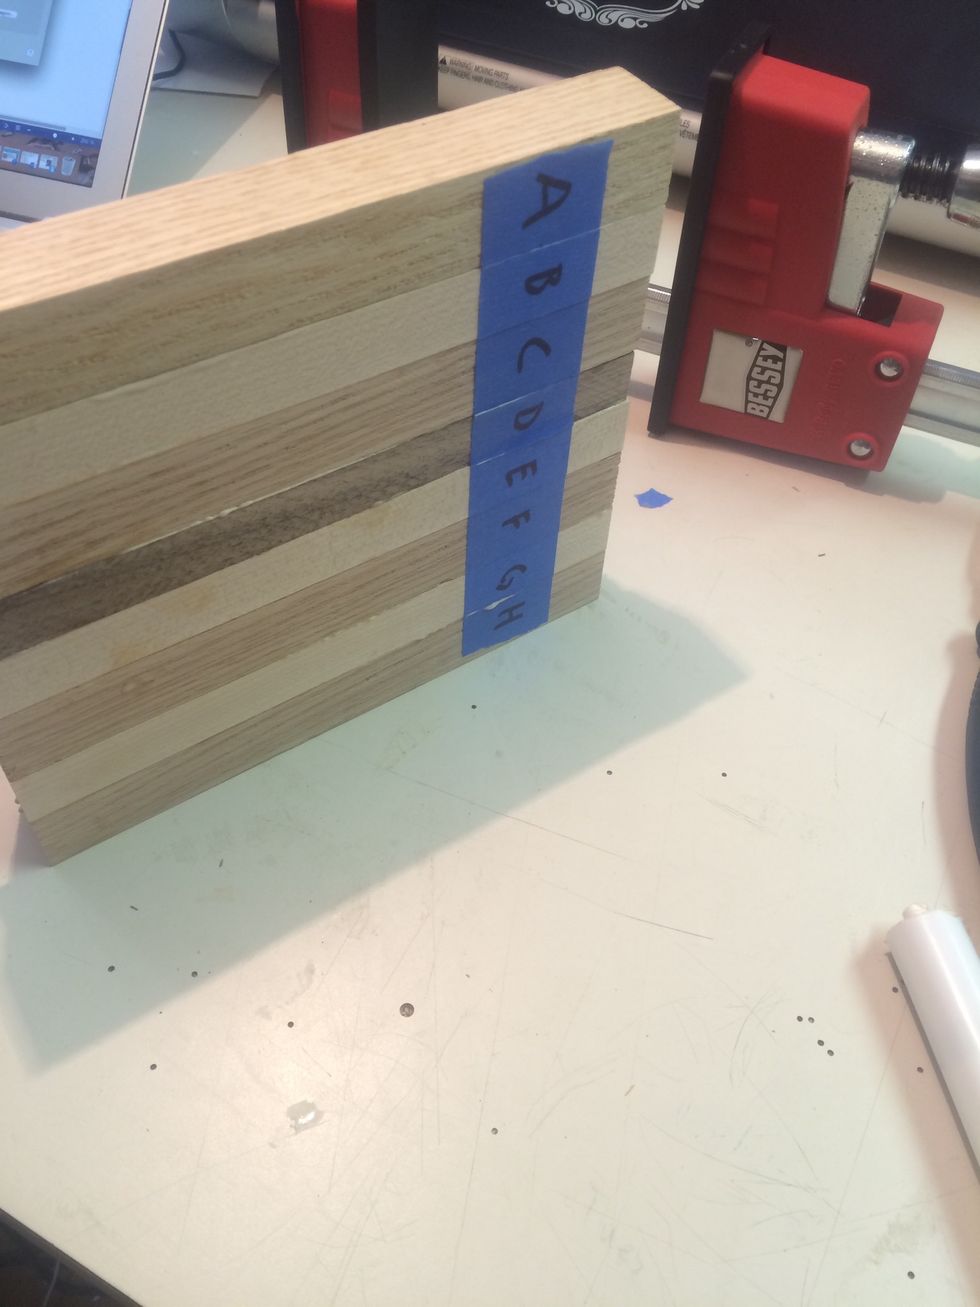
Organize the pieces of hardwood in the order you want them to appear in the final product
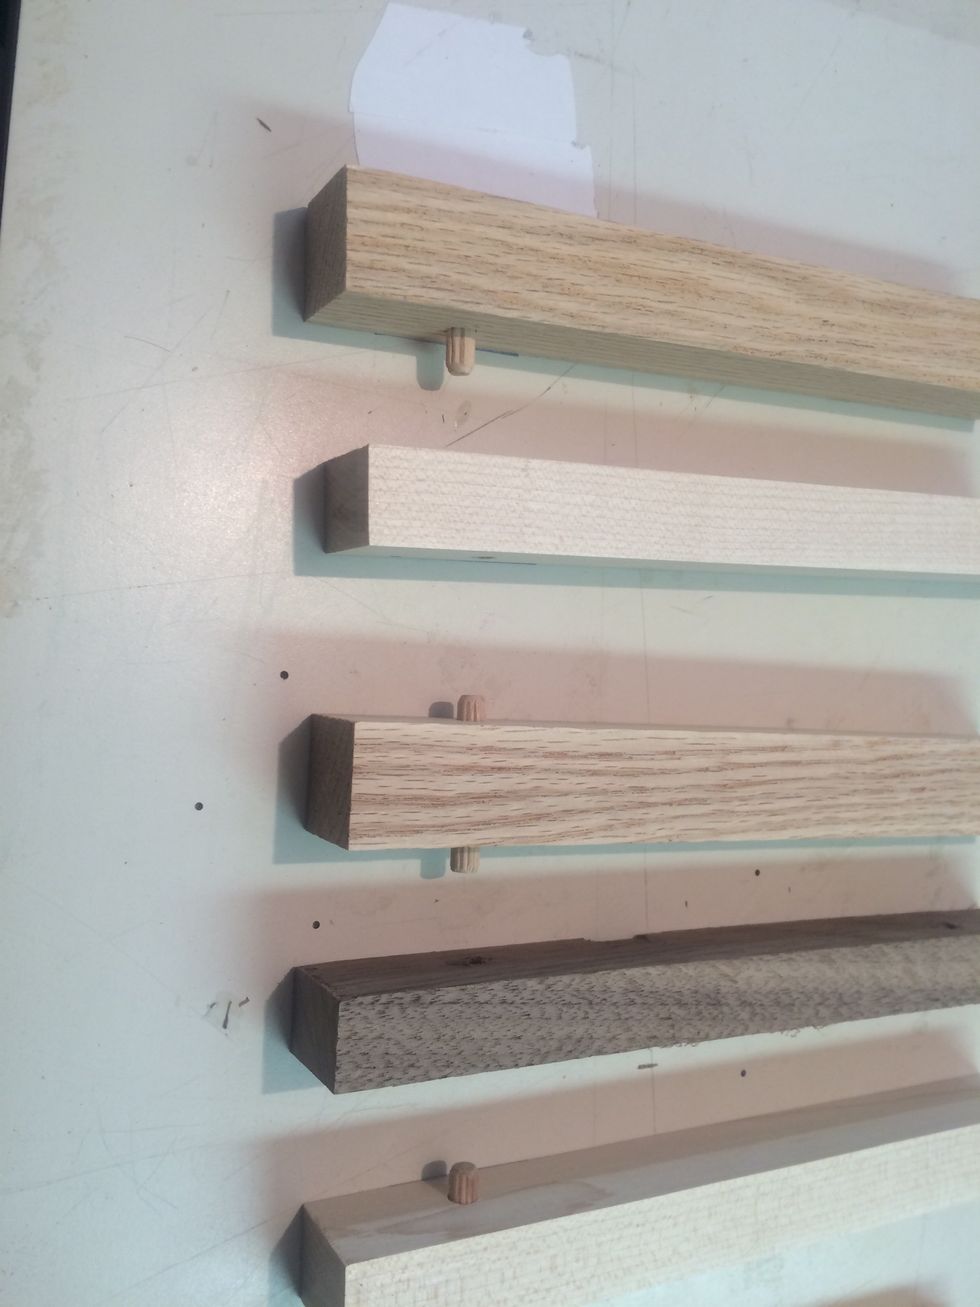
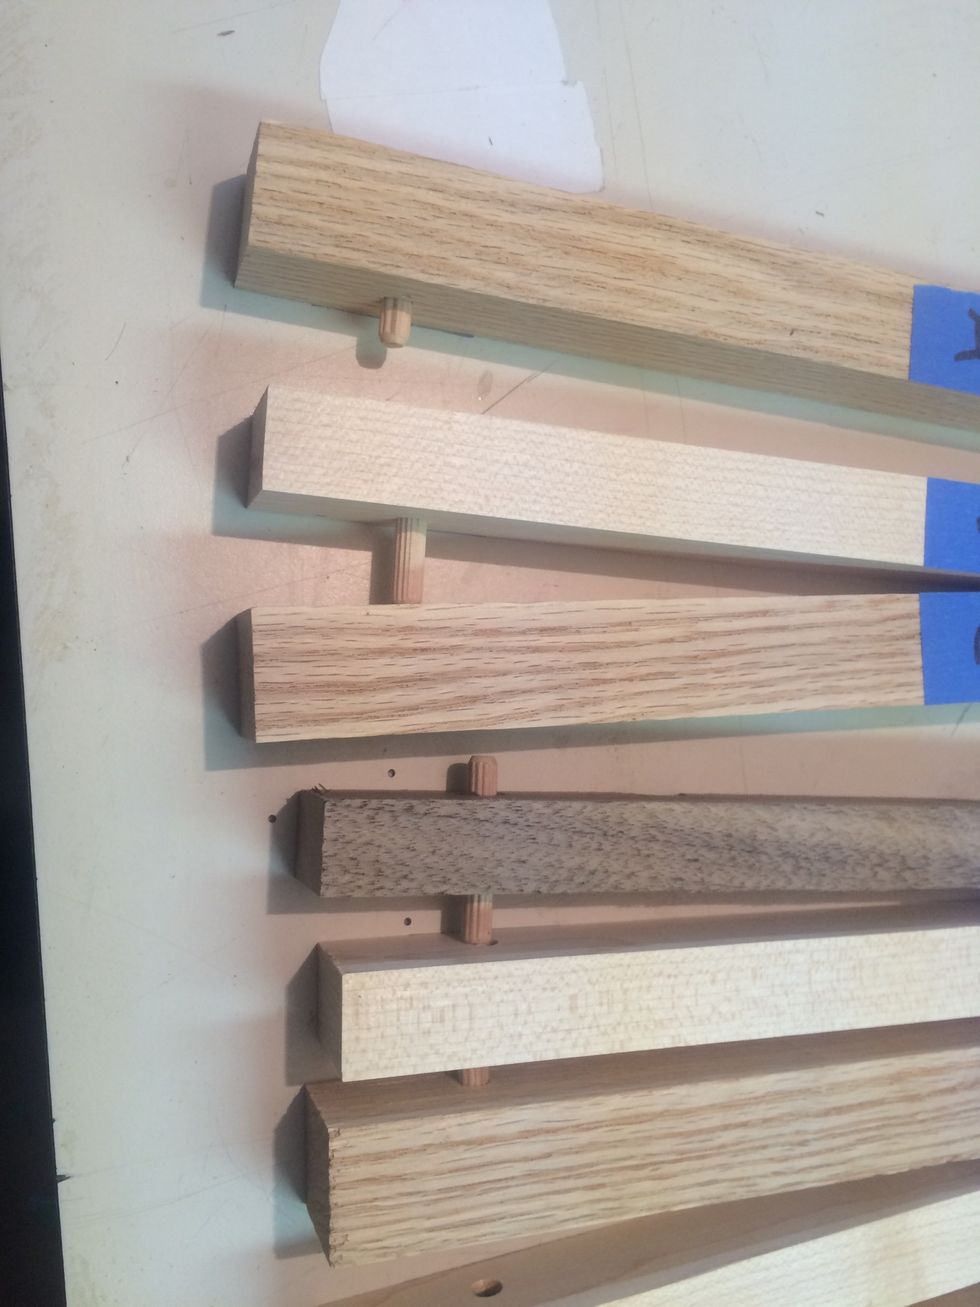
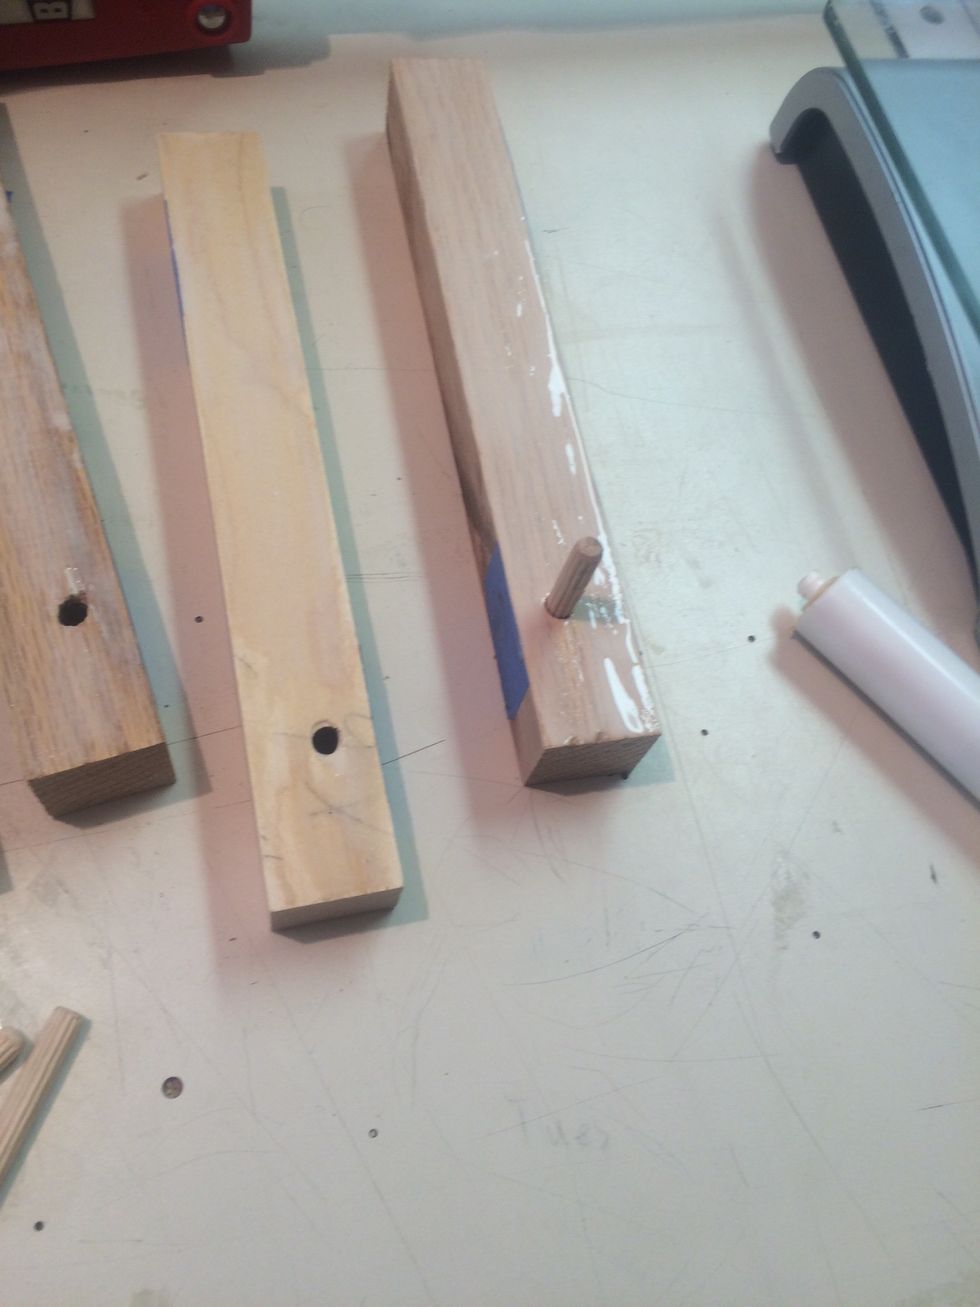
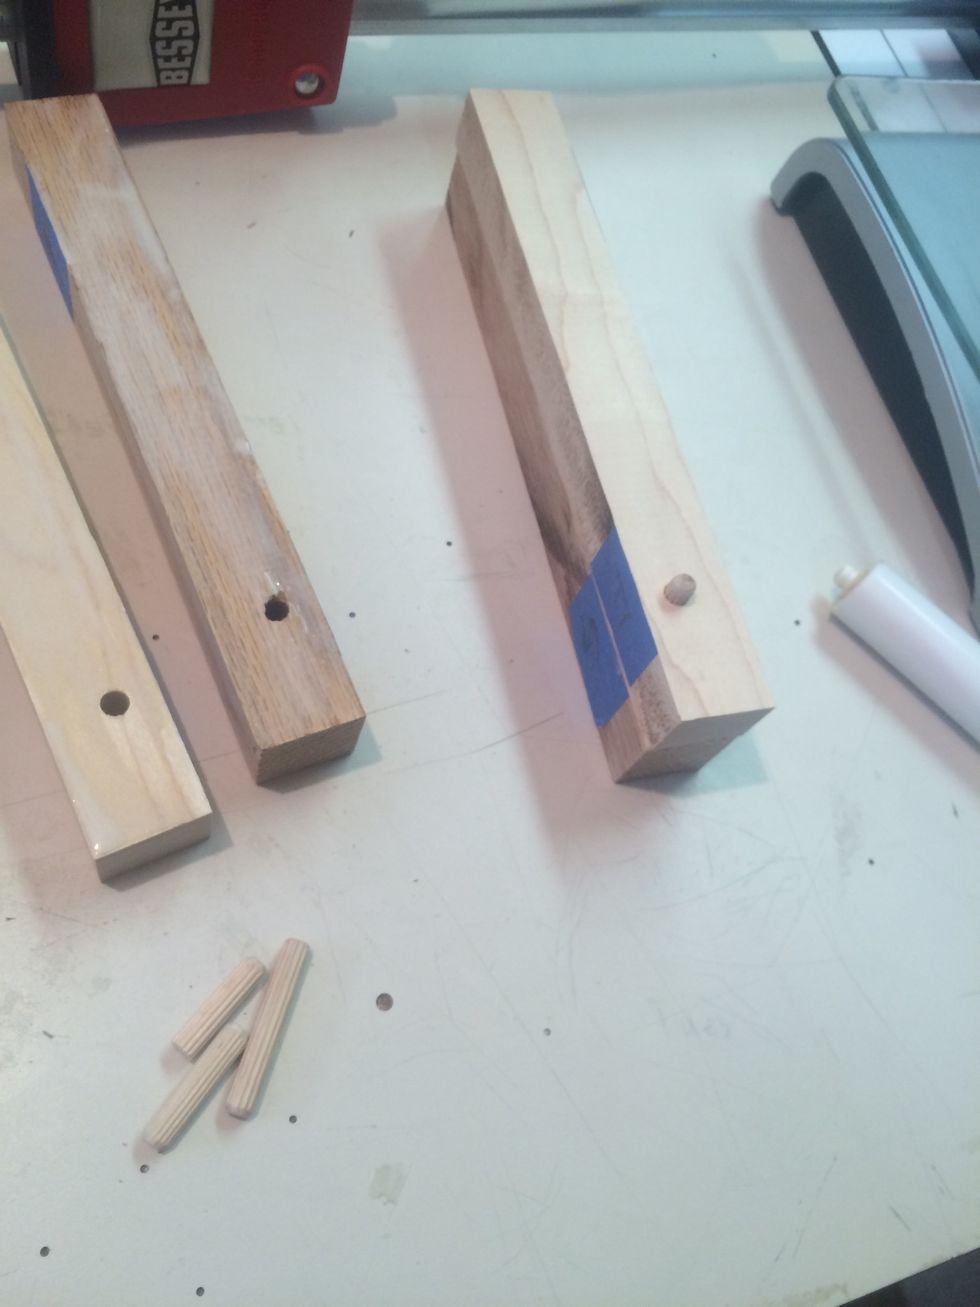
Connect pieces of hardwood together with dowels
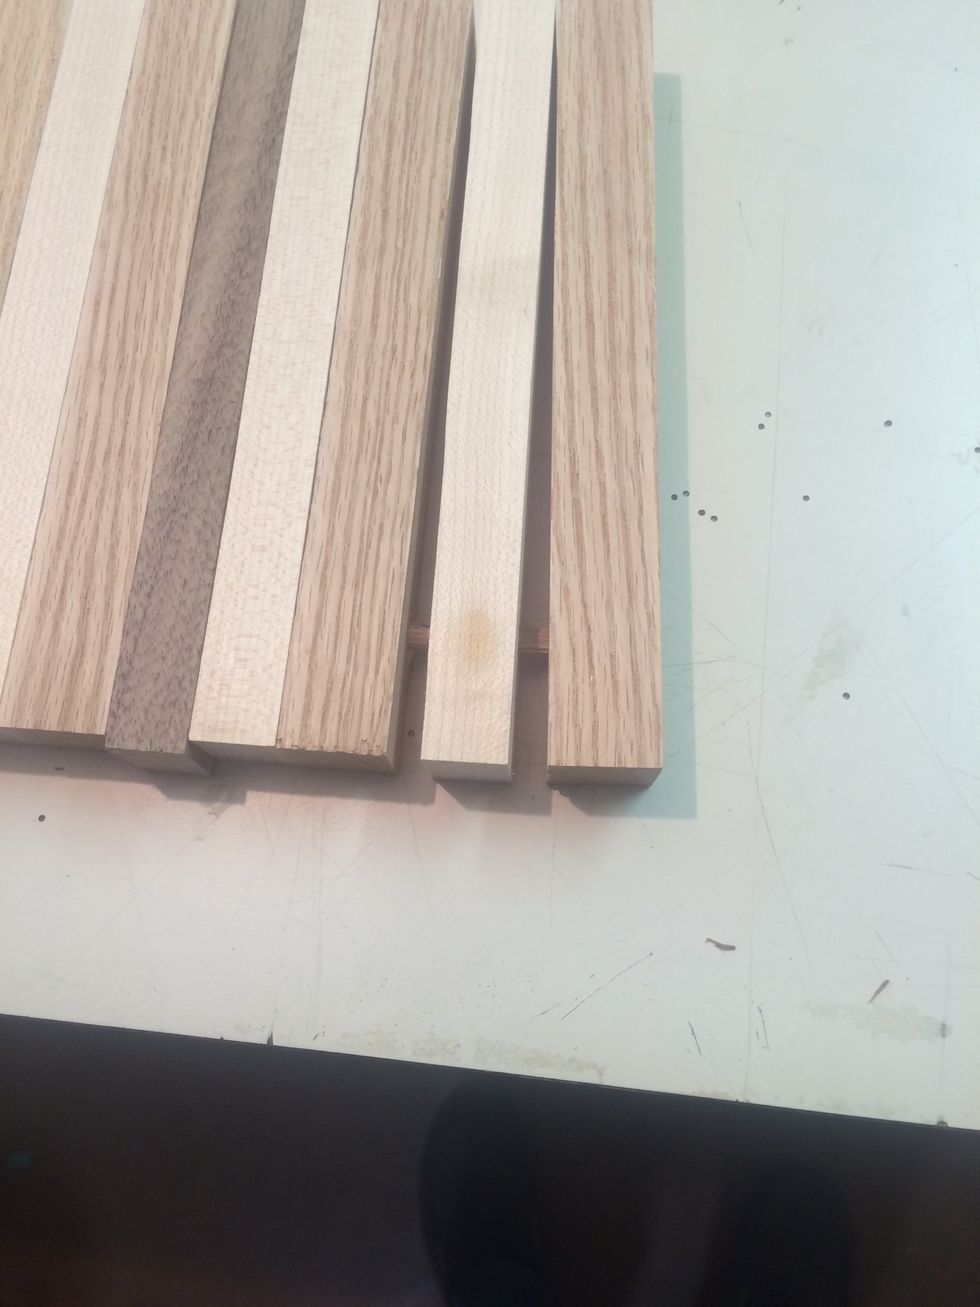

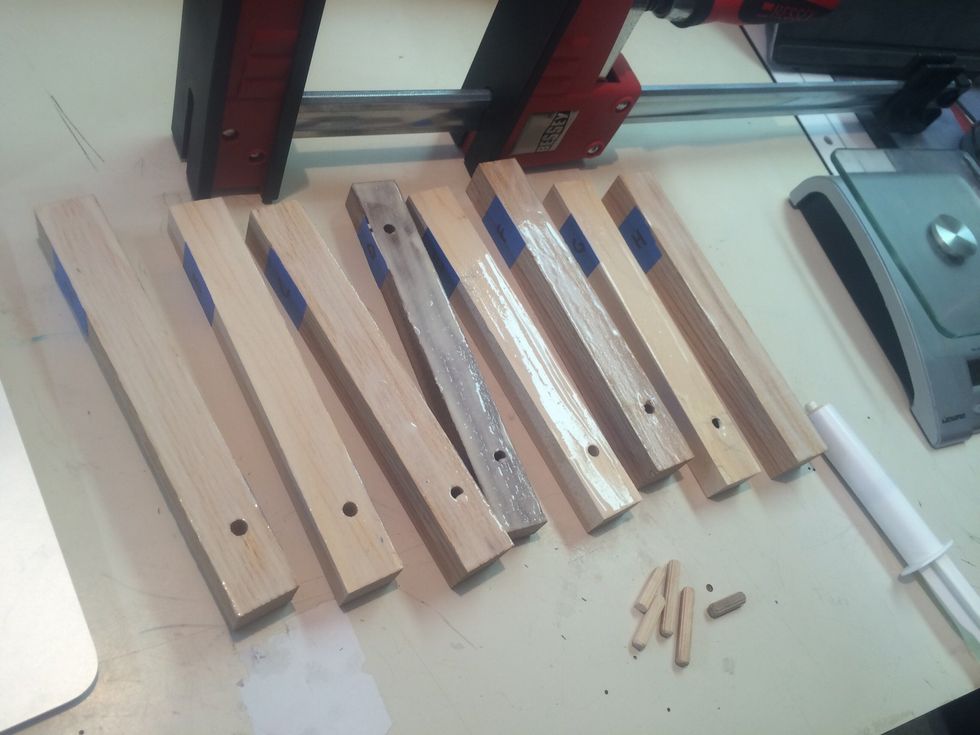
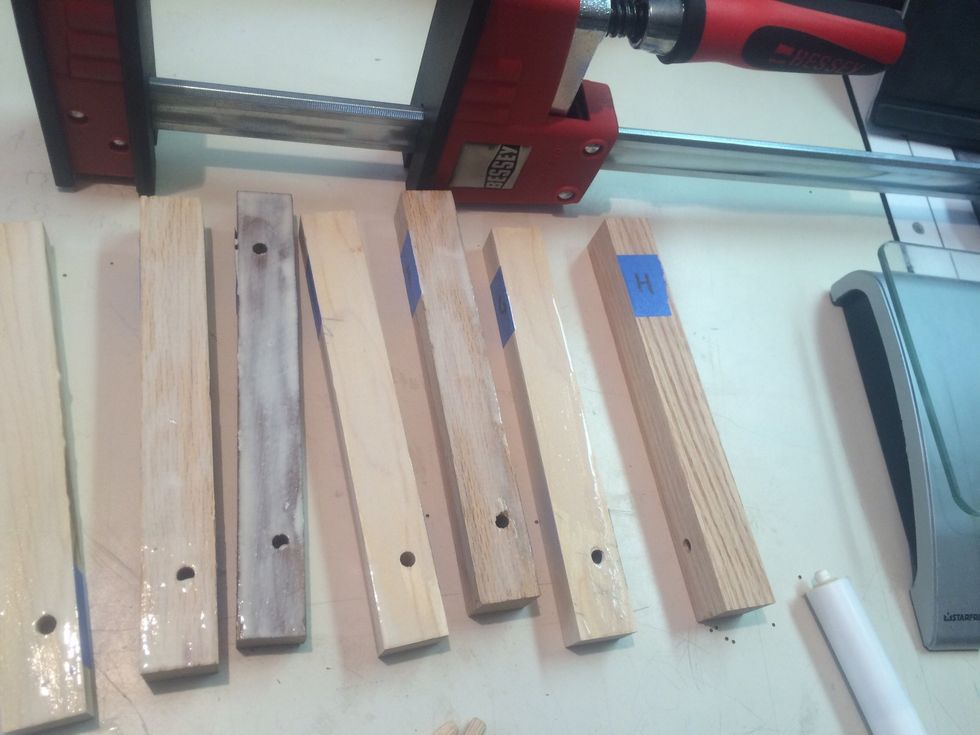
Label cases in order from "A -H"
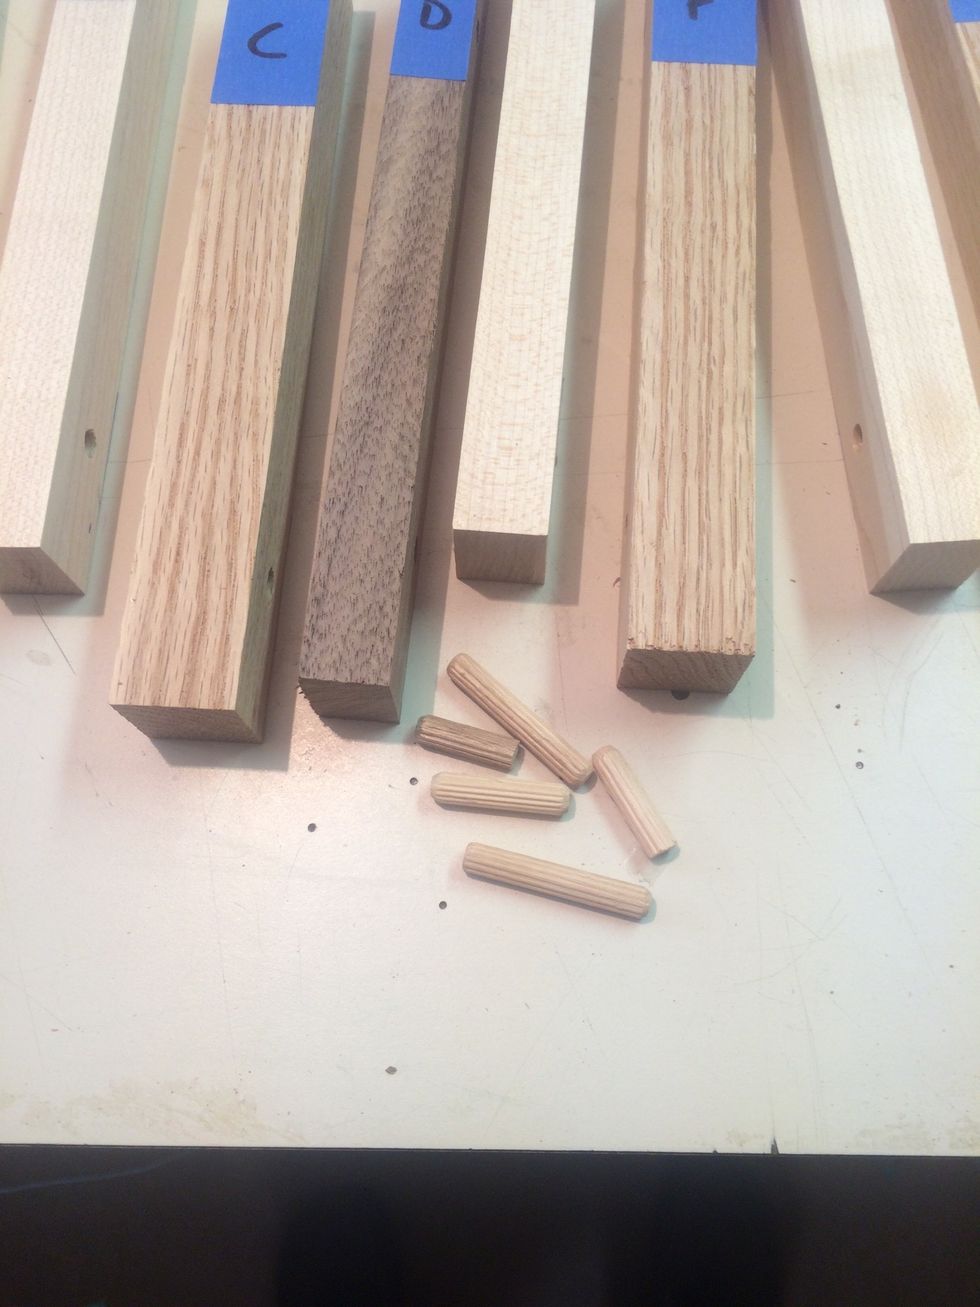
Disassemble the cutting board and remove the dowels
Record your finish time
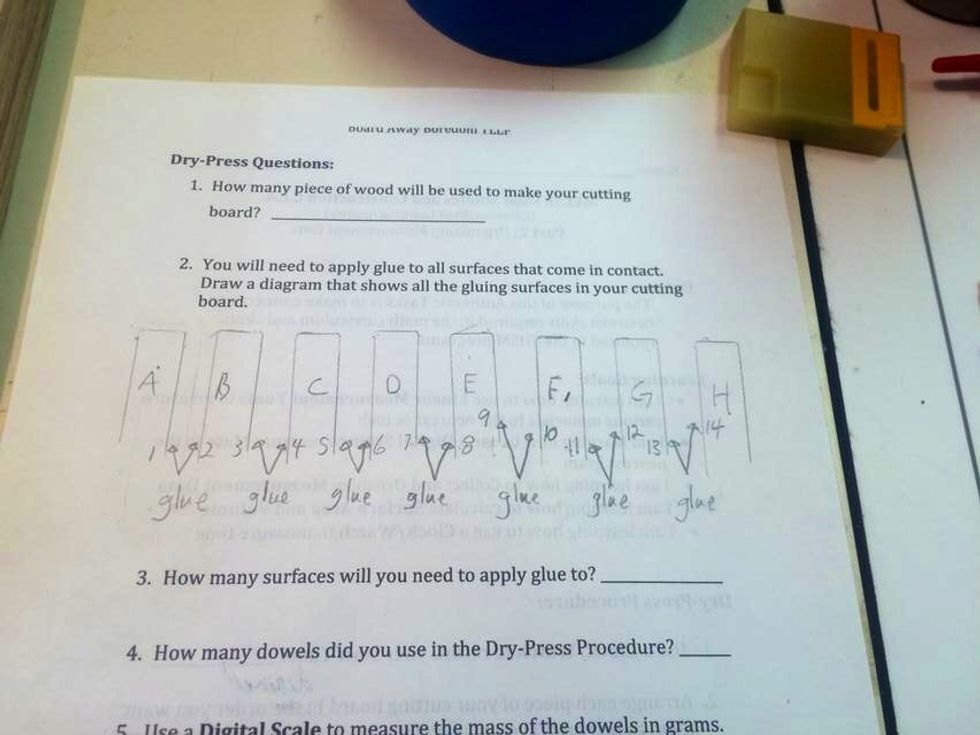
Draw a diagram to help you determine how many surfaces you have
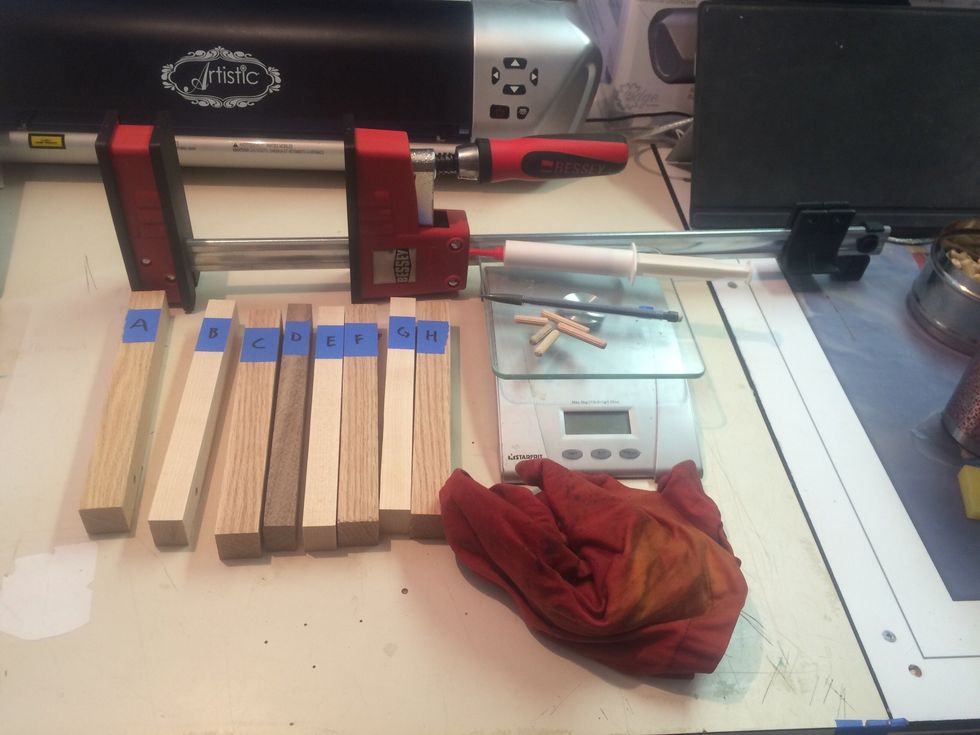
Collect all the materials that we need for the glue up process
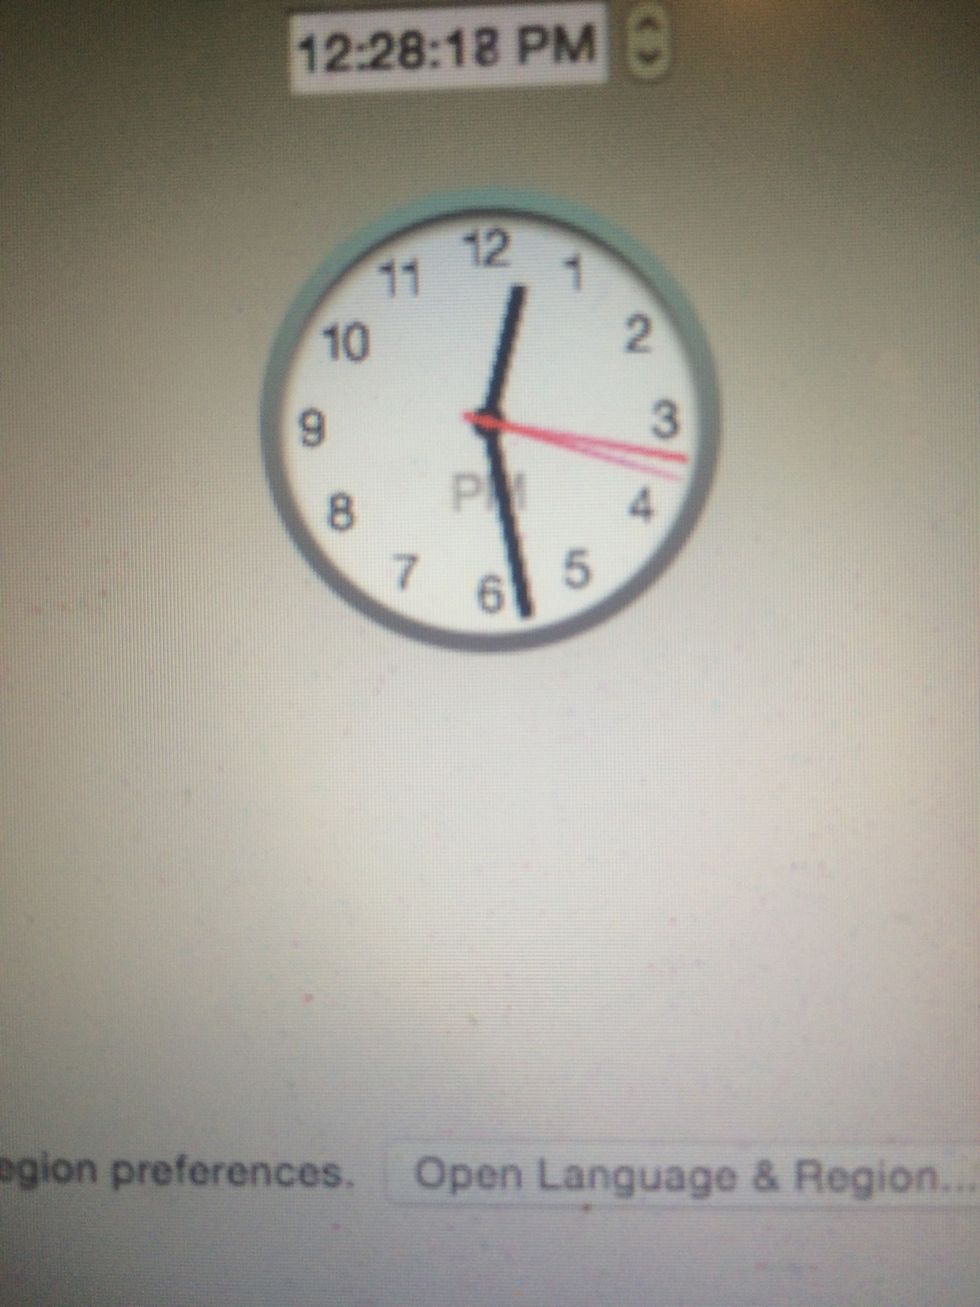
Record your start time
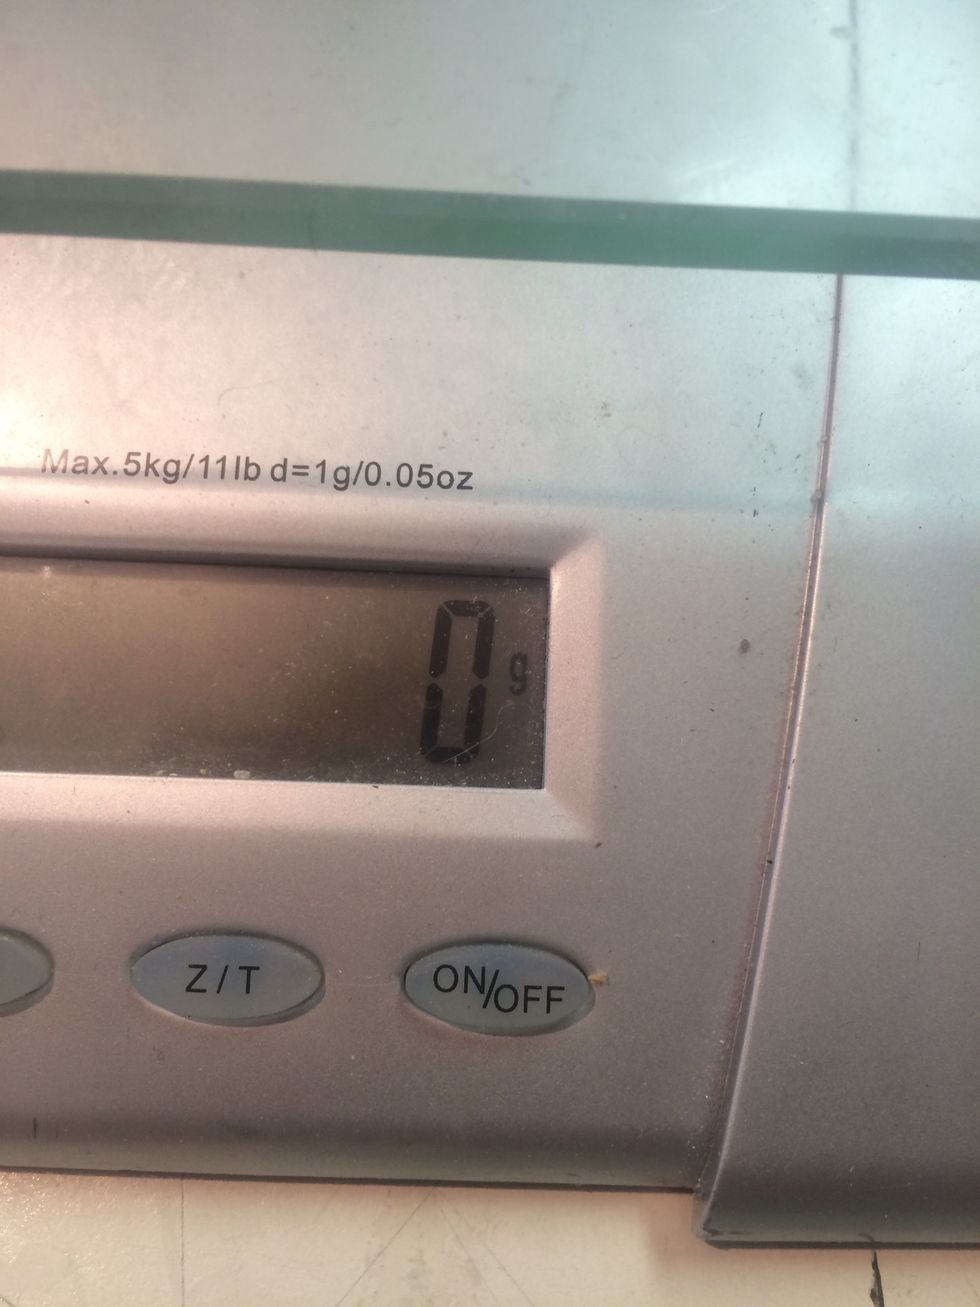
Turn on the digital scale
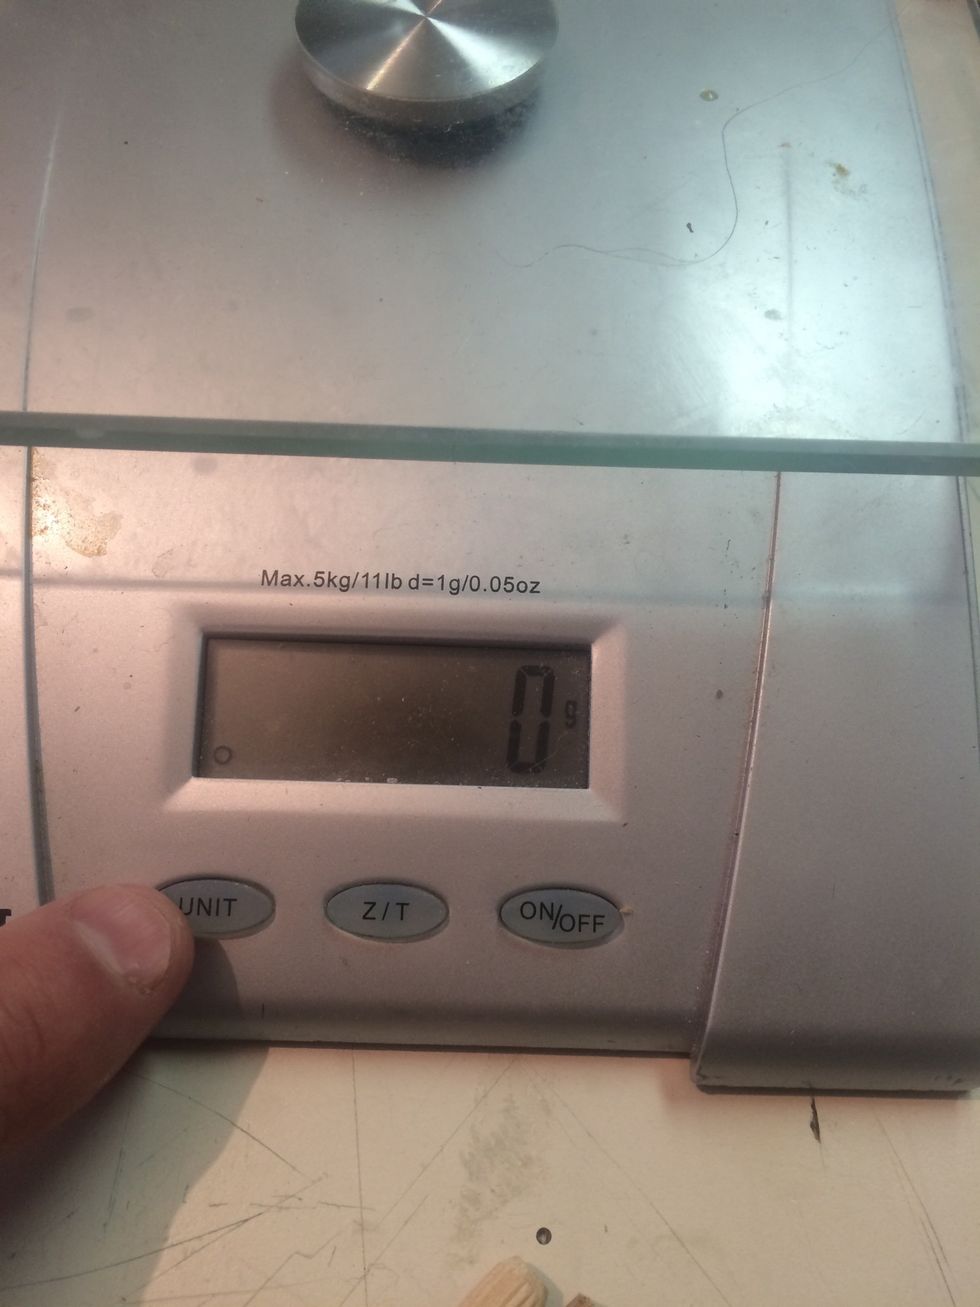
Make sure your units are in grams
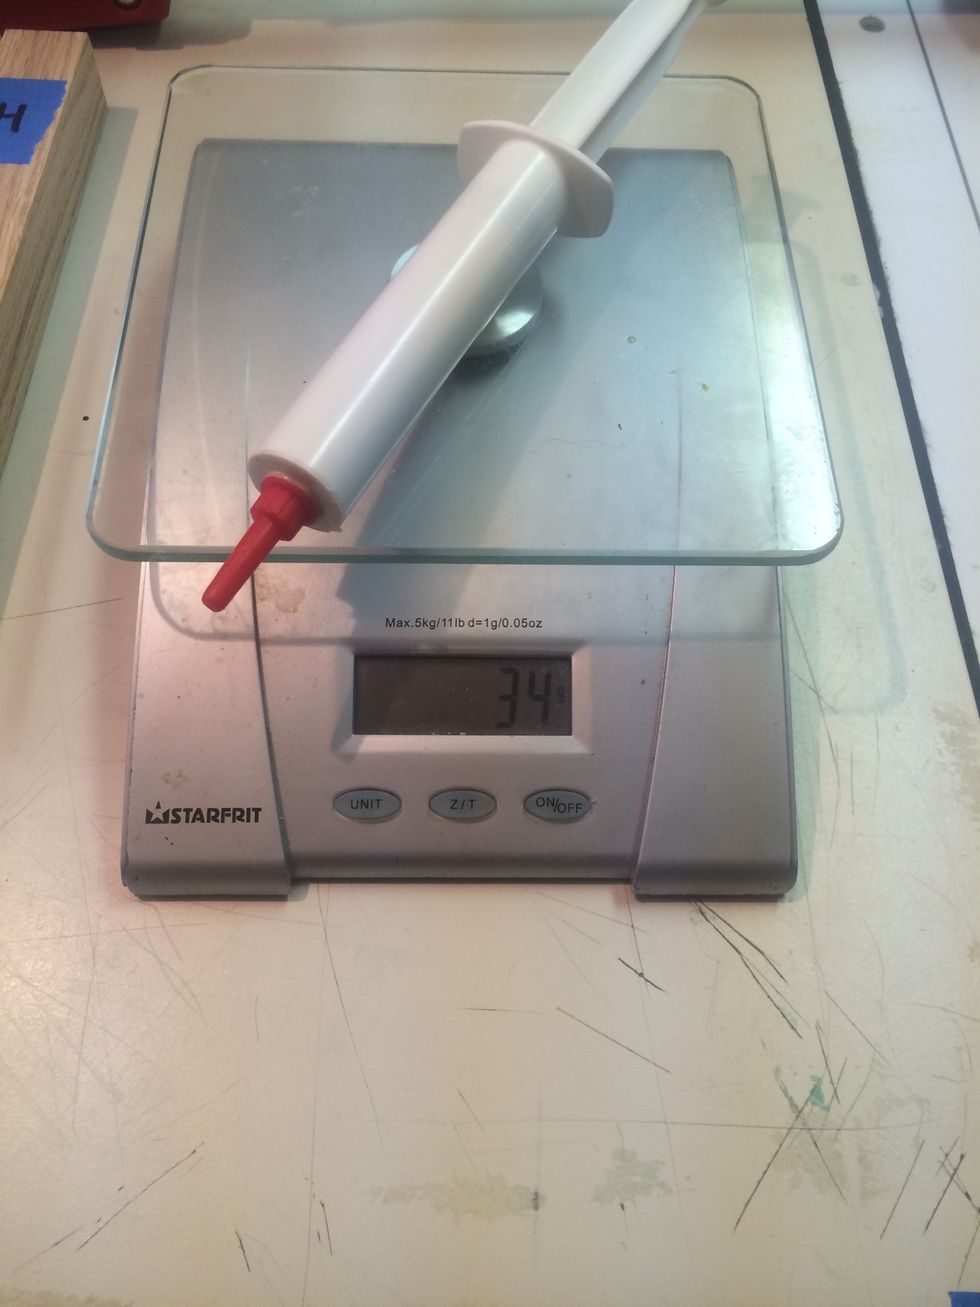
Measure The starting mass and you're glue syringe
Rotate pieces A - G counterclockwise 90°
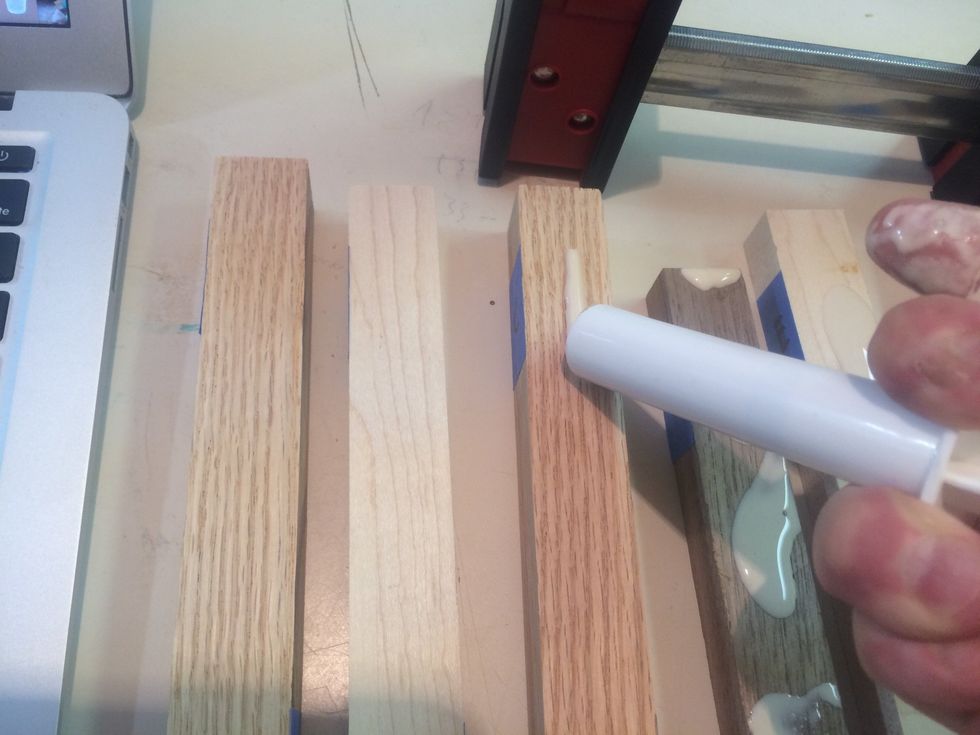
Add a small amount of glue to pieces A - G
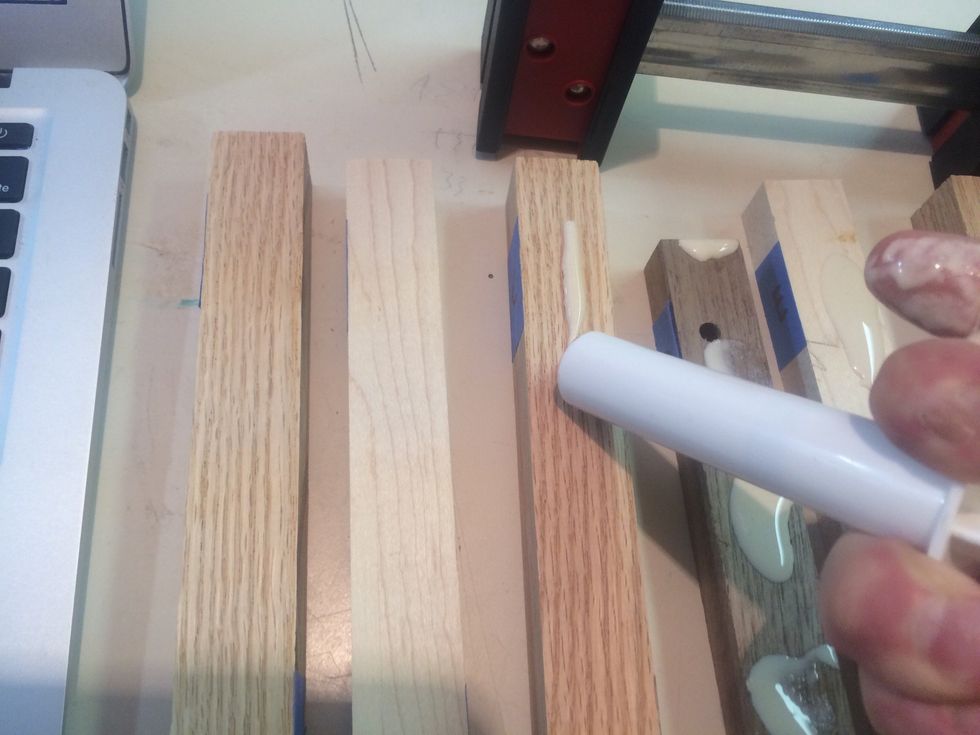
Spread the glue evenly over the entire gluing surface
Rotate piece H 90° clockwise
Add glue and dowels two piece H
Add piece G to piece H
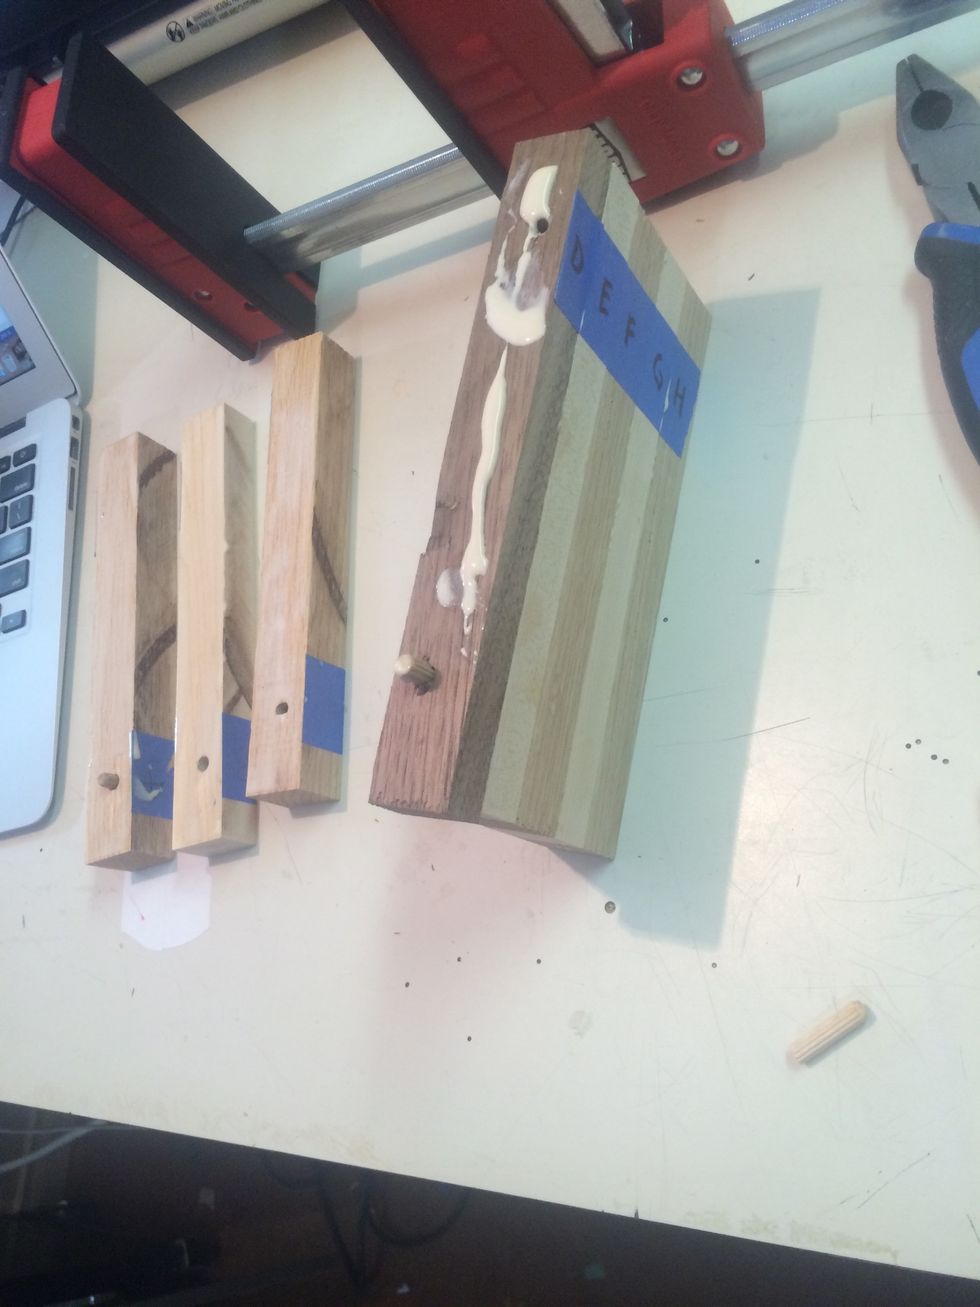
Add glue and dowels to the up facing piece of G
Continue stacking the pieces, adding glue and towels, until the board is fully assembled
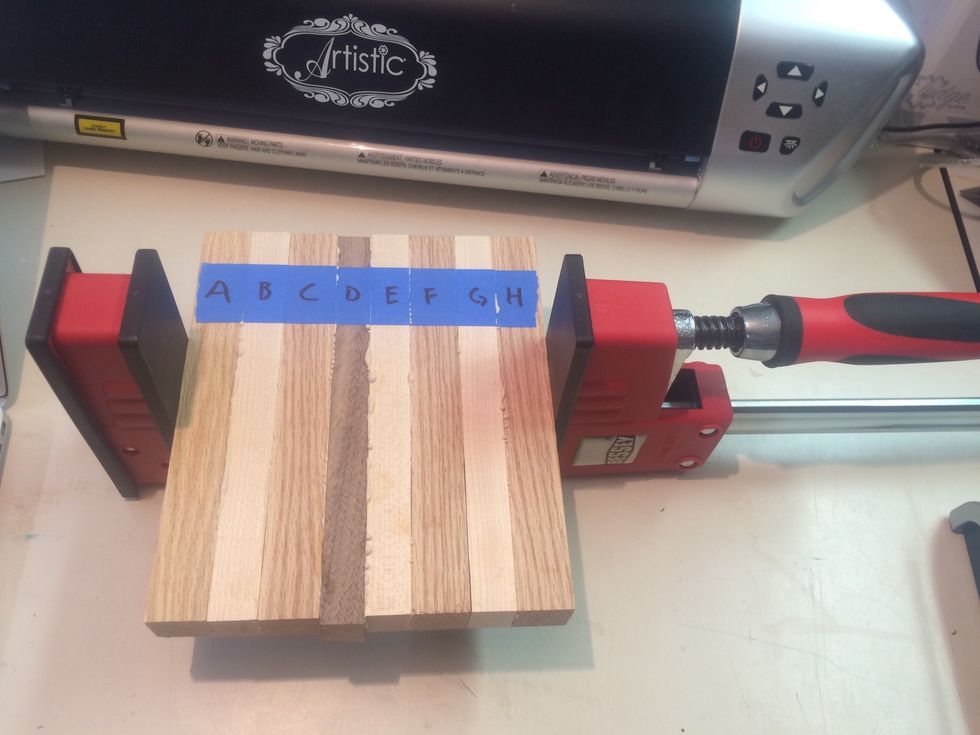
Place the cutting board in the clamps apply pressure for a minimum of 30 minutes
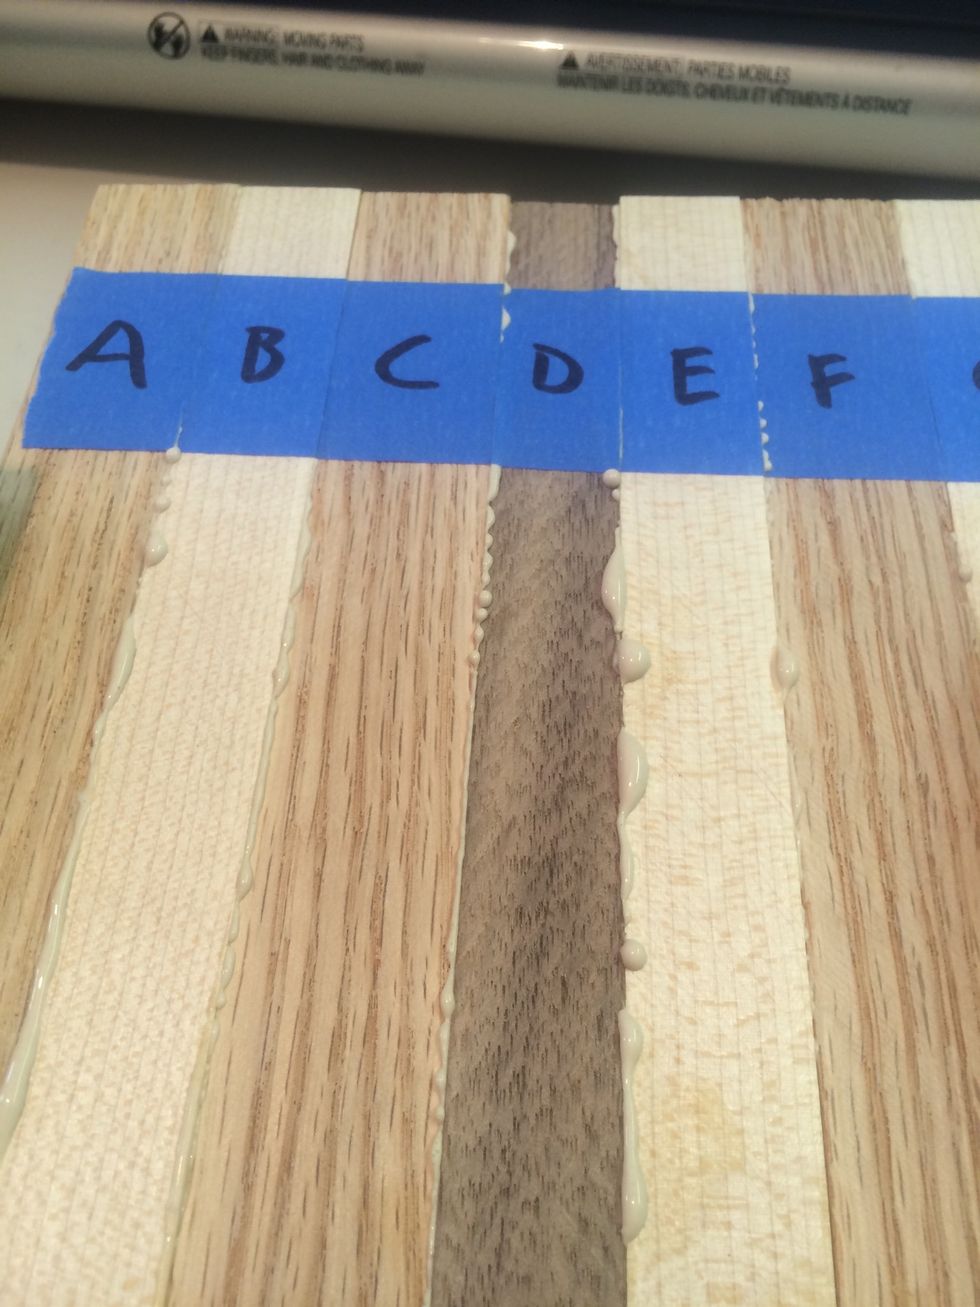
You should see small beads of blue along the joints
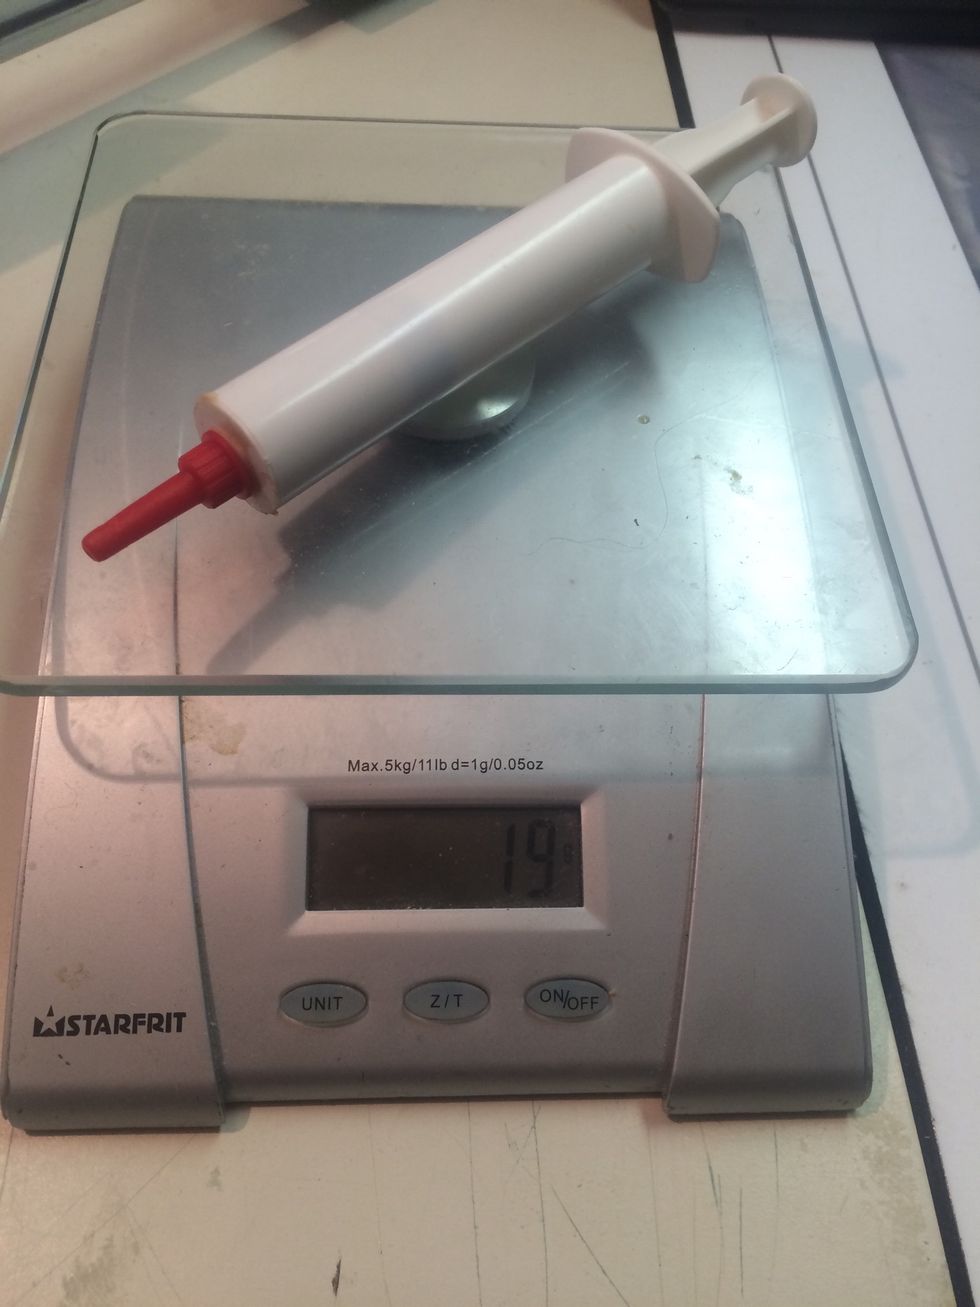
You the digital scale to measure the end of mass of your glue syringe
Record your finish time
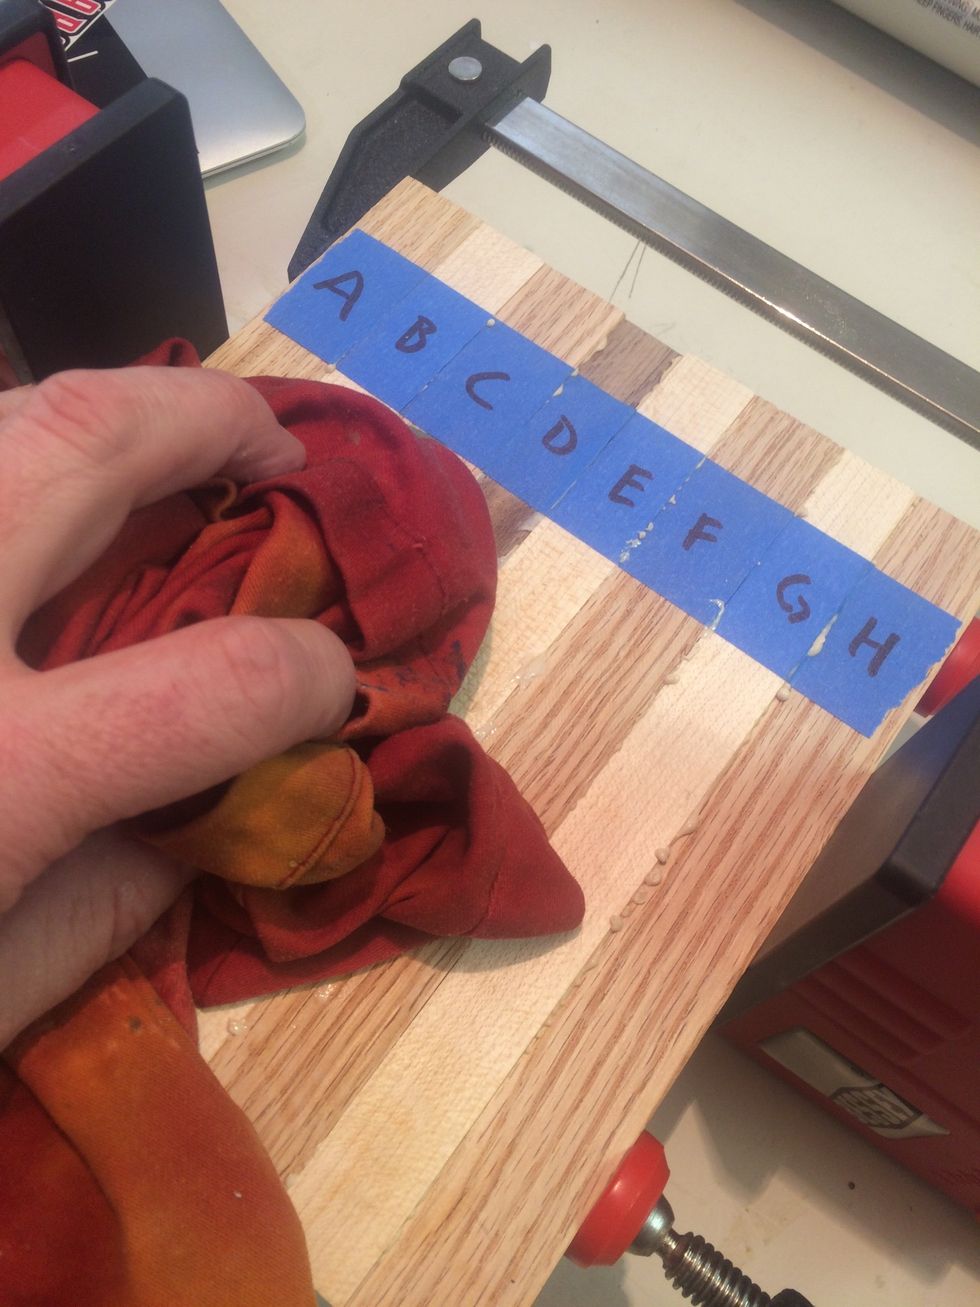
Use a damp rag to remove excess glue from all surfaces of the cutting board