STEPS
TOOLS
Record Start Time: 12:04
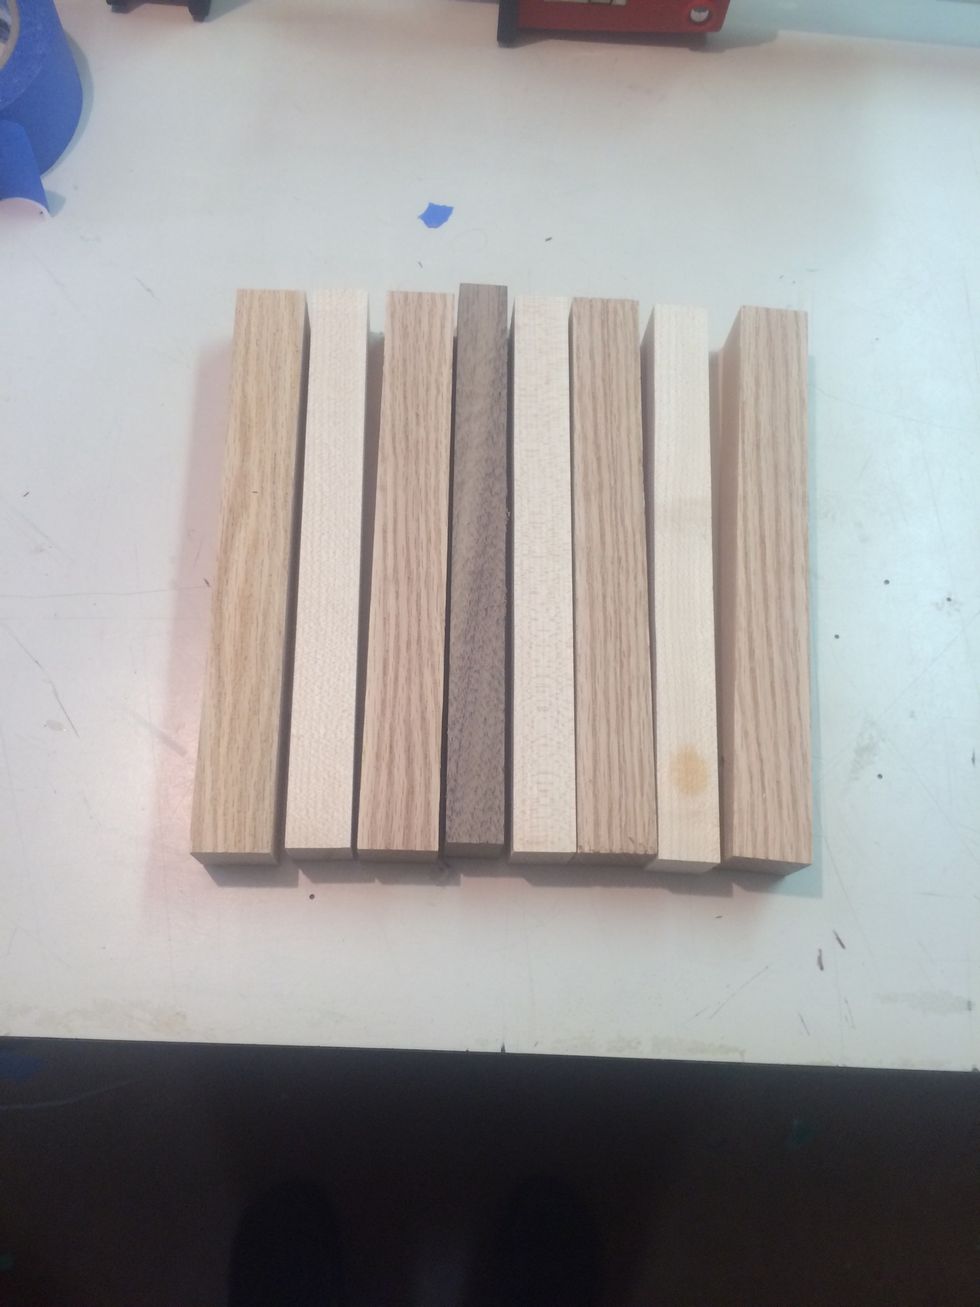
Arrange pieces in desired order
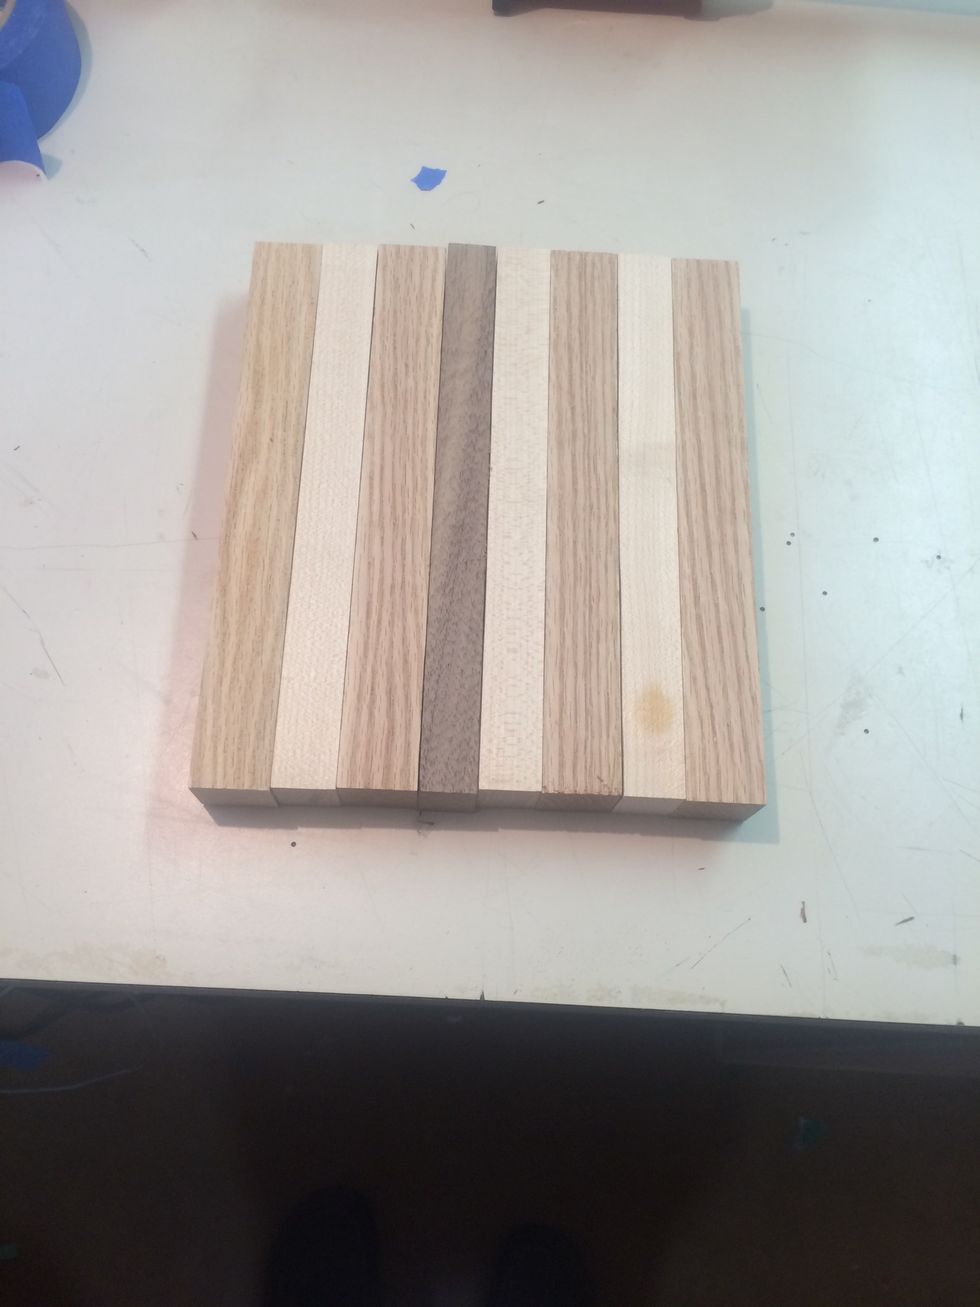
Arrange pieces in desired order
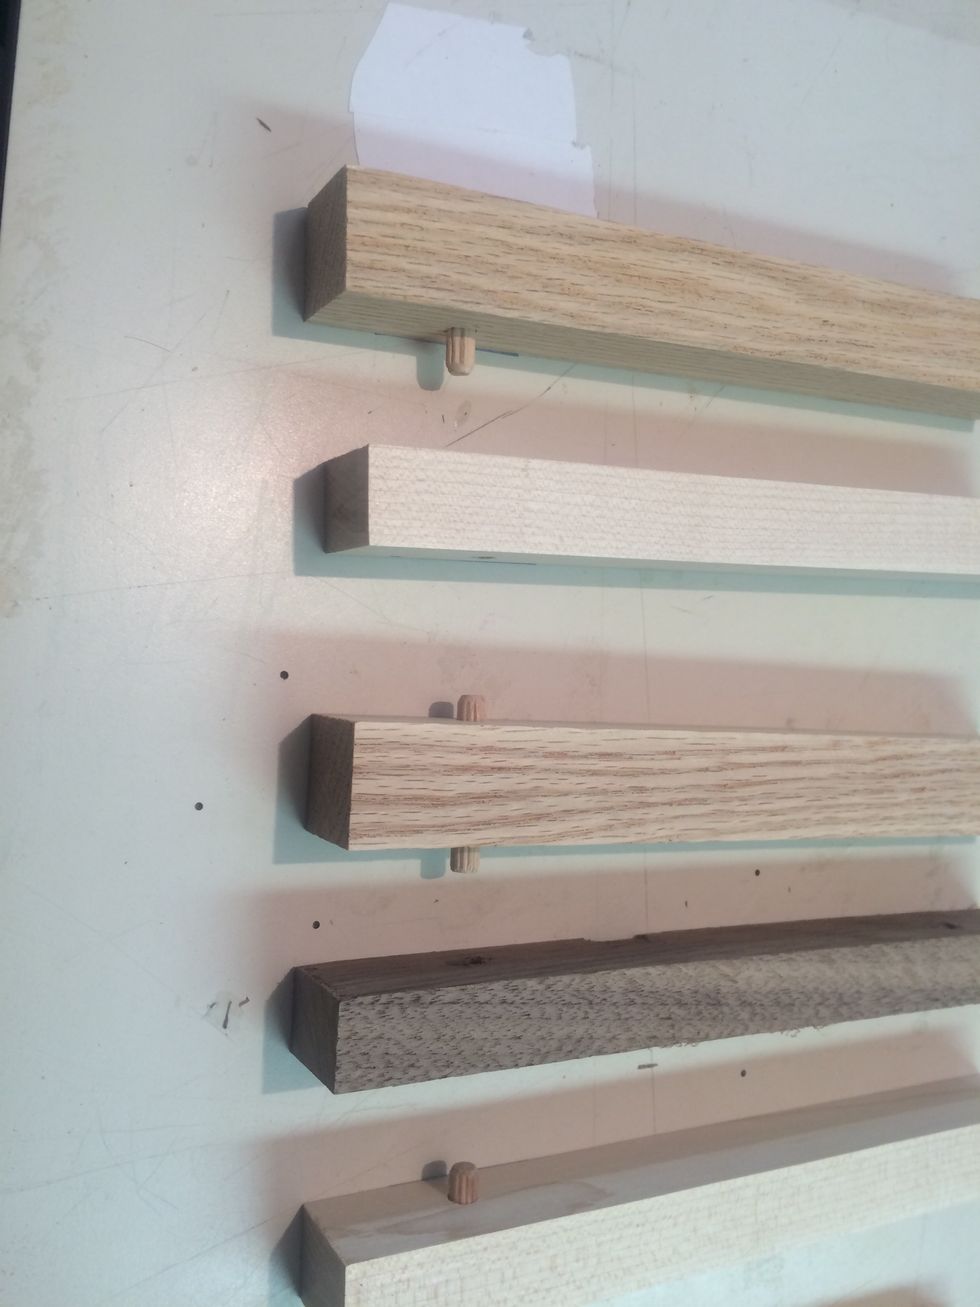
Use dowels to fit pieces together
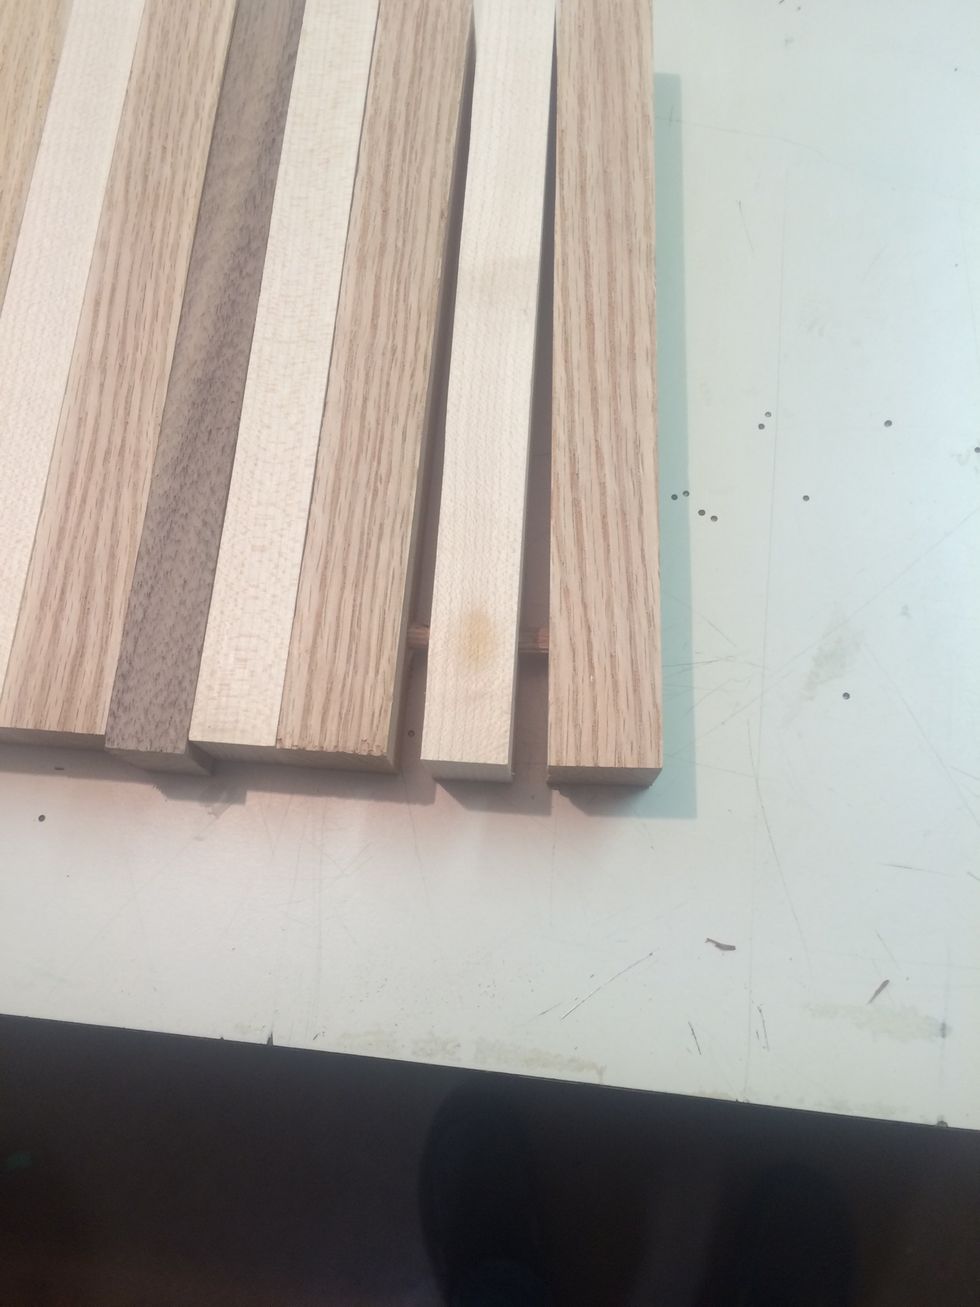
Use dowels to fit pieces together
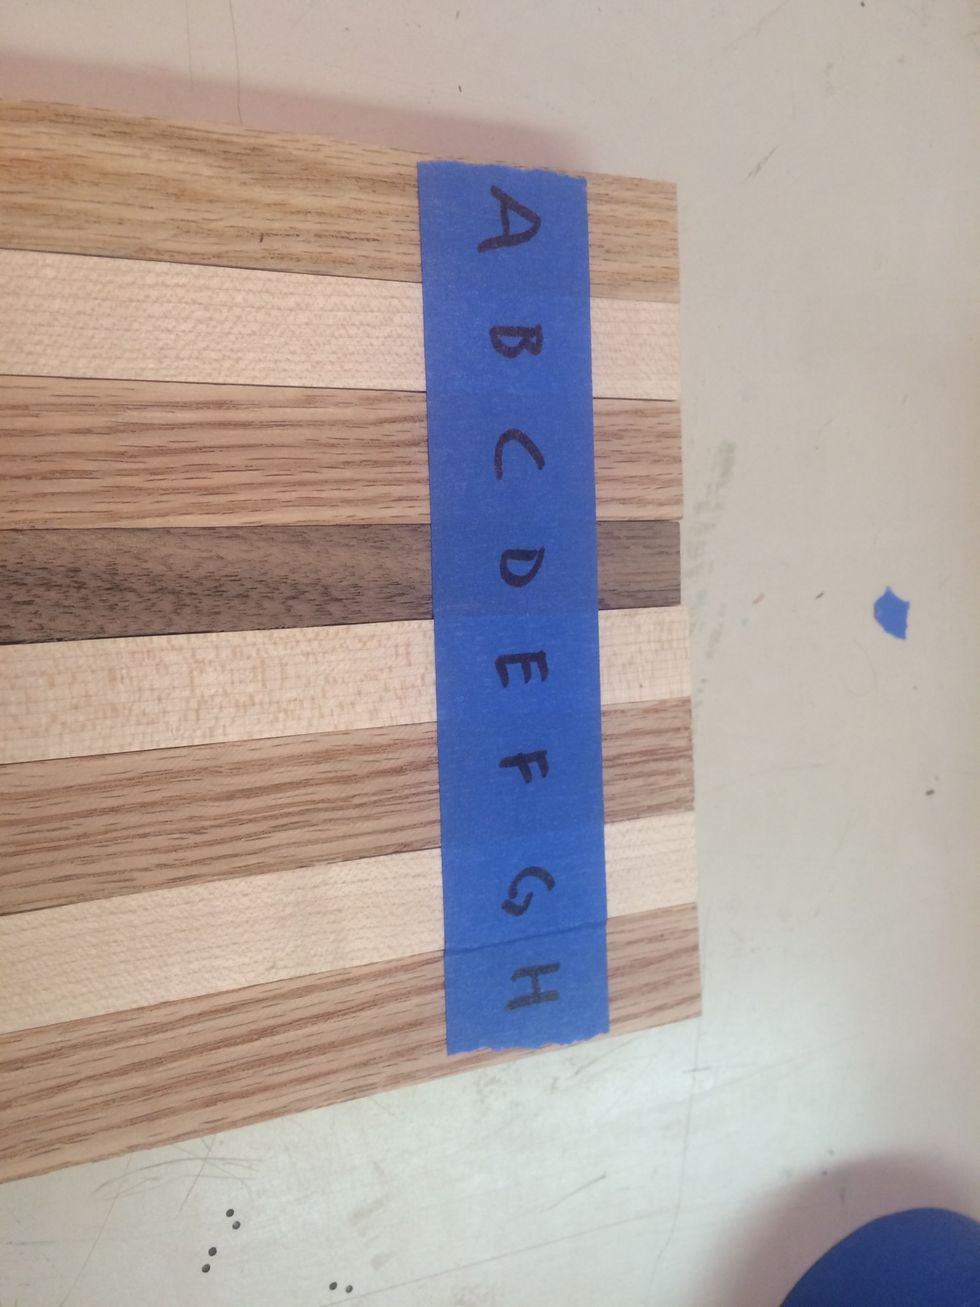
Label each piece "A - H"
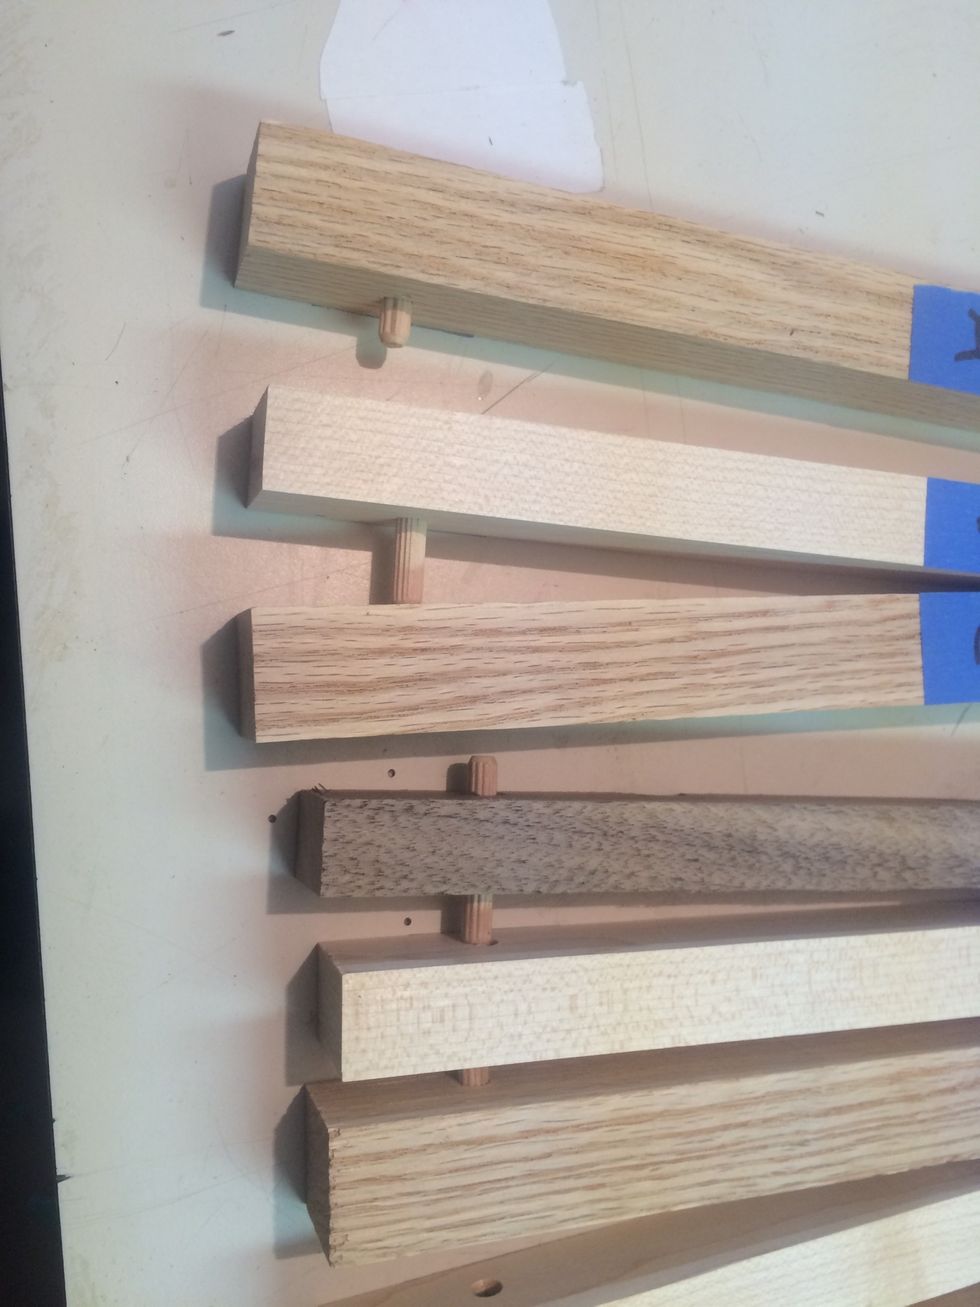
Disassemble and remove dowels
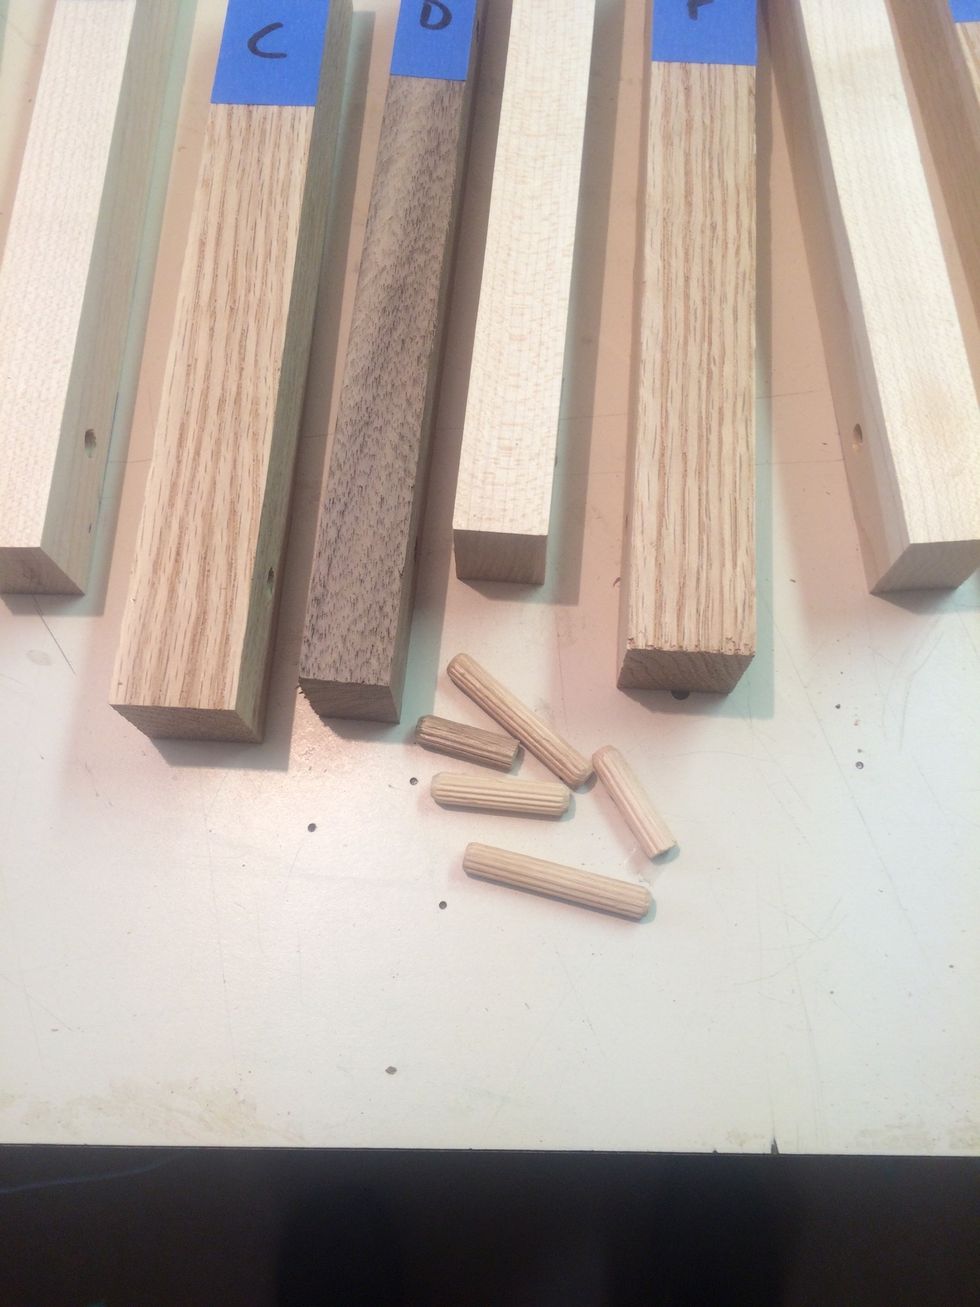
Disassemble and remove dowels
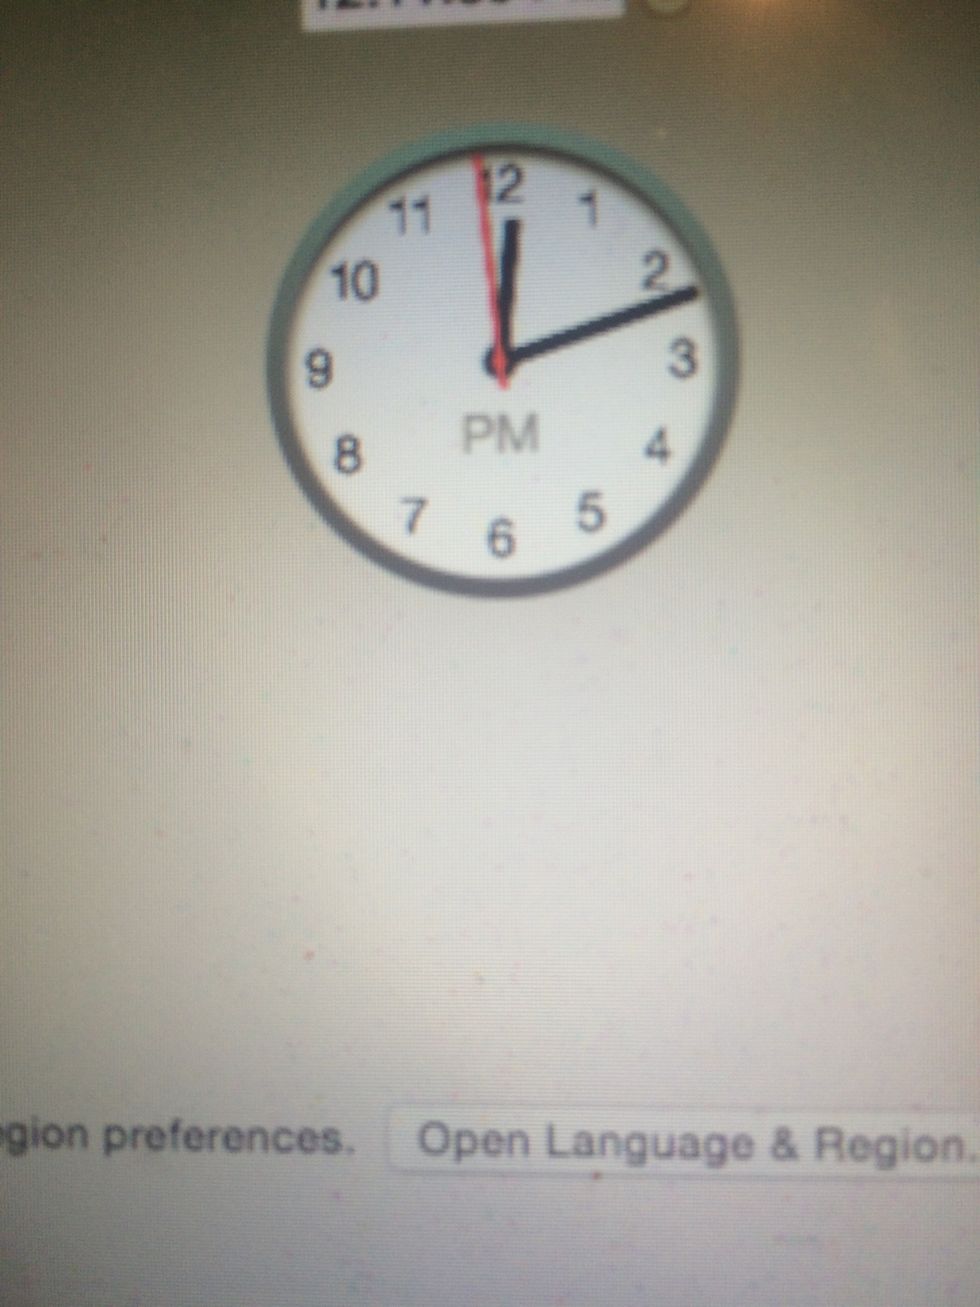
Record Finish Time 12:12
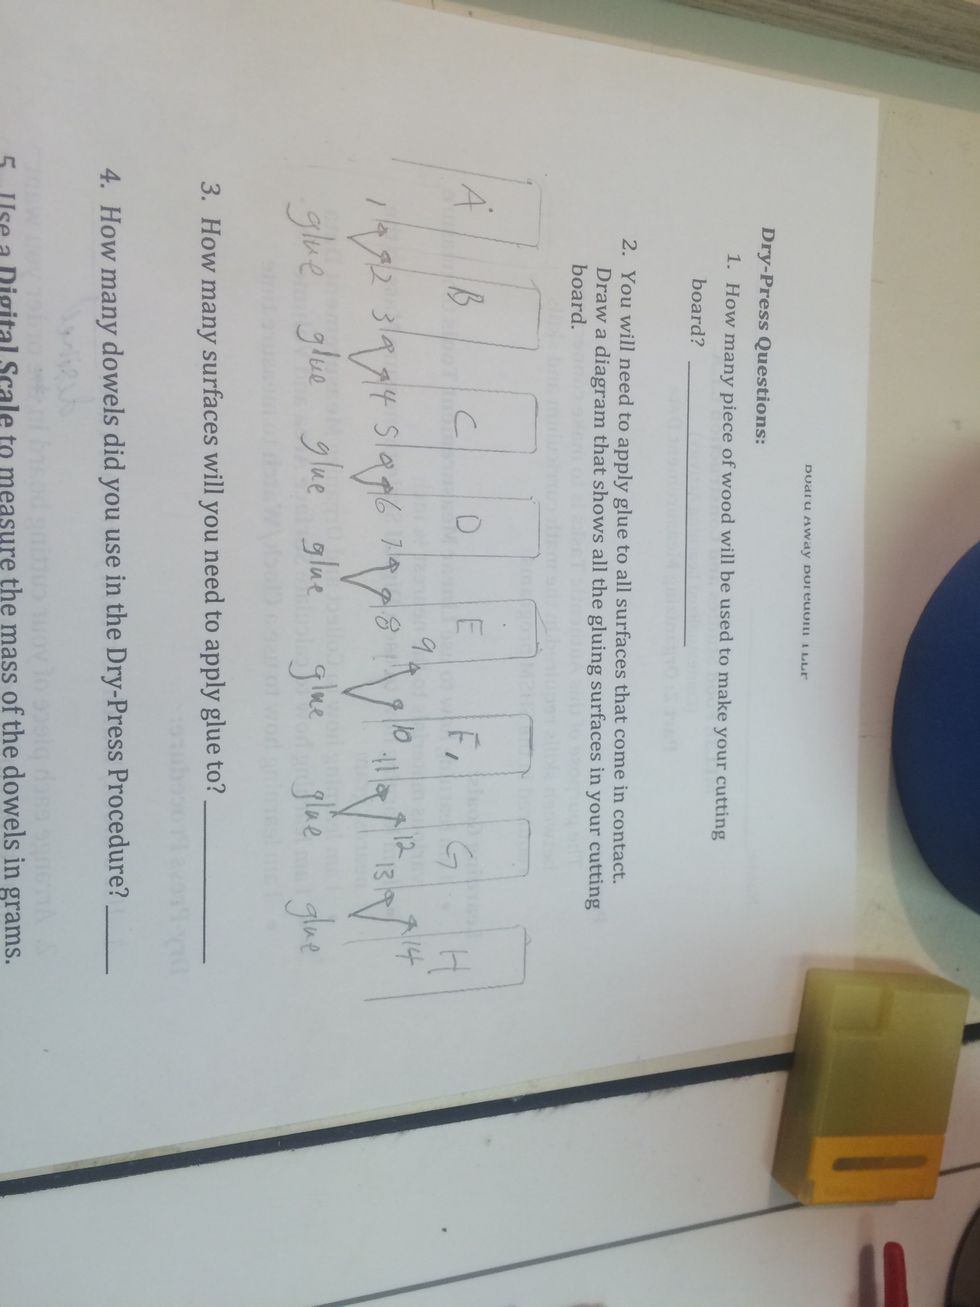
Diagram of gluing surfaces
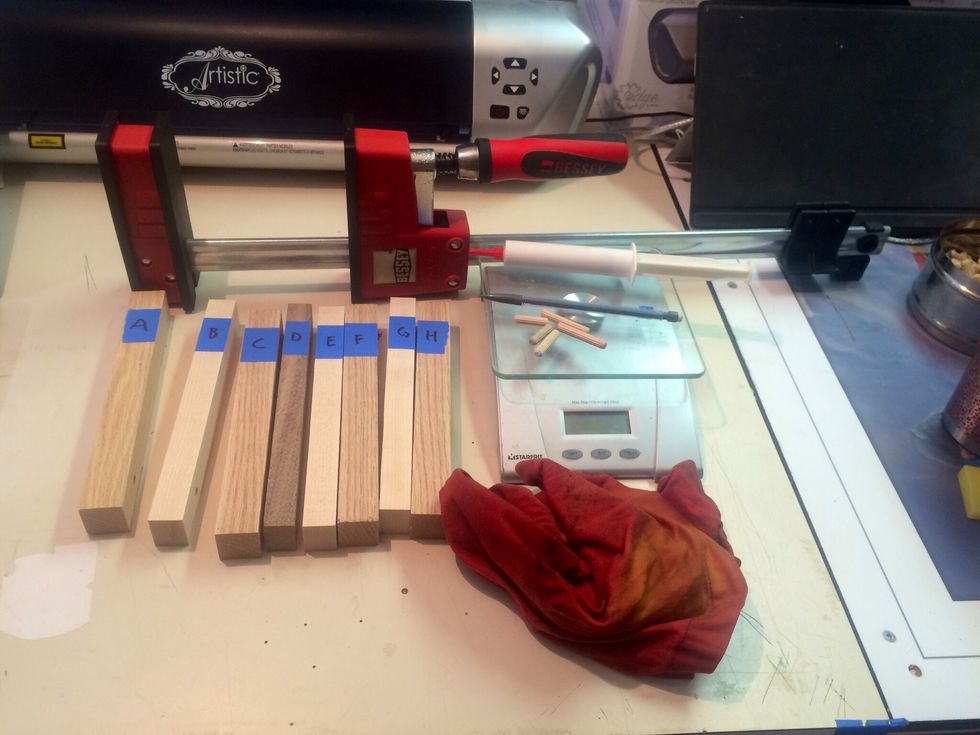
Collect Materials before beginning glue-up
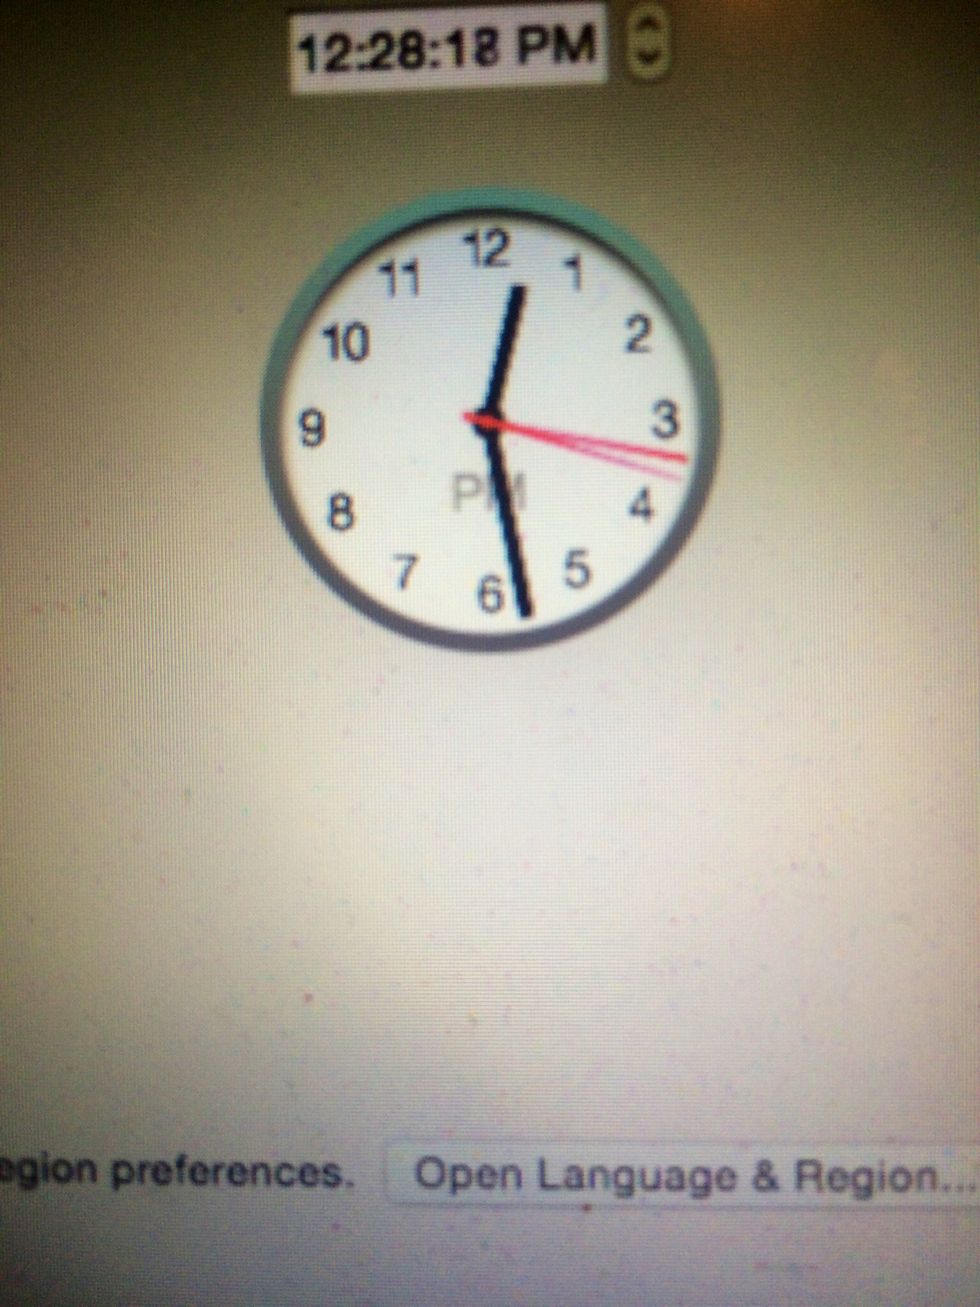
Record Start Time 12:28
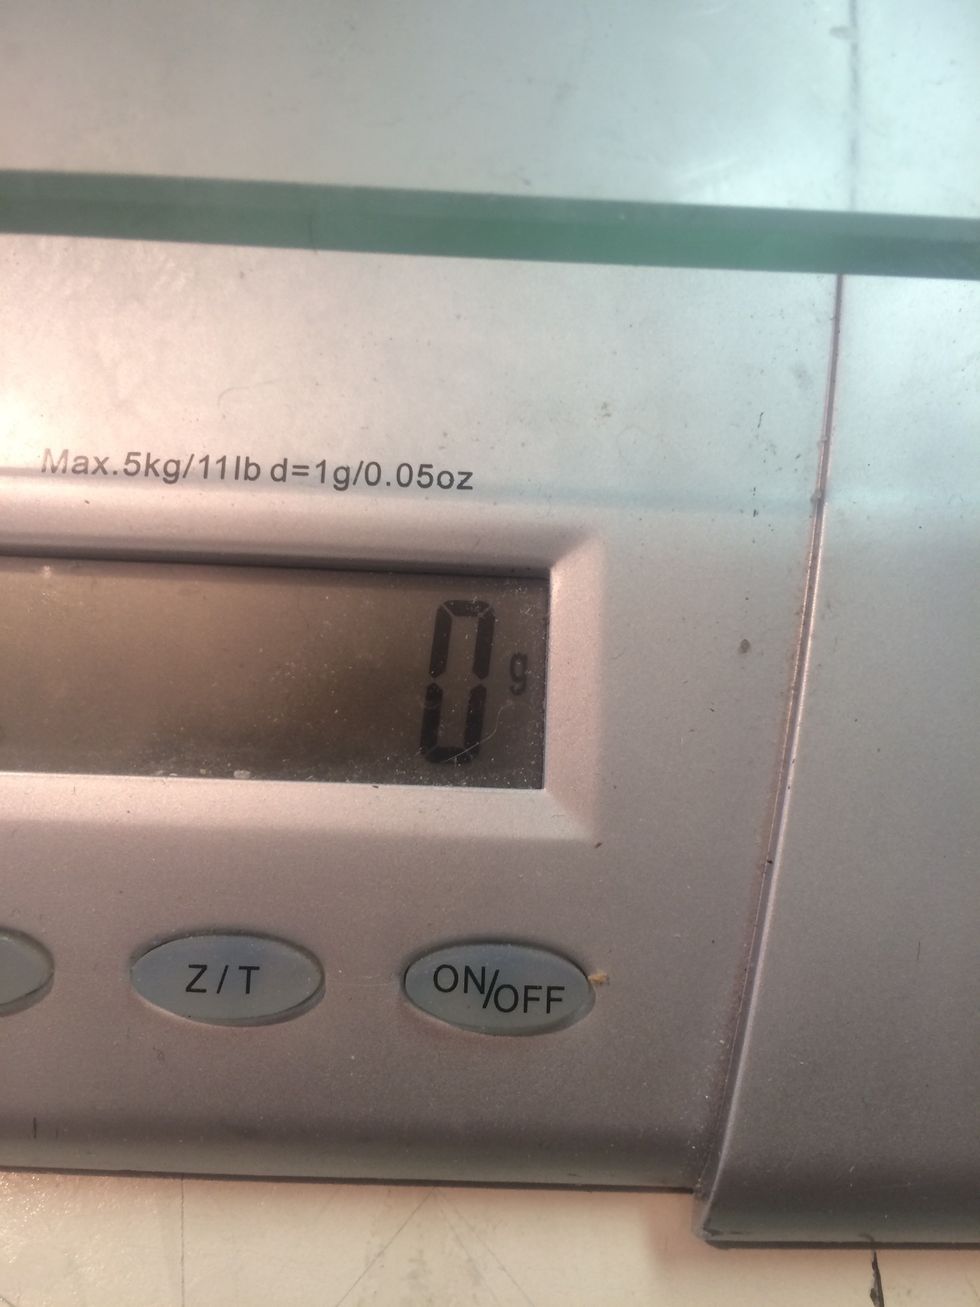
Turn on digital scale
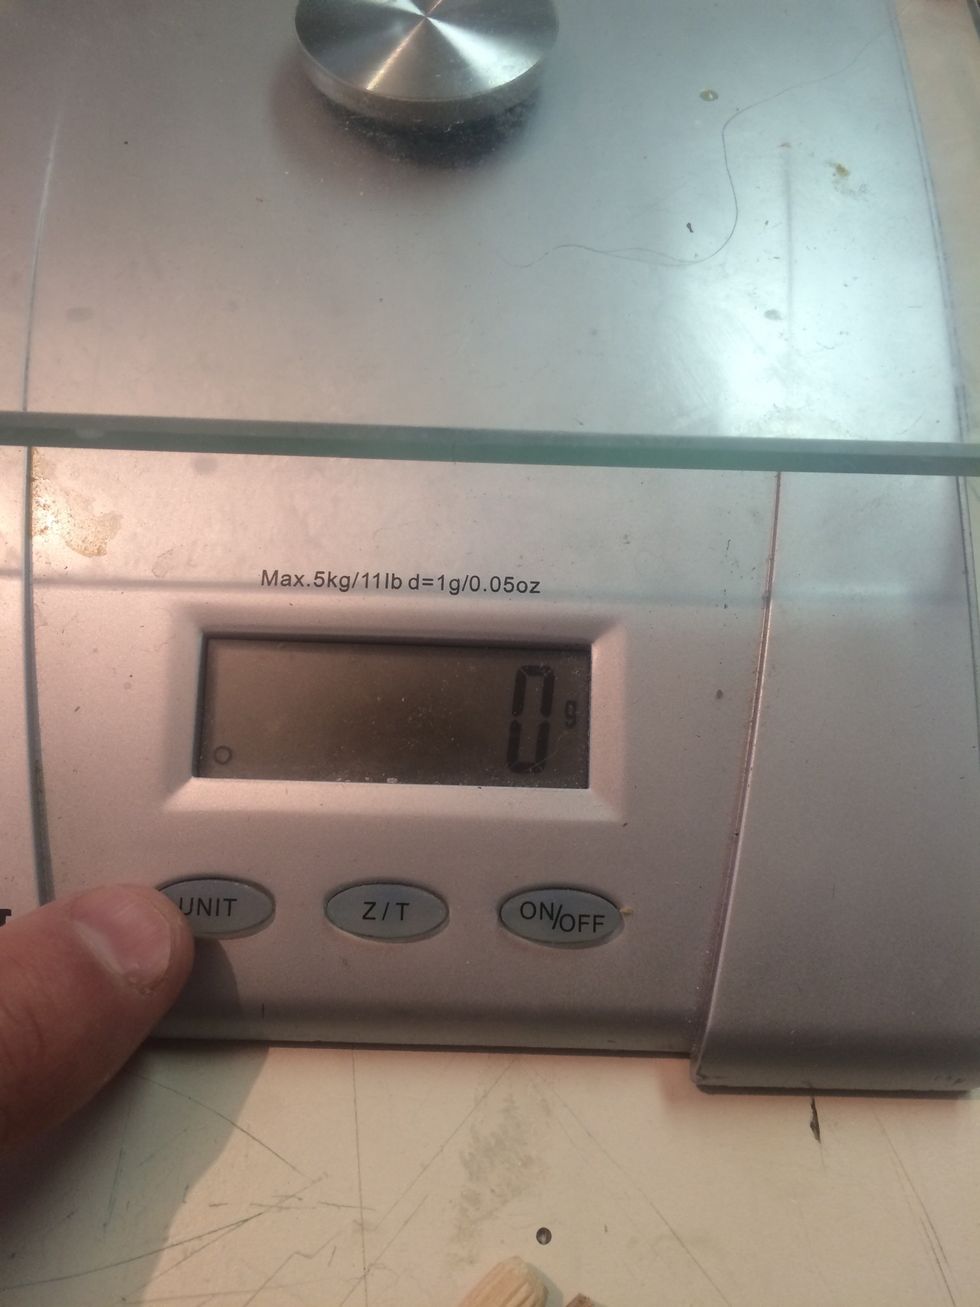
Set units to grams
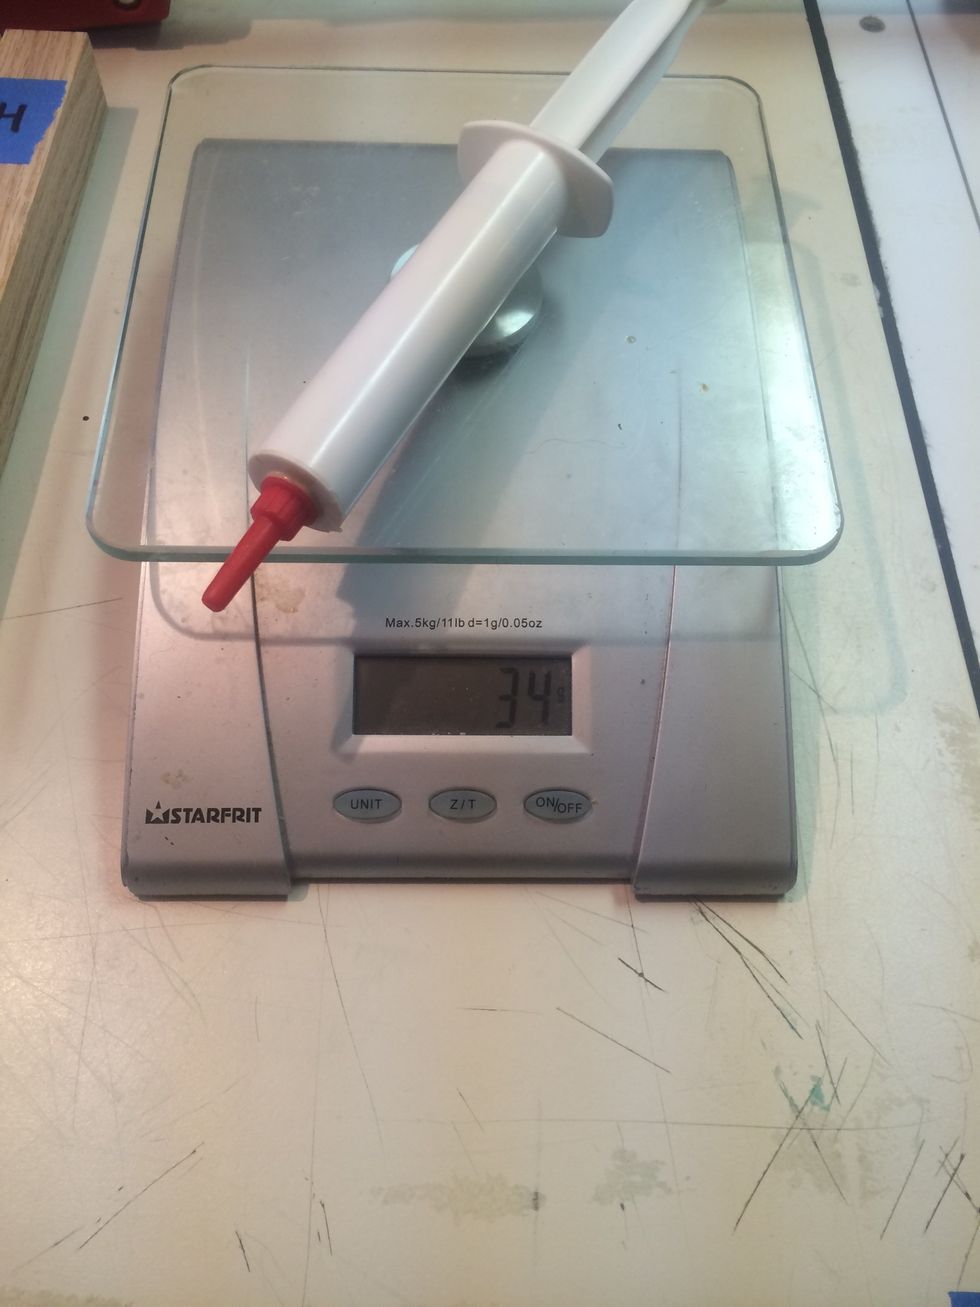
Measure Starting Mass of glue syringe
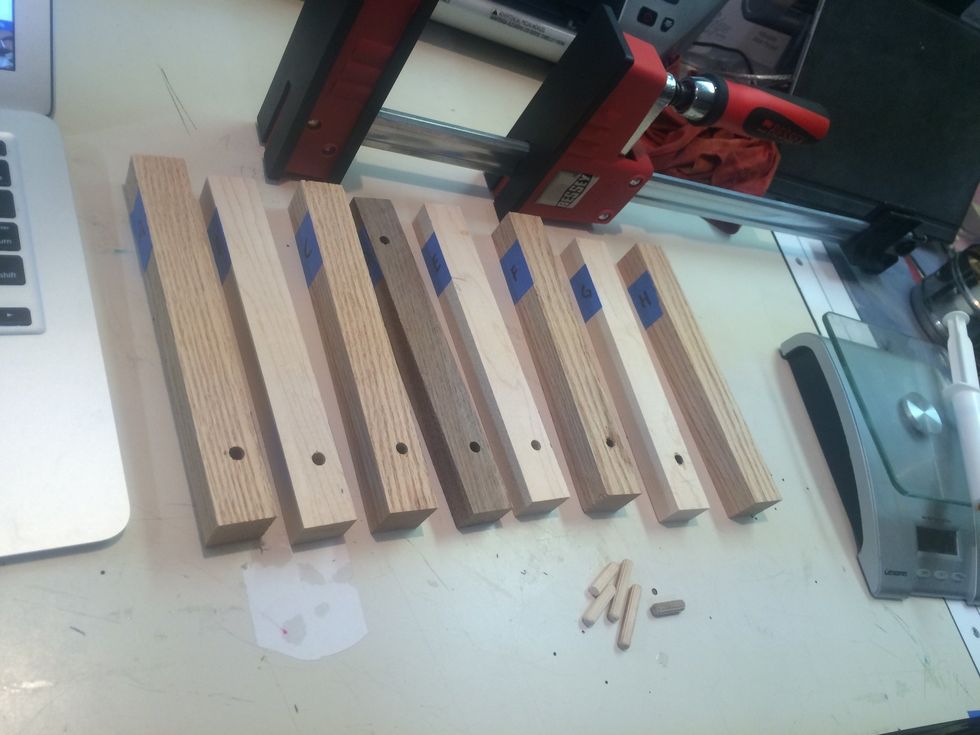
Rotate pieces of wood 90 degrees to the left (counter clockwise)
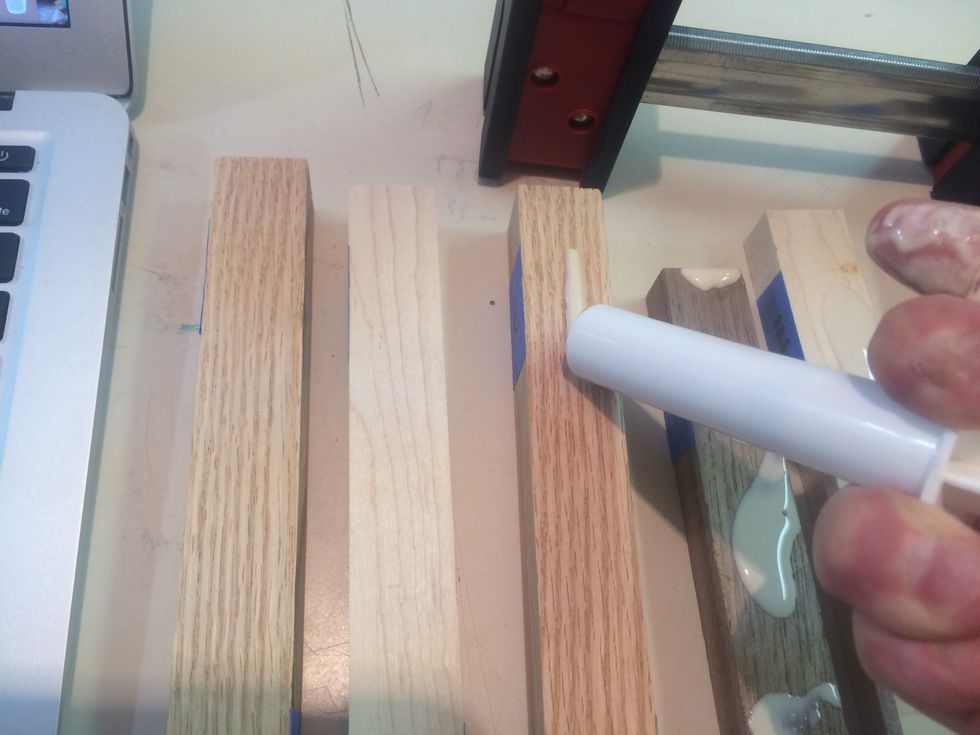
Add glue to all up facing surfaces except the last piece of wood on the right (piece H)
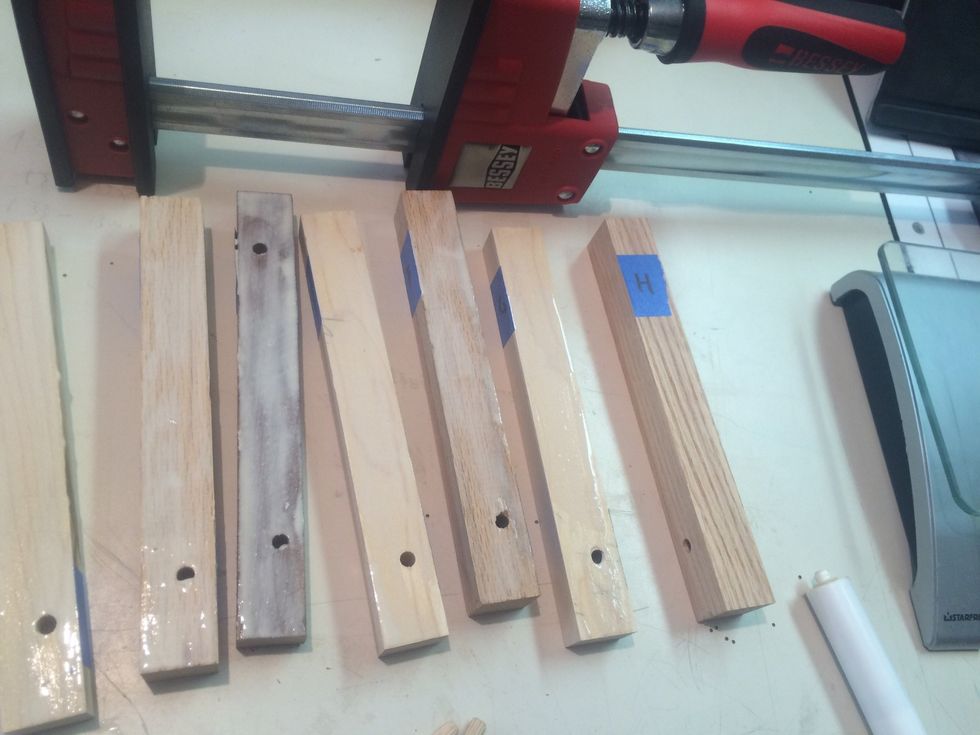
Add glue to all up facing surfaces except the last piece of wood on the right (piece H)
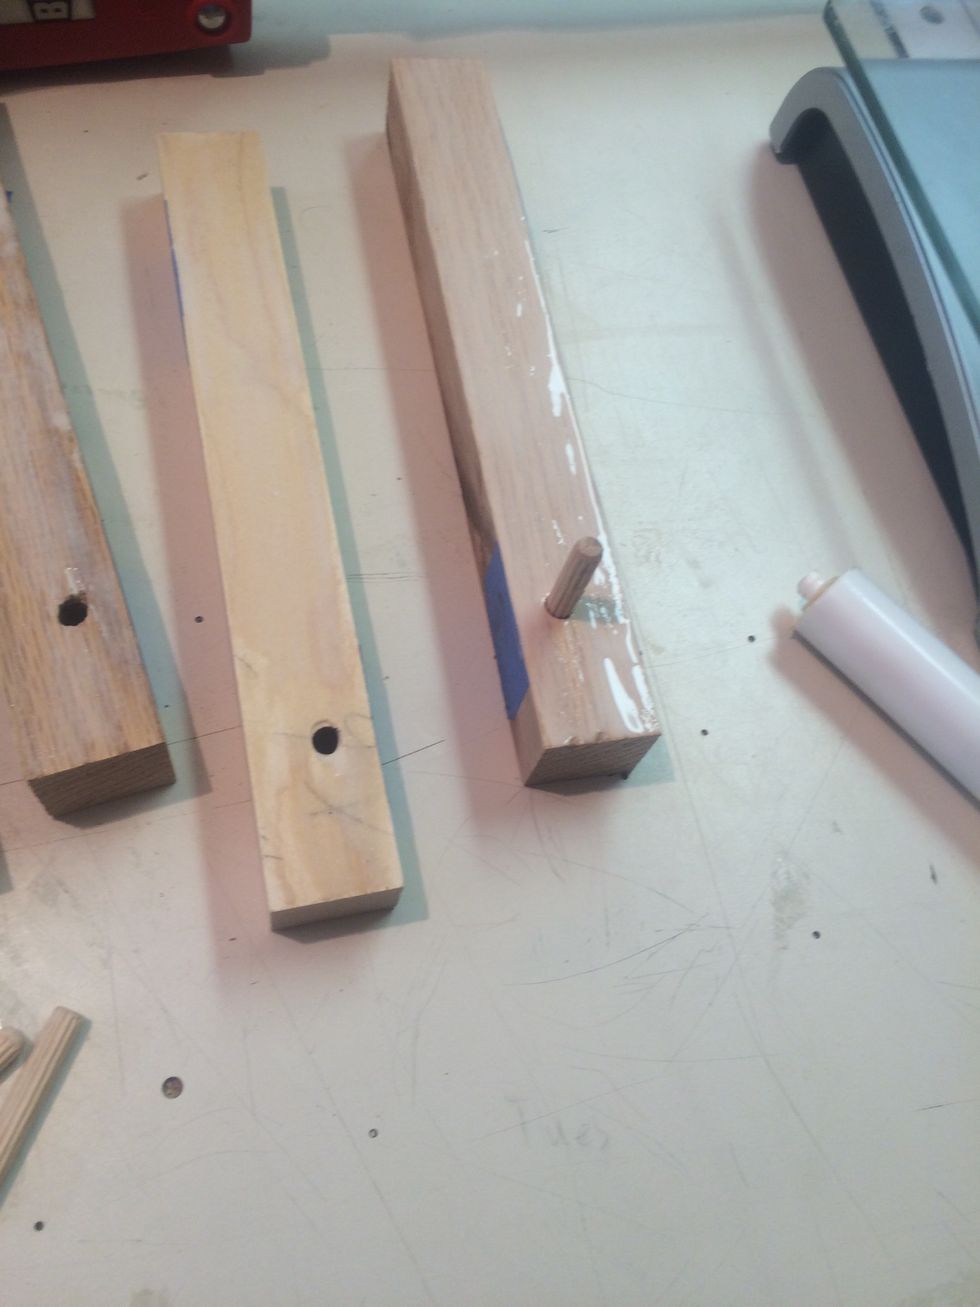
Rotate piece "H" to the right (clockwise) and apply glue
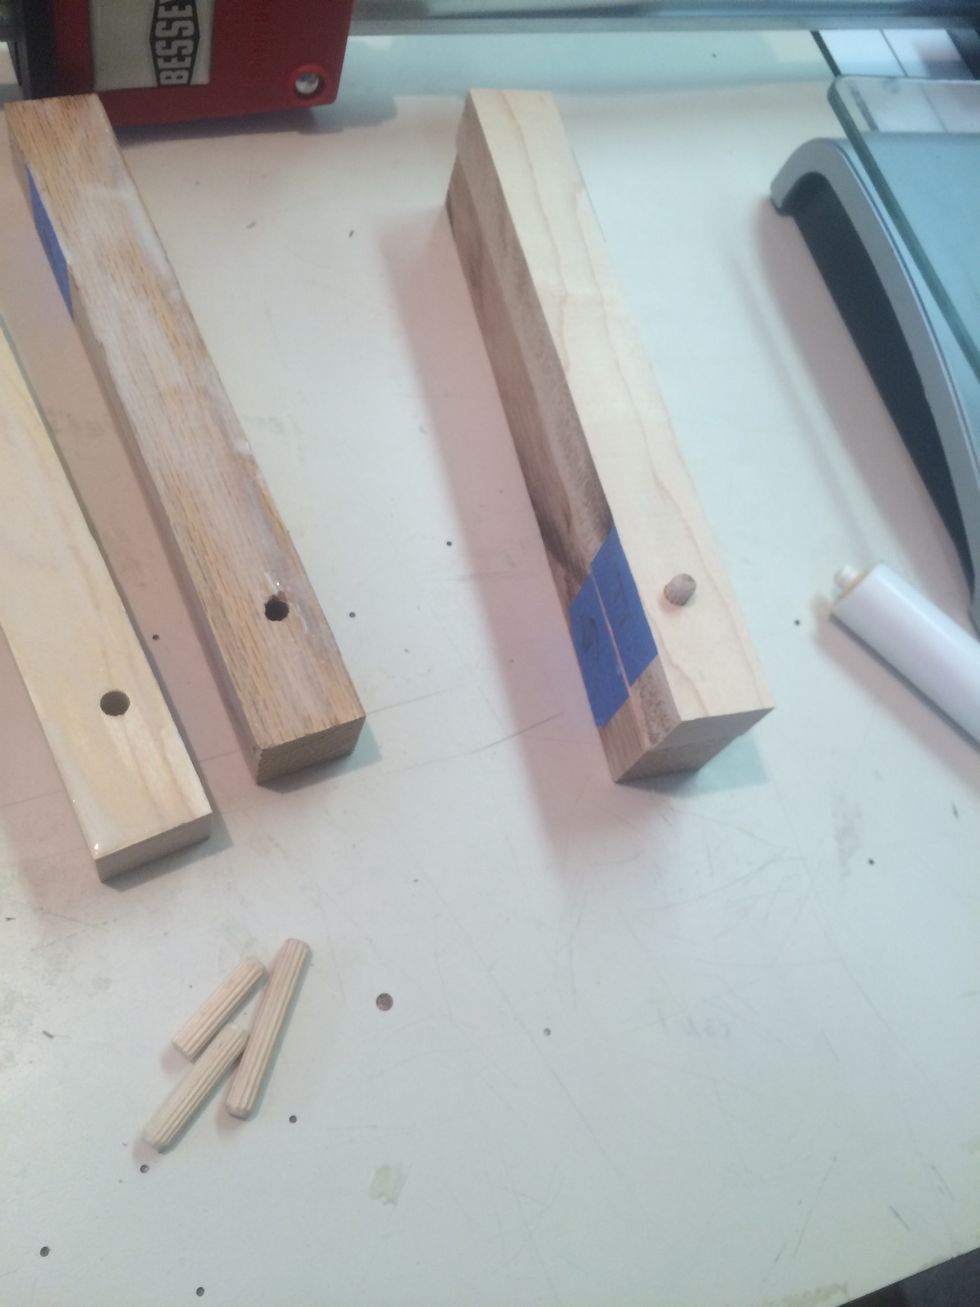
Place dowel in piece "H" and add piece "G"
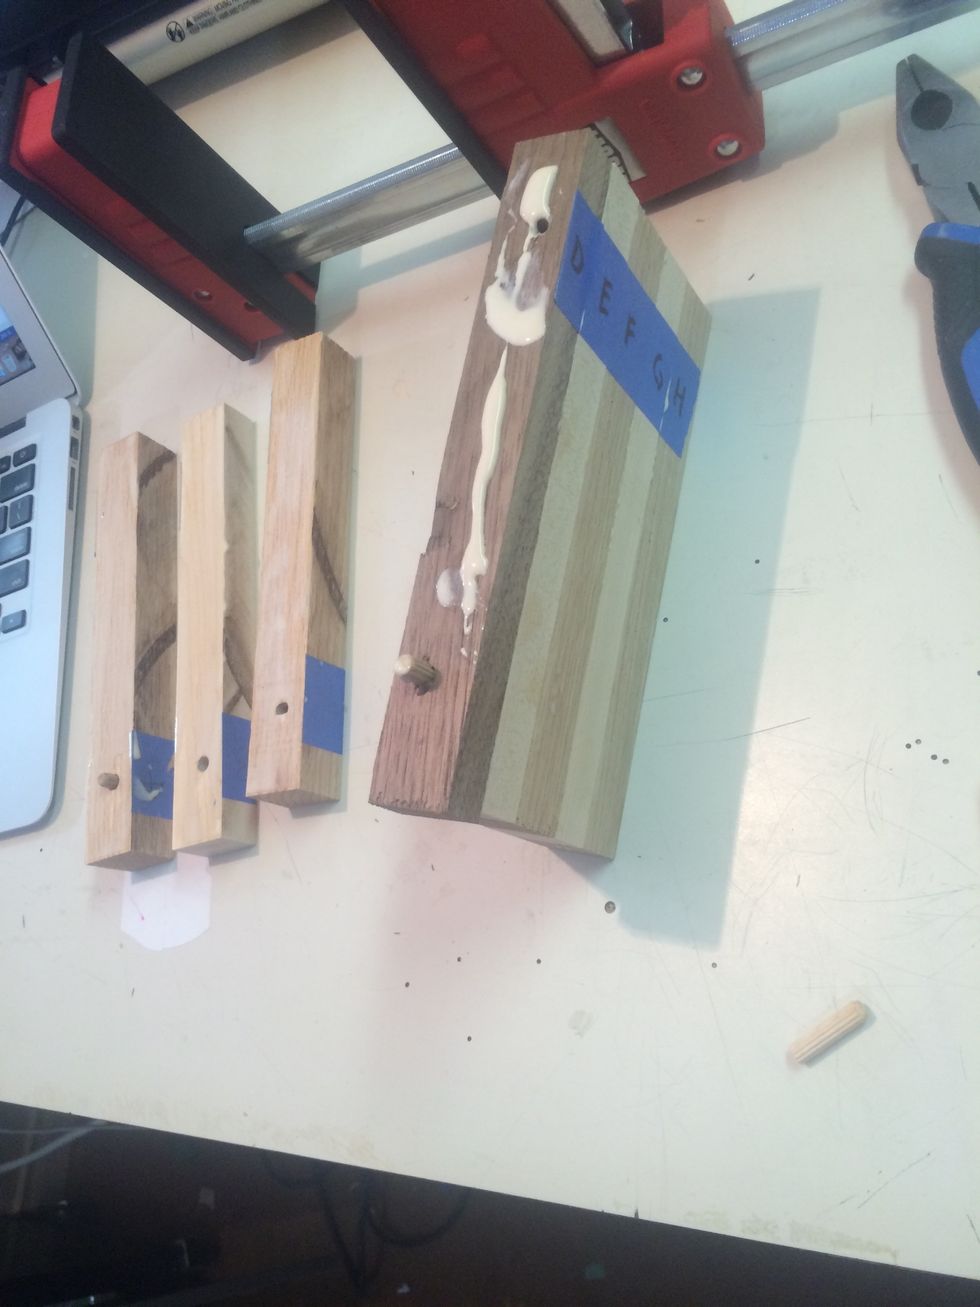
Apply glue to the updating surface before adding dowels and new piece
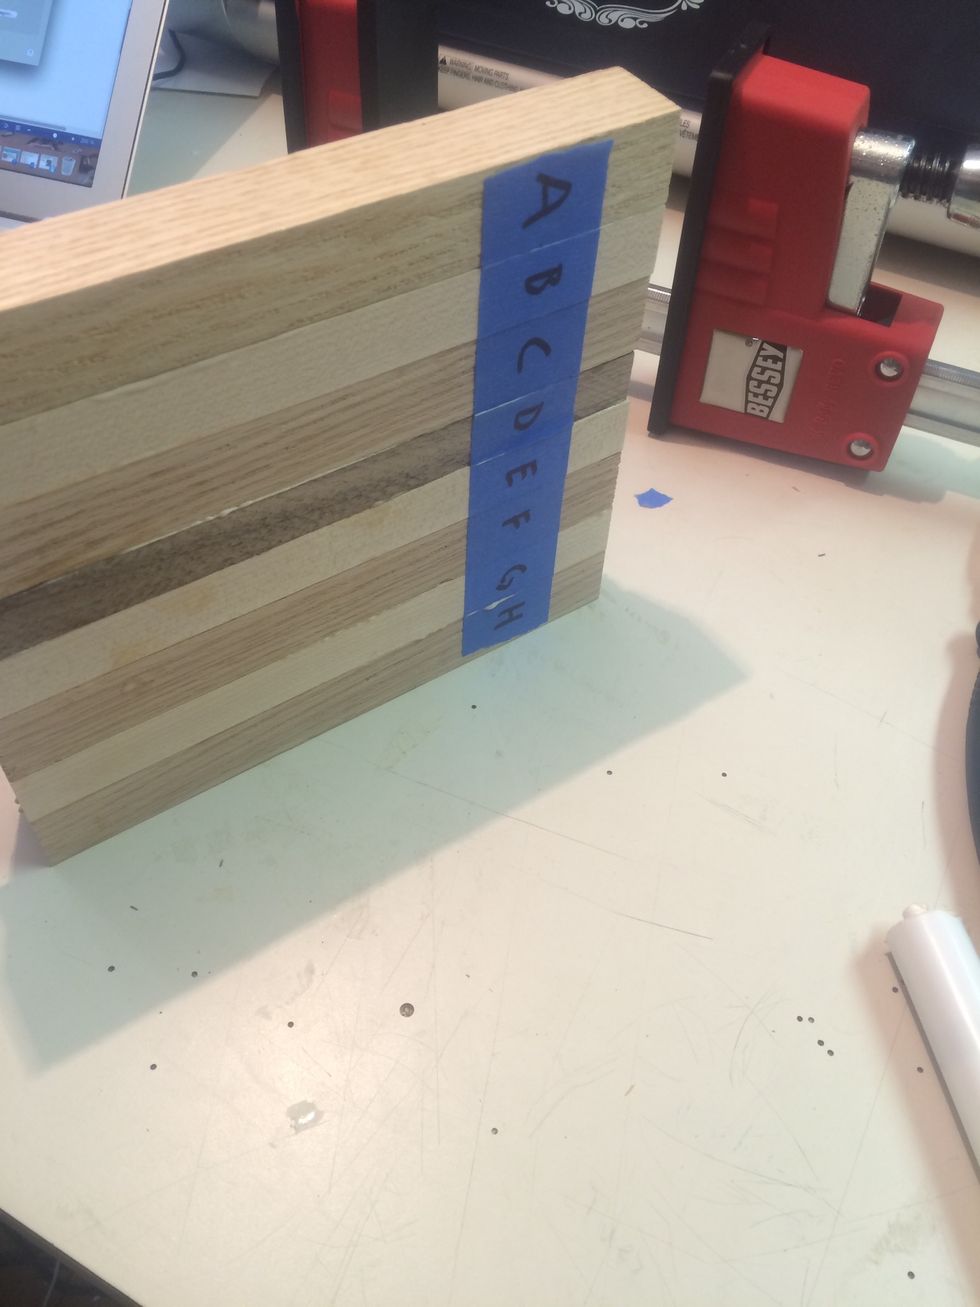
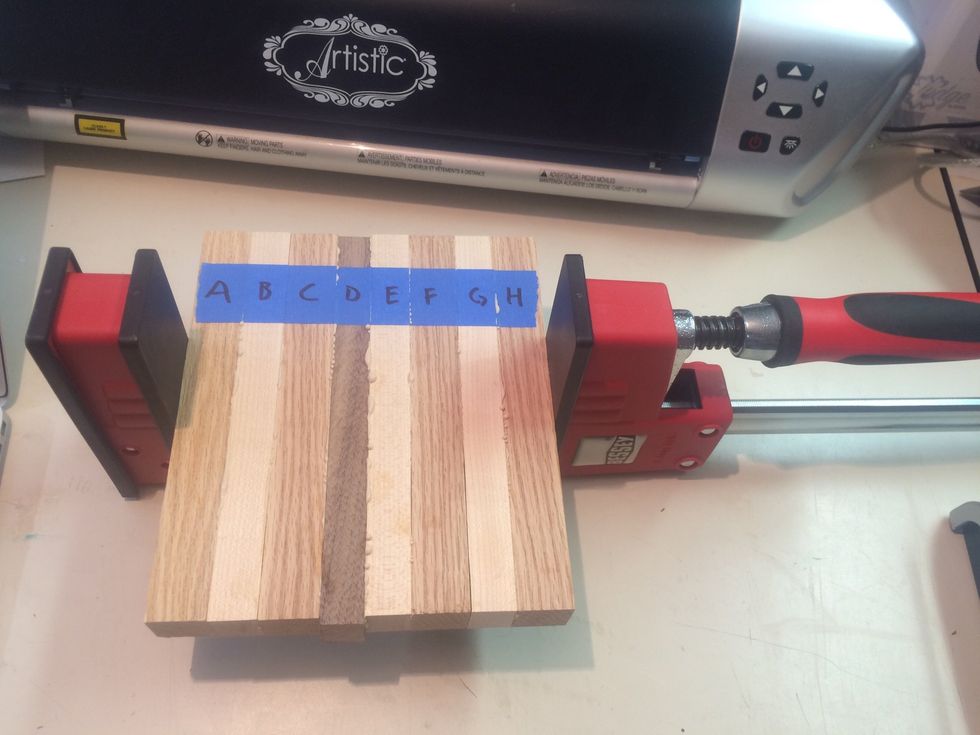
Place assembled cutting board in clamp, as shown.
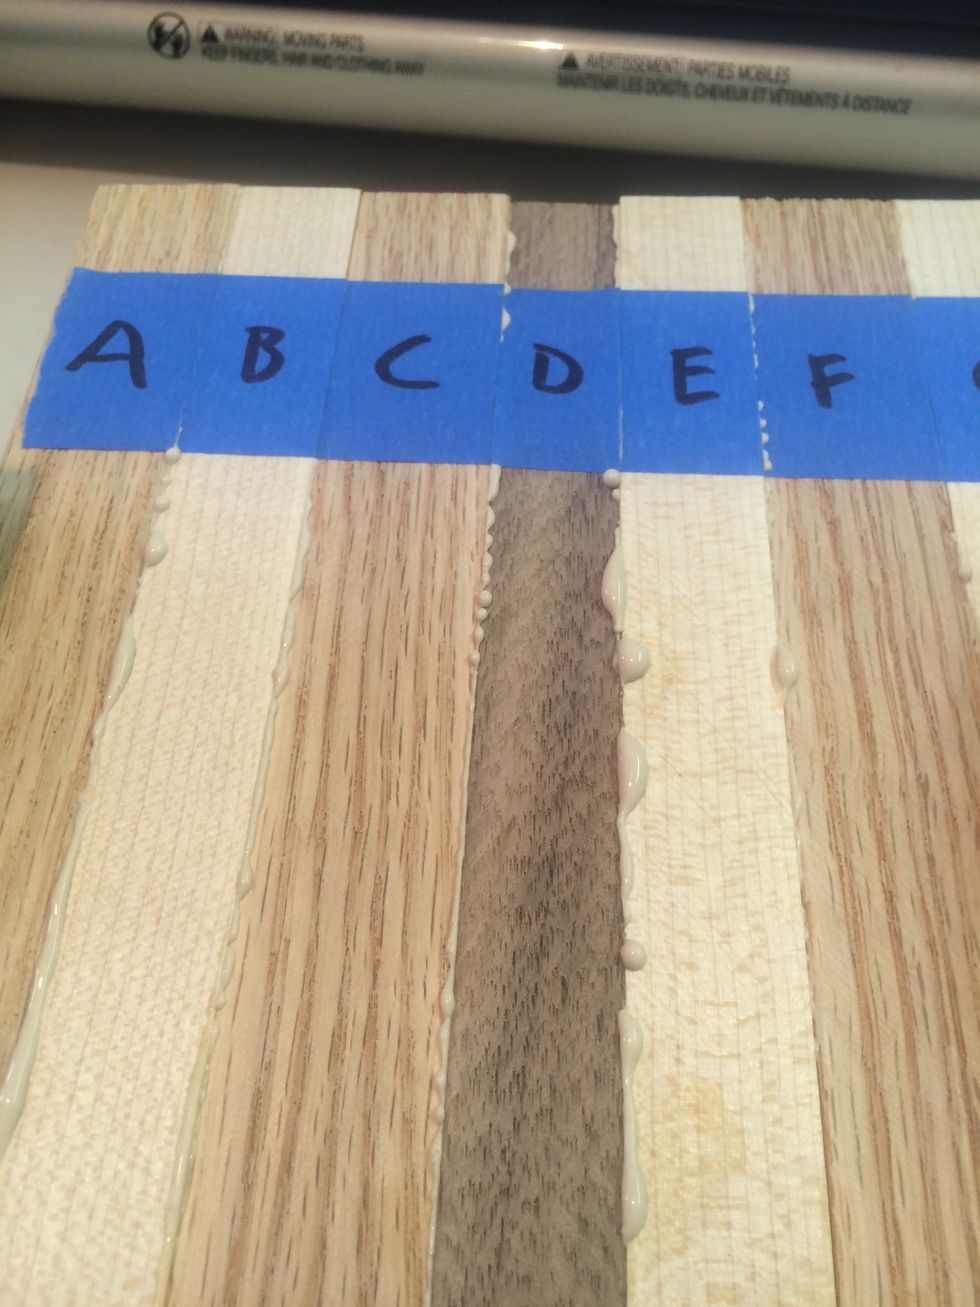
Use clamp to apply pressure (you should see small beads of glue coming out of the joints between the pieces)
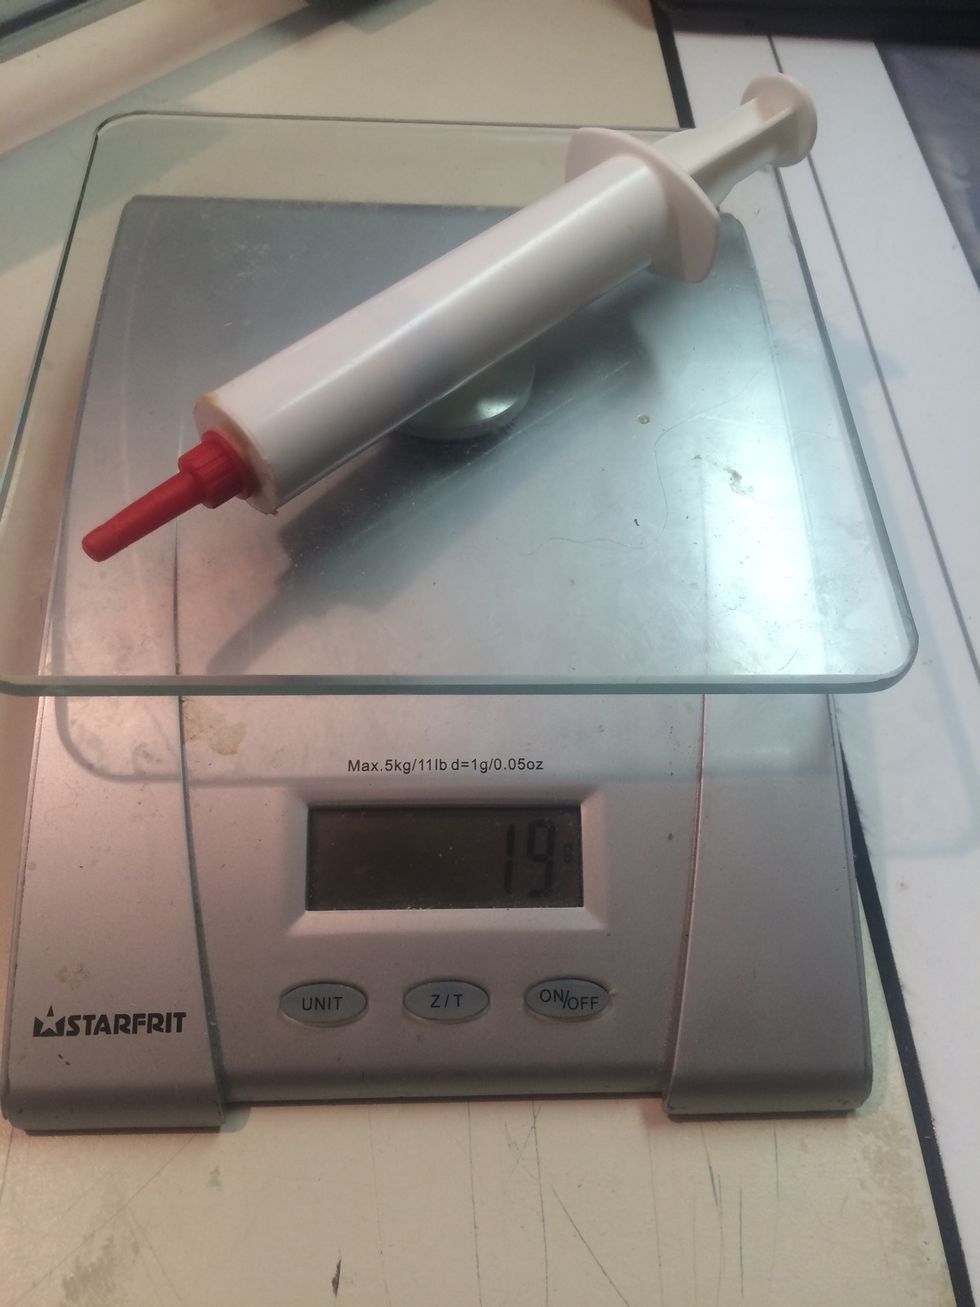
Measure the End Mass of the glue syringe.
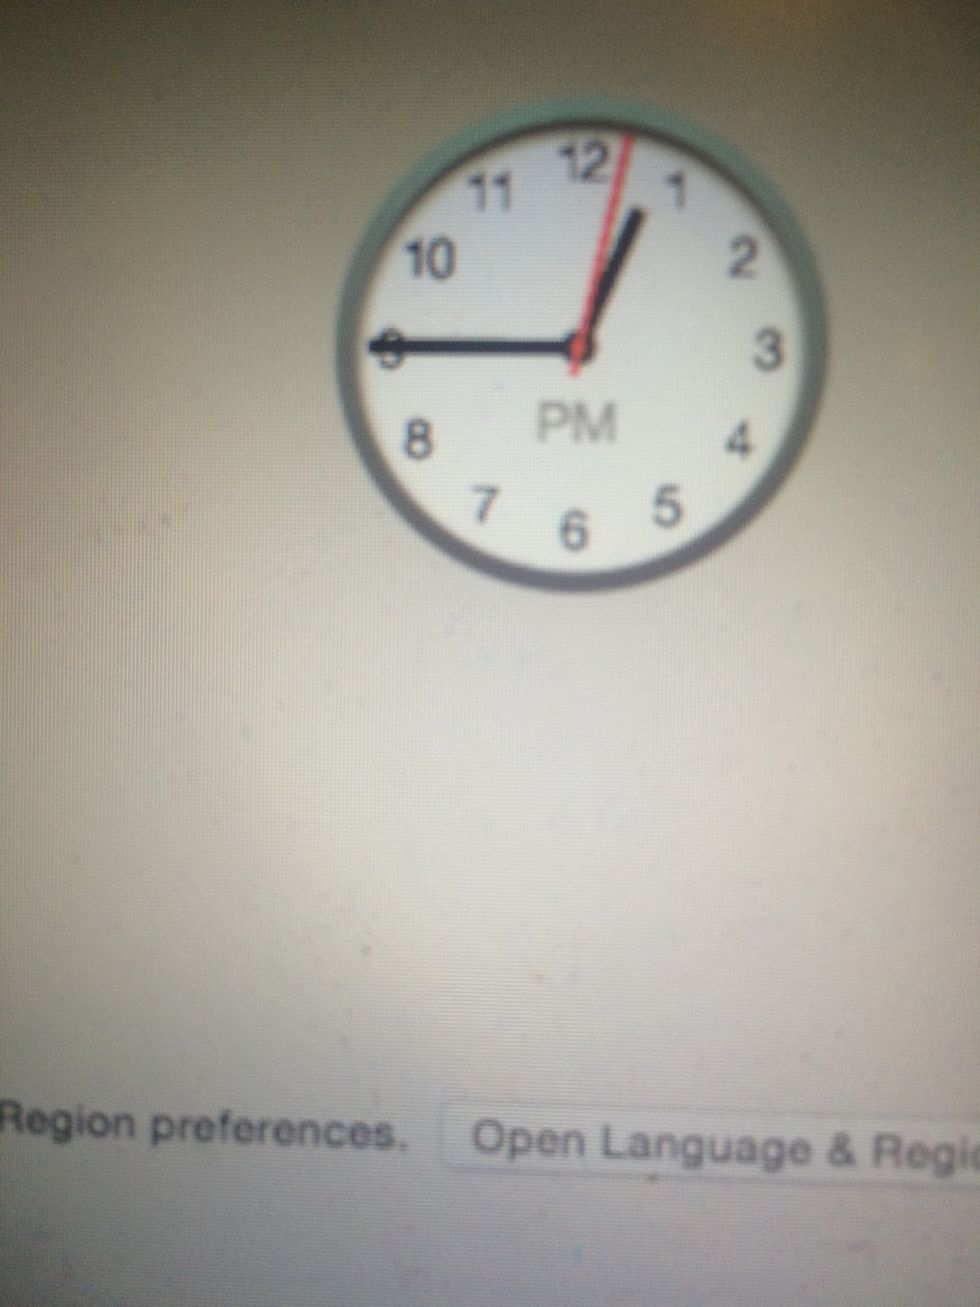
Record Finish Time 12:45
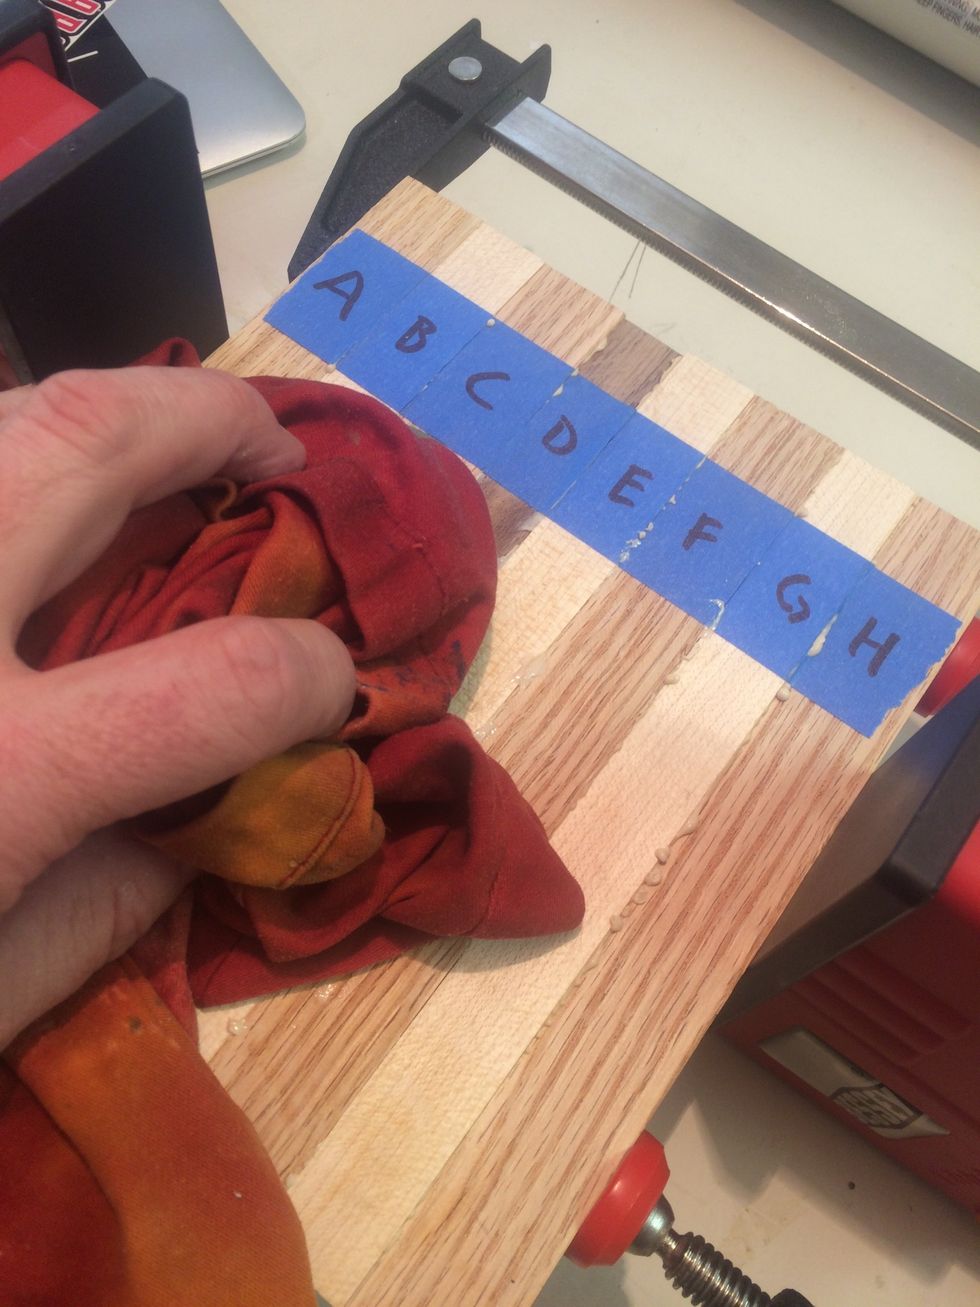
Use a damp cloth to remove excess glue from top and bottom surface.
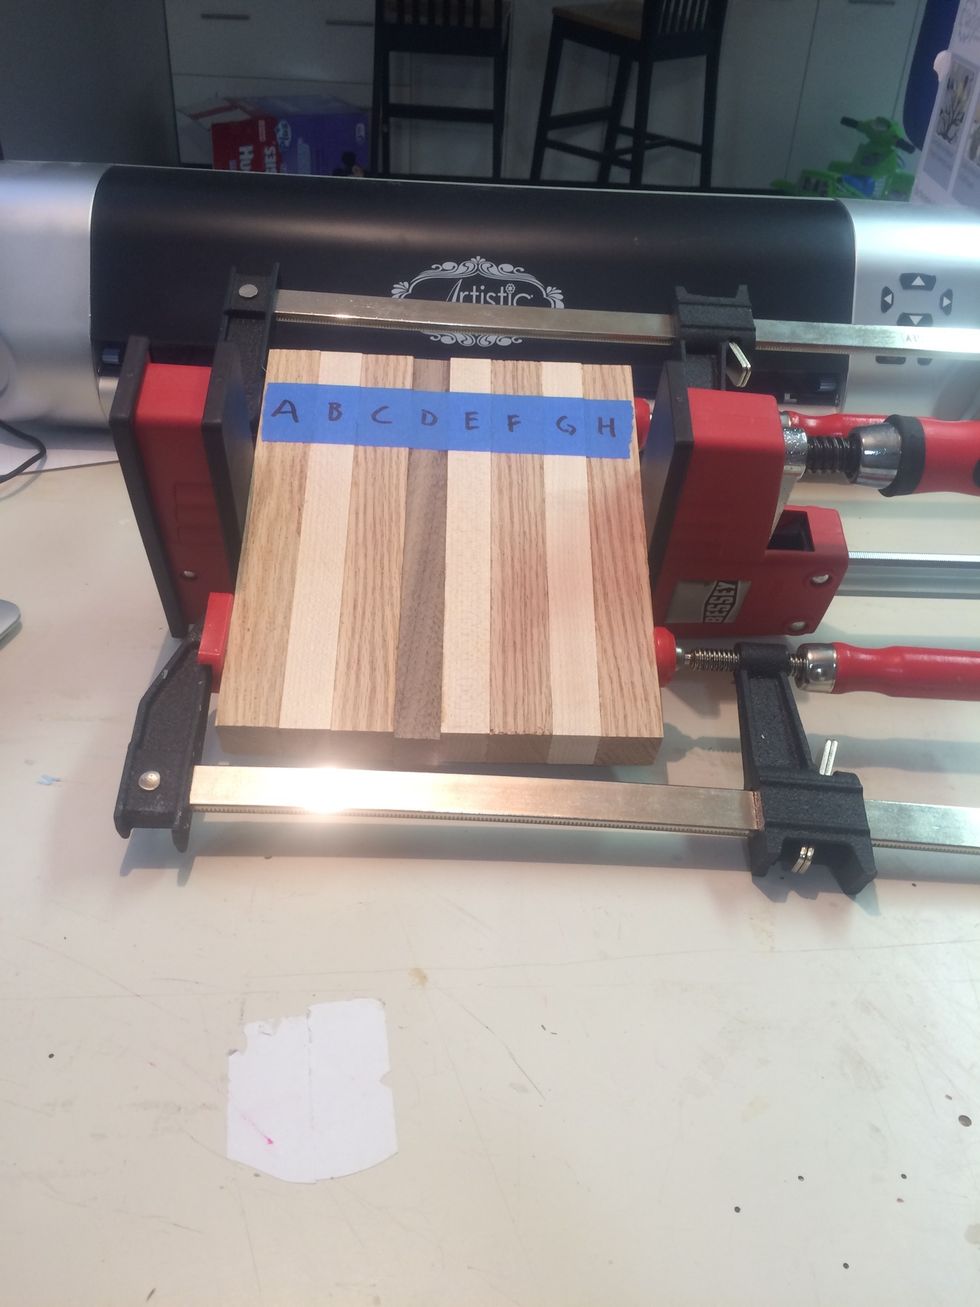
Leave cutting board in clamps for a minimum of 30 minutes.
- 1.0 18" Parallel Bar Clamp
- 2.0 12" Bar Clamp
- 8.0 Hardwood Pieces
- Food Safe Glue
- Damp Rag
- 1/4" Fluted Dowels
- Pencil
The Conversation (0)
Sign Up