How to get started in balloon modelling
This guide will show you the basic supplies that you need to get started with balloon twisting, teach you some of the basic twists and give you a couple of kid pleasing designs
1304
STEPS
TOOLS
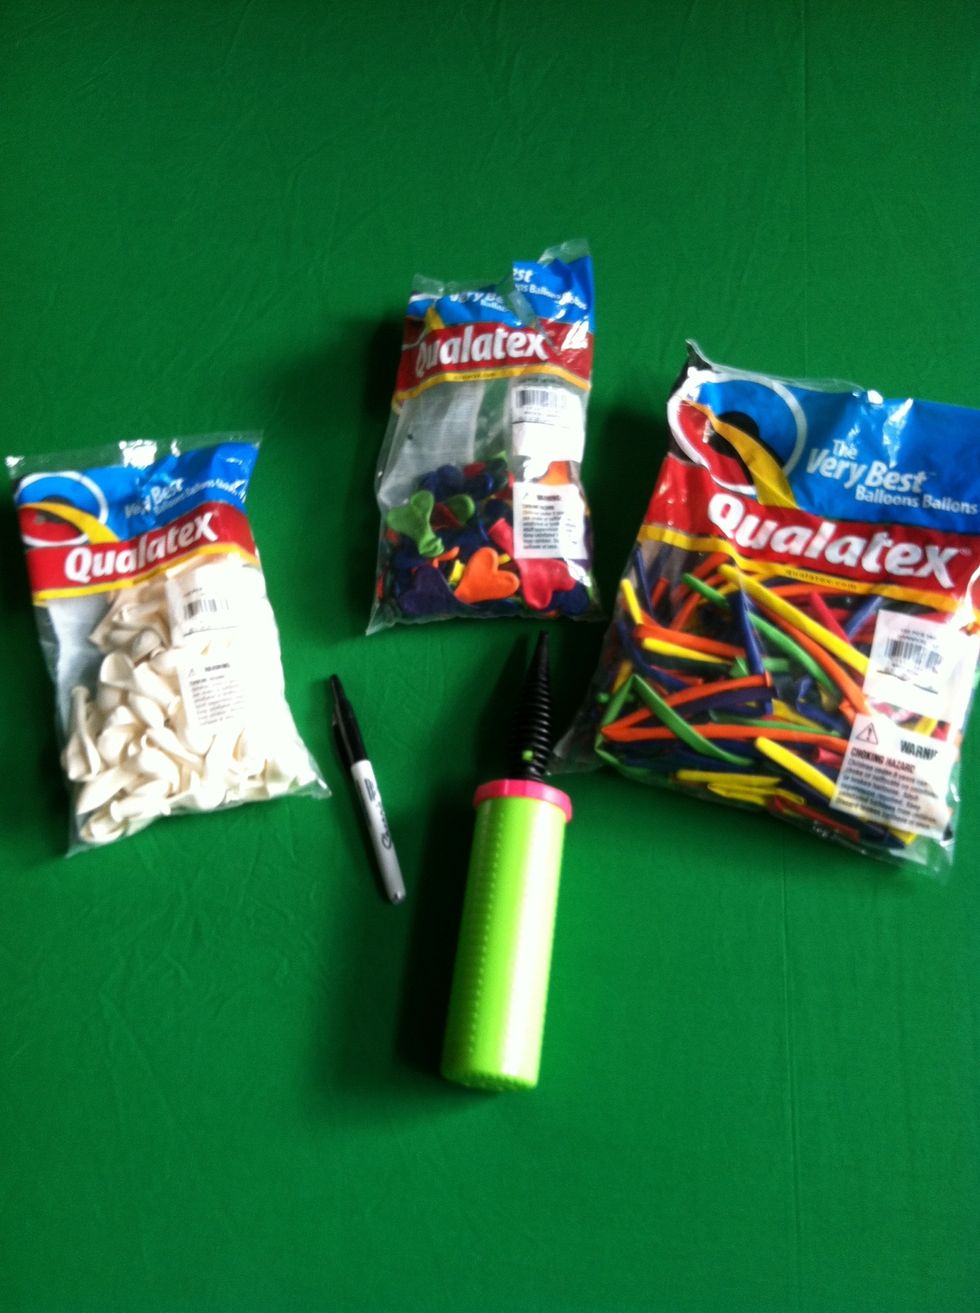
The basics that you would need.
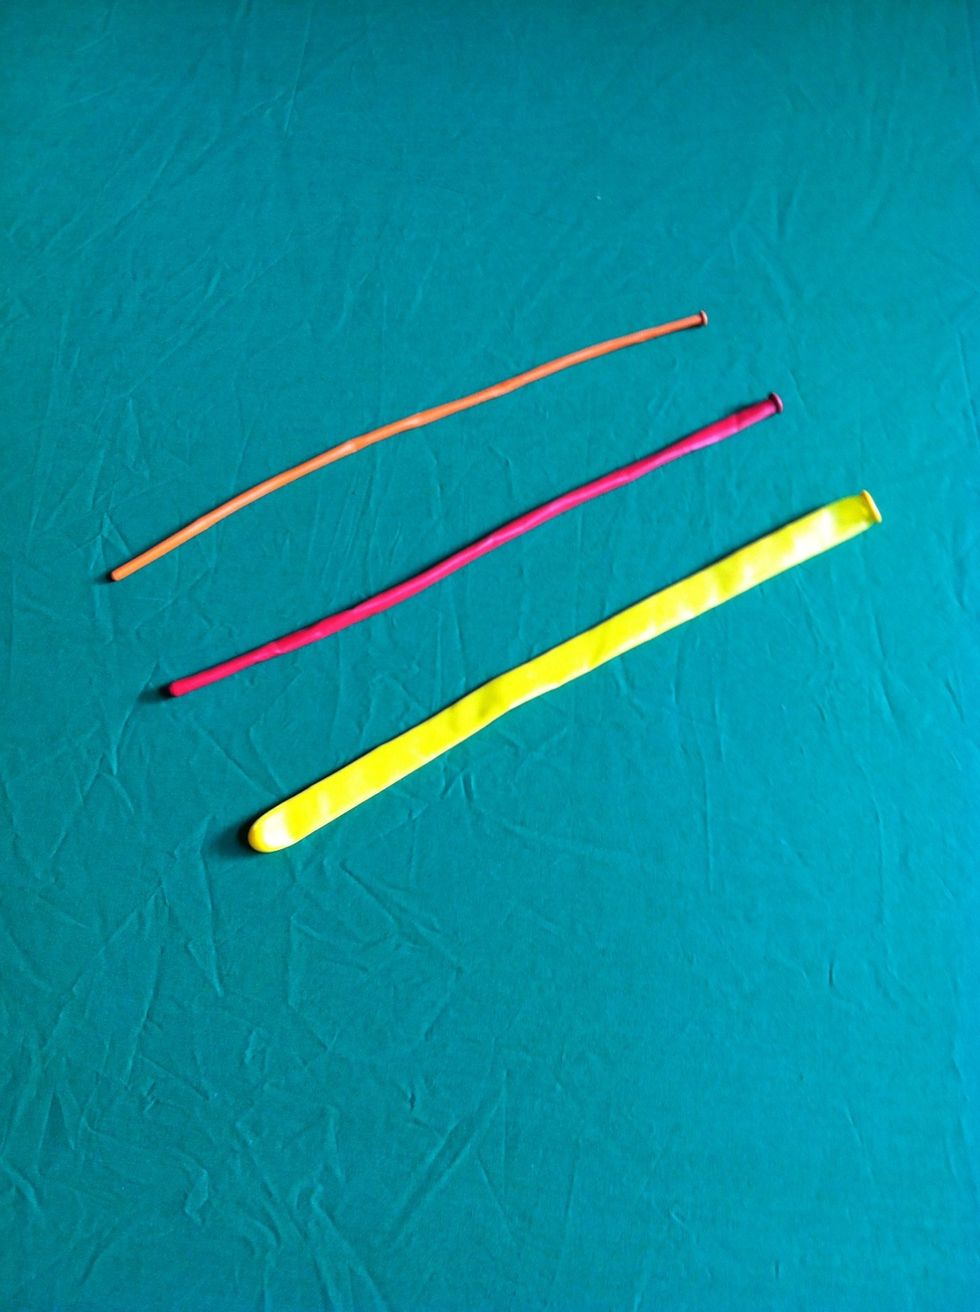
There are essentially 3 sizes of modelling balloons- 160, 260, and 350. Balloons are so named because 160 is approx 1" diameter and 60" long when fully inflated, the 260 2" diameter & 60" long, etc.
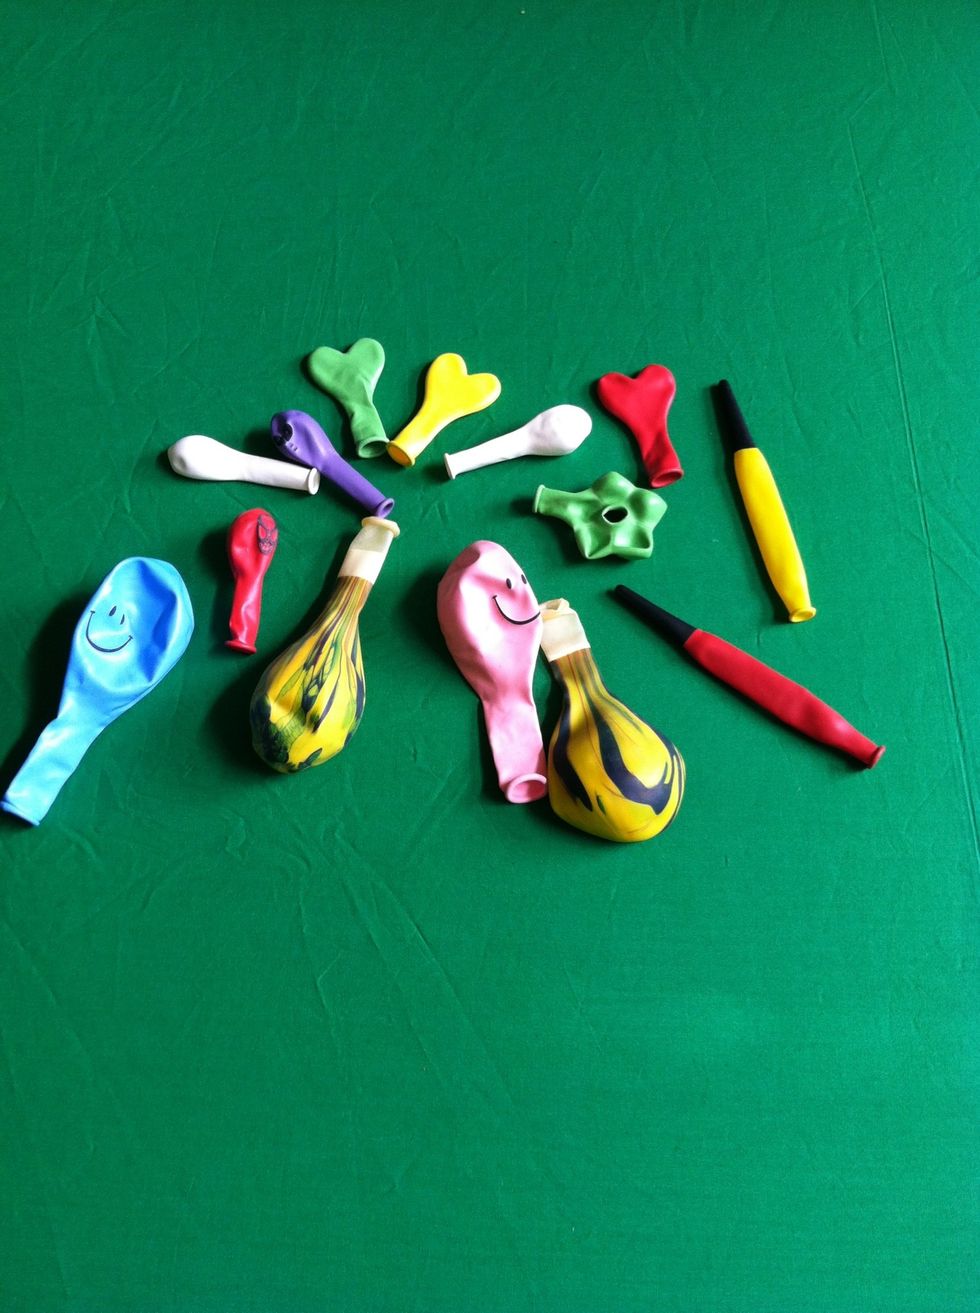
There are also lots of other shapes and sizes
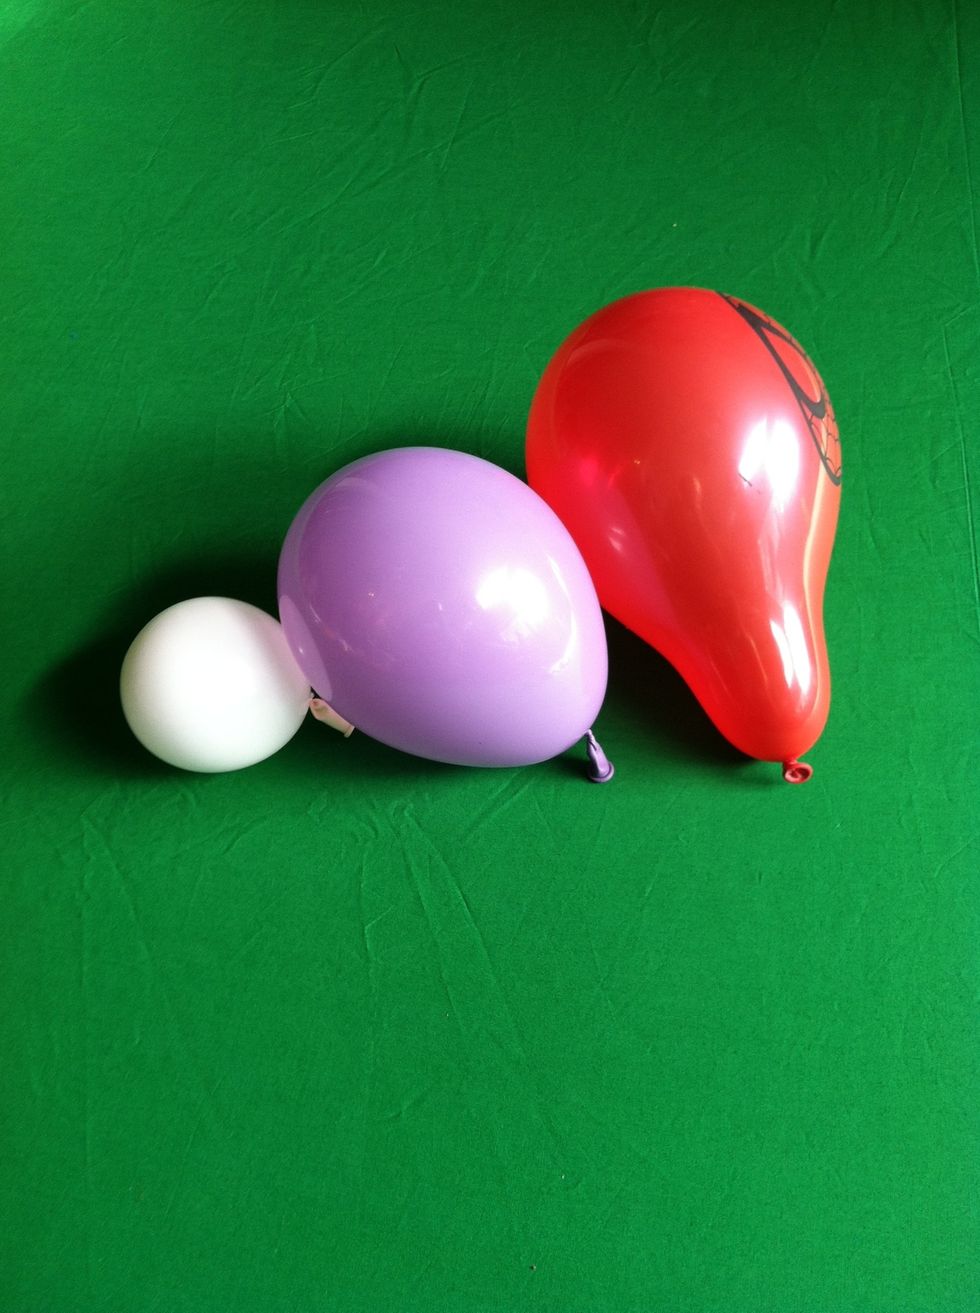
This is a 5" balloon. The white 5" is under inflated, the purple fully inflated and the red one over inflated (and likely to pop). Fully inflated balloons should look like teardrops not lightbulbs
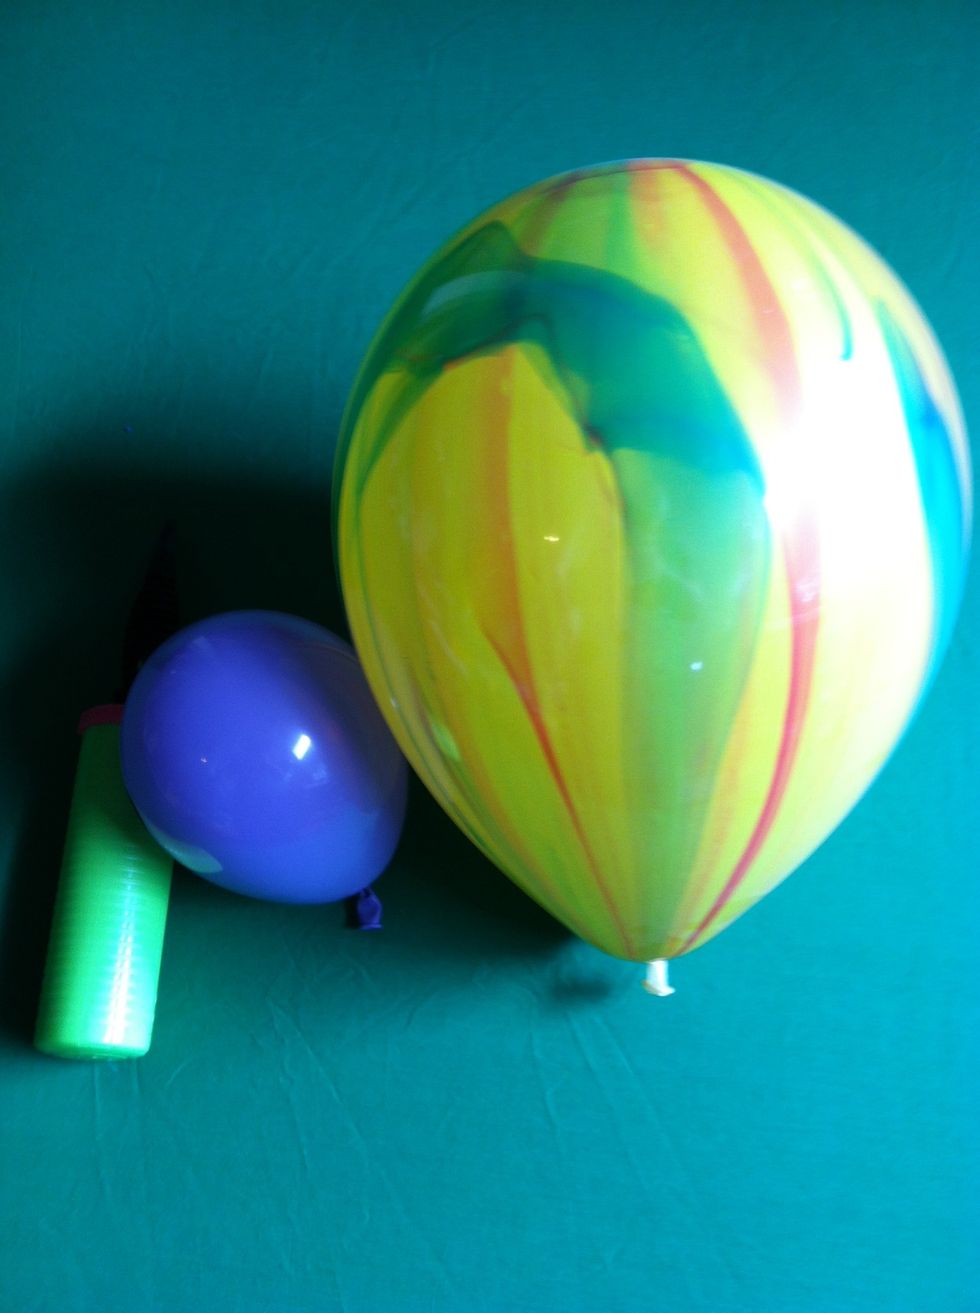
This is a 5" balloon and an 11" balloon
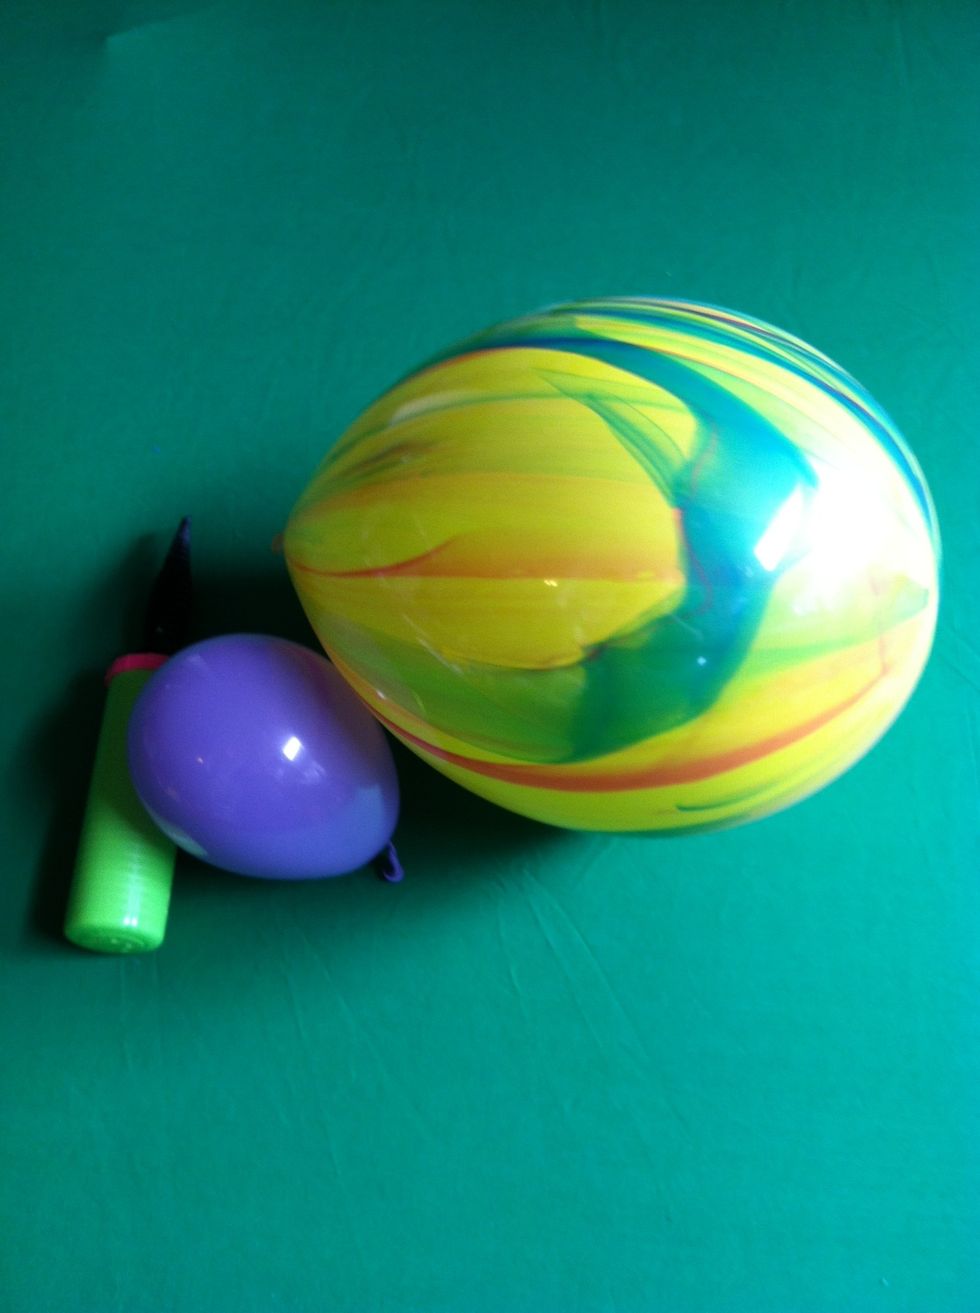
Most people don't know that latex balloons are biodegradable, but they are- decomposing at the rate of an oak leaf
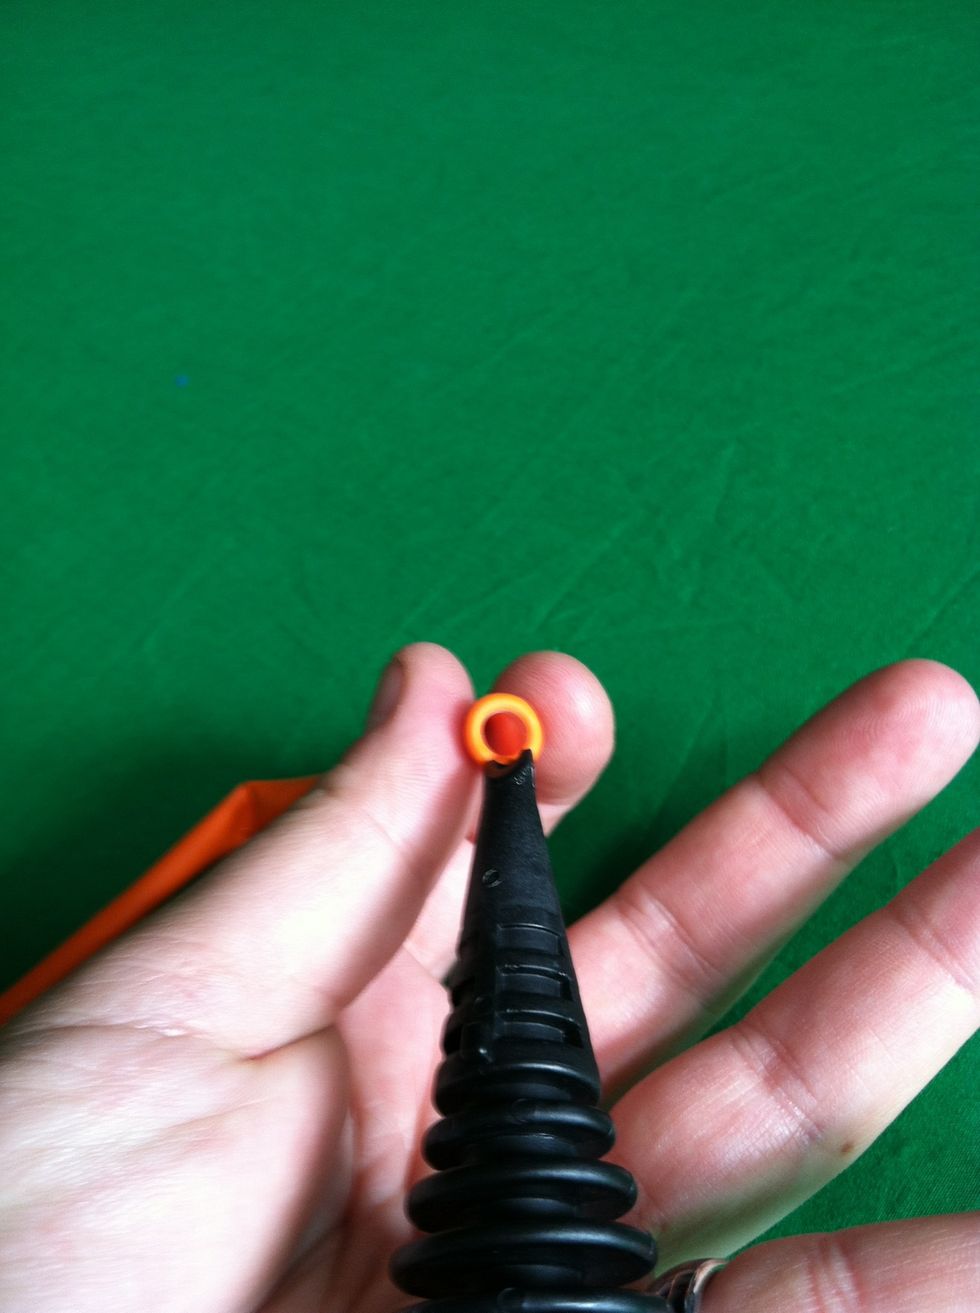
To inflate the balloon, put it into the pump
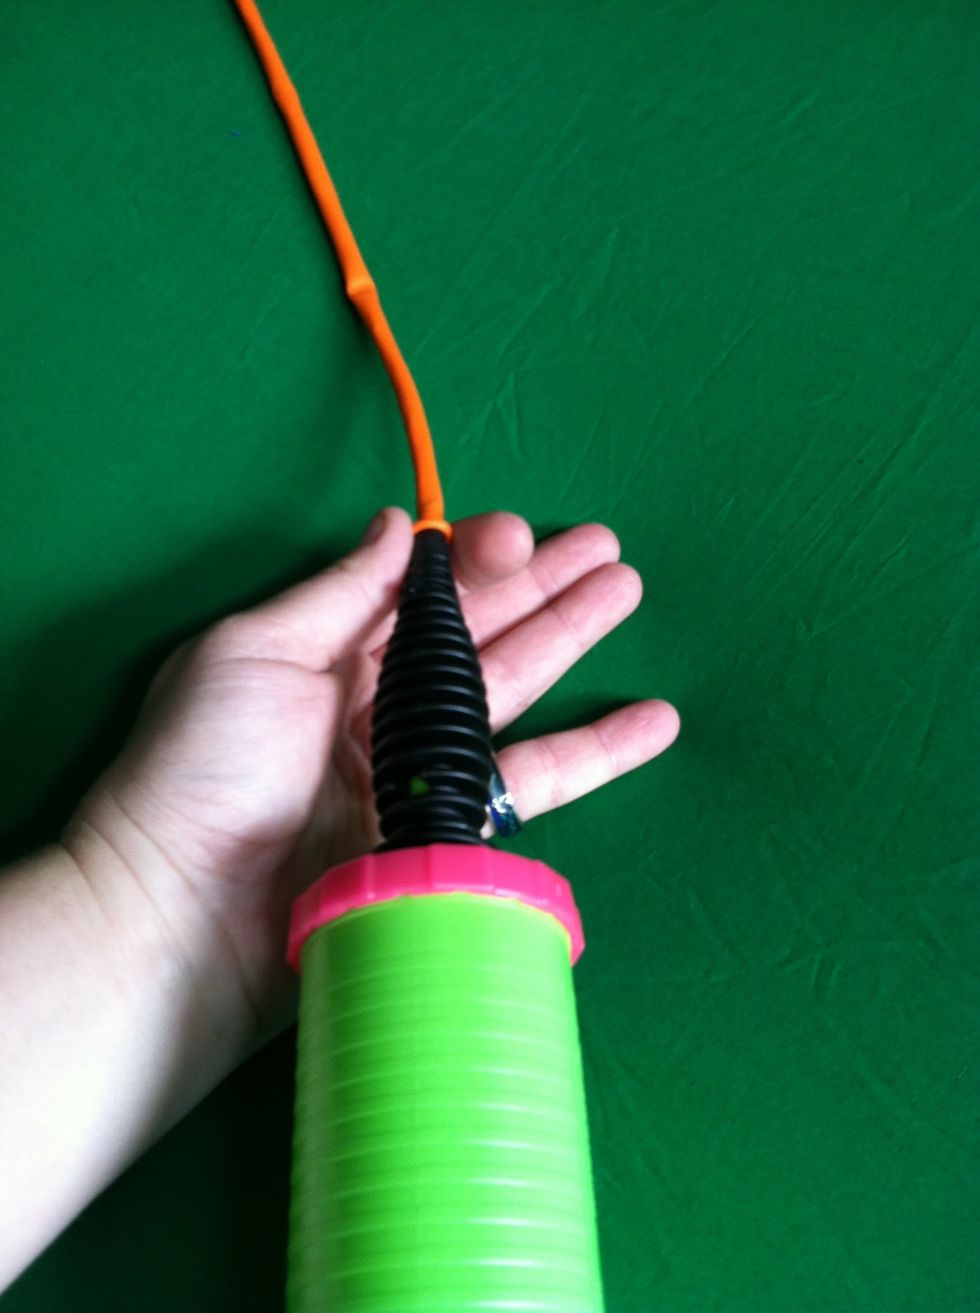
And hold it while pumping. Make sure that balloon is straight on pump so air flow won't be restricted
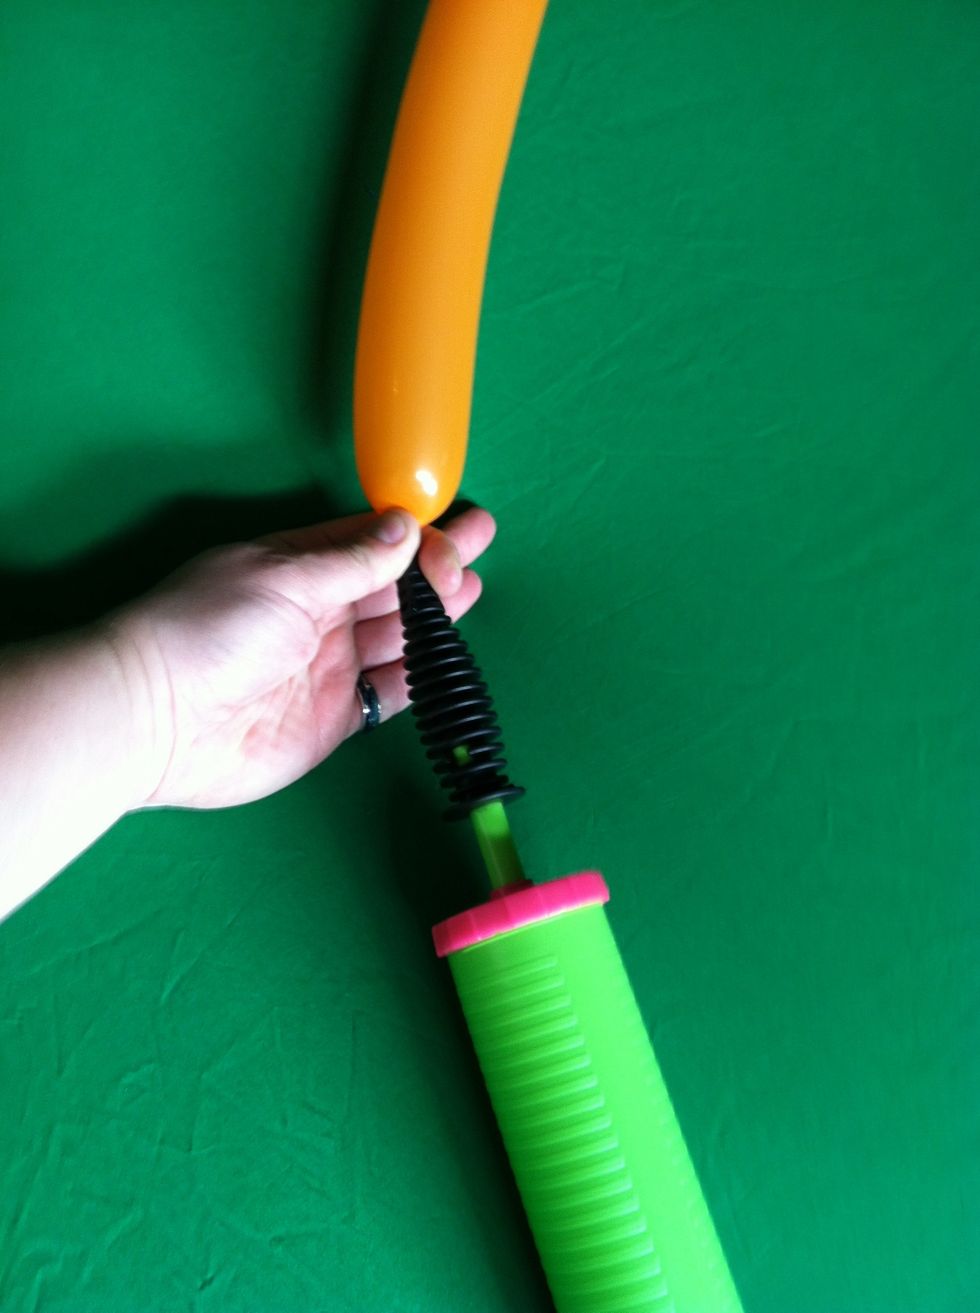
And pump. When you are starting you should pop some balloons to get the feel for how much pressure the balloon can take
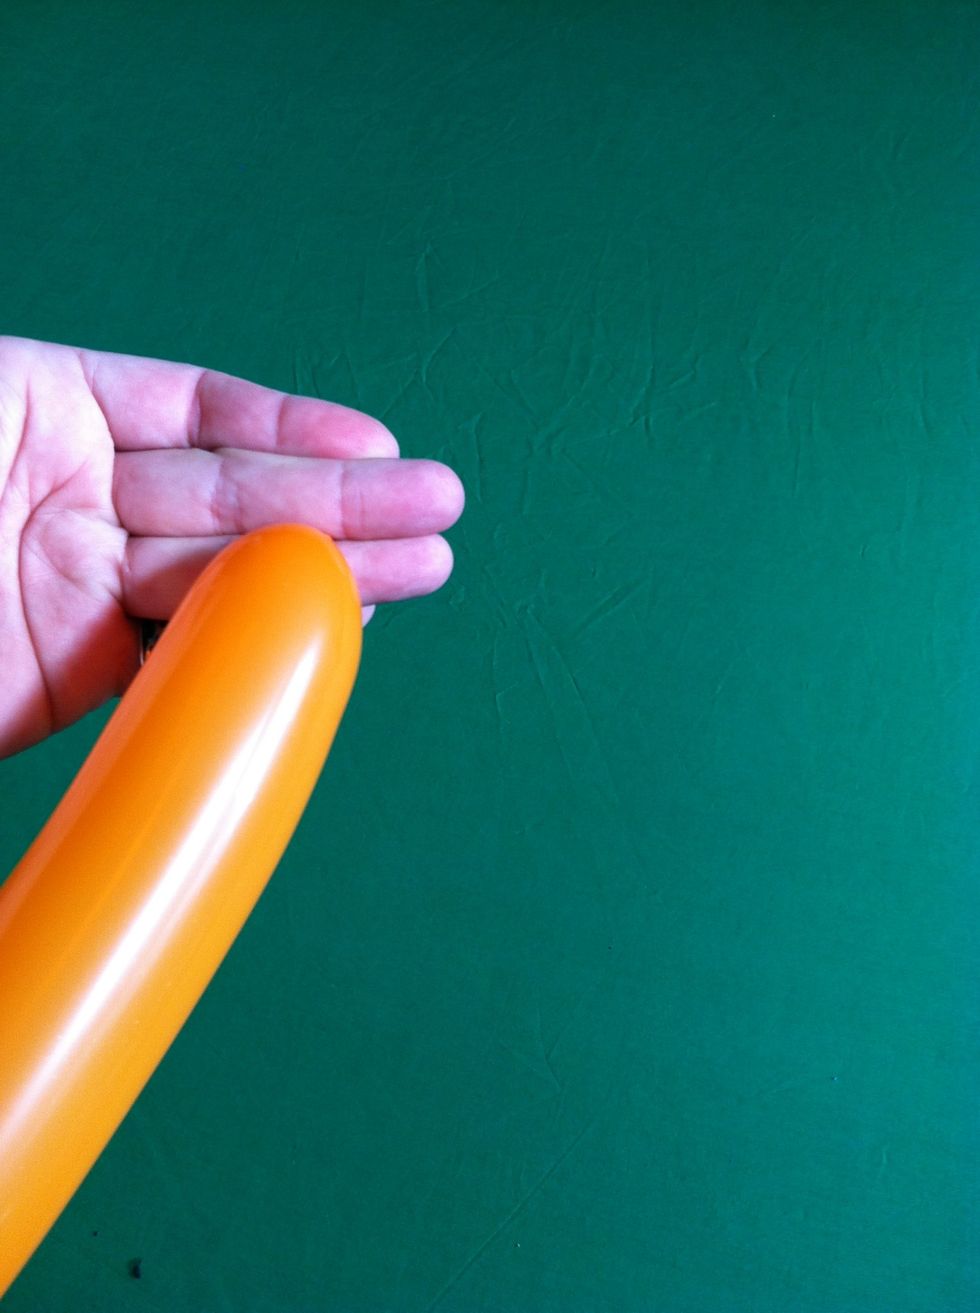
To tie, lay across your palm and bring nozzle of balloon between your middle and ring fingers (towards back of hand)
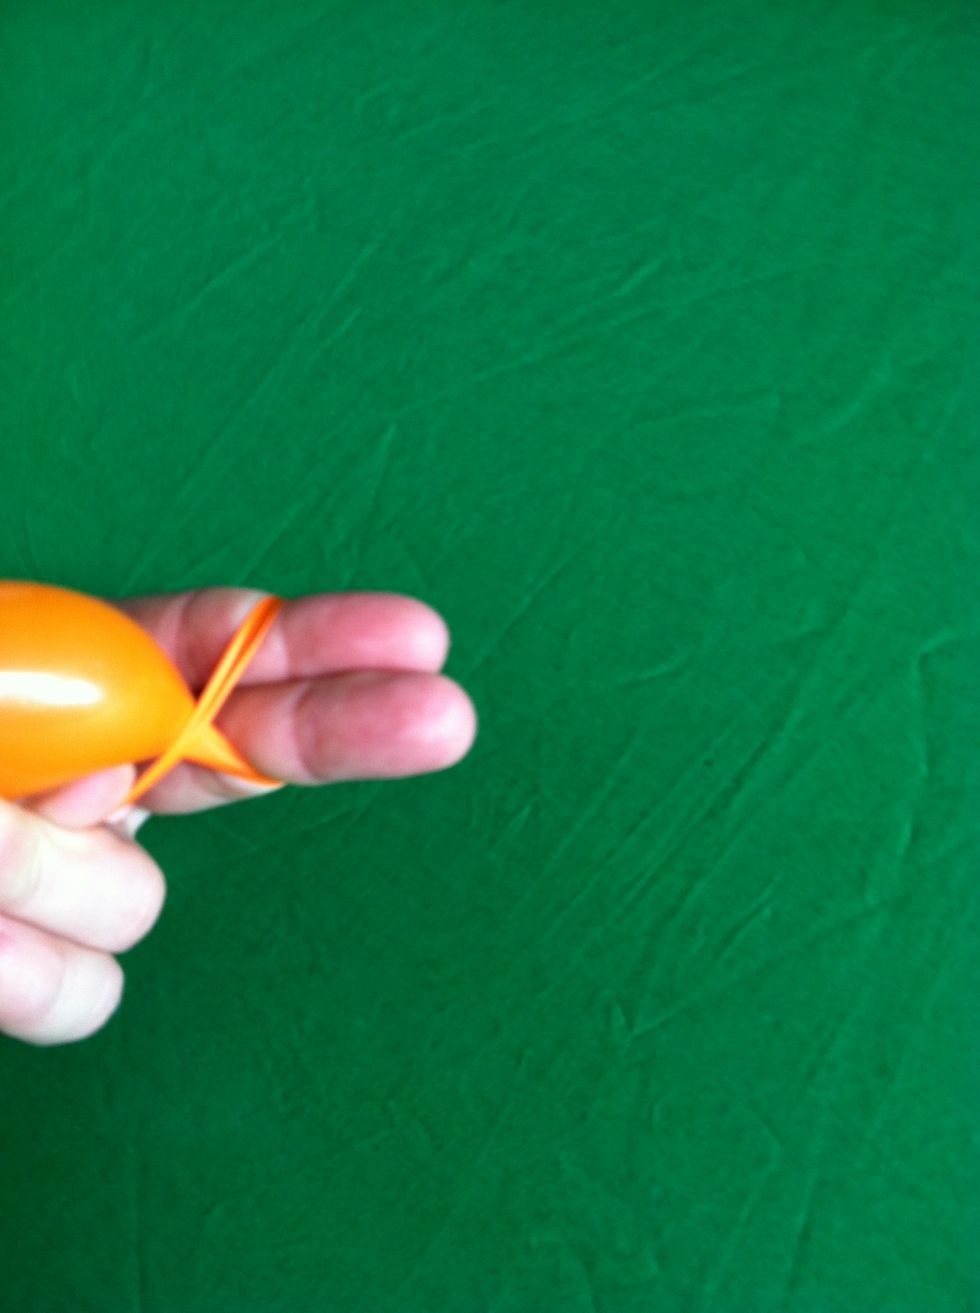
Wrap around middle and pointer fingers, making a cross cross on front of fingers
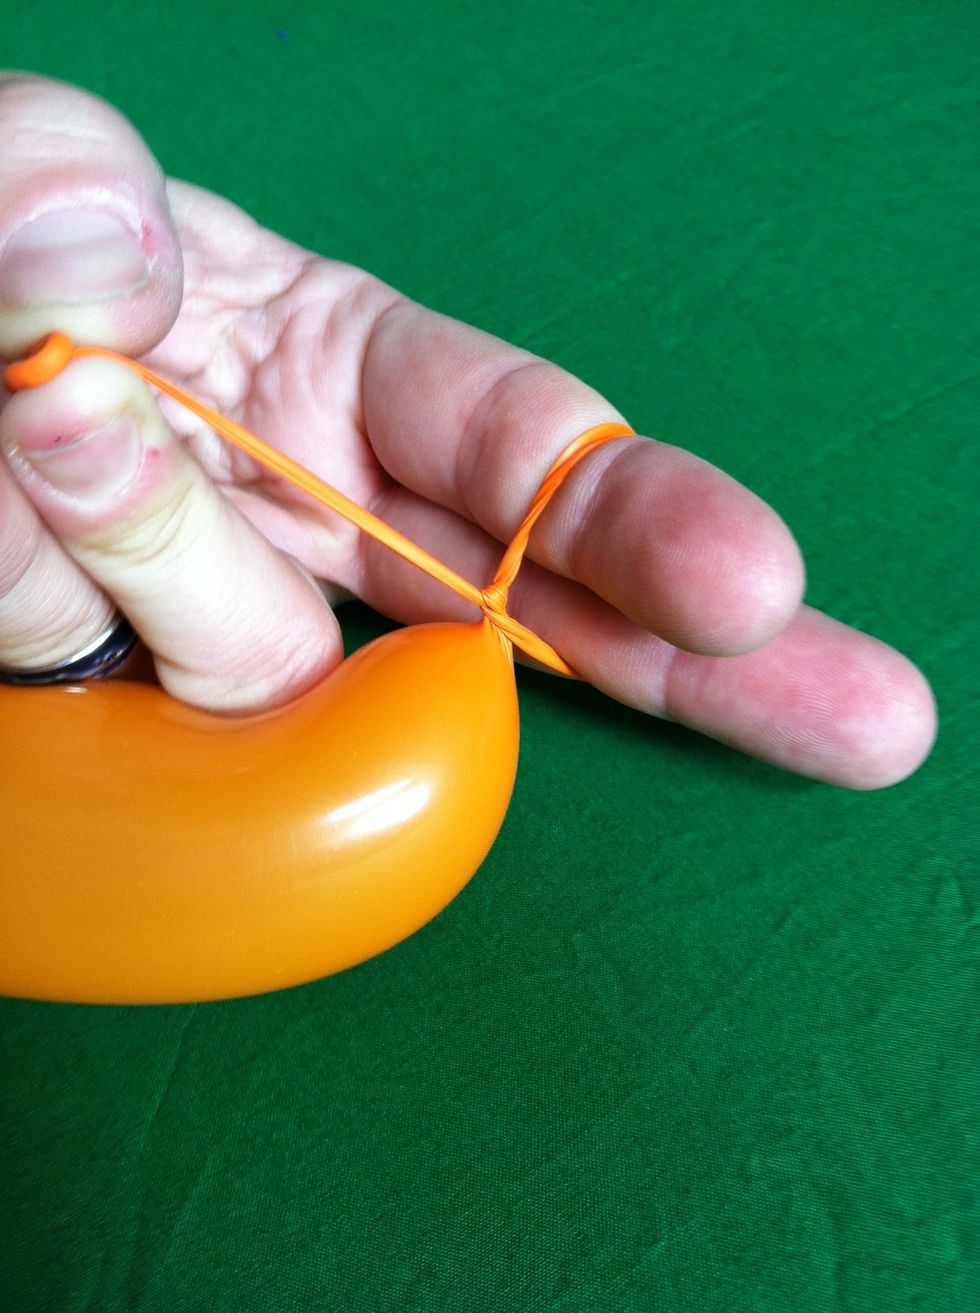
Tuck the nozzle up through the loop you've made and pull up on the nozzle while you take your fingers out.
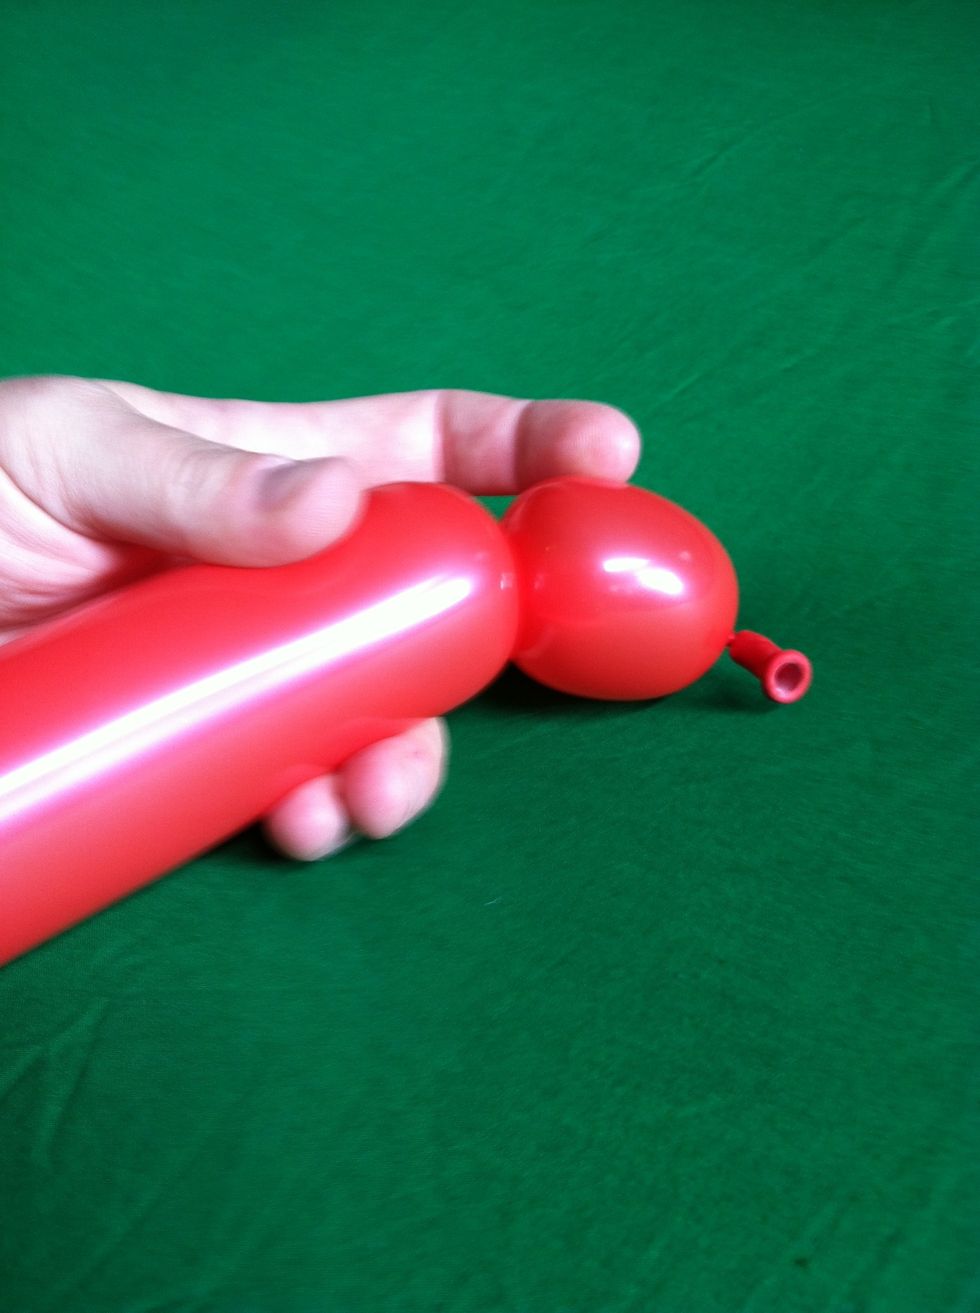
Next lets look at some building blocks or typical bubble types. First of all, always start twisting on the nozzle side of the balloon so the air can move. This is a typical bubble twist
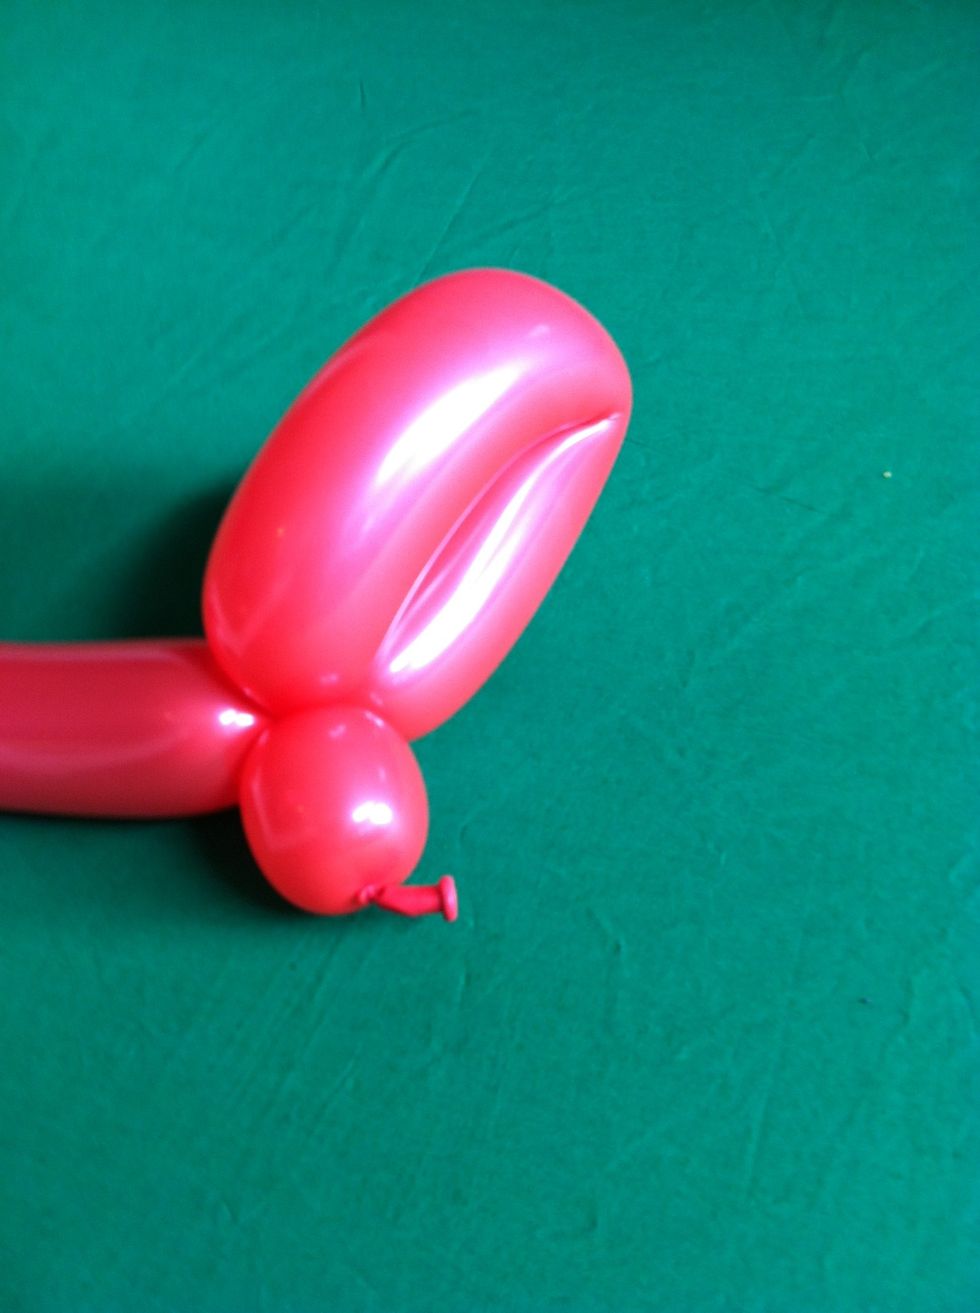
The bubble will not stay until it is locked to another part of the balloon. This is a typical loop twist
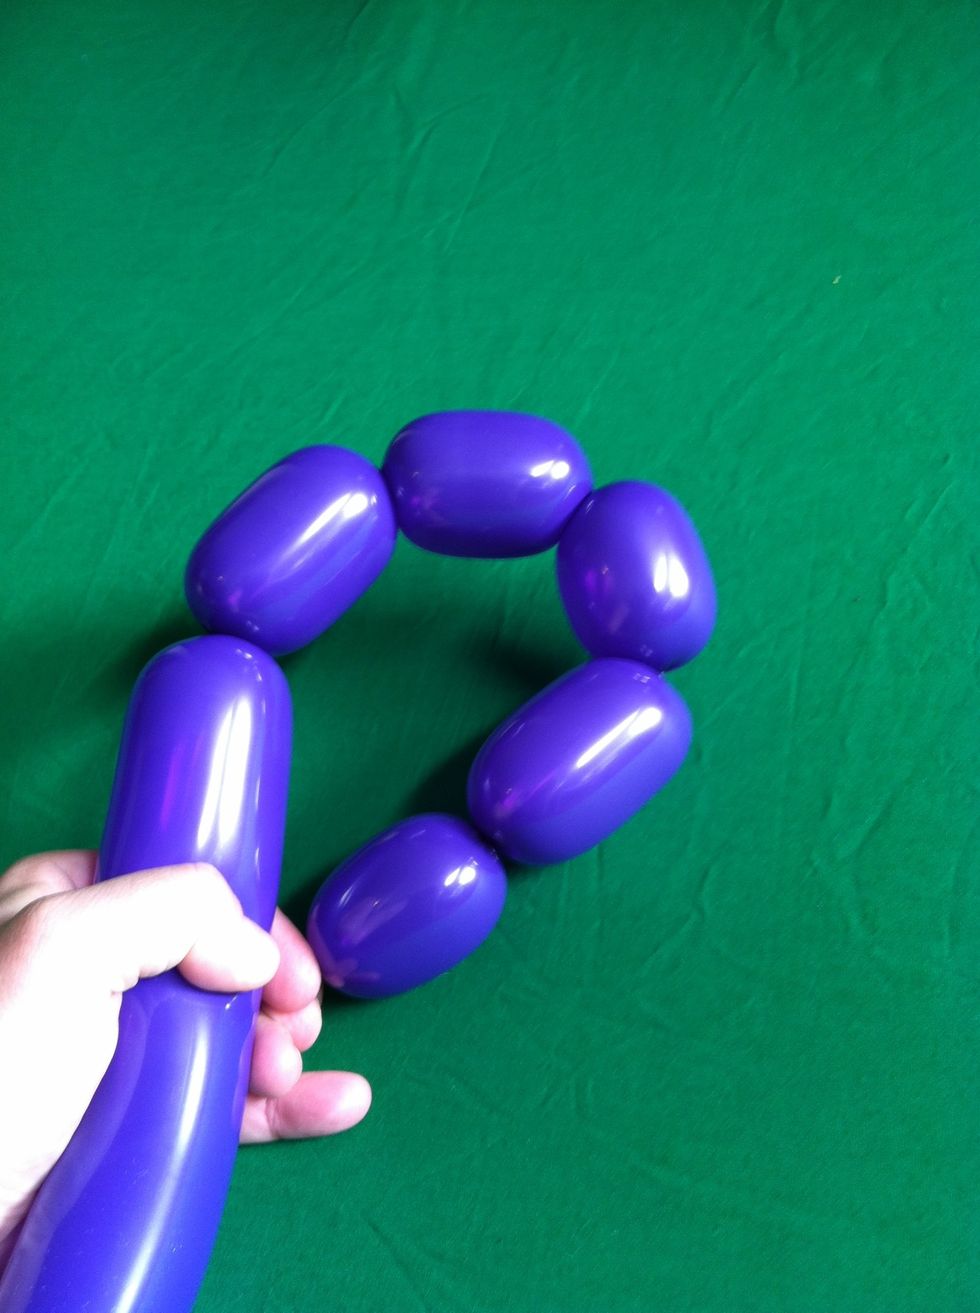
This is a string of bubbles. You must always maintain control of the first and last bubble or the whole string will unravel
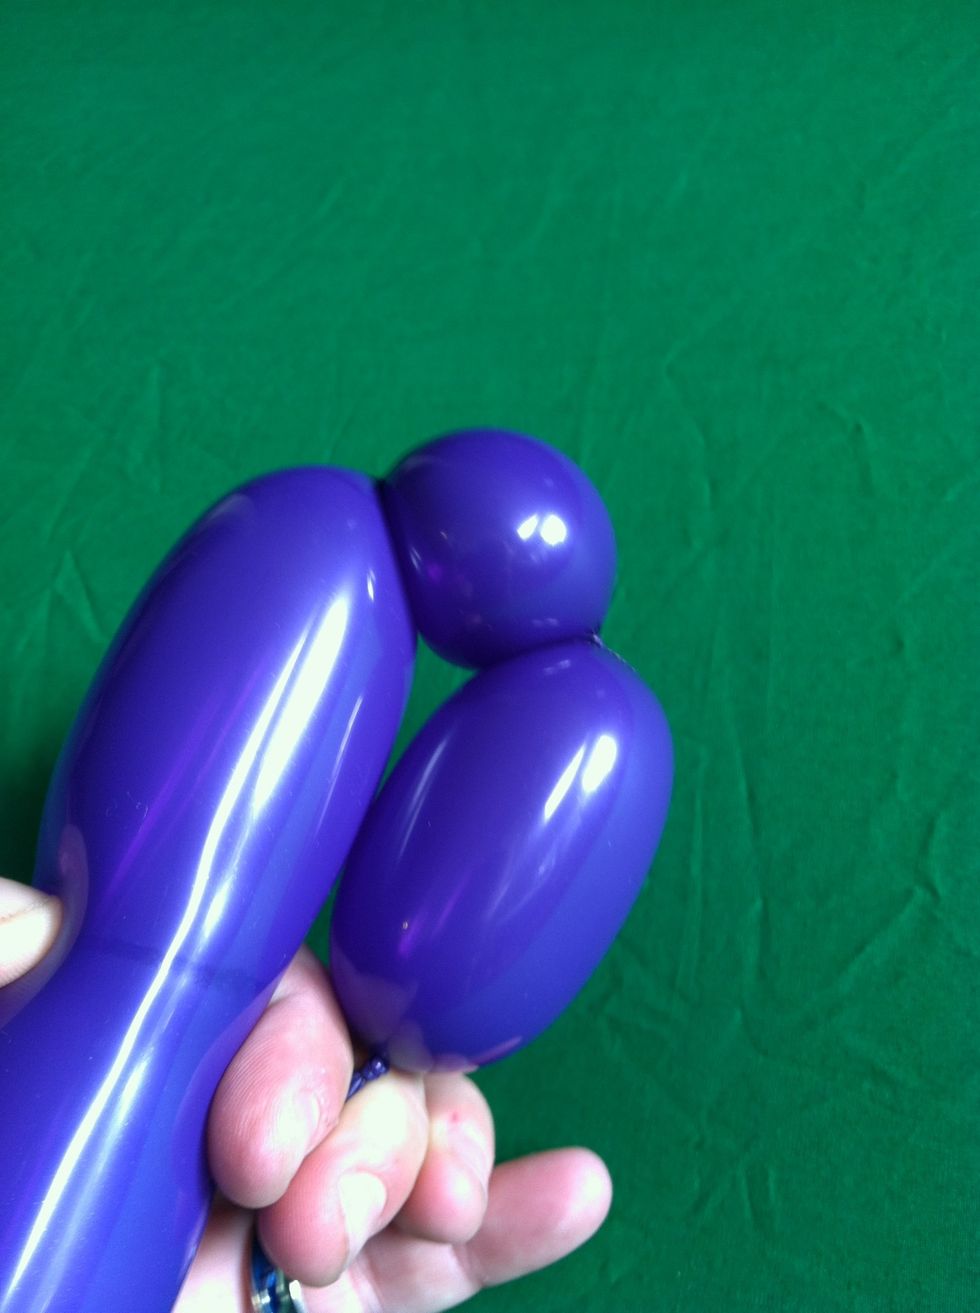
This is a three bubble string, and the beginning of a pinch twist
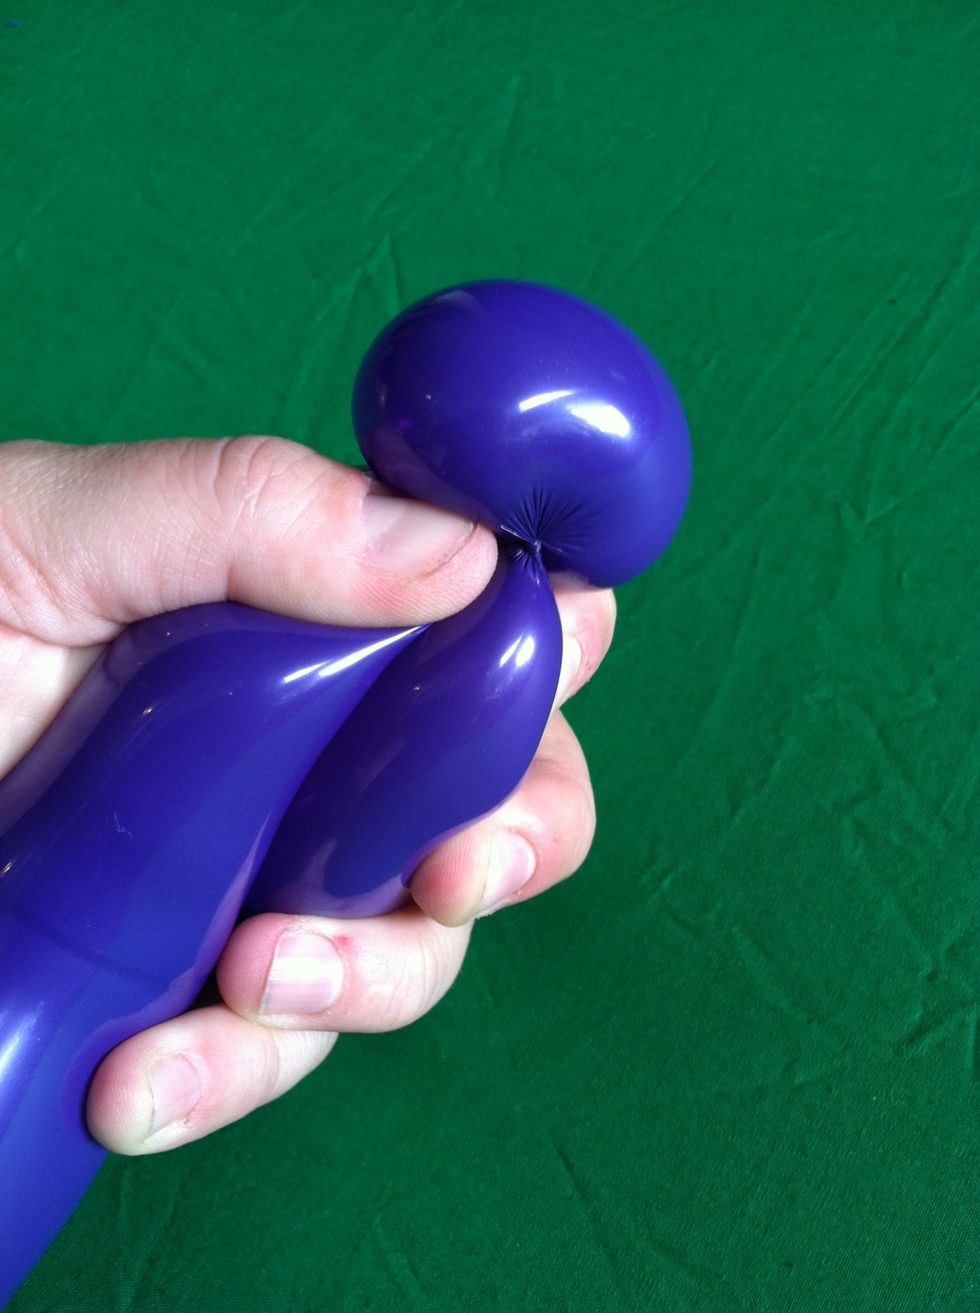
To make the pinch twist, squeeze the two sides of the bubble together while you pull up and twist.
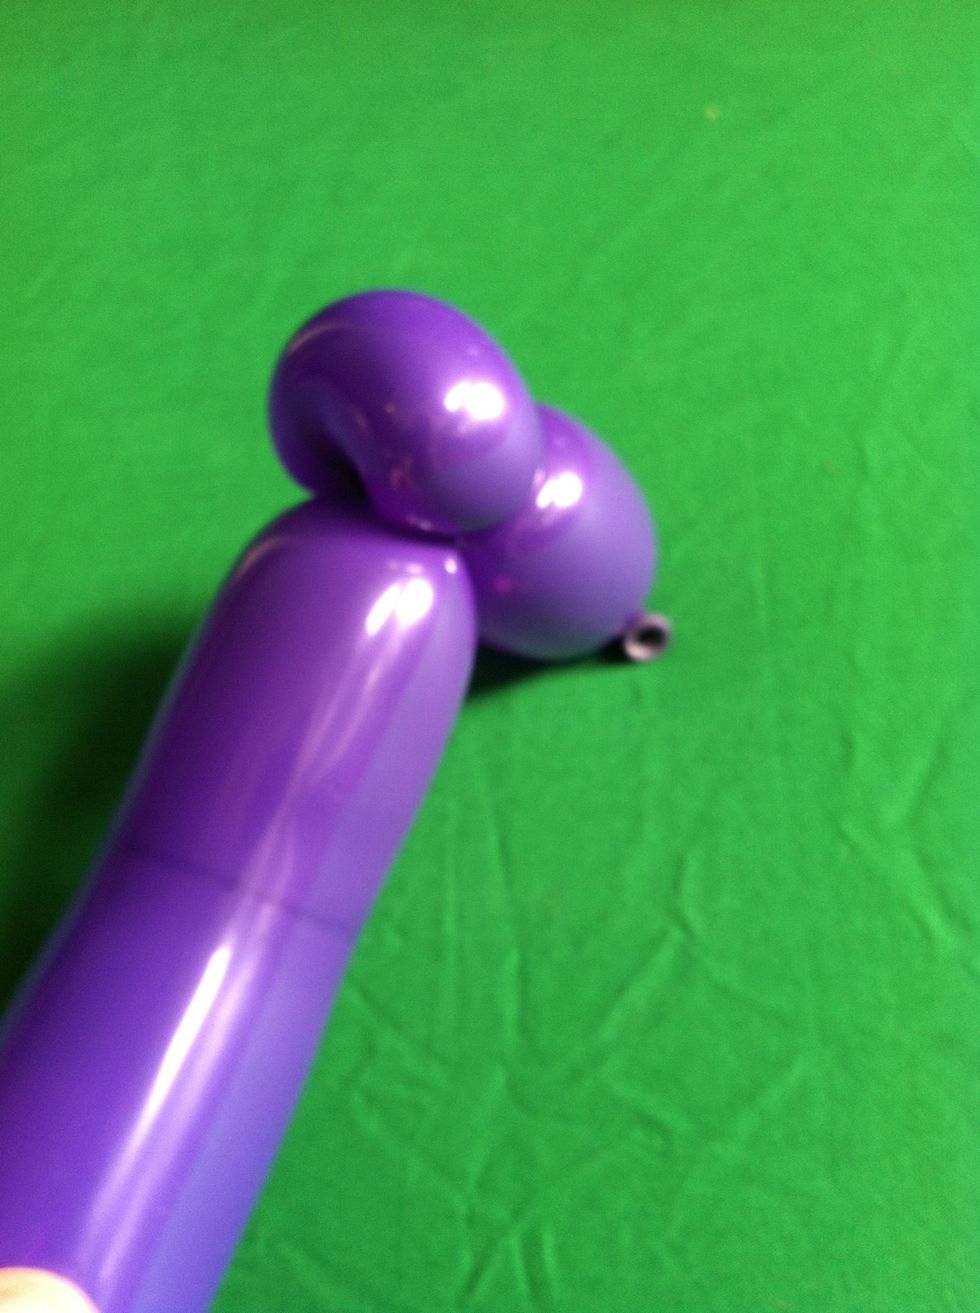
Like so. This is one of the most important twists. It's used to attach one balloon to another, to change the direction of a balloon, to stabilize and make angles
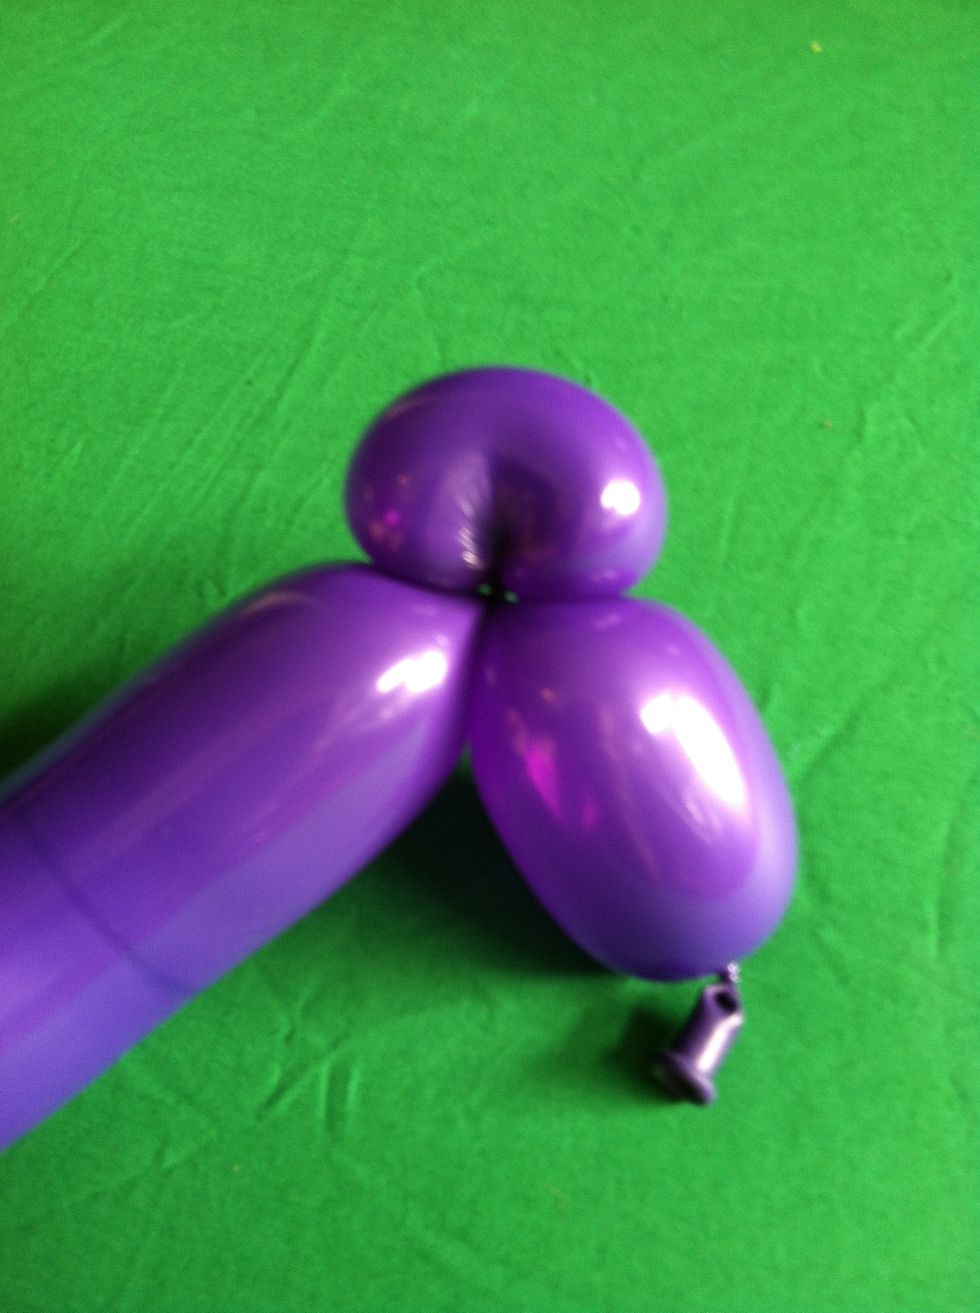
Another view. Sometimes it's called a bean twist or an ear twist
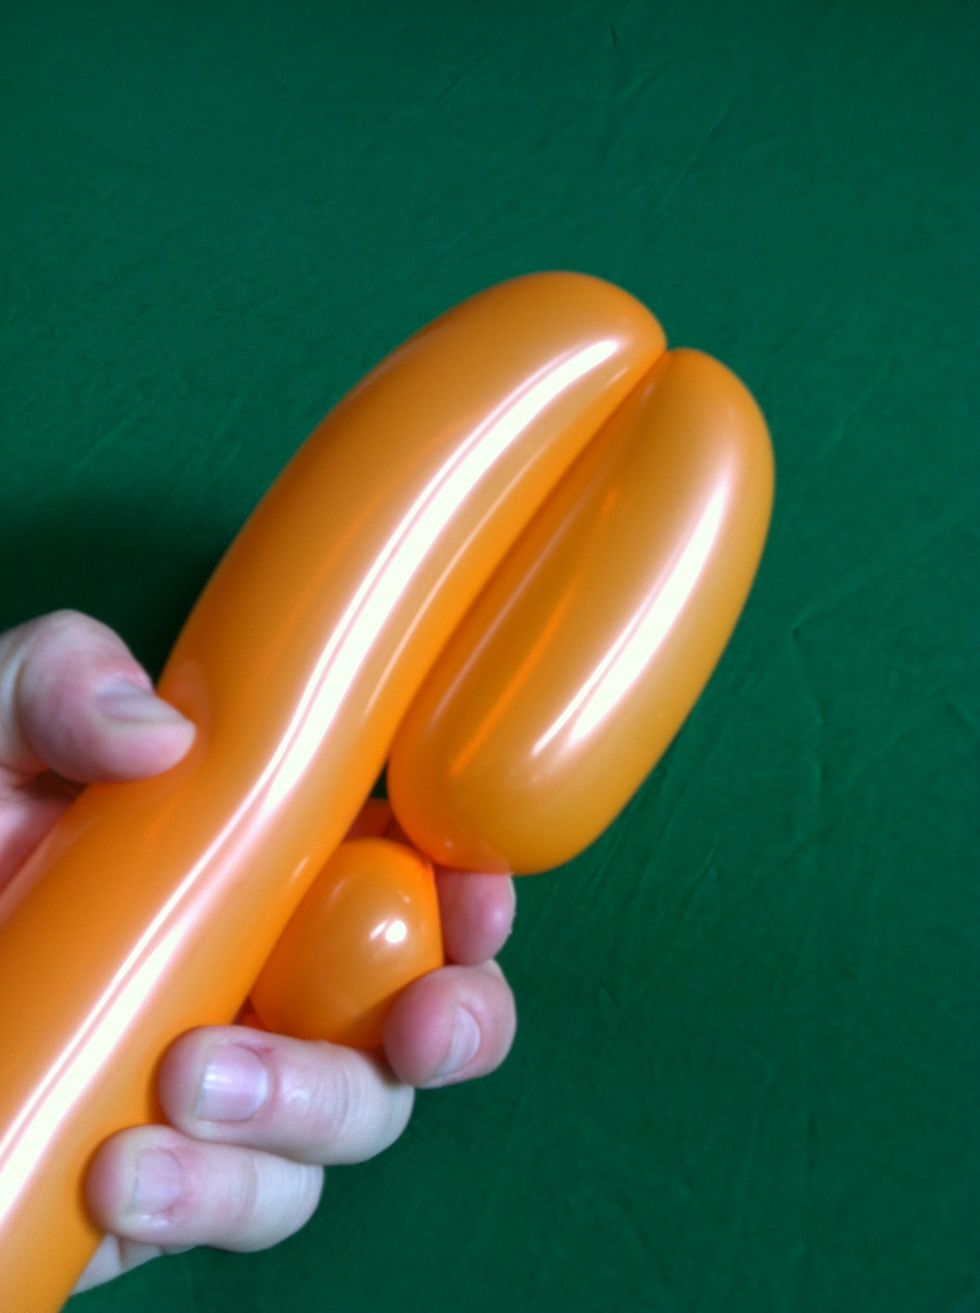
This is the basics of a "dog leg" twist- two bubbles the same size folded onto each other
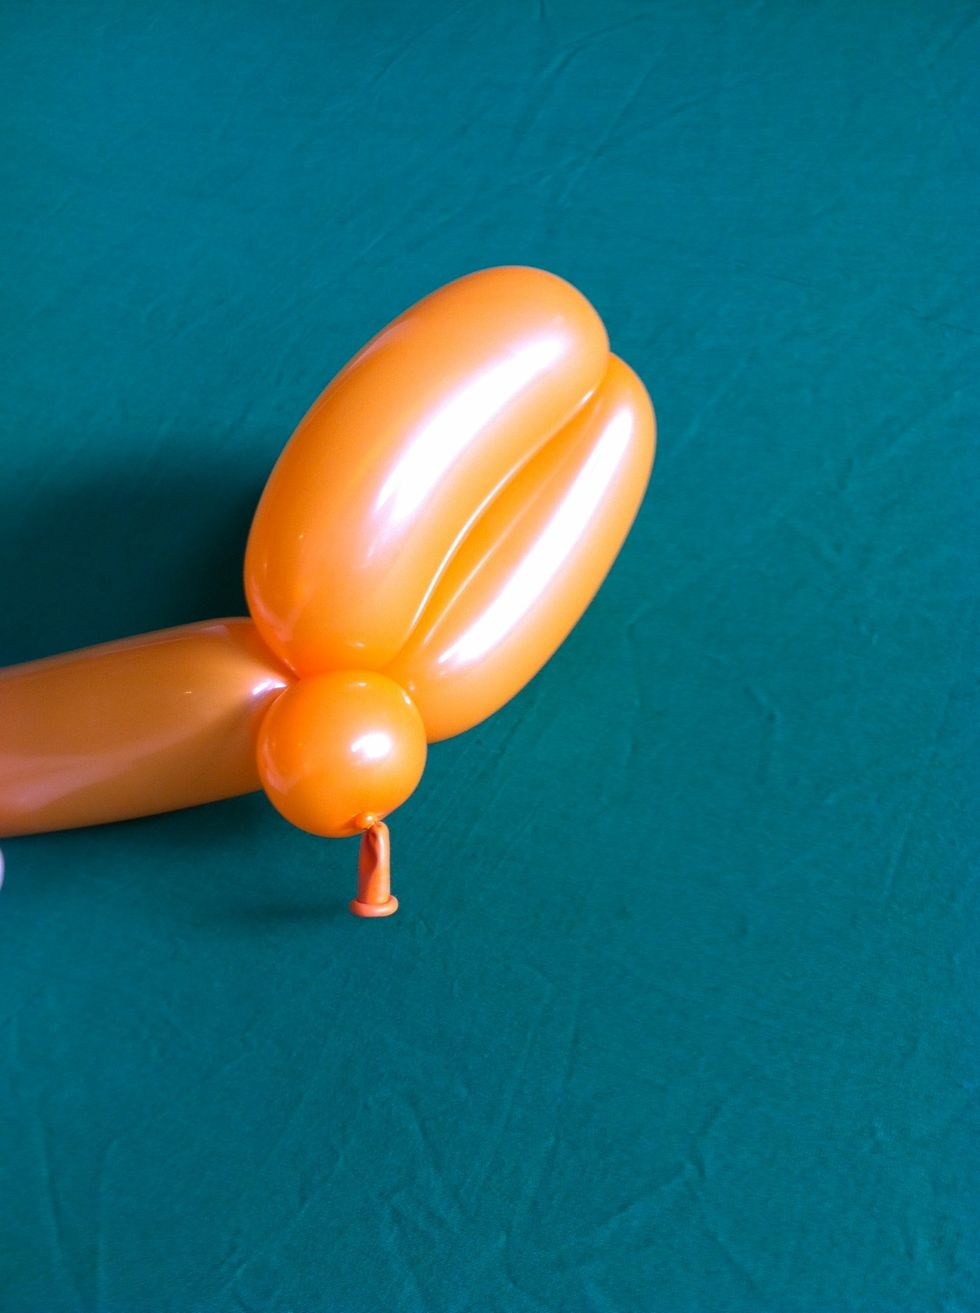
And twisted together
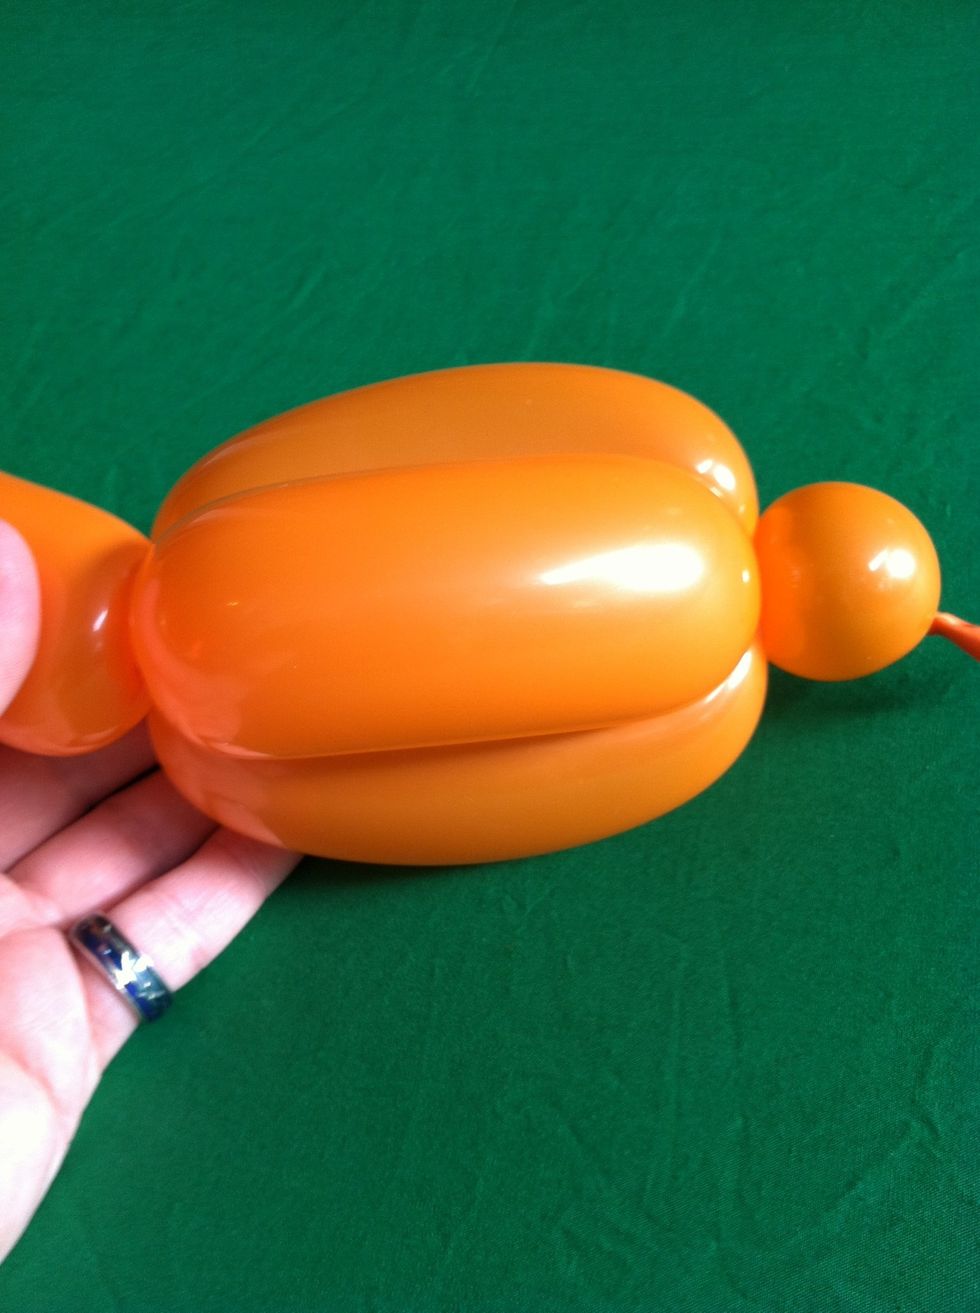
If you then take the stick and pull it down to the other end of the bubble pair, and twist a bubble slightly smaller than the bubble pair....
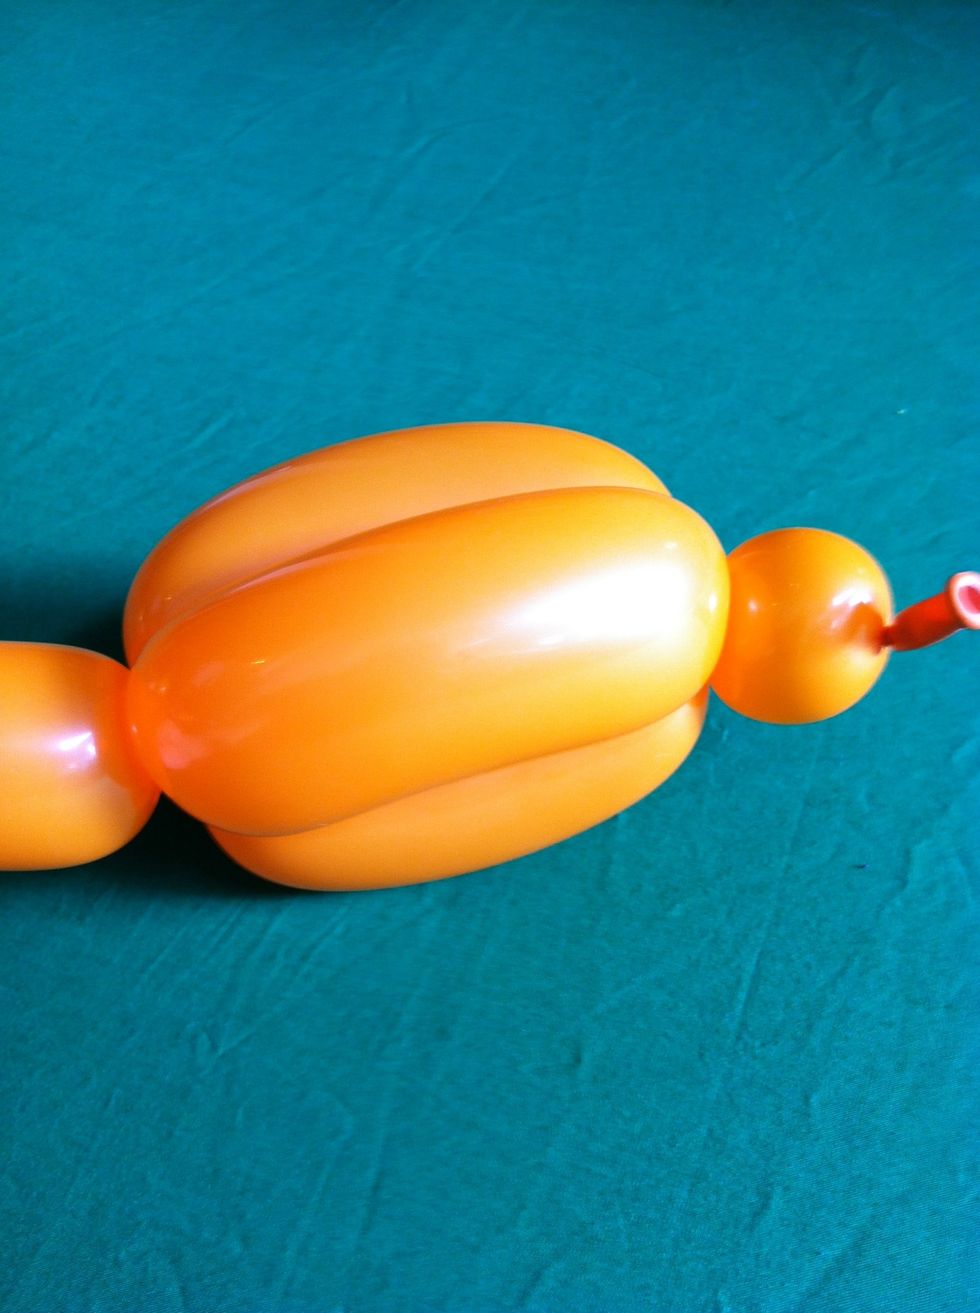
And gently roll the bubble pair around the third bubble, then you will have a bird body twist or 3- bubble roll- through
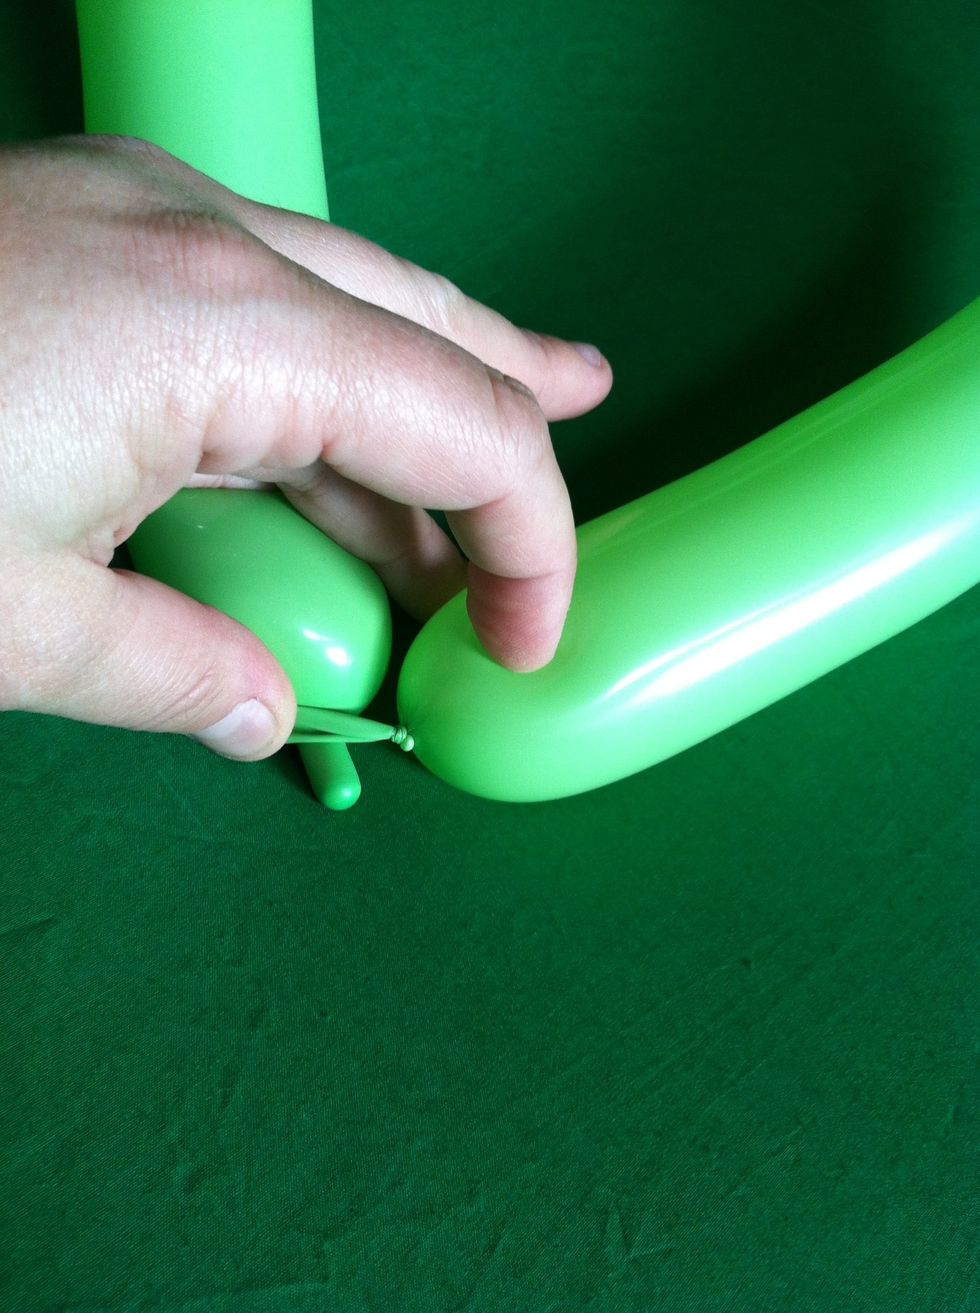
Sometimes you will need to tie balloons in a circle. Just tie a double knot connecting one end of the balloon to the other
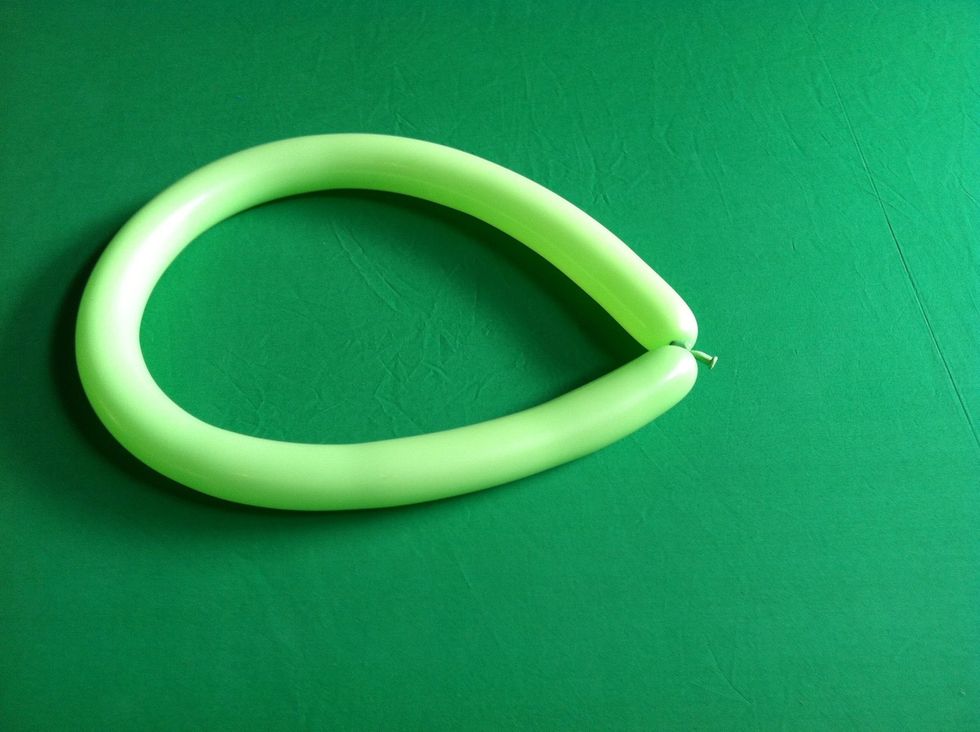
Like this
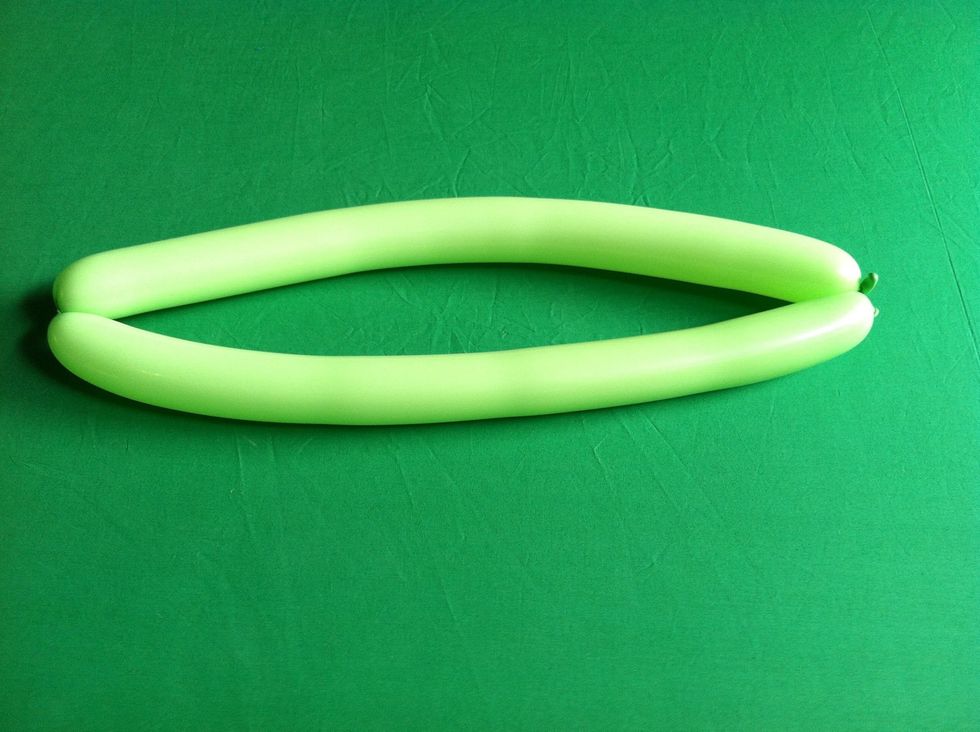
Then find the center, squeeze and rotate one side so that it looks like a pair of lips
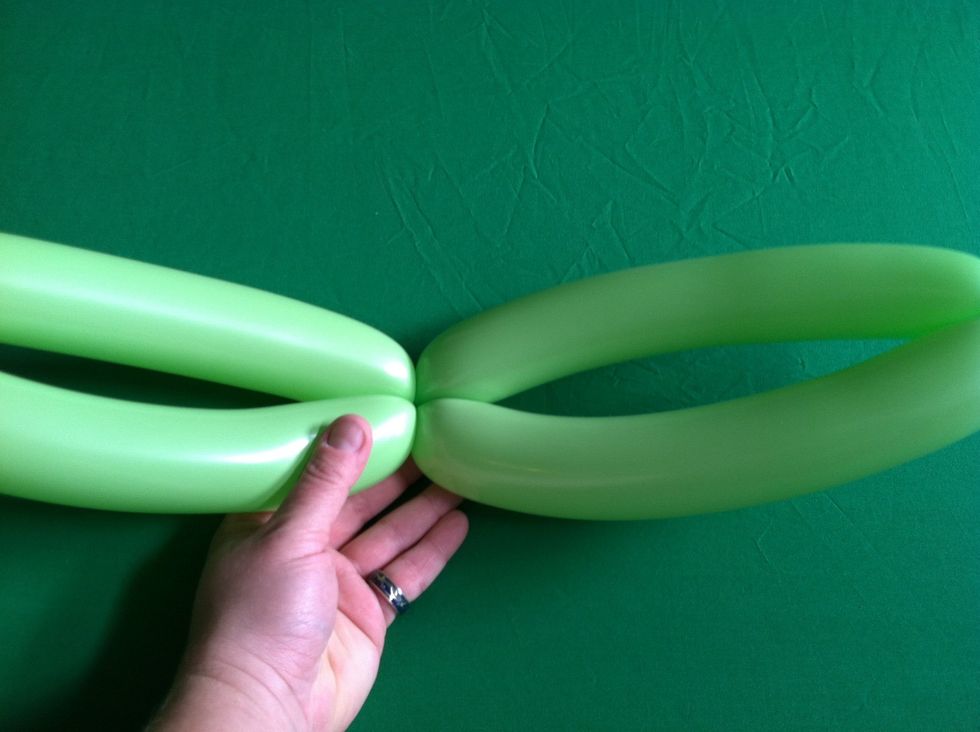
And fold it over from the center and twist
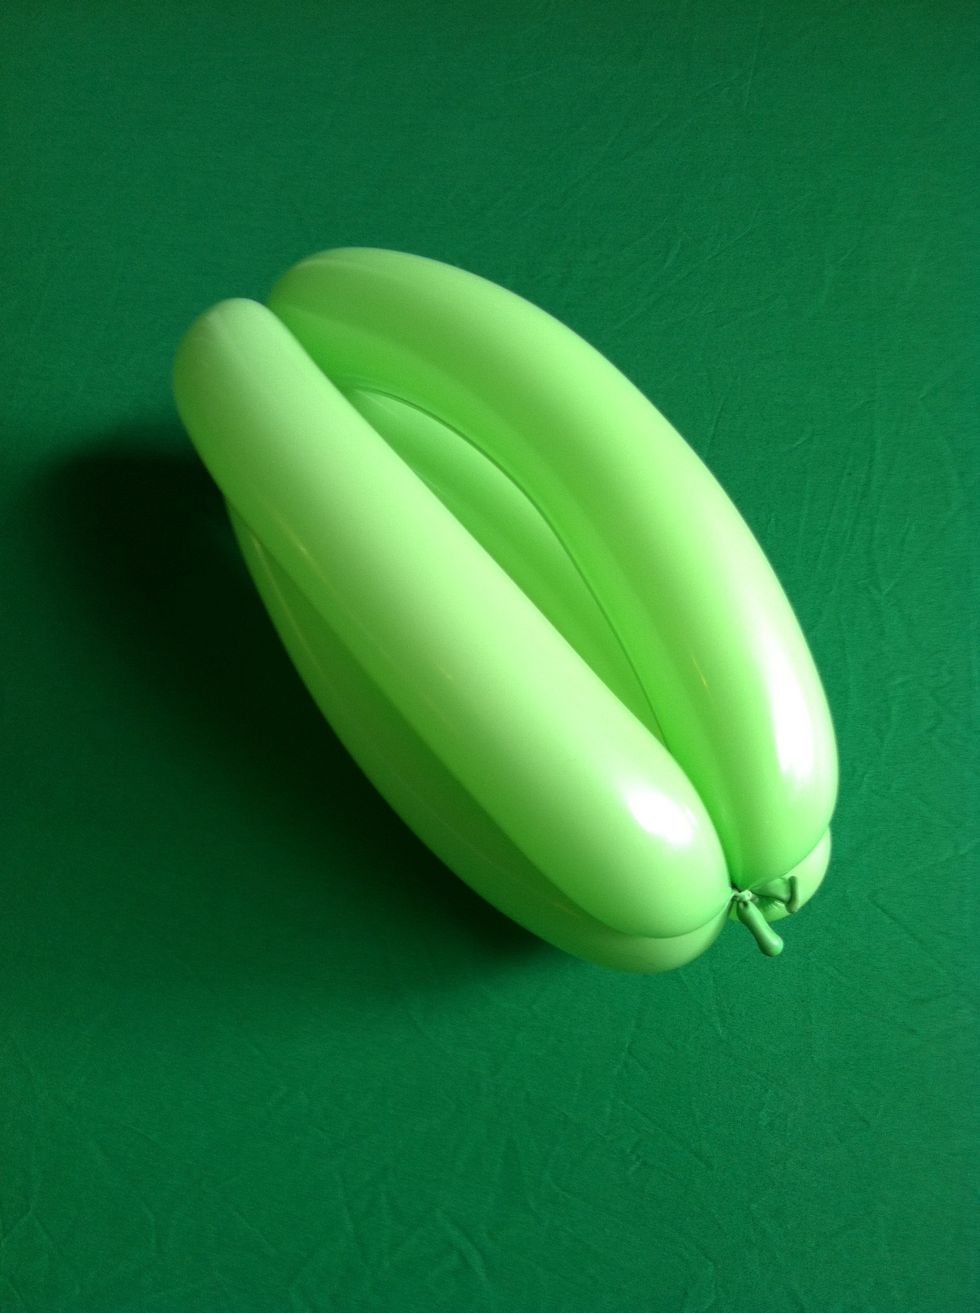
And then tie one end to the other. Now you have a football twist or a banana twist
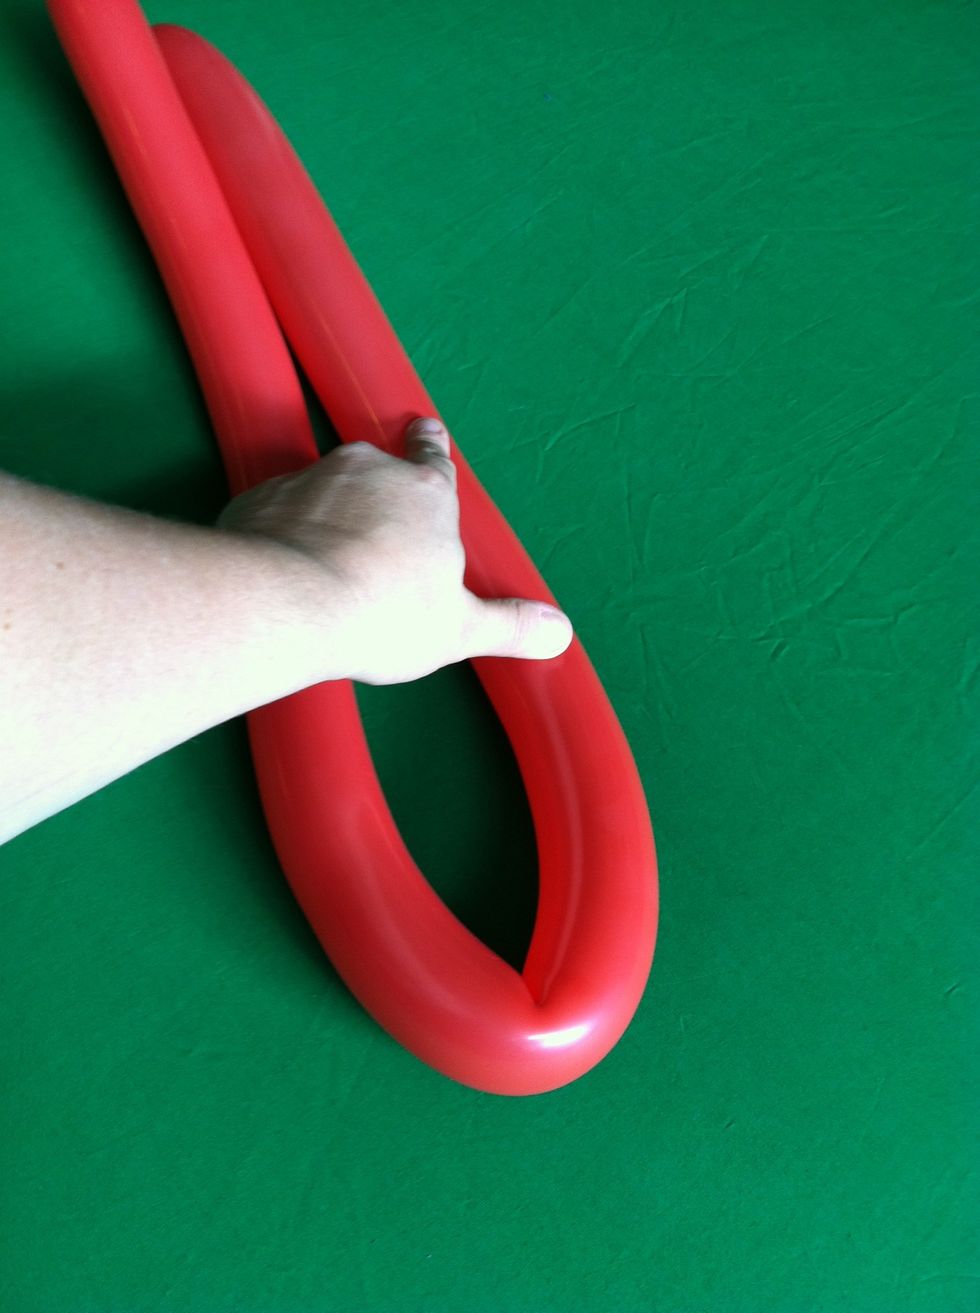
if you take a fully inflated balloon (let a bit of air out before tying to release some of the pressure- this is called burping the balloon)
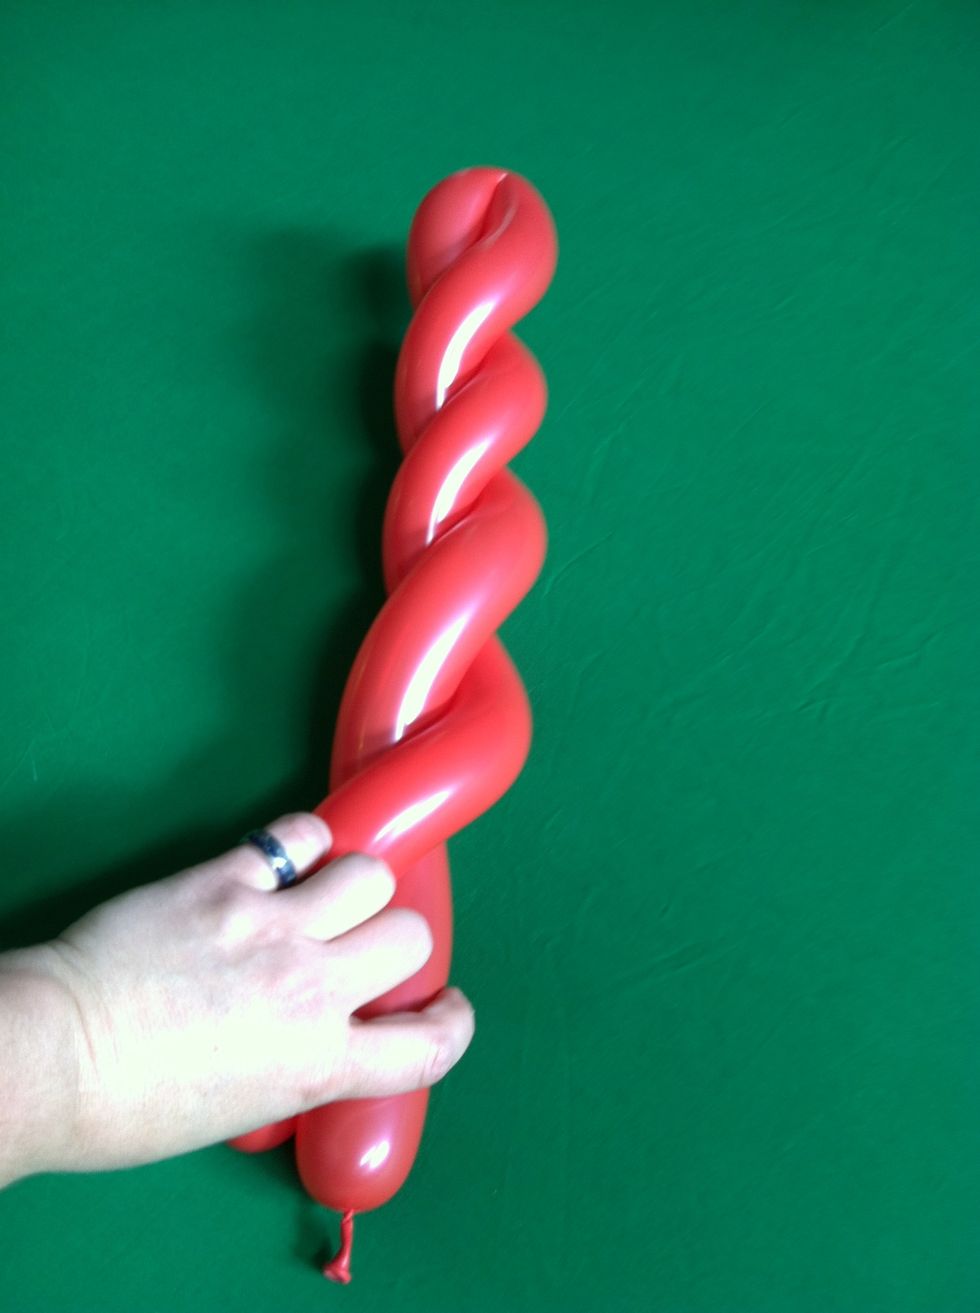
Now spiral the balloon around itself
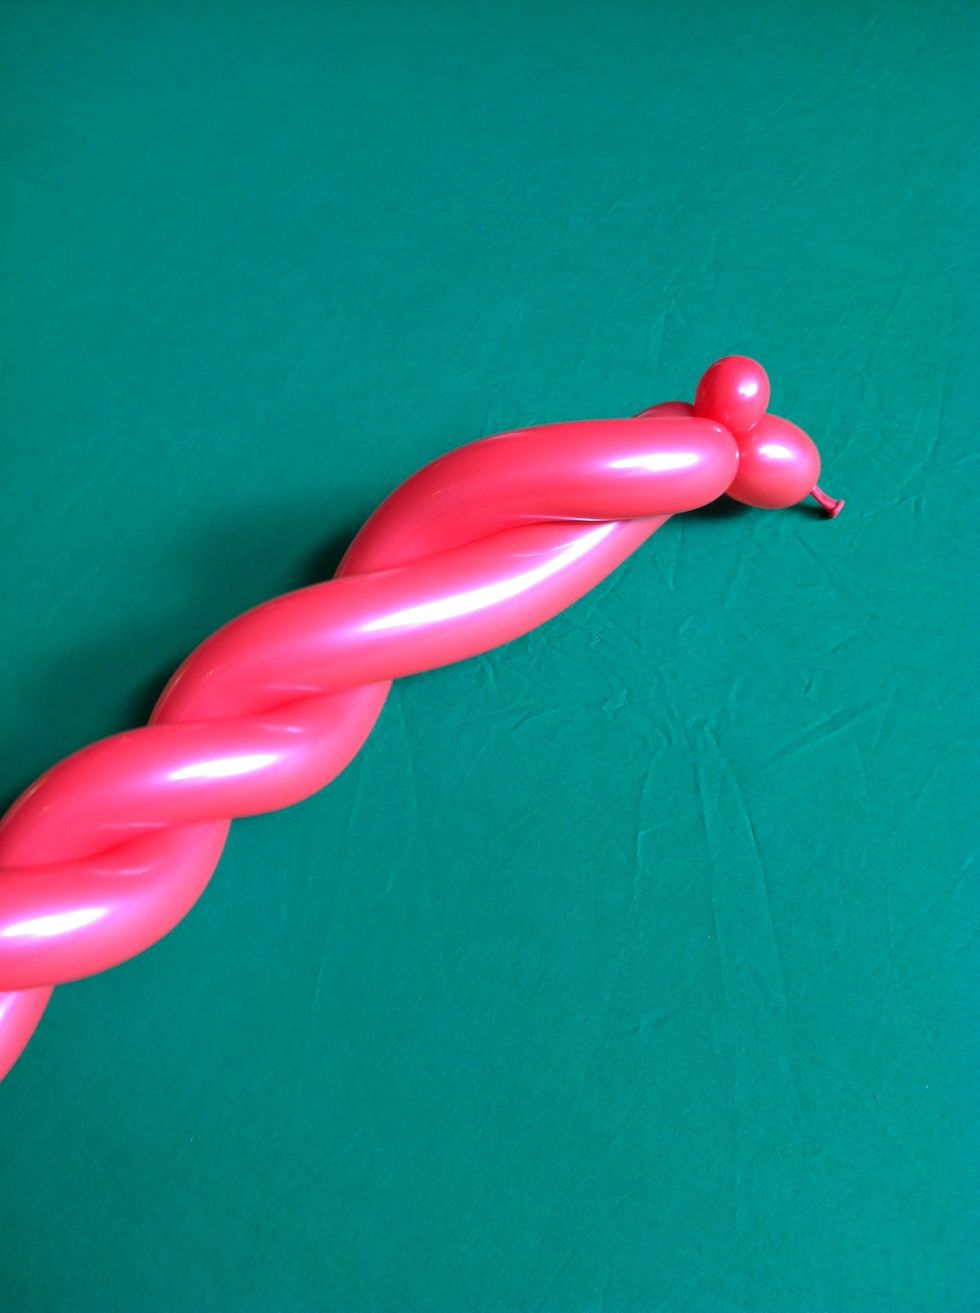
And twist the bubbles together to close it
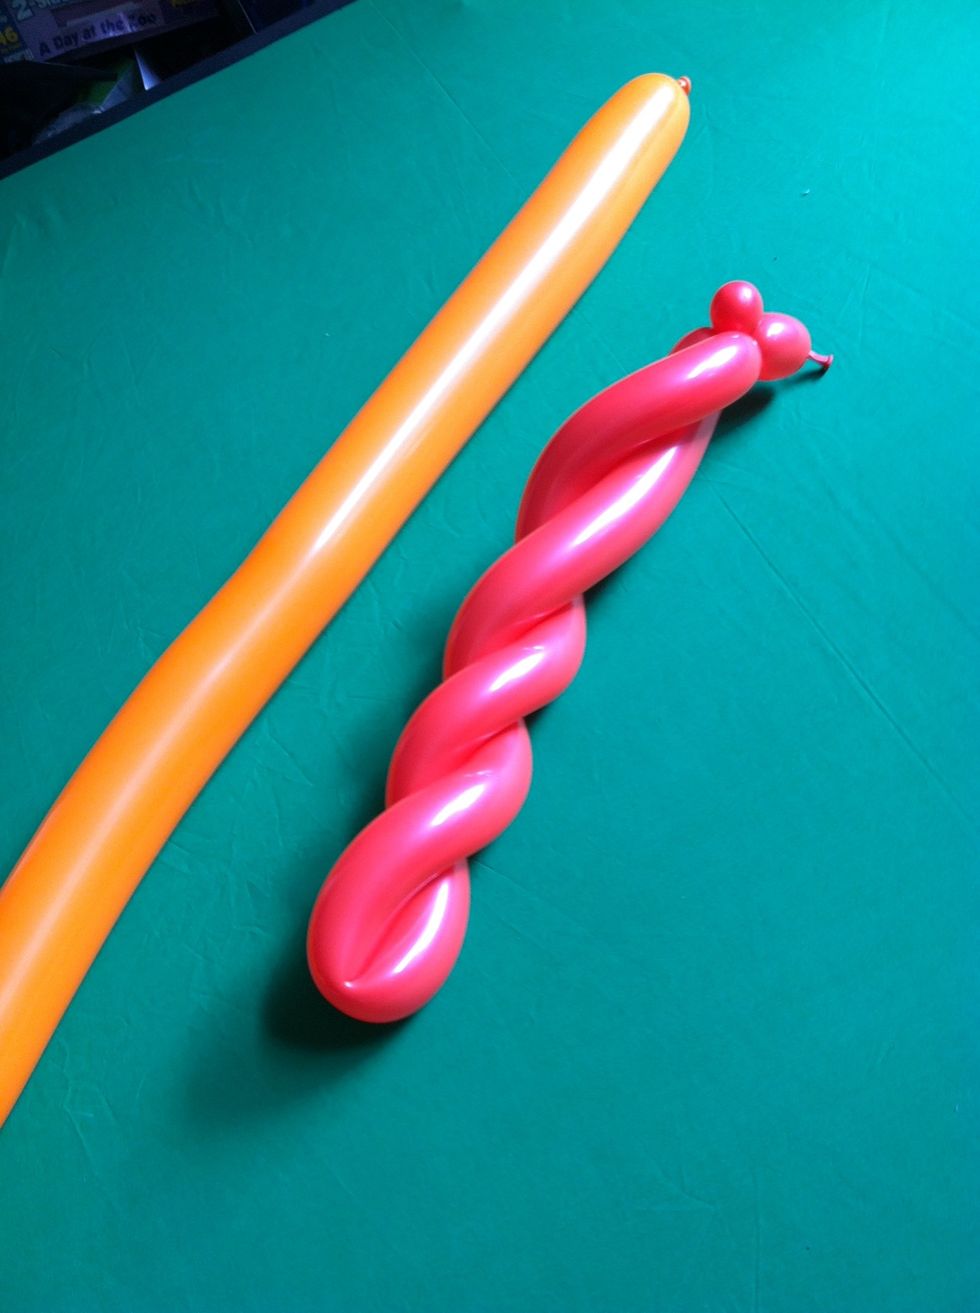
Now take a fully inflated and burped 350 balloon
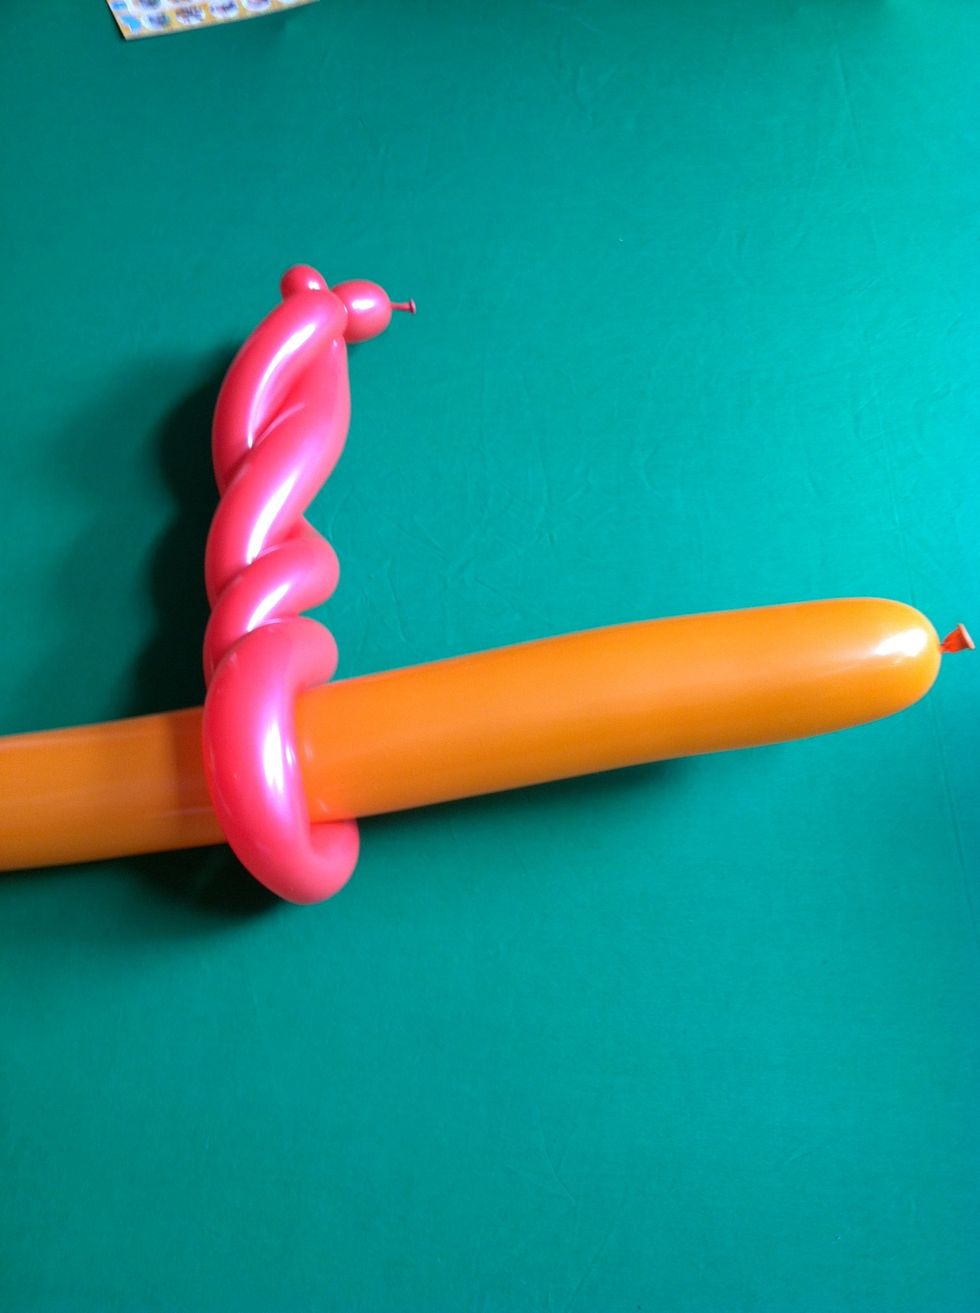
And put it through the spiral at the bottom of the twisted balloon
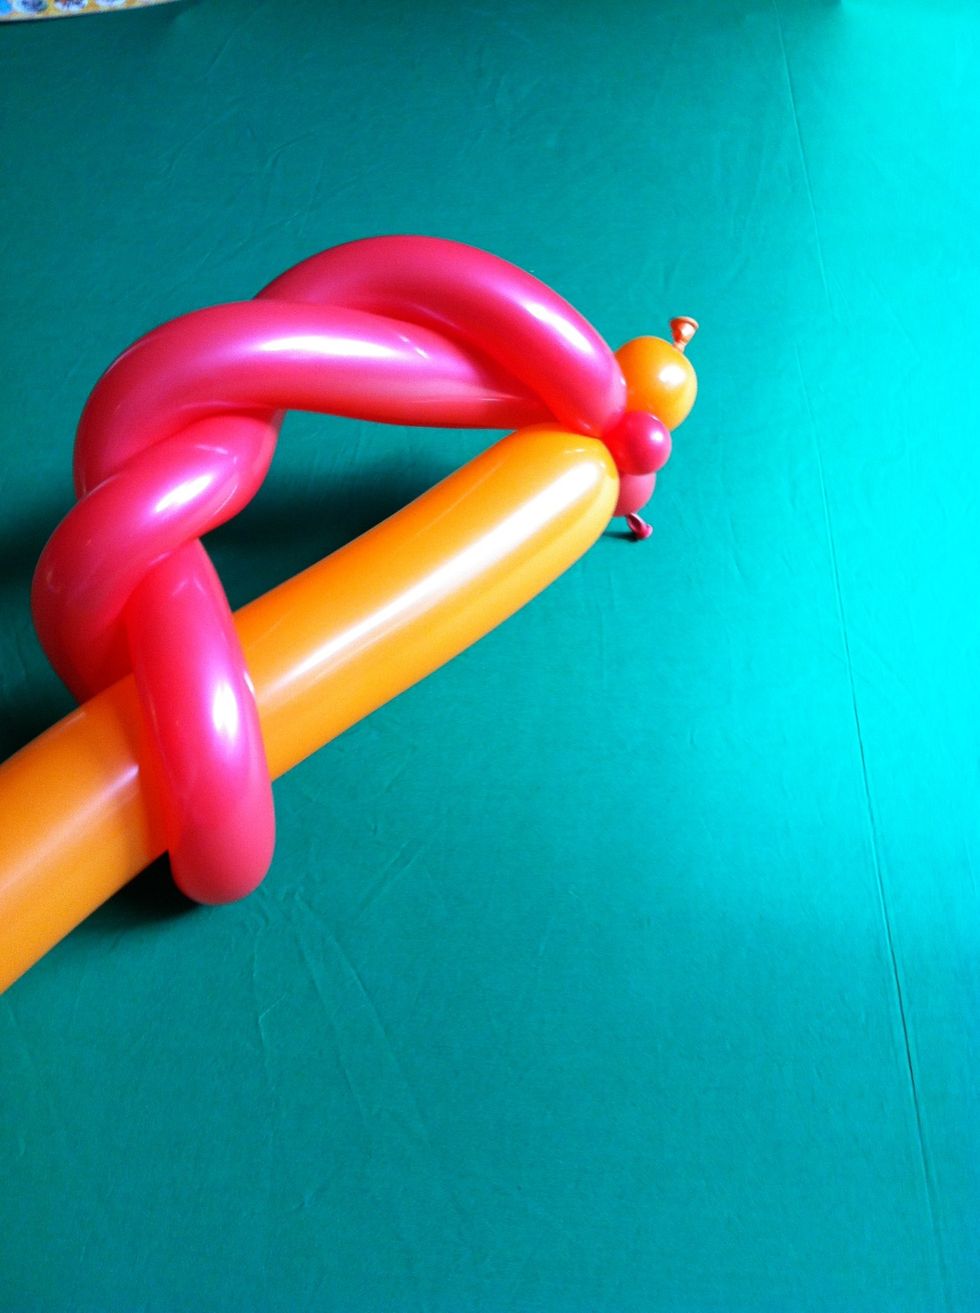
And twist off a bubble at the top to attach to the bubbles at the top of the spiral
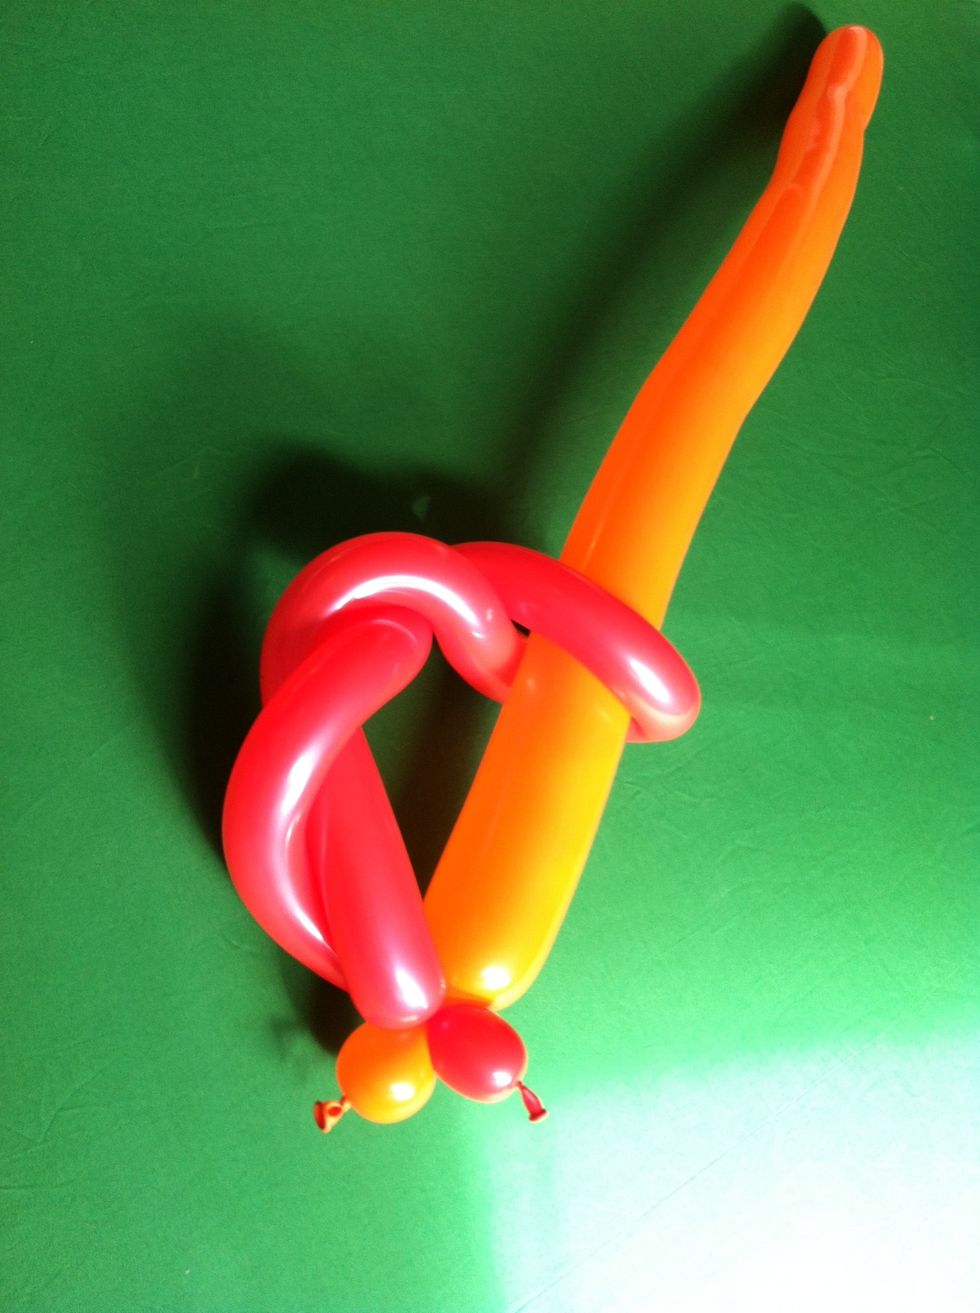
And you have a giant sword
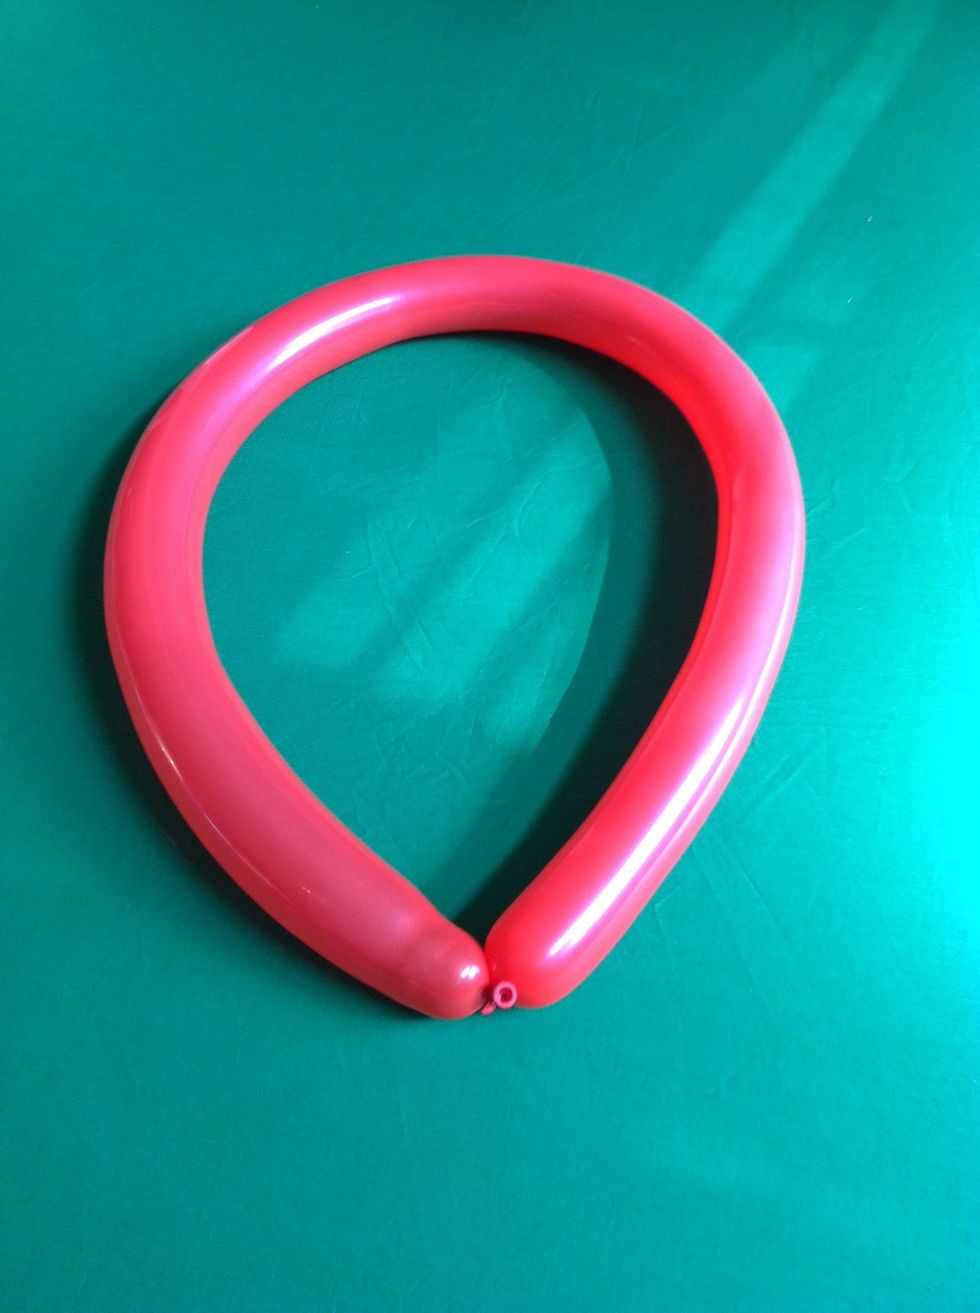
If you want make a heart balloon, tie the balloon in a circle
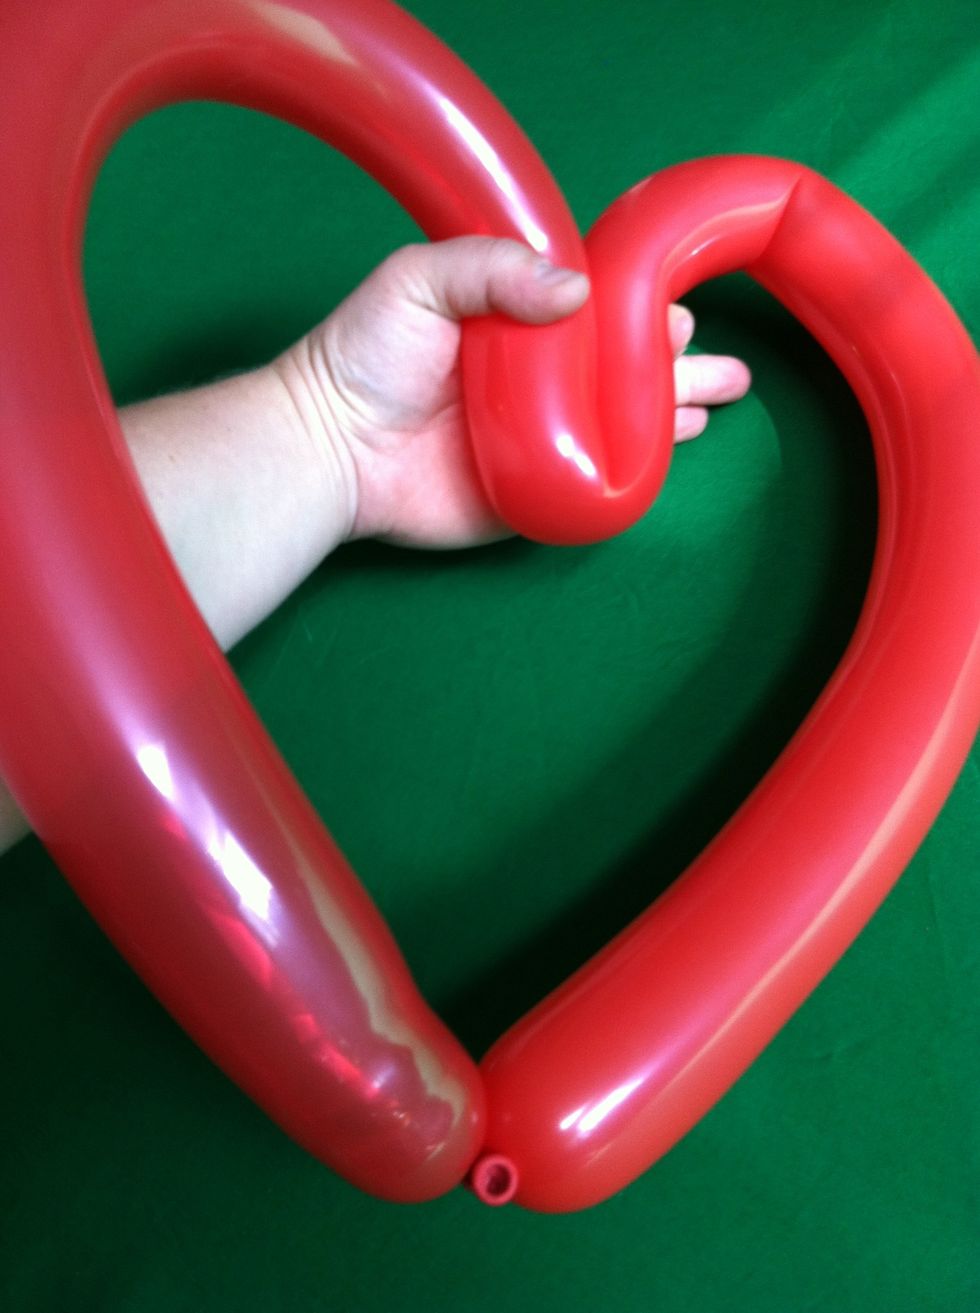
And bring the center of the balloon into itself and squeeze
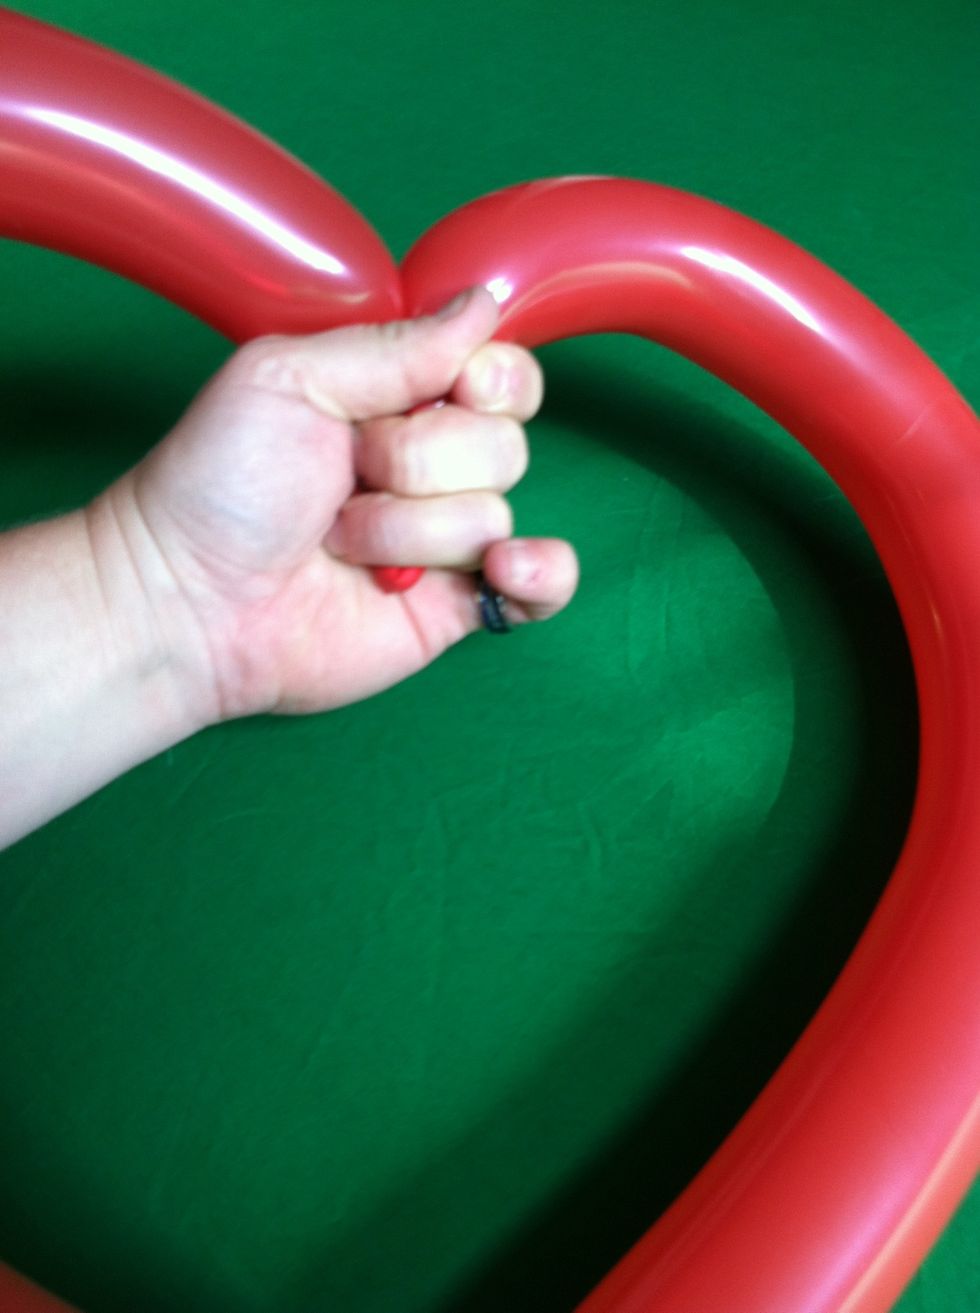
Let all the air out of the center and then slowly let it back in. This will shape the balloon
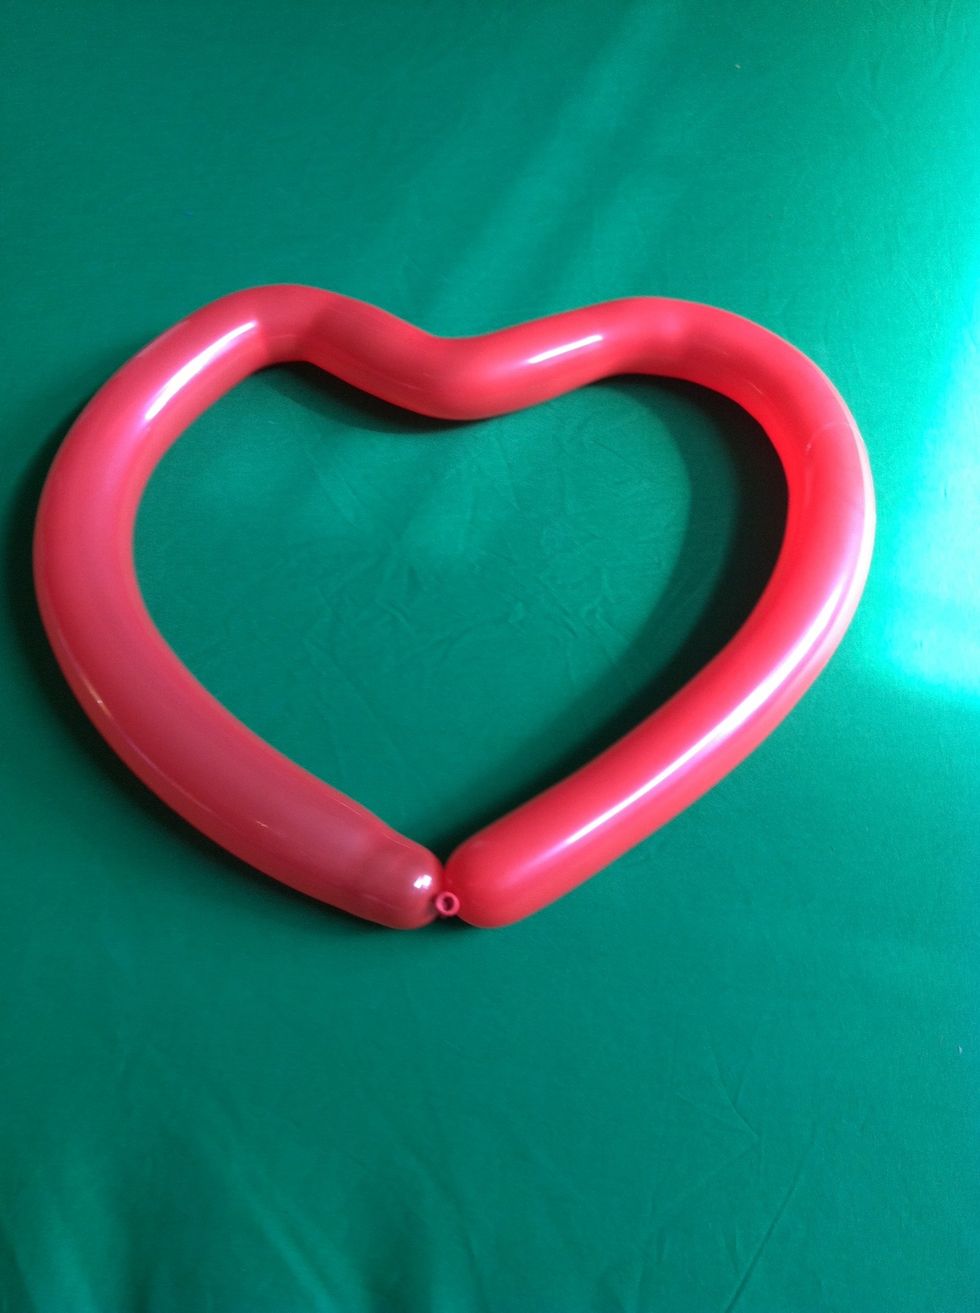
And now you have a heart
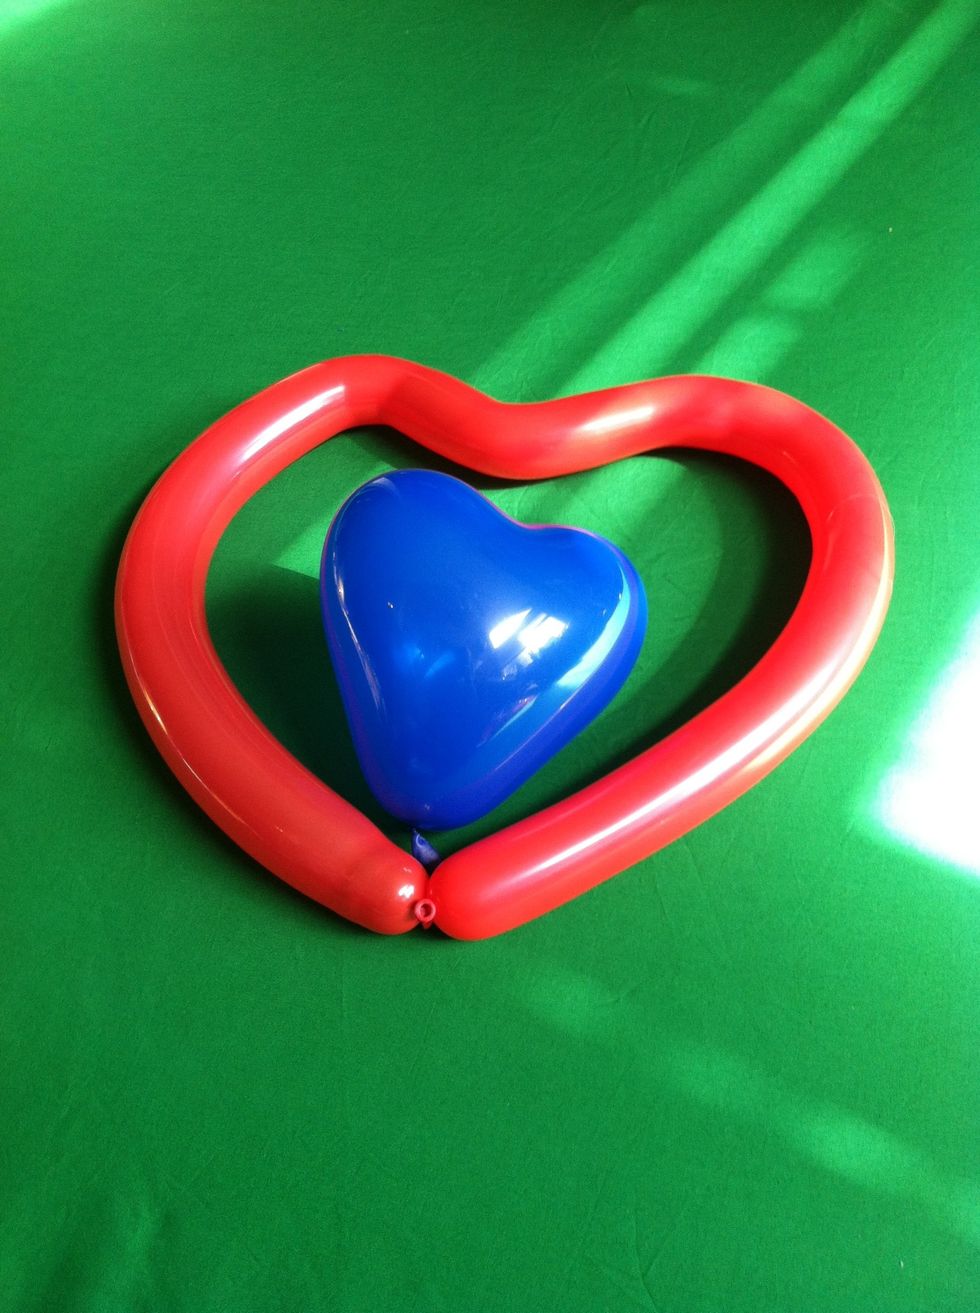
Or you could just use the heart shaped balloon
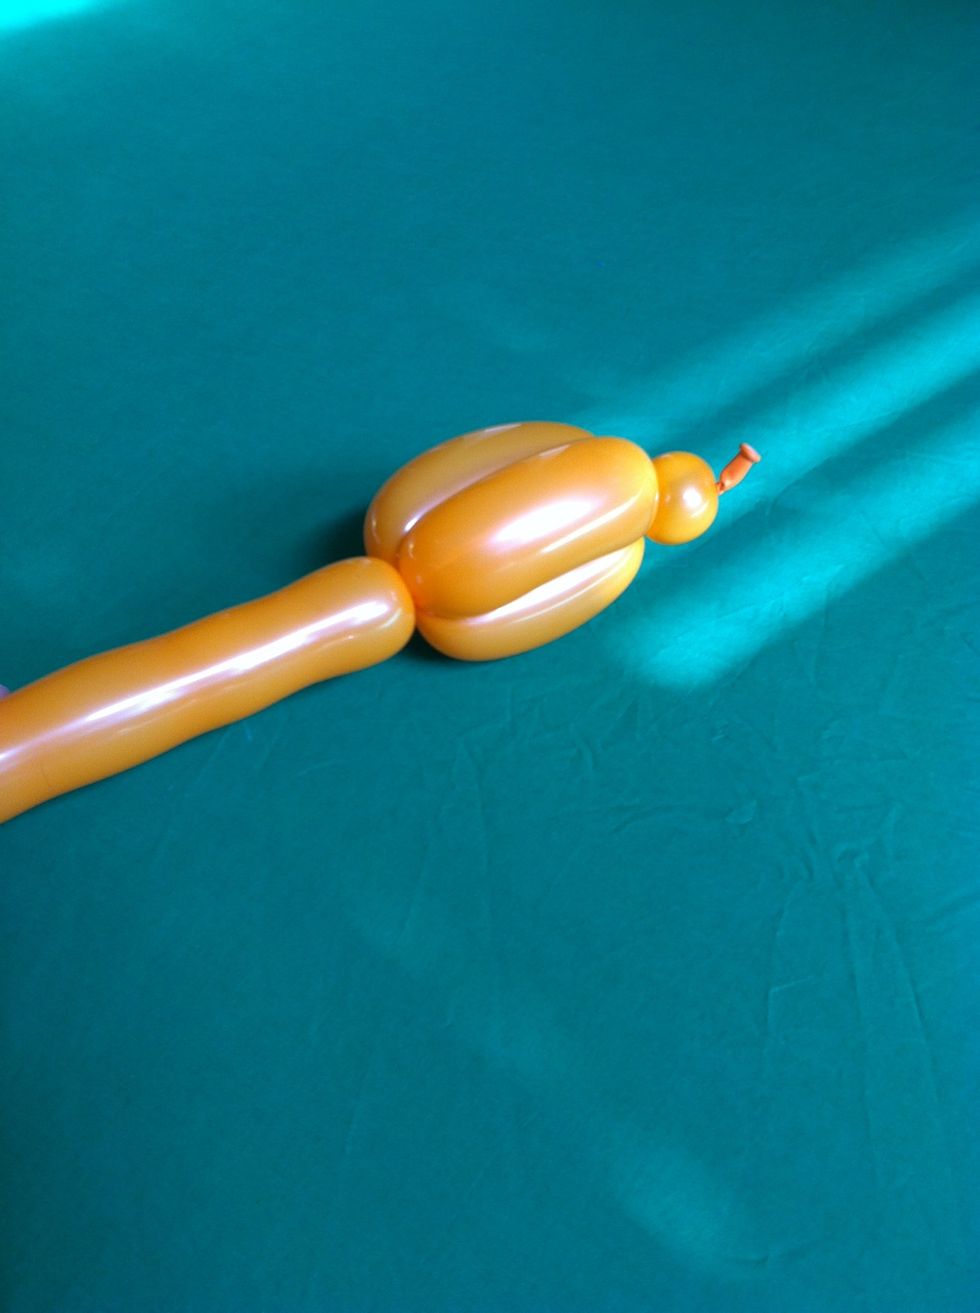
If you take a bubble, and then a bird body
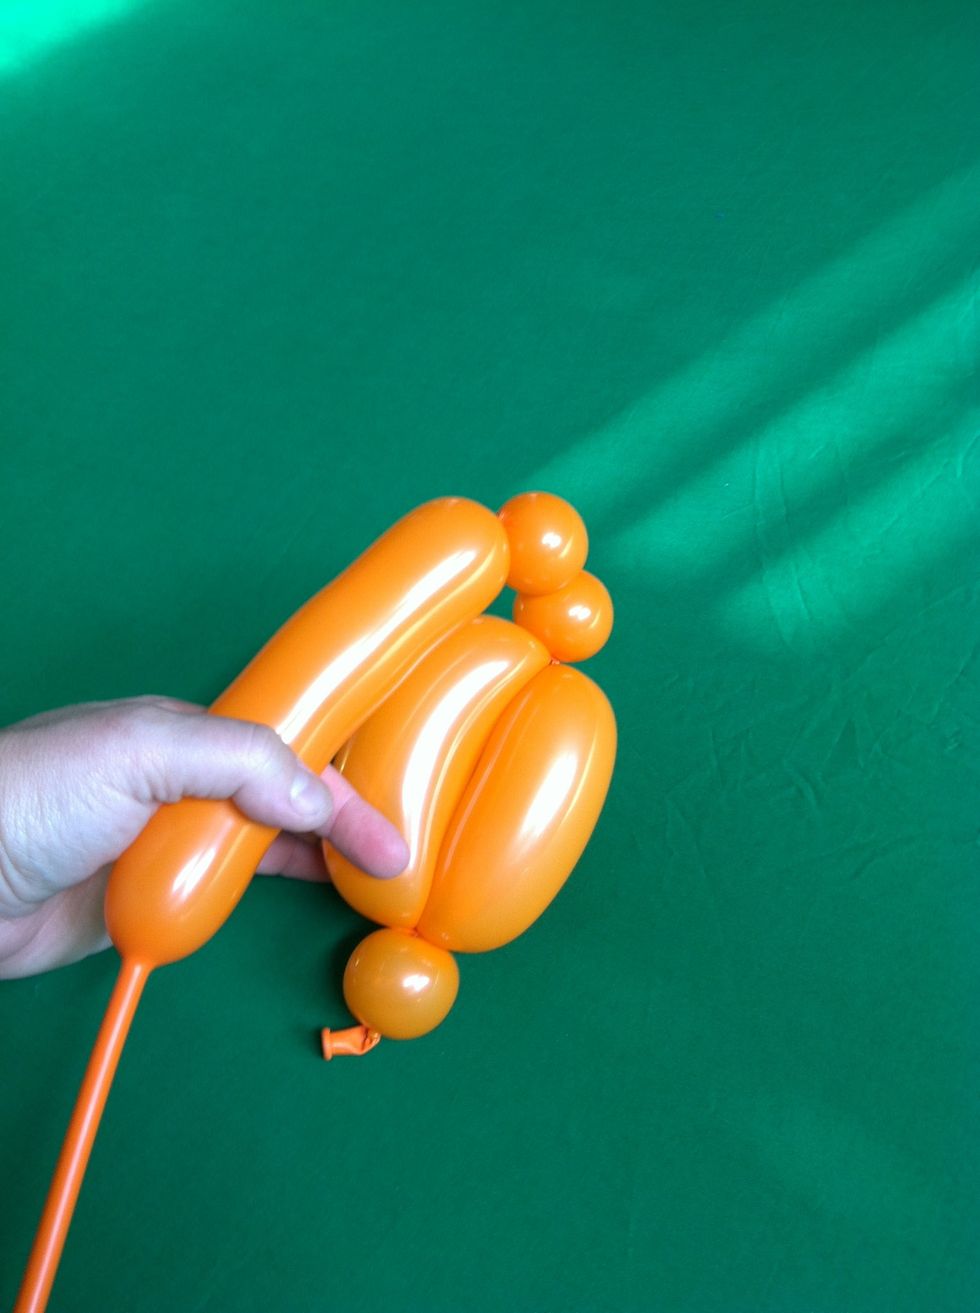
Followed by two little bubbles
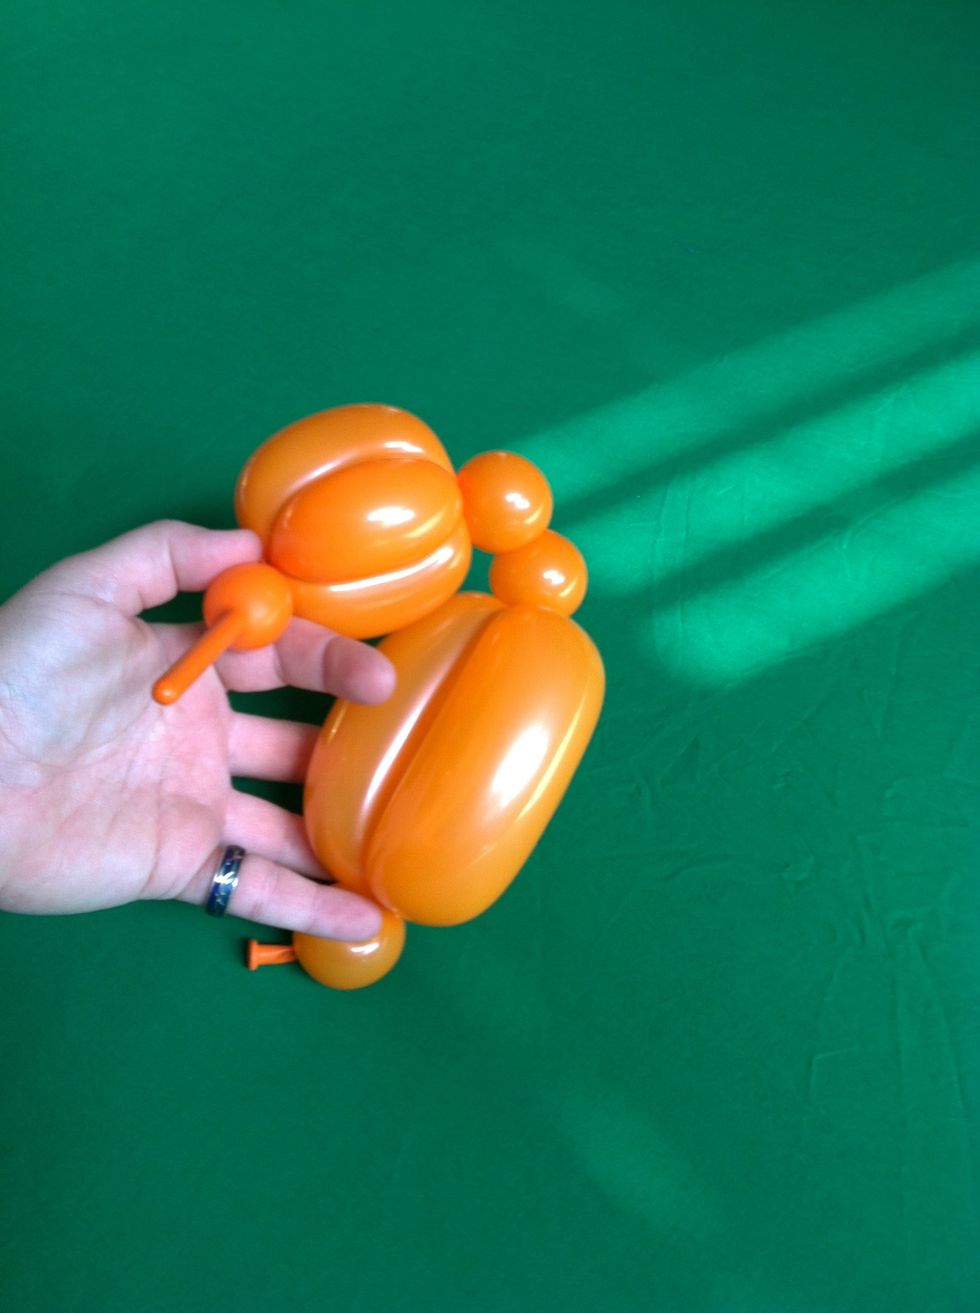
And another bird body
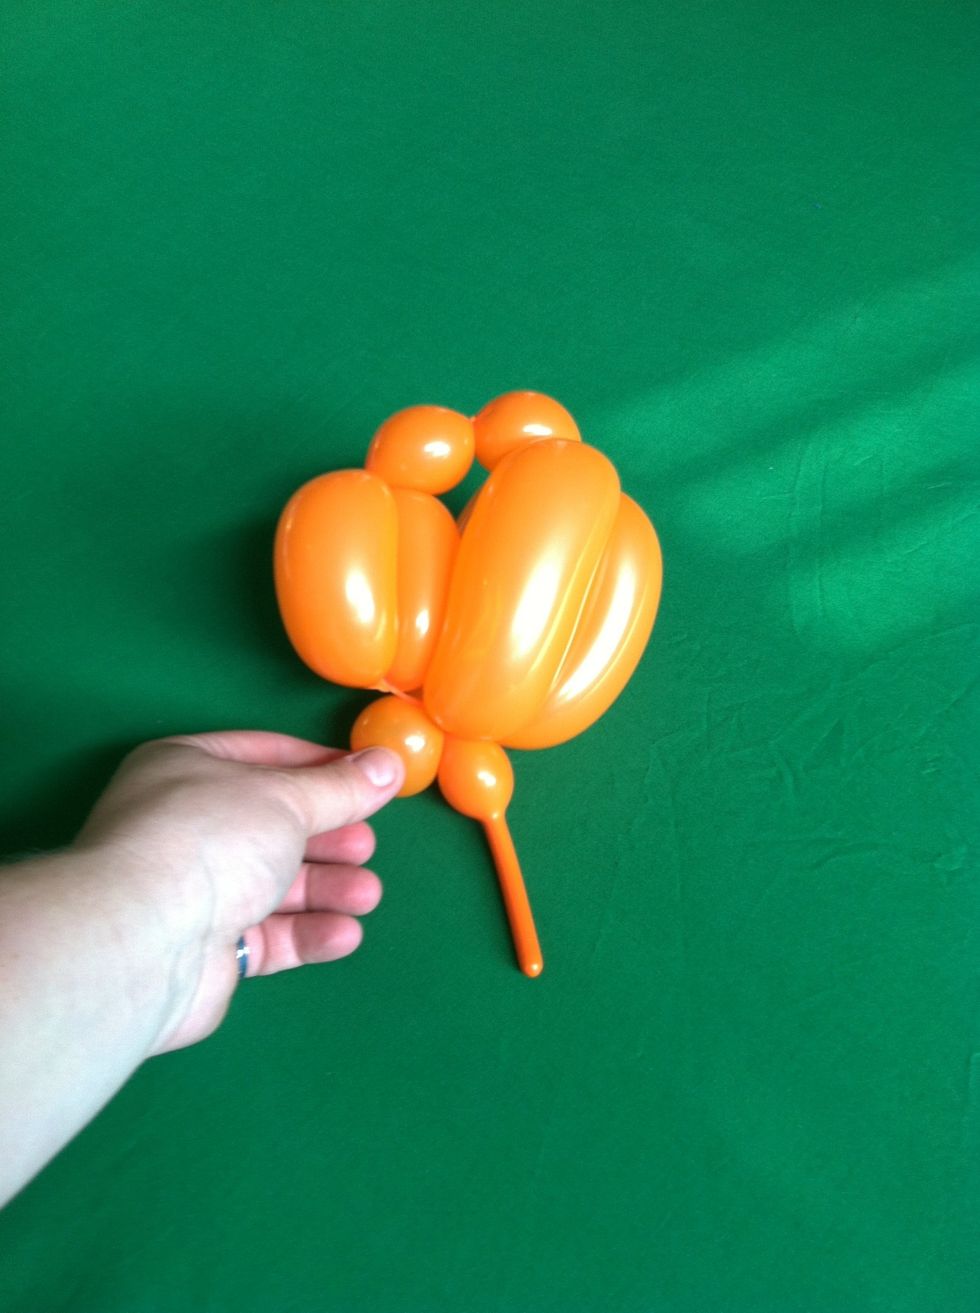
And twist the bubbles at the bottom together
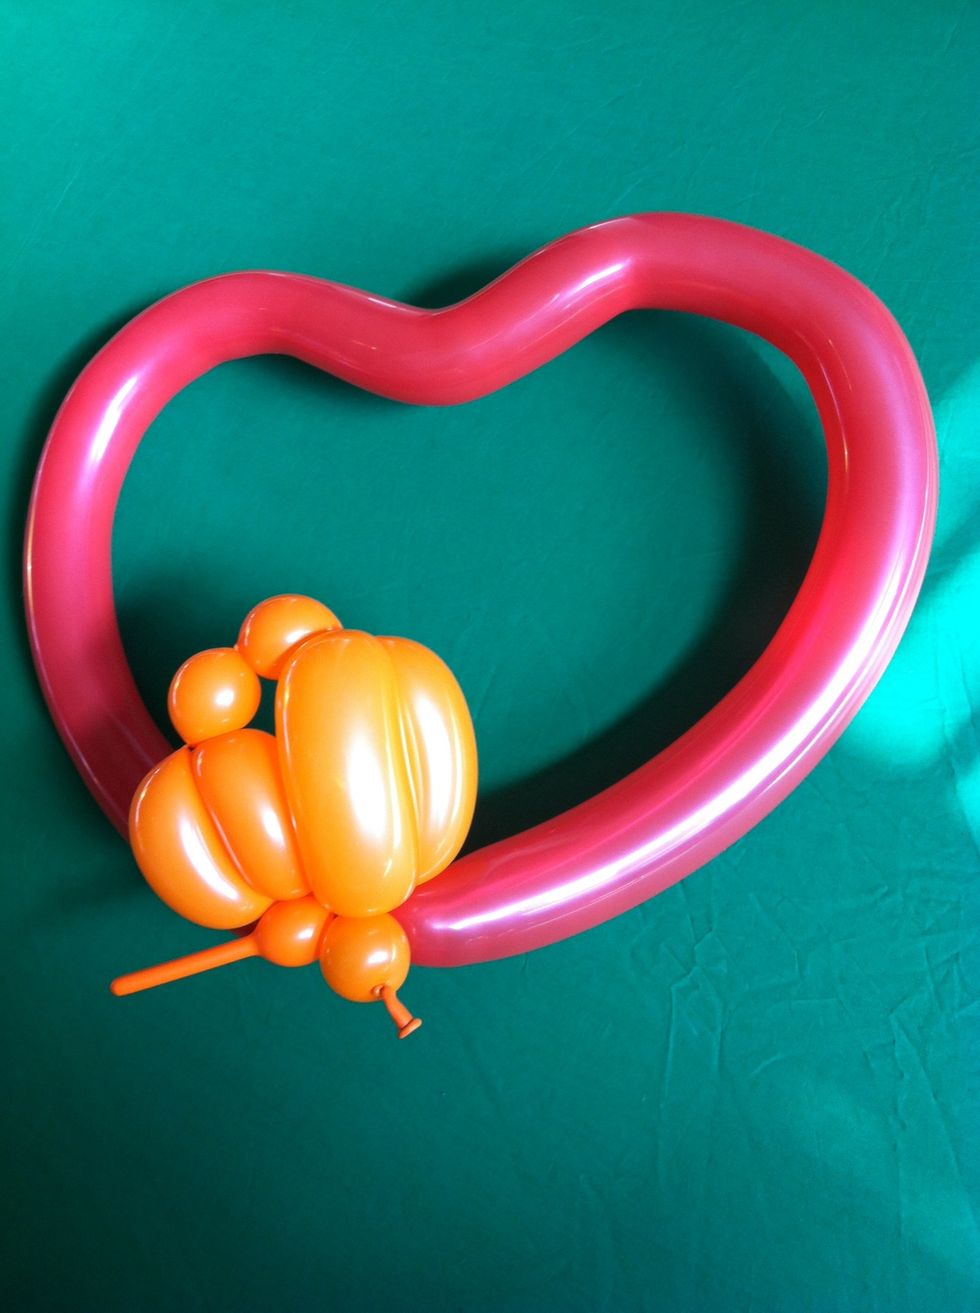
Then add it to the heart
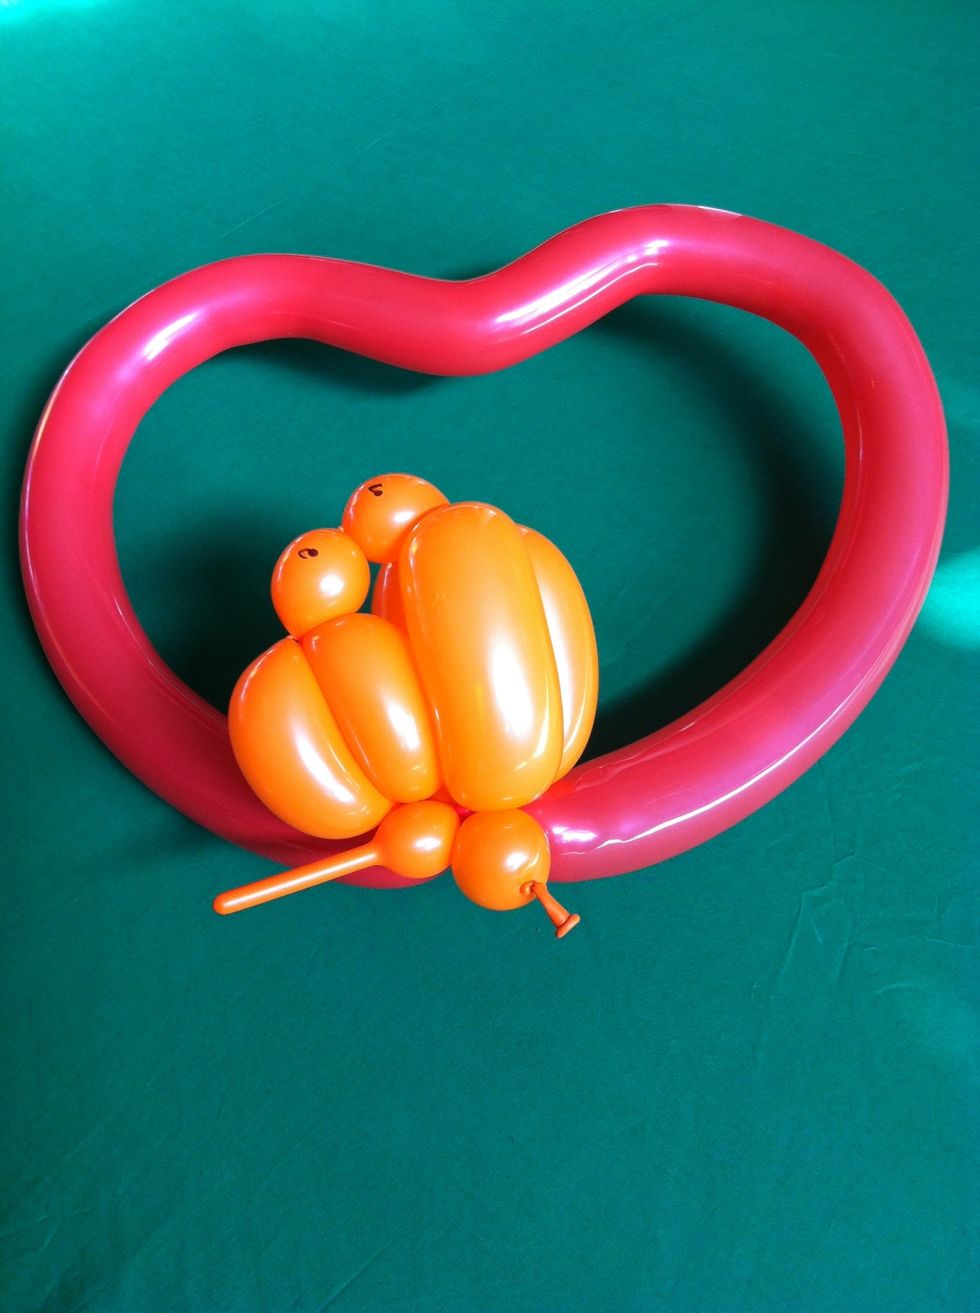
And add some artwork, and you have lovebirds
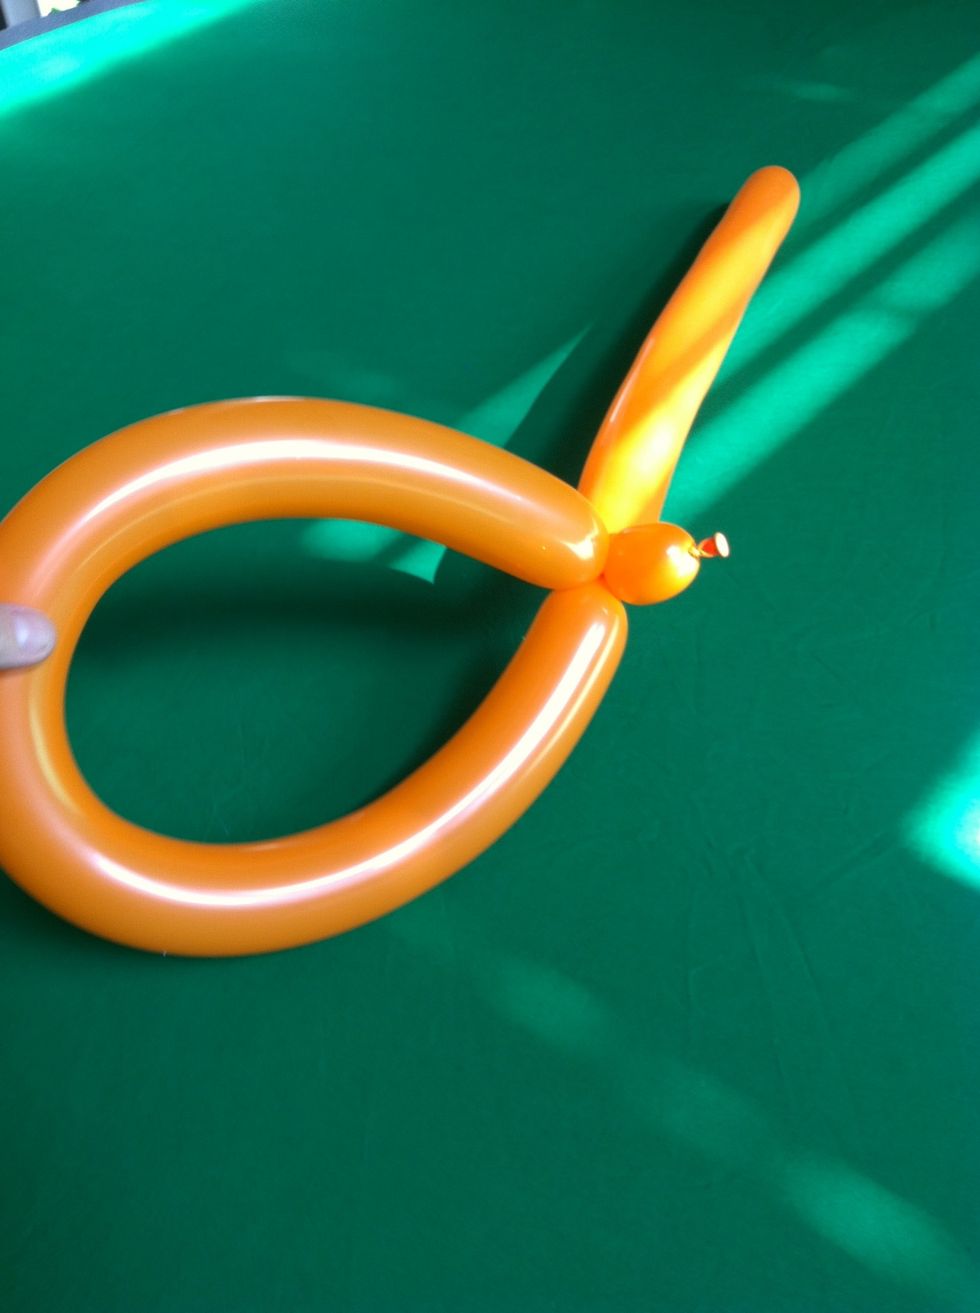
To make a basic hat first twist a small bubble and a loop large enough to fit the head.
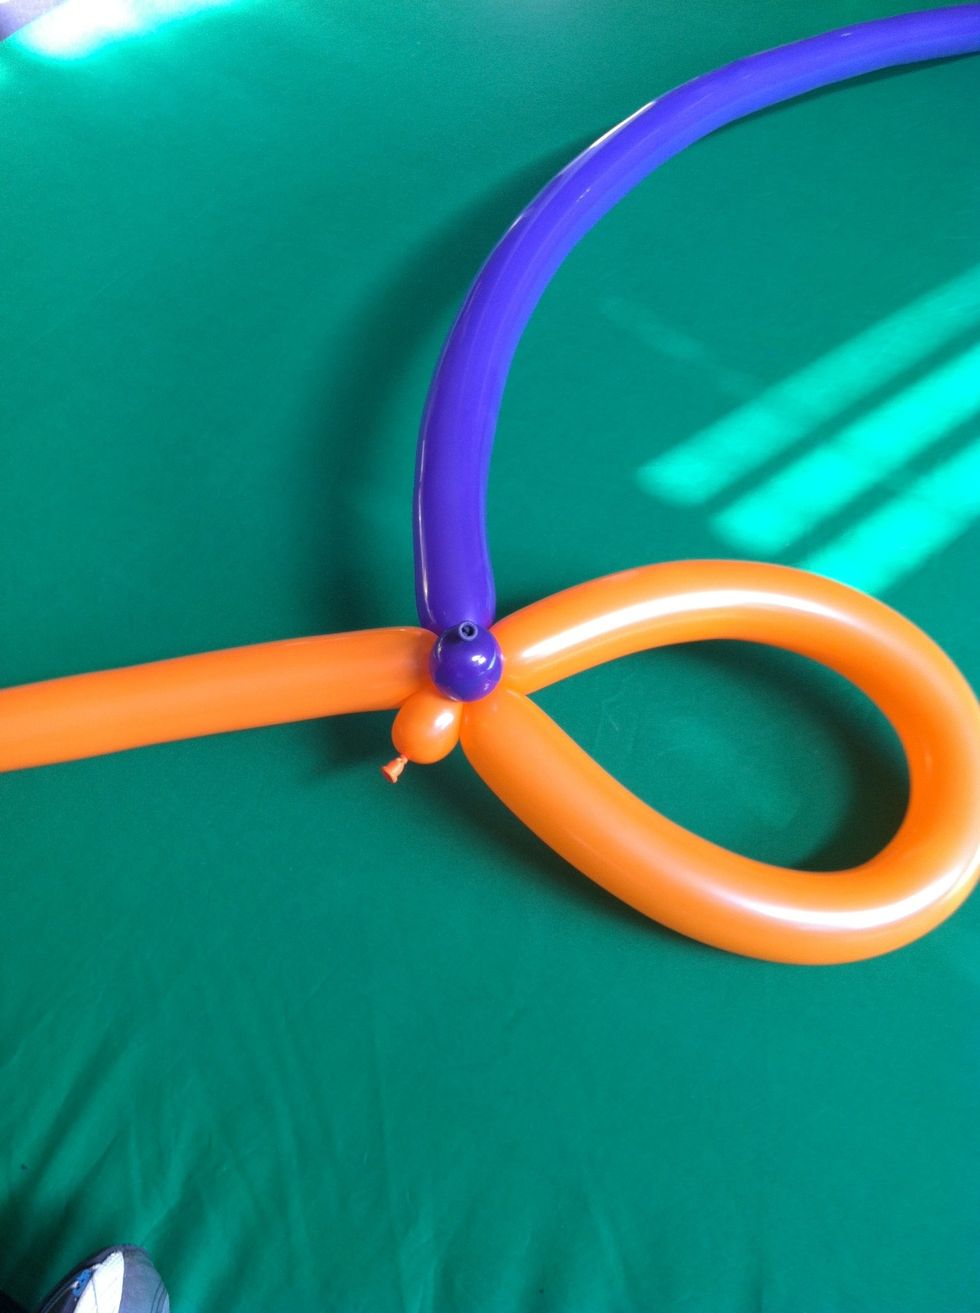
Now add a second balloon to the stick by twisting a small bubble at the base of the new balloon and attaching to the bubble at the base of the hat
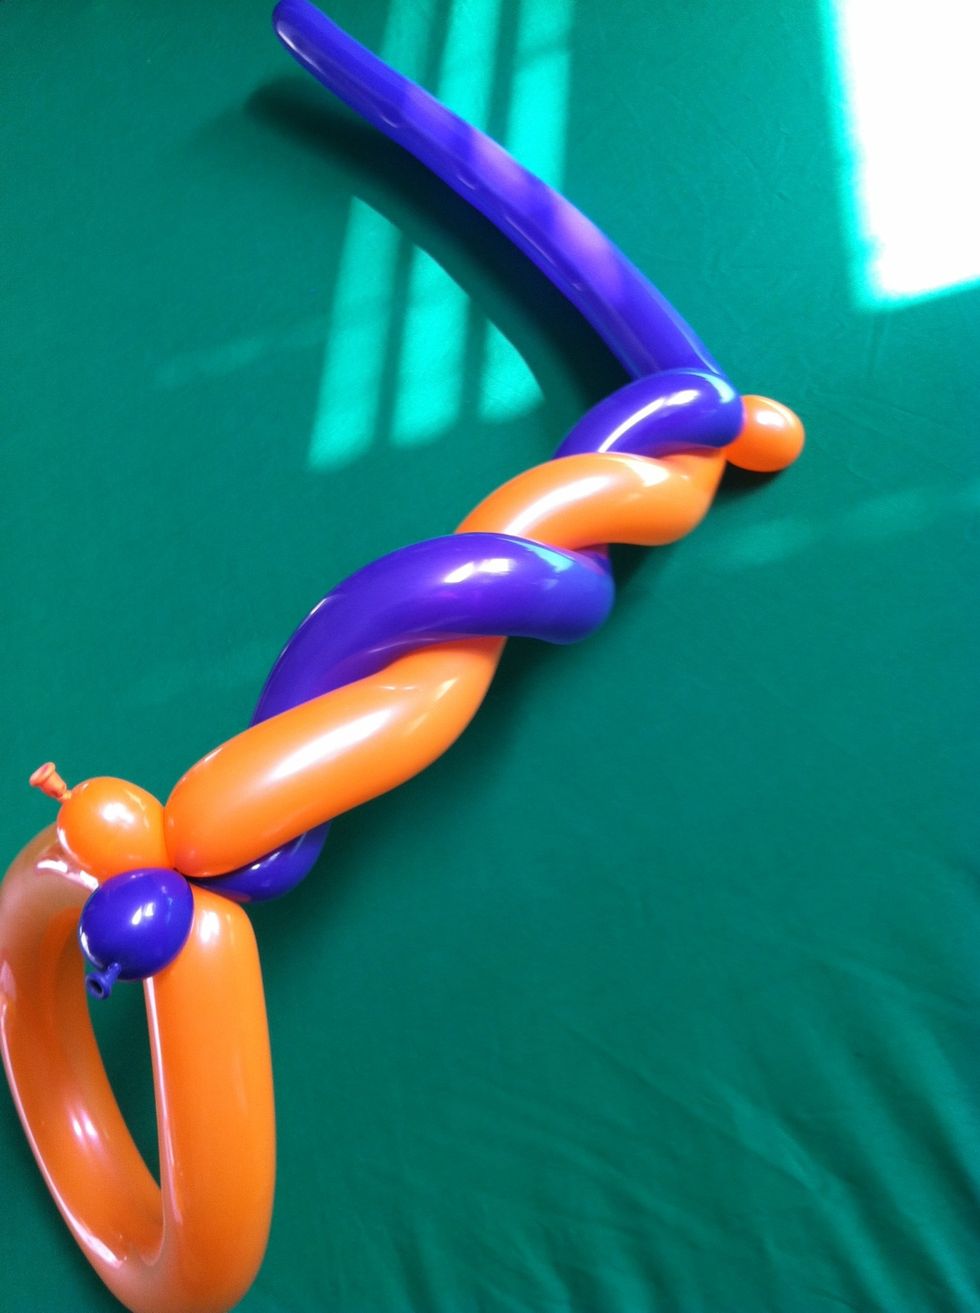
And spiral them together, squeezing and twisting together at the top to connect them
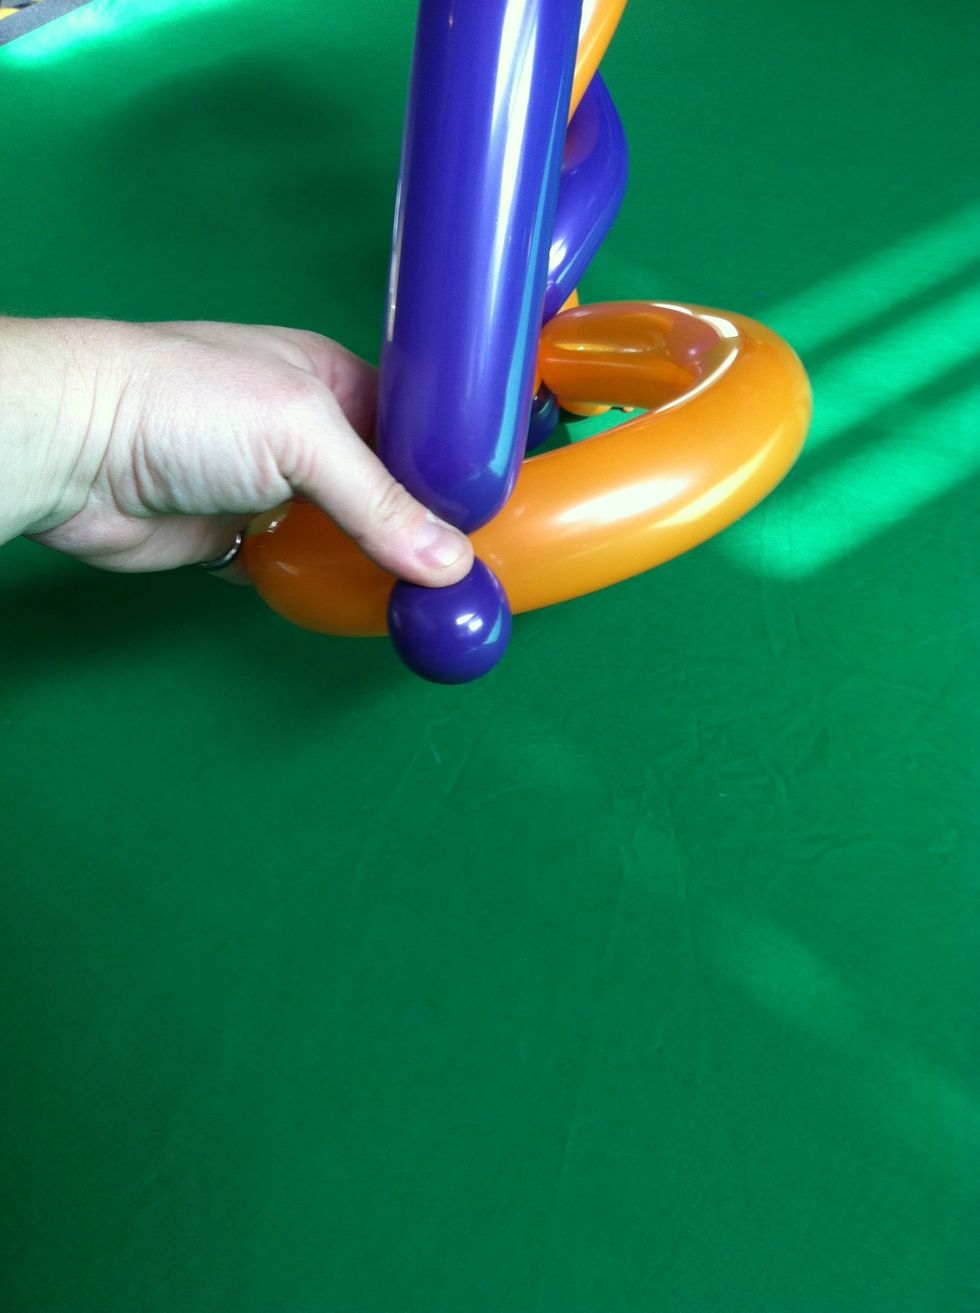
Now take remaining balloon, make a small bubble and attach at the back of the hat
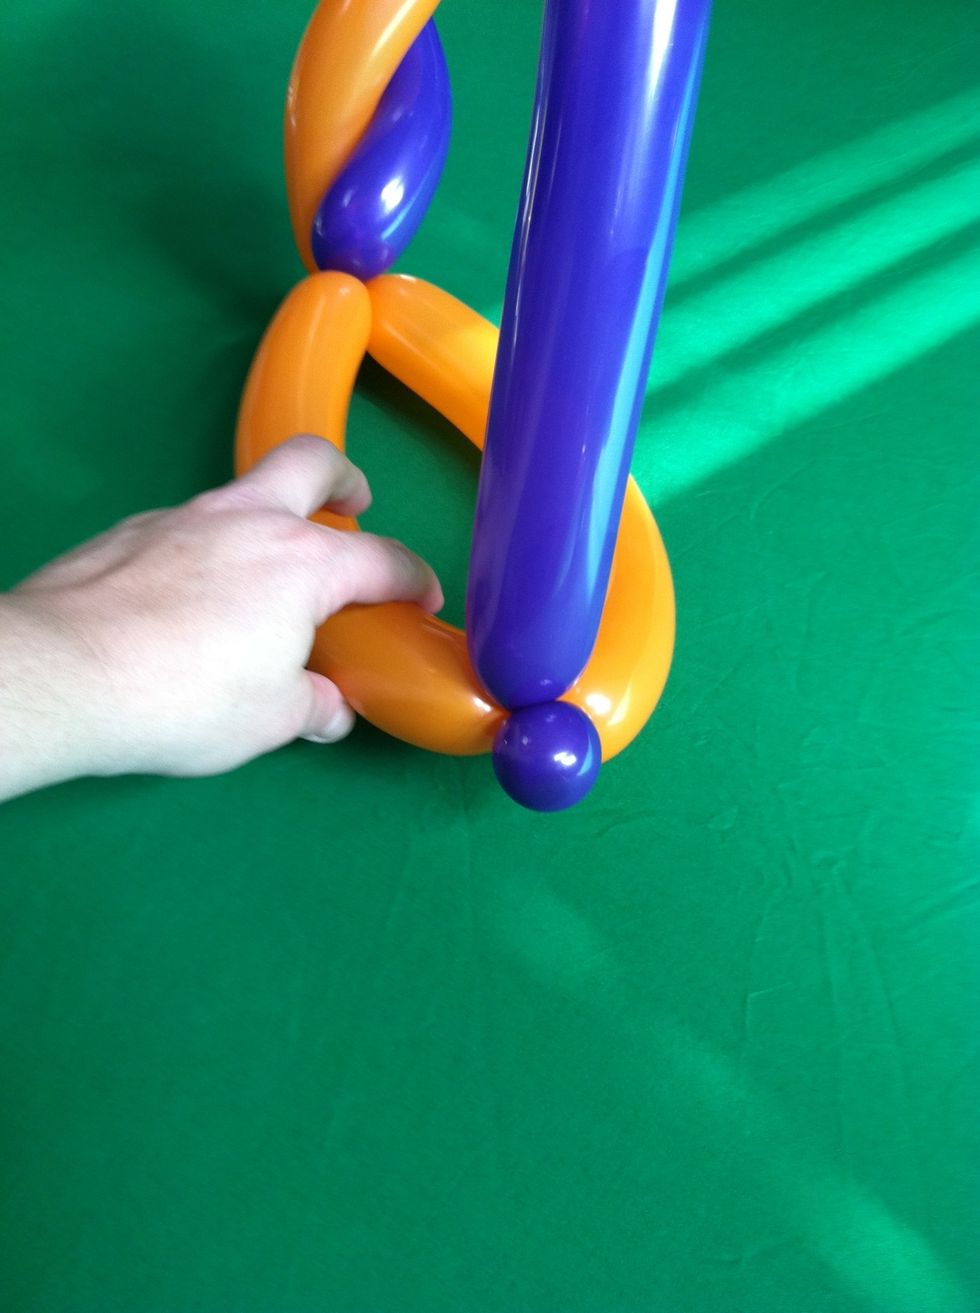
Like so
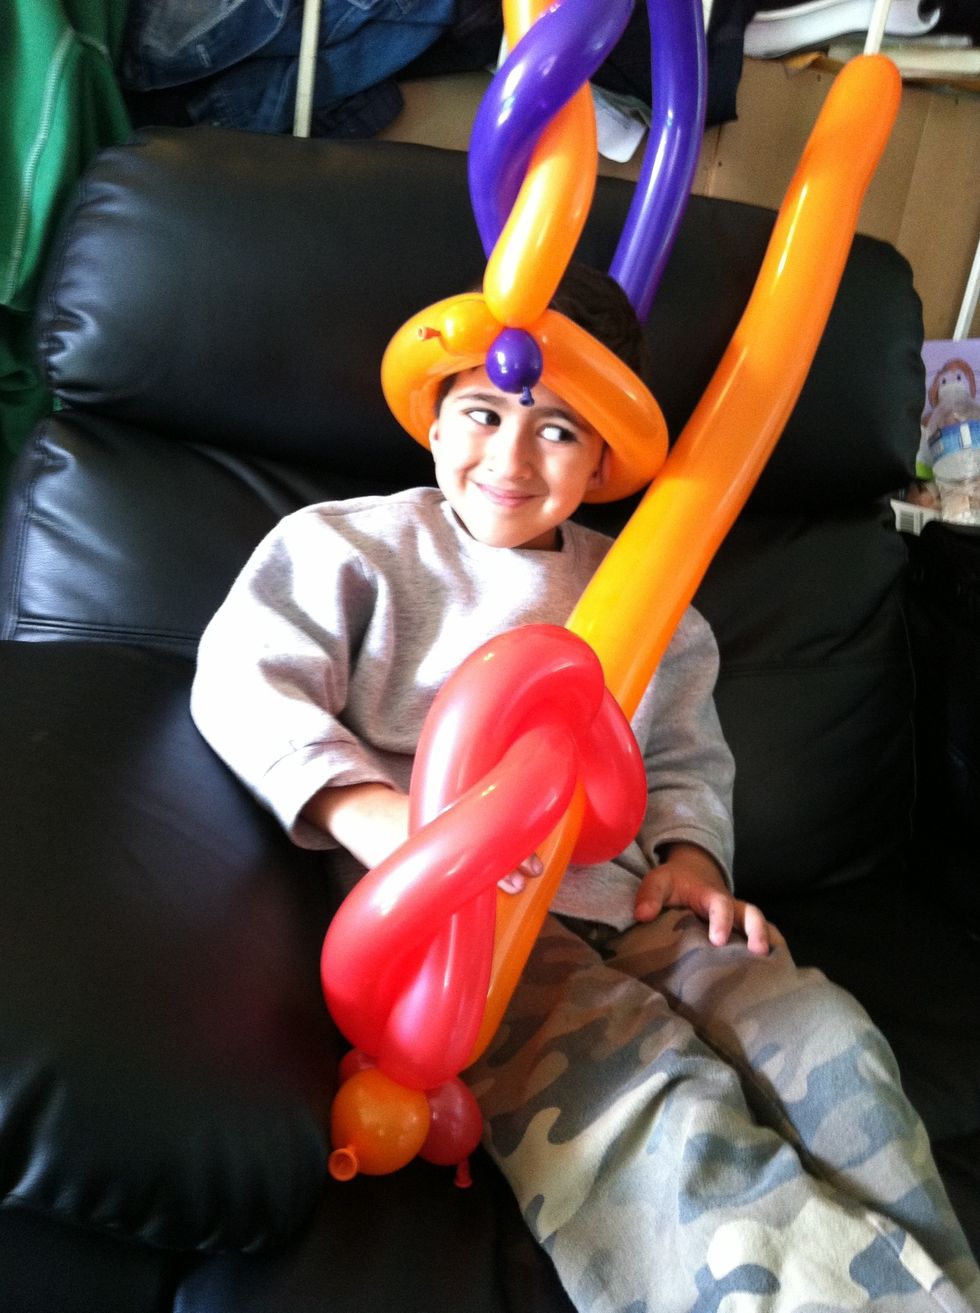
Put them on your favorite kid... And watch the fun begin!
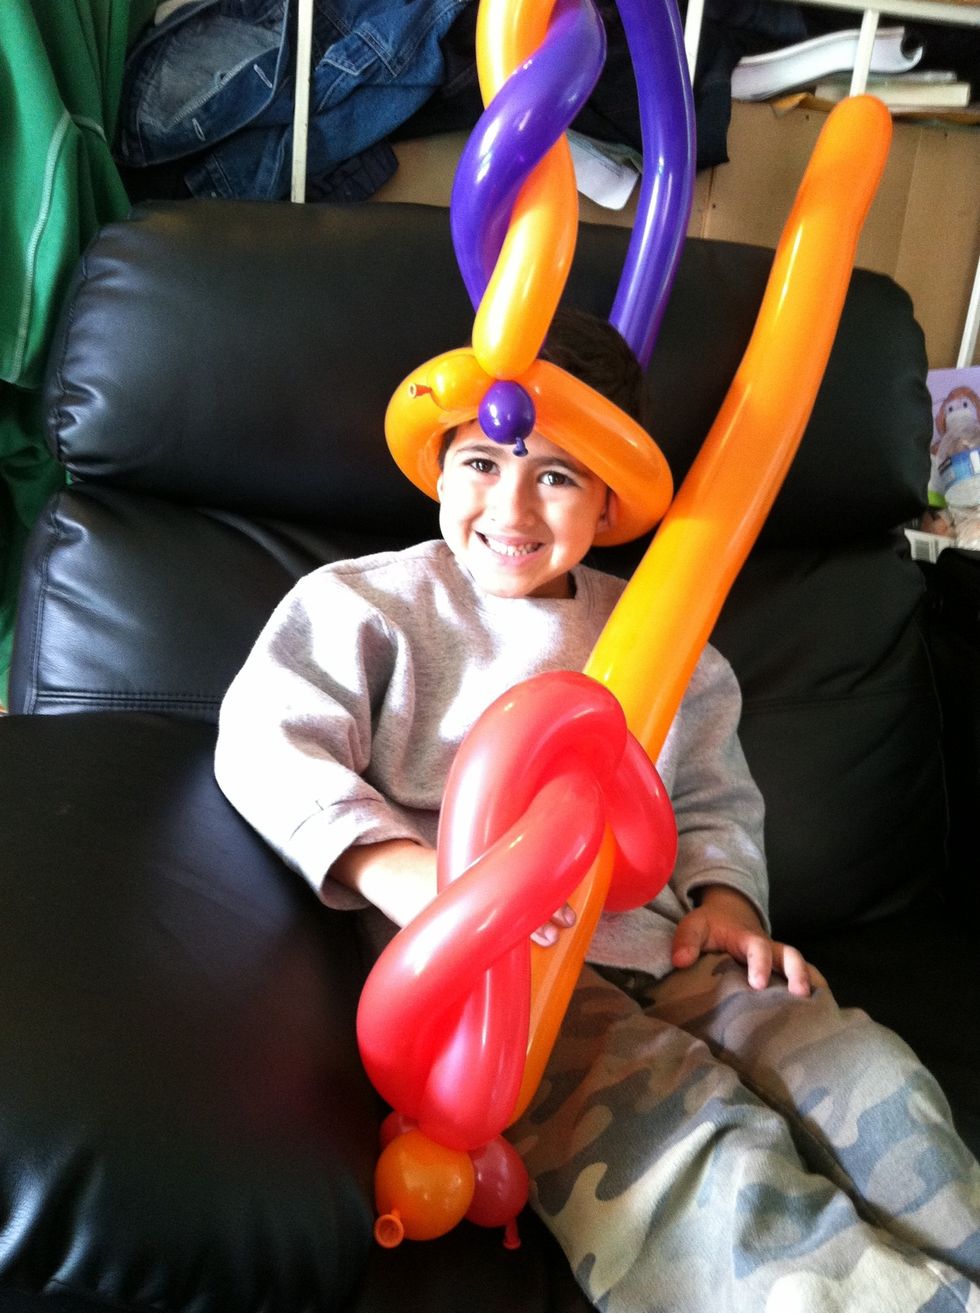
Most balloon sculptures are made with the twists we've just learned, put together in various combinations :-) Copyright Balloon Utopia tm 2012. Www.balloonutopia.com
- Qualatex 260 modelling balloons
- 5" round balloons
- Balloon pump
- Sharpie marker
- Scissors
Sandi Masori
Head designer and master balloon artist at Balloon Utopia. (CBA & member of the IBA and QBN). Sandi has been a balloon industry educator for over 15 years.
The Conversation (0)
Sign Up