The Conversation (0)
Sign Up
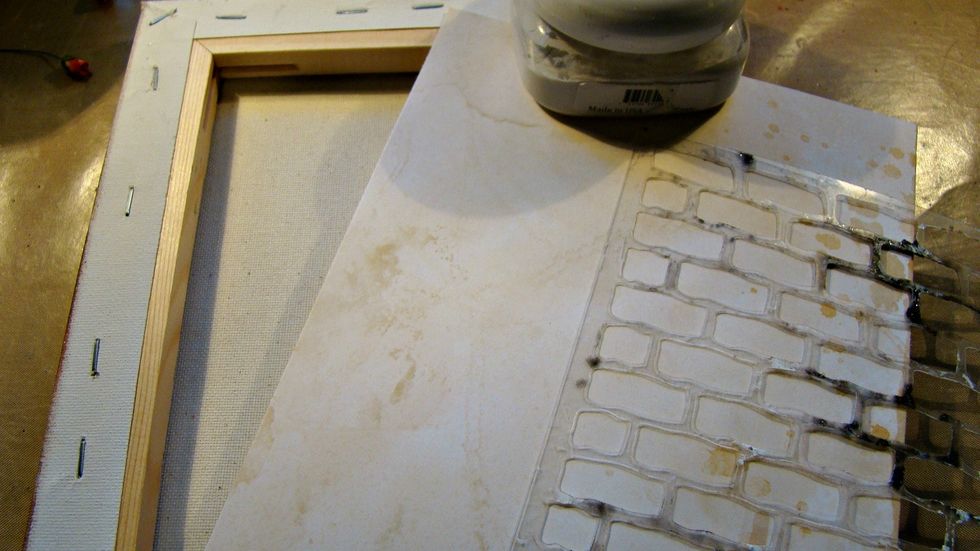
To start our canvas choose scrapbook paper for the inside, brick stencil and Mud Texture Paste. Cut your paper the size to fit the inside and stencil your bricks on the paper.

Put a coat of texture paste on the sides to cover the staples, then stencil your bricks on the sides and back of your canvas. Set aside to dry completely. Now to make our blossoms
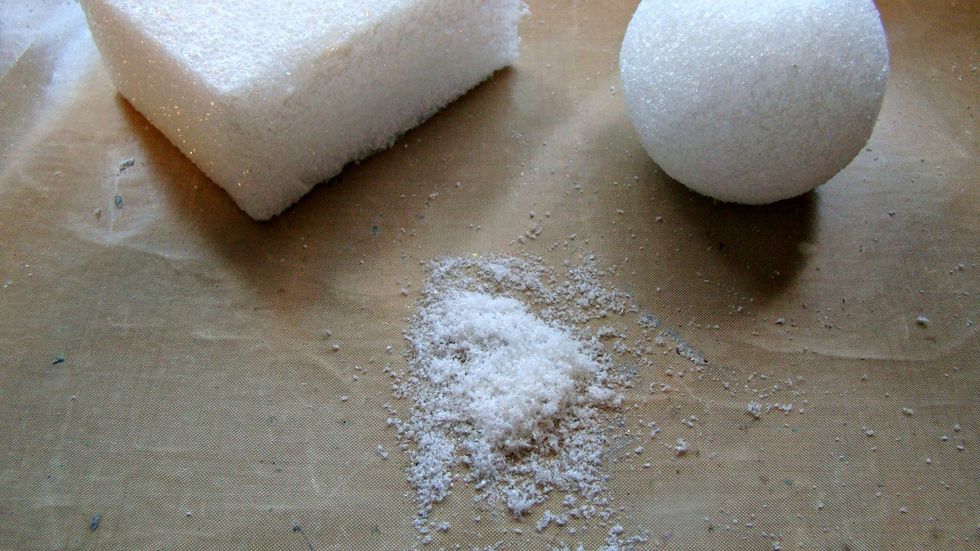
Take two pieces of styrofoam and rub together to get your particles, choose your color inks and mix with stir stick. Do not dry with heat gun because that will melt the styrofoam. It dries very fast.
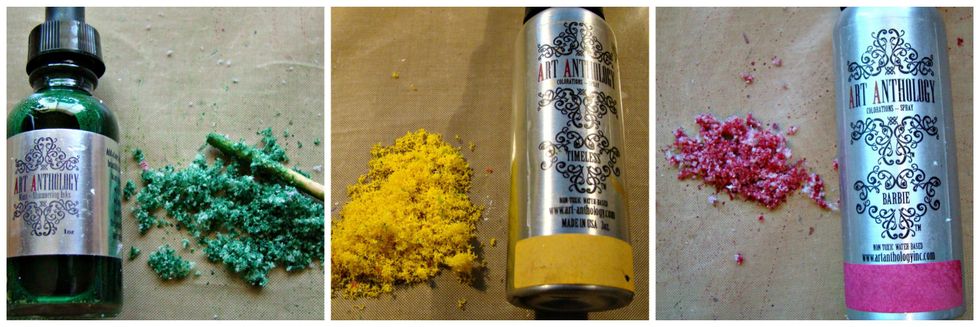
Here are some colors I made. I used assorted sprays and inks.
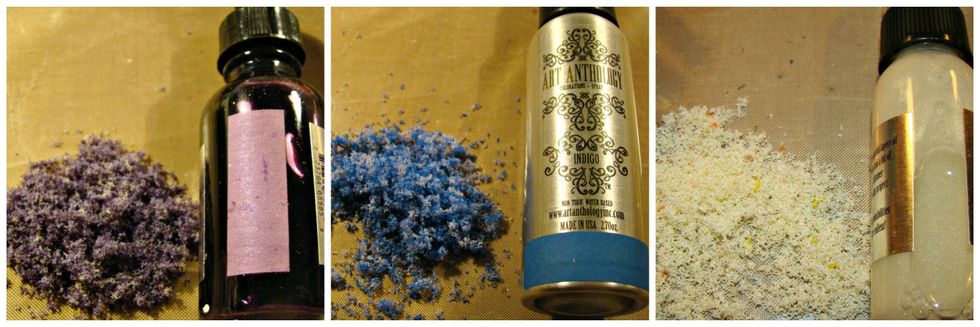
Here are some more colors I made.
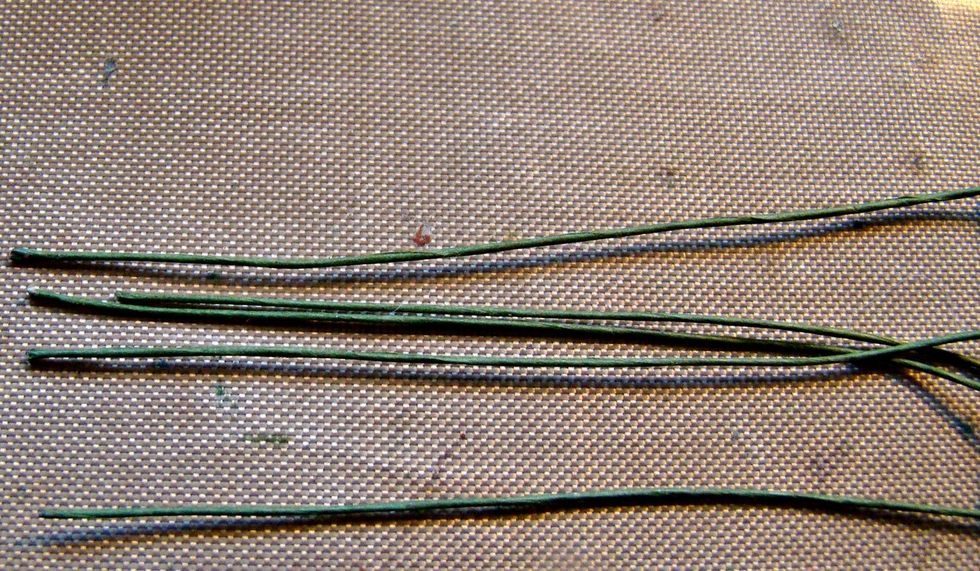
Take some floral wire stems and using Aileens Tacky Glue or adhesive of choice add to the tip of the wire.

Sorry about the photo here. This is the wire with the tacky glue on it. Start rolling the fibers on the wire gently pressing them with your fingers and then add more fibers for fullness.
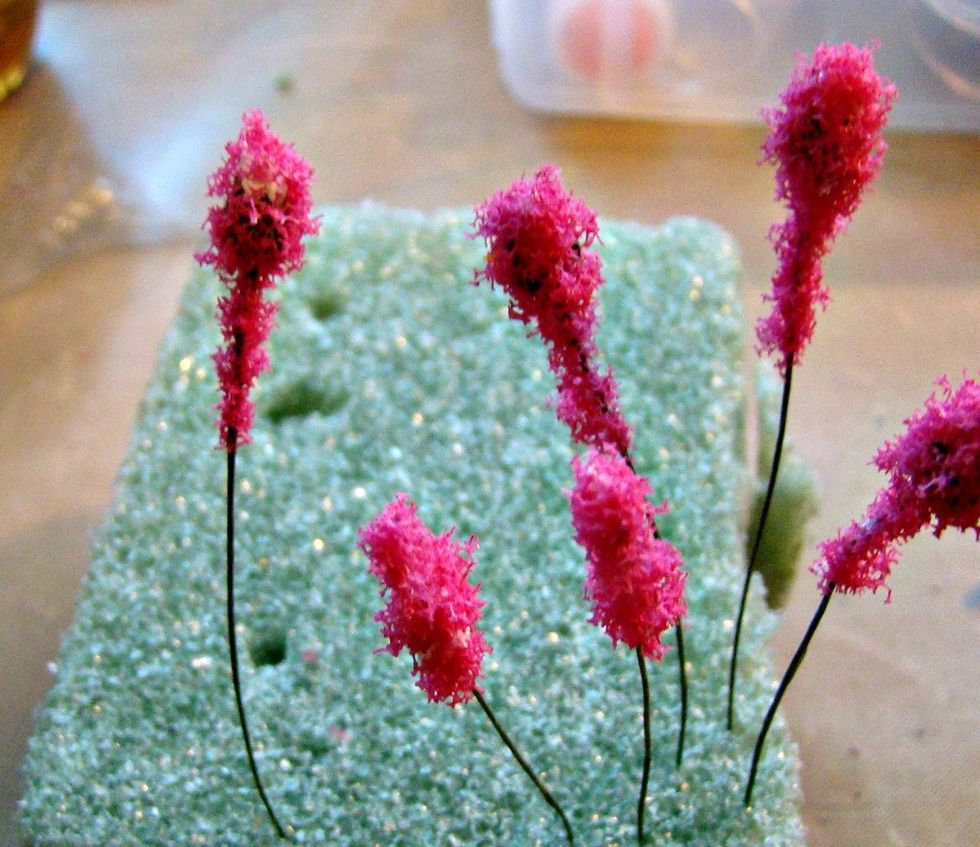
Allow to dry in a piece of styrofoam.
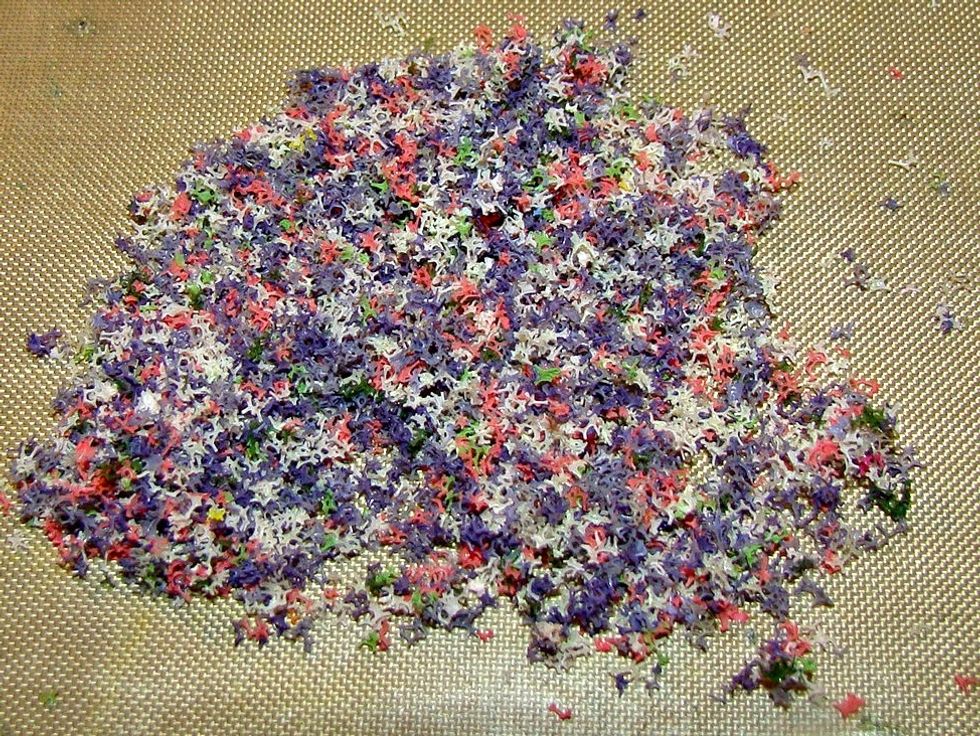
Don't toss those leftovers, put together to create a multi-colored blossom.

To create cracks in your brick covered canvas, use archival ink in black and this stamp is Andy Skinner's mixed media stamp.
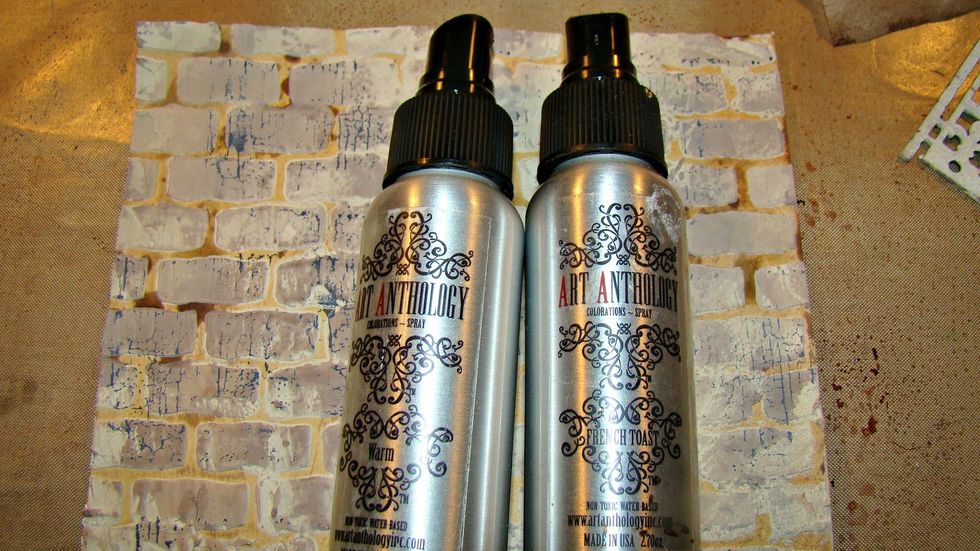
Randomly spritz your brick background with different tones of sprays, I used Art Anthology Warm and French Toast.
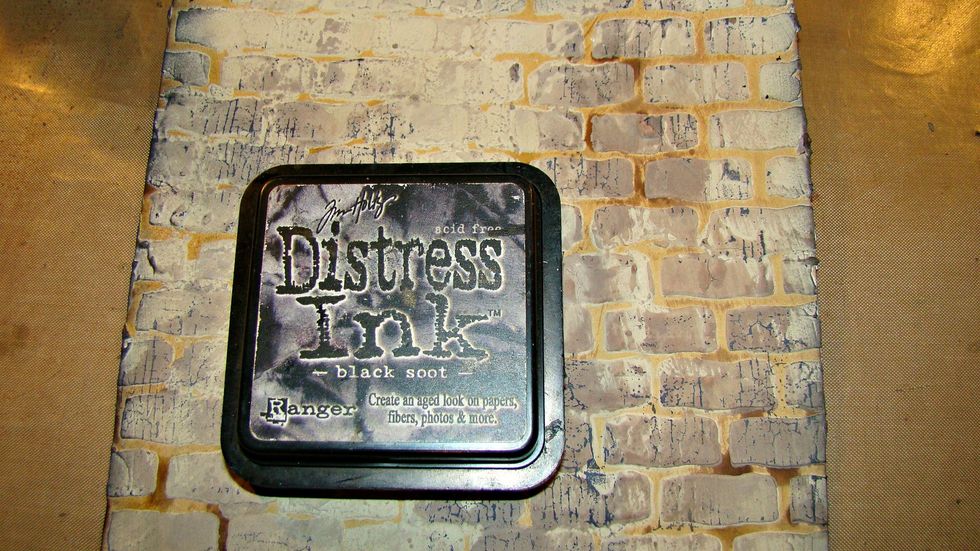
Edge the sides of the canvas with black soot DI

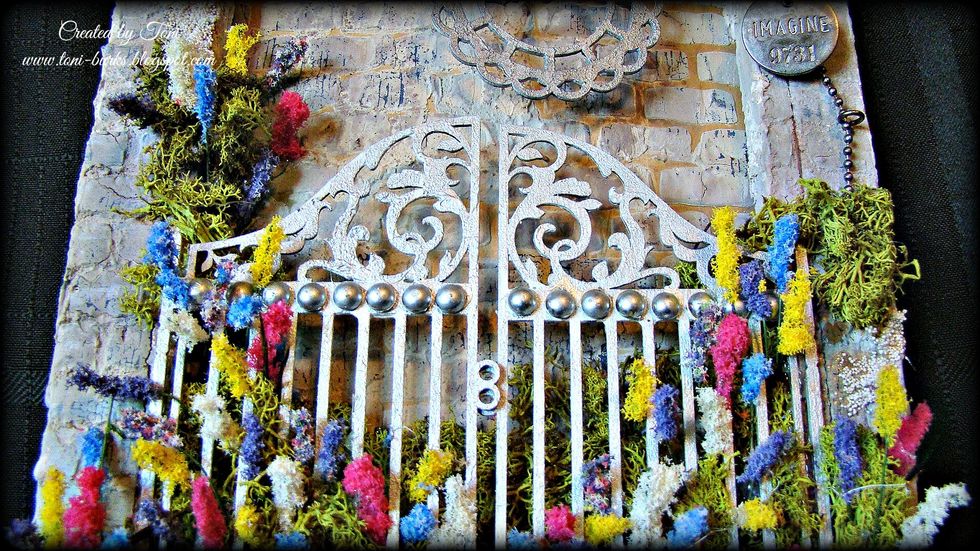
And the canvas is coming together, now really looking like a brick planter in a garden.
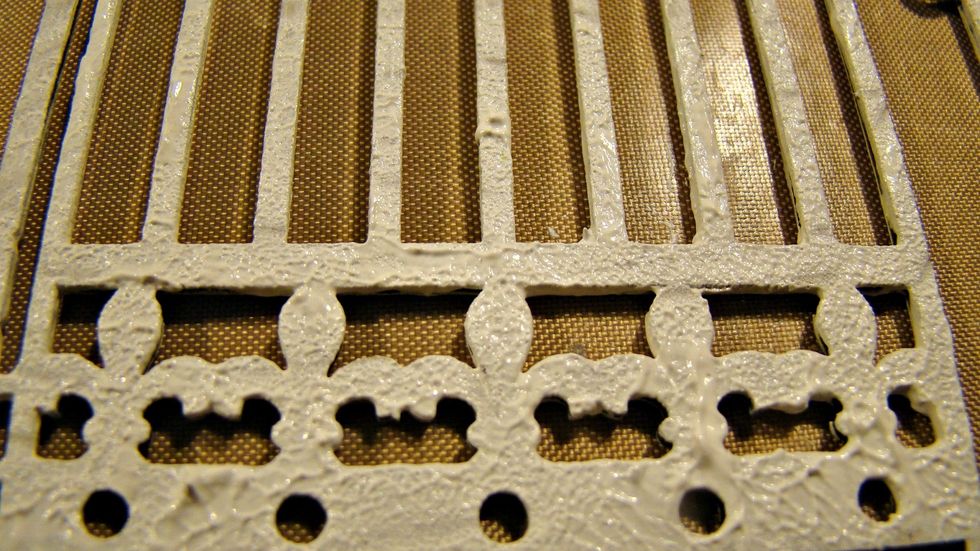
Give a couple coats to your chipboard pieces of white gesso and use a sponge to provide more texture once dried.

Using Art Anthology Metal Effects paint your pieces and once dry smudge the tops with black soot DI to create a more pewter look.
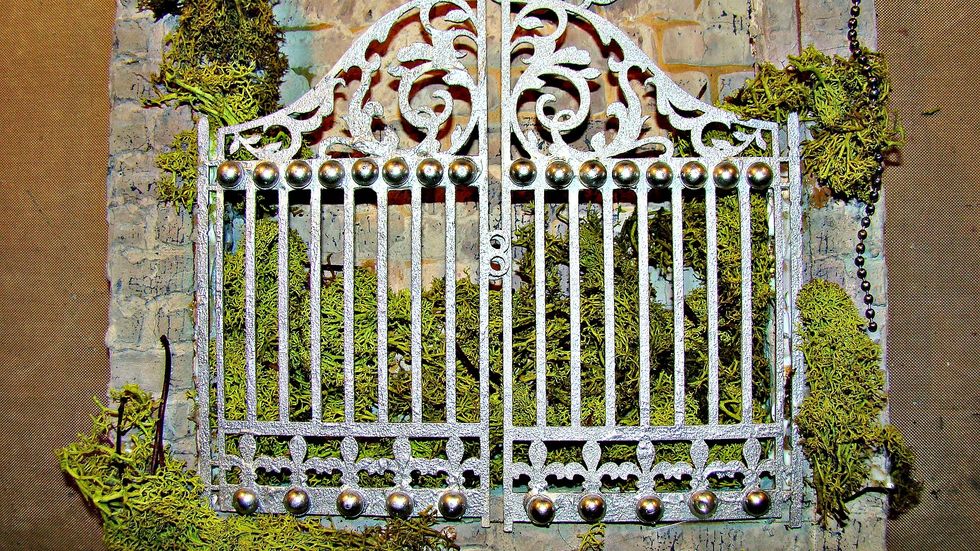
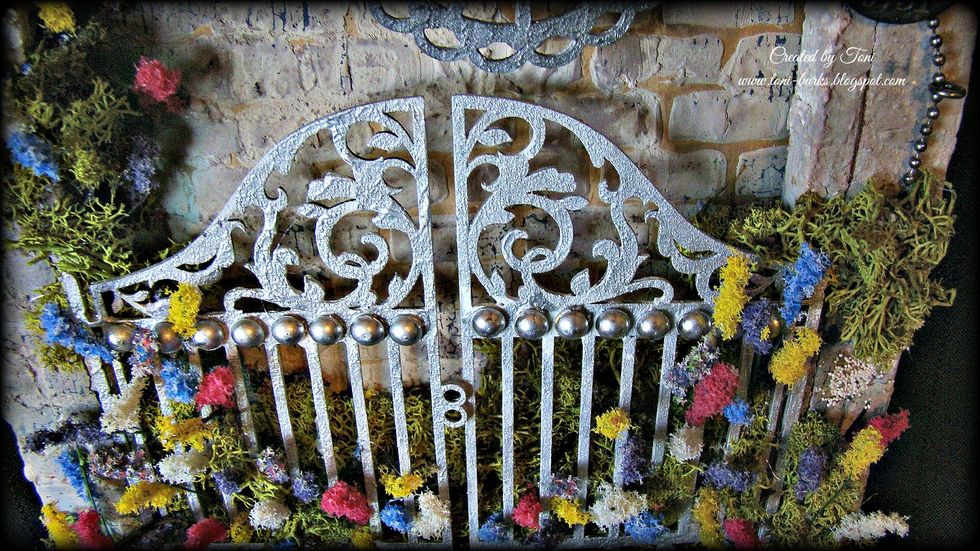
I added flat side pearls to my gate and paint the entire piece with Metal Effects Silver and smudged with black soot DI. Glue your reindeer moss to the inside of the canvas and attach your gate.
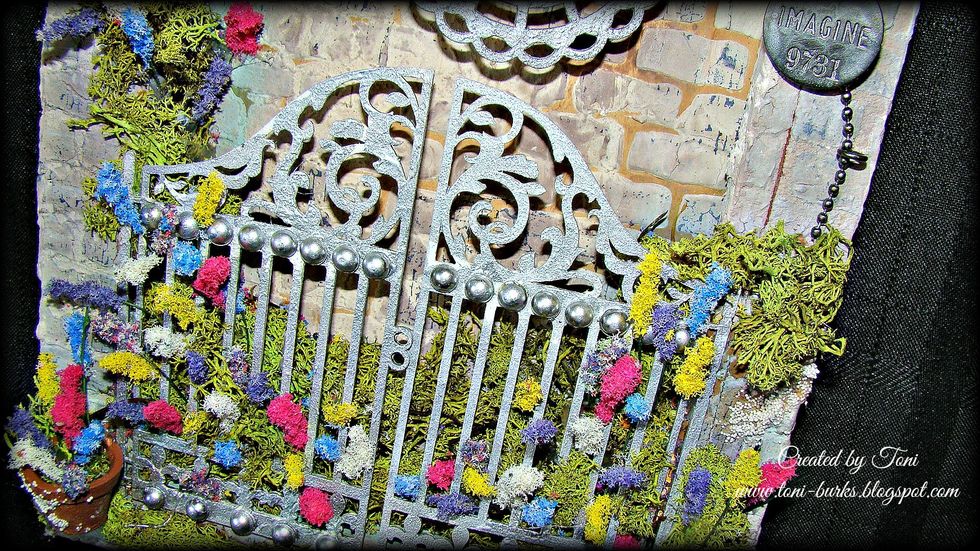
Let's start adding our stems here and there. Also add some moss to the high sides of the canvas for eye appeal and interest. Add your flowers inside the moss also.
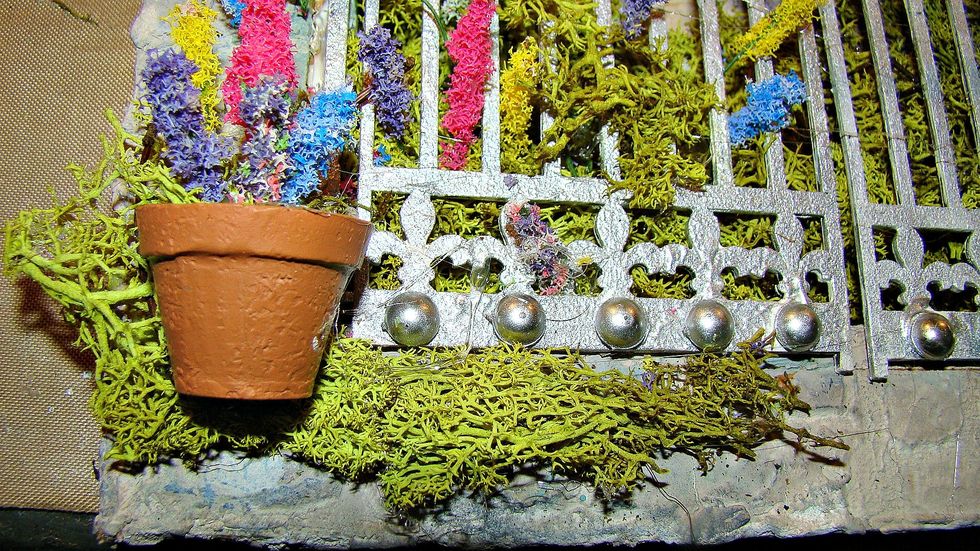
I had this teeny tiny terracotta pot so I adhered it to the canvas, filled it with the moss and added some of my blooms
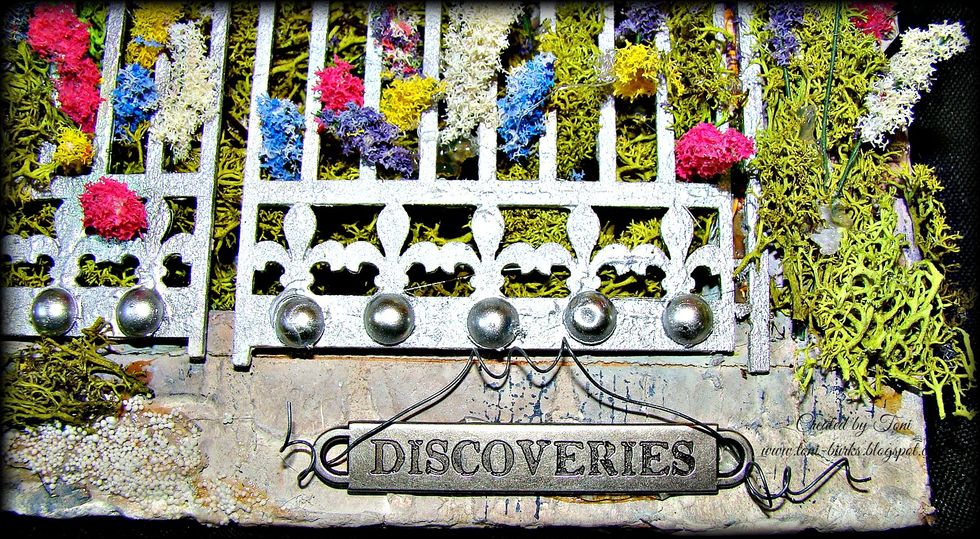
Added an IDEAOOGY piece to the bottom and wire.
I know there is alot of steps to this project, but it really wasn't hard at all, Just depends on how much you want to add to your piece.
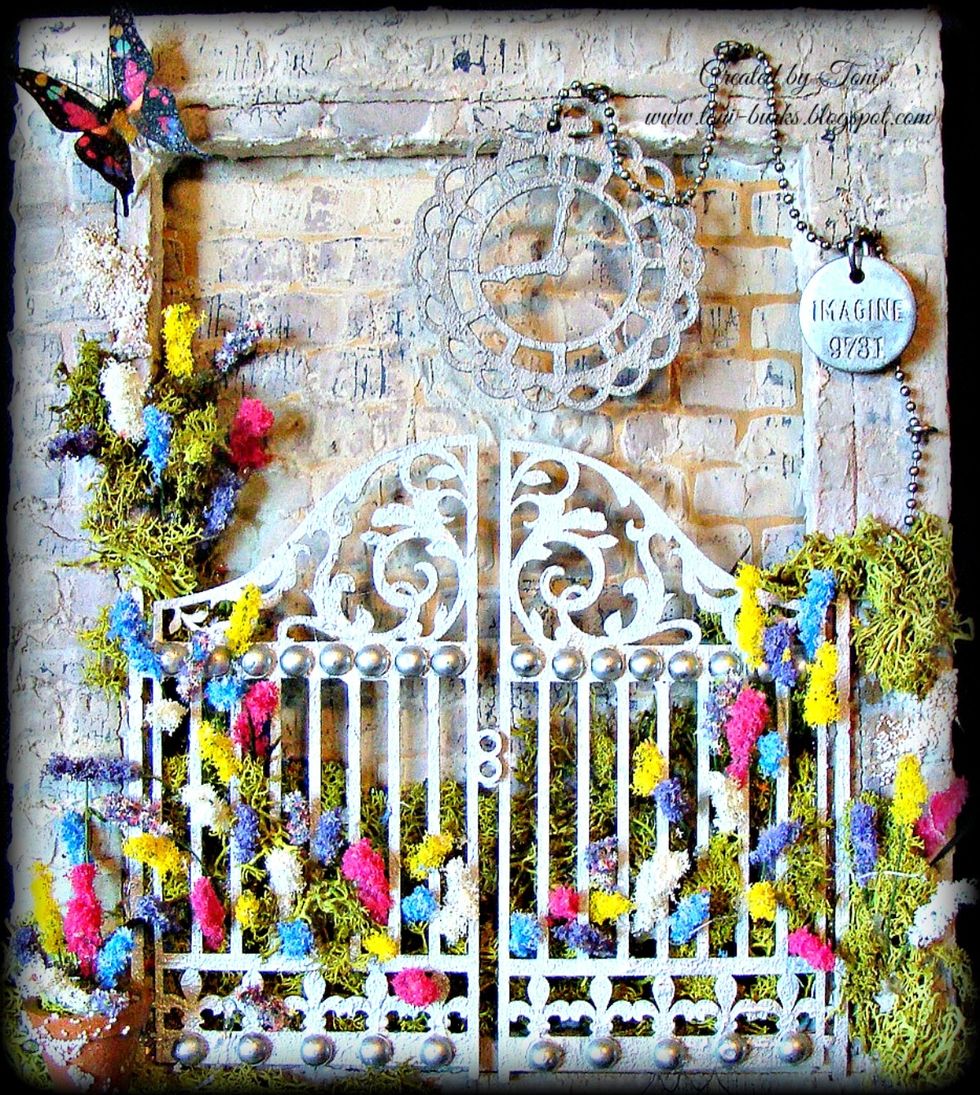
The Clock was hung with ball chain and a IDEAOLOGY token for interest.
For more inspiration please follow me on http://toni-burks.blogspot.com/ https://www.pinterest.com/tonilburks/ https://www.facebook.com/ and https://www.instagram.com/tonilburks/
For the supplies listed with * in front please check out Art Anthology's store here https://www.artanthology.net/