The Conversation (0)
Sign Up

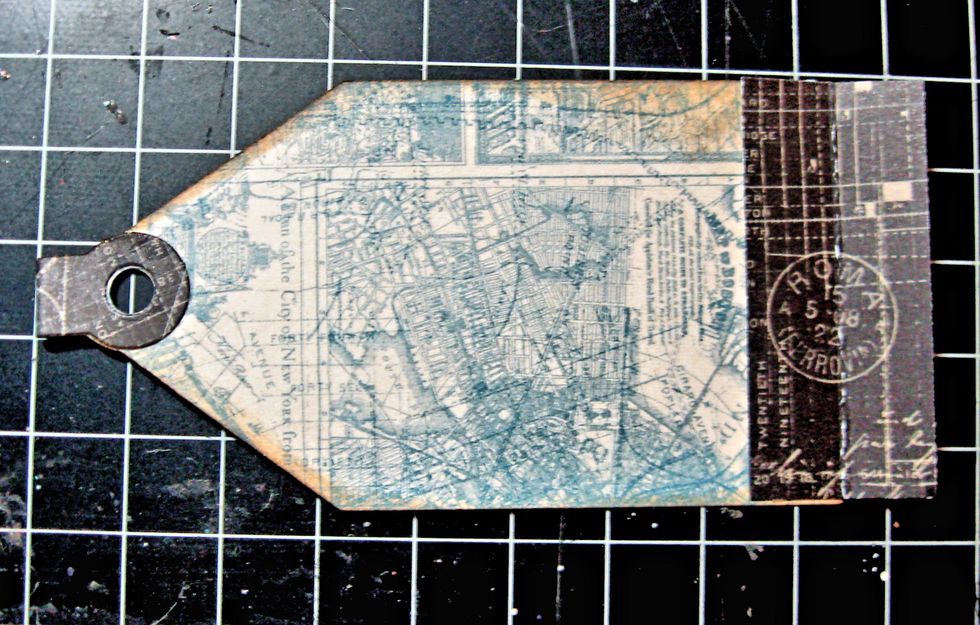
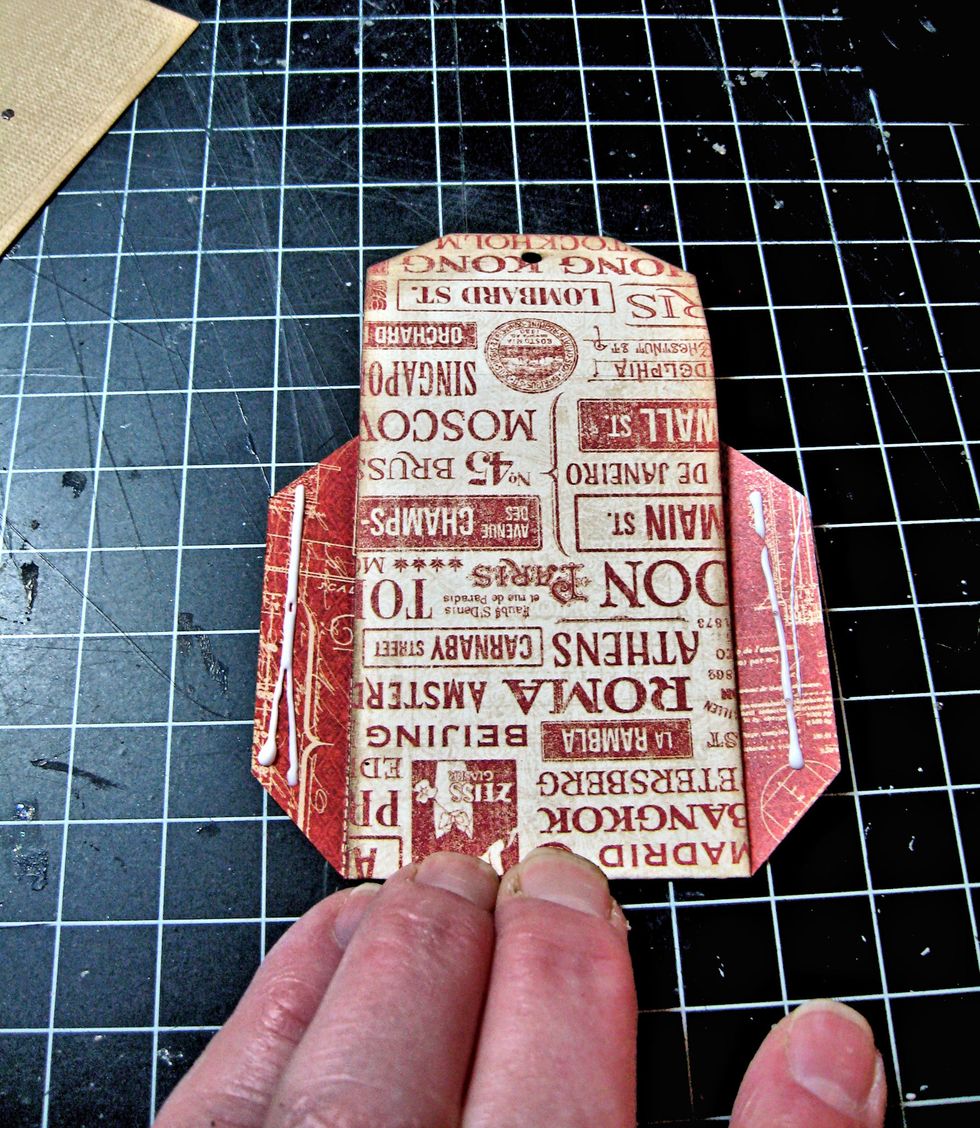
Gather your materials. Note: all edges are inked with Gathered Twigs Distress Ink. We will begin by building the base of the Mini Tag Book, then come back and look at how each page is decorated.

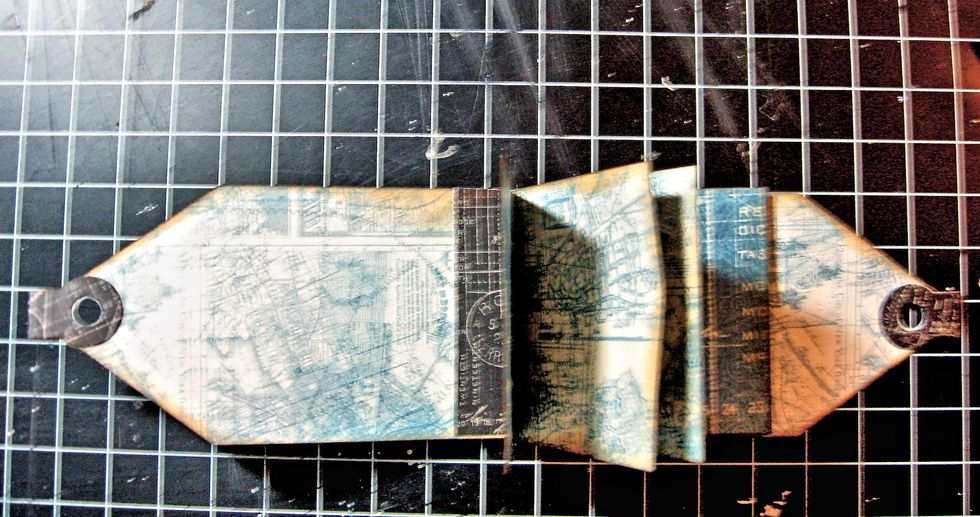
Use the Mini Tag Book die to cut 2 covers, two reinforcement tabs and 3 pages for your book. In this photo, I have folded the reinforcement tabs in half and glued them onto the book covers.
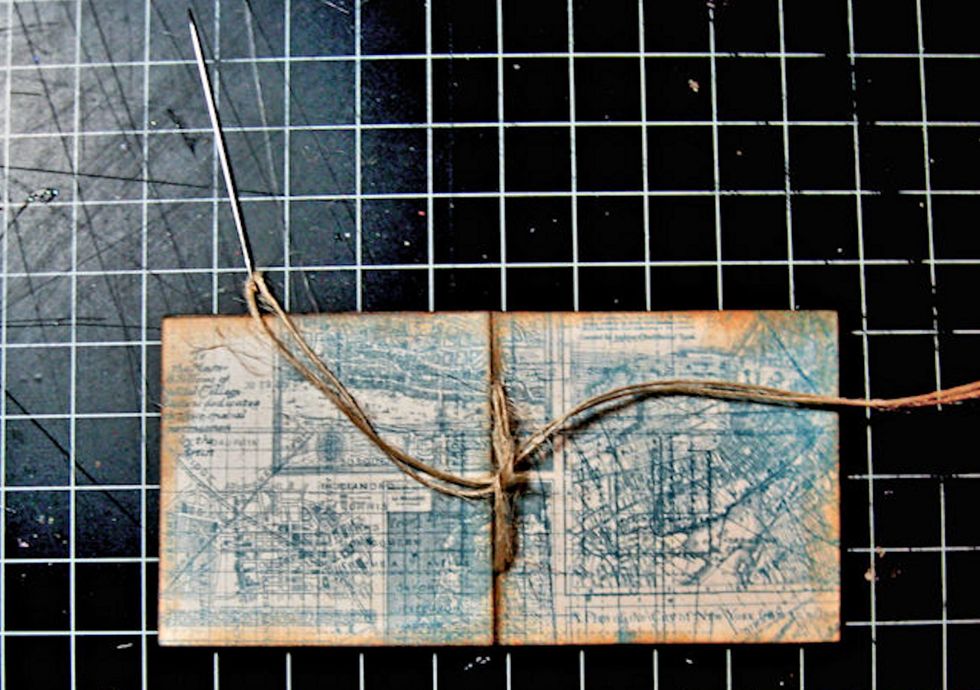
I used a needle and burlap string to stitch my book pages together. The holes are already there, as the die cuts them for you. Just stitch, and then tie a square knot or a bow, whichever you prefer.
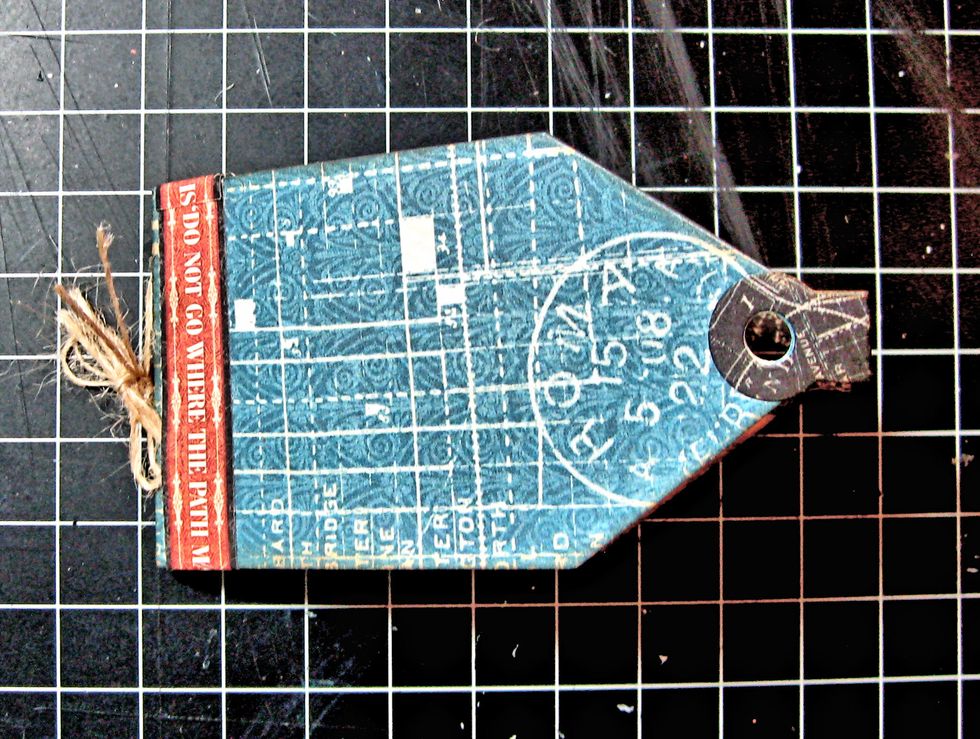
Here are the inner pages all stitched together and tied. Now we will create a binding that will join the inner pages to the front and back cover.
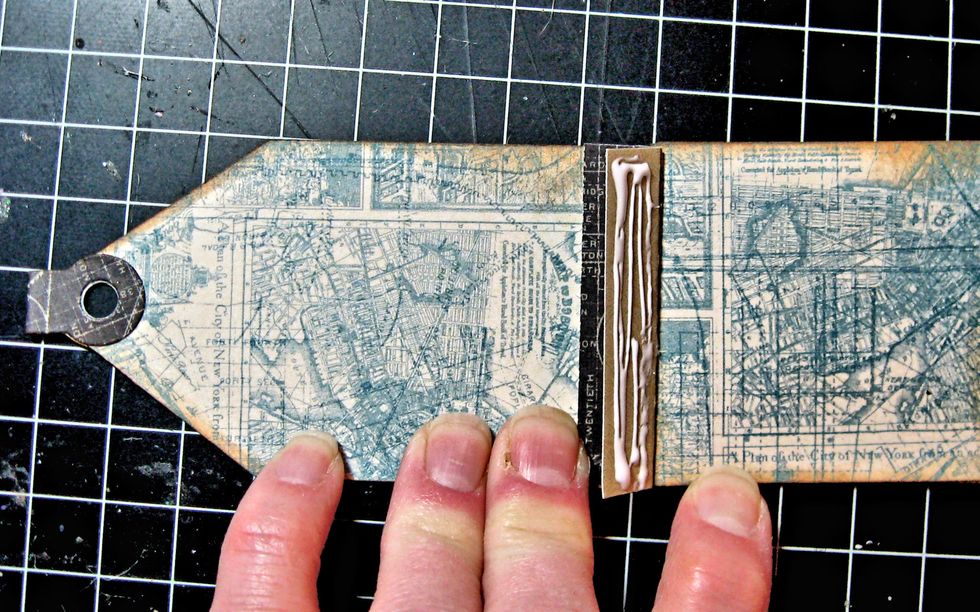
Cut two pieces of black paterned paper from the 6x6 pad. They should measure 1" wide by 2.25" long.
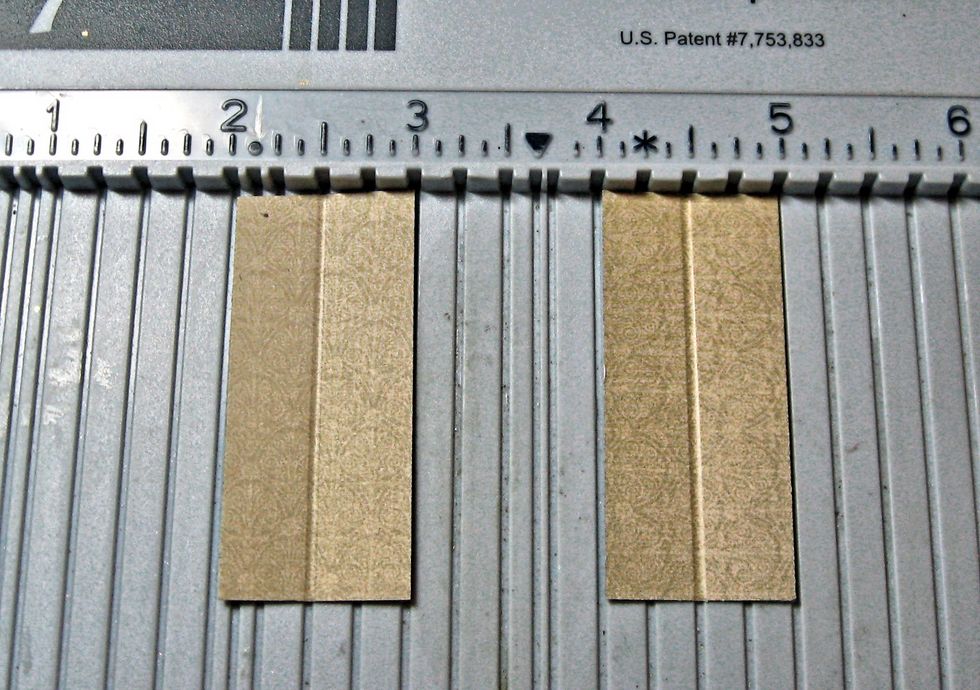
Place the short end on your scoring tool and score each at 1/2" . Crease.
Glue left hand side of binding to the right hand side of the inside cover, as seen here. The bow is on the outside of the binding, not glued inside the binding.
Add glue to right hand side of binding. Butt stitched inside pages flush against right hand side of the cover. Be sure bow is free. Glue down.
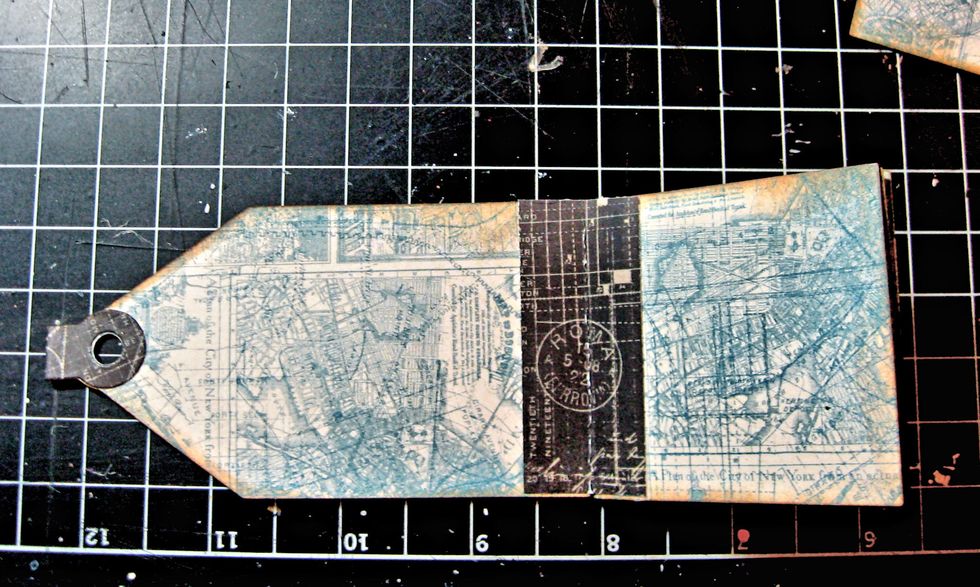
Repeat with the back cover and inner pages using the 2nd binding piece.
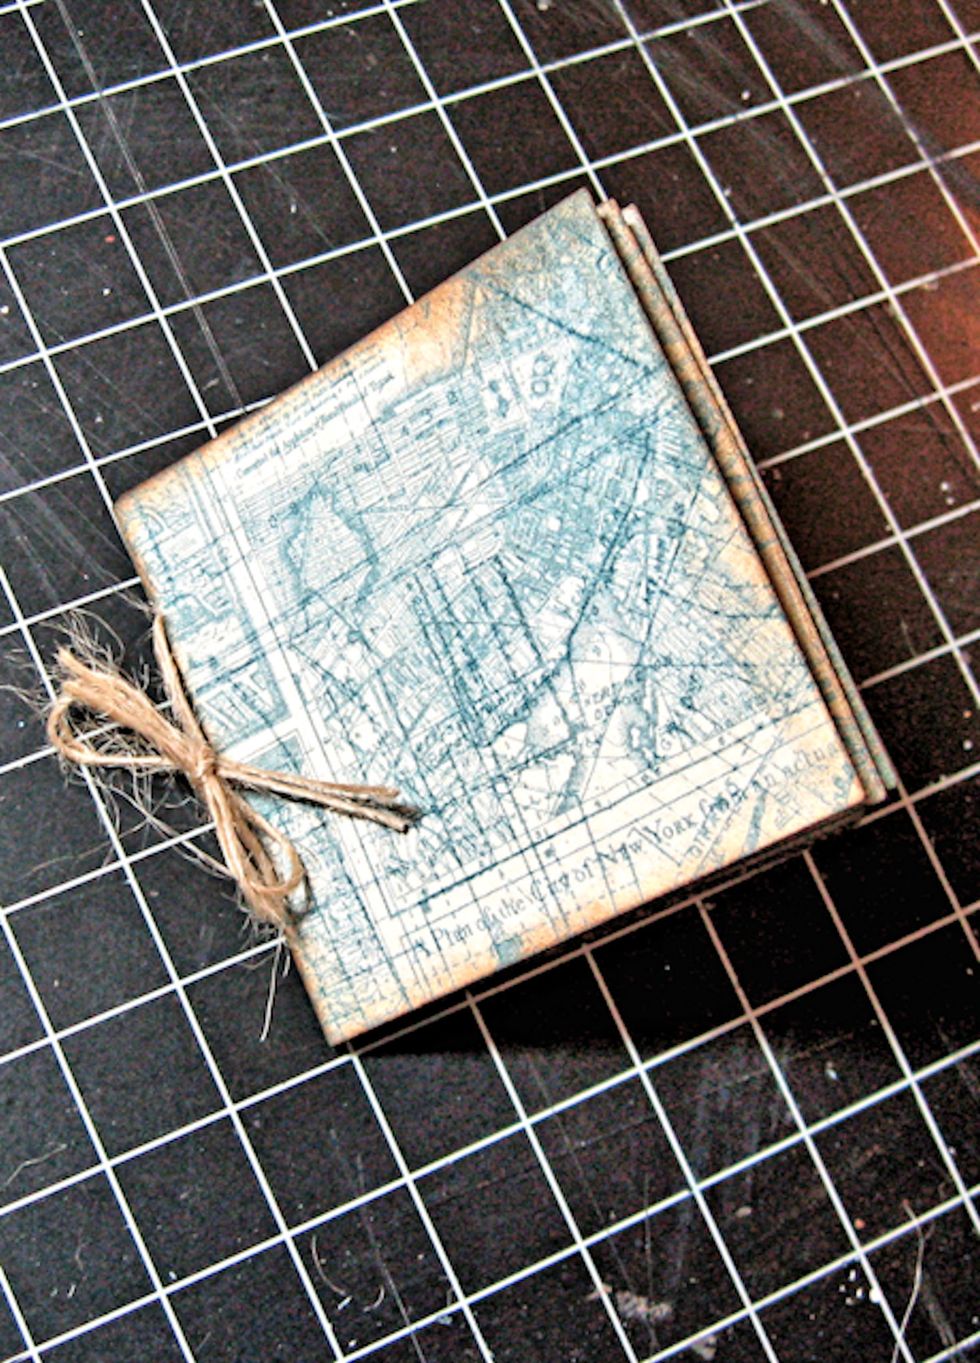
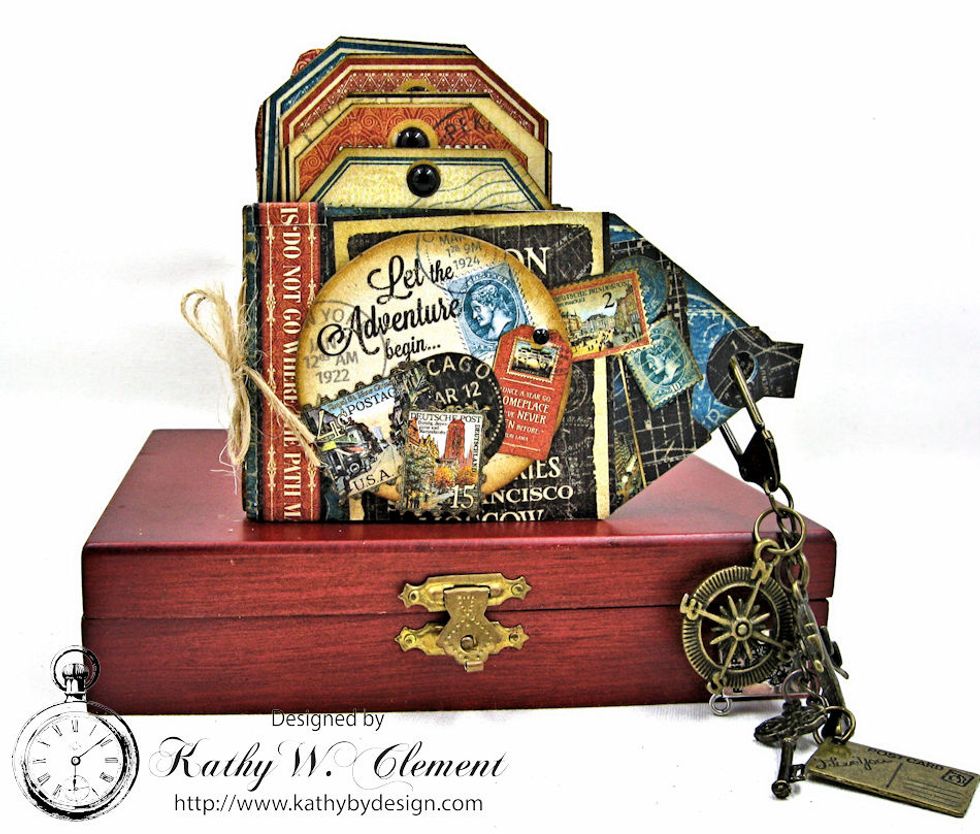
The mini tag book will look like this at this point.
The inner pages are now secured to the cover, and we can begin to decorate the mini tag book.
Cut the border strip from the 8x8 papers and glue on the left hand side of the mini tag book. I wrapped it all the way around the outside and continued through the inside.
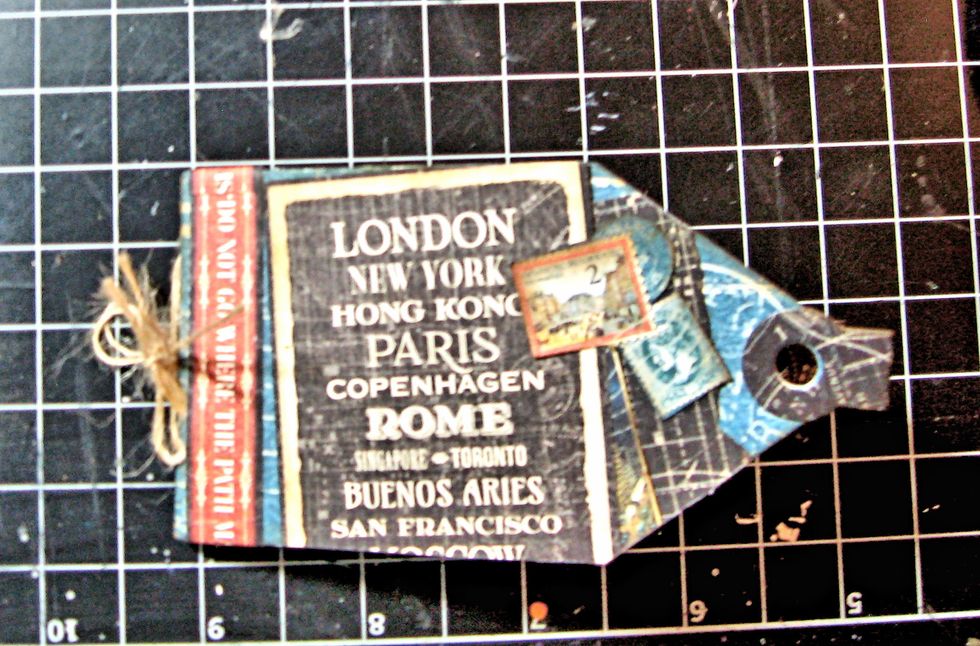
Glue fussy cut stamps to the travel poster from the 8x8 paper. Glue all onto front cover of mini tag book,
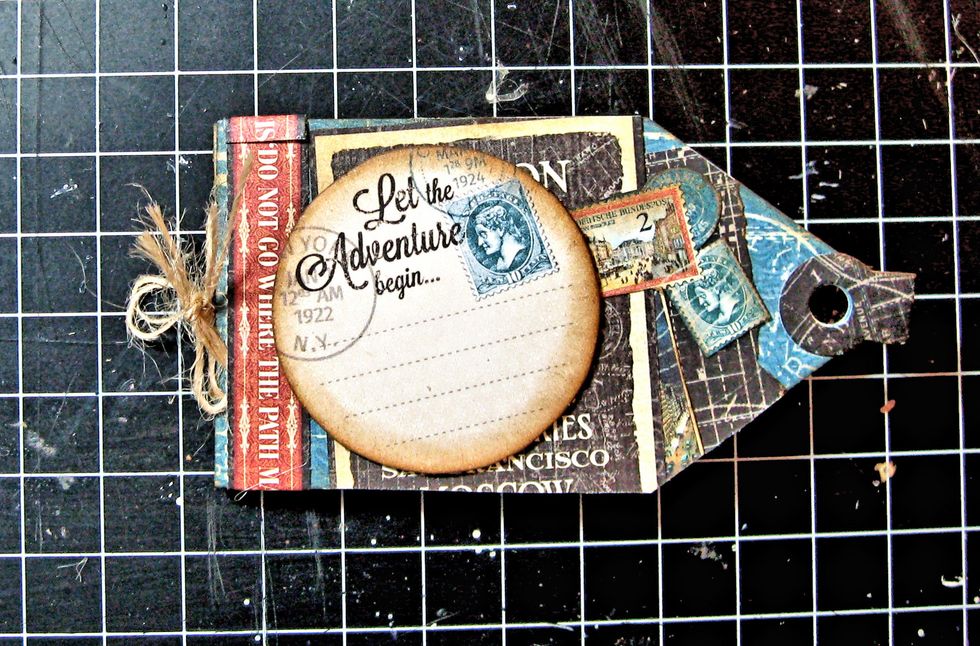
Add the chipboard.

Fussy cut other elements from the papers and layer on top.
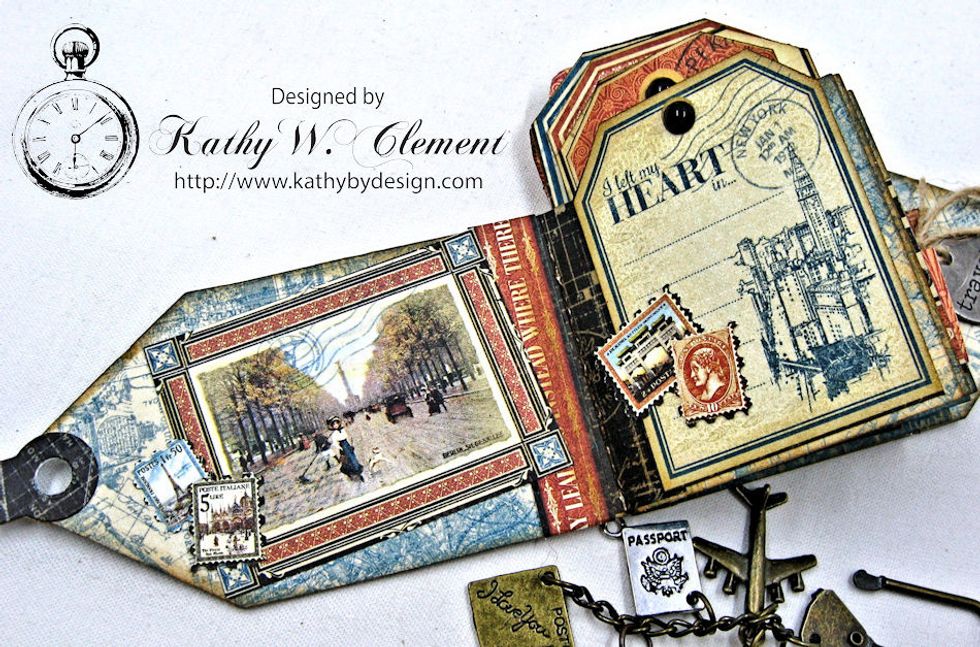
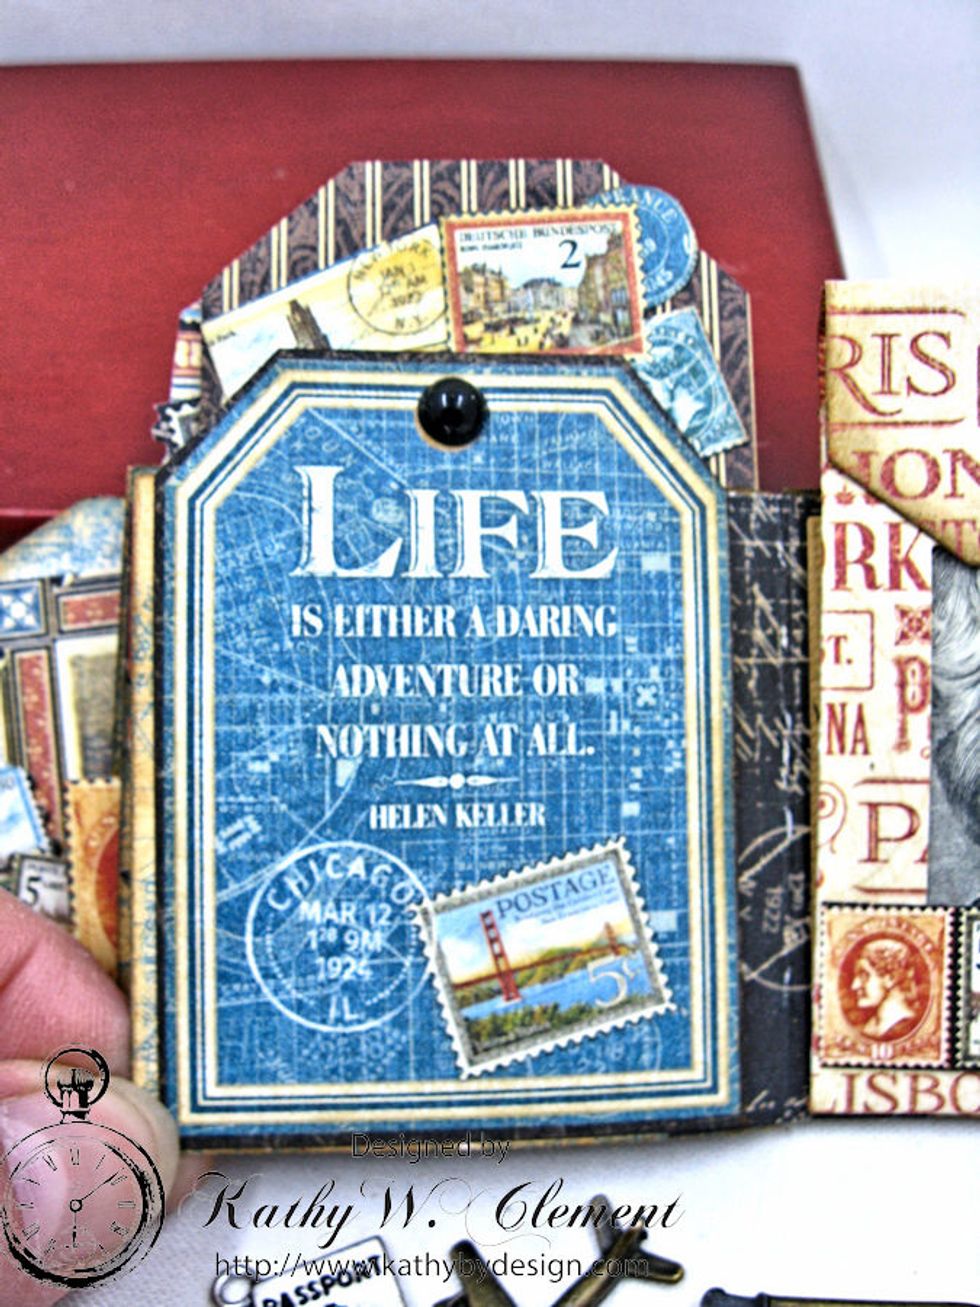
Cut tags and images from 8x8 book and glue in place as seen here. I fussy cut postage stamps and layered on to add more dimension and visual interest.

Glue a border piece all the way across these two pages. Add postage stamps and write travel quotes on a blank tag.
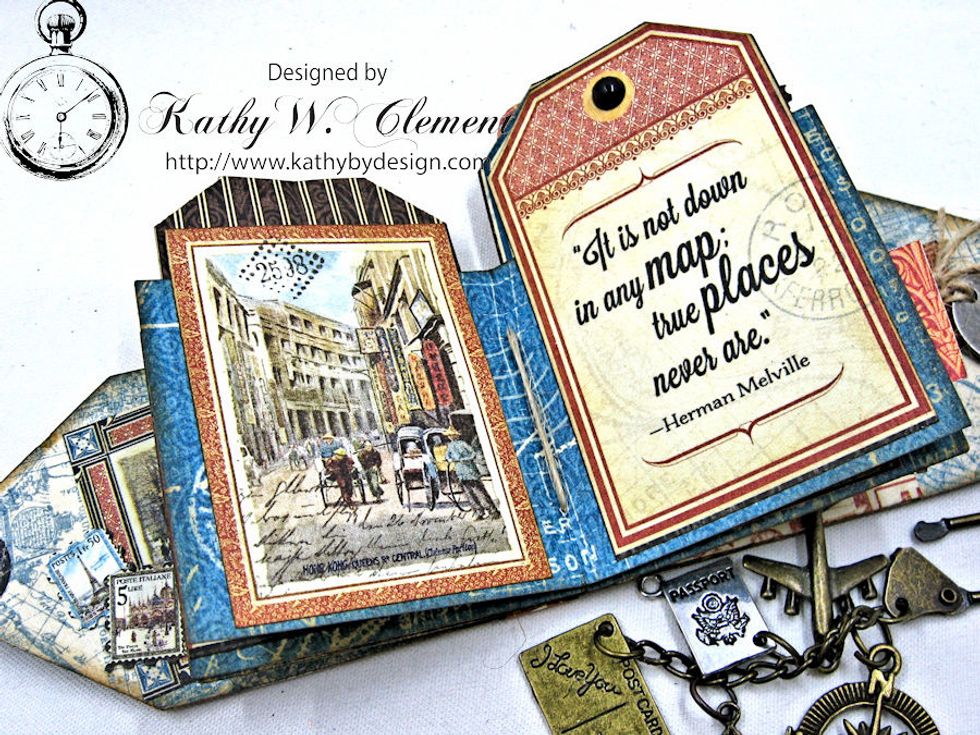
Add flat back pearls to tag tops if desired.
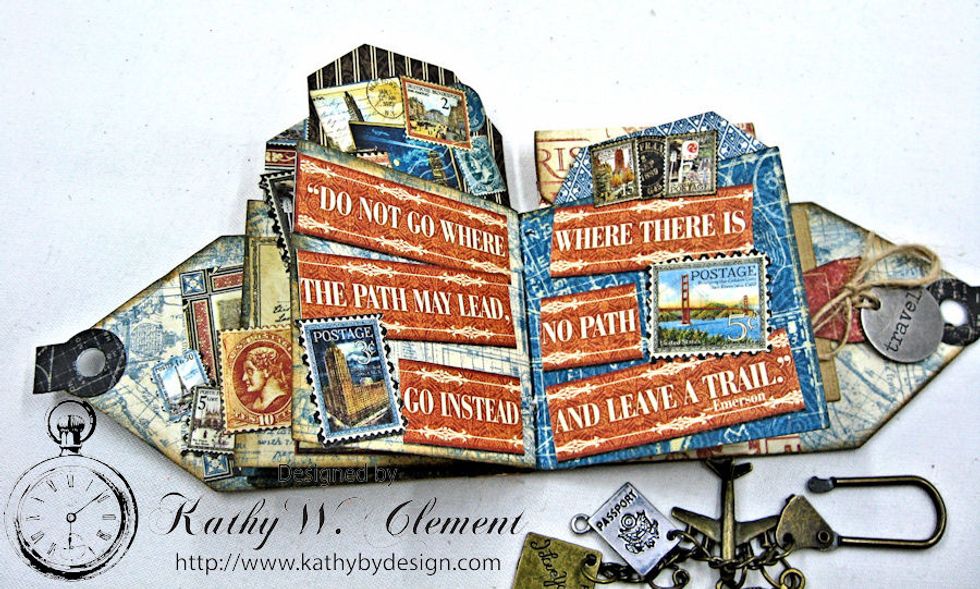
I cut this large border strip from the 12x12 papers into strips and then added it to these two pages. Once again,, I added fussy cut stamps to amp up the design.
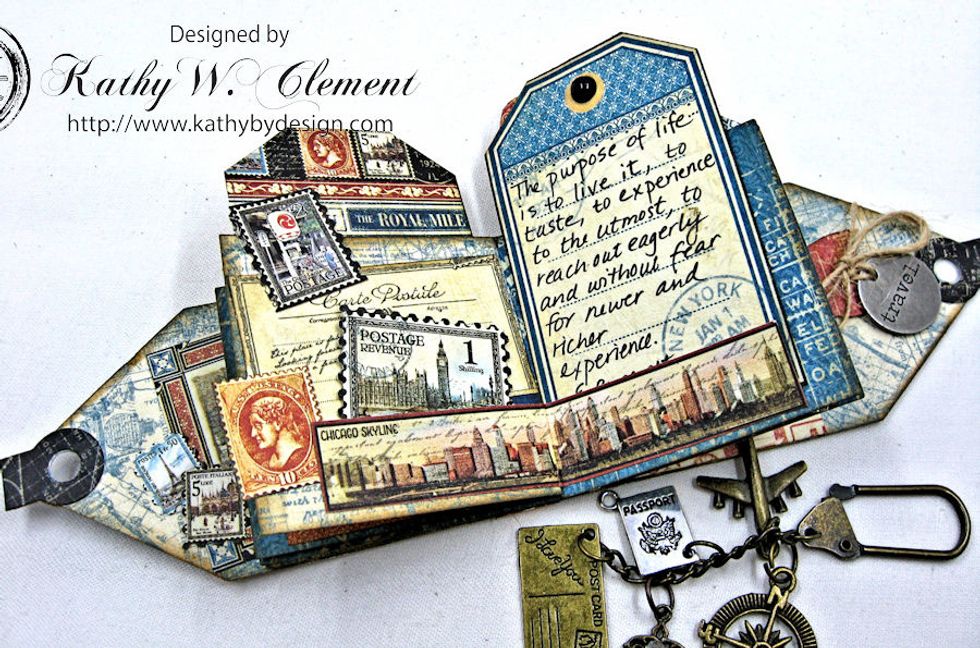
Glue this border strip just along the bottom edge, leaving the top edge free. Tuck in stamps, postcards and tags.
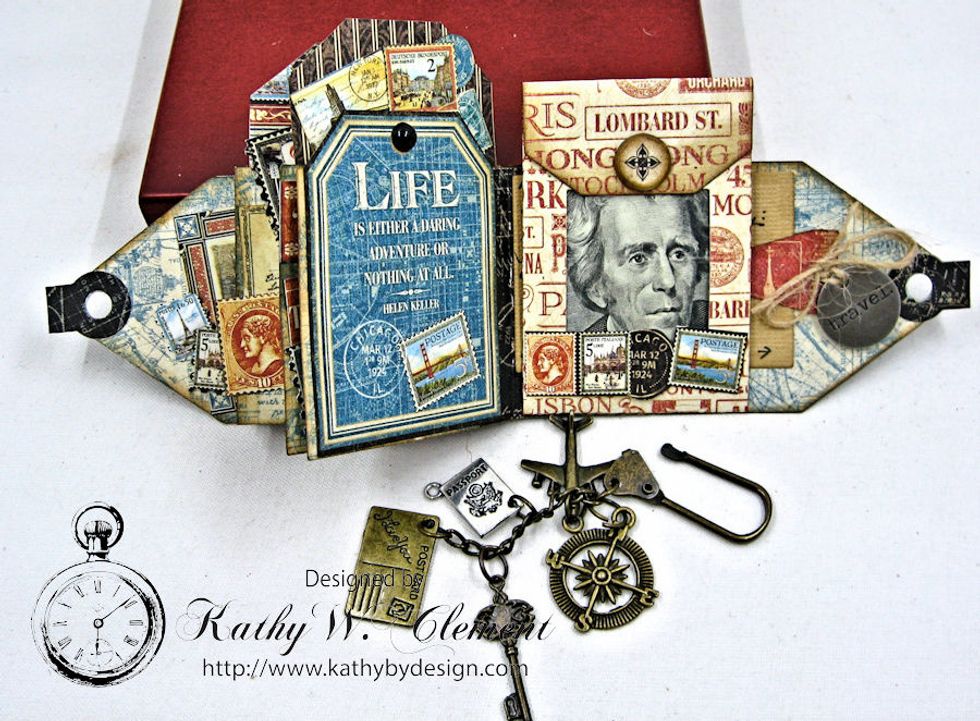
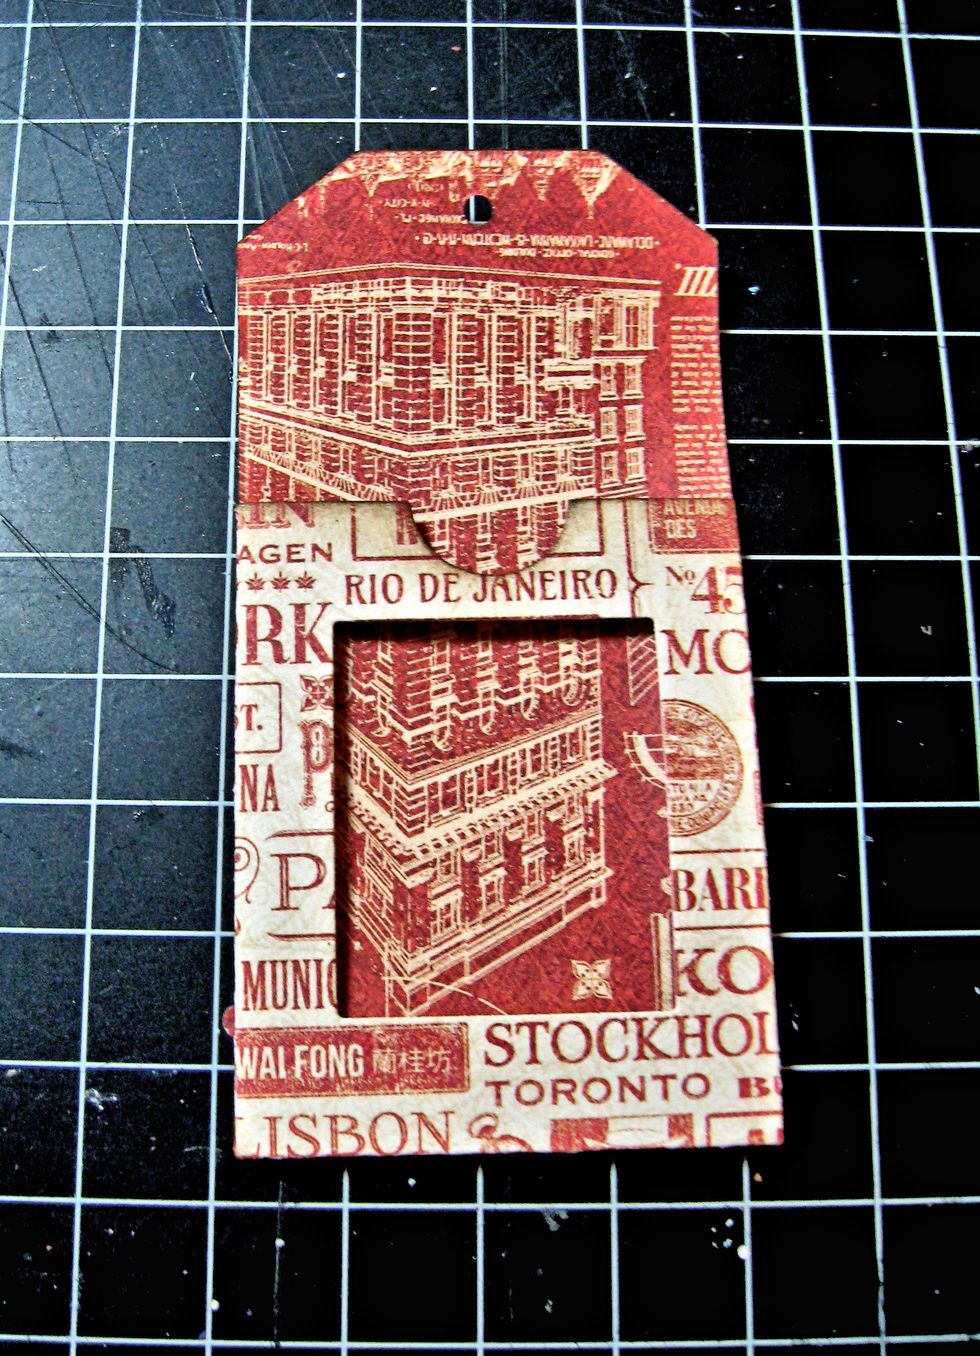
On the last page of the album, add one more tag, and then I will show you how to make a custom mini envelope with a window. Use this to present a cash gift or gift card.
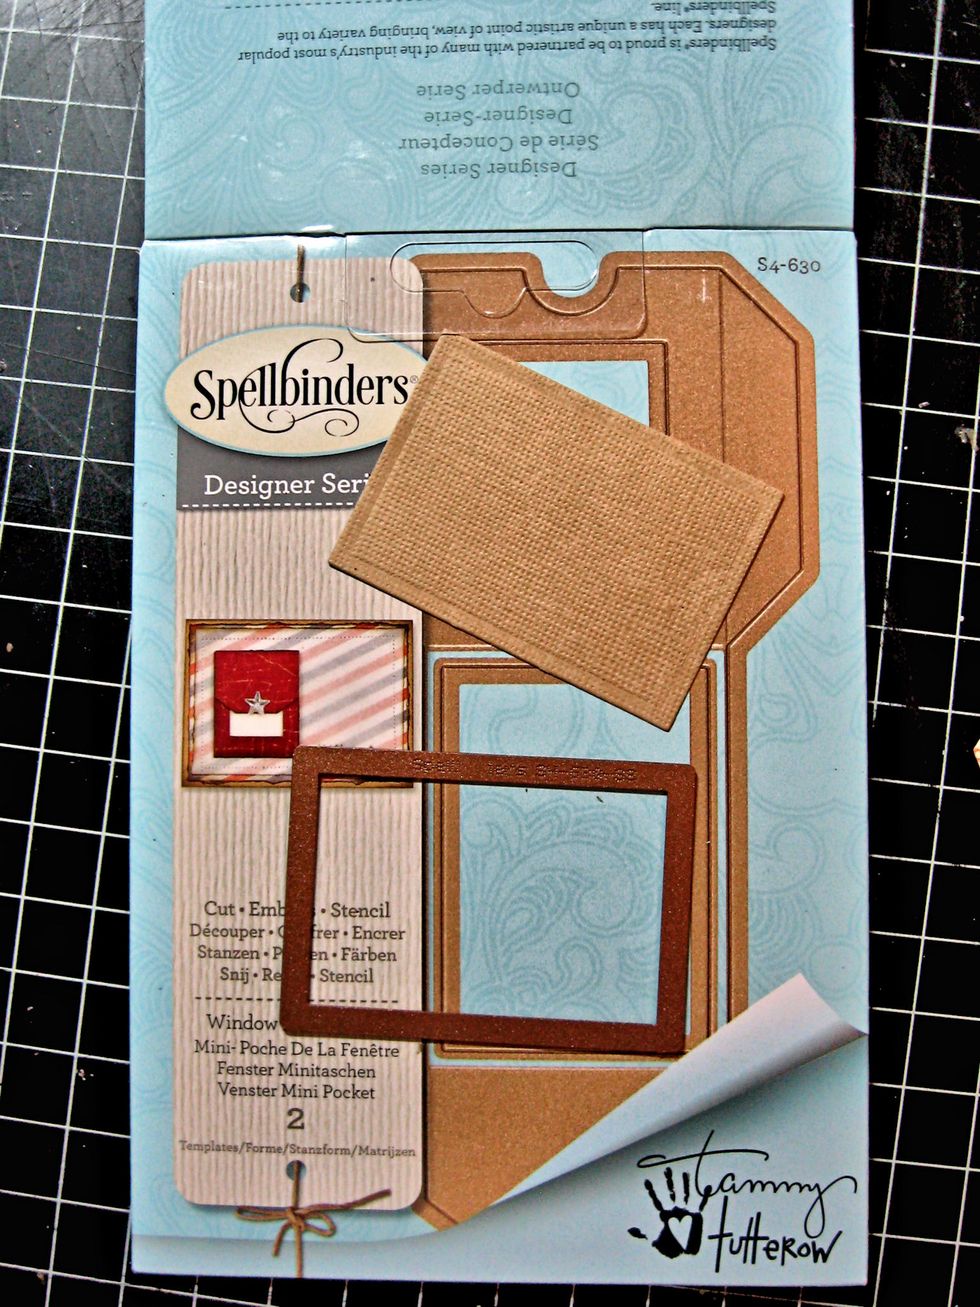
I used Tammy Tutterow's Window Mini Pocket to create this cash envelope for my Mini Tag Album. It has a magnetic closure. Glue just the bottom edge into the album to create a hidden mini postcard.
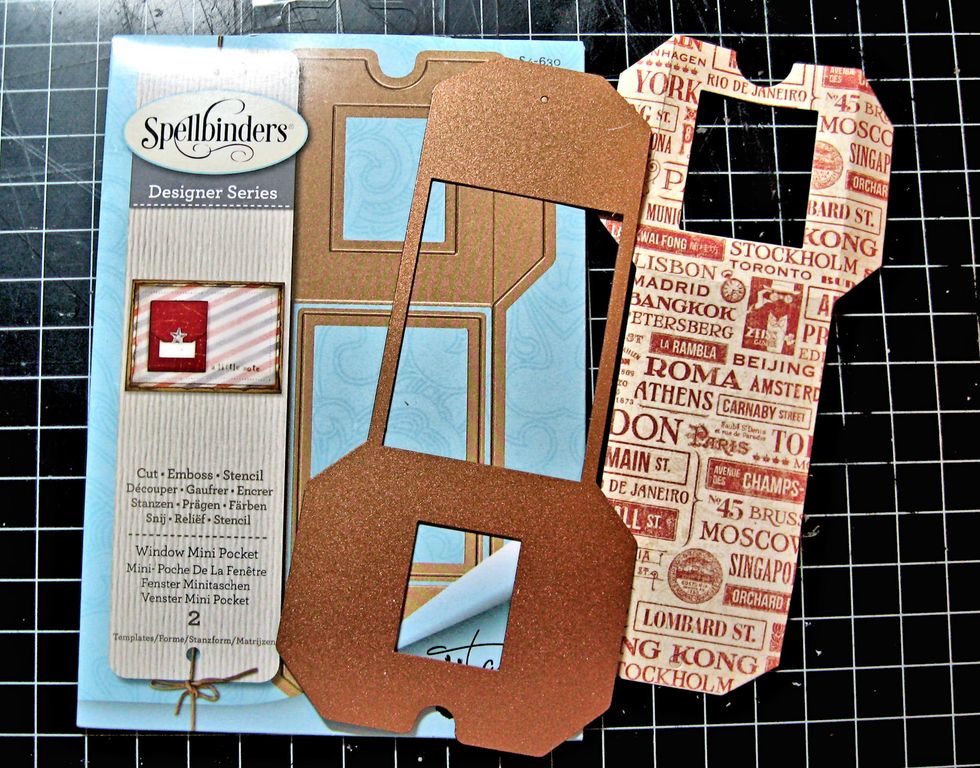
Cut the mini pocket from designer paper.
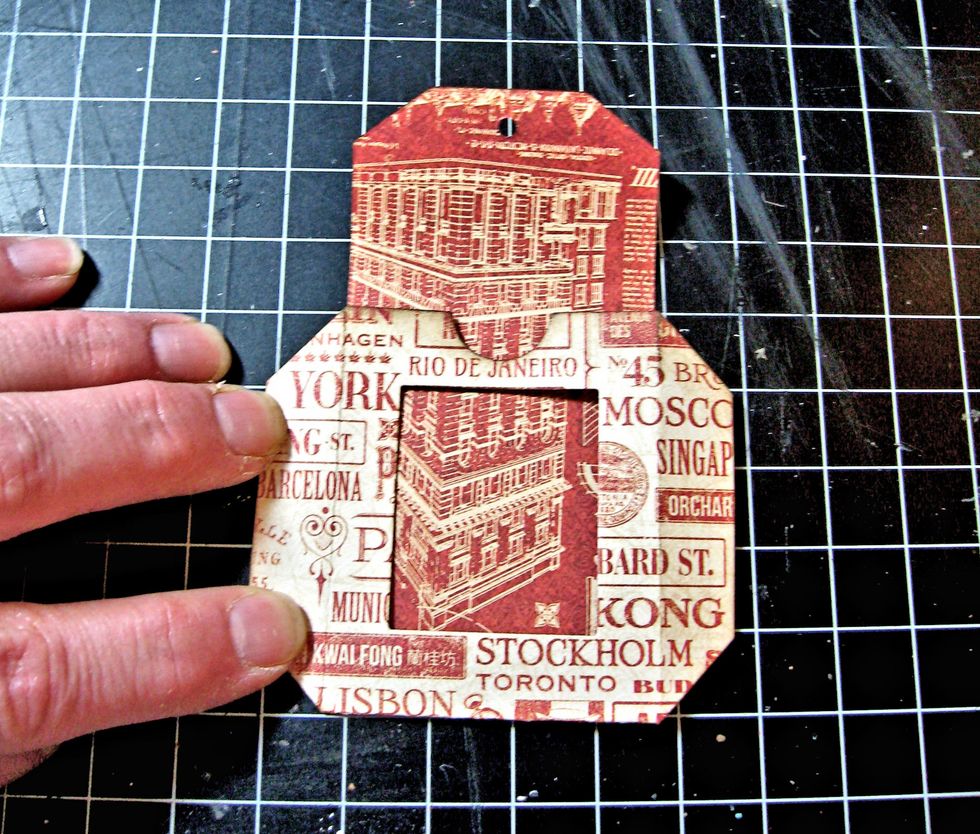
The die automatically cuts out the window and adds crease lines. Simply fold along the crease lines.
Flip the pocket over and add glue to the flaps.

Burnish to seal.
The die automatically creates a brad hole. I decided not to use a brad closure and opted for a magnetic closure instead.

Glue 2 Basic Grey mini magnets in place as shown. Although the magnets come with an adhesive backing, it is not strong enough to hold the magnets in place, so I use glue.

I also add a paper layer between the magnets. Use a 1/2" circle punch for these. Just glue them over the mini magnets and wait for the glue to dry! Meanwhile, we will create a hidden message spot.
The window pocket die has a small rectangular piece that fits inside the envelope for a message. We will use this to create our mini postcard.
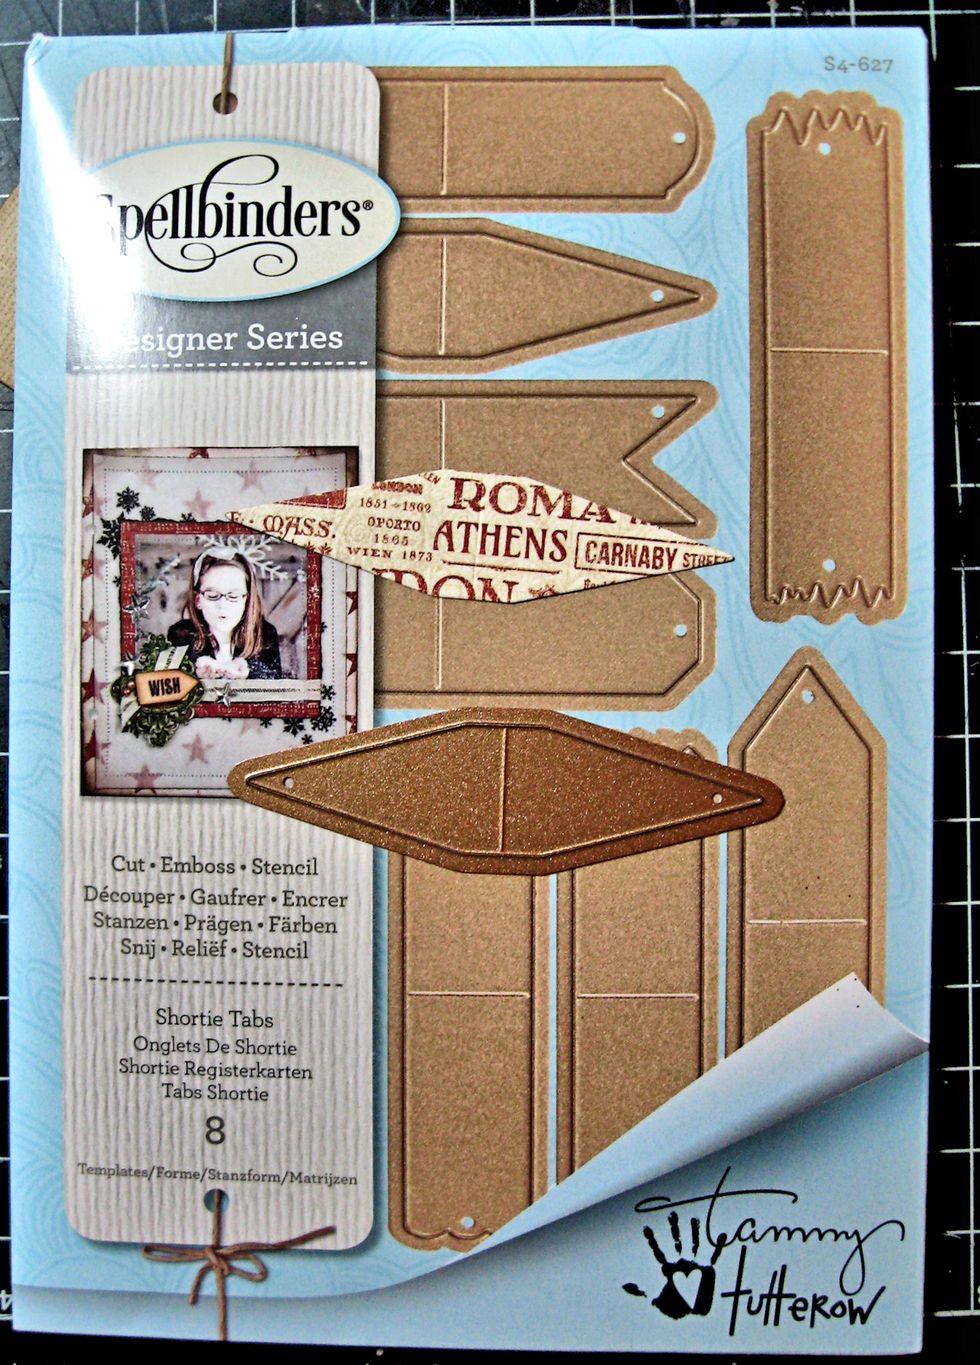
After cutting out the mini postcard, use the Shortie Tabs die and cut another piece of patterned paper. It is pre-scored in the center. Ink the edges and crease.
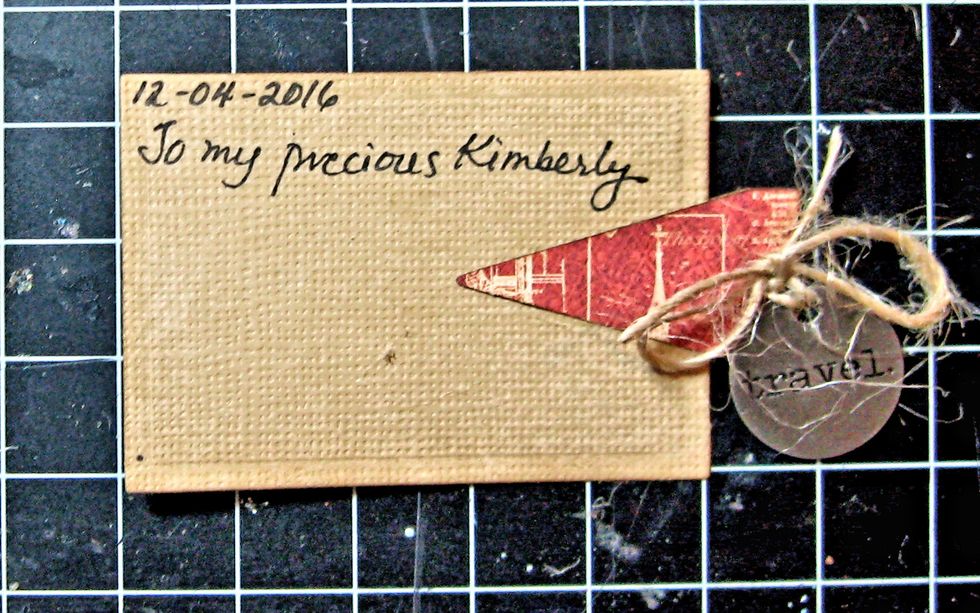
Glue the folded die cut over the right hand edge of mini postcard. Leave an edge so you can punch a hole and add a travel token, as seen here. Write your personal message here.
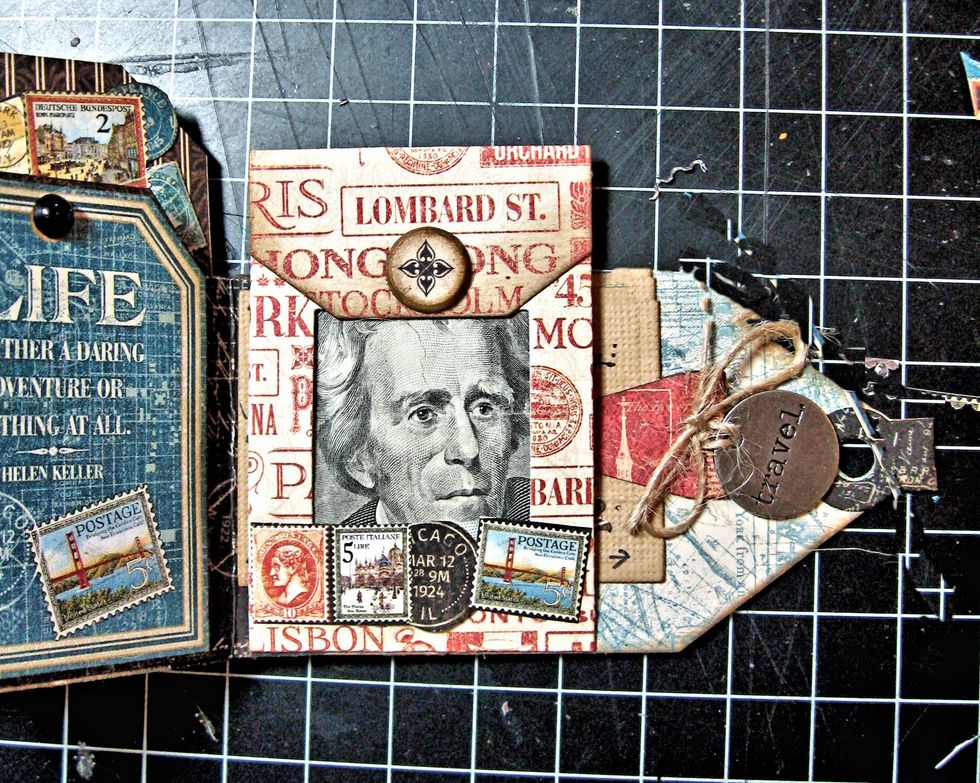
Fold cash and insert in envelope. Add fussy cut stamps and chipboard circle to envelope. Tuck mini postcard behind the envelope.
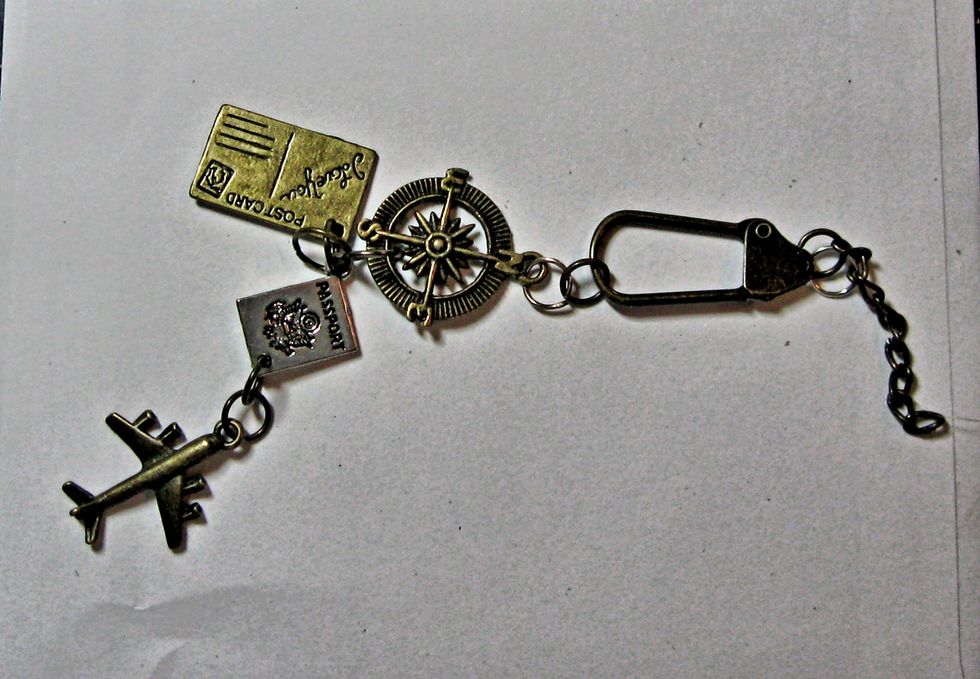
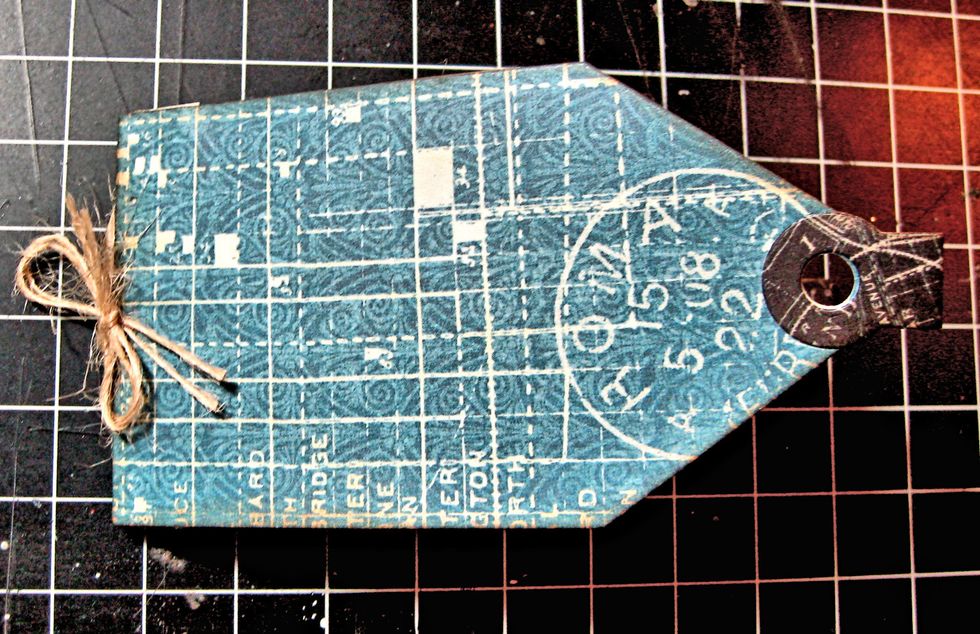
Use vintage findings and Tim Holtz Idea-Ology Caribiner to create the closure for the mini book. I found my charms online at the Funkie Junkie Boutique.
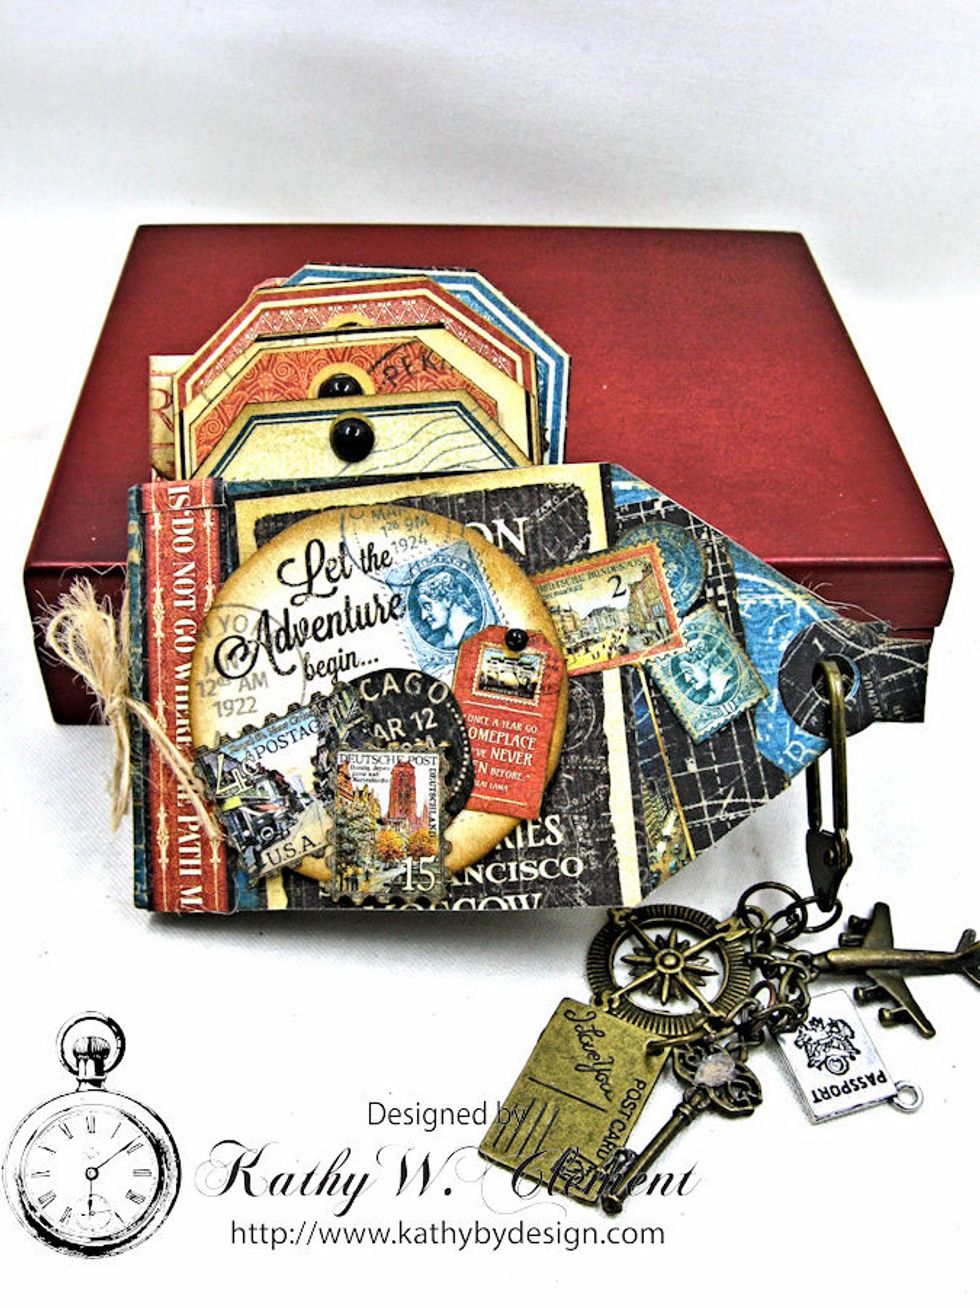
Cinch the Mini Tag Book Closed by opening the top of the Caribiner Clip through the tab opening. Now your Mini Tag Book is finished!
This is such a fun gift for your favorite traveler. You can modify the theme by using different papers. These mini tag books are addicting to make. I hope you enjoyed. Thanks for watching!