The Conversation (0)
Sign Up
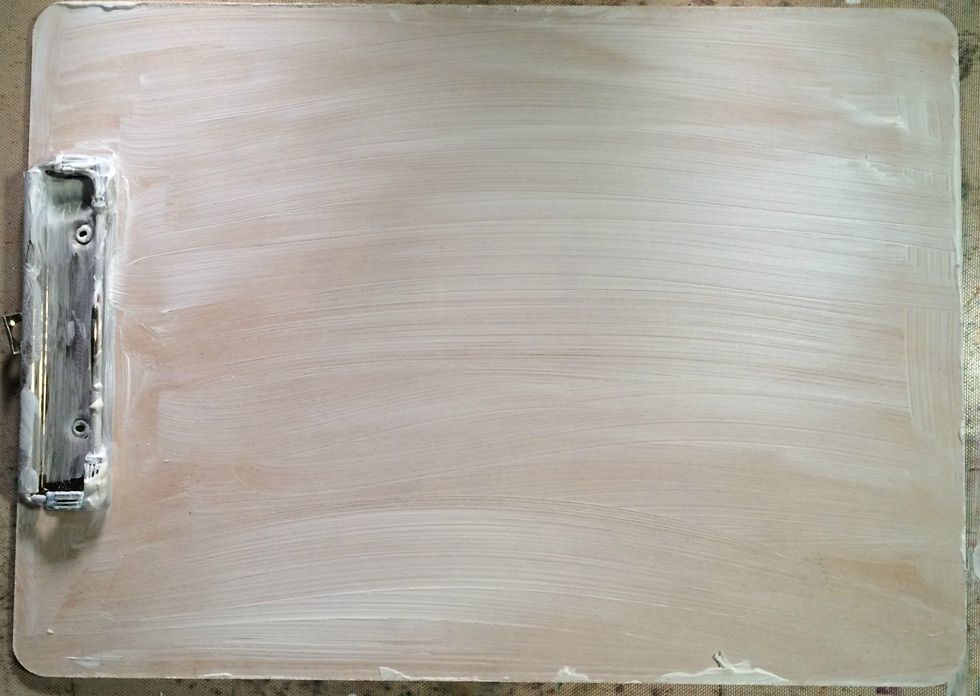
Apply white gesso generously to your clipboard...over the metal and everything...I let some overlap around the edges for some added texture...let this dry

Grab AA Colorations Mist in Studio Blue and a piece of paper cover different areas of the clipboard and mist...this way it leaves some white space...no worries about lines...they will disappear...
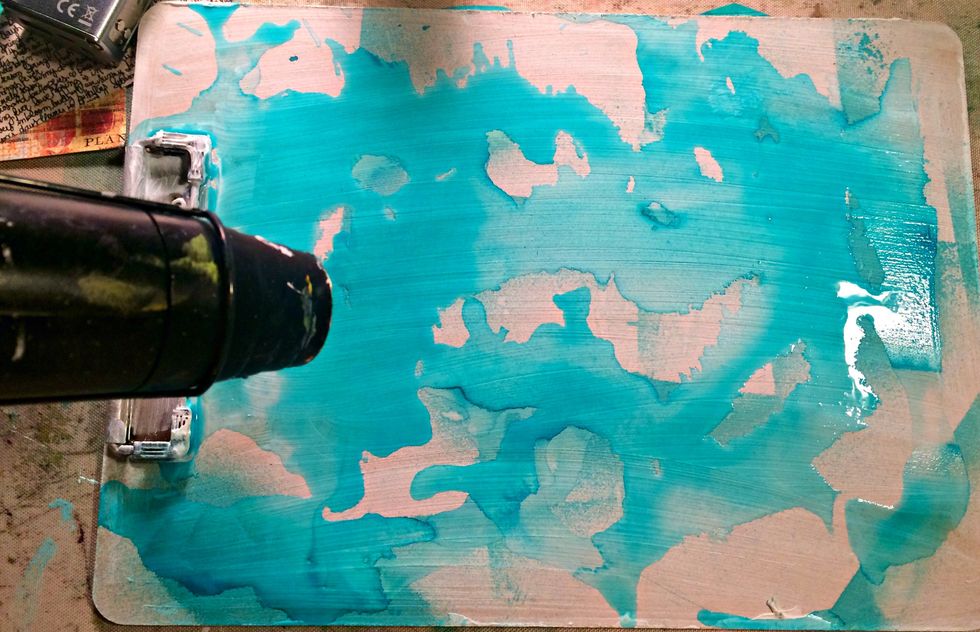
Grab your spray bottle full of water and start spraying all over the clipboard...you want a lot of water...now grab your heat gun and start moving the puddles around until they are dry...
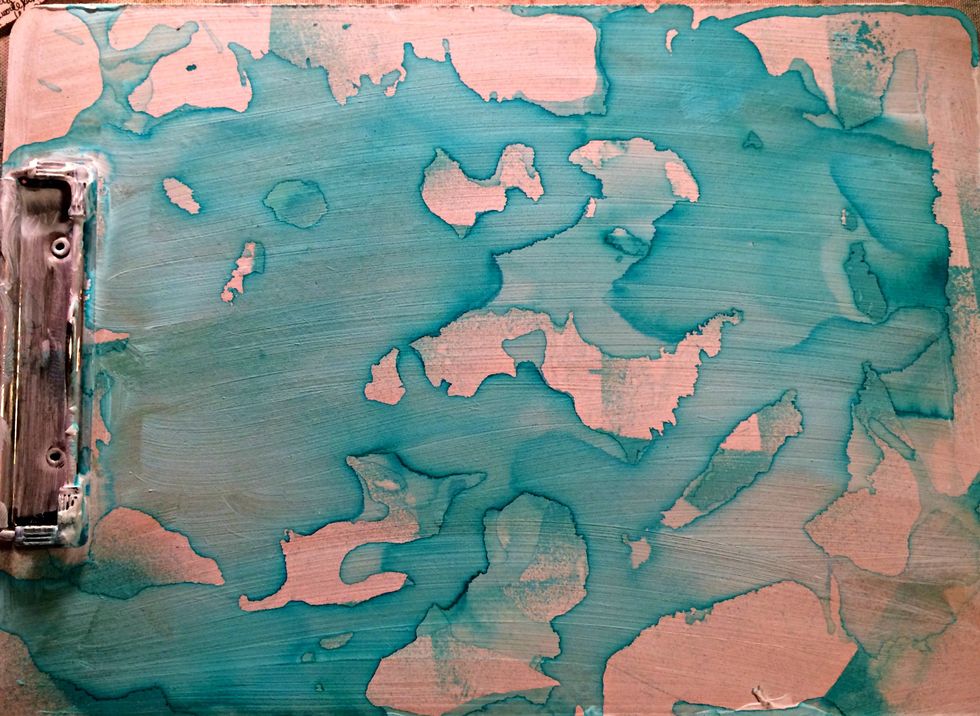
As you can see this creates a very cool water color affect and its very random...from here you are going to start adding your flowers and vintage pieces in the manner in which you like...
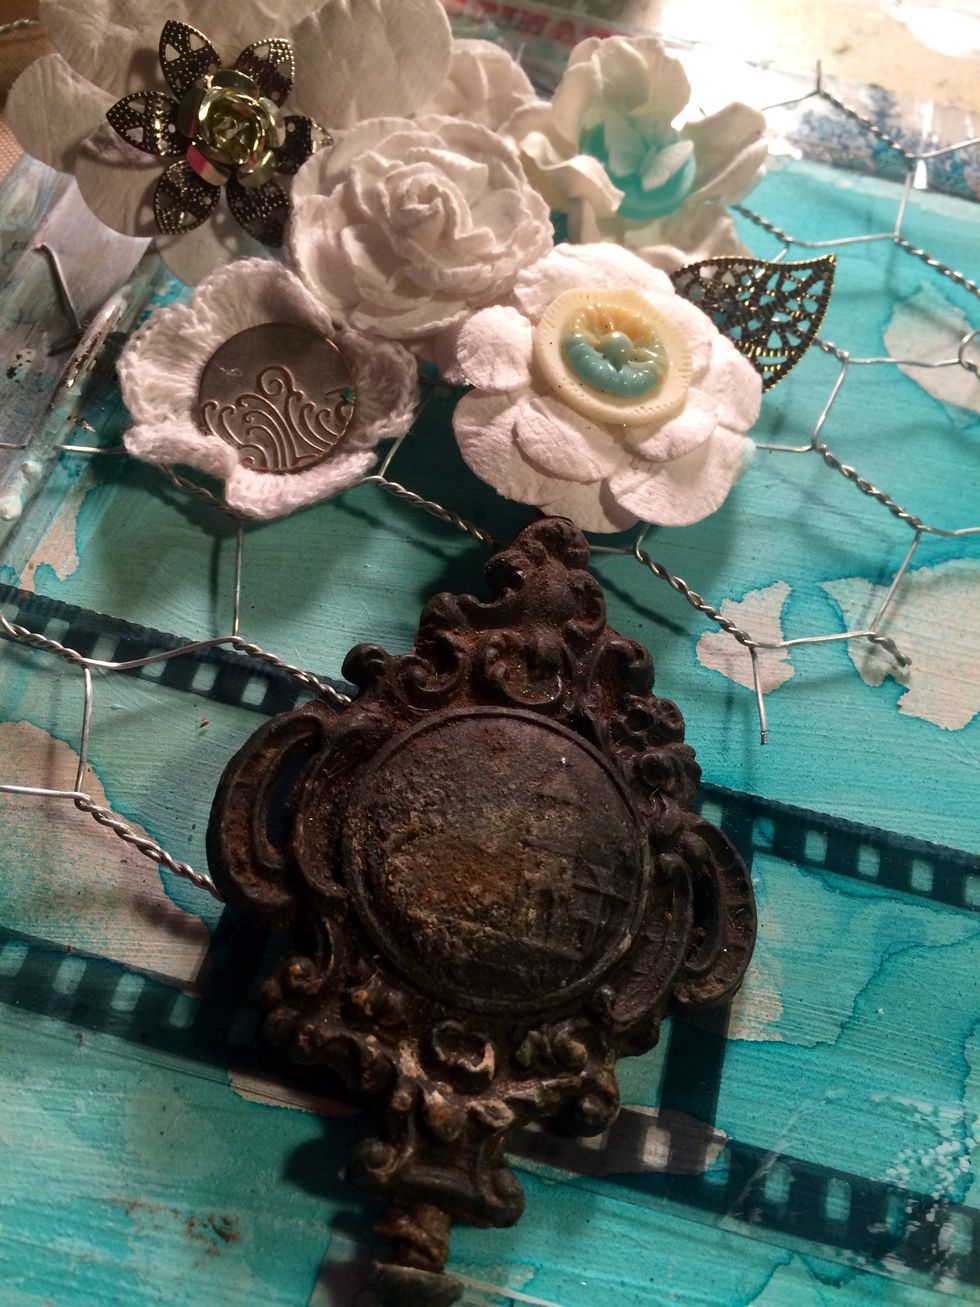
Here are some close up shots of some of the pieces I used. You can glue buttons to the insides of the flowers with hot glue...also use the hot glue to adhere them through the chicken wire...
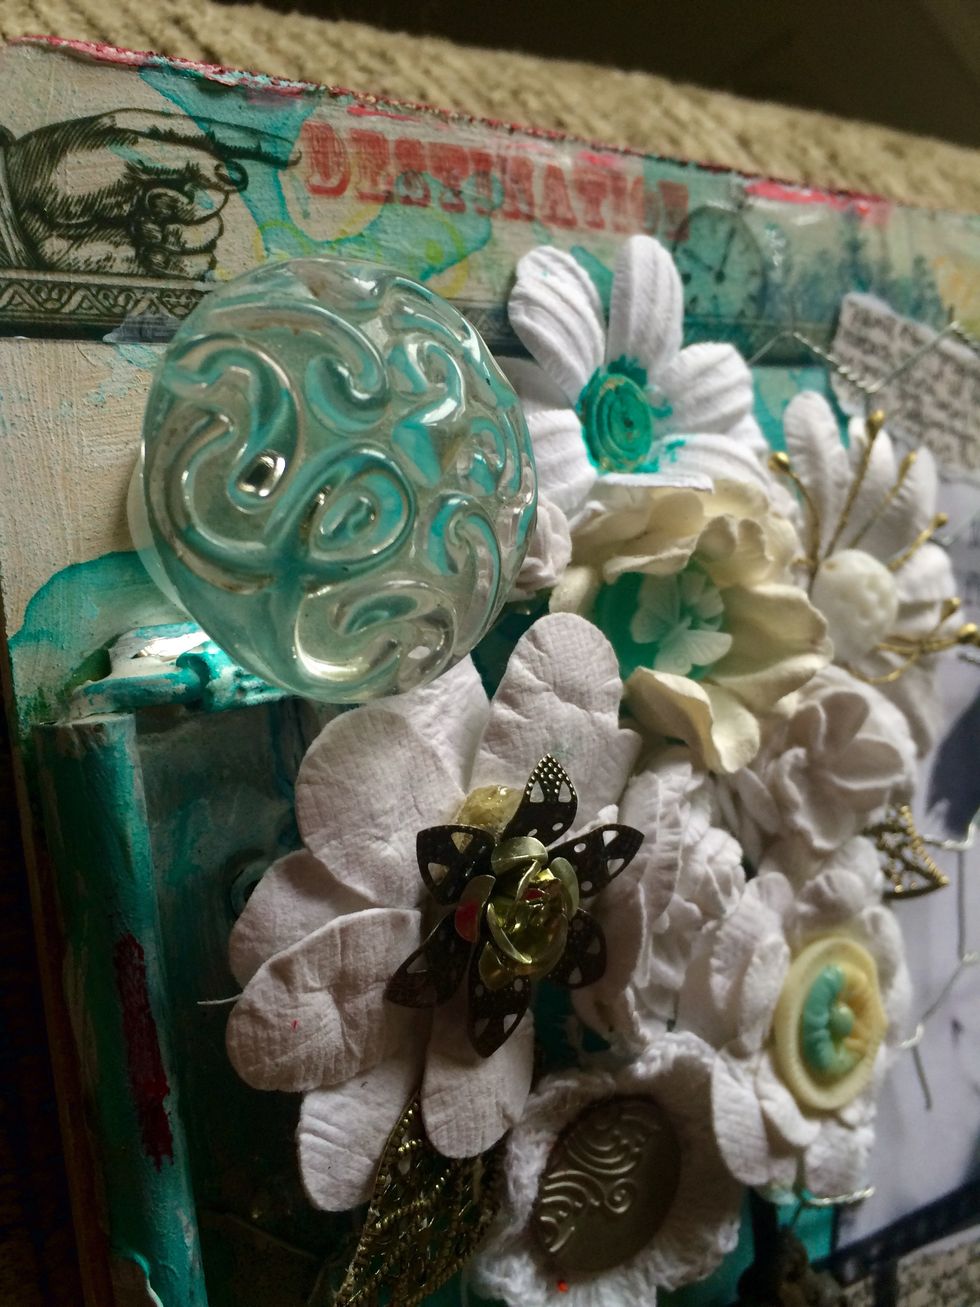
I love that the Studio Blue shows through the clear vintage door knob...
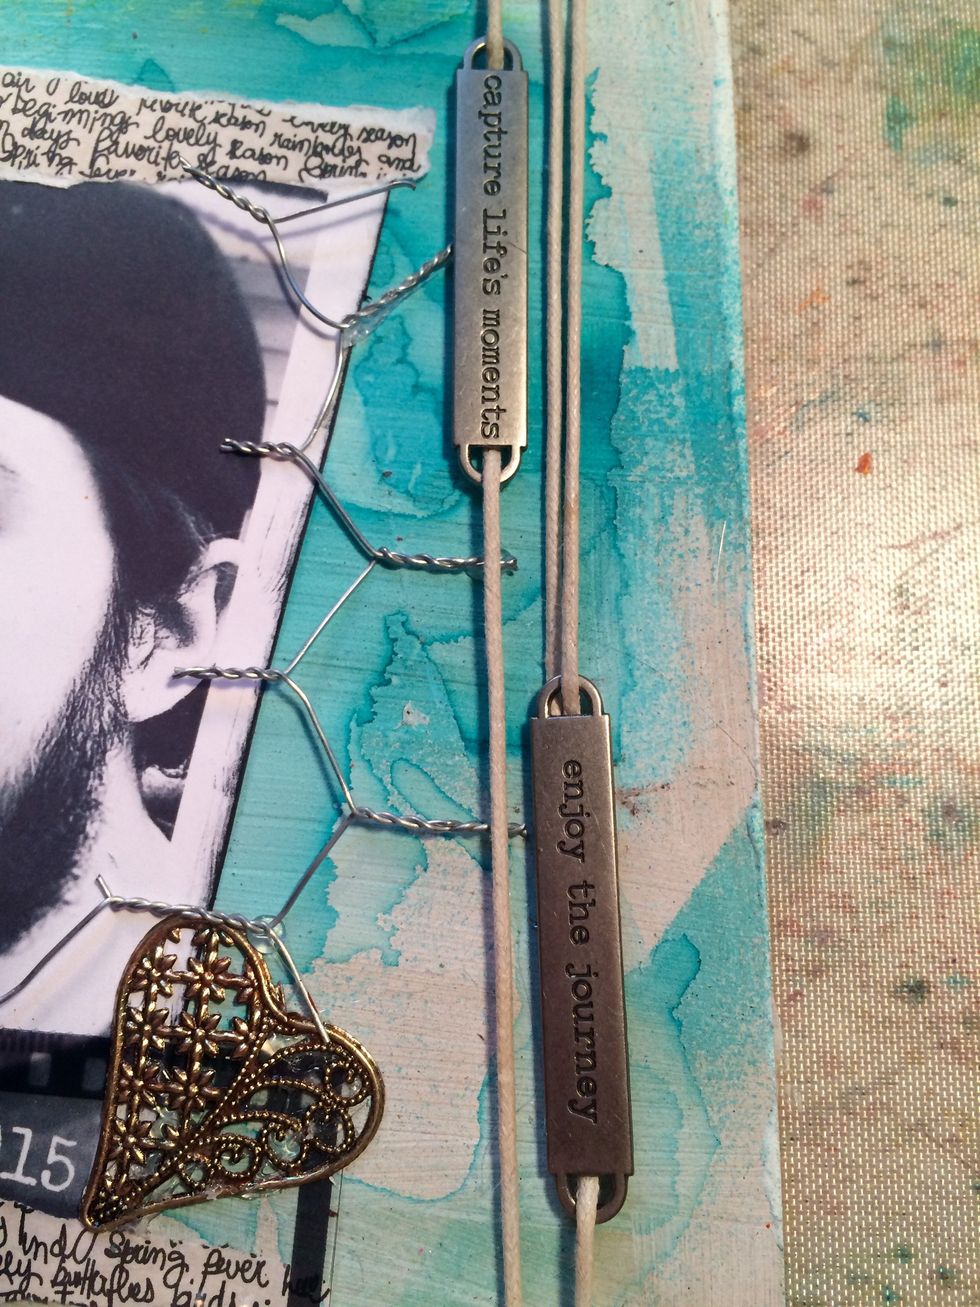
Here I just slid the word bands onto the string and wrapped it around the board...again using hot glue to adhere the loose end to the back and also behind one of the word bands.
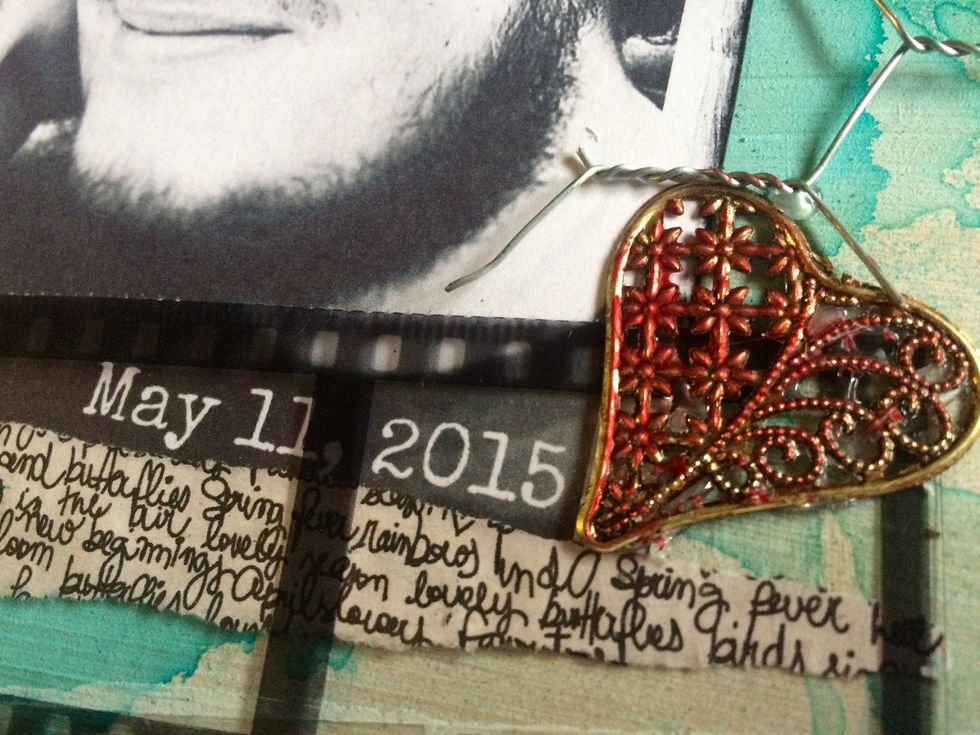
I rubbed some of the Art Anthology Velvet Desire on this filigree heart...just a little extra pop of color
I add text to my pictures at picmonkey.com before I print them out...its a great site for doing exactly this and also editing photos...
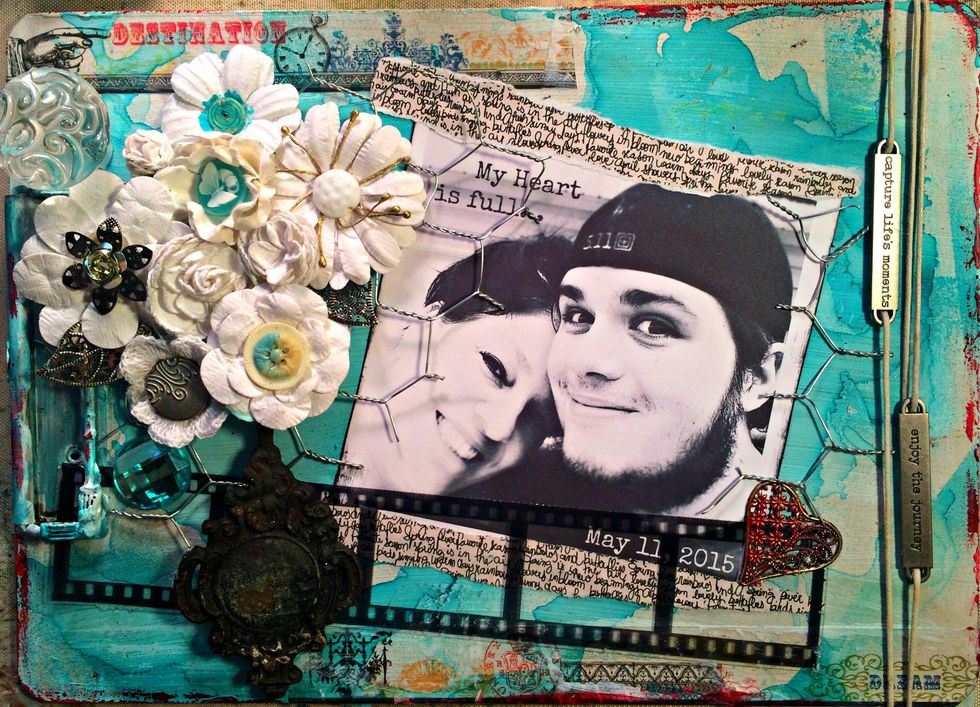
Here's on more shot of the completed piece...the last thing I did was use my finger tip to rub some Art Anthology Desire around the edges of the clipboard ...again...just a little extra pop of color