The Conversation (0)
Sign Up
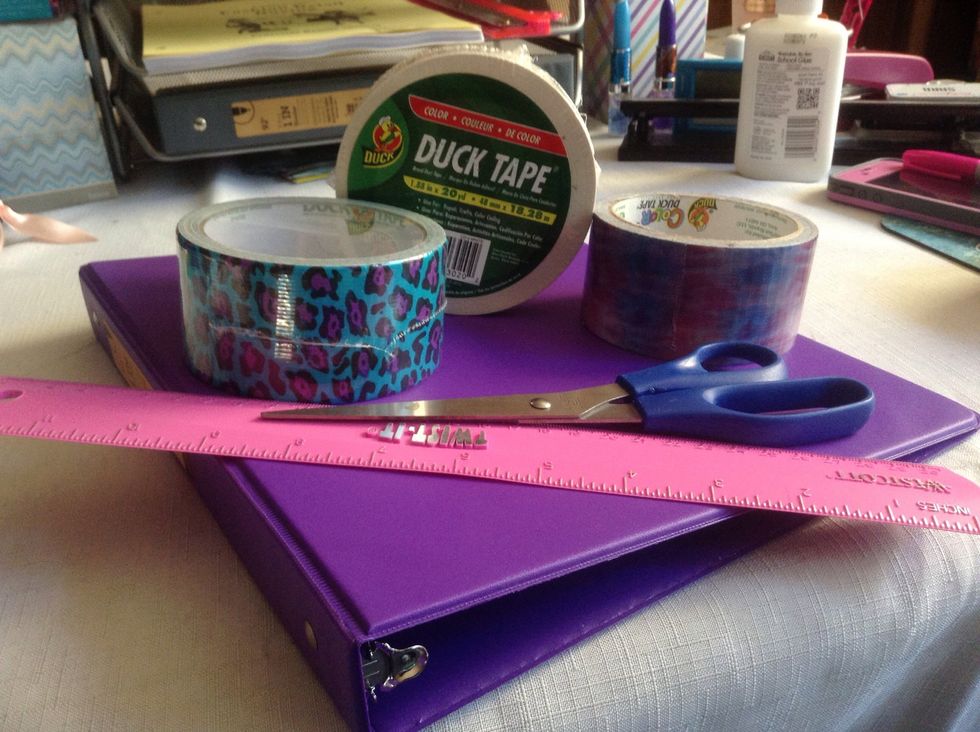
Sharpie not pictured.
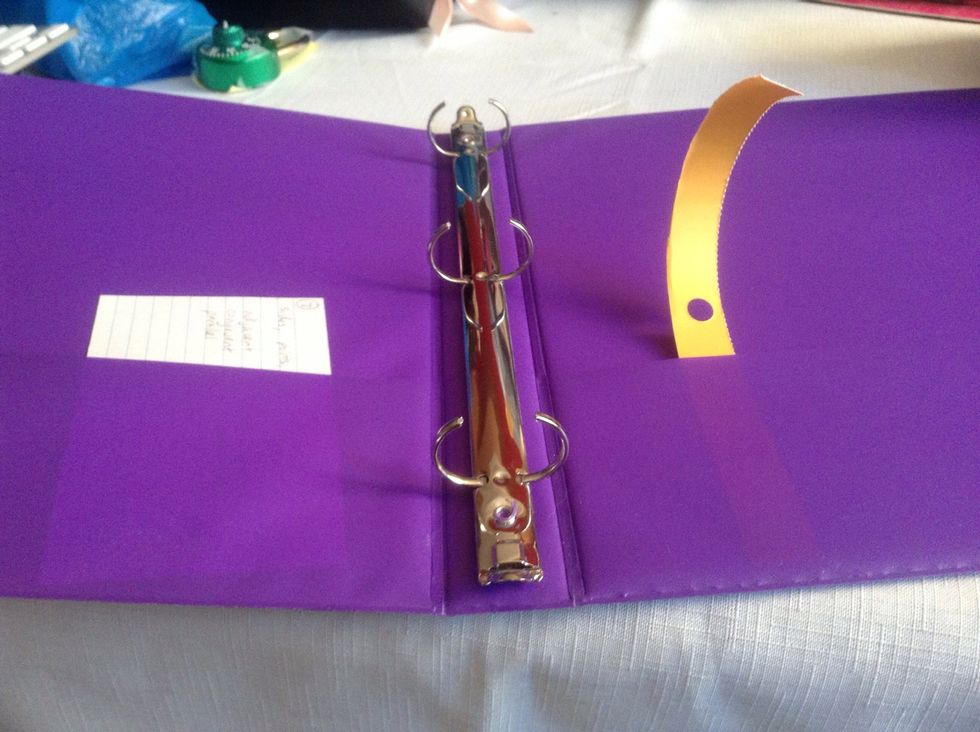
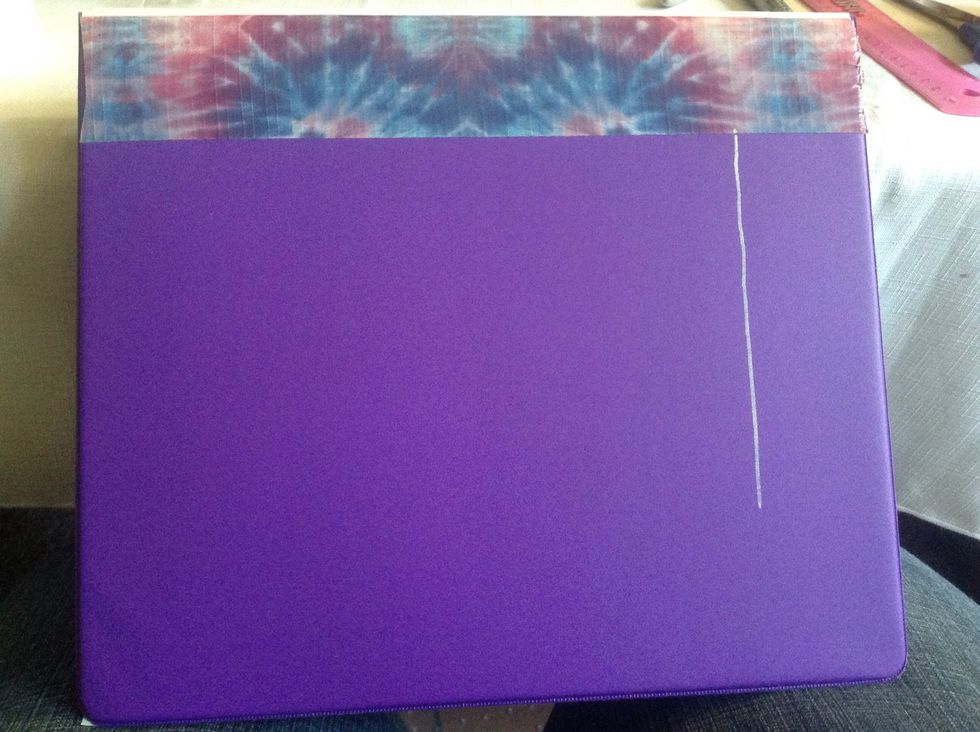
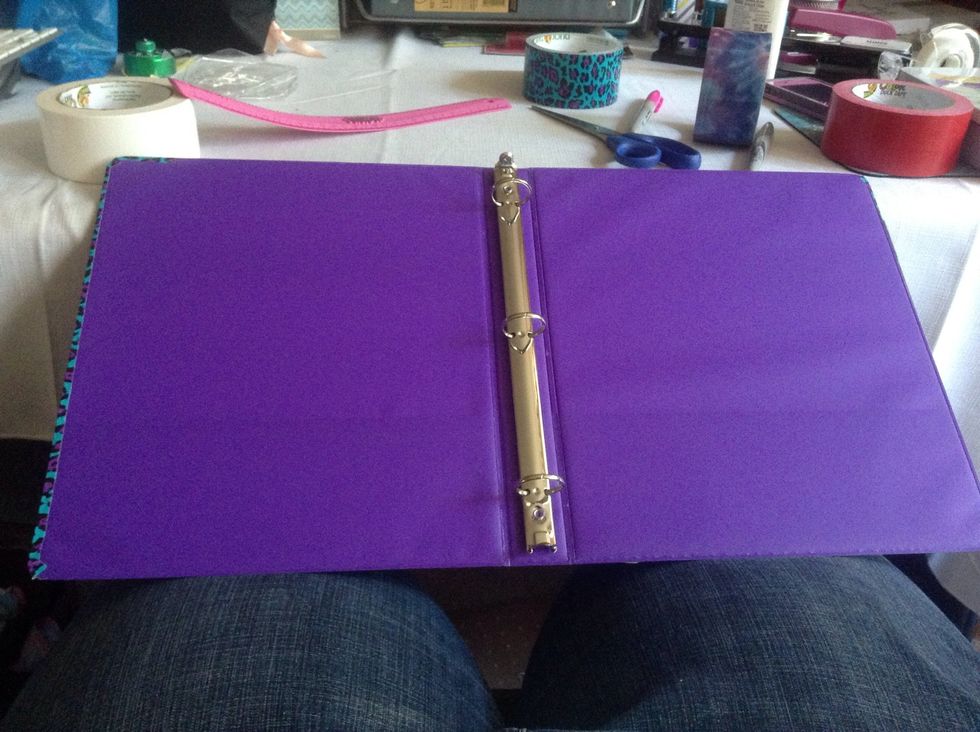
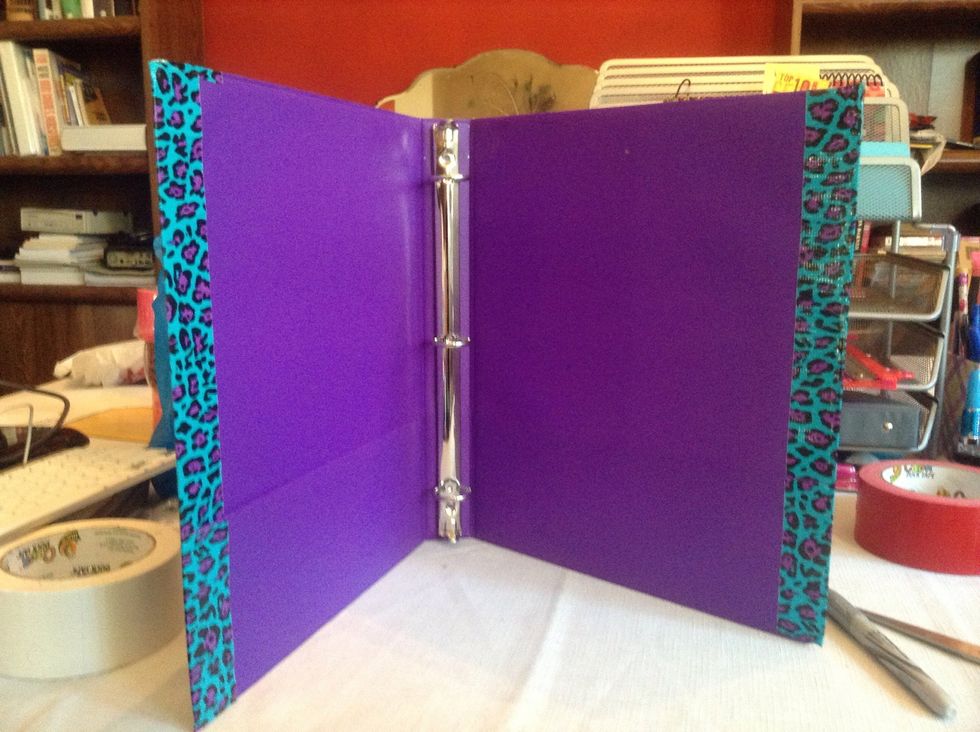
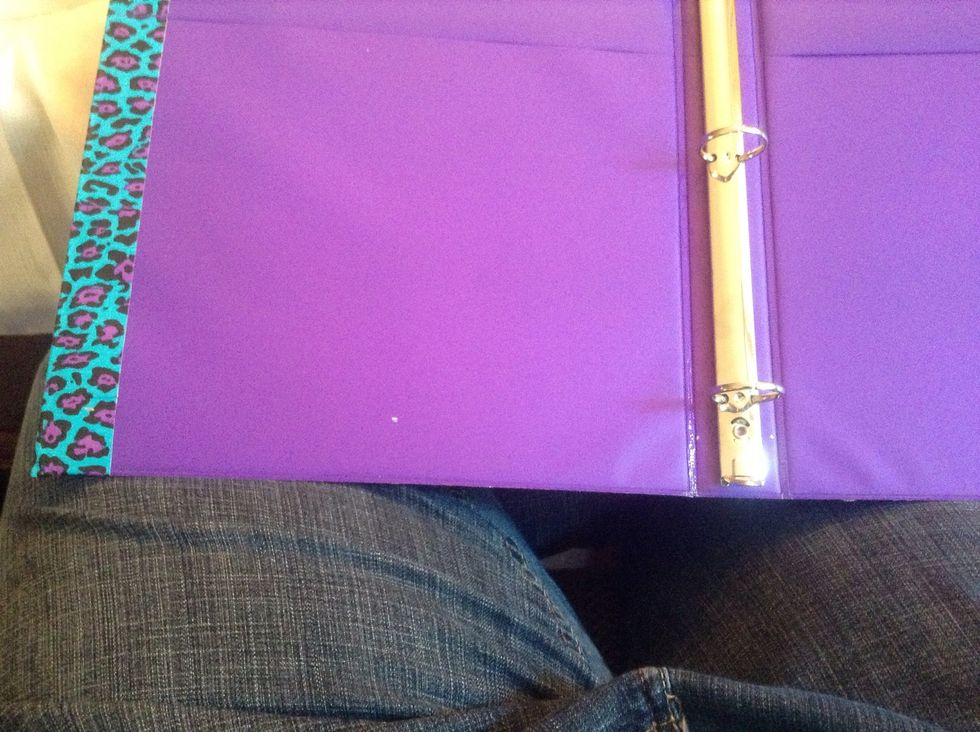
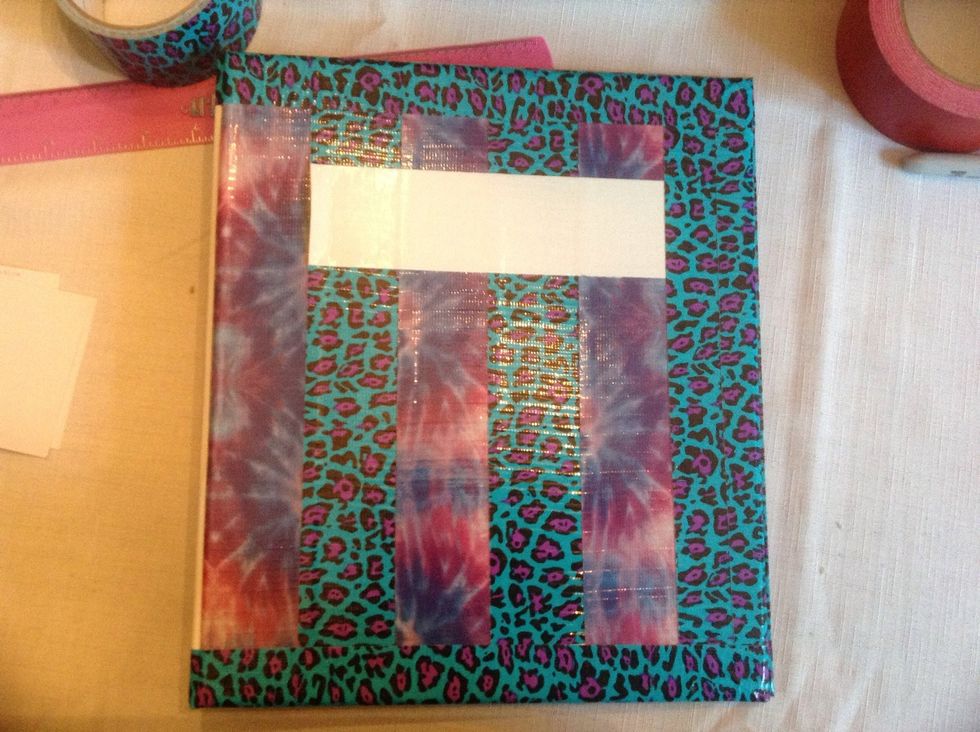
Here's my cheap binder from Walmart with stuff in to show the pockets
I'm putting white duck tape on the binding so I can make it stronger and use the tape as a label.
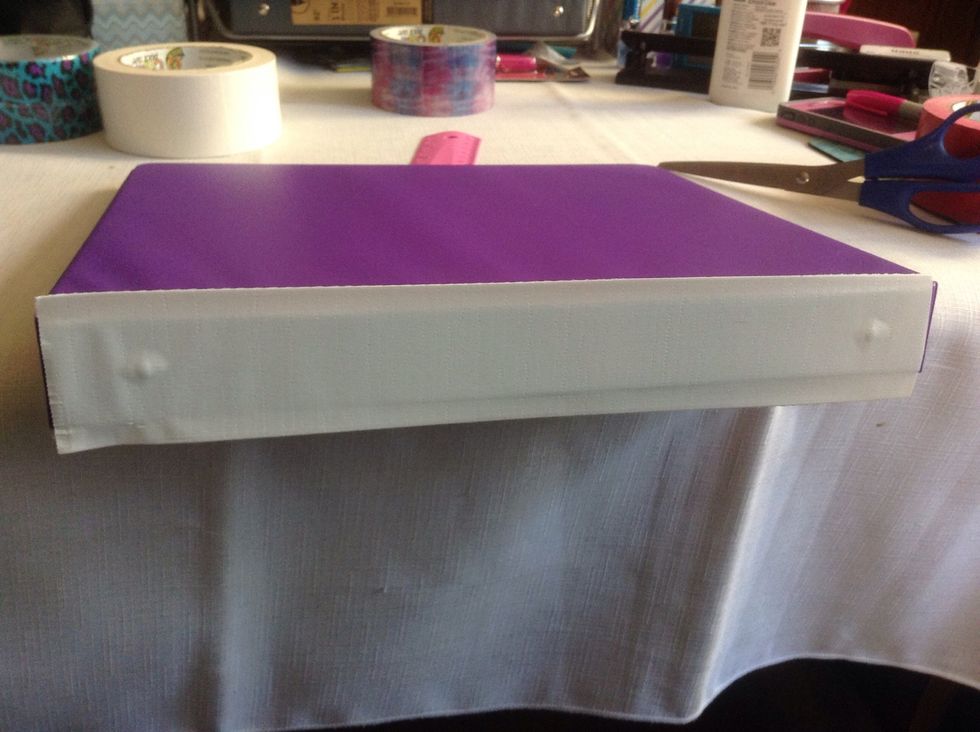
Cut it to the length of the binder and stick. Try to center the tape somewhat. Cover the "posts".

Starting from the middle, fold down the edges of the tape so there is no air, the tape has no wrinkles and sticks to the binder.
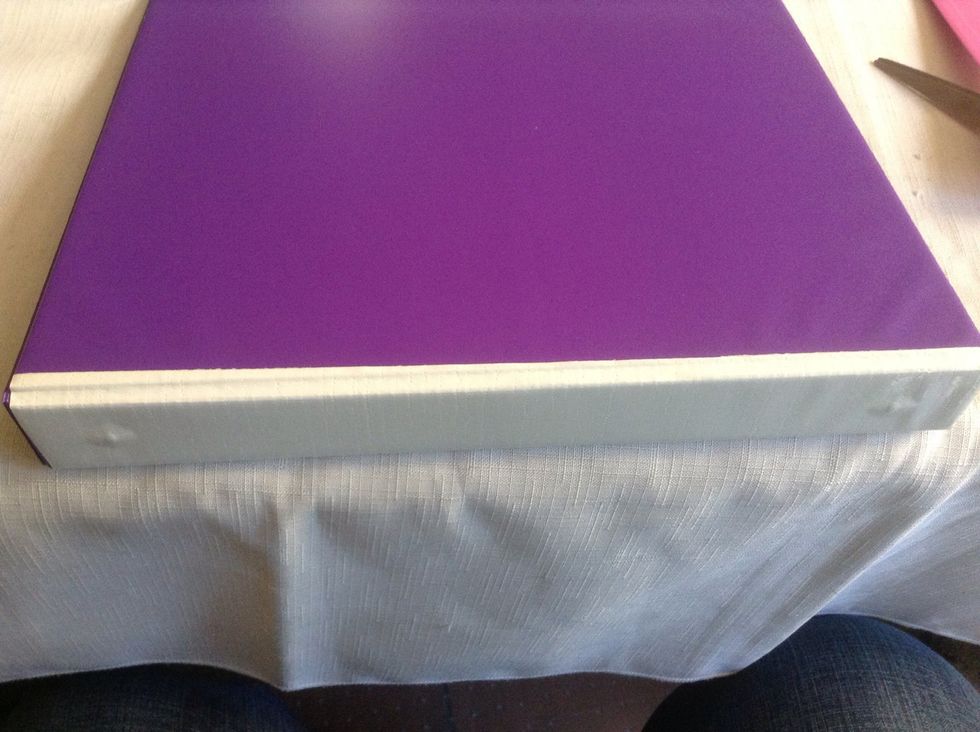
Here is my other side. Centering the tape will help cover and protect the binding and the binder and prevent "holes" in the duct tape cover.
Check to make sure you are starting with the back of the binder, and...
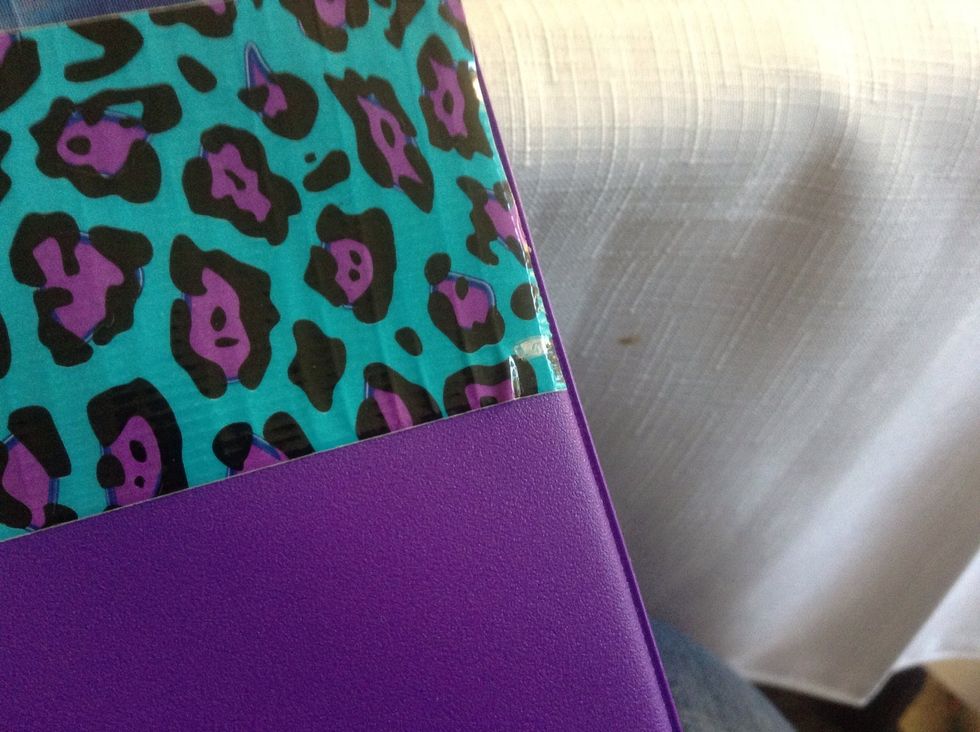
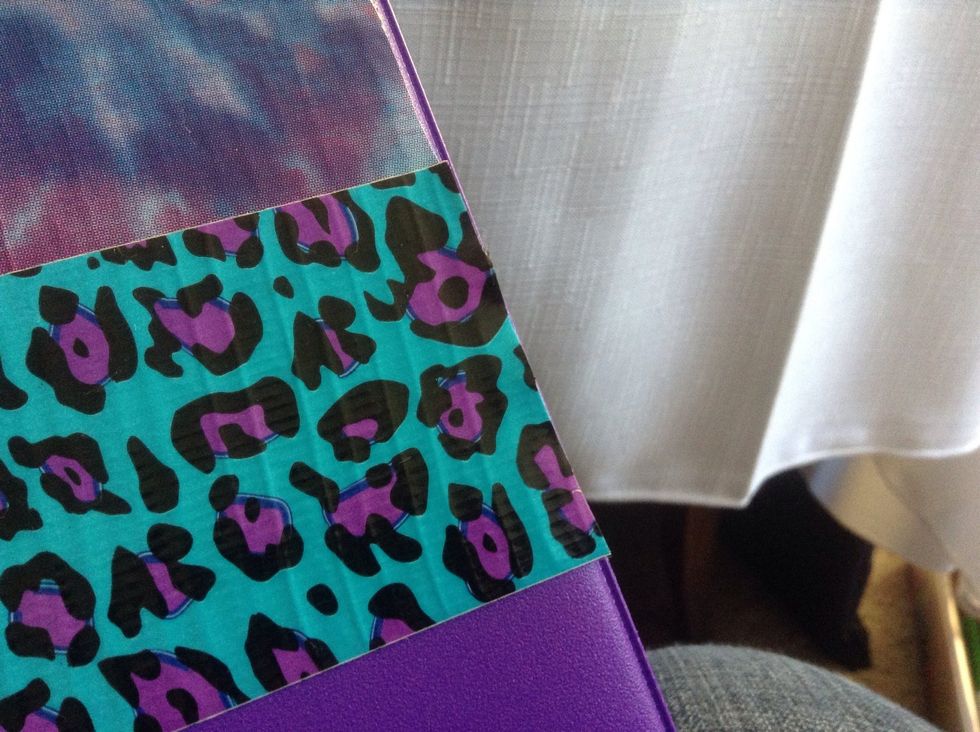
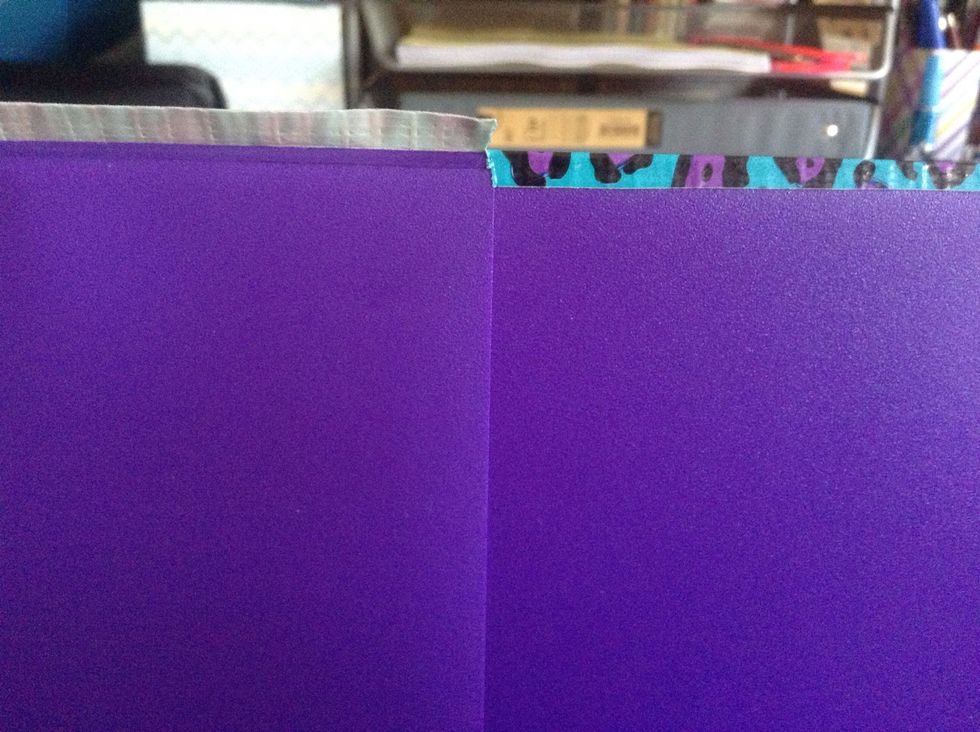
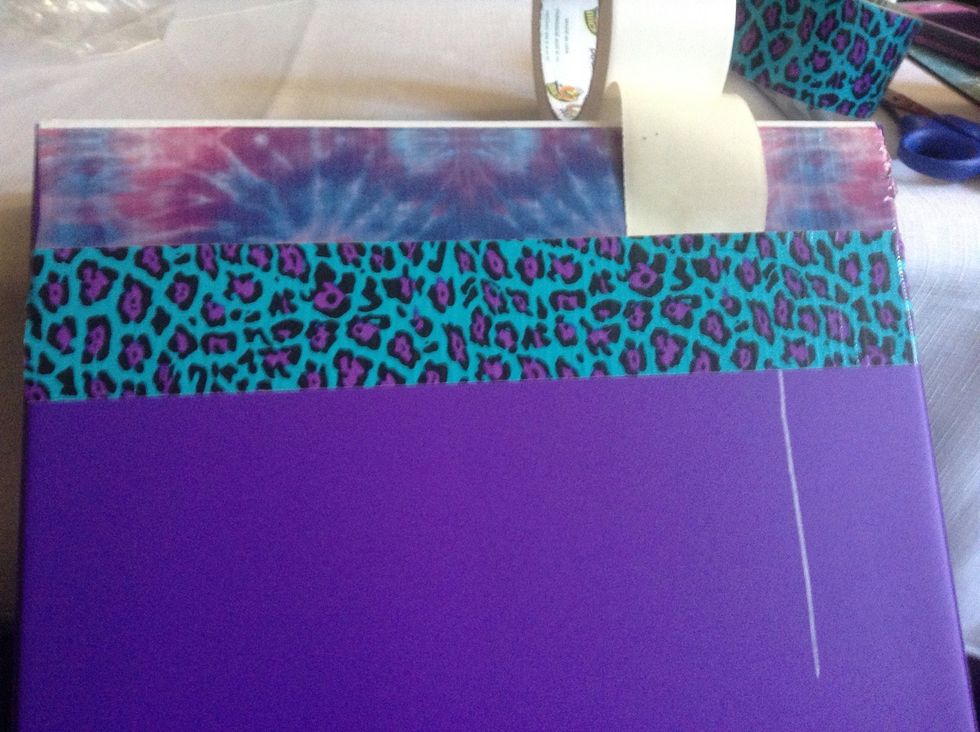
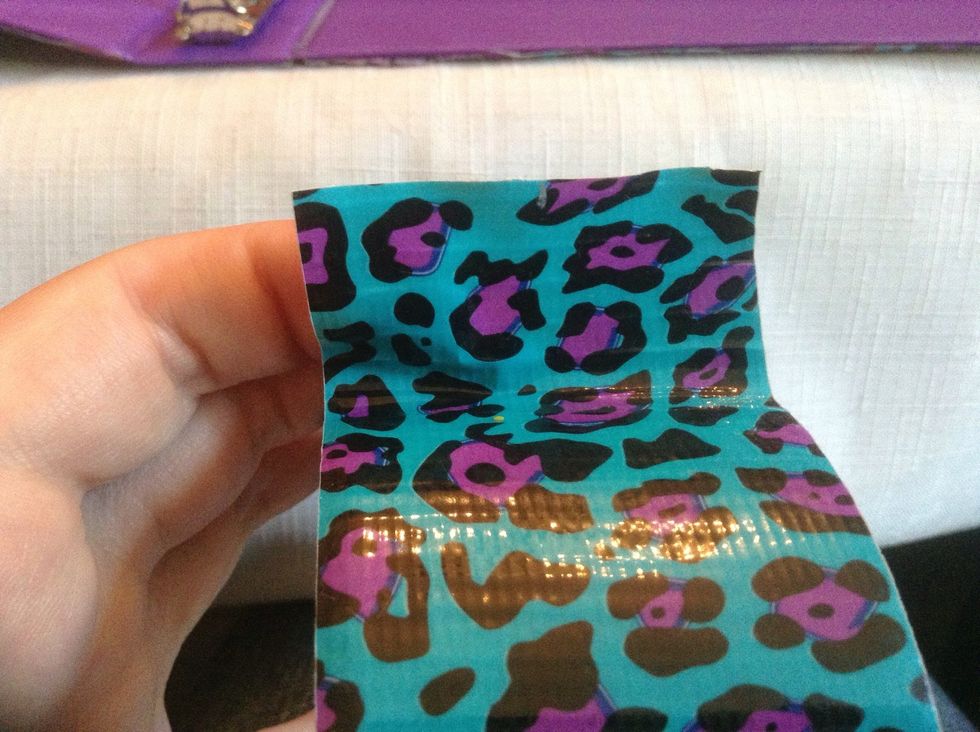
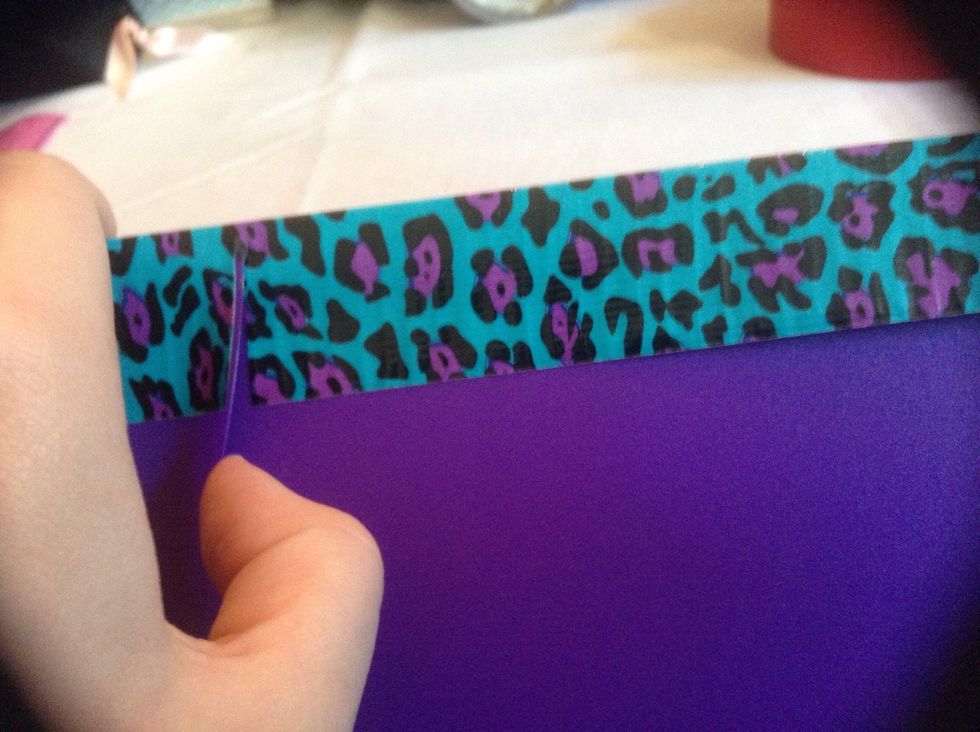
Put a binder-length strip of one of the tapes you want with the adjacent edge on the little "dip" under the white, overlapping.
It's OK if your edge is pulled or icky, it will be finished later.
You can try to measure, cut, and apply...
...but I found it was easier to just cut it after it was stuck down.
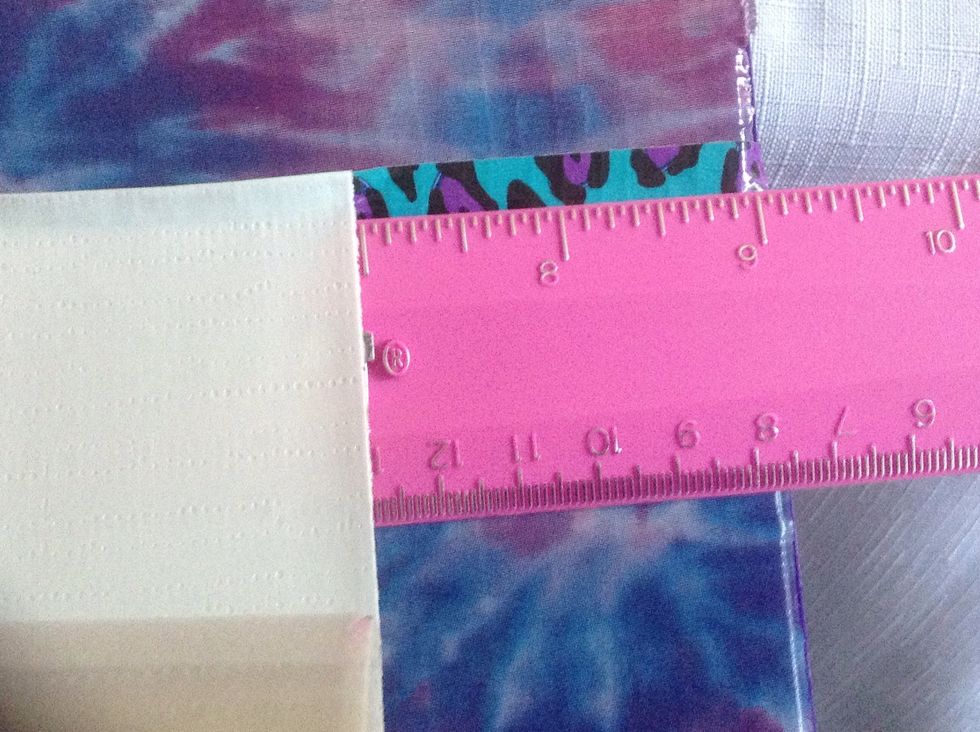
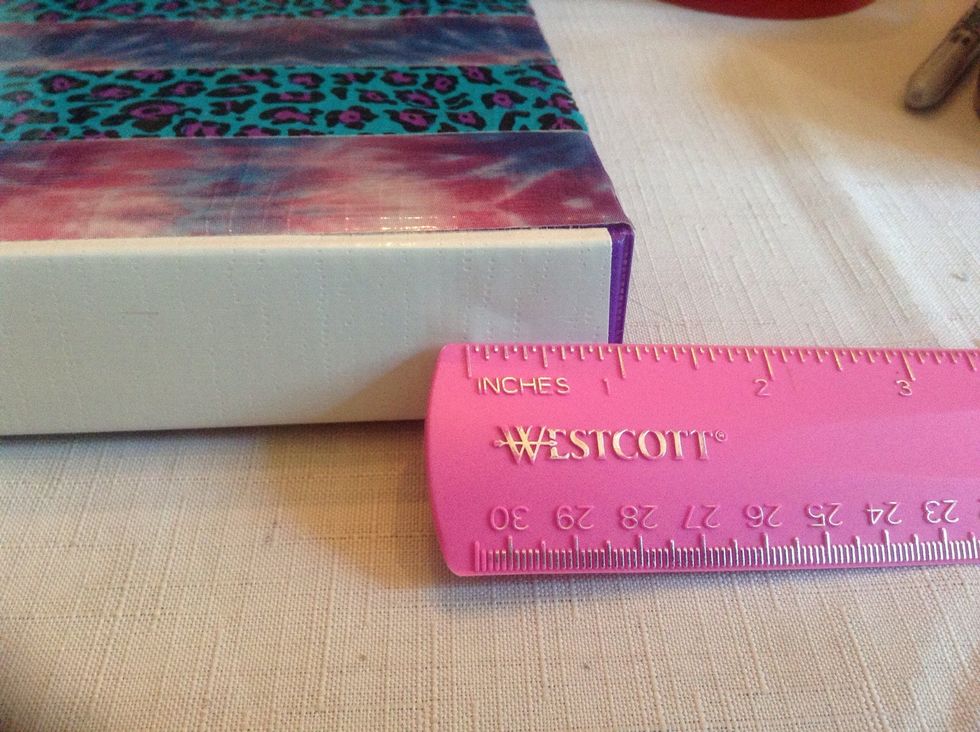
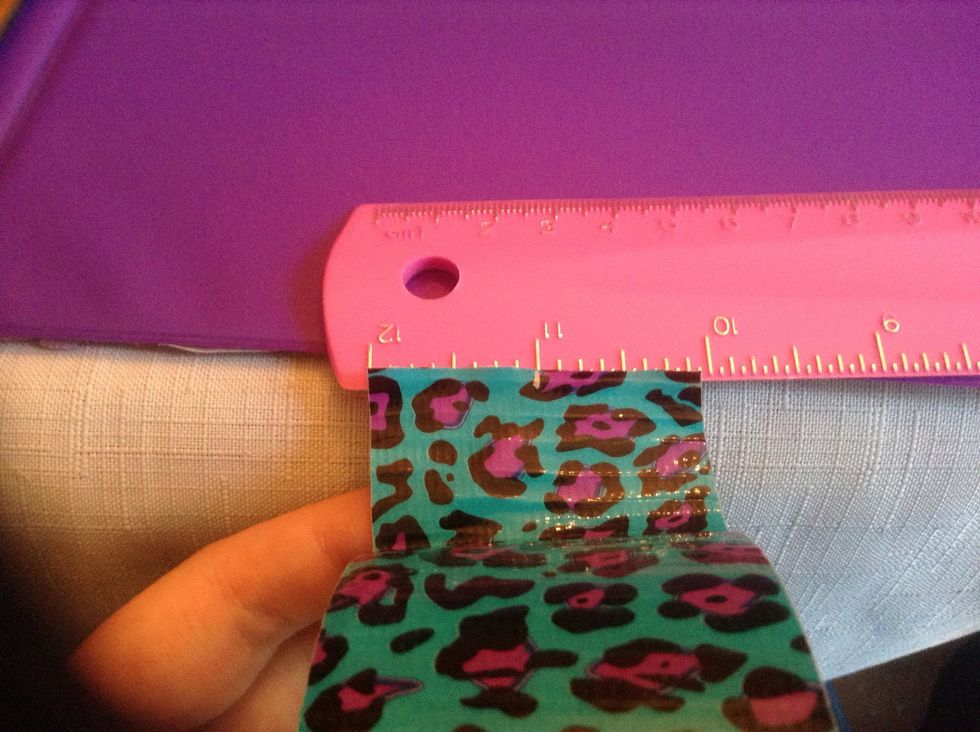
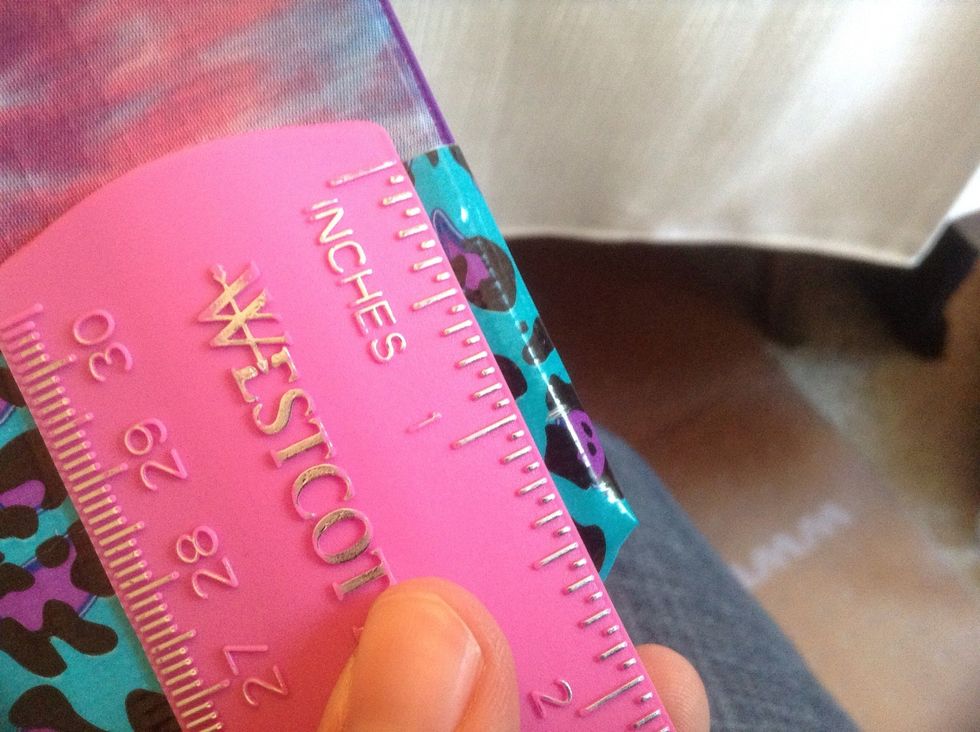
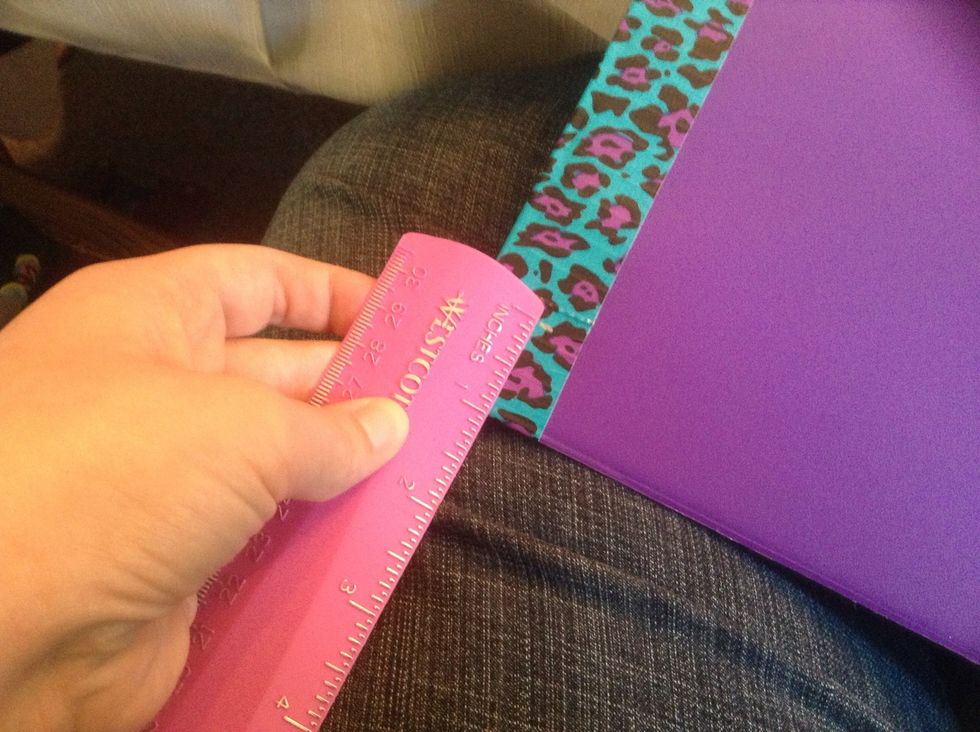
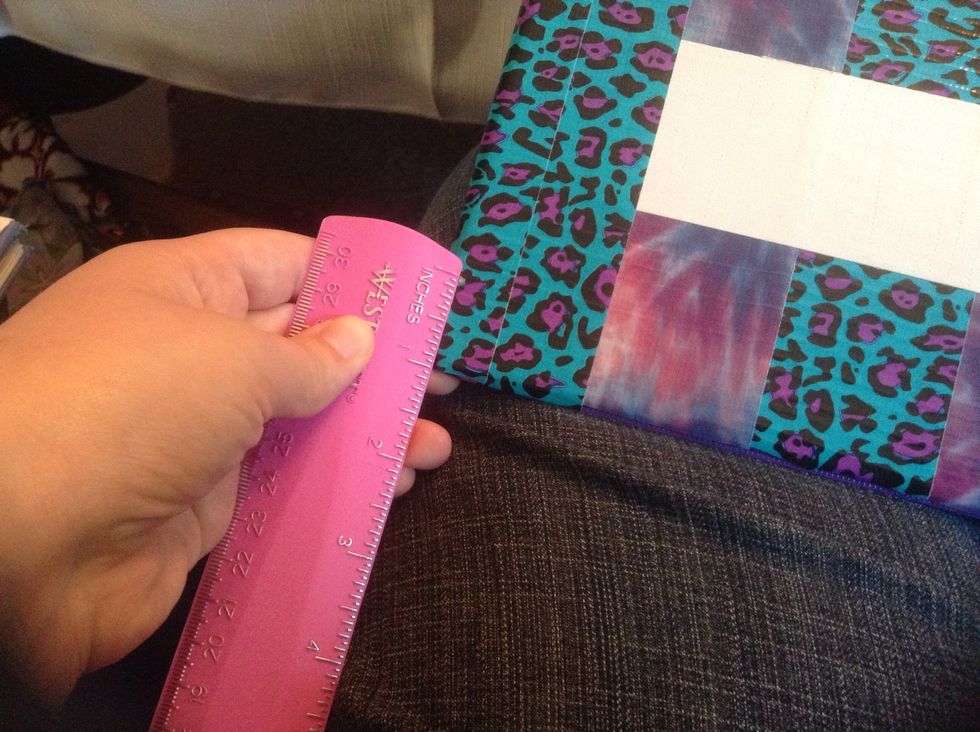
It only occurred to me to measure the overlap to make even stripes after I did the 2nd strip. Then I put a bit more thought in and since unevenness bugs me, I made a plan... Measure your binder.
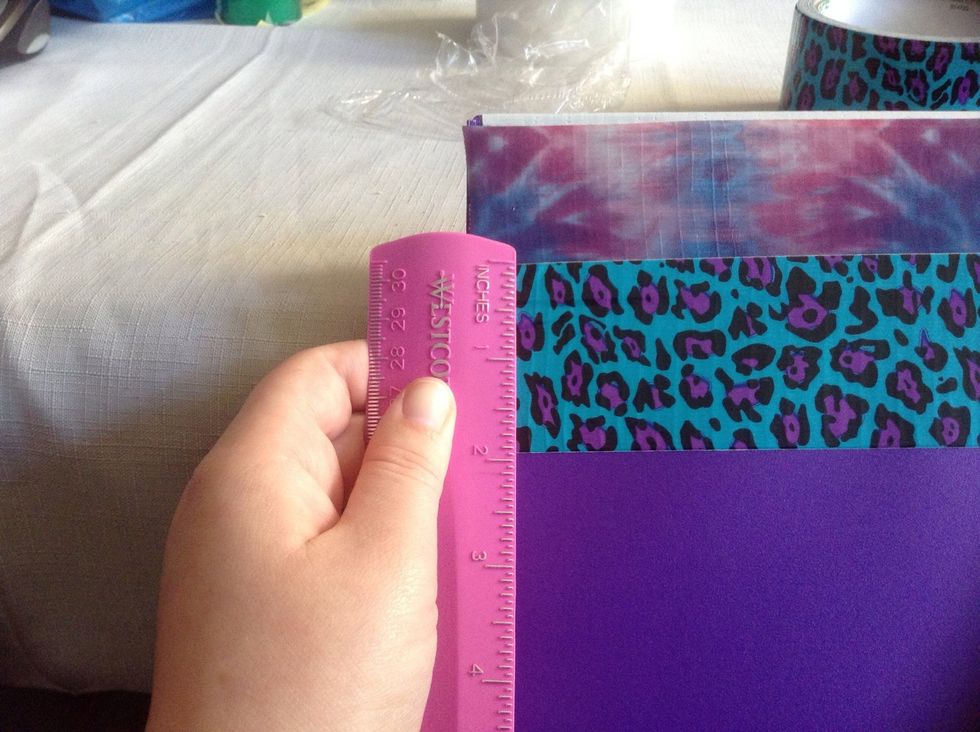
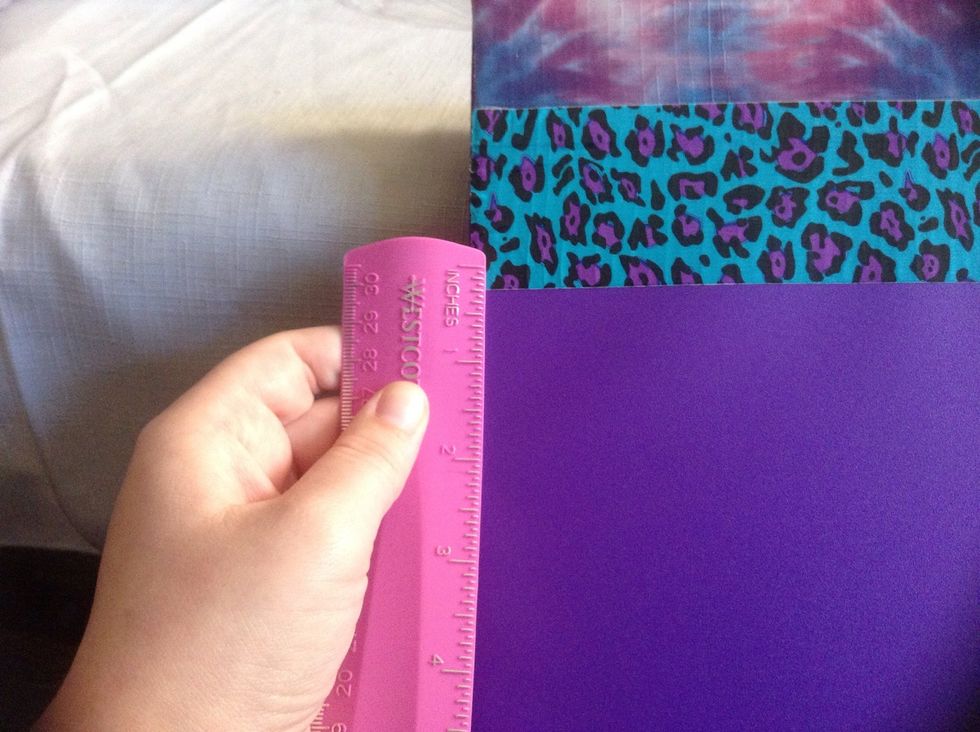
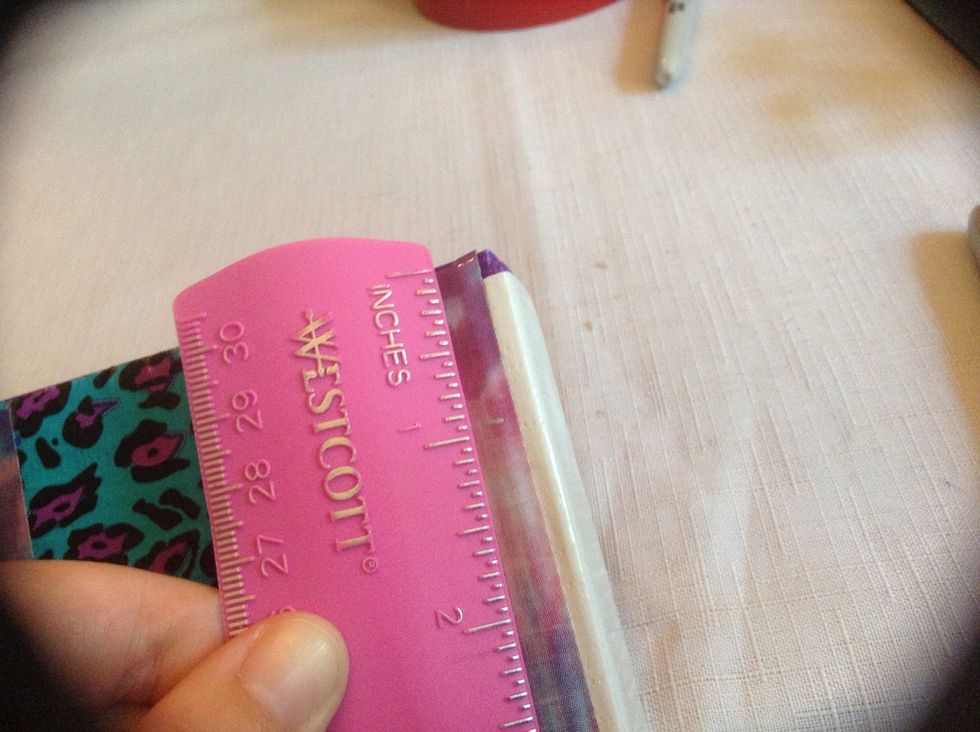
Measure your duct tape.
Then find out how many stripes of tape will fit on your binder (round down). Subtract 1/4" x # in-between stripes you will have, and compare to the total length of your binder.
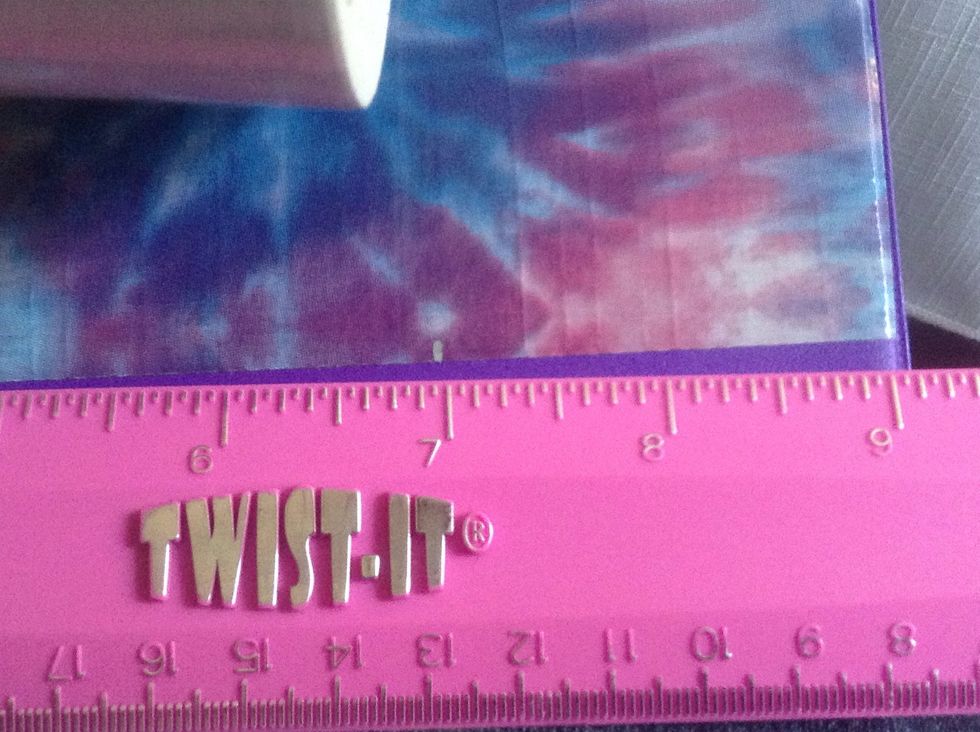
If this # is almost or more than 1 inch, either add a whole strip -1/4", or substitute another multiple-of-8 fraction-of-an-inch for 1/4". Try to keep as close to the full binder length as possible.
My tape is 2" and my binder is 10" so I will have 5 stripes and will use the 1/4" measurements. Don't worry, I'll cover the ends.
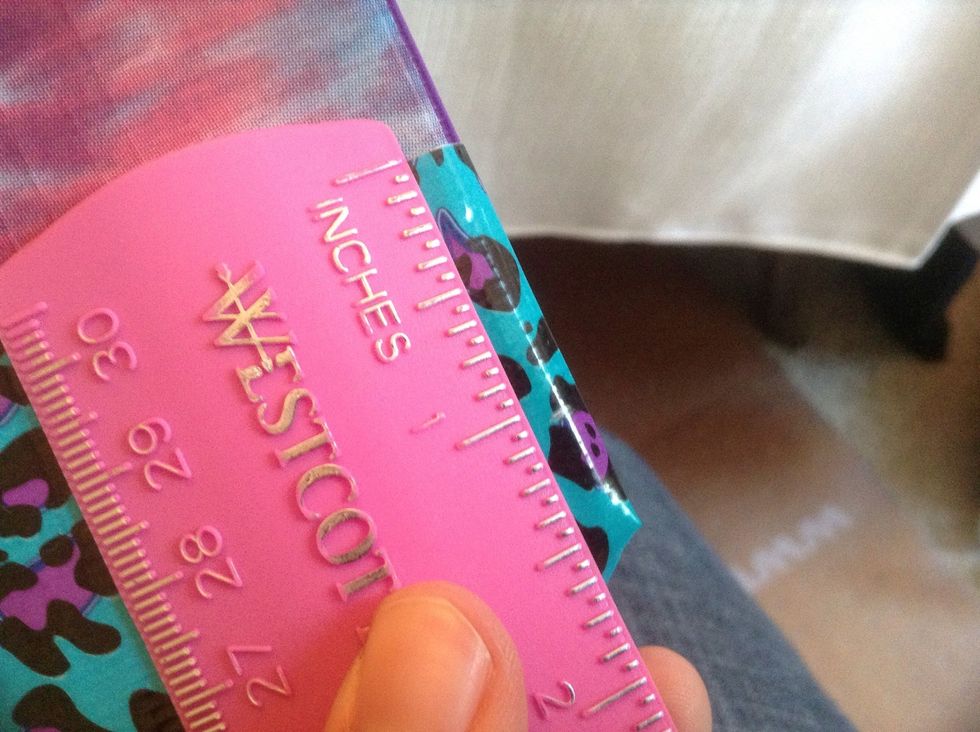
Next measure the fraction you used from the bottom of the tape...
...and mark it on both sides. Use a contrasting sharpie or marker.
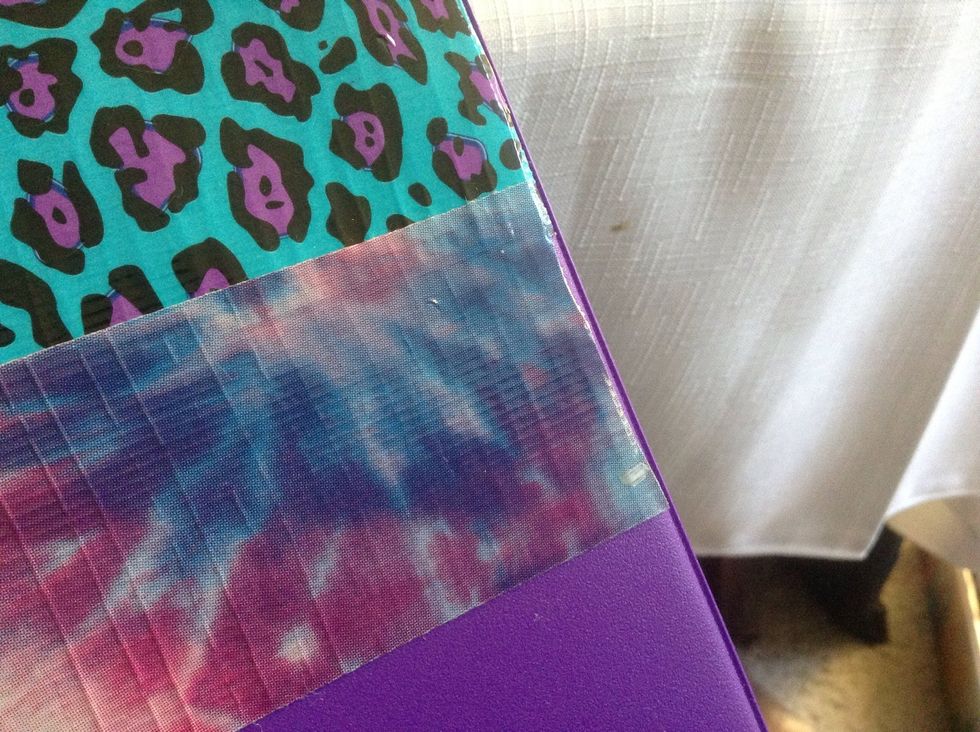
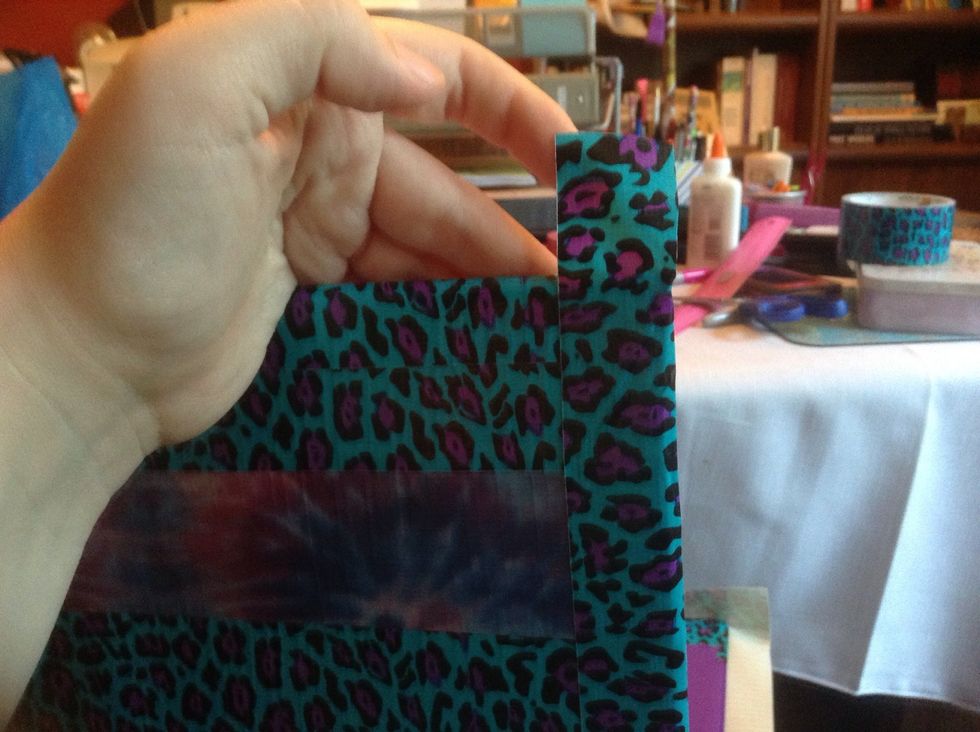
Then add the next stripe of tape, barely covering the marks.
Of course, if you want to have uneven stripes for a crazy effect (or you want to be quick or don't mind unevenness), just go ahead and stick the tape down at shallow angles, making sure they overlap.
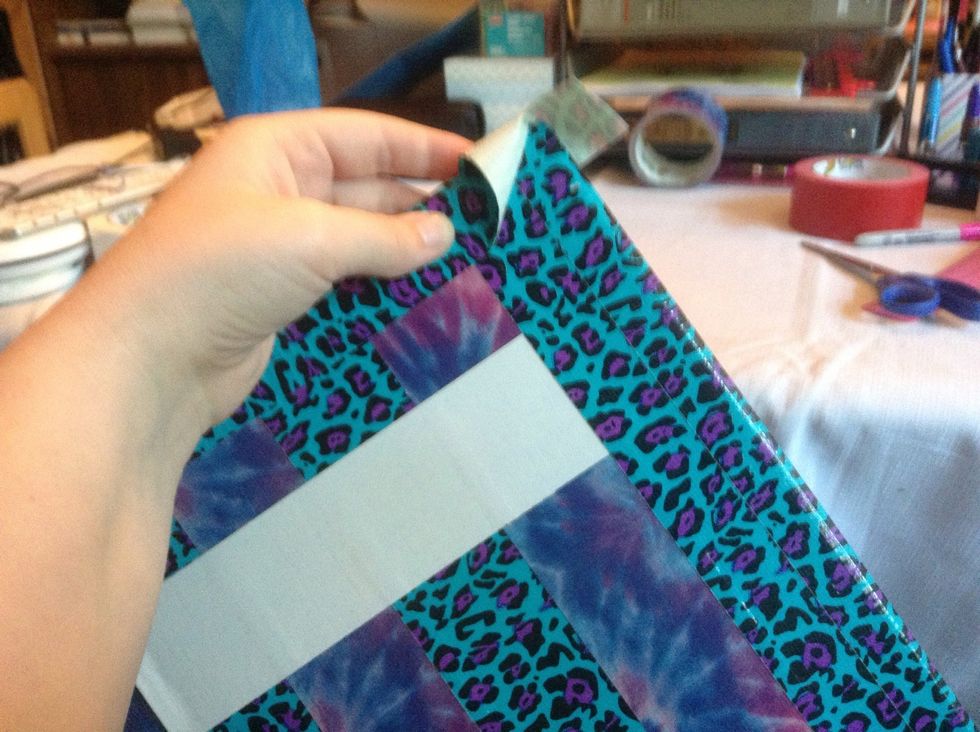
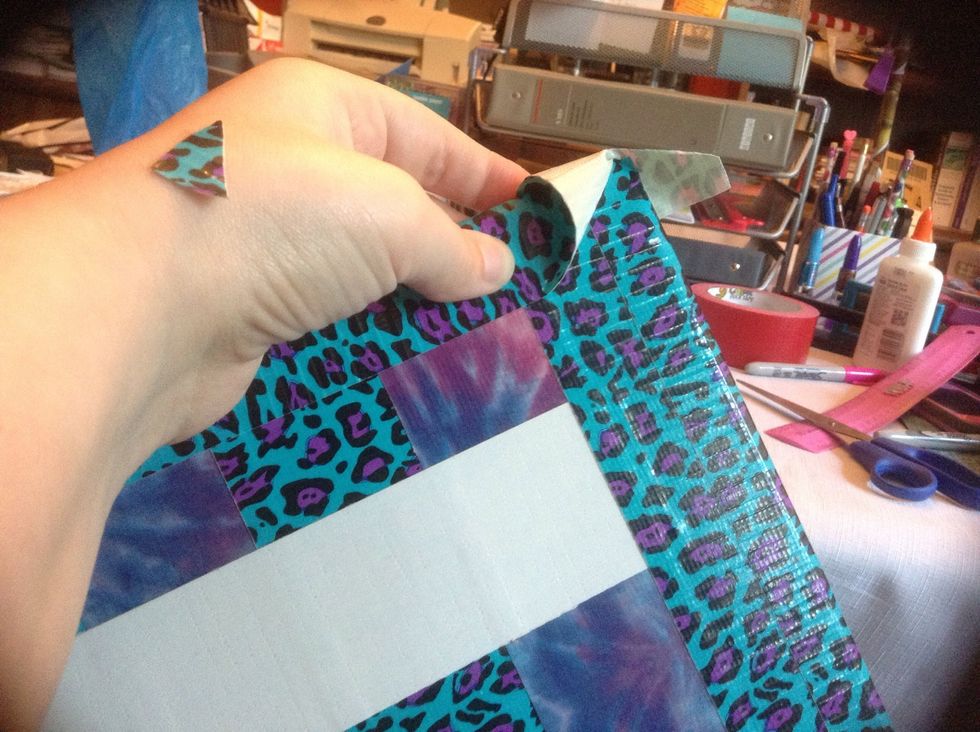
Your tape may be sticking up once you cut it. Smooth and stick it down with your fingers from the middle out.
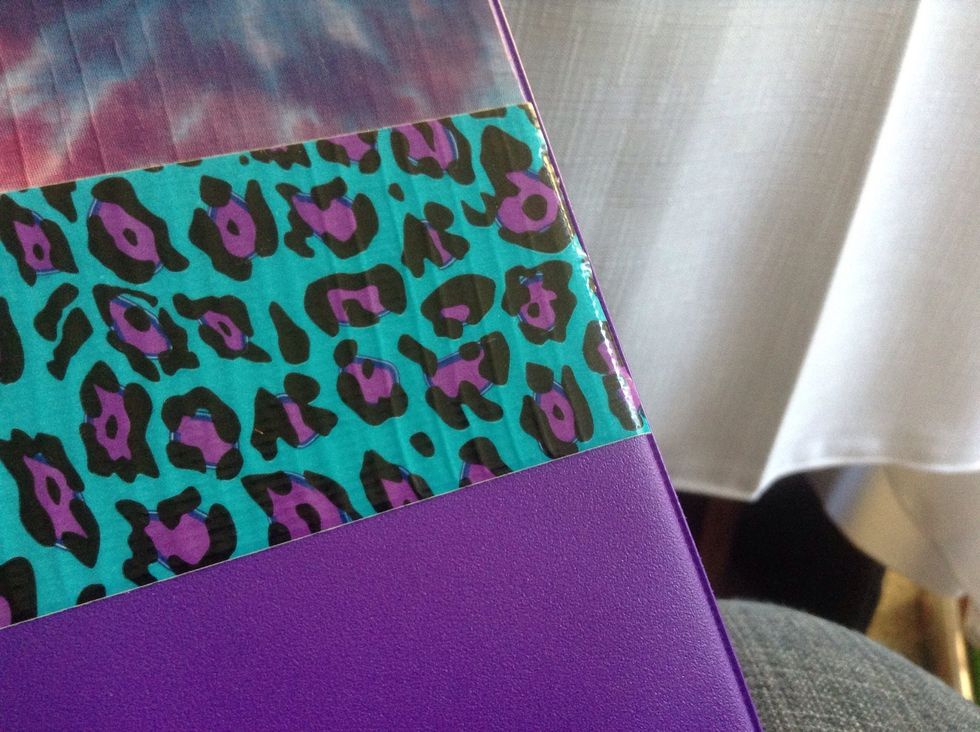
Like this.
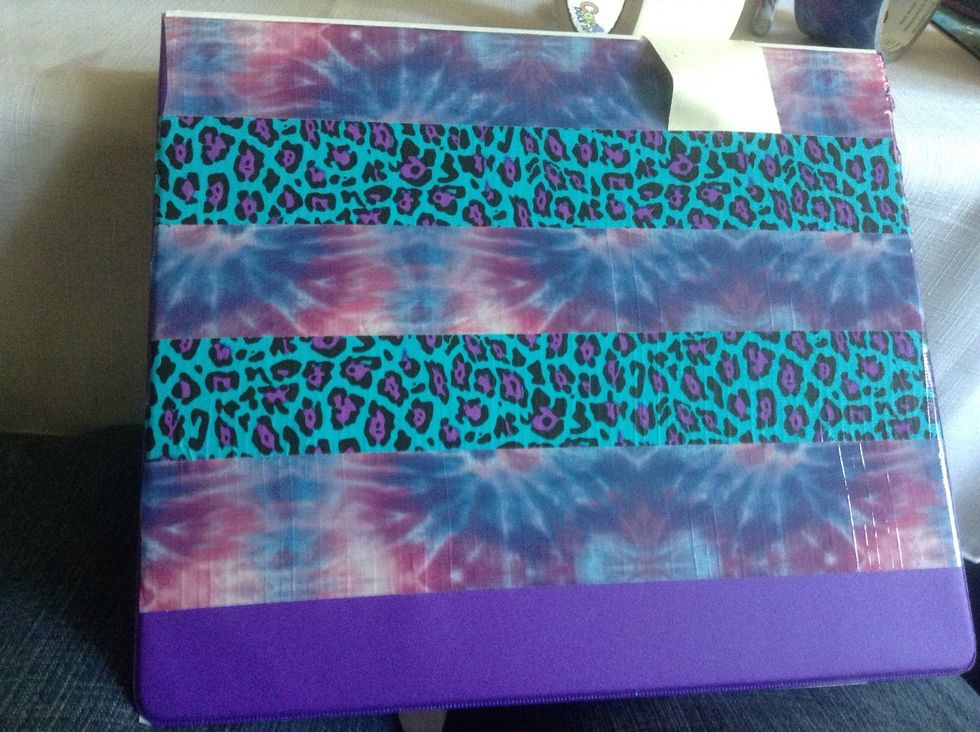
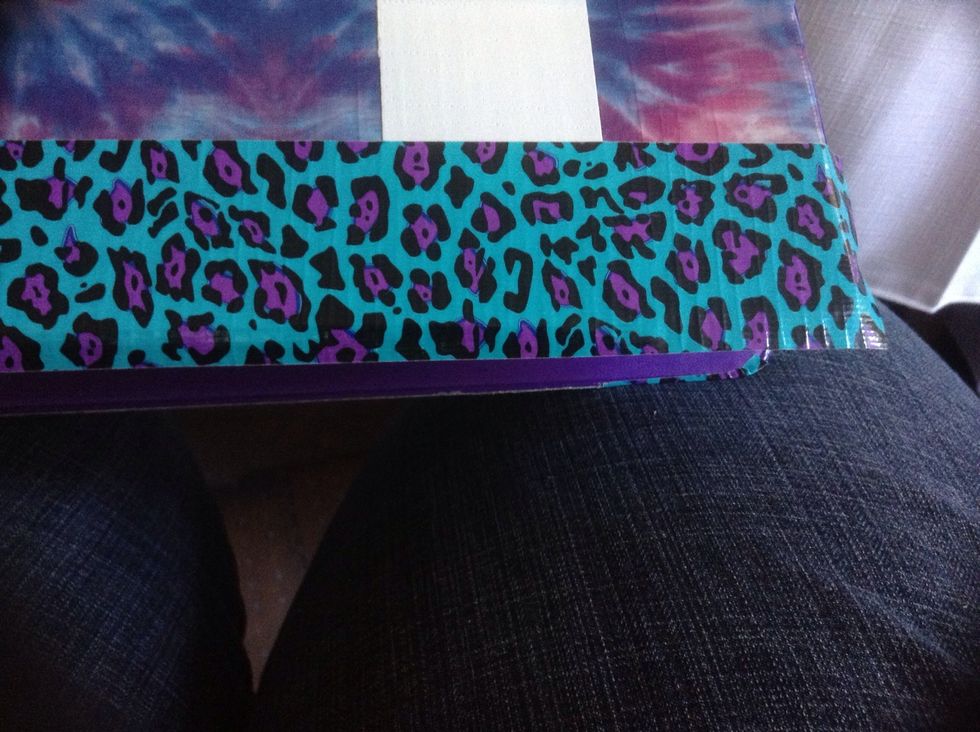
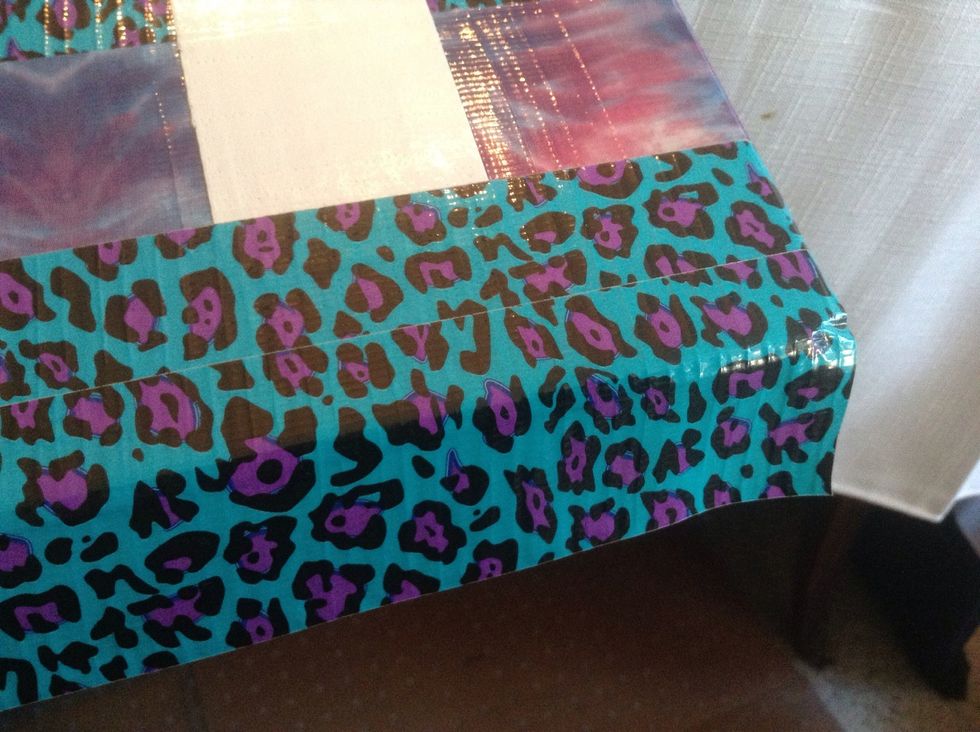
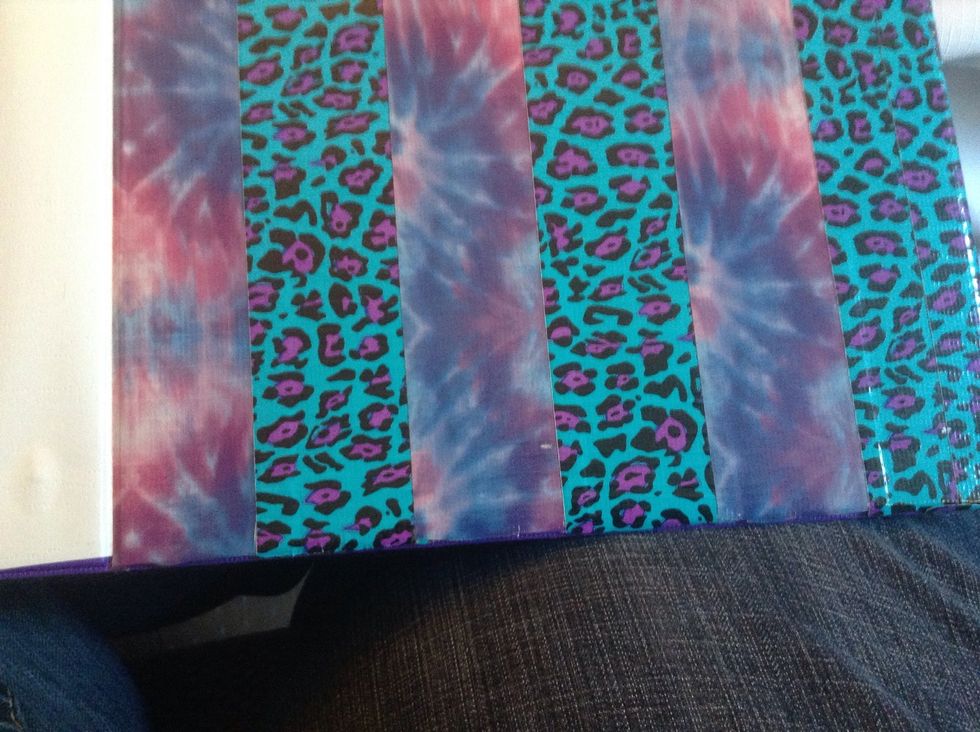
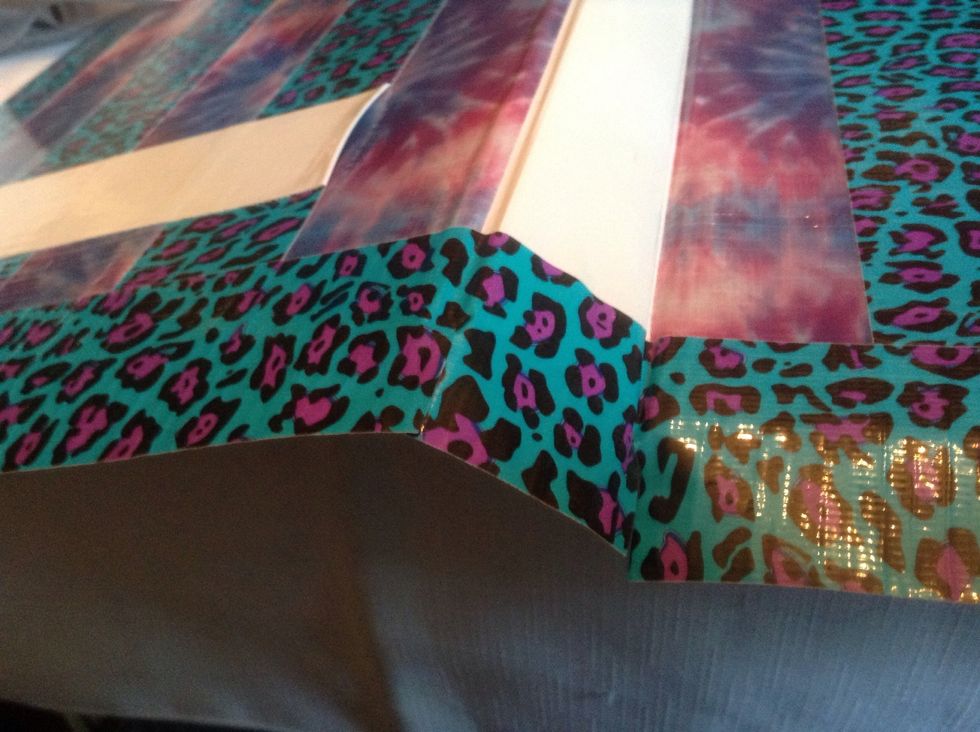
Continue in this way until your entire panel is covered. The last bit of tape will hang over.
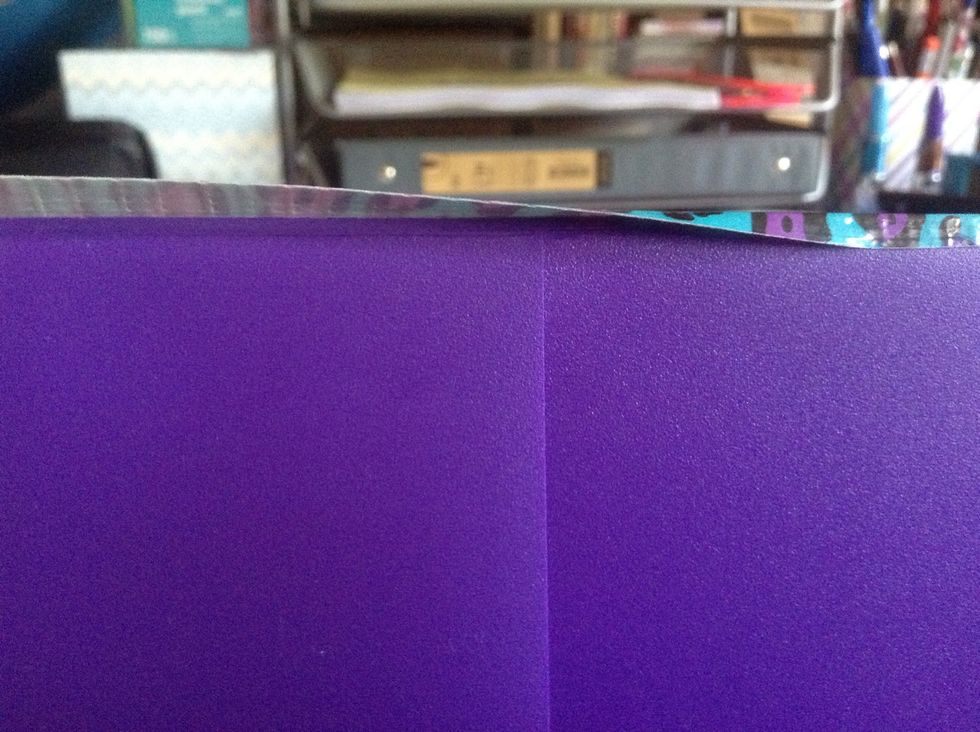
Stick it down like you did the ends of the tape on the sides, using your fingers and from the middle out. It is ok if it wraps to the other side a little bit.
When you get to a pocket, cut or tear it to allow for full pocket expansion.

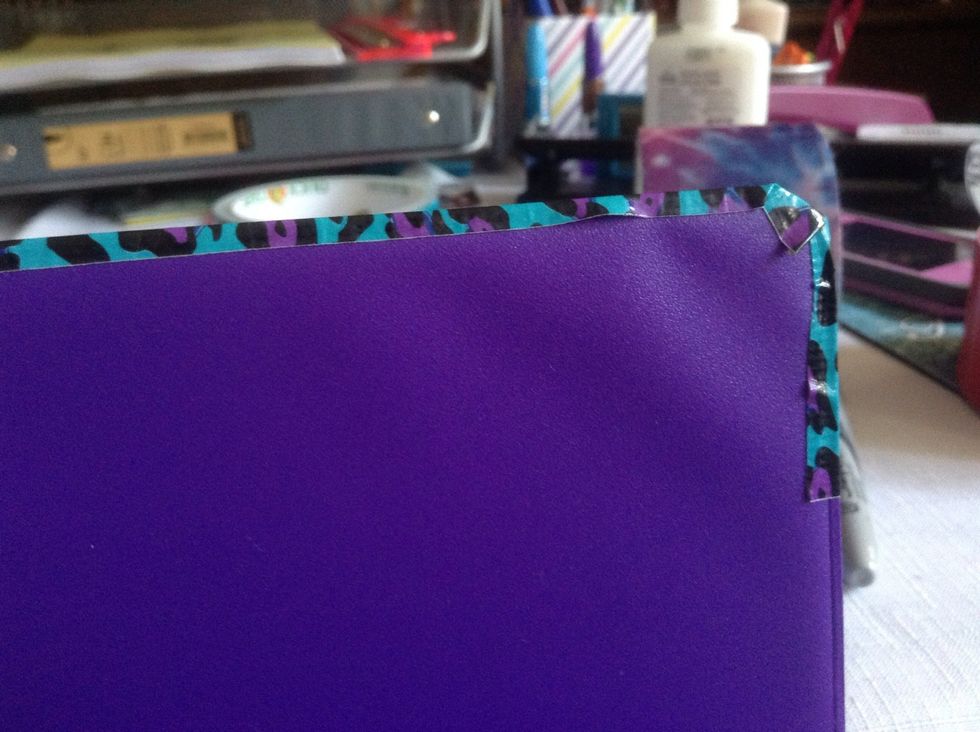
Stick down the corners too.
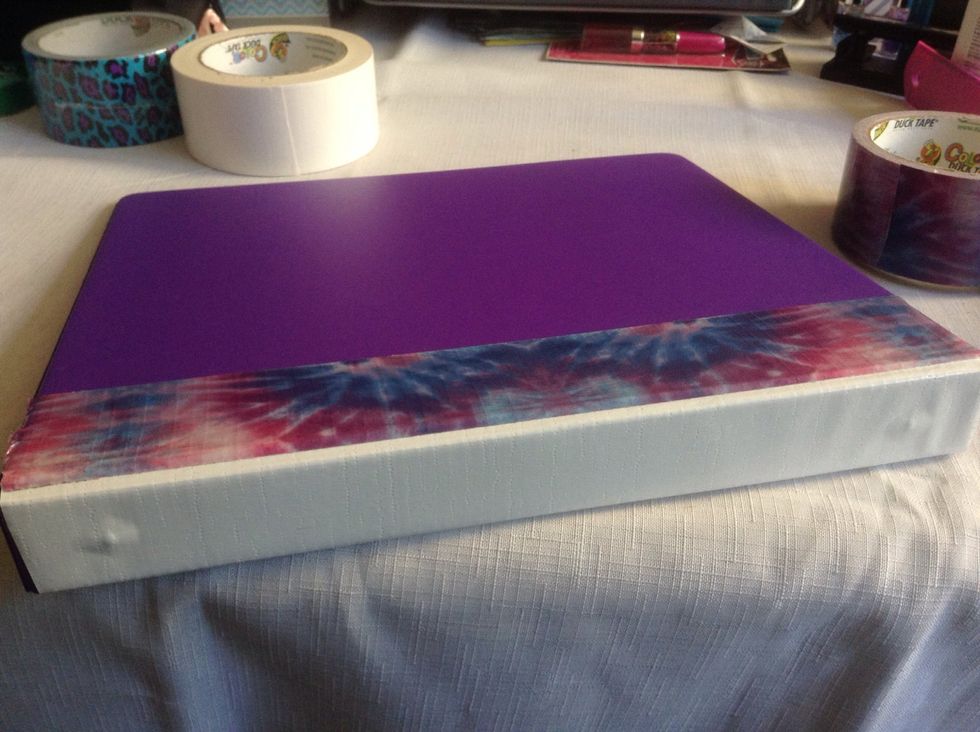
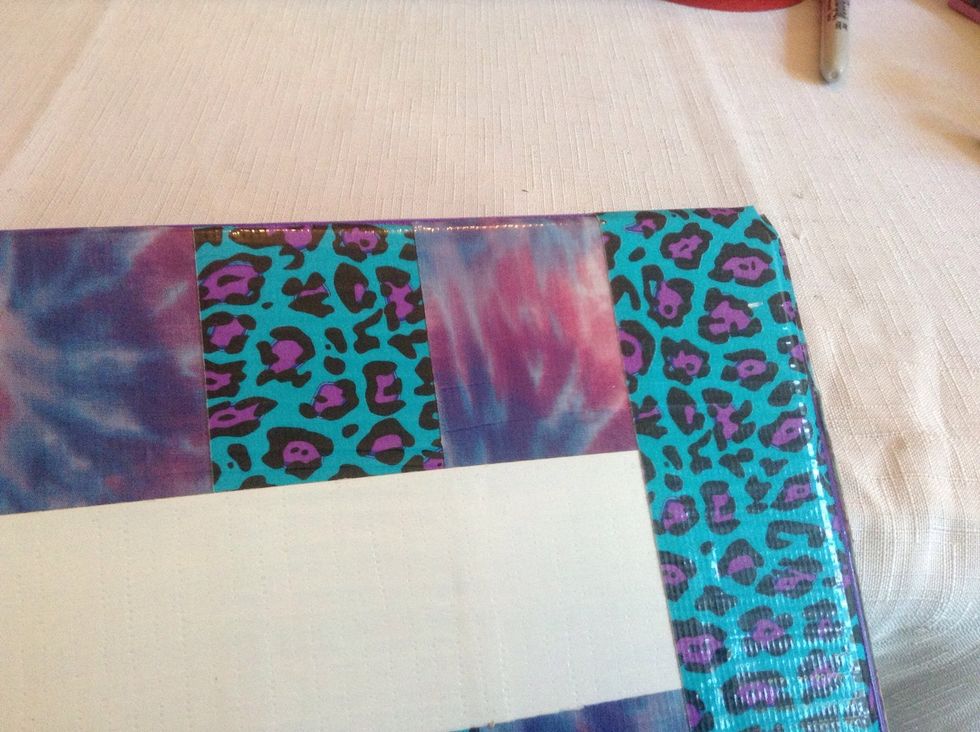
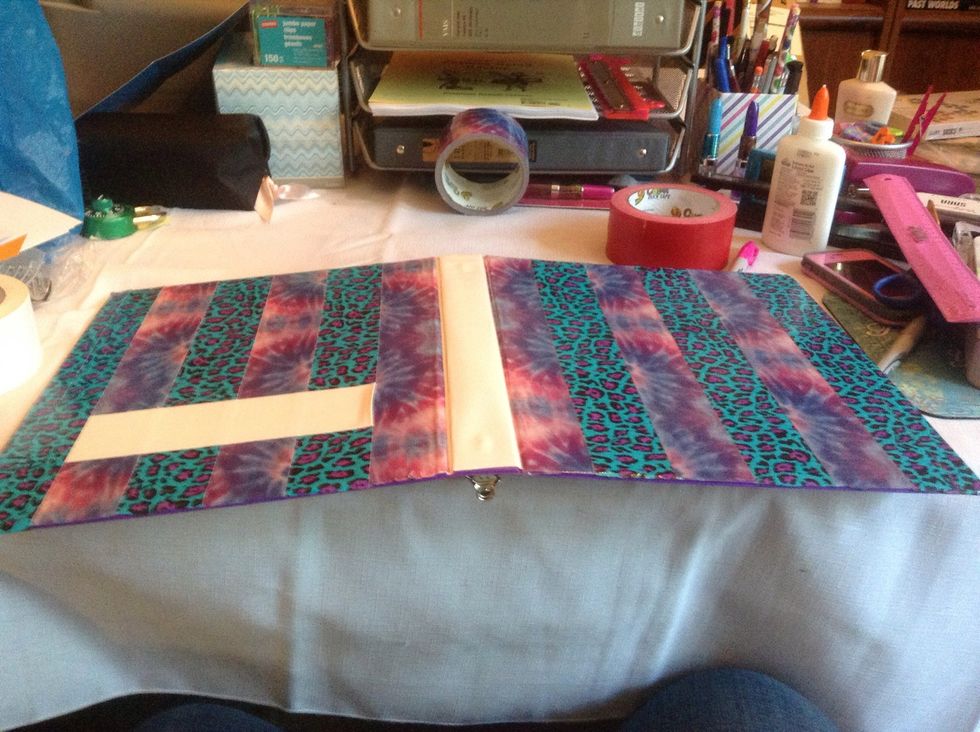
Ta-da!
It should now look like this. The binding and back panel are covered.
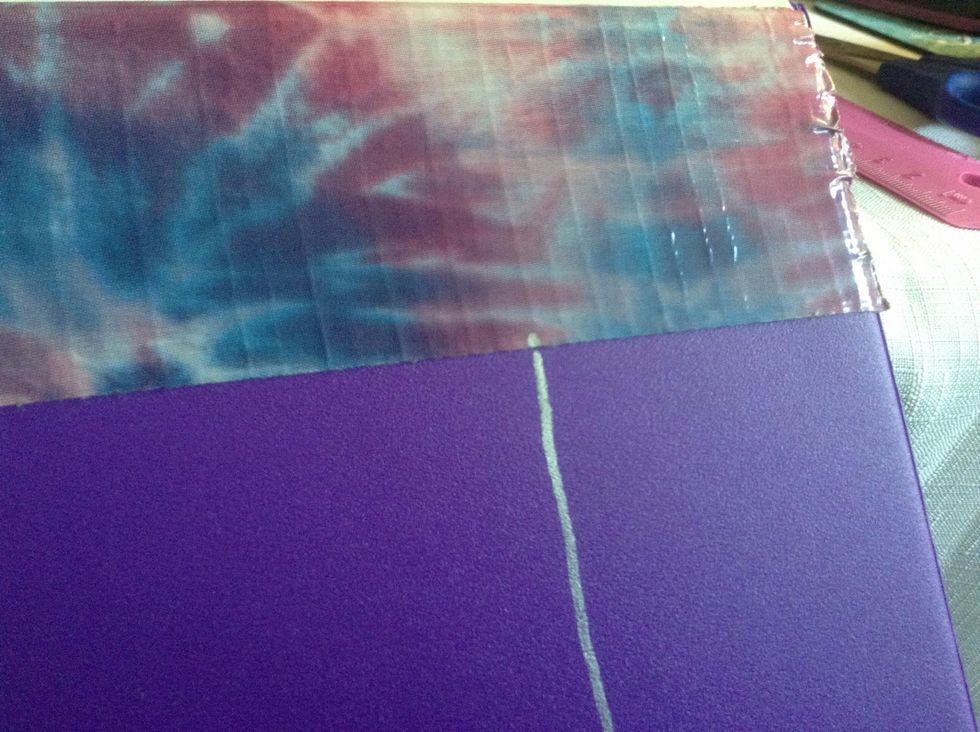
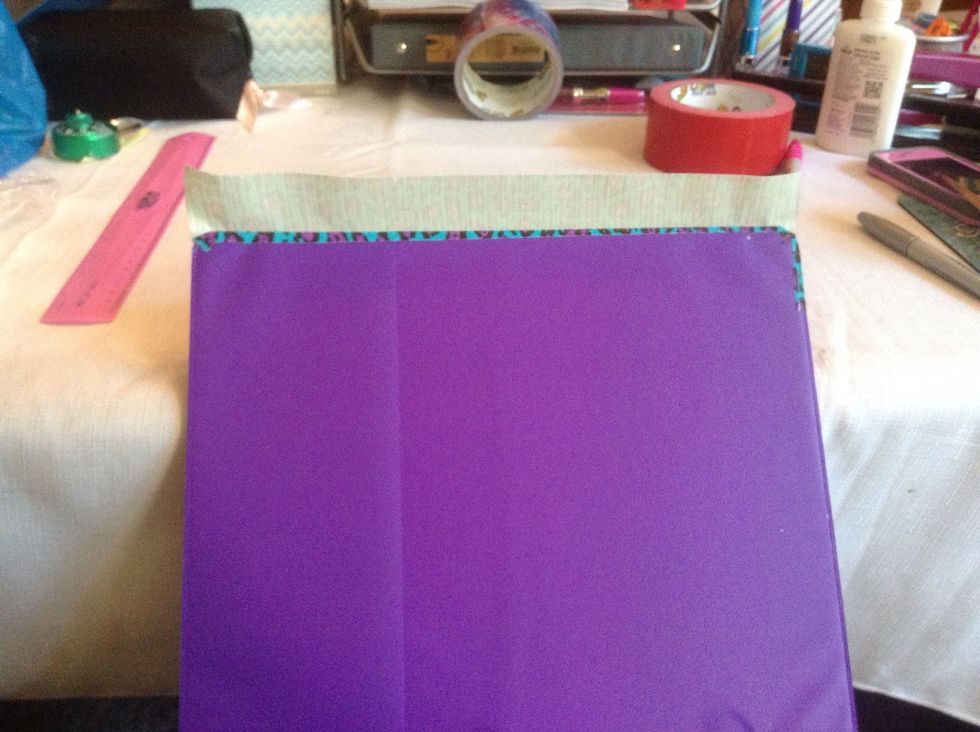
Add the first strip of tape as you did on the other side. Mark a line, wider than the tape, how far down you want the label to go.
Make the line about how long you want the label, parallel to the top edge.
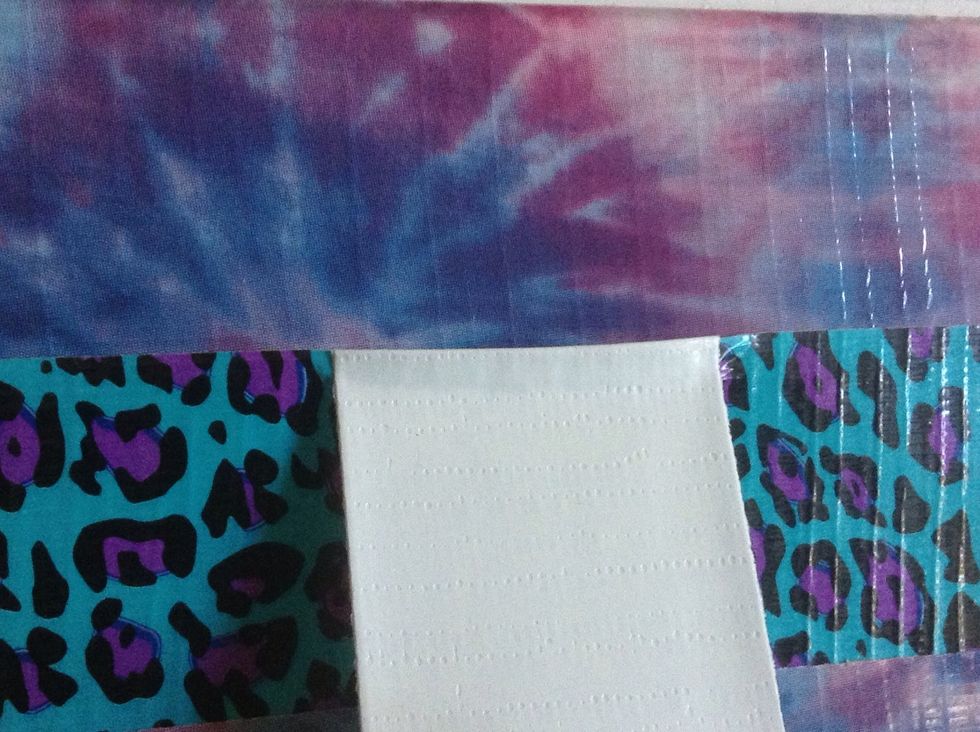
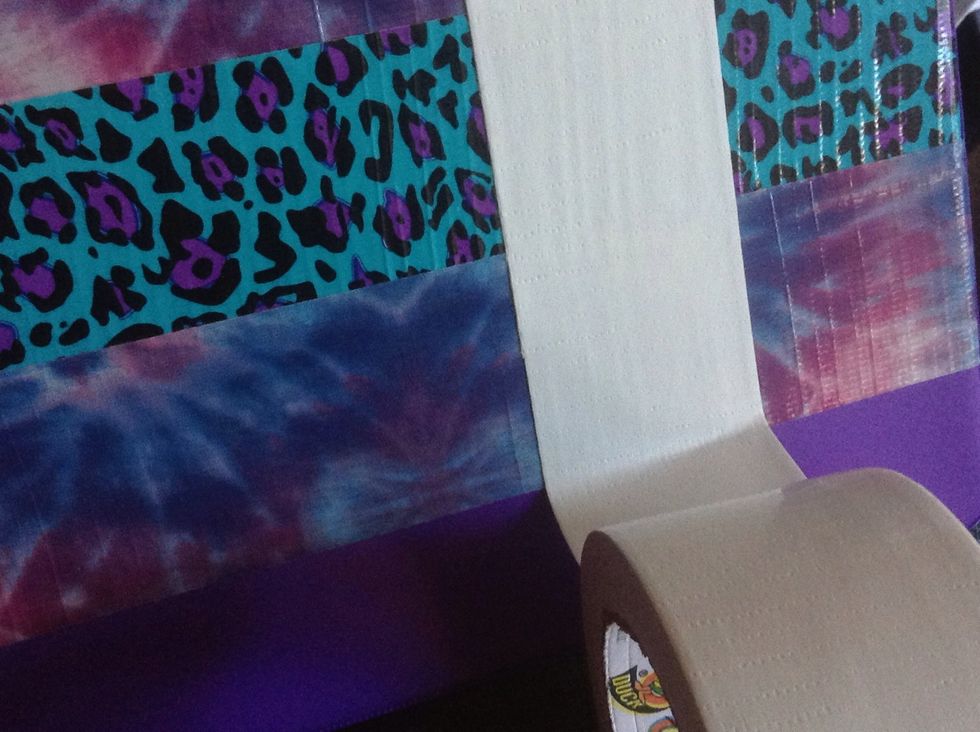
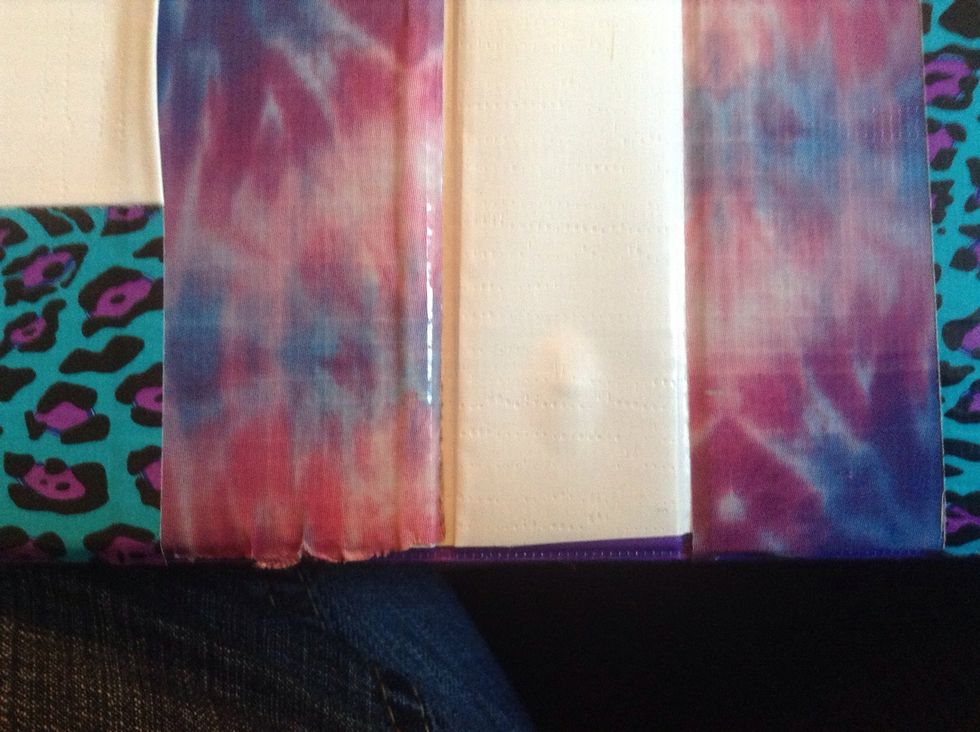
Unstick white tape from the roll and place 1/2 to 1 inch sticky side up as parallel to the marking/top edge as you can.
DO NOT CUT (or at least make sure it's longer than the desired length of the label). I do not recommend cutting it.
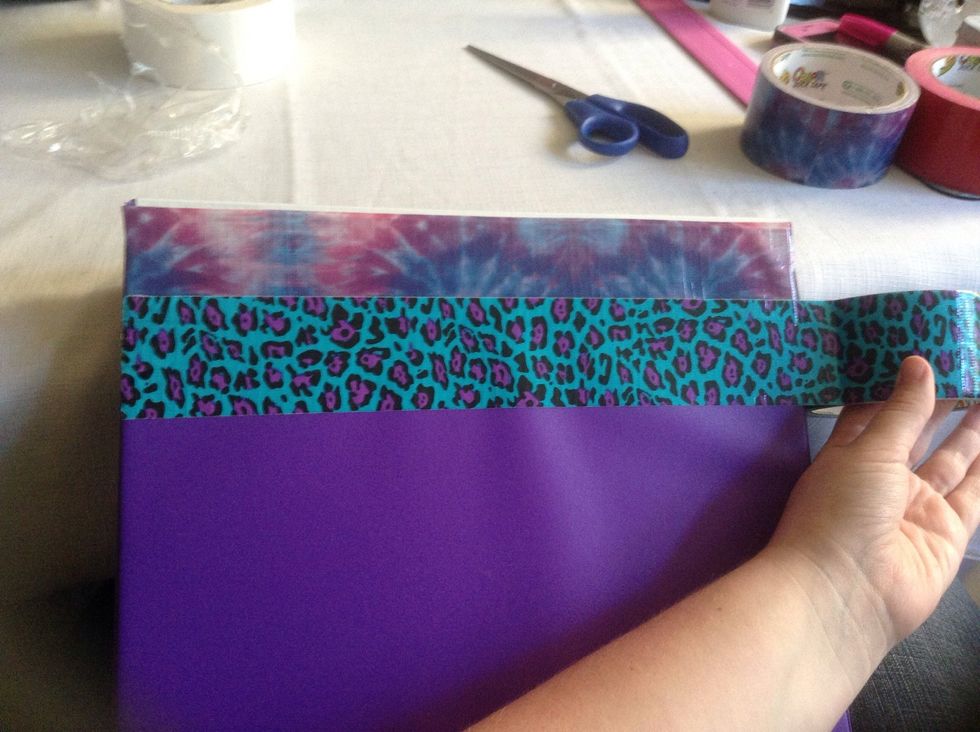
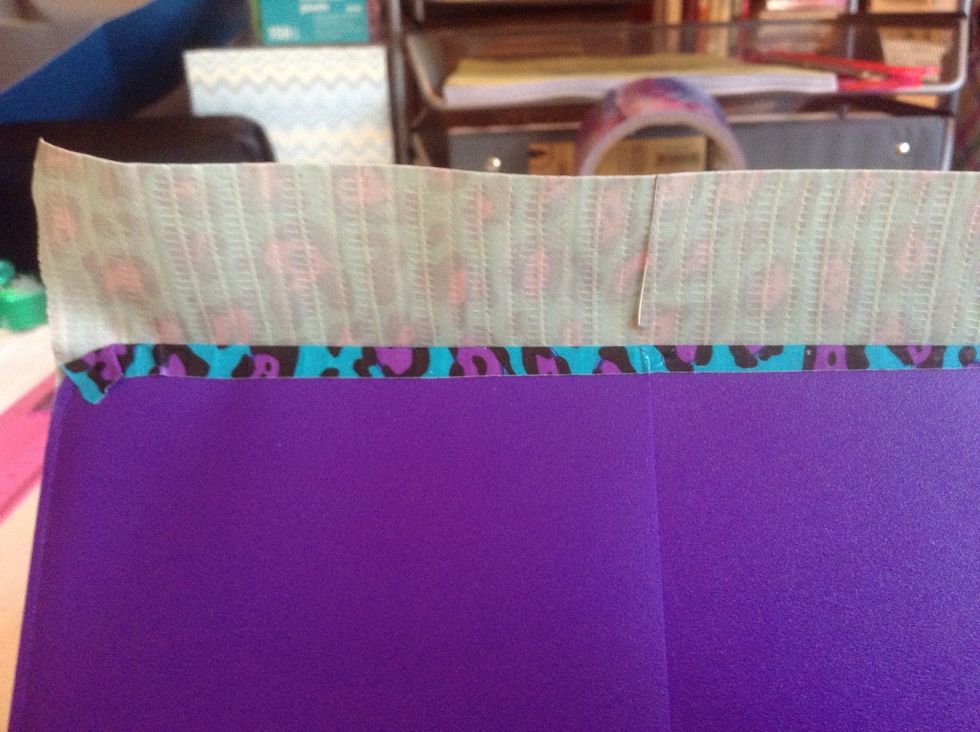
Then place the next strip, overlapping the white tape and the stripe, using the same distance as before.

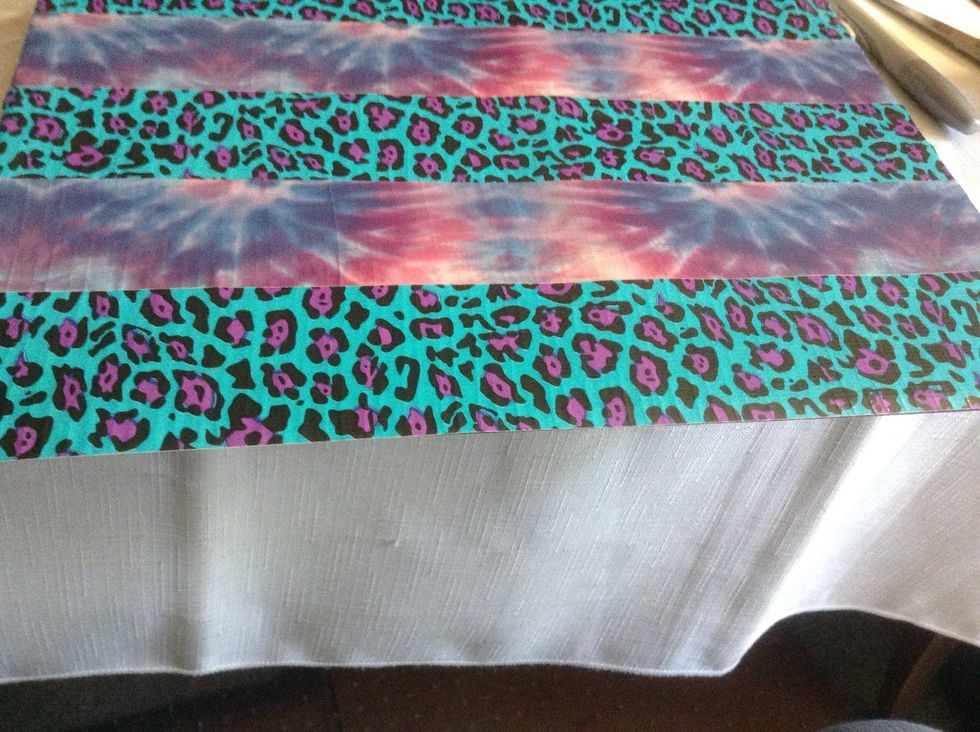
Continue adding stripes in the same fashion...
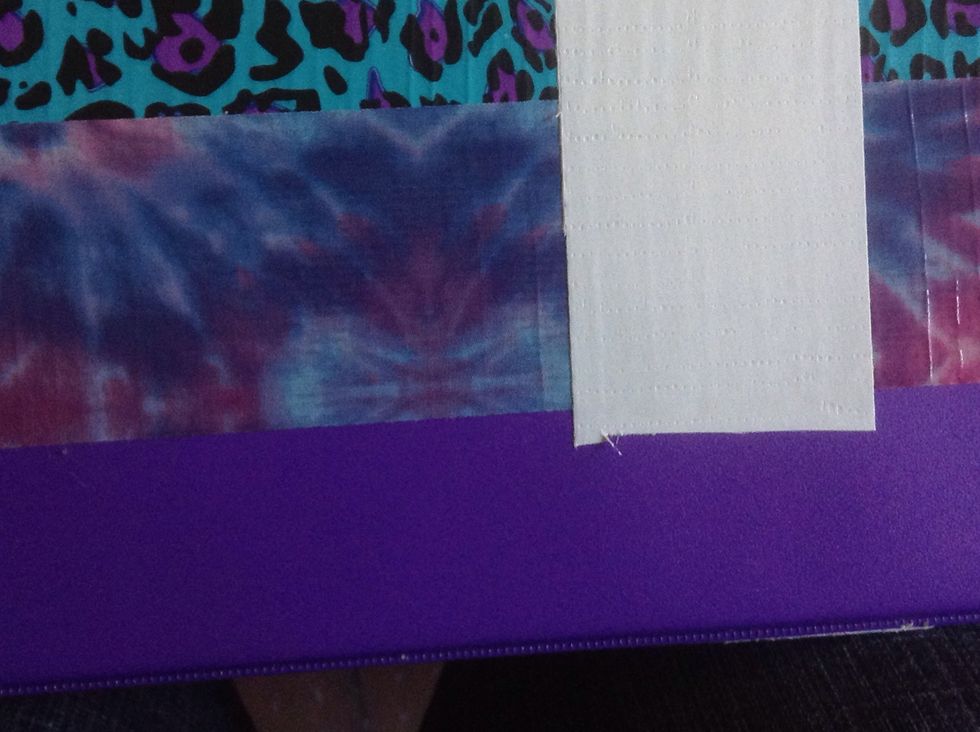
Until your marking is covered (or almost covered) and you've decided this is how long you want your label.
Bring your roll of tape down and, pressing the edge as flat as possible, stick the edge of it so it is flush with the edge of the tape that overlapped it. Only stick it a little bit.
Measure how far it is to the top of the tape from the top of the binder.
And mark it on your last strip with the sharpie.
Line your tape up with the mark, and carefully start sticking it down. It should be parallel to the top edge.
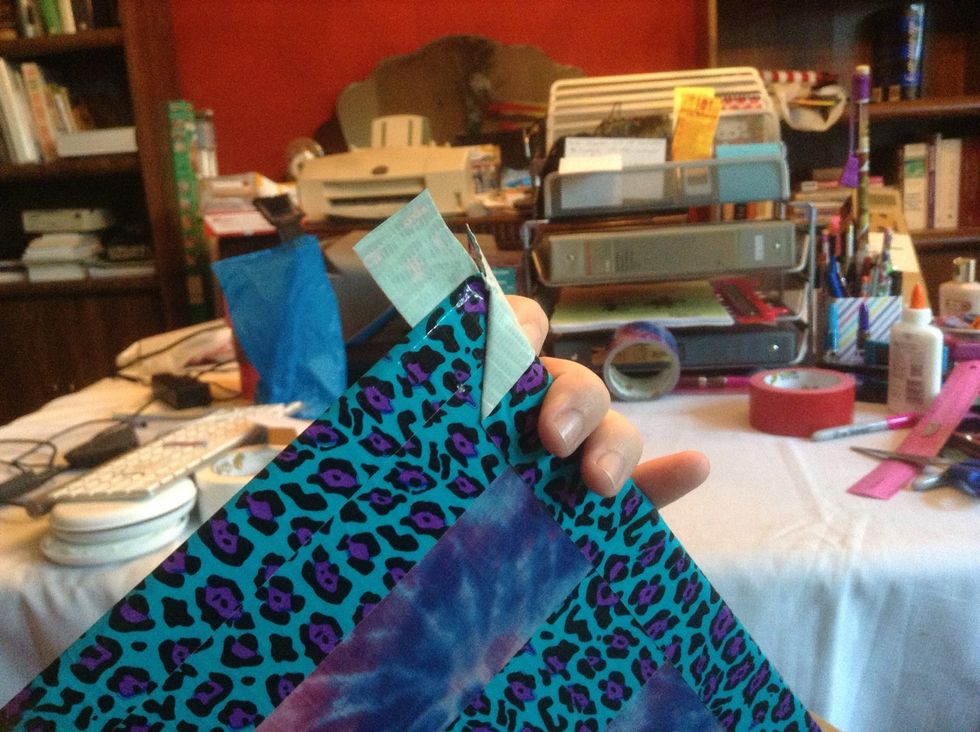
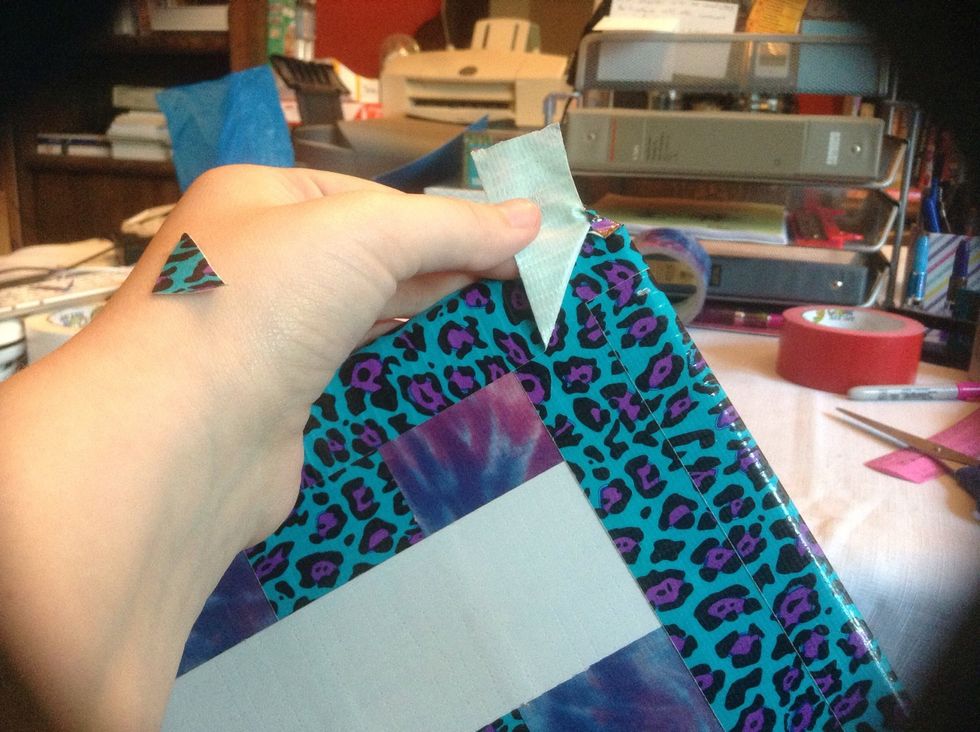
Cut, making sure the end is past the overlap point.

Mark the overlap...
...add the last piece of tape...
...and...
...fold it down.
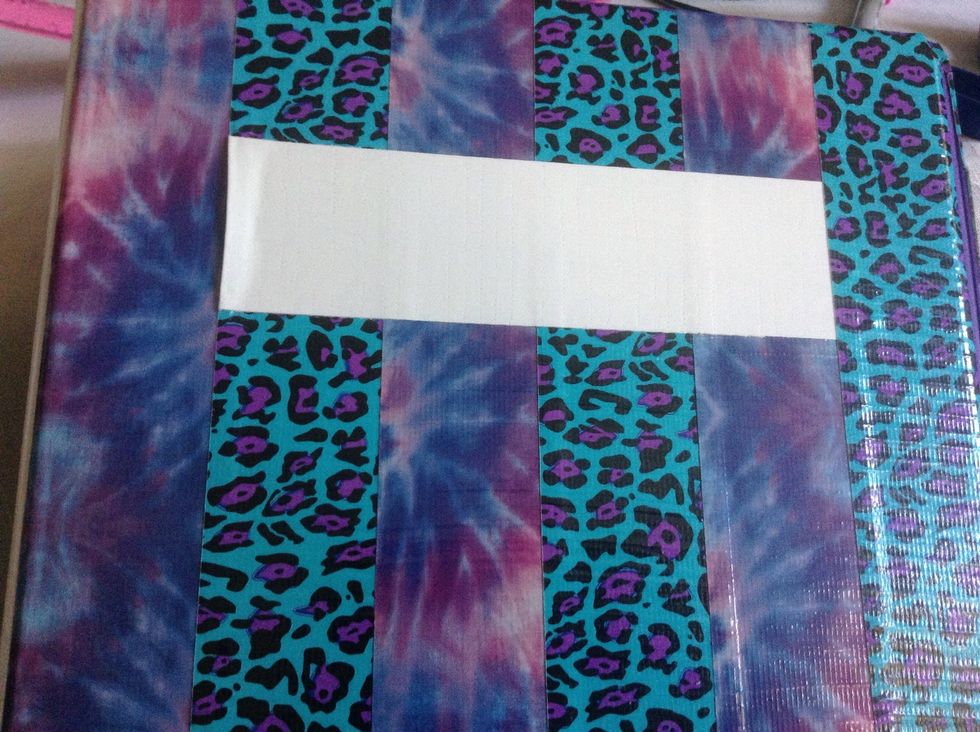
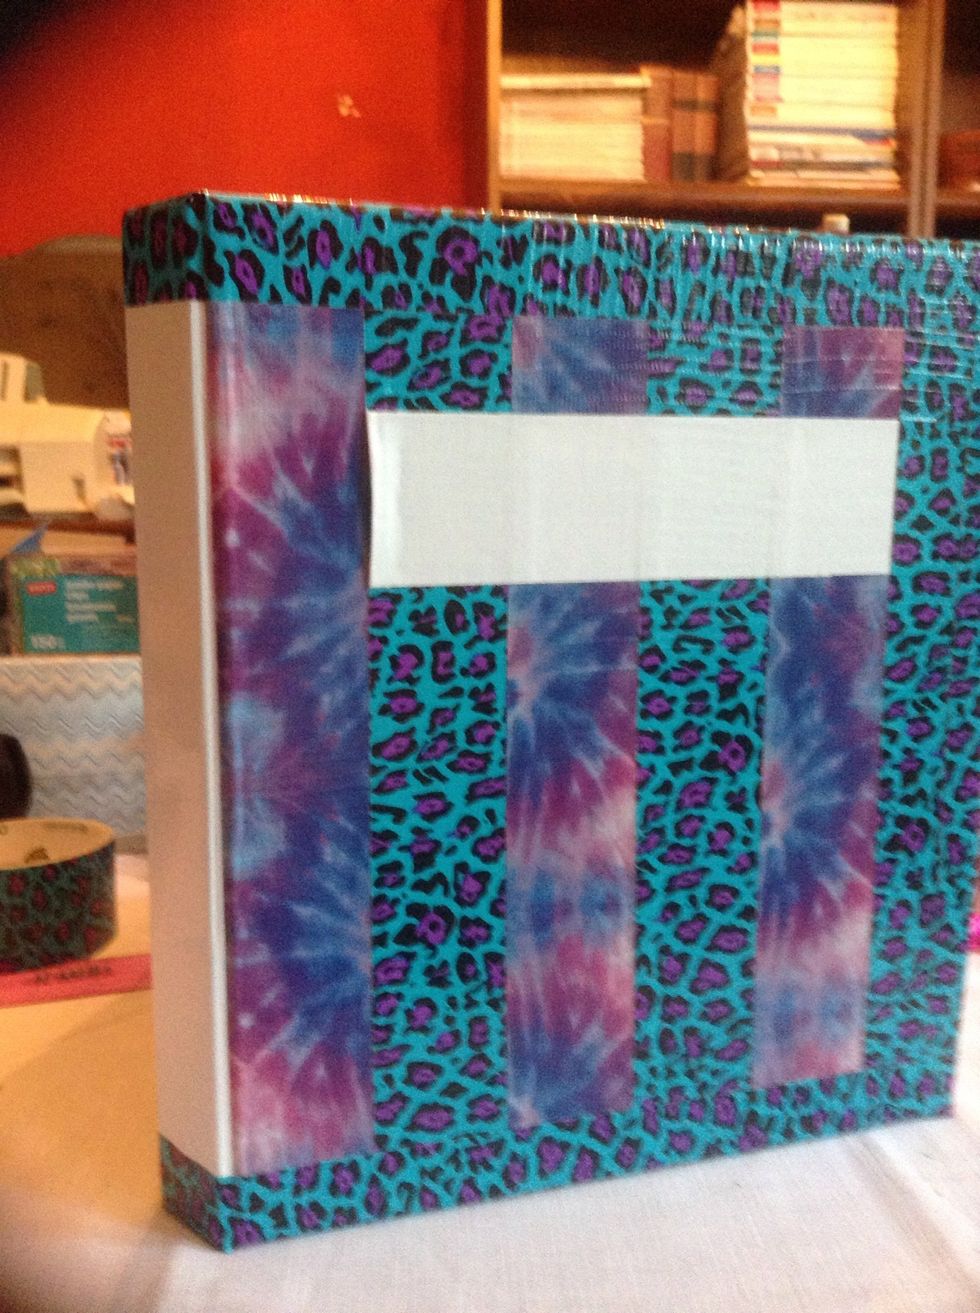
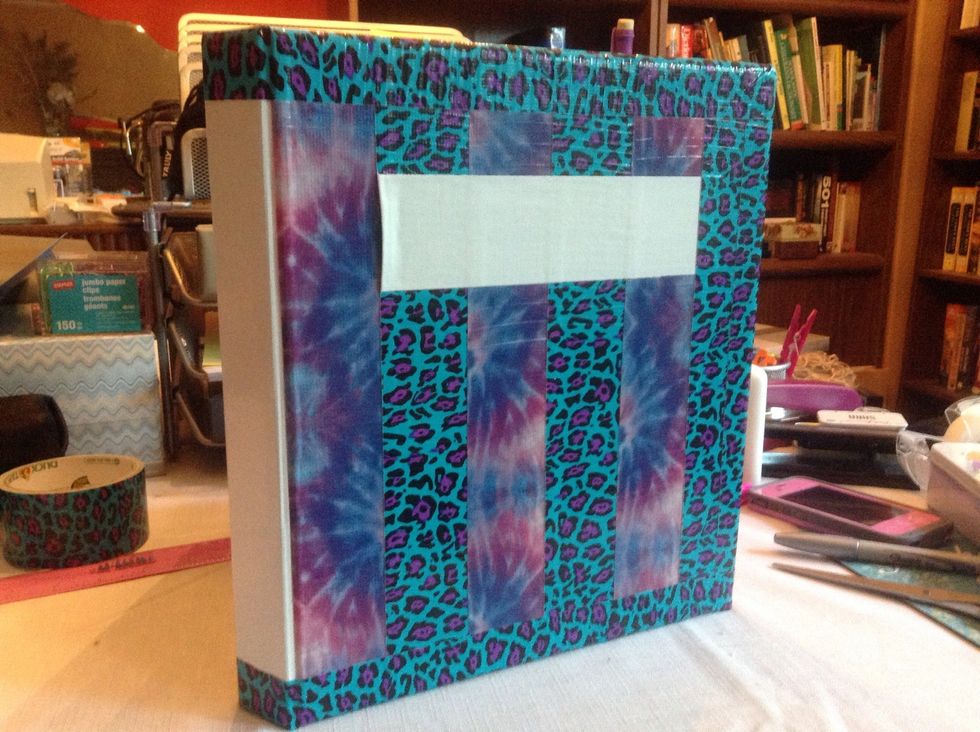
You now have your label!

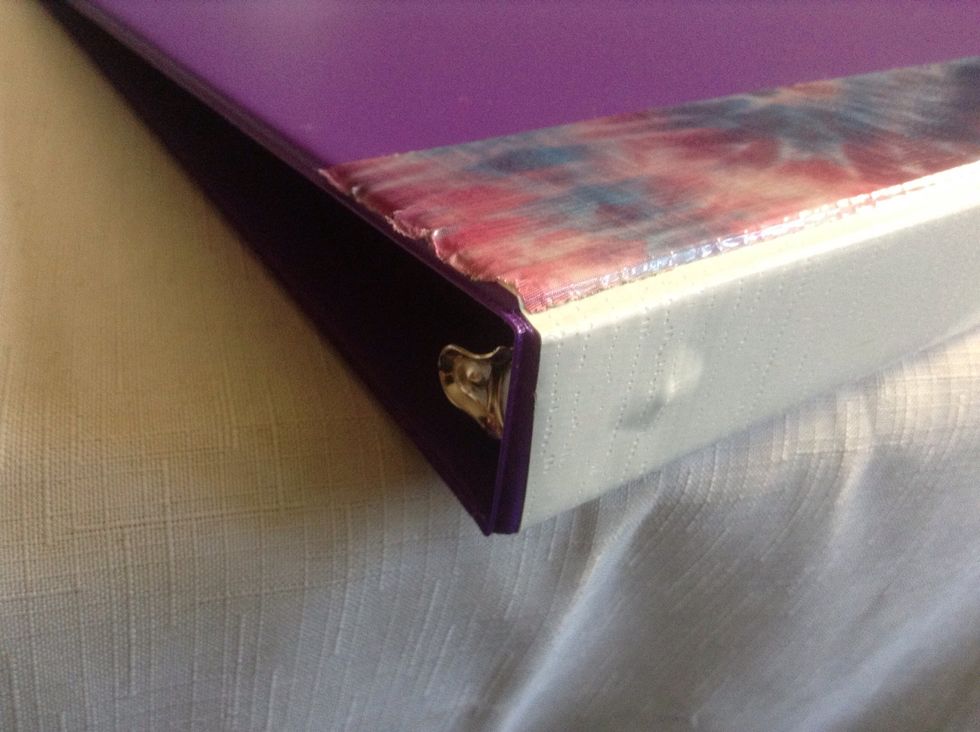
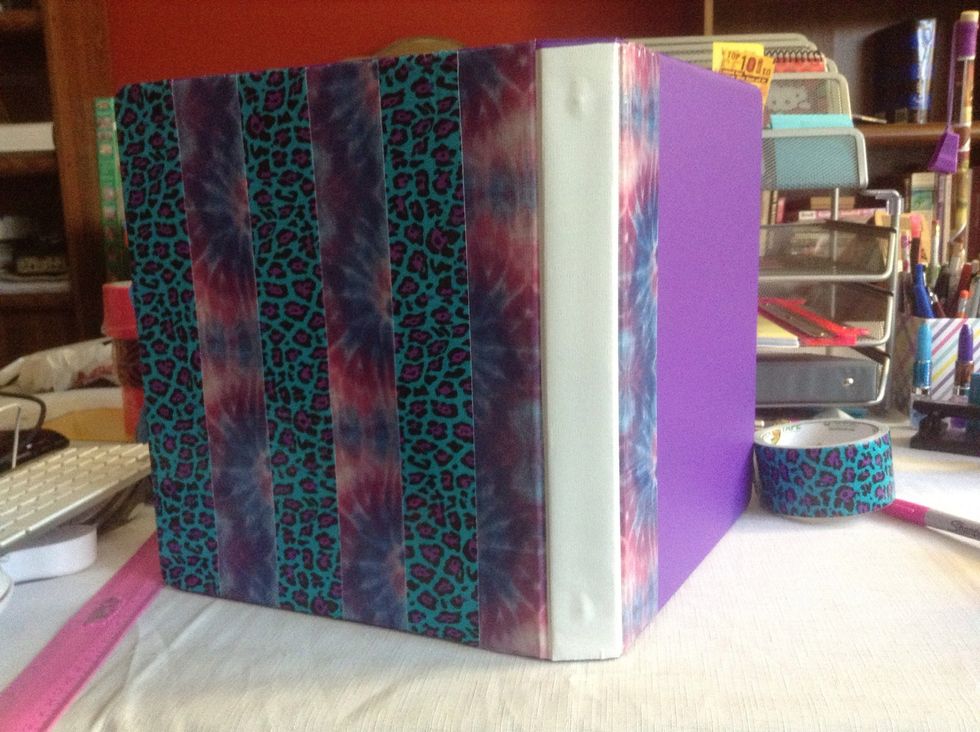
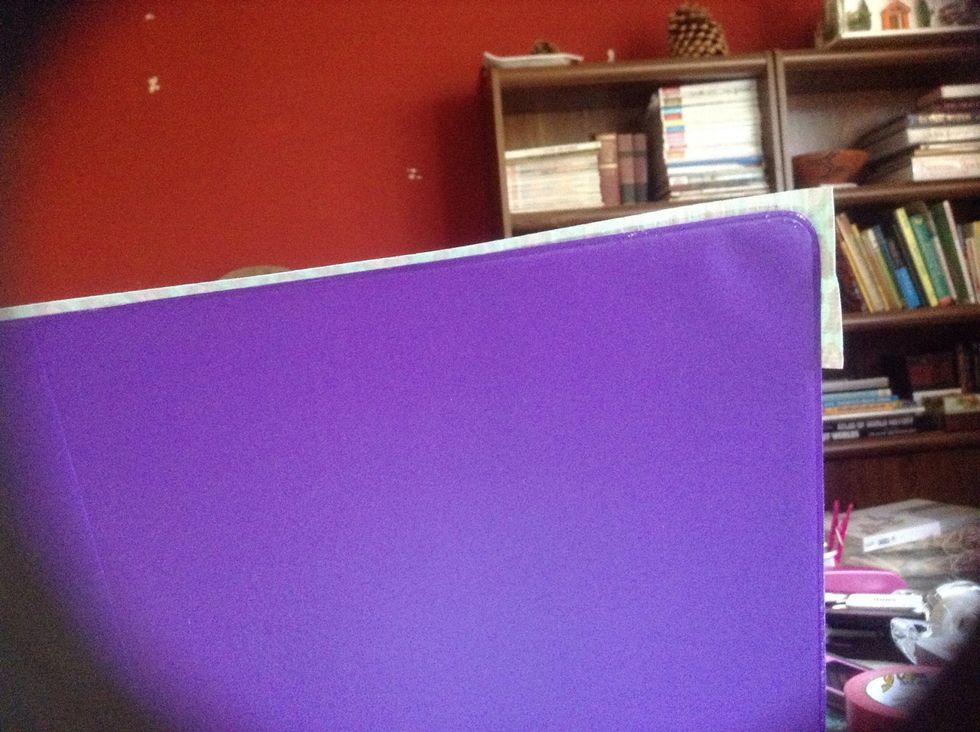
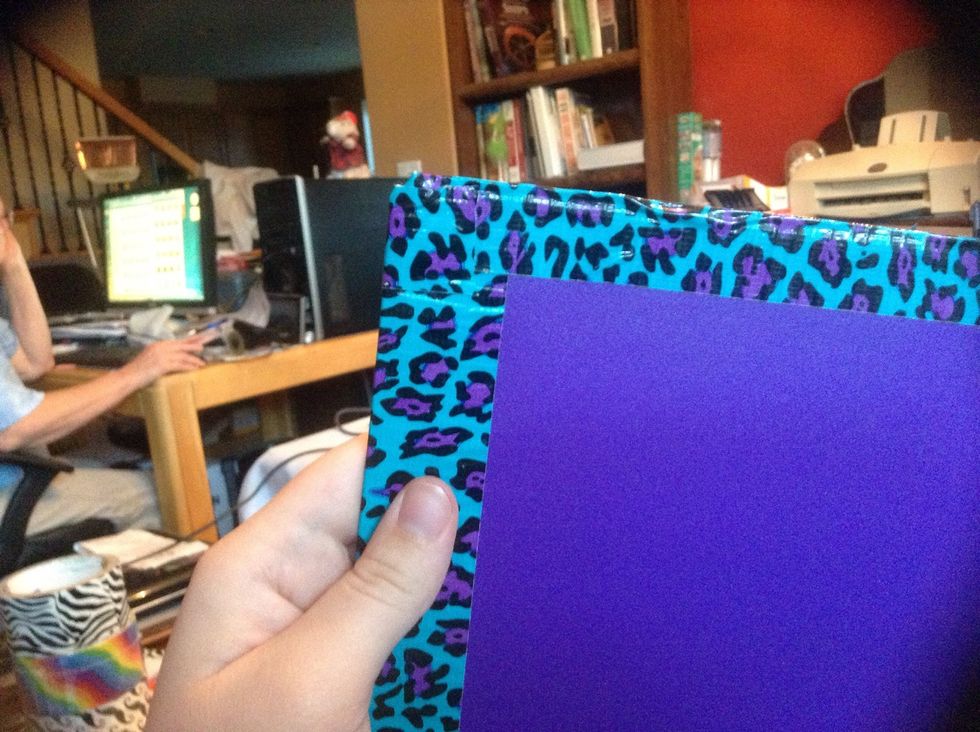
This is how it should look from the outside.
Now we'll want to cover those overflowing bits.
Now decide if you want the top and bottom or the sides to be the uppermost layer. I chose the top and bottom.
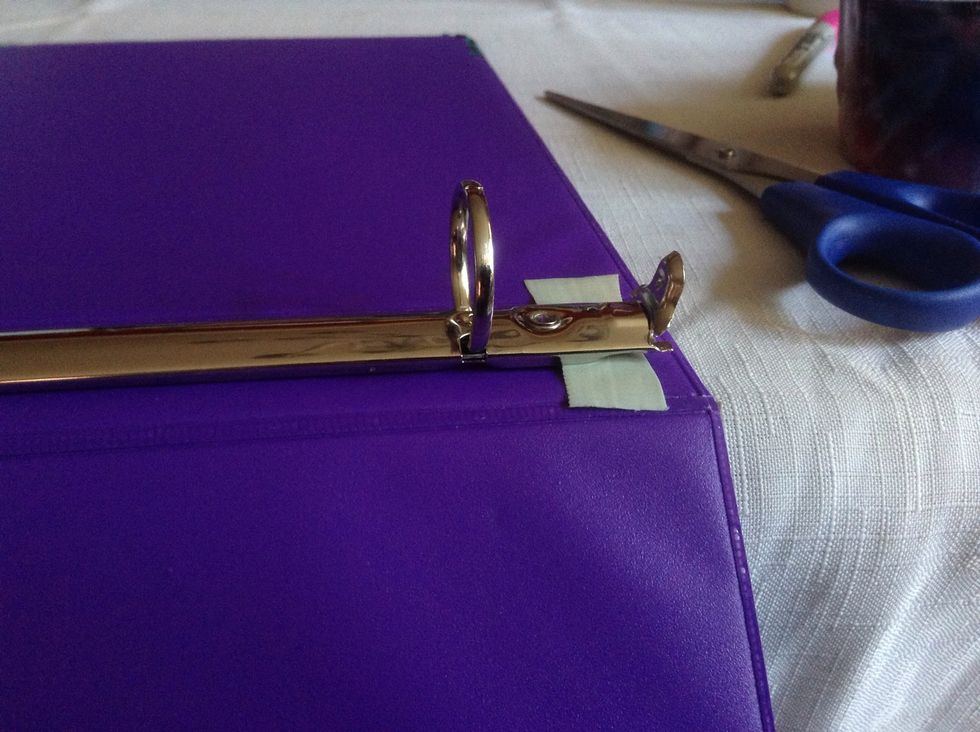
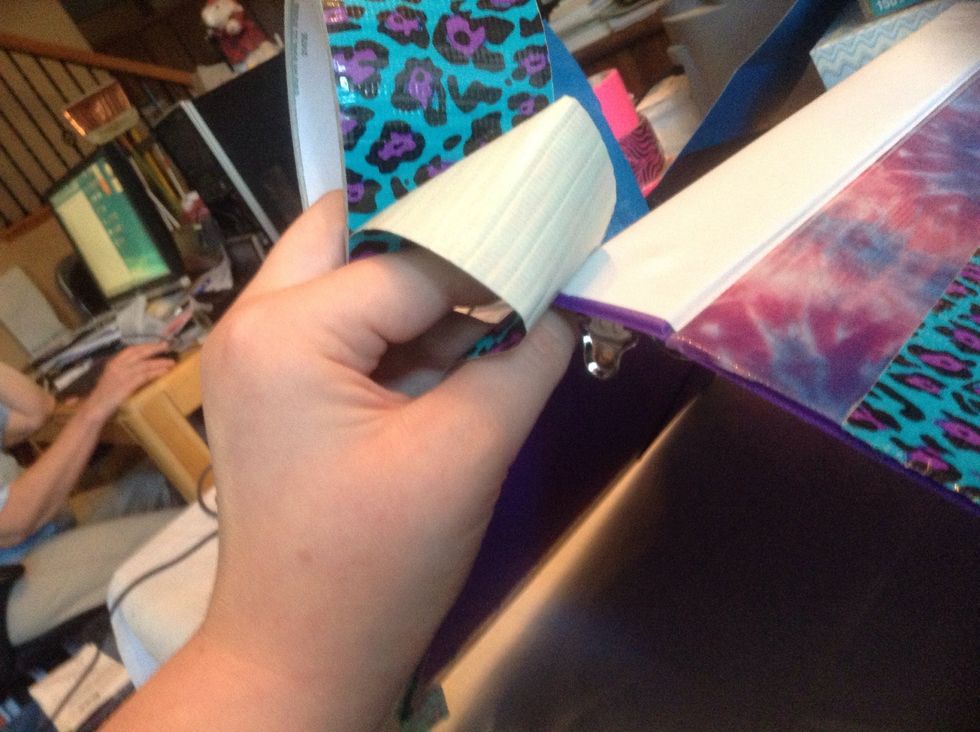
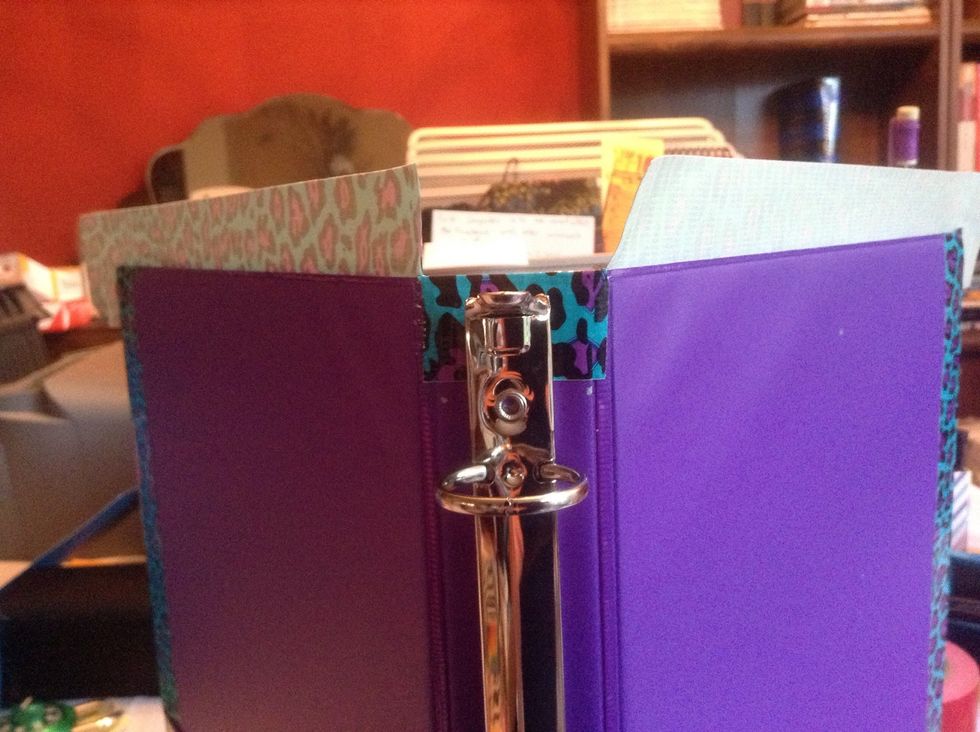
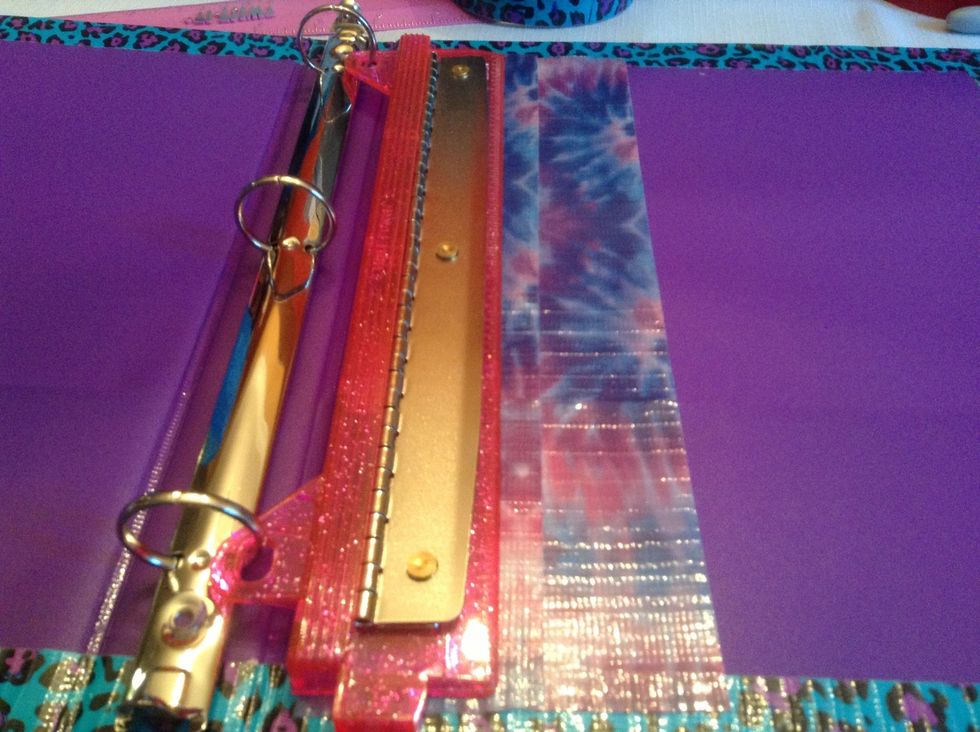
Slide a bit of tape under the end of the ring mechanism.
Measure how far to the top/bottom edge.
This should be the distance to the "post". Make sure it will cover up to your label.
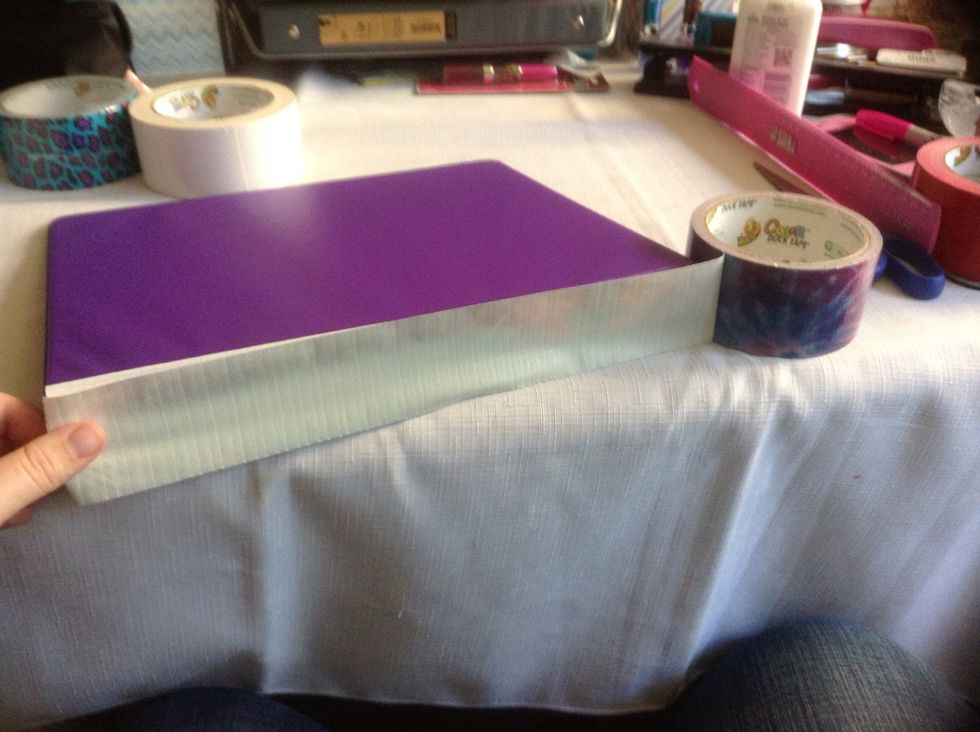
Take your duct tape....
And mark the measurement. Make sure the duct tape will cover the untaped spots and enough of the inside for you to be happy with. Mine happens to be half the duct tape.

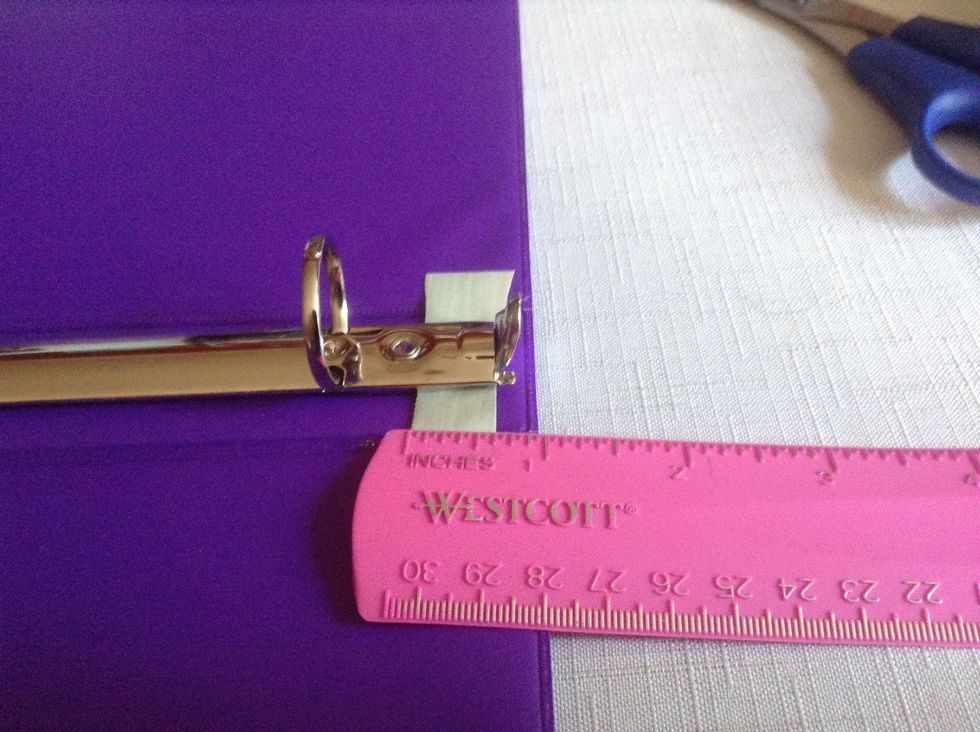
Measure from the top/bottom edge.
Mark on the side of the binder.
Now on the sides, use the same measurement to check no gaps will still be there when covered.
Mine is more than covered. Mark the measurement from the edge on both sides (not shown).
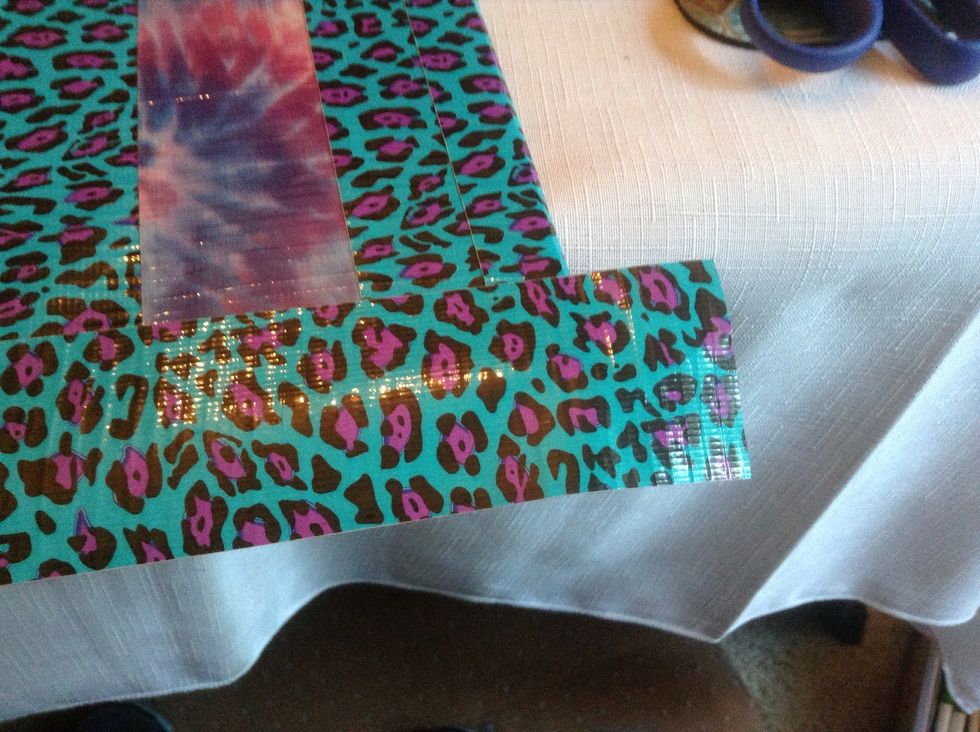
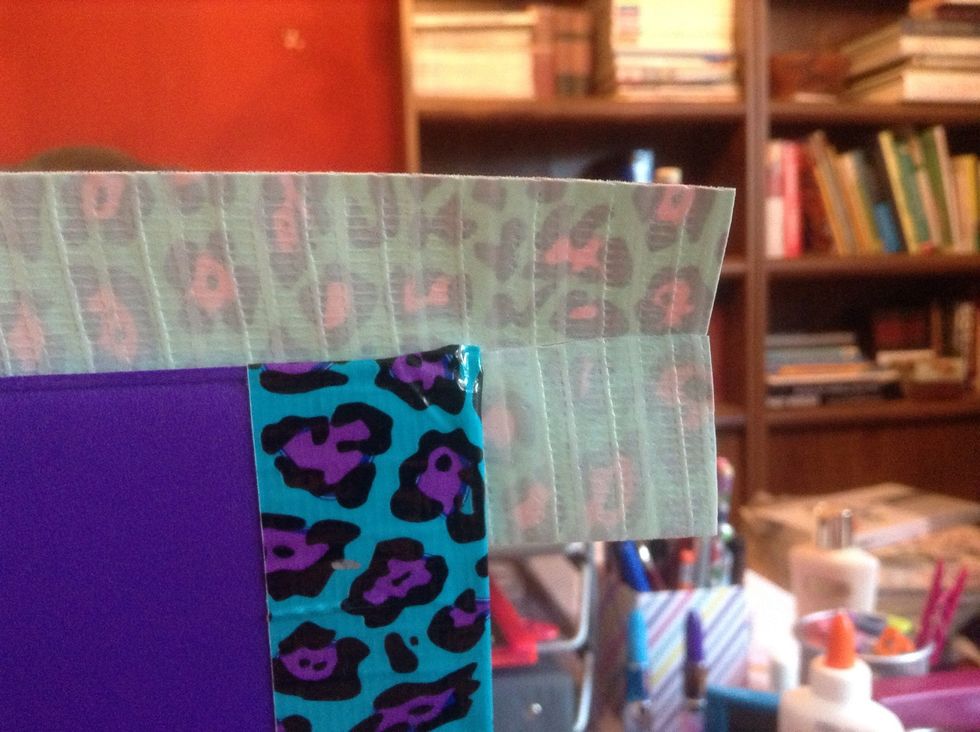
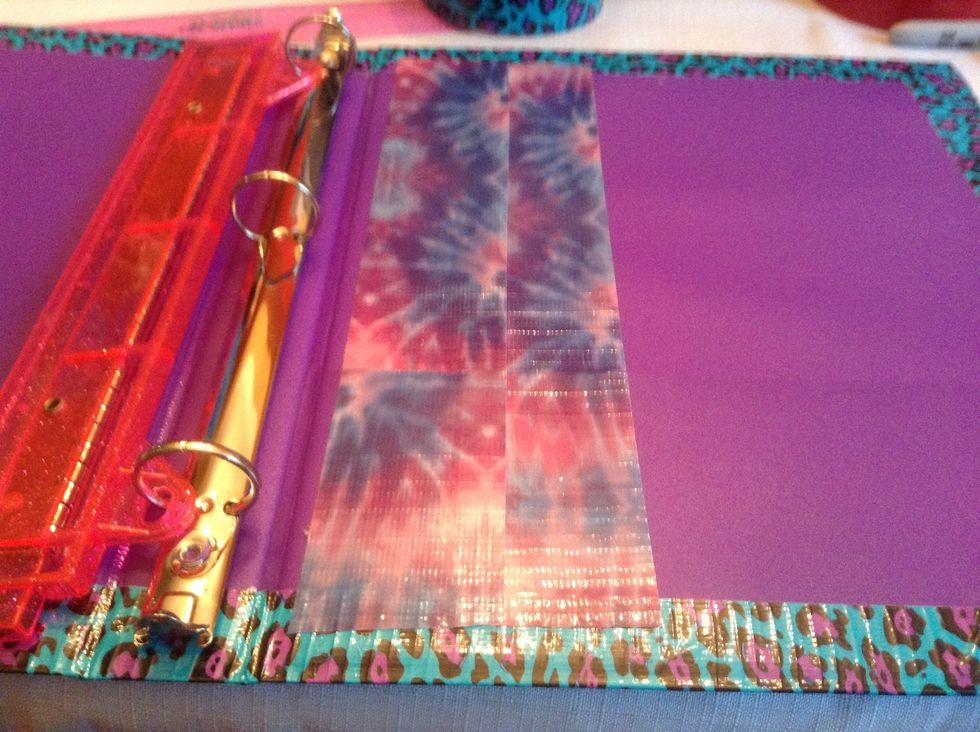
Place the tape just over the markings on both ends.
Flip over.
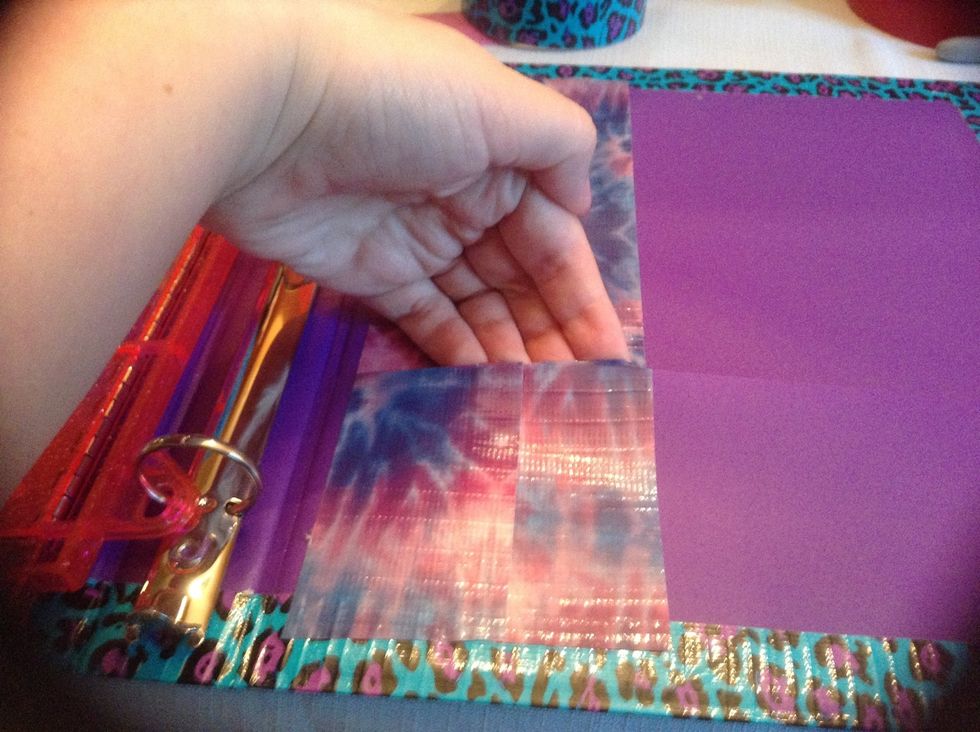
Cut a slit where the pocket is.
And press the tape down, making sure not to tape the pocket closed.
Do both ends.
Mark and measure both ends of the panels on the side you are working on. (Oops, I hadn't done the side yet...)
Do this on the inside too. (Once the sides are done)
As well as halfway on the inside.
And on the outside. (If you did like me and marked for no reason...)
Mark halfway on the outside too.
The post bump marks the binding for me.
Lay you binder as flat as you can.
Start the tape on one edge, leaving extra tape, and follow the markings. Fold the binder a little when you come to the binding together it in the crevices.
Continue to follow the markings to the end and leave some extra tape.
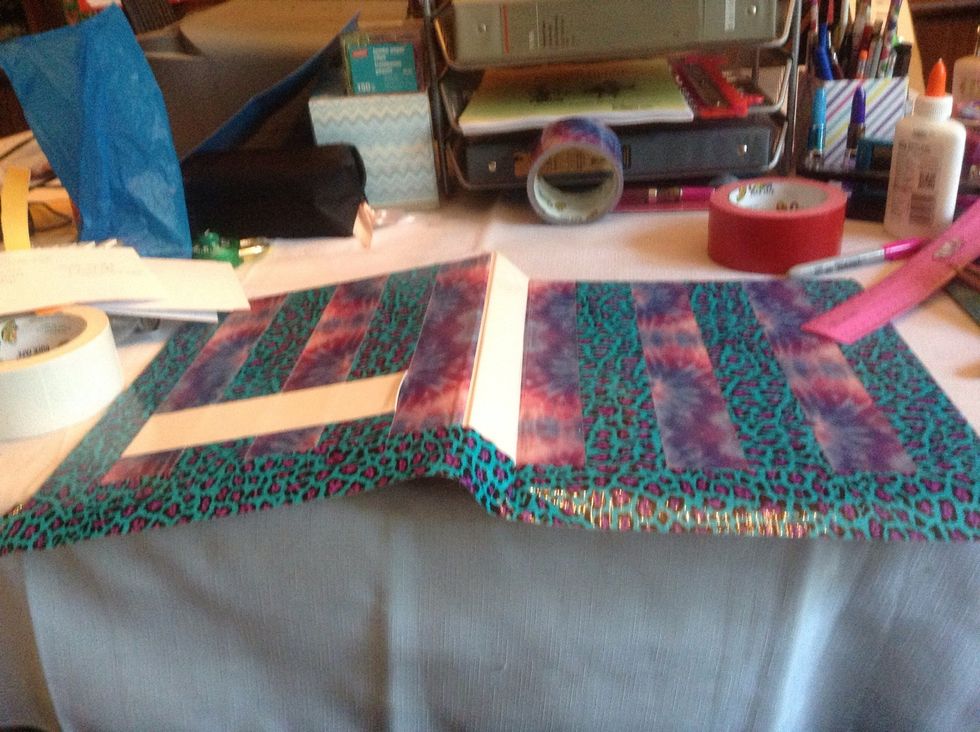
This is how it should look now.
Cut slits at folds to make it easier to fold over.
Fold the binding part down as far towards the post as you can. Press down.
Cut a slit in the overlap.
Fold back a little...
Press down the inside while keeping the fold up, and press the inside flap down INTO or UNDER the fold.
Now press the fold down.
And the flap to the inside, where it is now protected from extra wear and potential ungluing.
Do this to the other side. (Outside view)
If it will make a sloppy corner, cut off a bit from the top.
Fold it over and the excess into its own little flap.

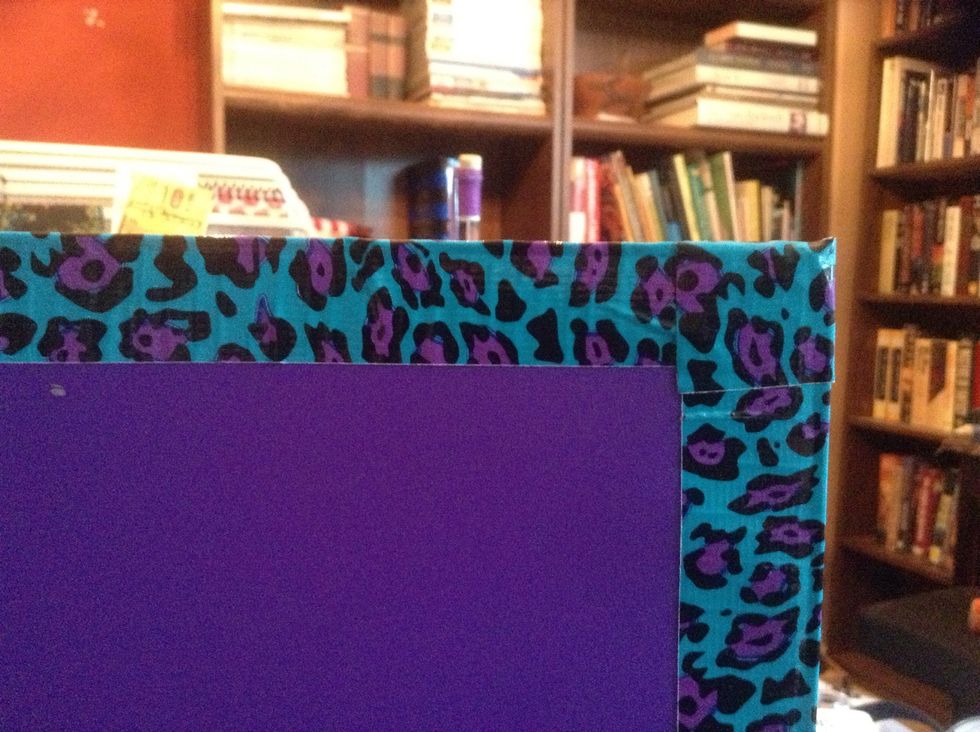
Hold down while folding over the top flap.
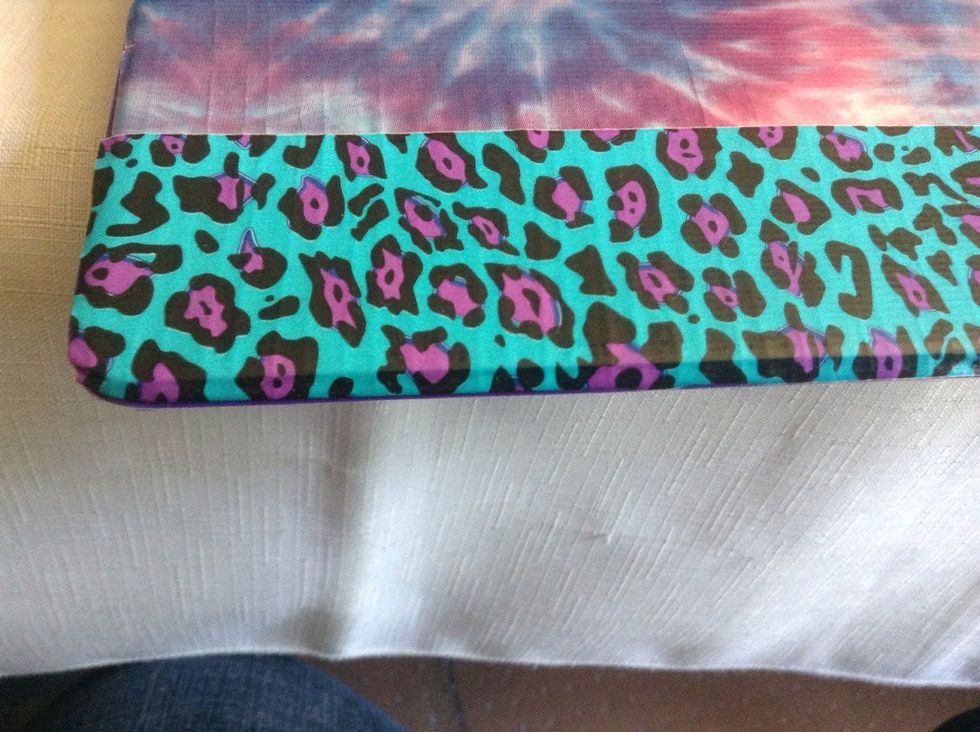
Done.
All done!
Laying down.
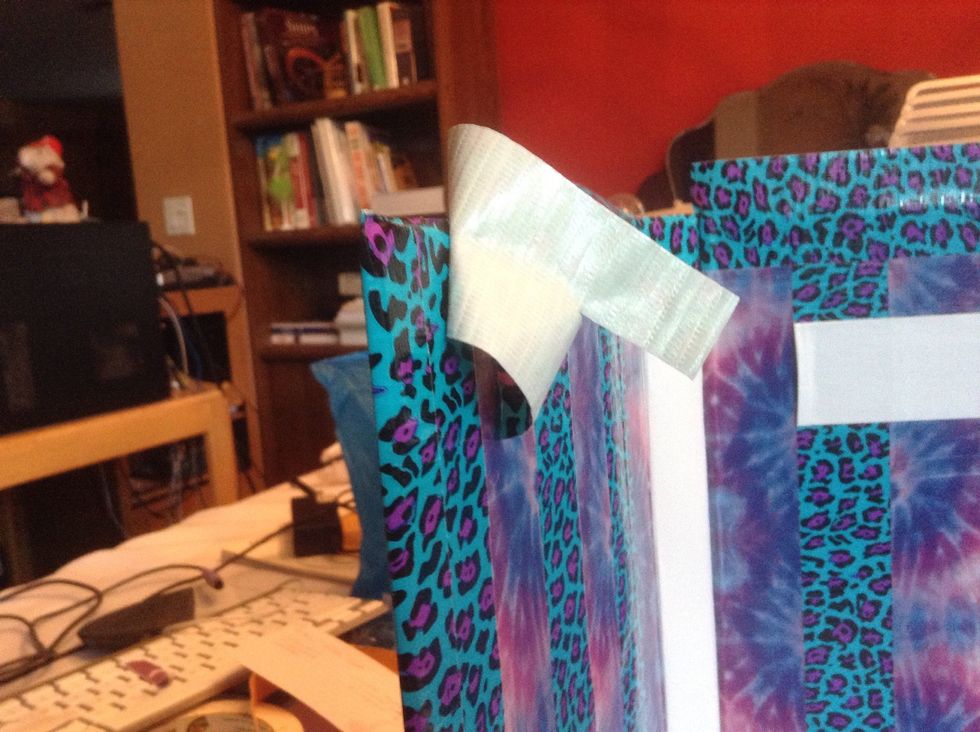
This hole punch may wear out the bak of the binder, so...
I payed down tape furthest first for correct layering and durability.
And cut it open to use the pocket.
ALL Done! YAAAAAAY!!!!