The Conversation (0)
Sign Up
Start by making one shelf.
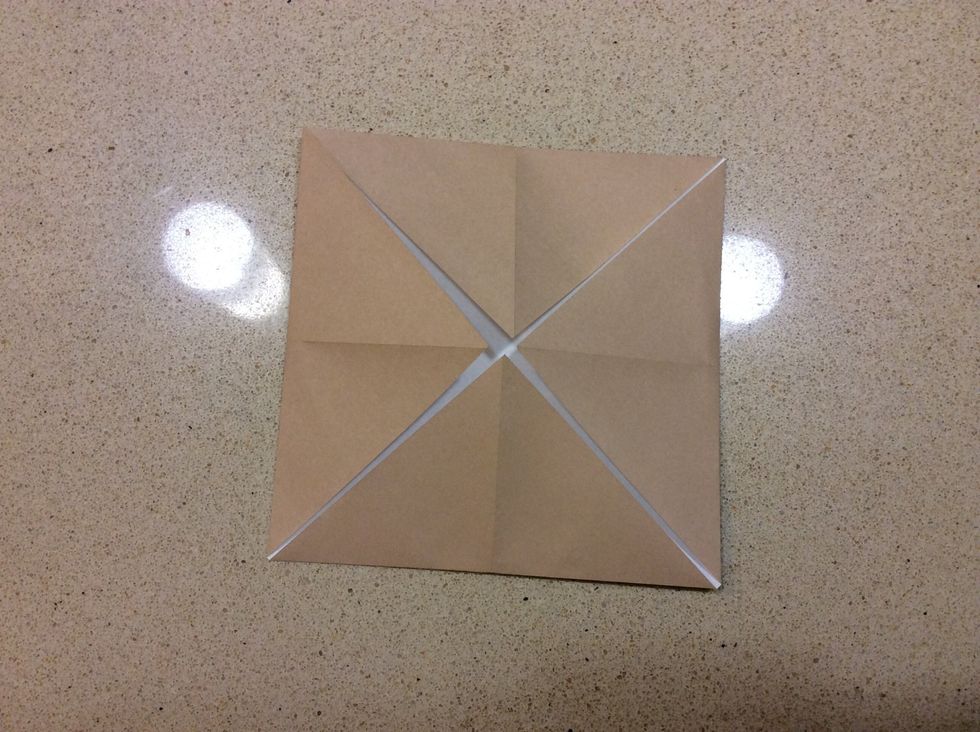
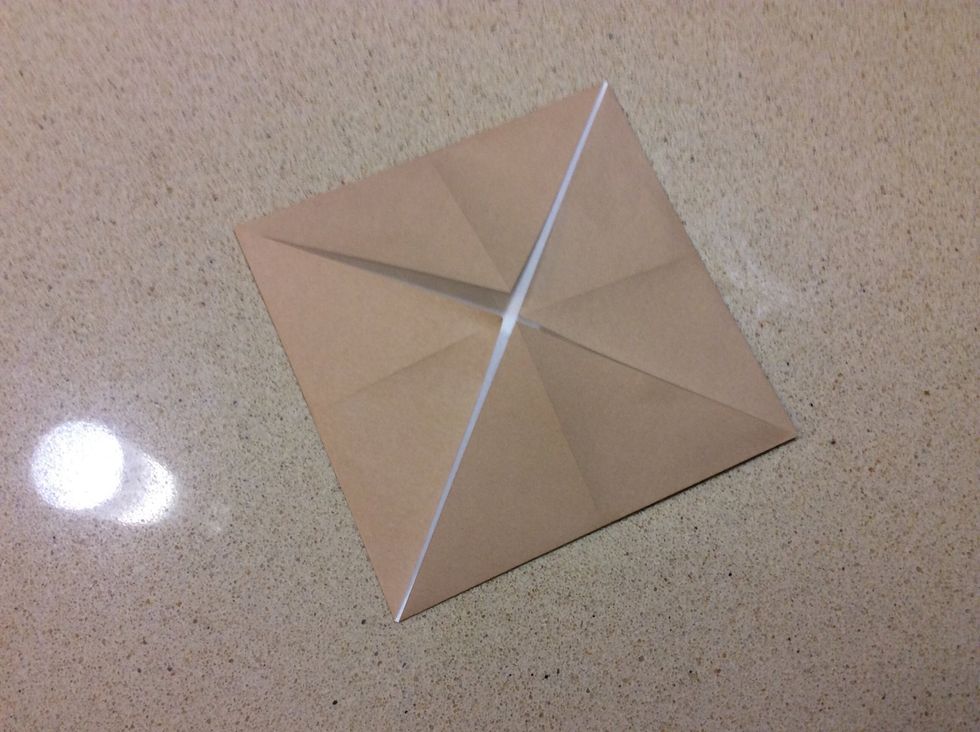
Fold in half diagonally and fold the corners to the centre to make a blintz base.
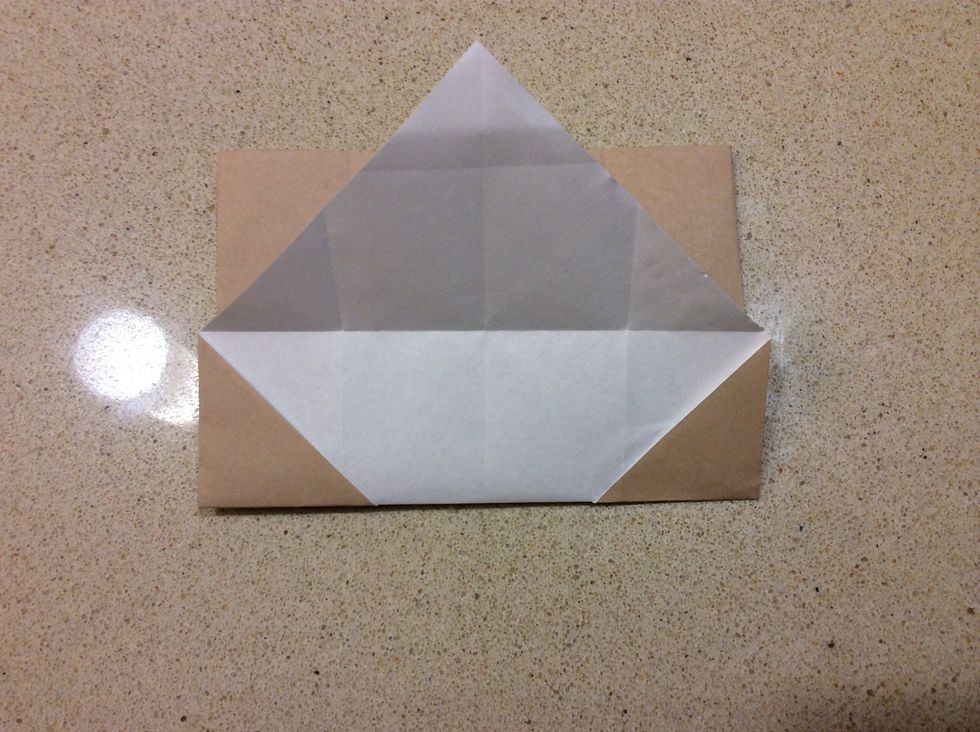
Turn over and fold the edges to the middle.

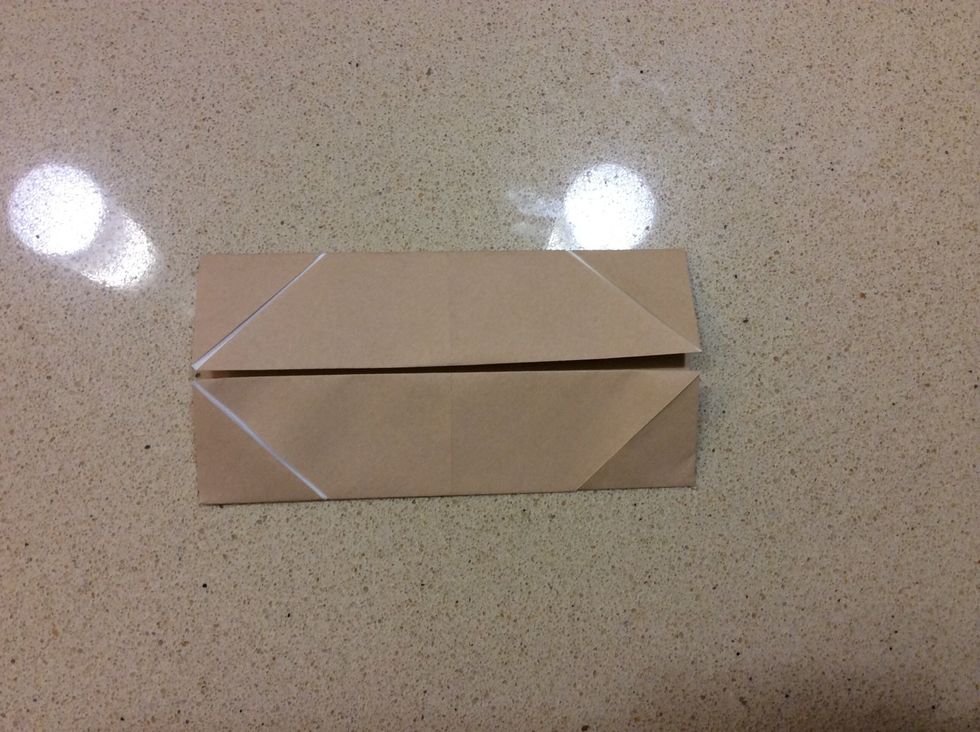
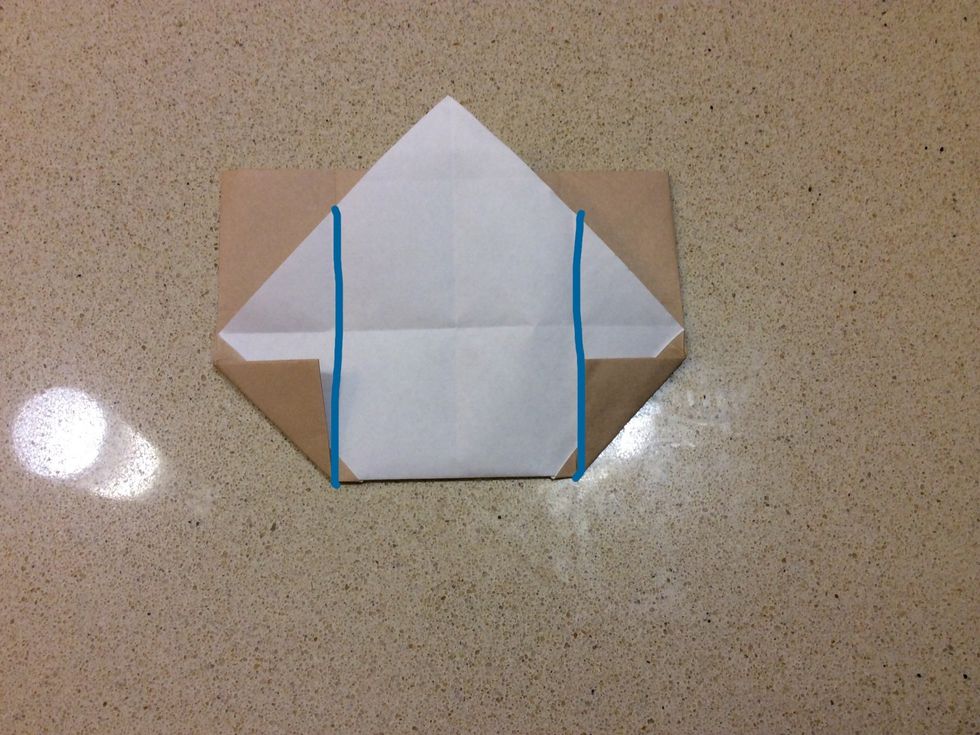
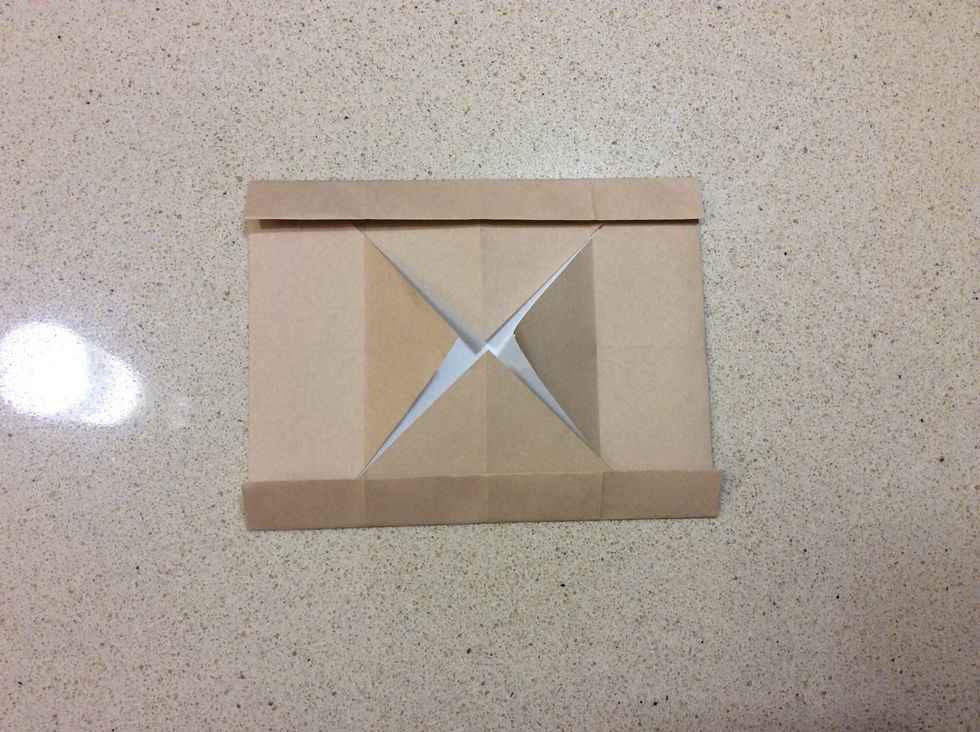
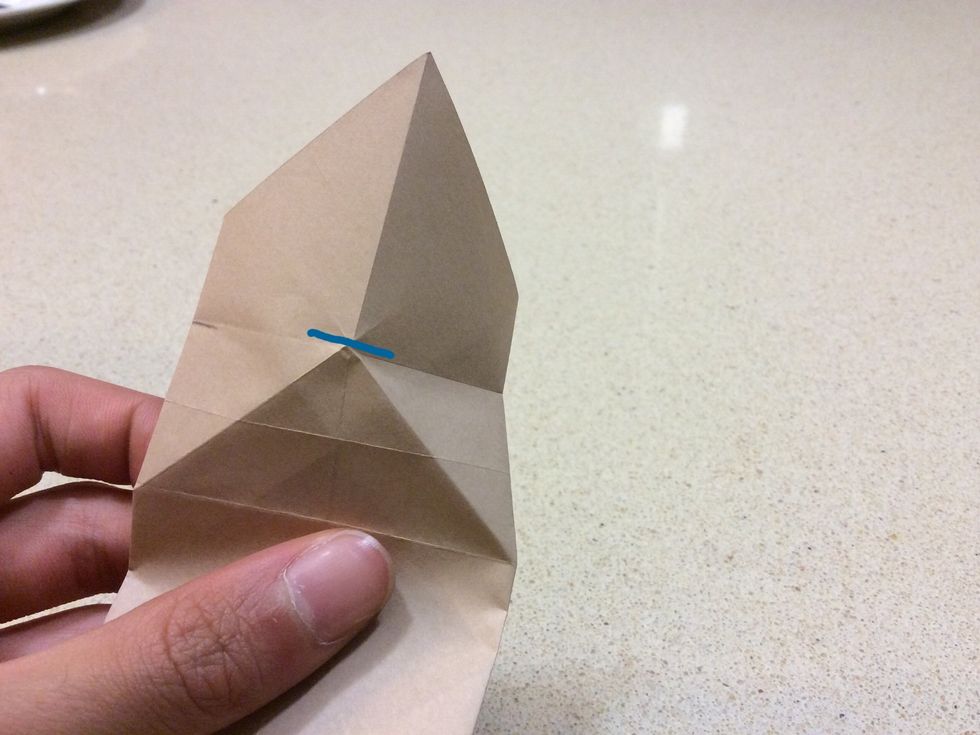
Unfold, turn over and rotate so that it looks like this. Then fold the bottom and top edges to where the creases intersect.
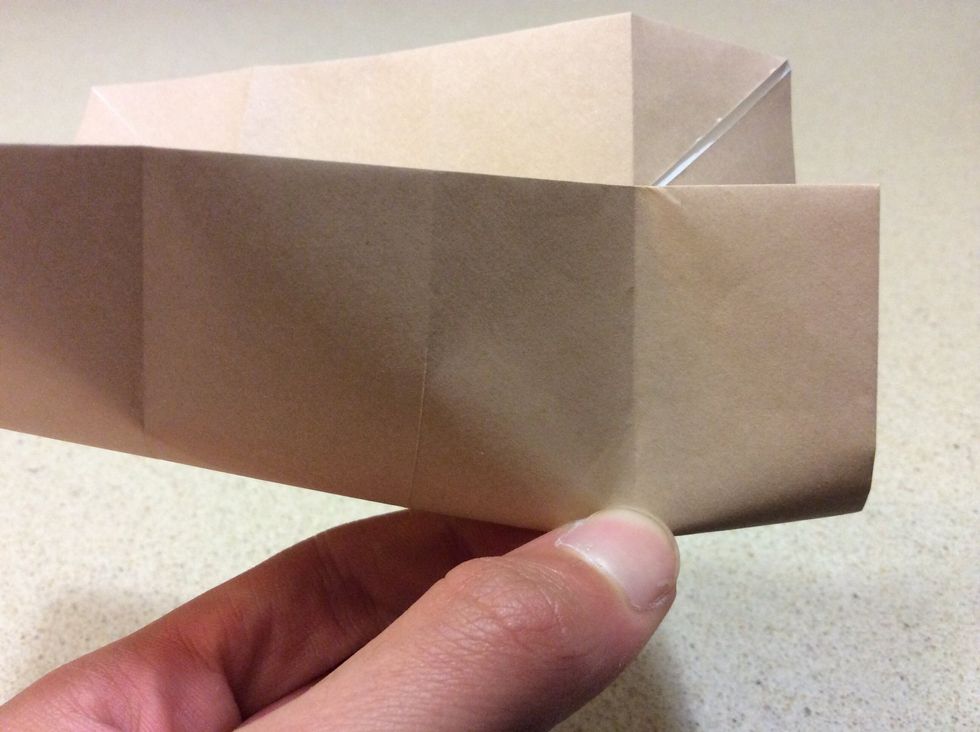
Don't crease completely but pinch to mark it instead.
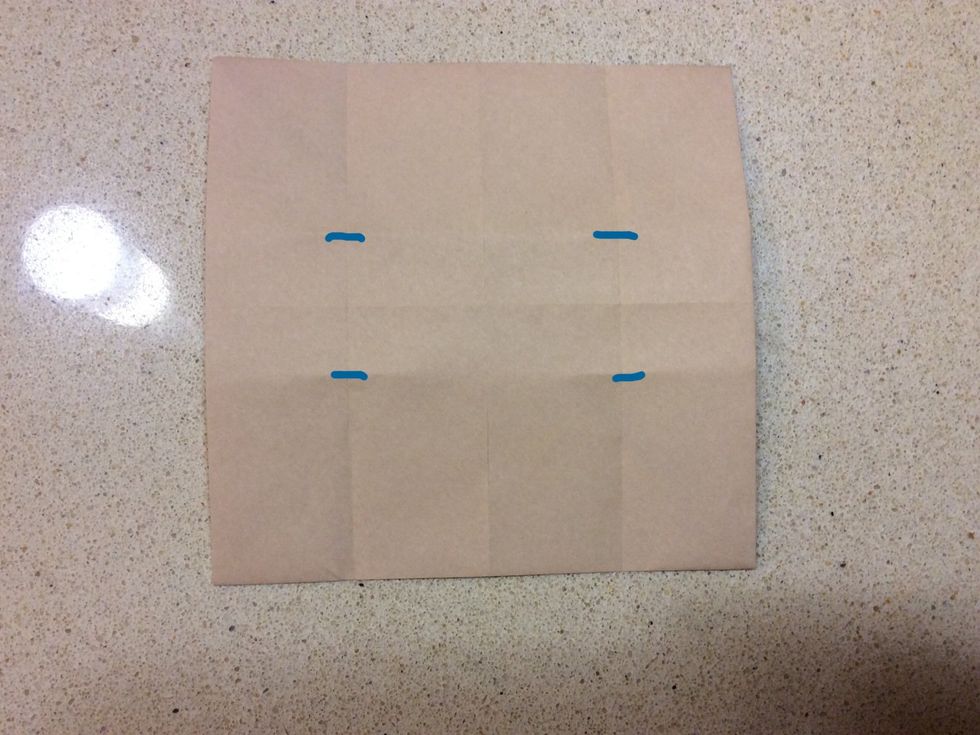
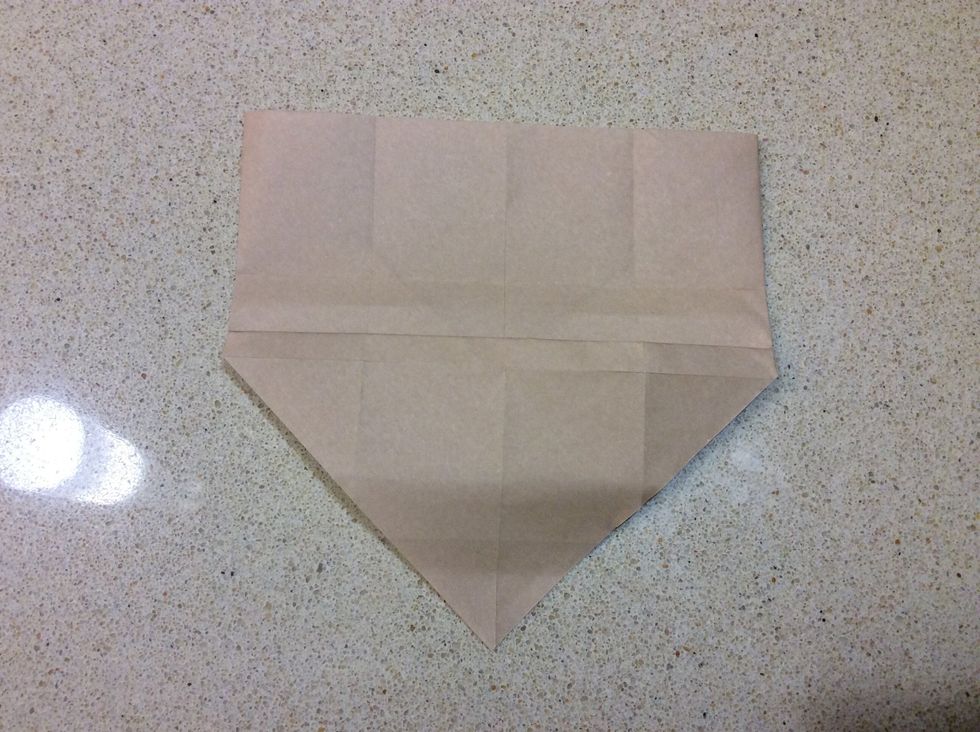
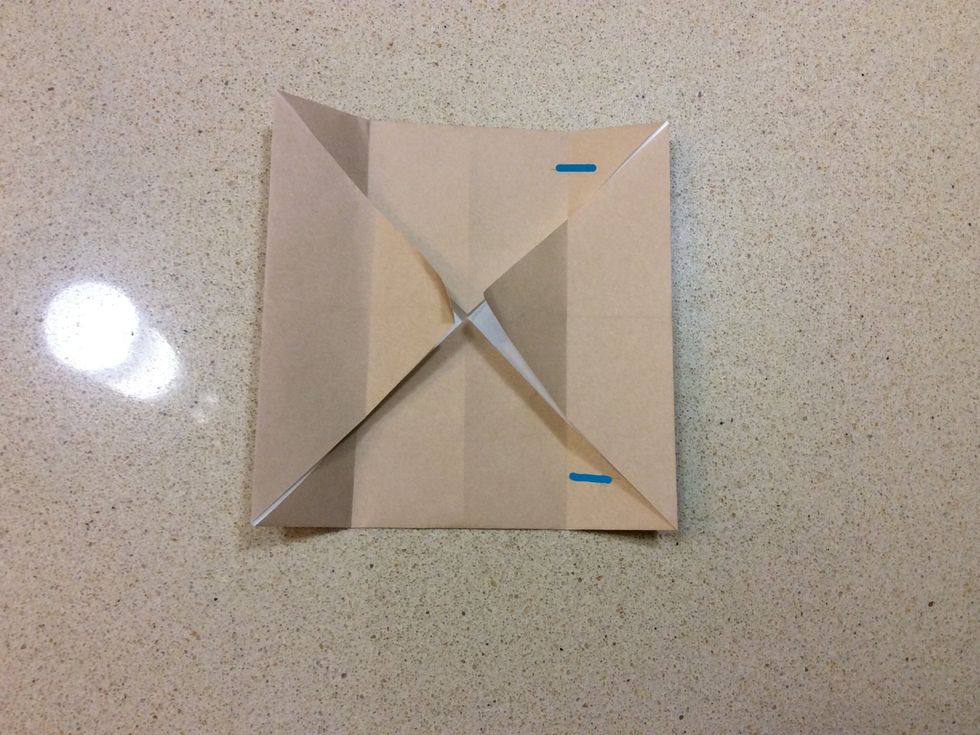
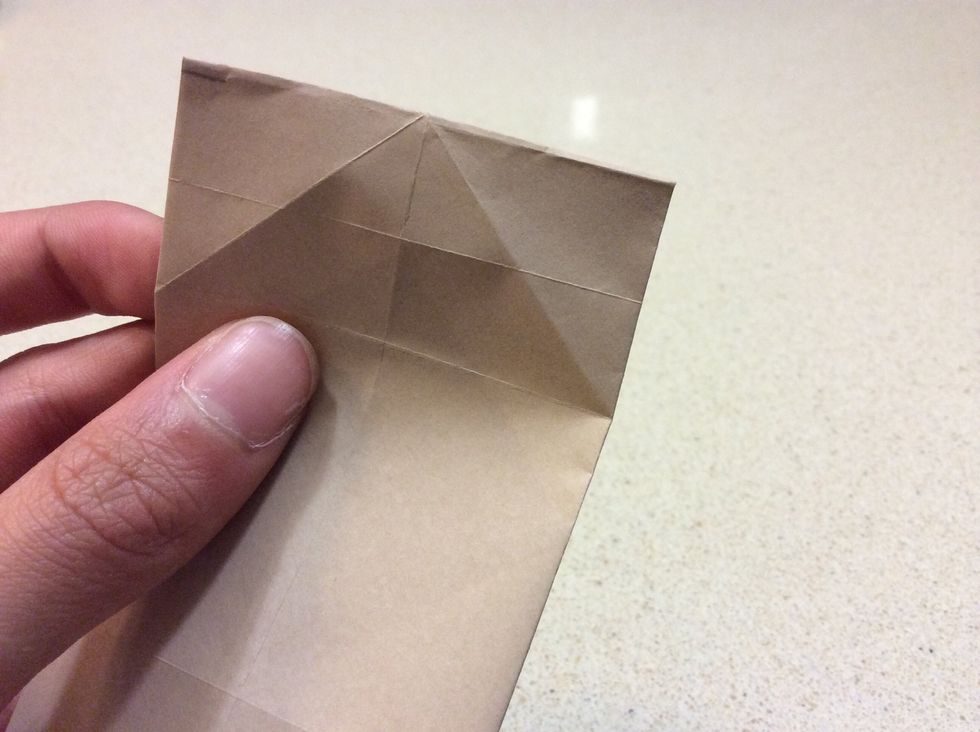
Repeat on the other side like so and turn over, here are all my pinch marks.

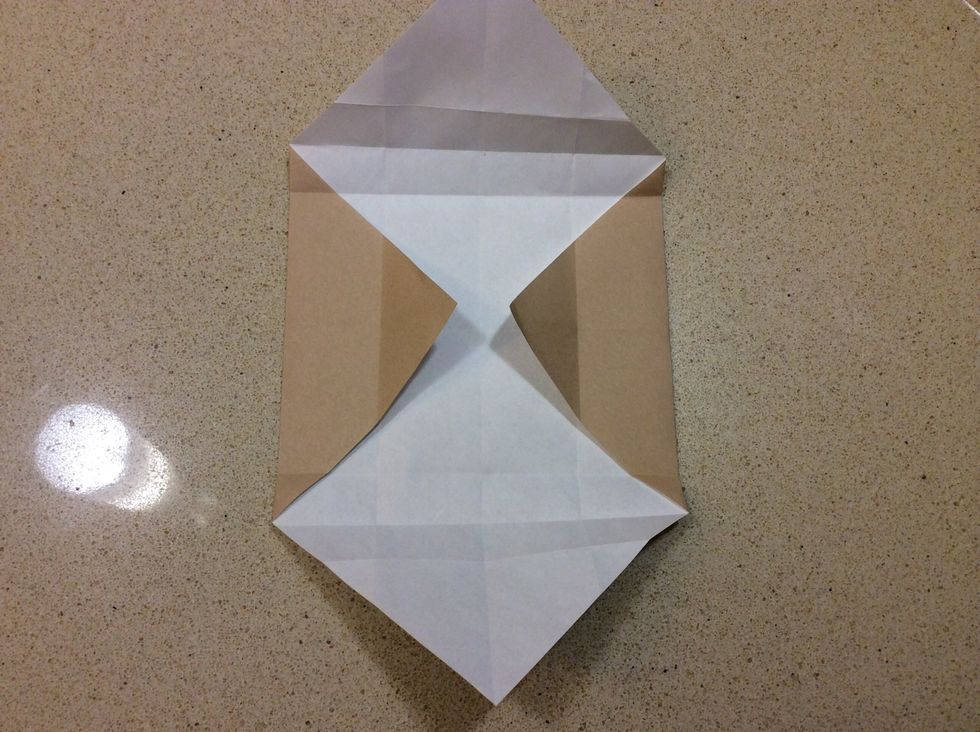
Fold up to meet the pinch marks like so, making sure not to fold the flap. Unfold and repeat on the other side.
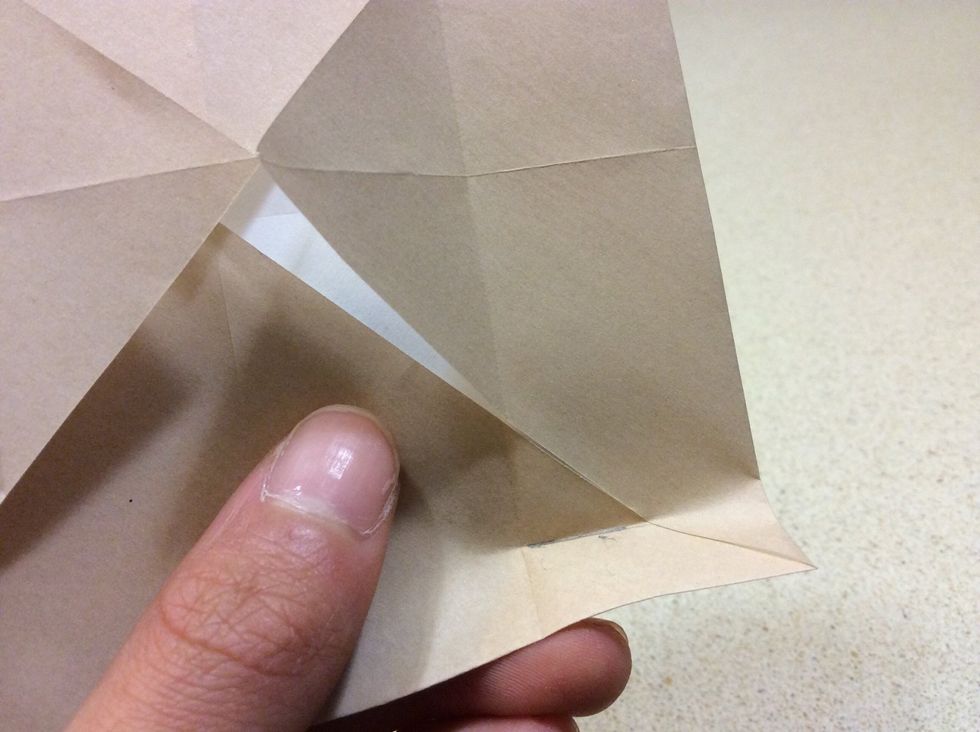
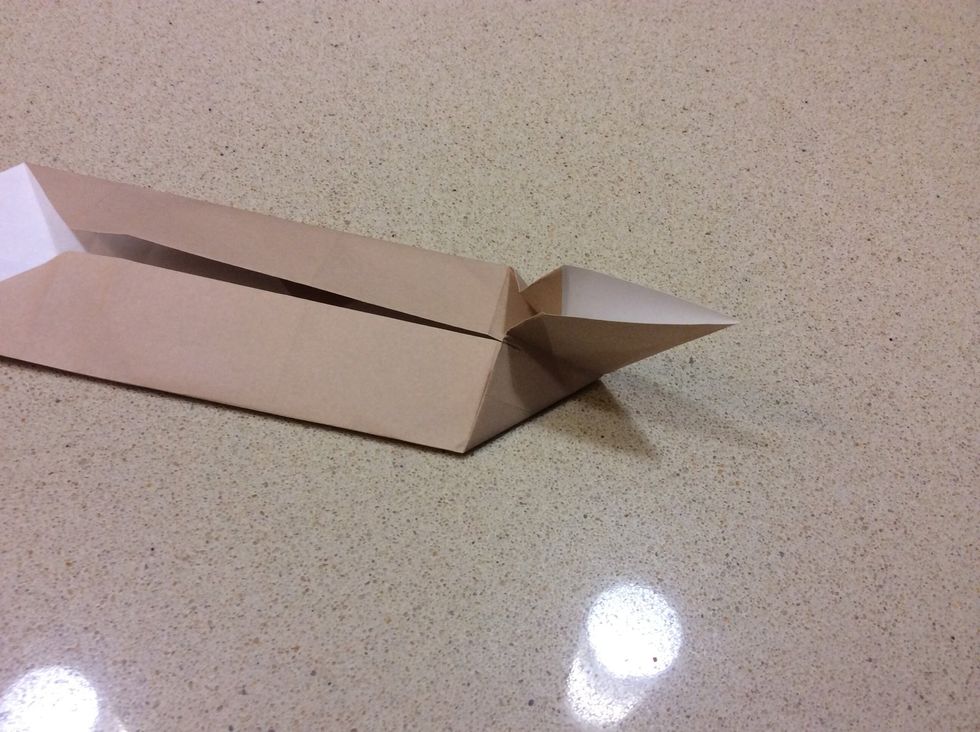
Do not unfold this side and open up the flap.
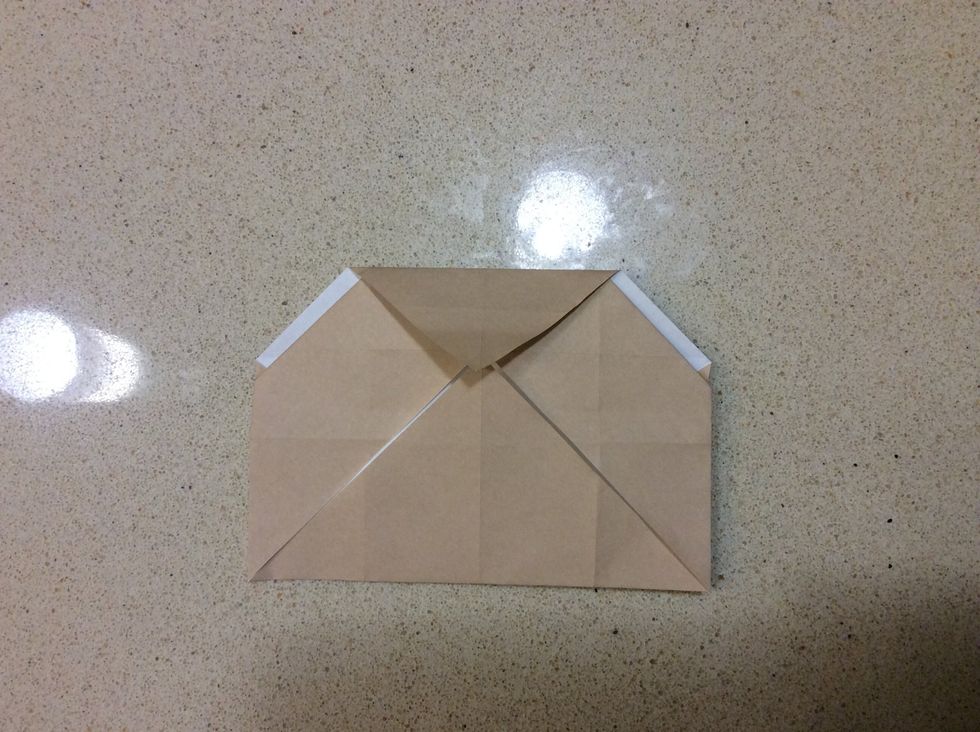
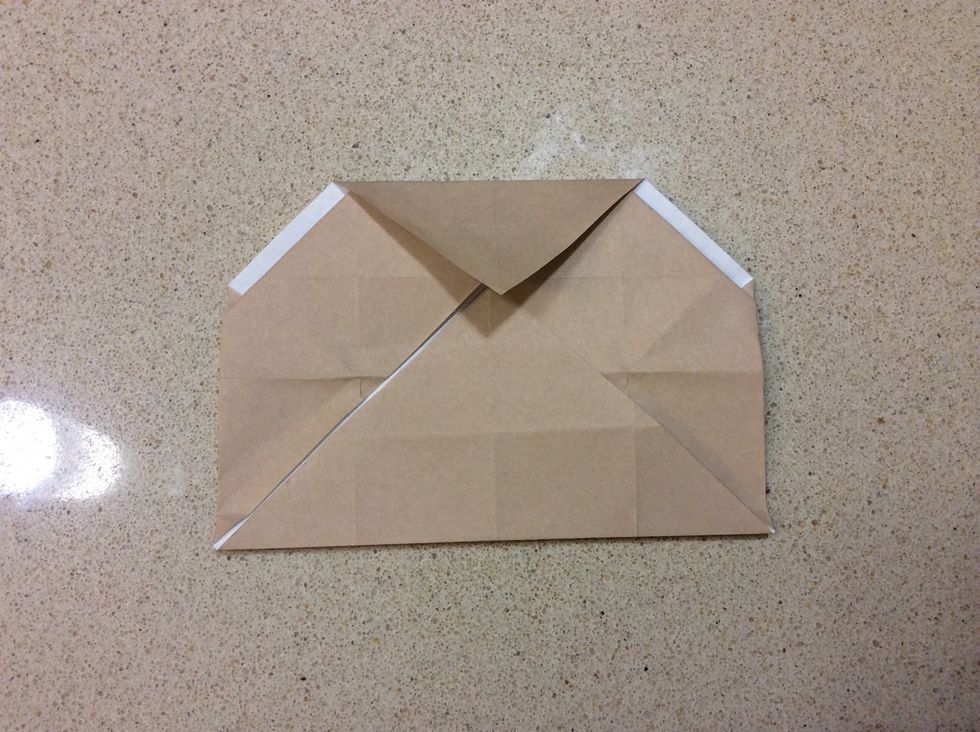
Fold the corners the the lines indicated like this.
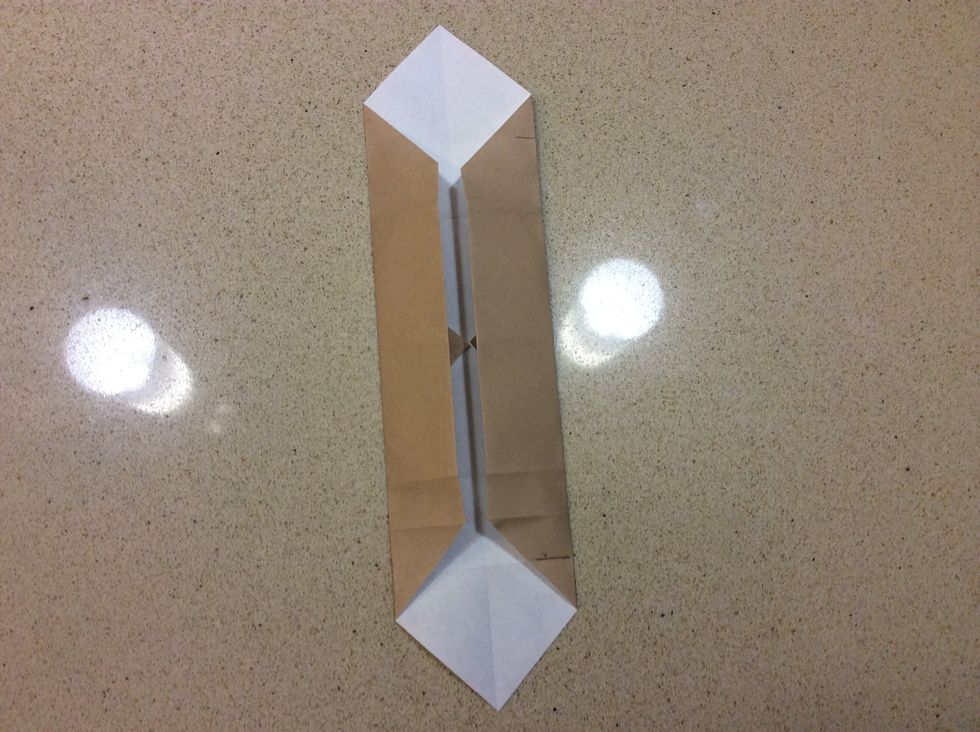
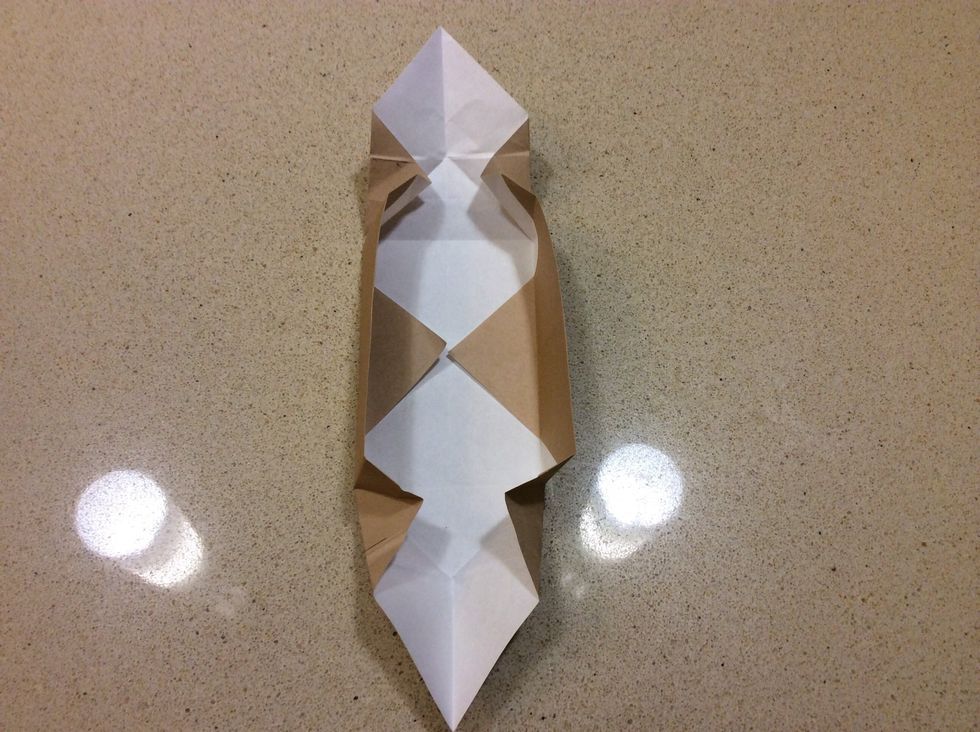
Now fold over the corners so that it look like this. Make sure there is no gap between the corners and the flap
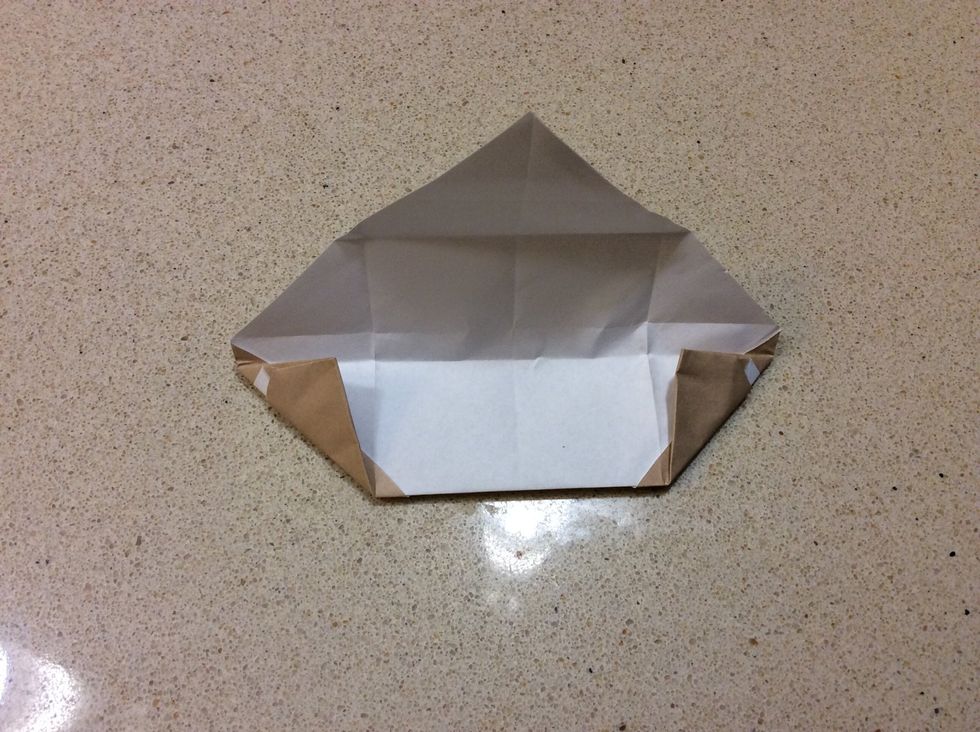
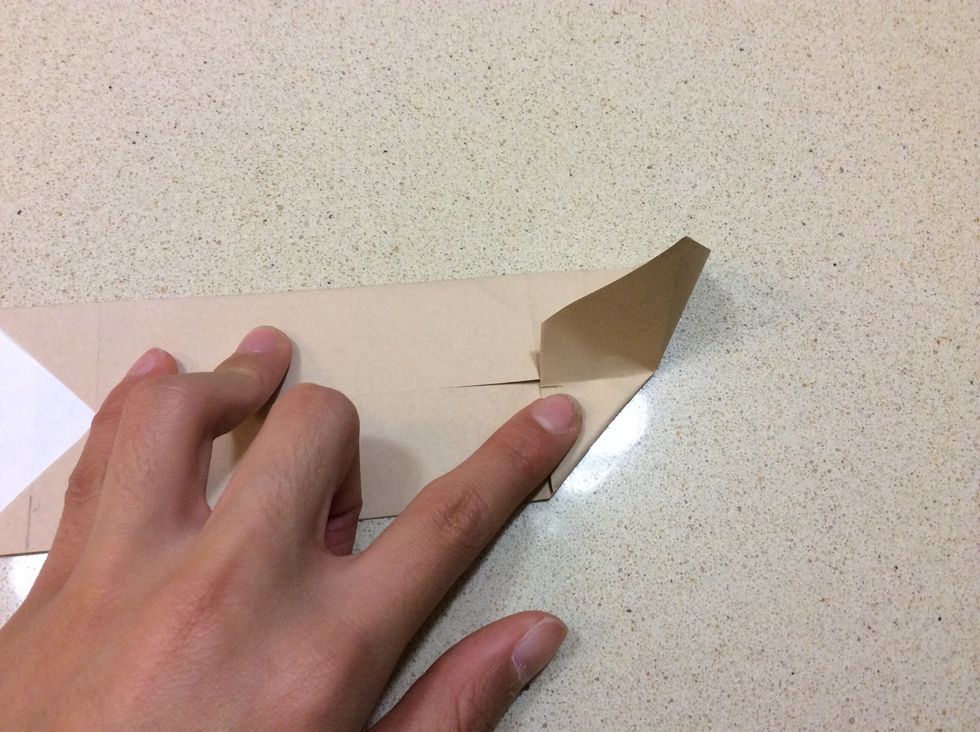
Turn over and fold the flap like this.

Unfold until you just have a blintz base again.
Repeat to the other side. Now refold the first side OVER this side.
Make sure to crease well at this stage.
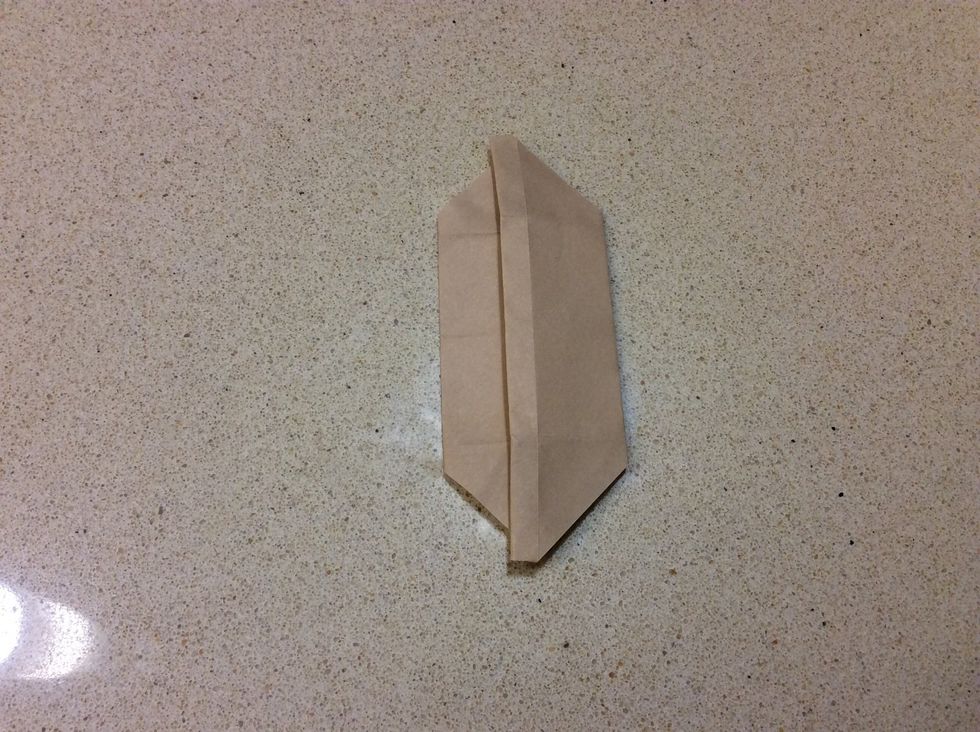
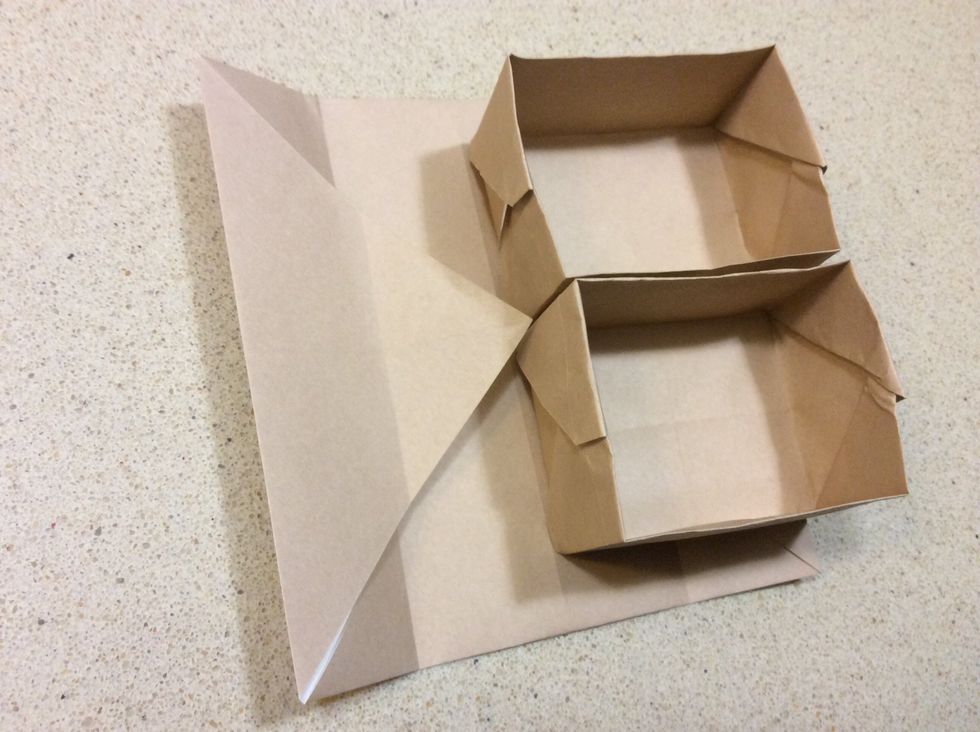
Your finished product should look like this.
Make the second shelf in exactly the same way. Then start making the case.
Start with a blintz base again.

Without turning over, fold the edges to the middle. Then unfold and rotate 90 degrees.
Line up your shelves with the middle like this.
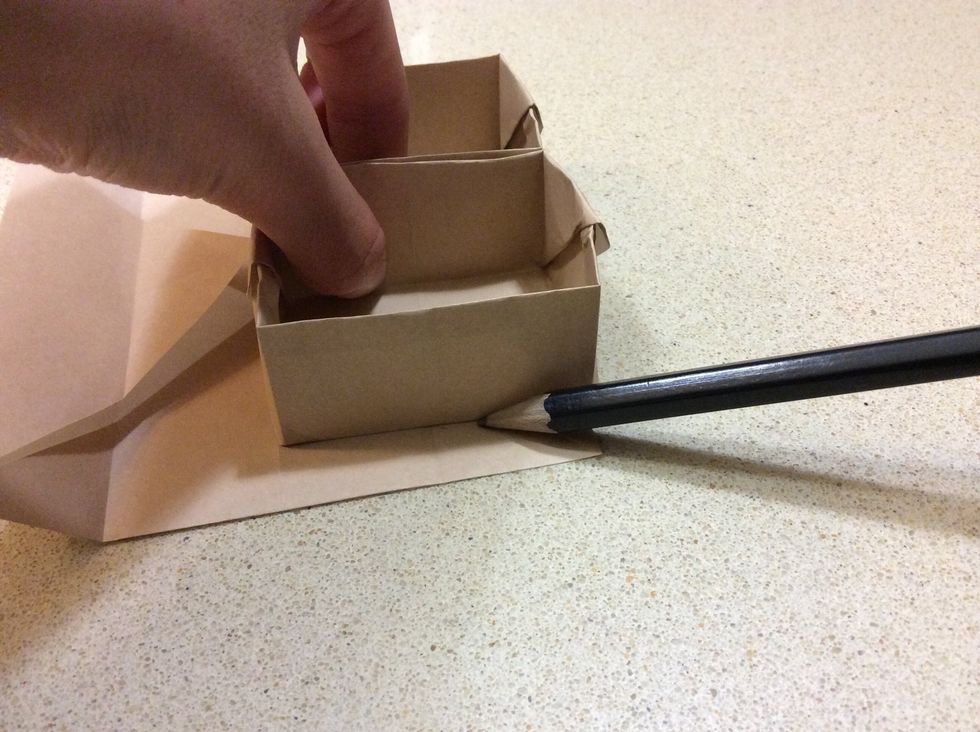
Mark the edges.
Here are my marks.
Now valley fold on the marks.
Finished folding.
Unfold these flaps
And refold the sides.
Focussing on one side, fold 45 degrees at the third line, don't fold all the way. Repeat to the other side.
Fold where they intersect.
Like this.
Reinforce the folds like so. Repeat on the other side.
Unfold the sides.
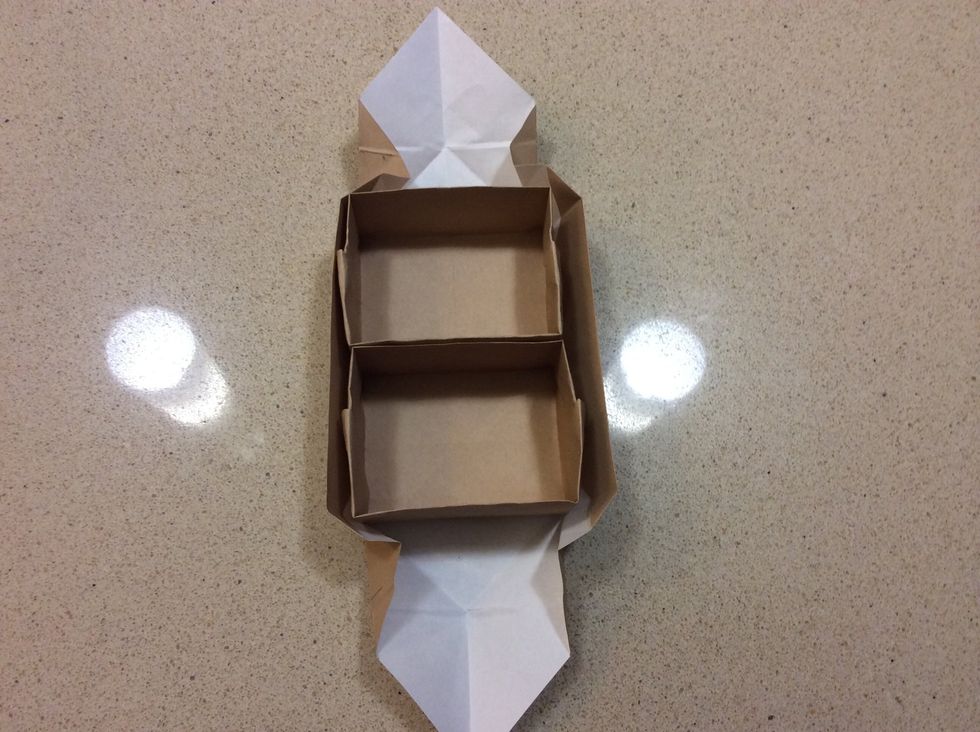
Insert the shelves.
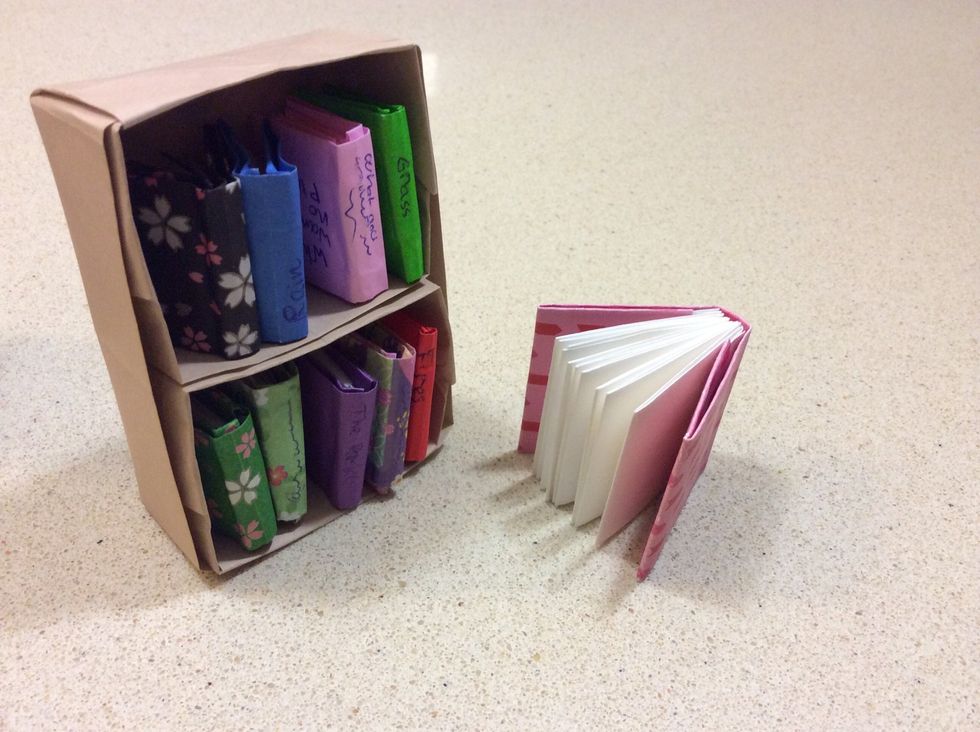
And that's it! I'm sorry this guide took so long to make, but I did it! Just one note is, my origami book #2 does not fit in the bookcase. Thank you for looking at my guide and don't forget to like!