The Conversation (0)
Sign Up
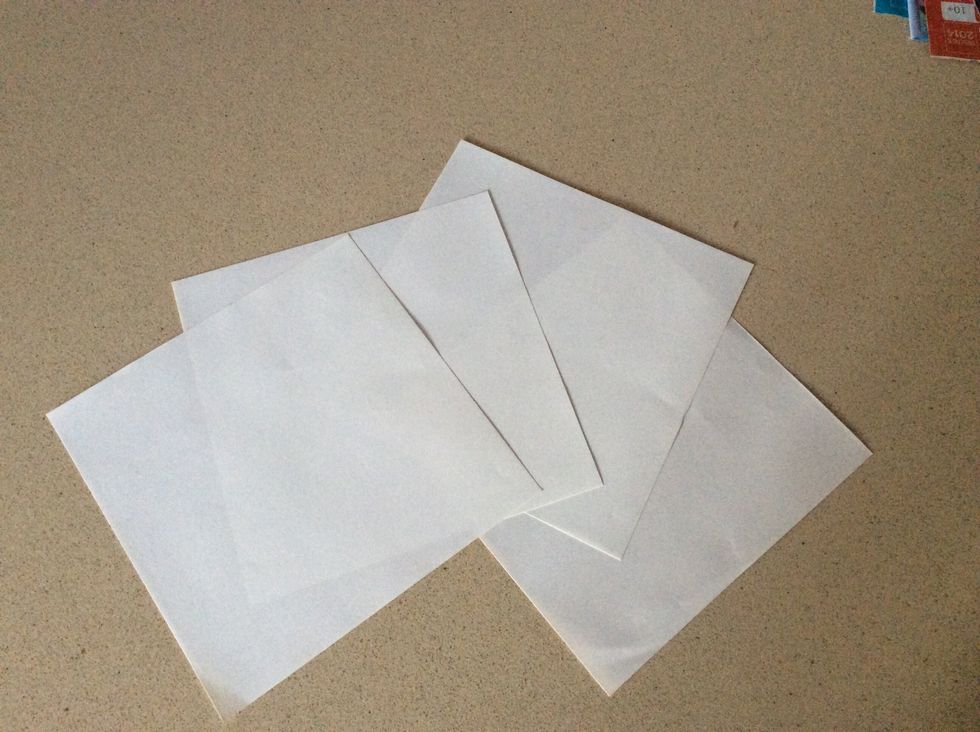
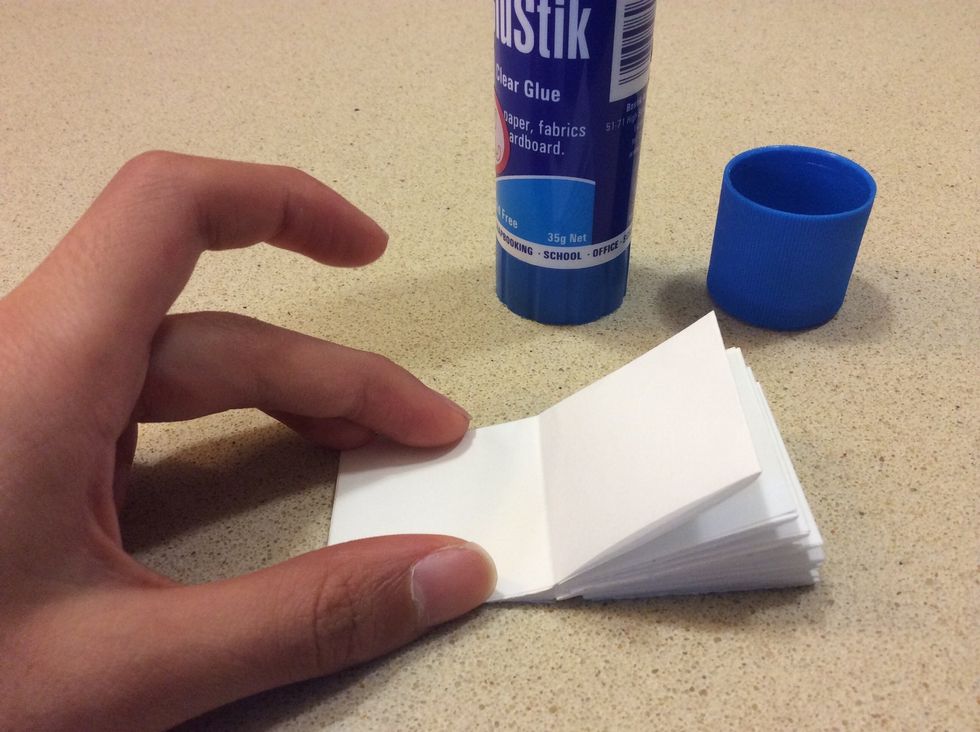
Start with the pages.
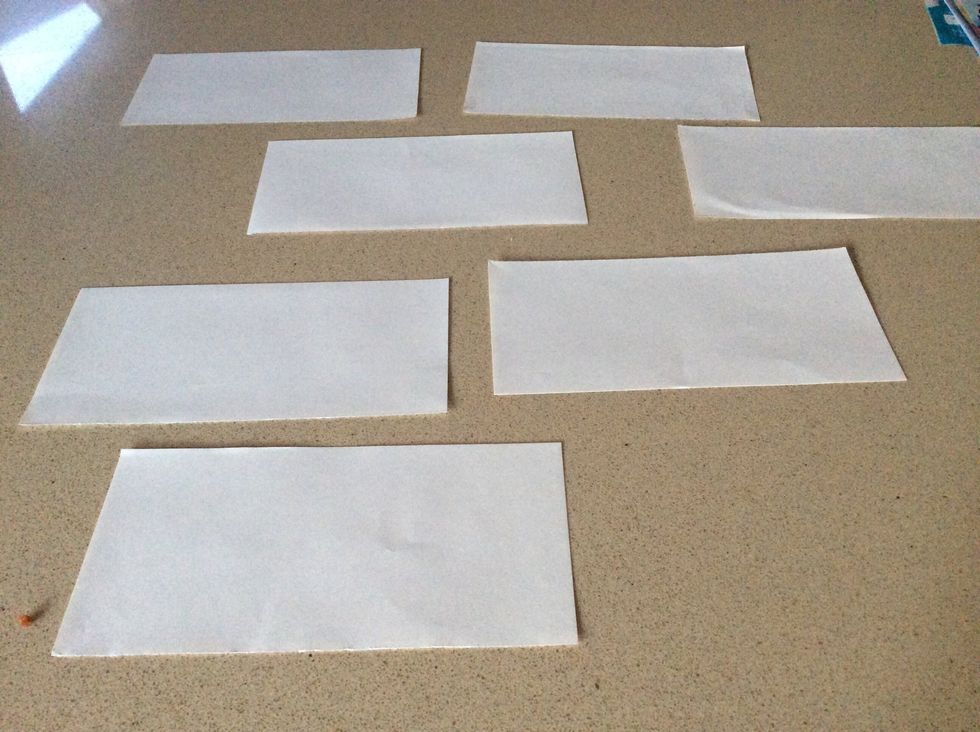
Fold every sheet in half, and cut. Remove one half so that you have seven.
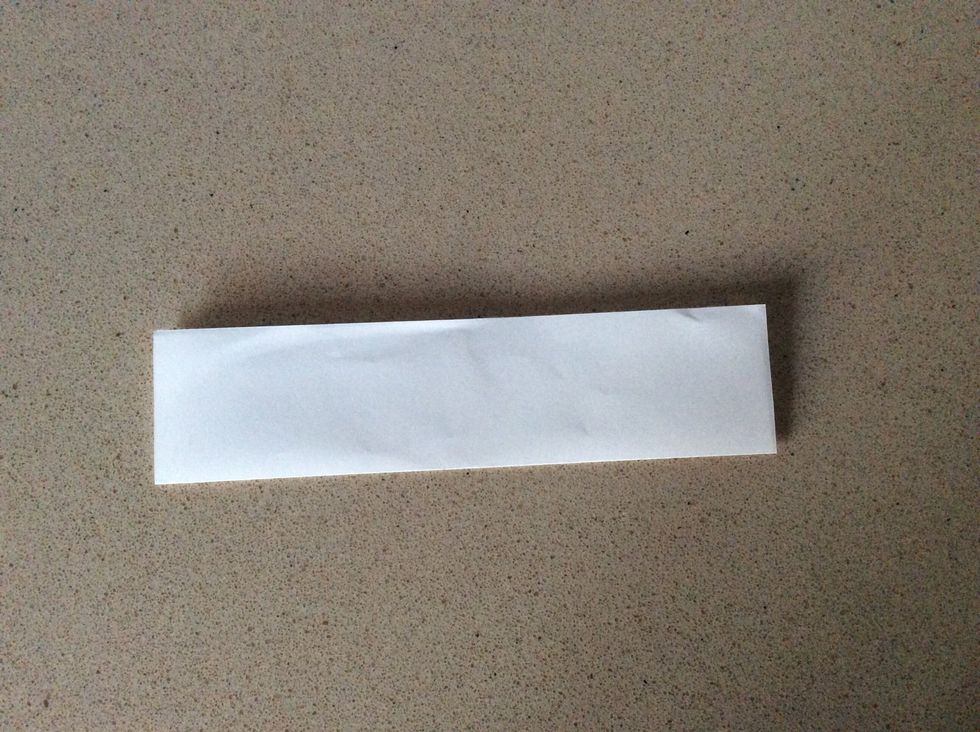
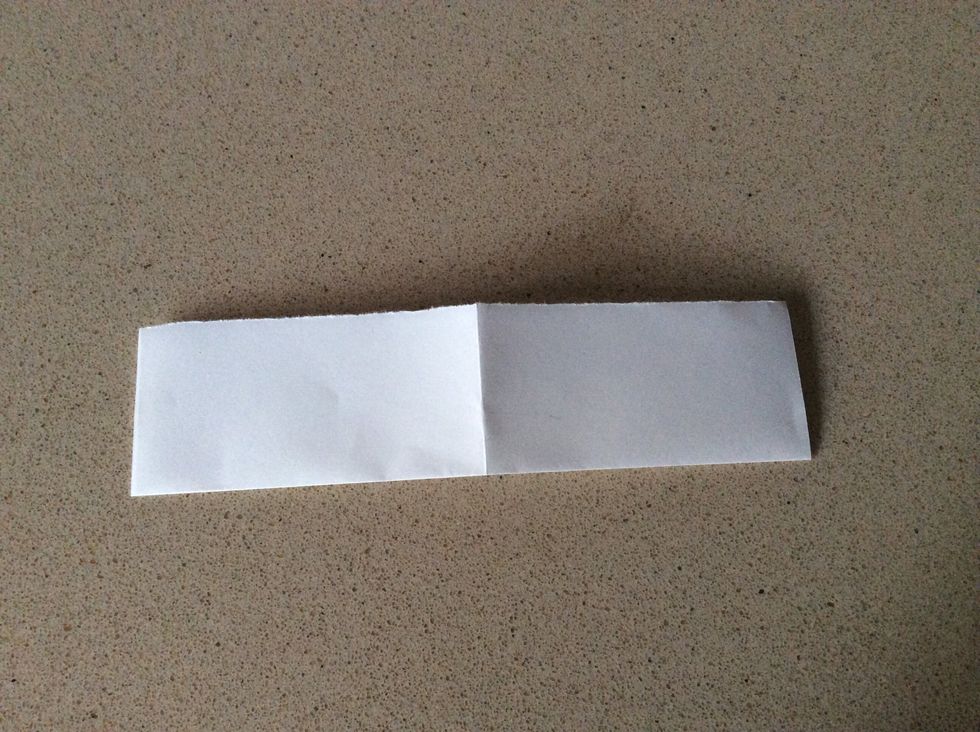
Take your first sheet. Fold in half like so.
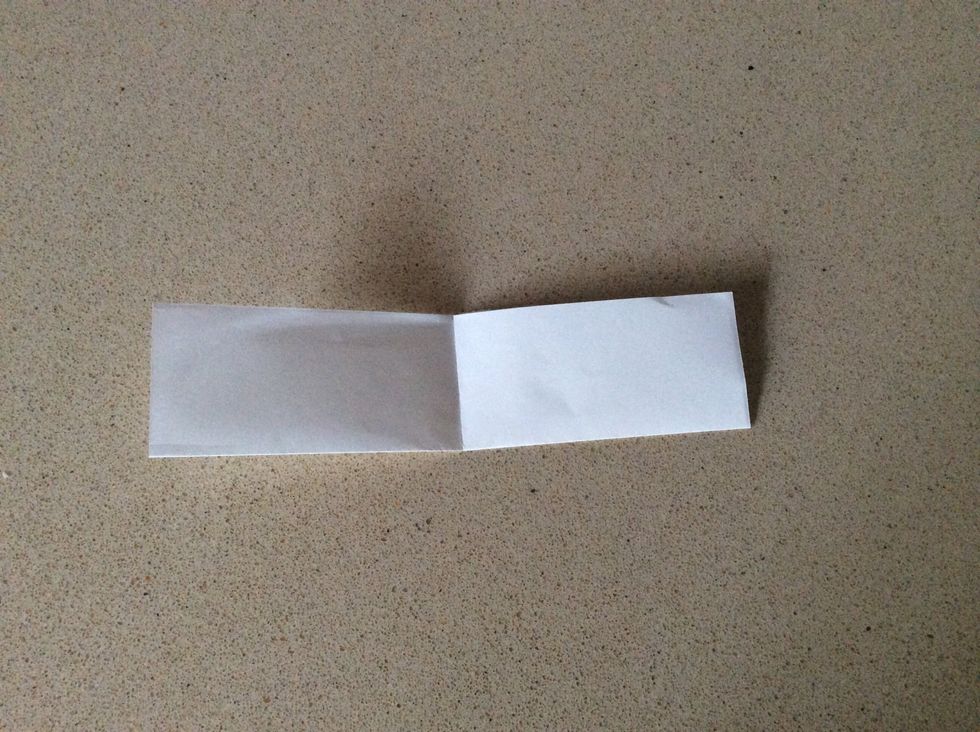
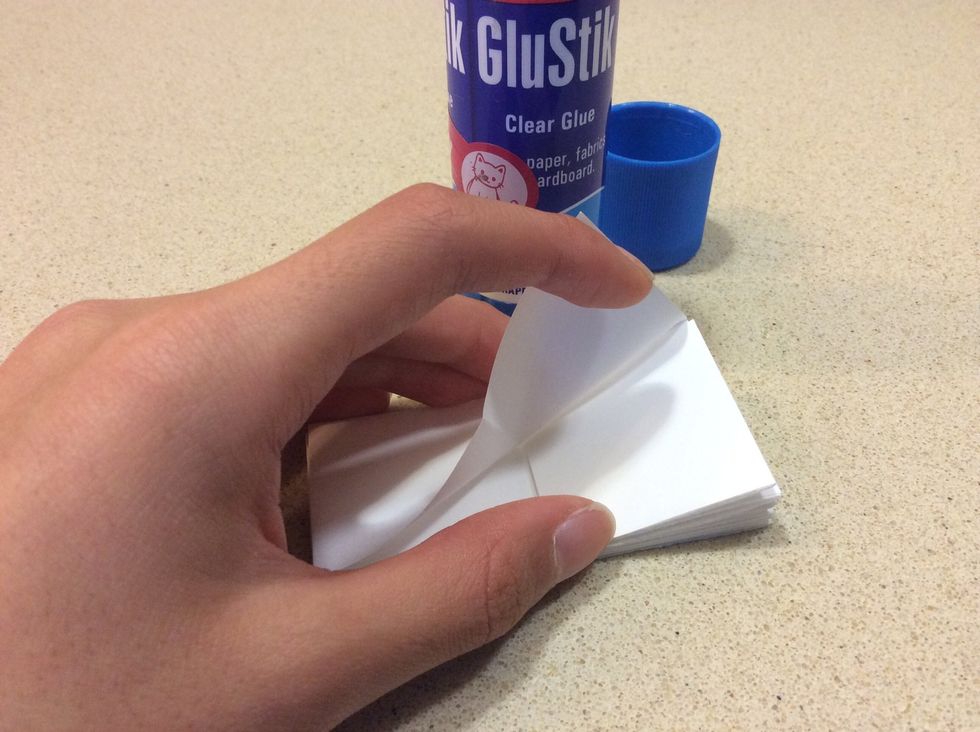
Make a crease at the halfway point.
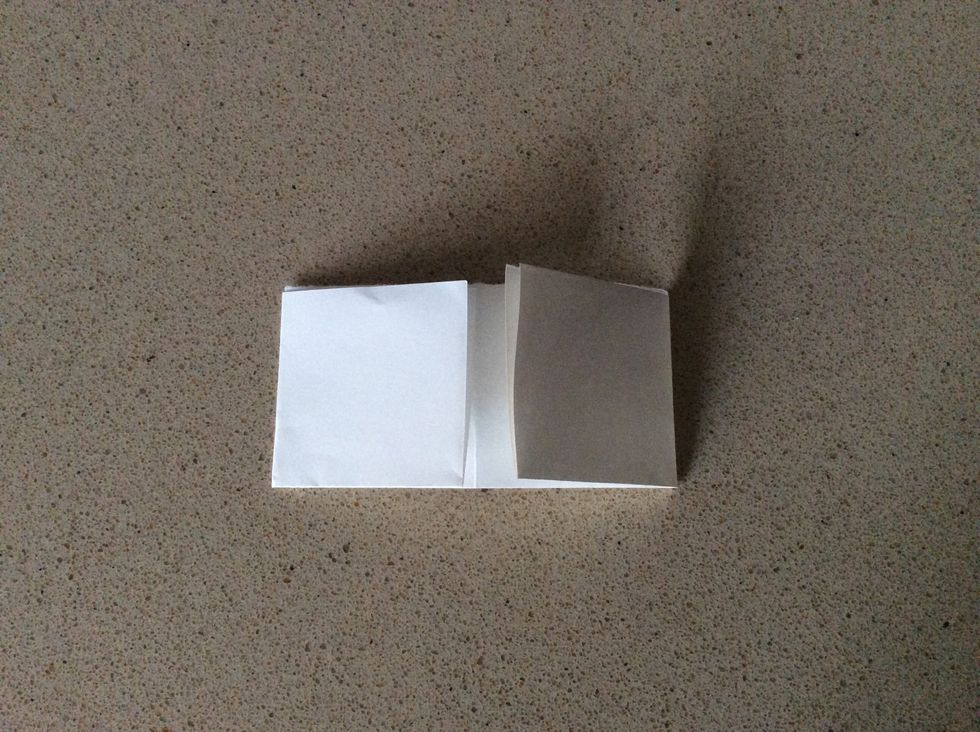
Turn over so that the middle crease becomes a mountain fold.
Door base (see my Easter guide for instructions).
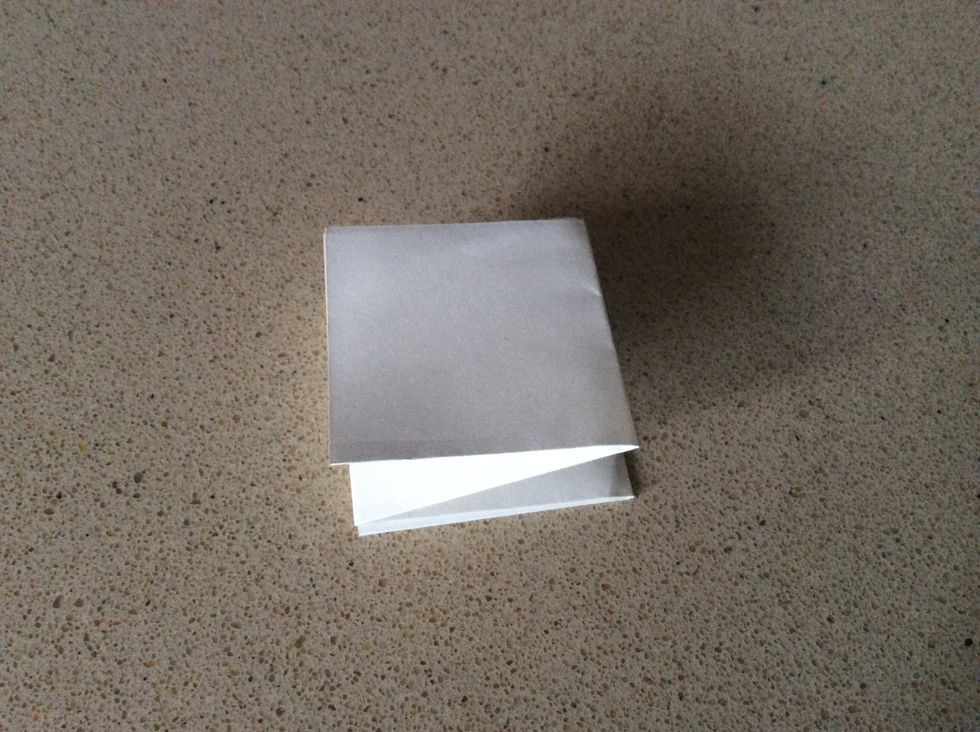
Refold the middle crease.
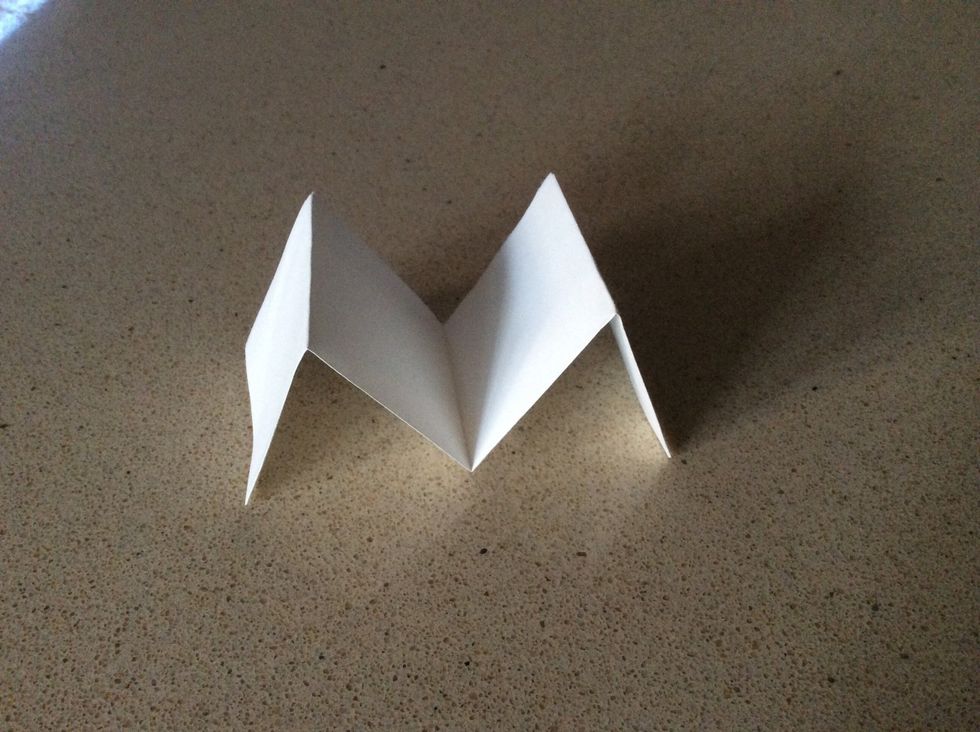
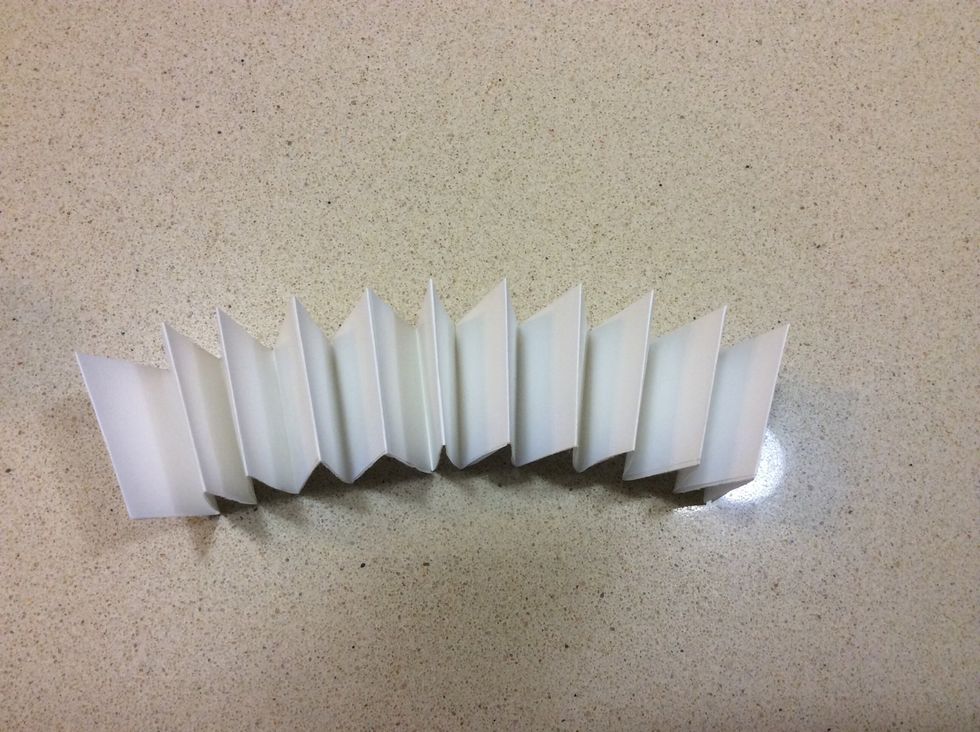
Finished module.
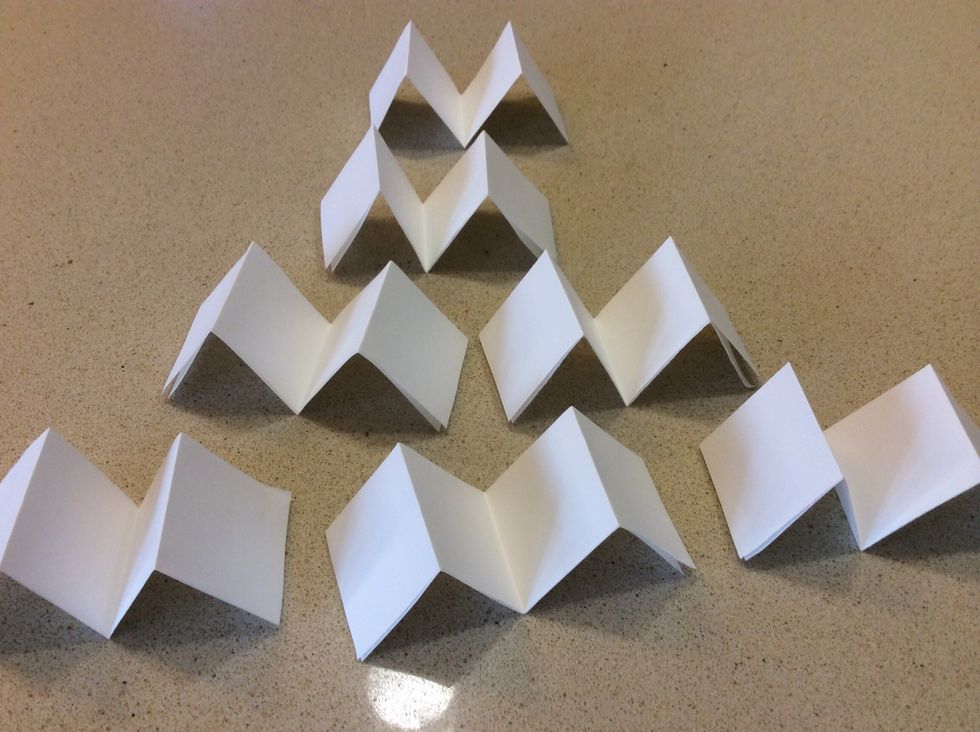
All seven completed modules.
Arrange them all like this, that way you know which module slots in where.
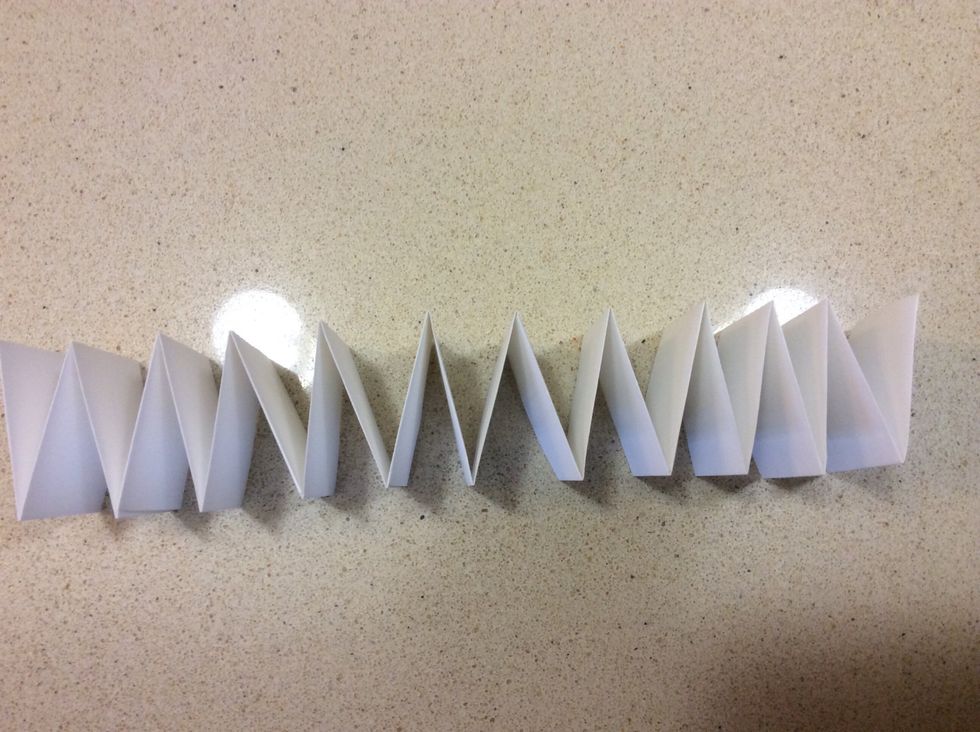
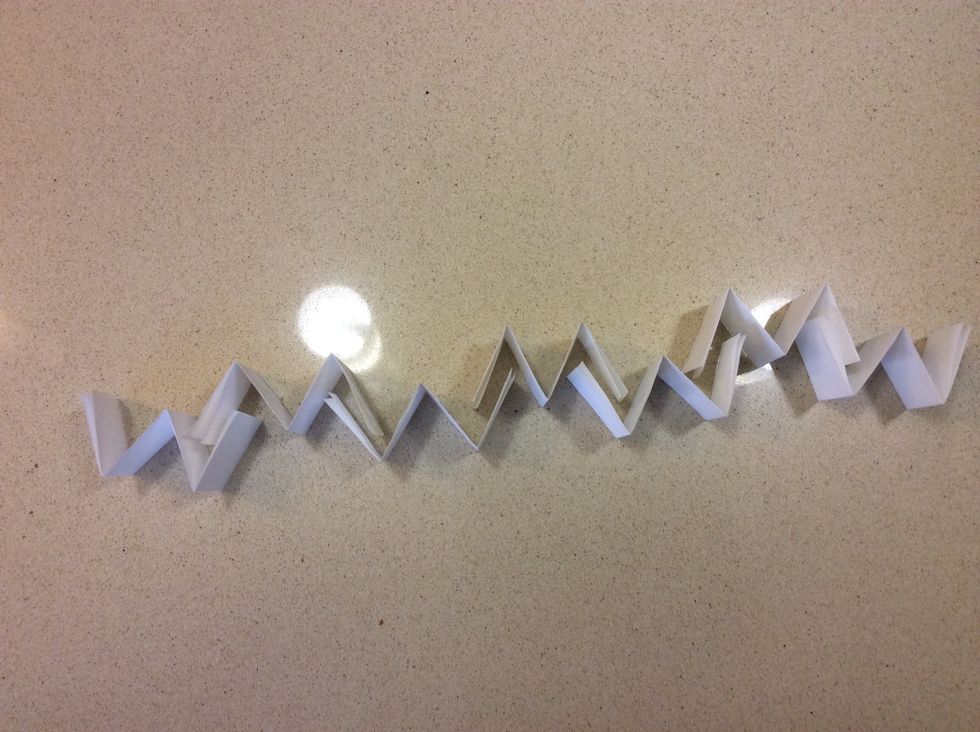
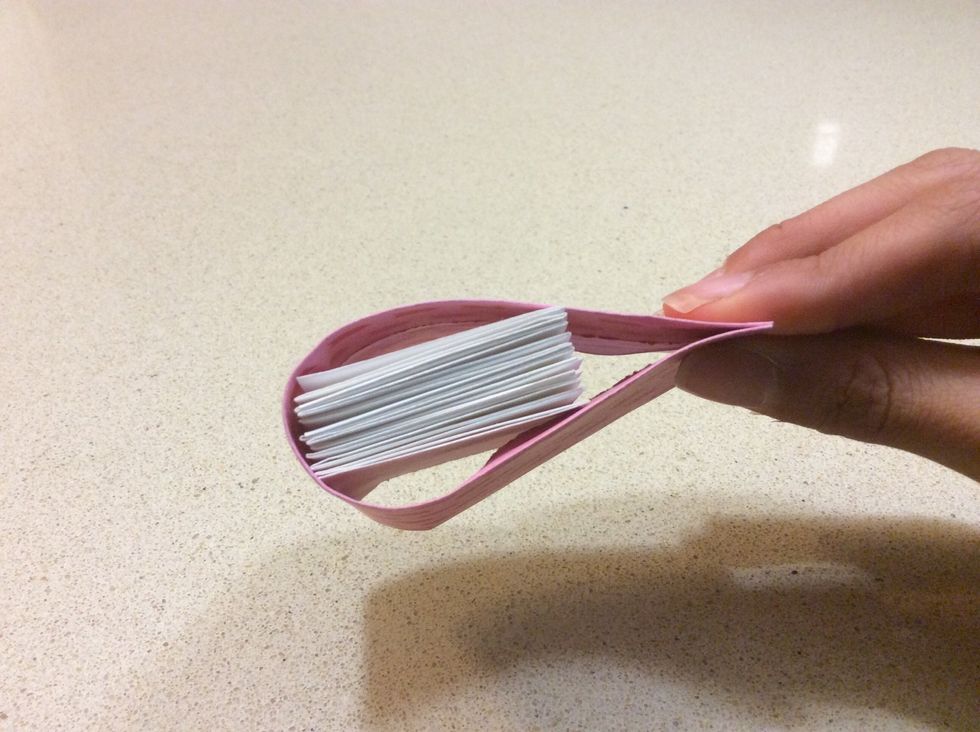
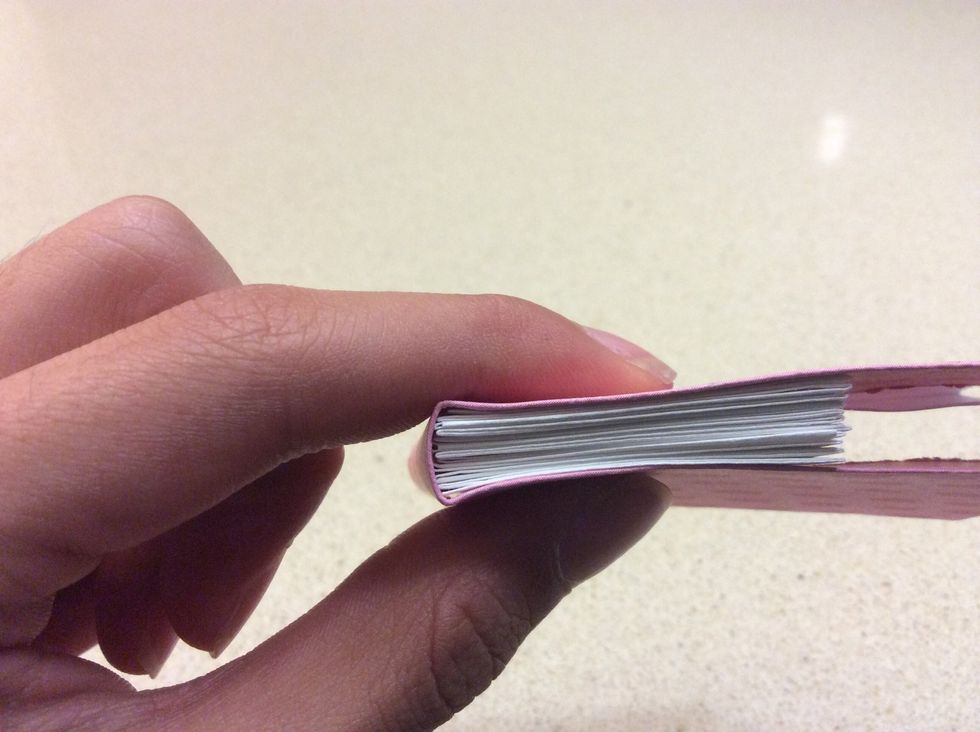
All pieces slotted together.

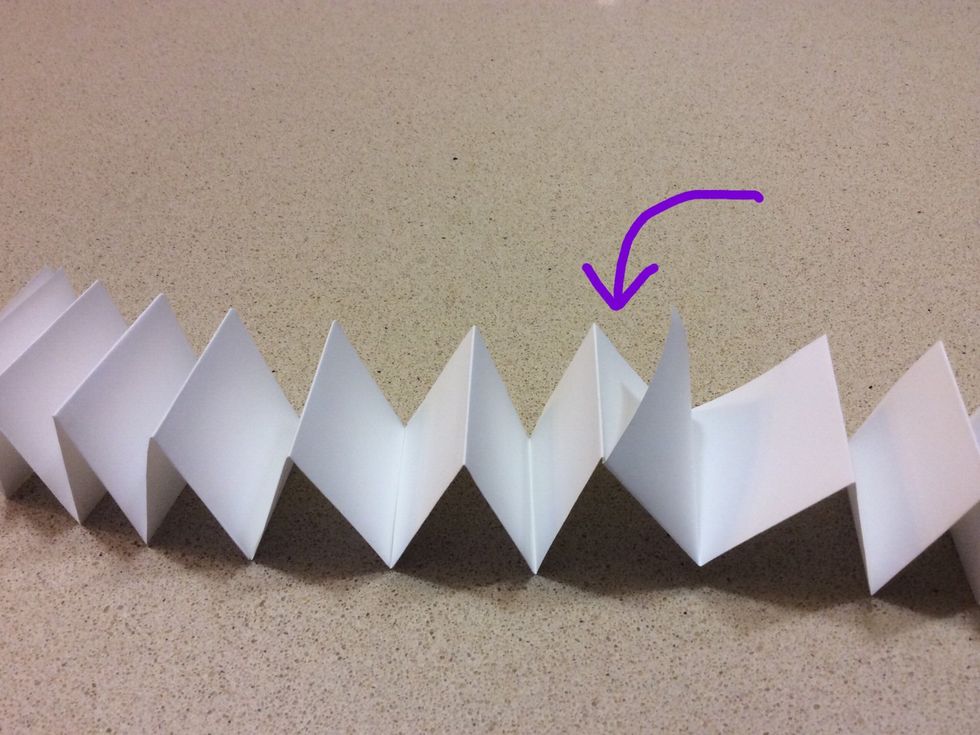
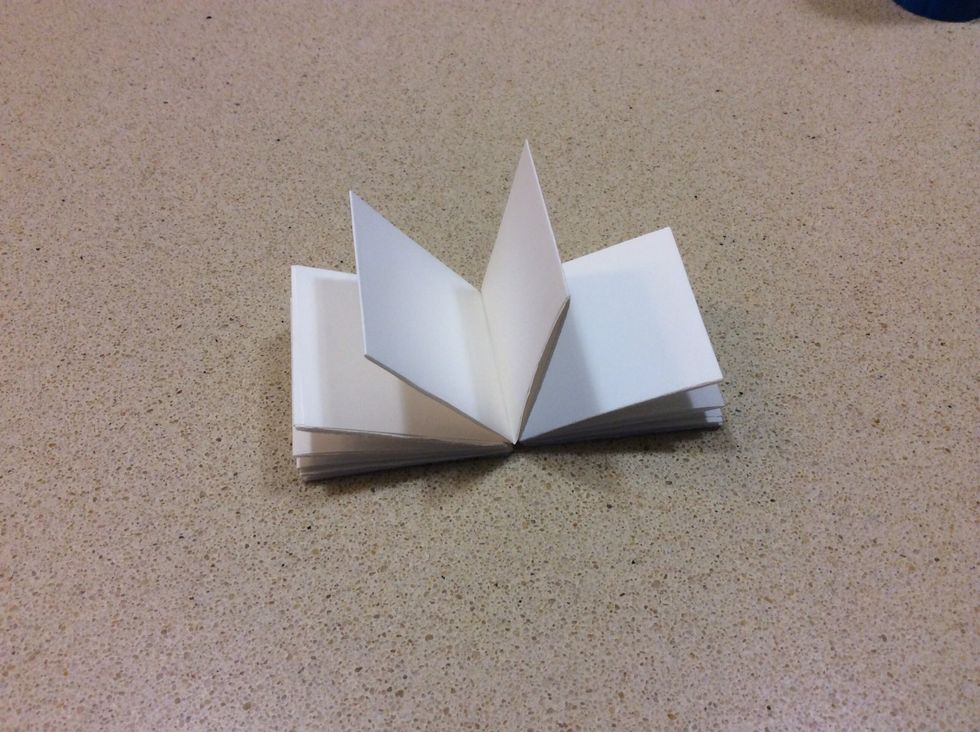
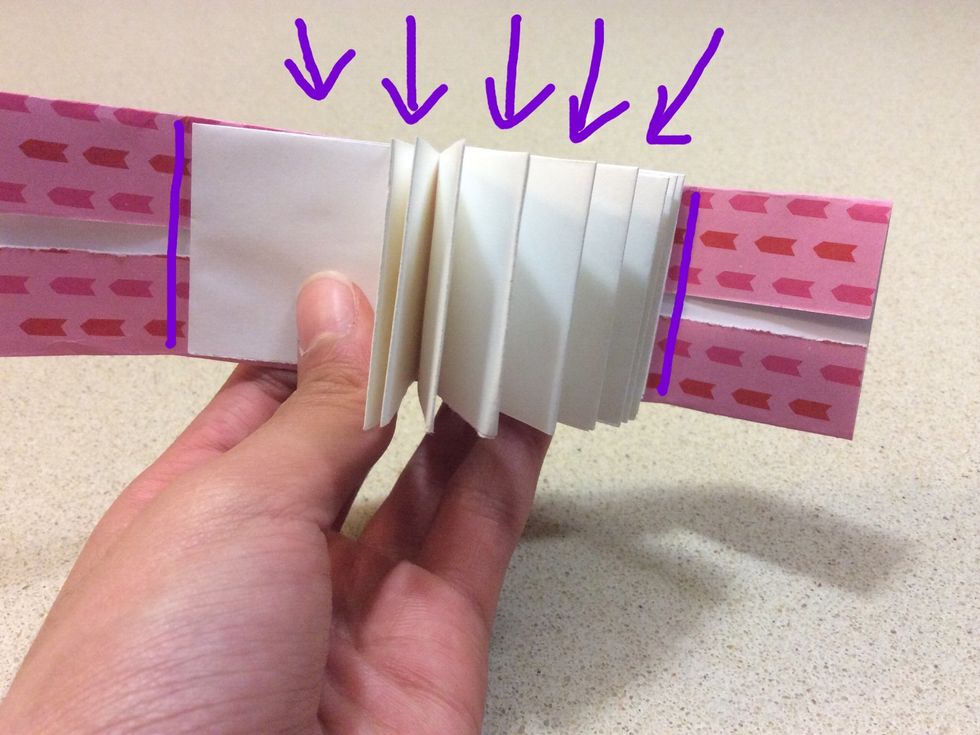
Concertina fold them all together.

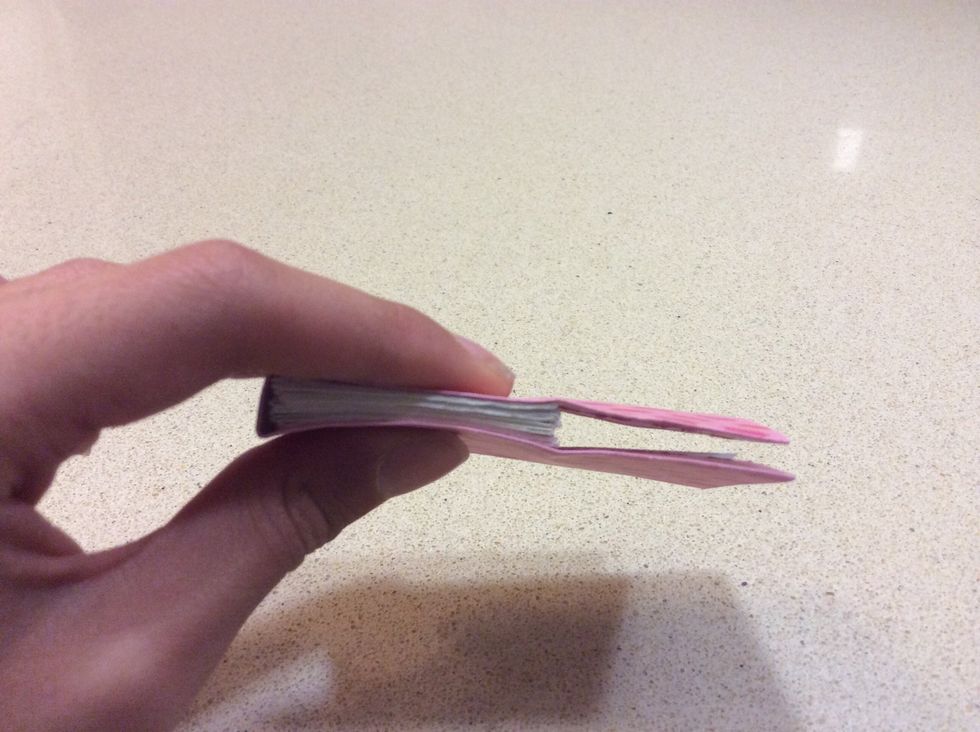
Open to the first page.
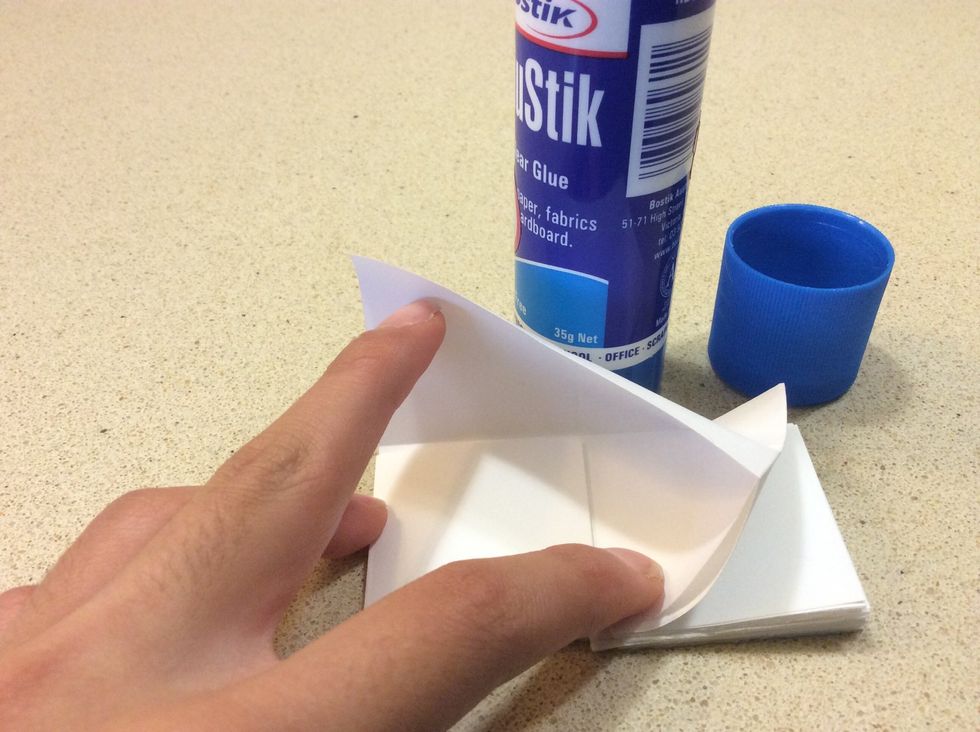
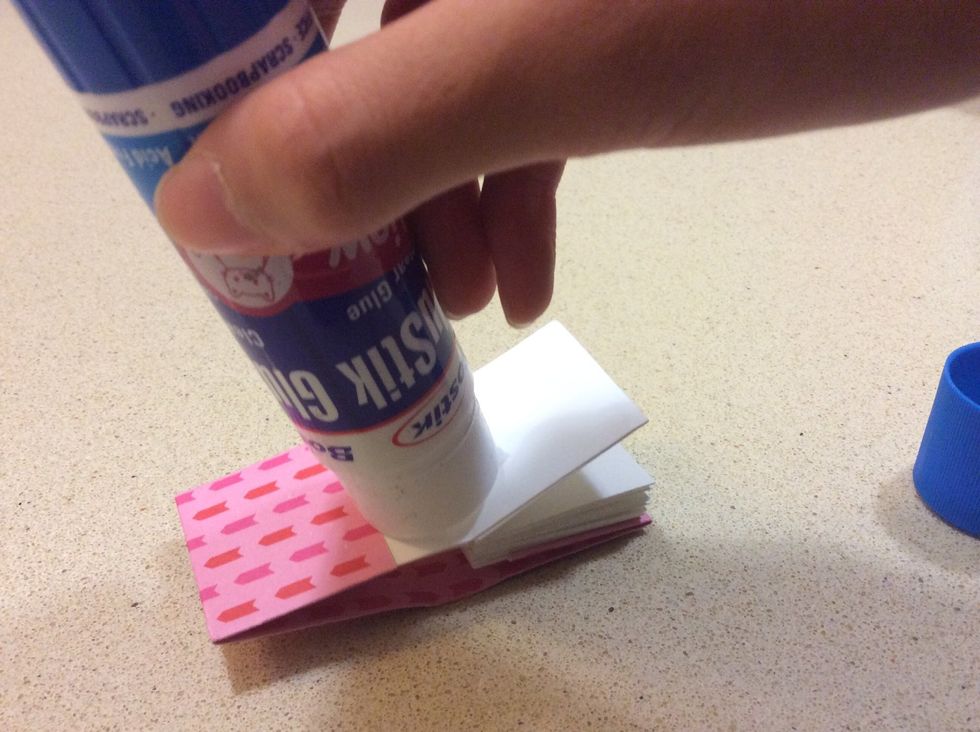
Glue down the first layer.
Like this.
Just note that some flaps will be on the other side...

Or not there at all.
Glue all the flaps. Shown here is the side that was glued, now turn it over...
To the side that is not glued.
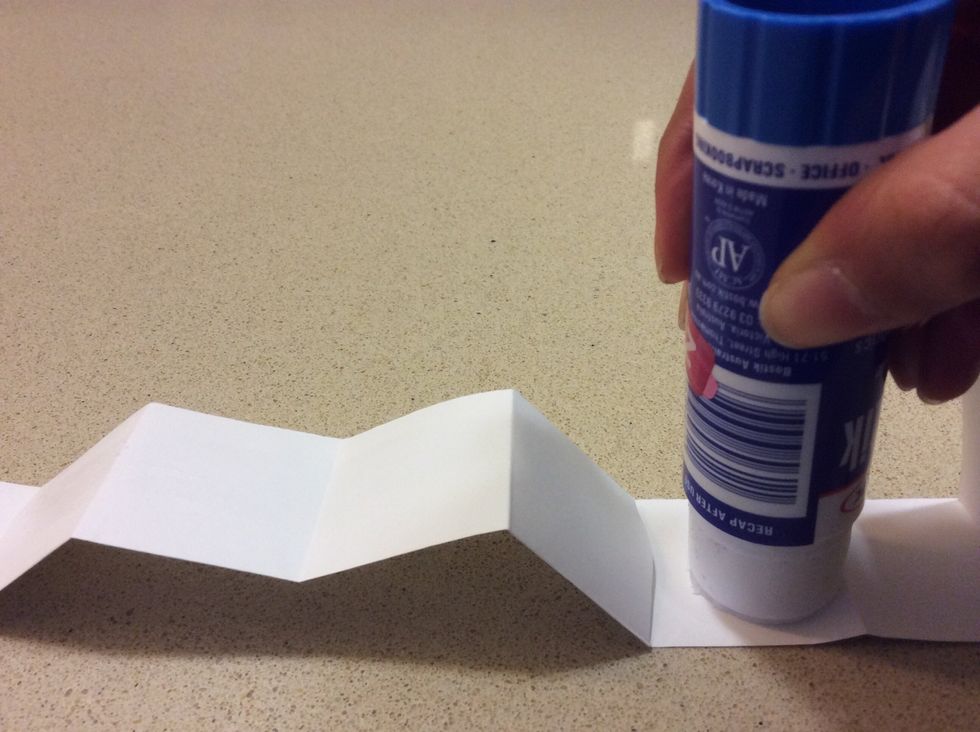
Run a strip of glue along the whole thing.
And fold it back up so that it stays like this.

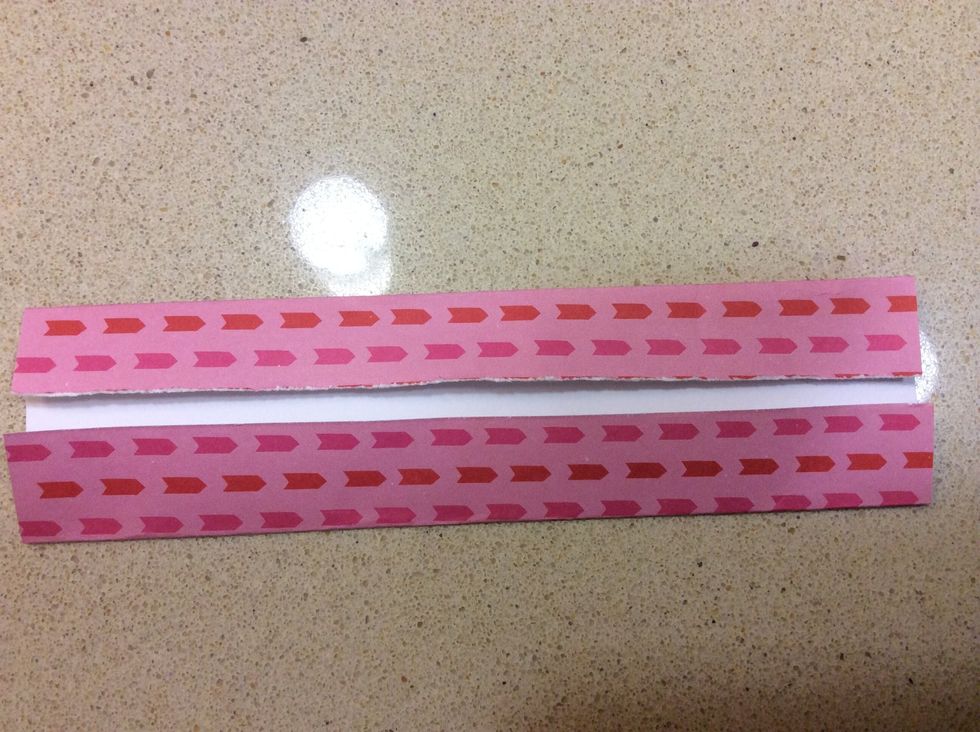
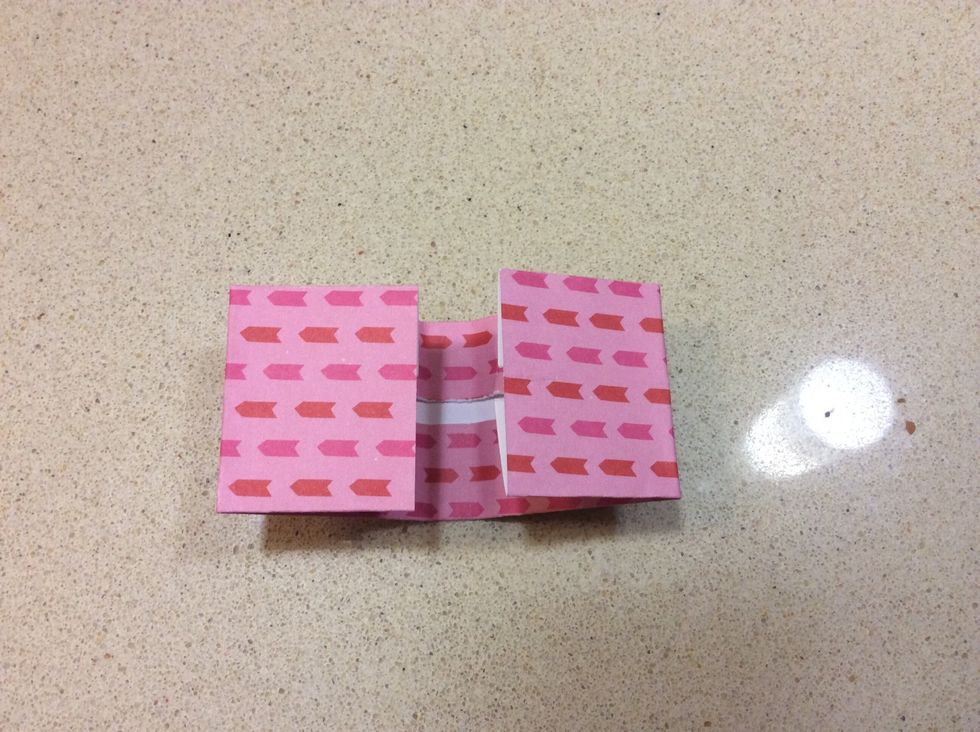
Now take your cover sheet and cut it in half.
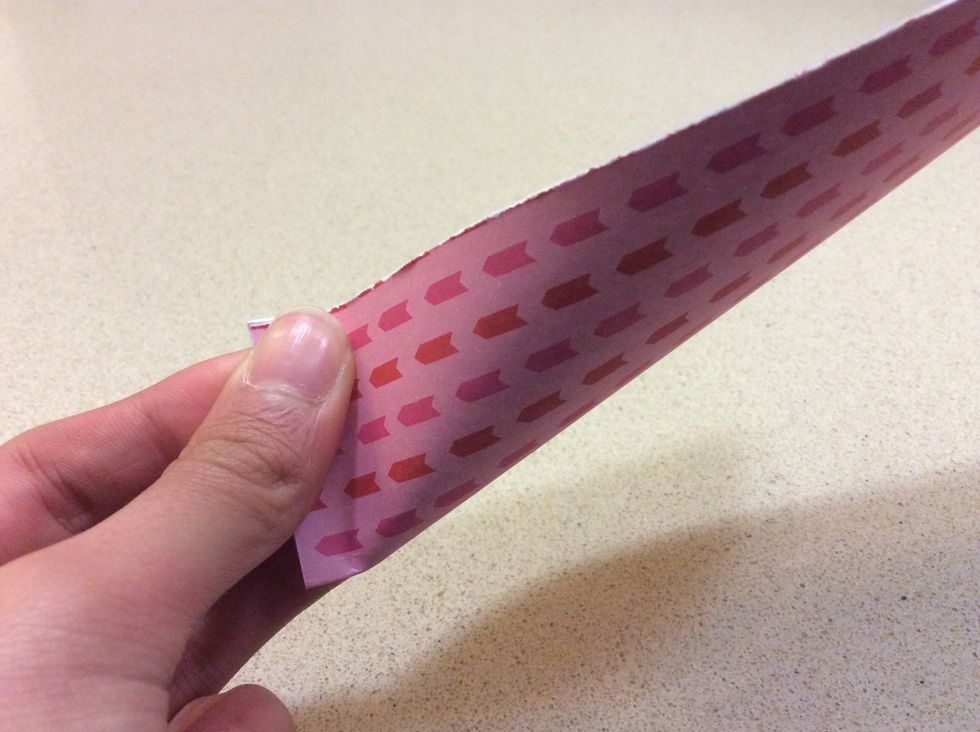
Make a pinch at halfway like this.
Using the pinch as a guide fold the edges to the centre. Make sure there is about a 2mm gap.

Hold the cover like so making sure the ends line up.
Slip in the pages.
Make pinches around the pages to shape the cover.

Take out the pages and reinforce the folds.
Slip in the pages again and make pinches where the pages end.
Reinforce the folds like so.
Now, with your pages facing the right way, put glue where indicated to hold the pages in place.
Glue the cover in place.

And there is your finished book! (Look at my other guide on how to make the other books)
Thank you very much for looking at my guide! Be creative with what you do with your books, I would love to hear about it in the comments!😊