The Conversation (0)
Sign Up
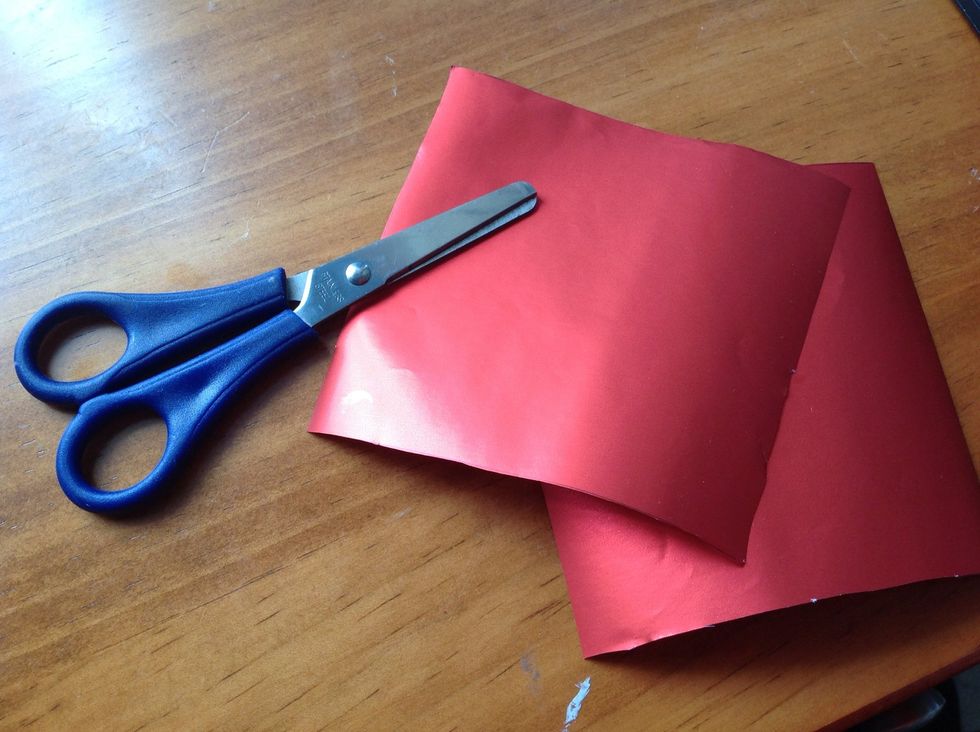
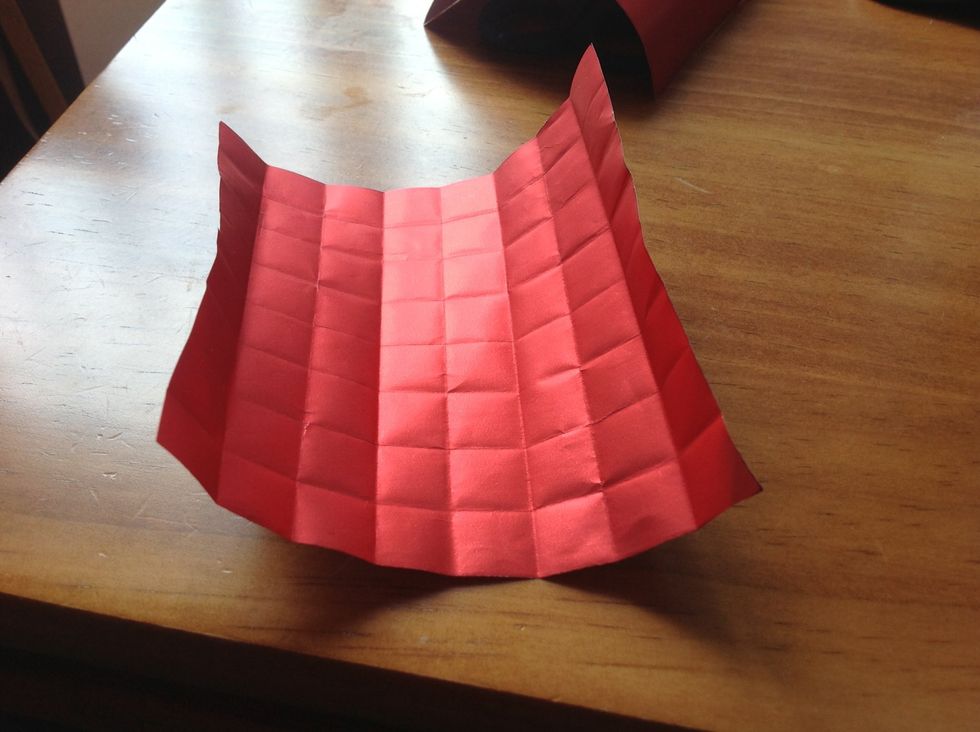
Cut a square piece of paper (or buy a pack). The size is completely up to you. In this case I cut 10x10cm gift-wrapping paper (Hey, it's Christmas ;D).

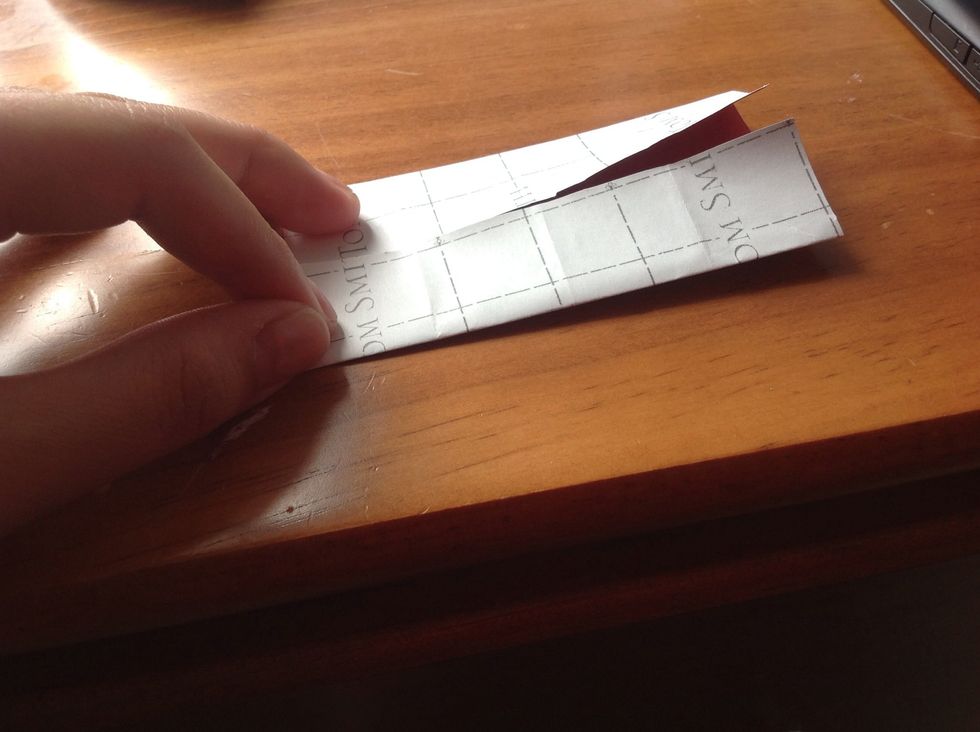
The following folding steps are important, so do them properly: Fold the paper in half horizontally and vertically, with the colored side facing in.
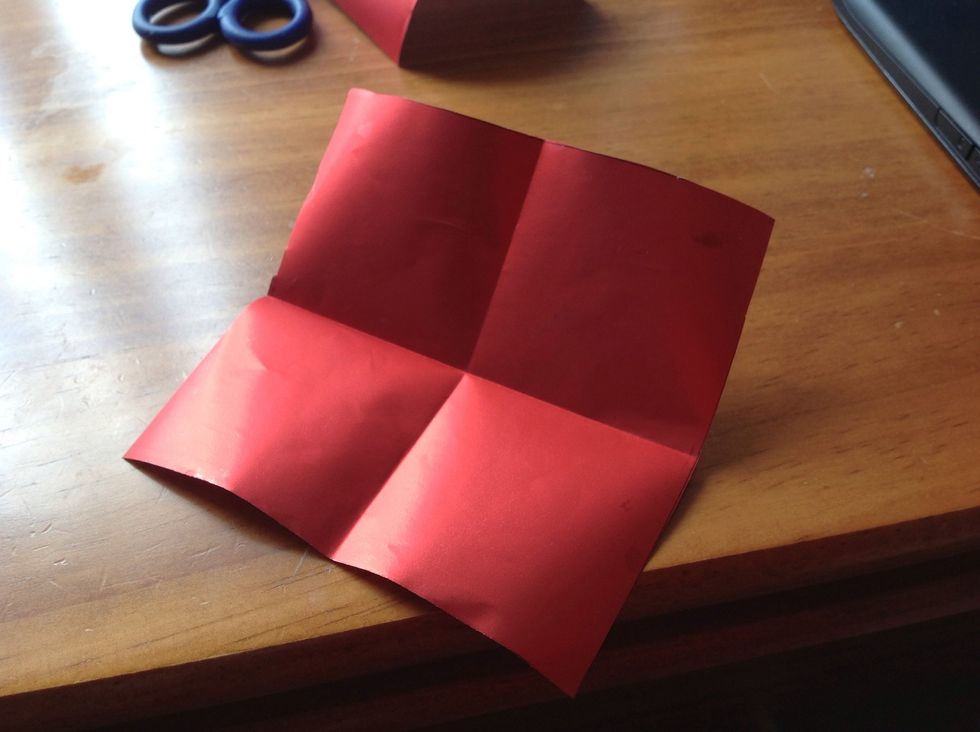
Open it again, you should see something that looks like this.
Fold both ends so it looks like the picture.
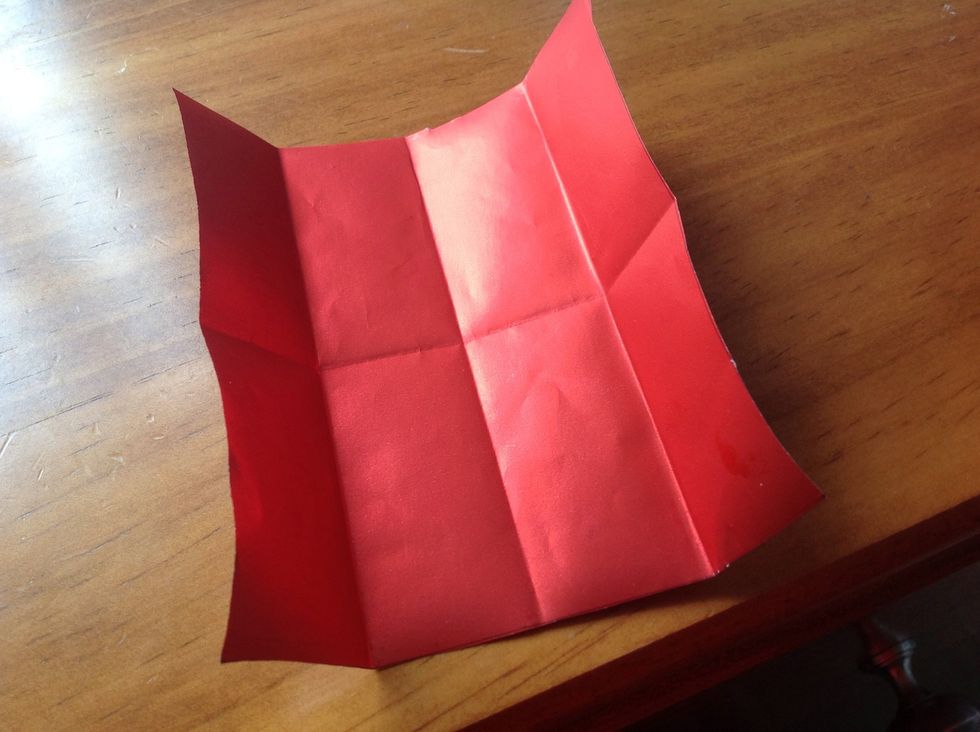
Open it, and it should look like the picture.
Proceed to do the same thing on the other side.
Open it and it should look like the picture.

Fold one side so it reaches the fold mark in the picture.
Opening it and it should look like the picture. You are essentially halving the squares you folded before.

Do the same for the other side.
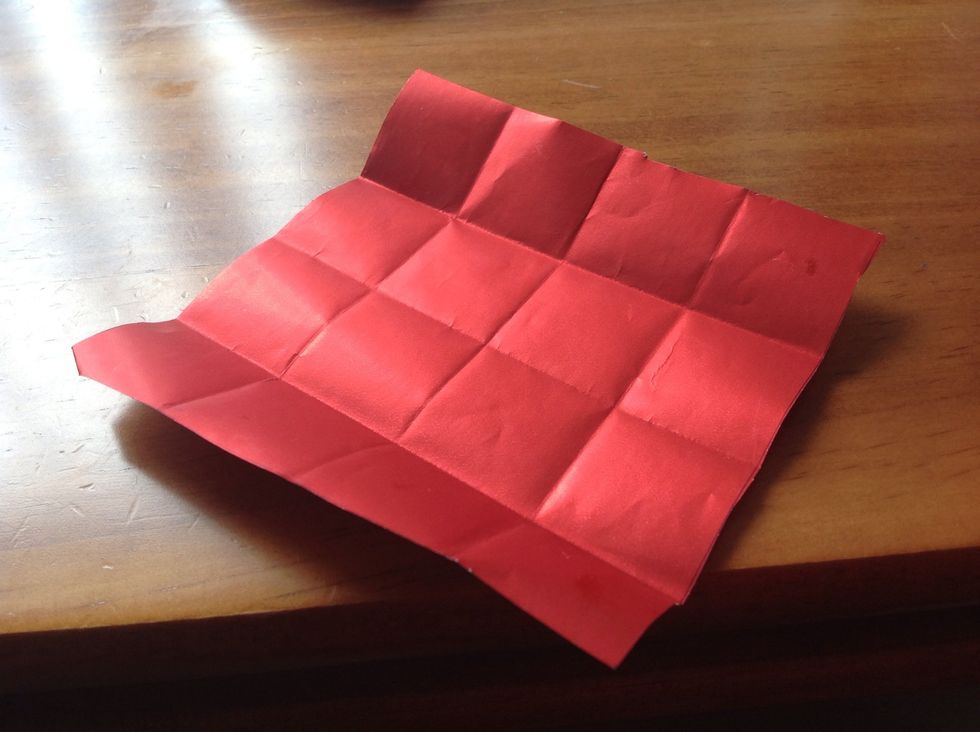
Now this is what you have. Do you see a pattern? You are halving your squares.

Now, to complete the pattern, fold a side in half, and do it for the other side too.


Now you should have something that looks like the picture.
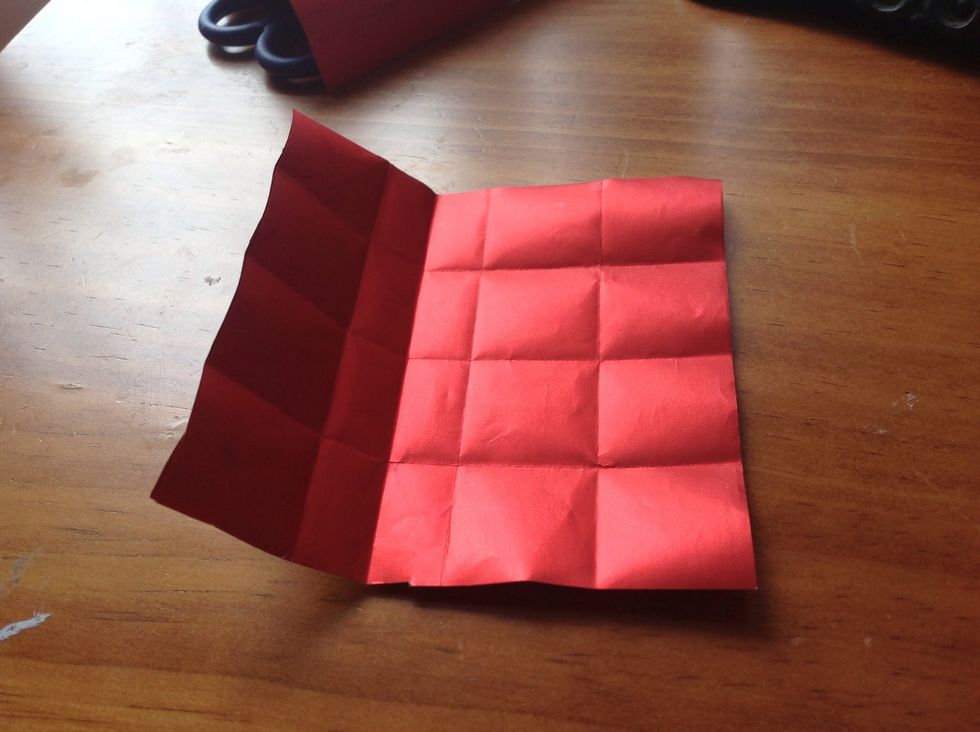
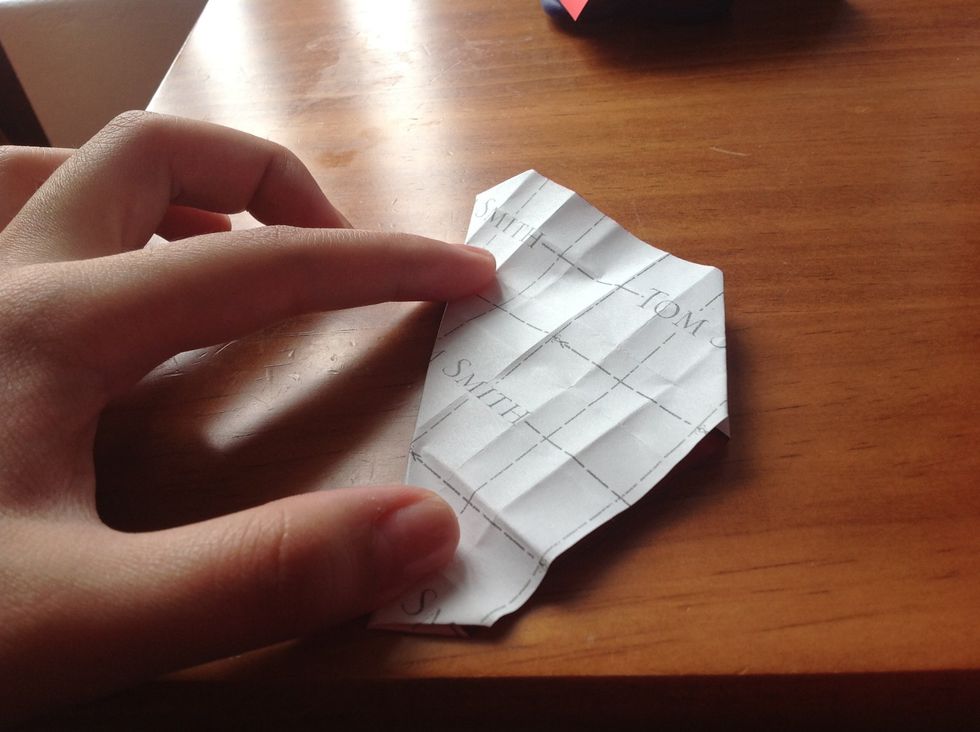
Repeat steps 8 to 12 for the other side. Now you should have smaller squares. What I've shown you is a more systematic approach to make small squares.

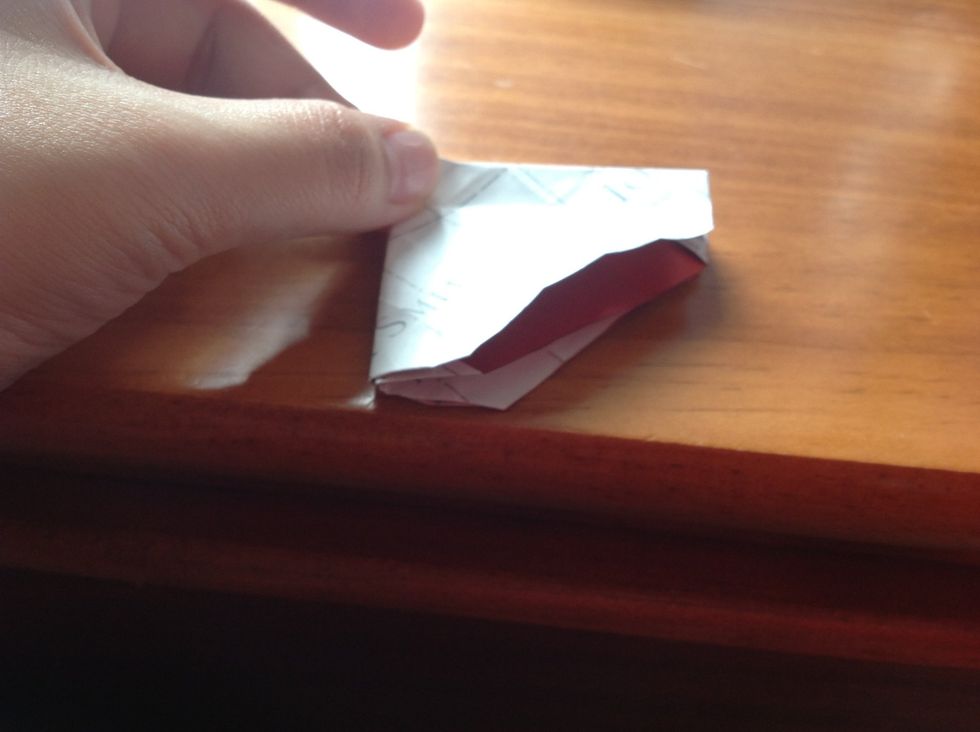
Now the real folding begins! Fold all four corners of your square.
Fold it in half horizontally. Then do the same vertically.

While folded (either horizontally or vertically) grab the end and make a fold as seen in the picture.

It should look like this opened.

Repeat step 18 for the other side so it looks like a cross.

Close it back again.
Fold in half.
Fold a triangle from the top up to the first visible line. (This is why proper folding from before is imperative). Fold it back to the other side too for good measure.

You should open it and be able to clearly see that diamond shape of your fold.
Fold one side down.
Turn, and do the same for the other side.
Open.

Once all are pushed down, it should look like this.
Turn it upside down.
Do the same for all the four sides.
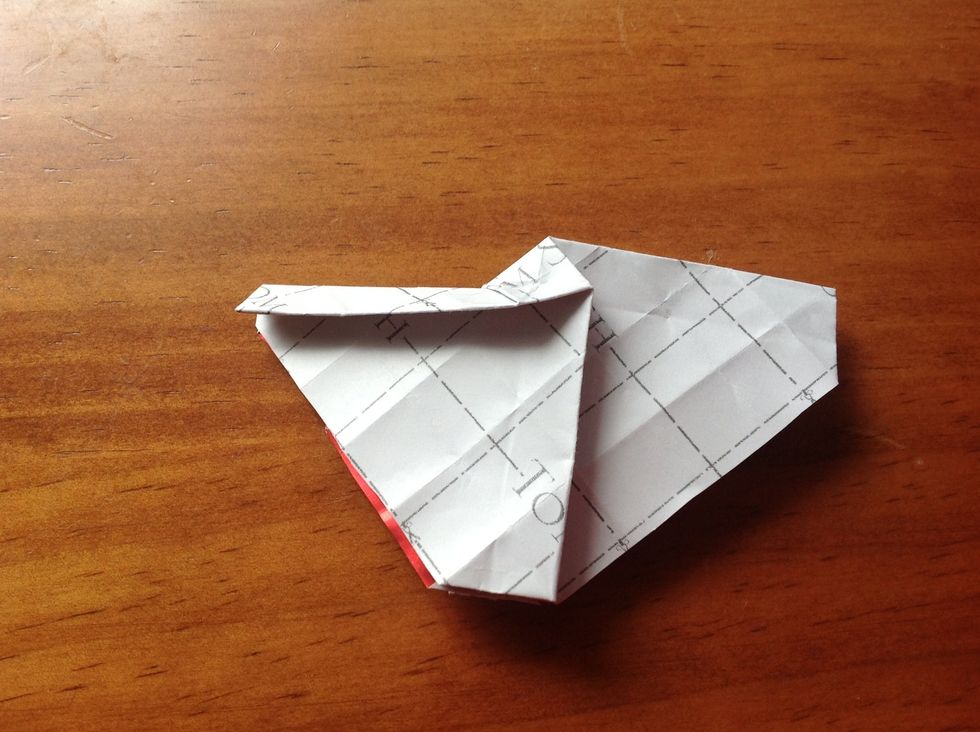
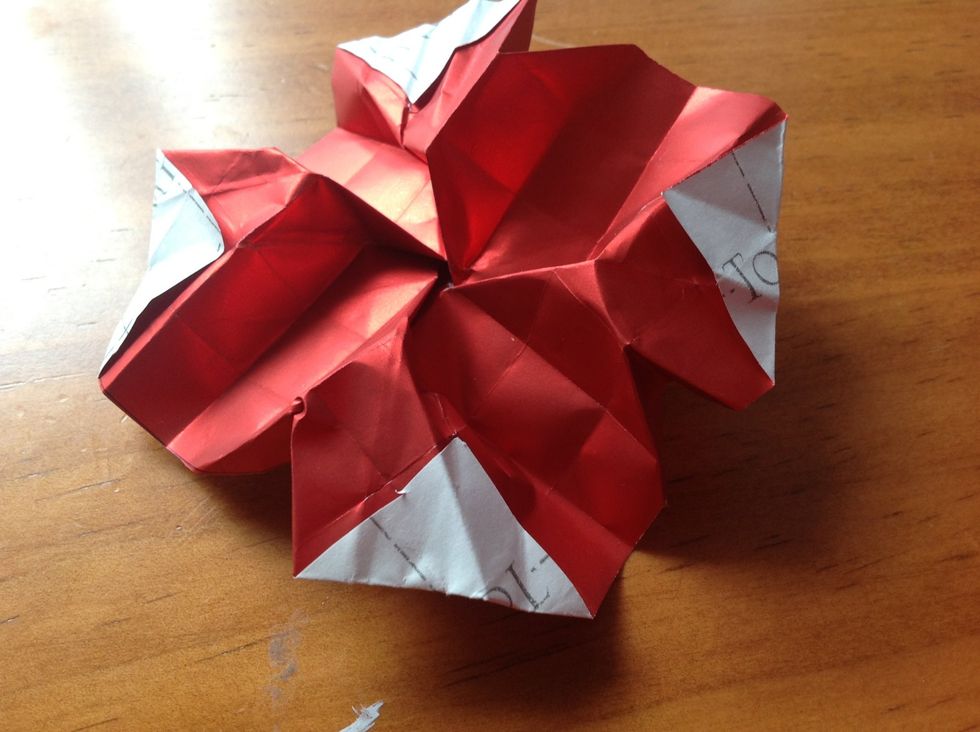
All four sides should look like this. (It's okay if they stick out! We'll deal with them in the next steps.)

Each side should look like this.
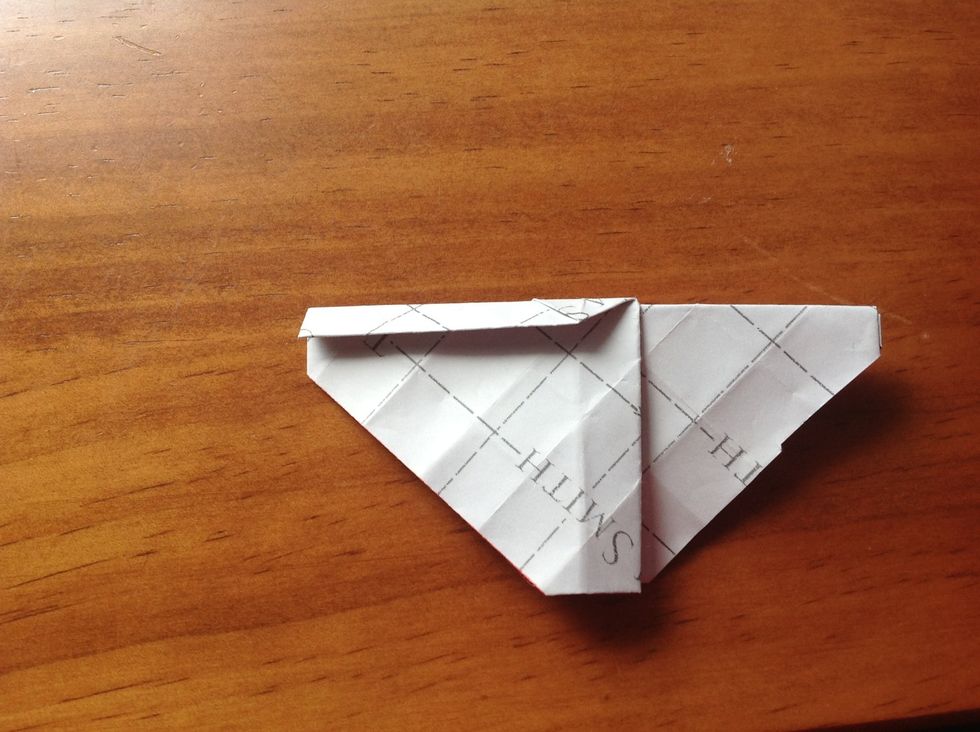
It should look somewhat like this.

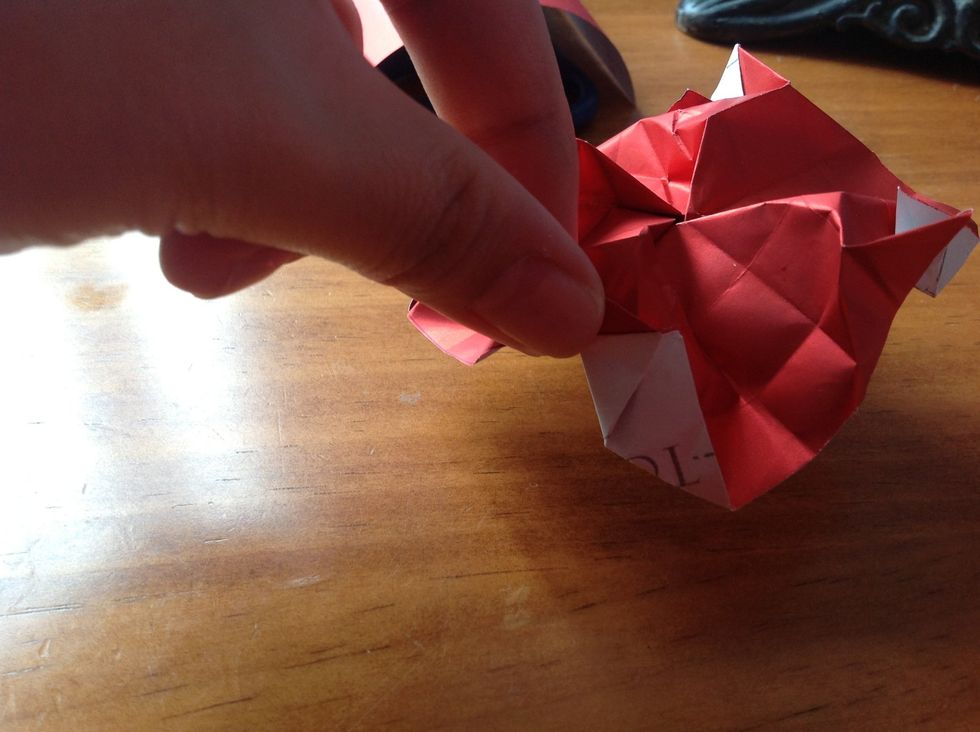
Flip it upside down.
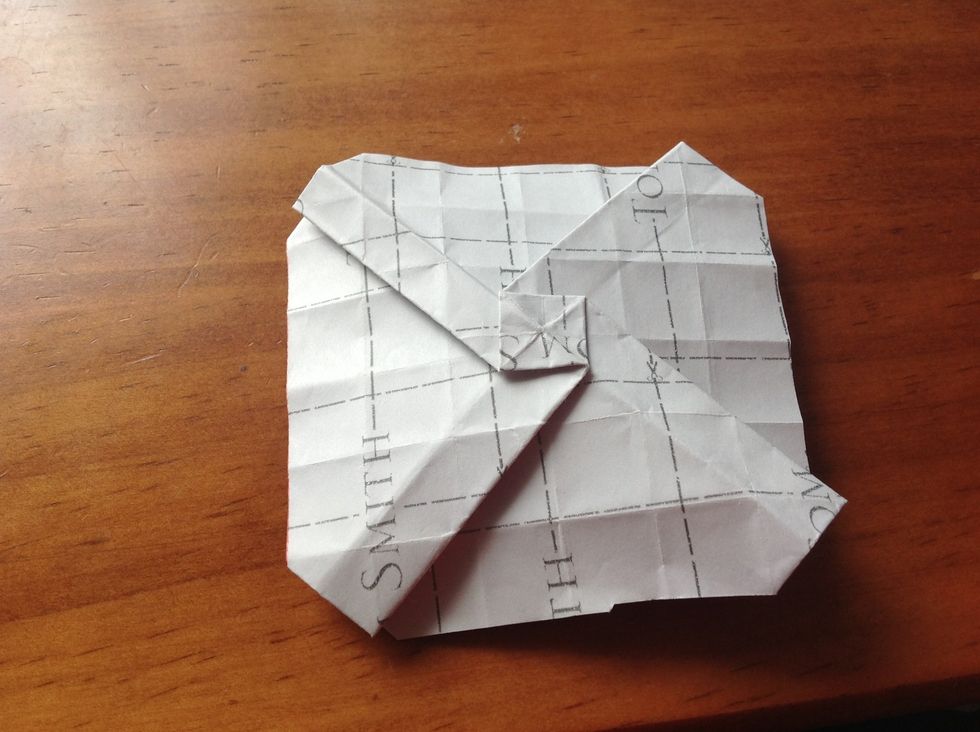
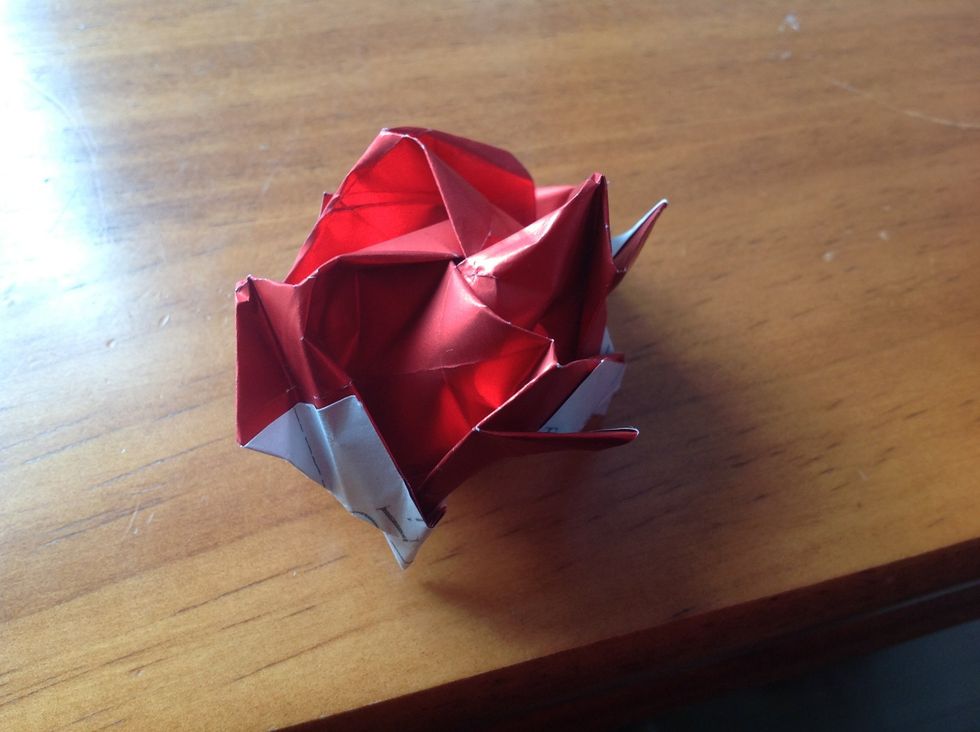
Turn it over.
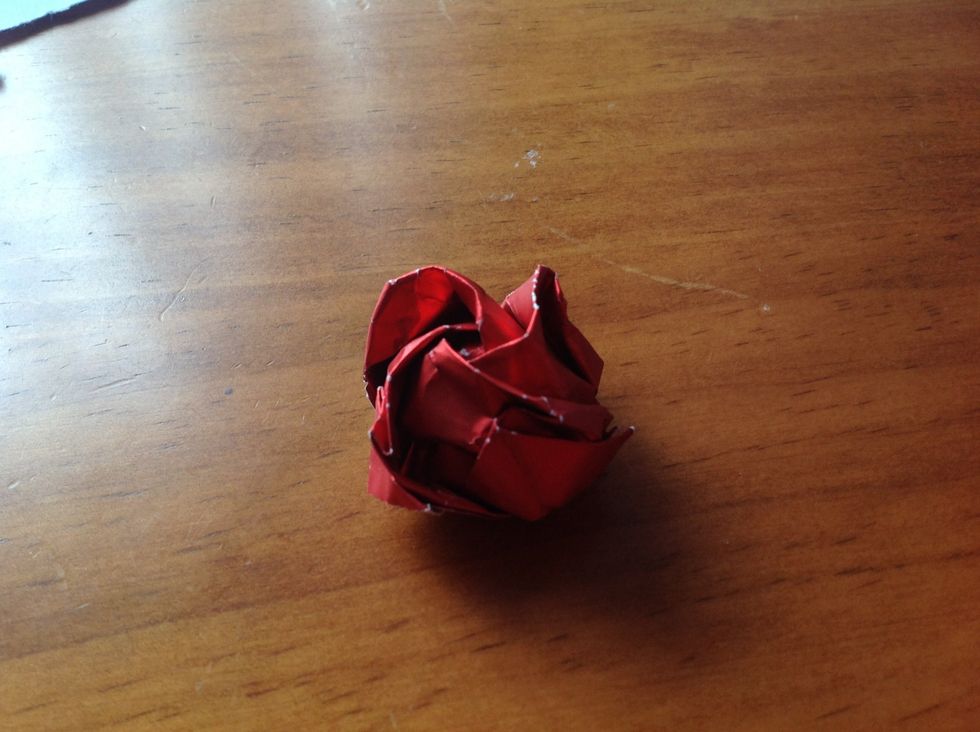
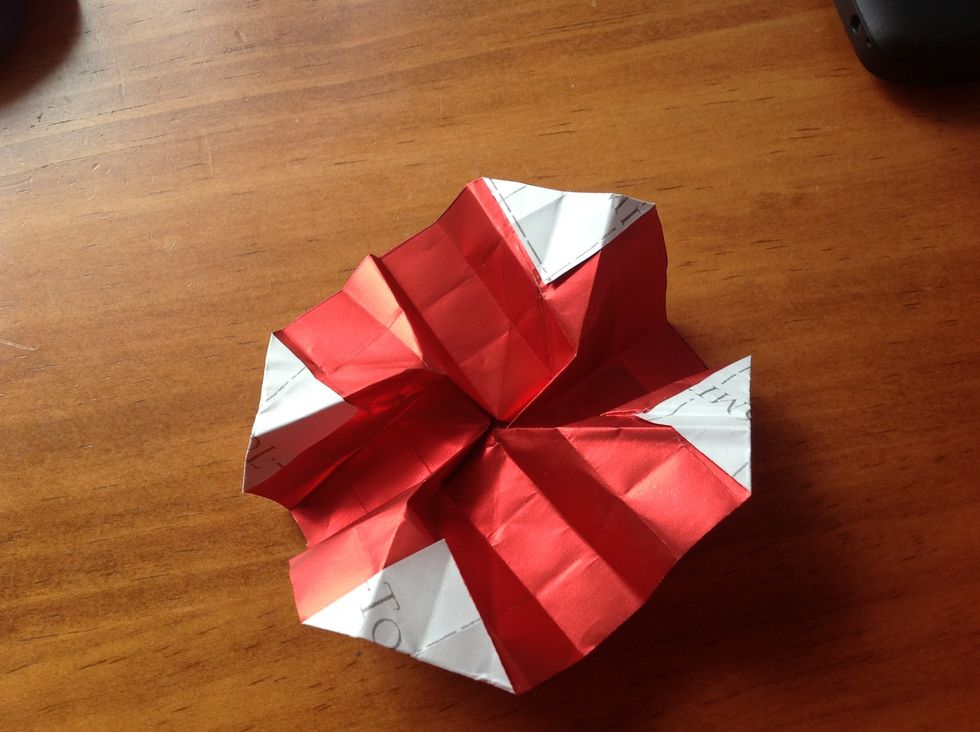
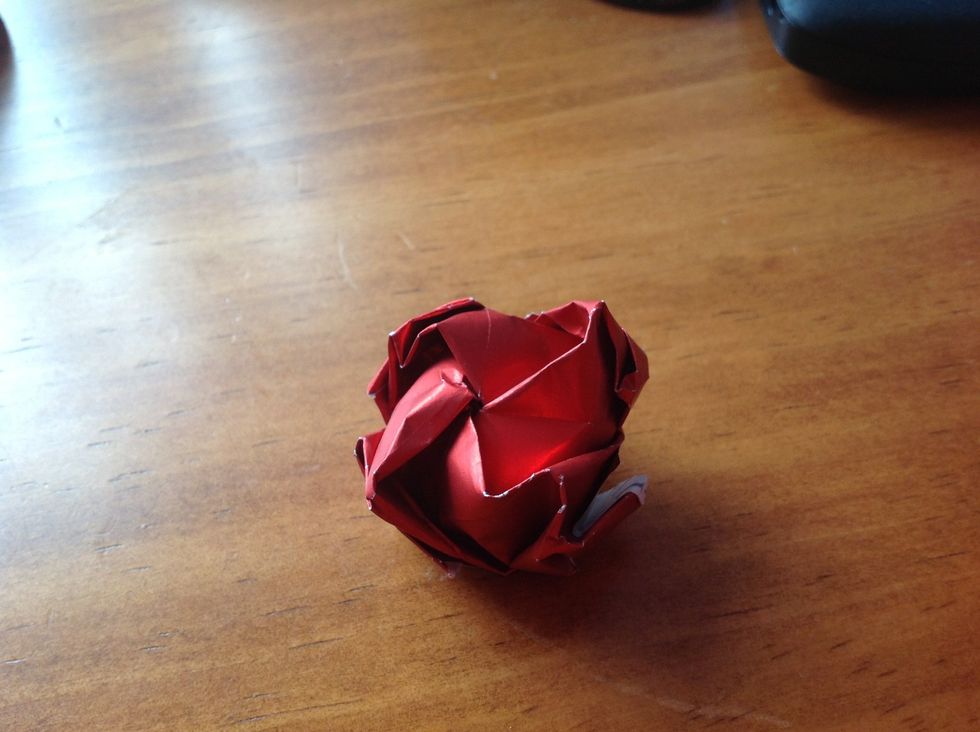
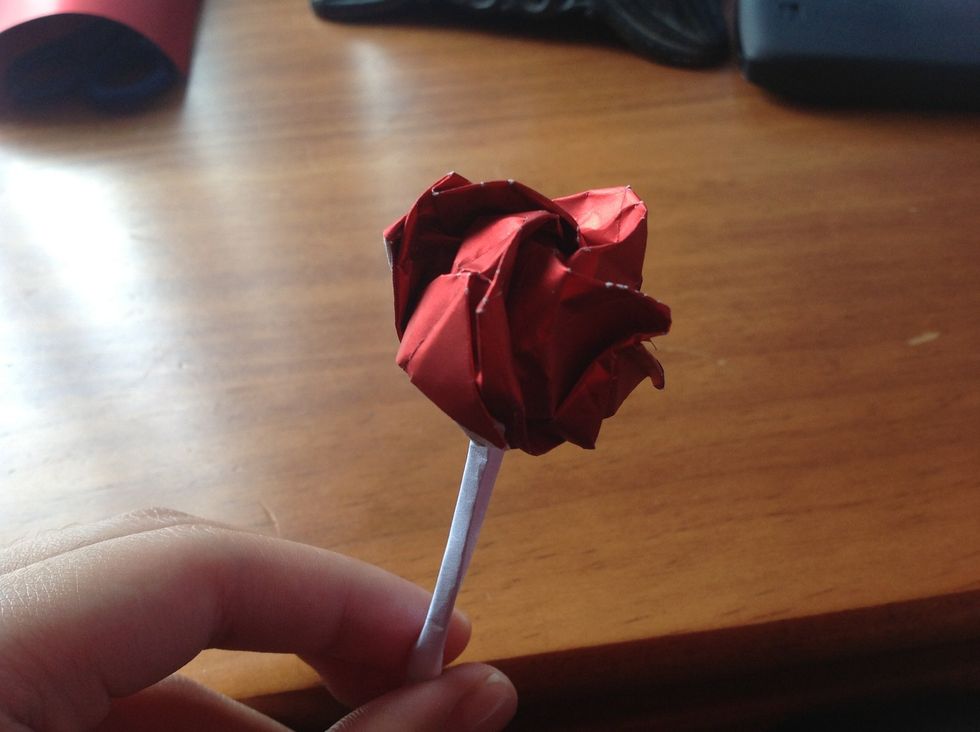
Ta-da! You could tape it on a present, or stick rolled paper at the bottom for a stem and give it to the person you admire. ^^
Roses are red, violets are blue...