The Conversation (0)
Sign Up
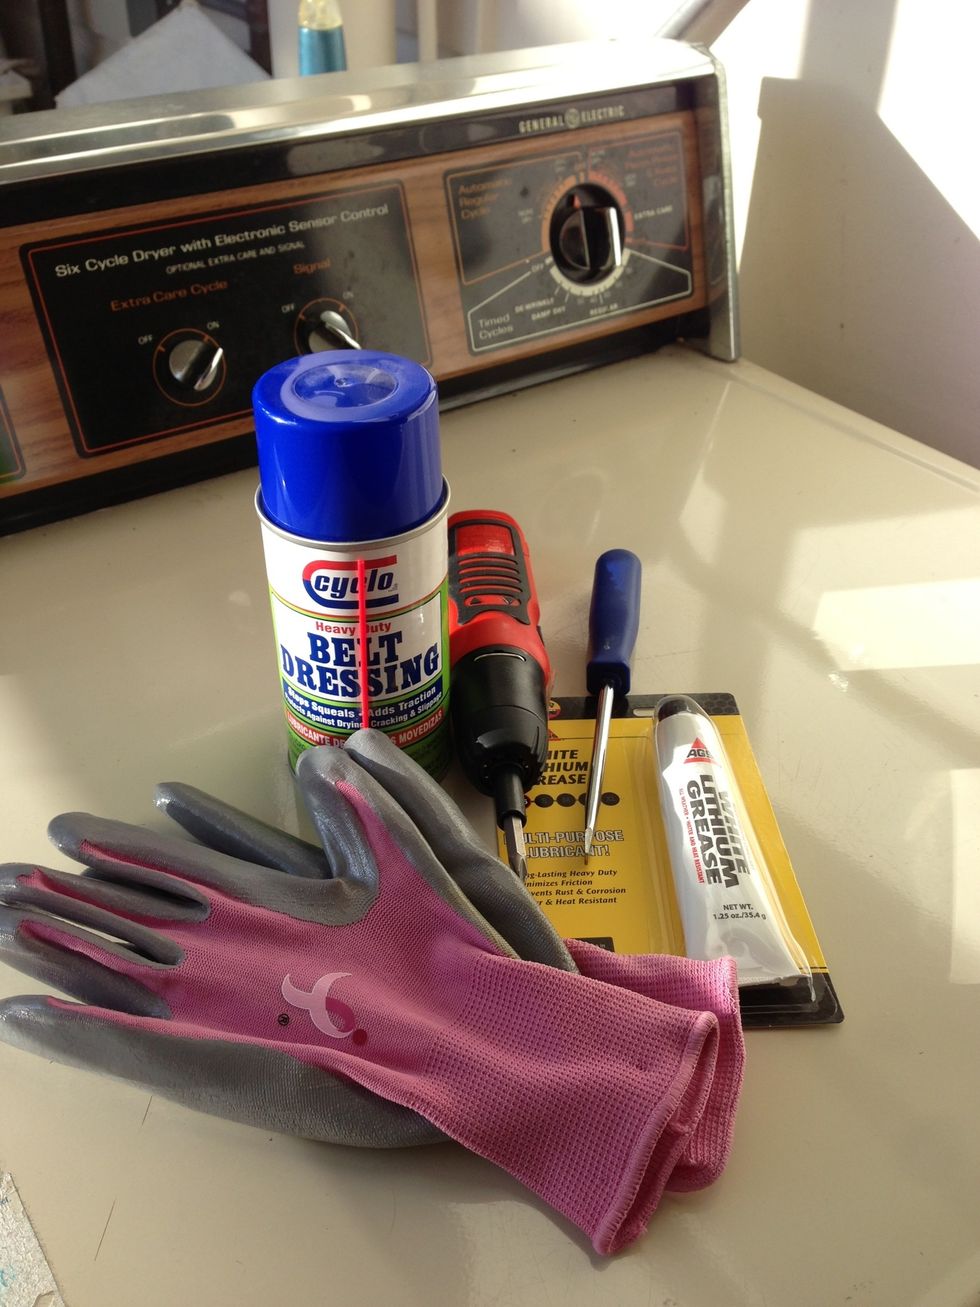
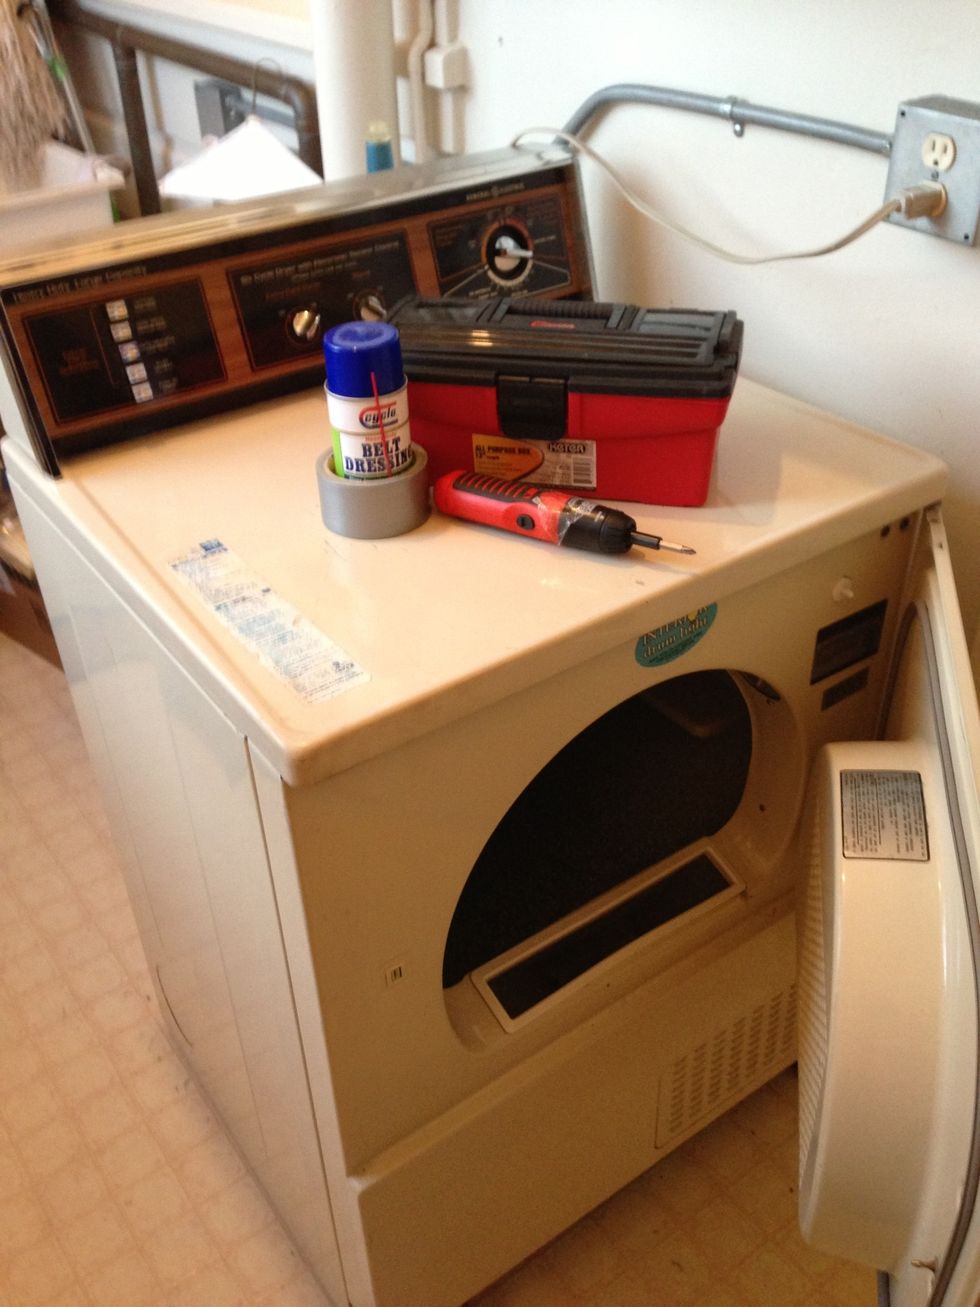
Got my supplies at the ready. It looks like there are a bunch of different heads on the screws and bolts on my machine so I'll need to be prepared.
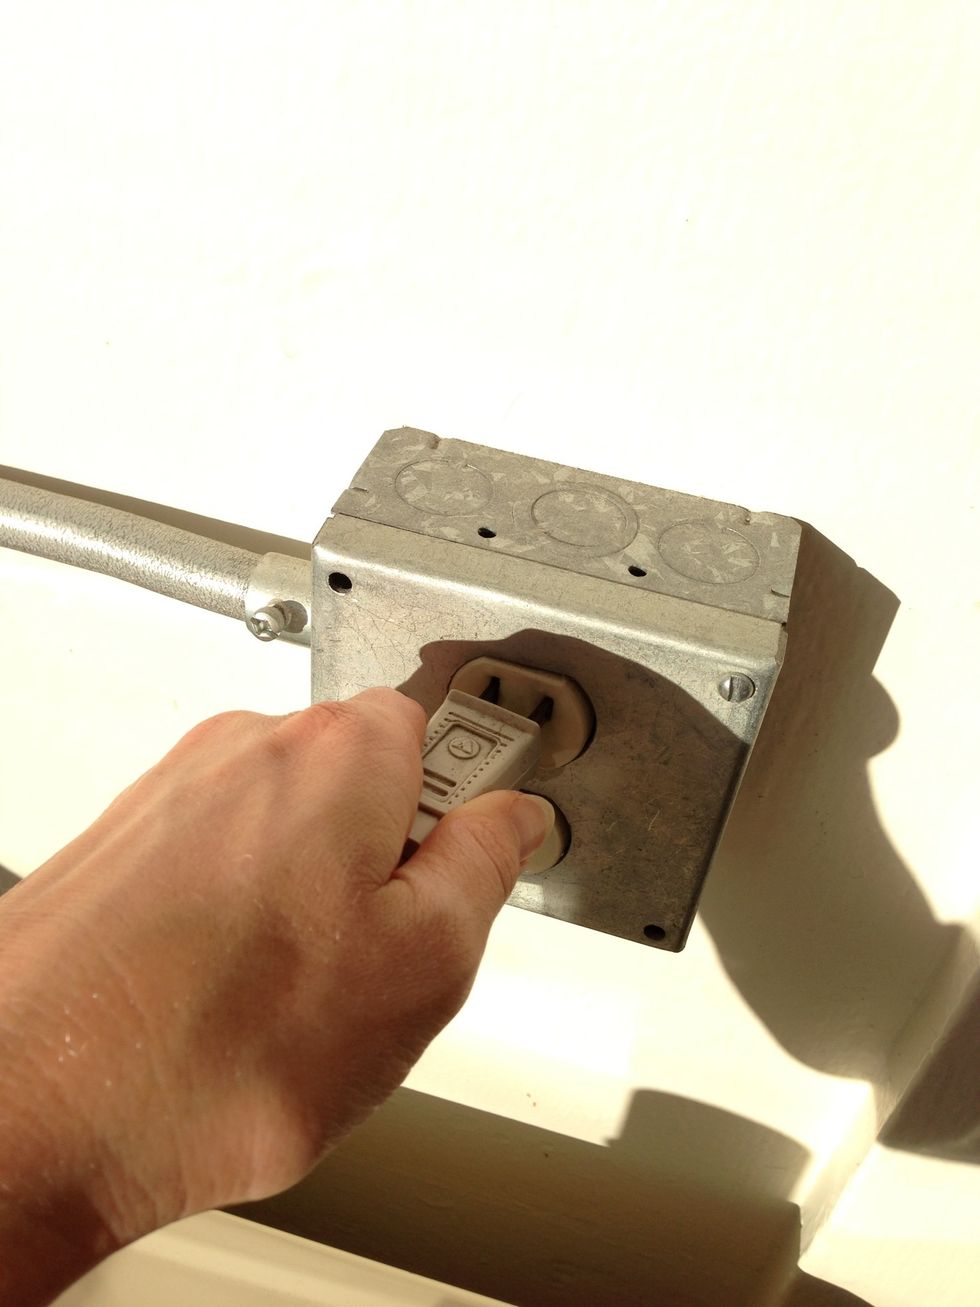
First things first; unplug the dryer...
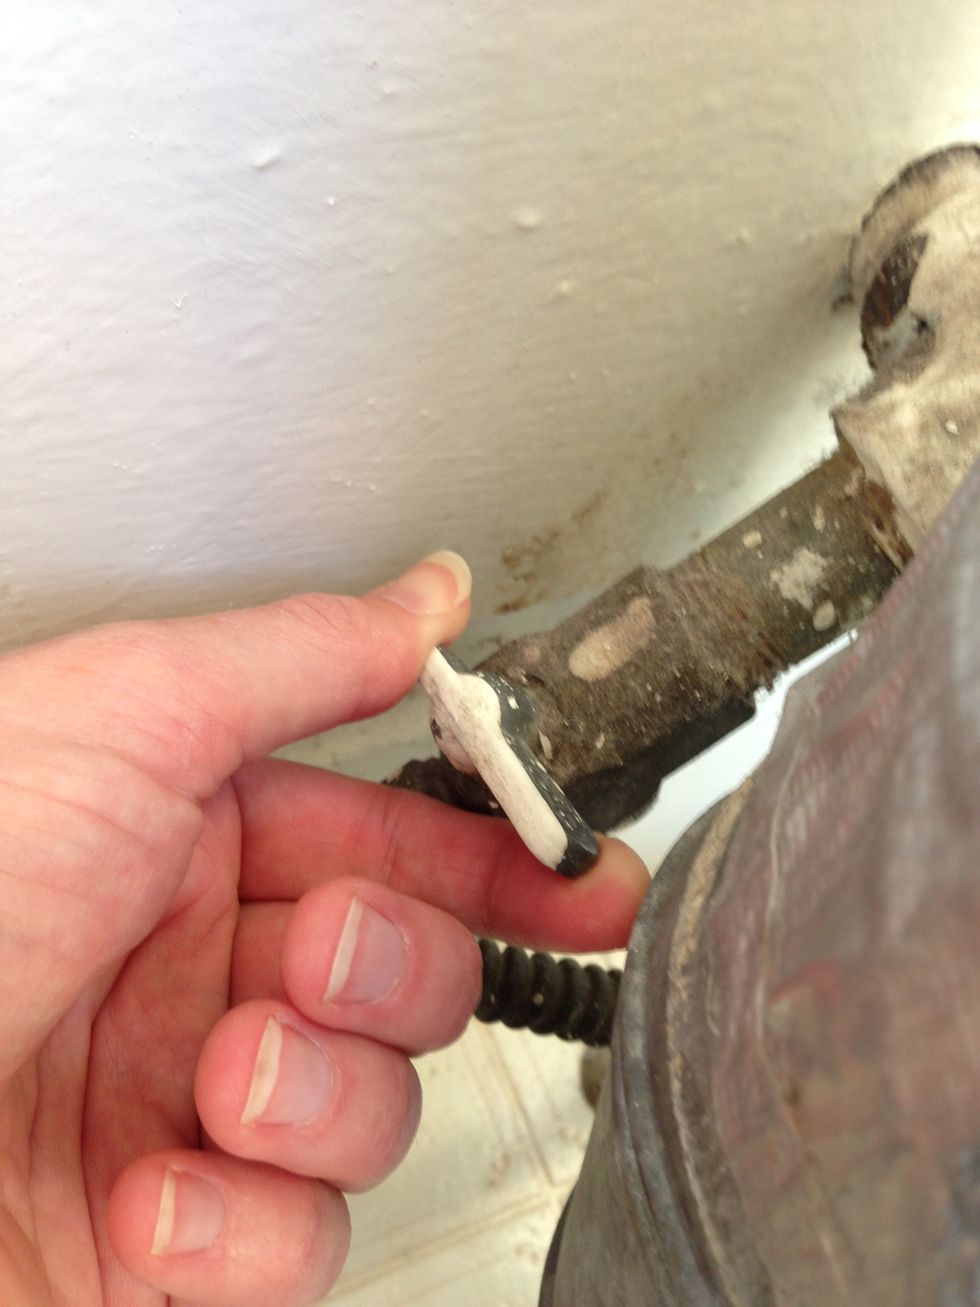
...and turn off the gas valve. Make sure to turn it perpendicular to the pipe as shown.
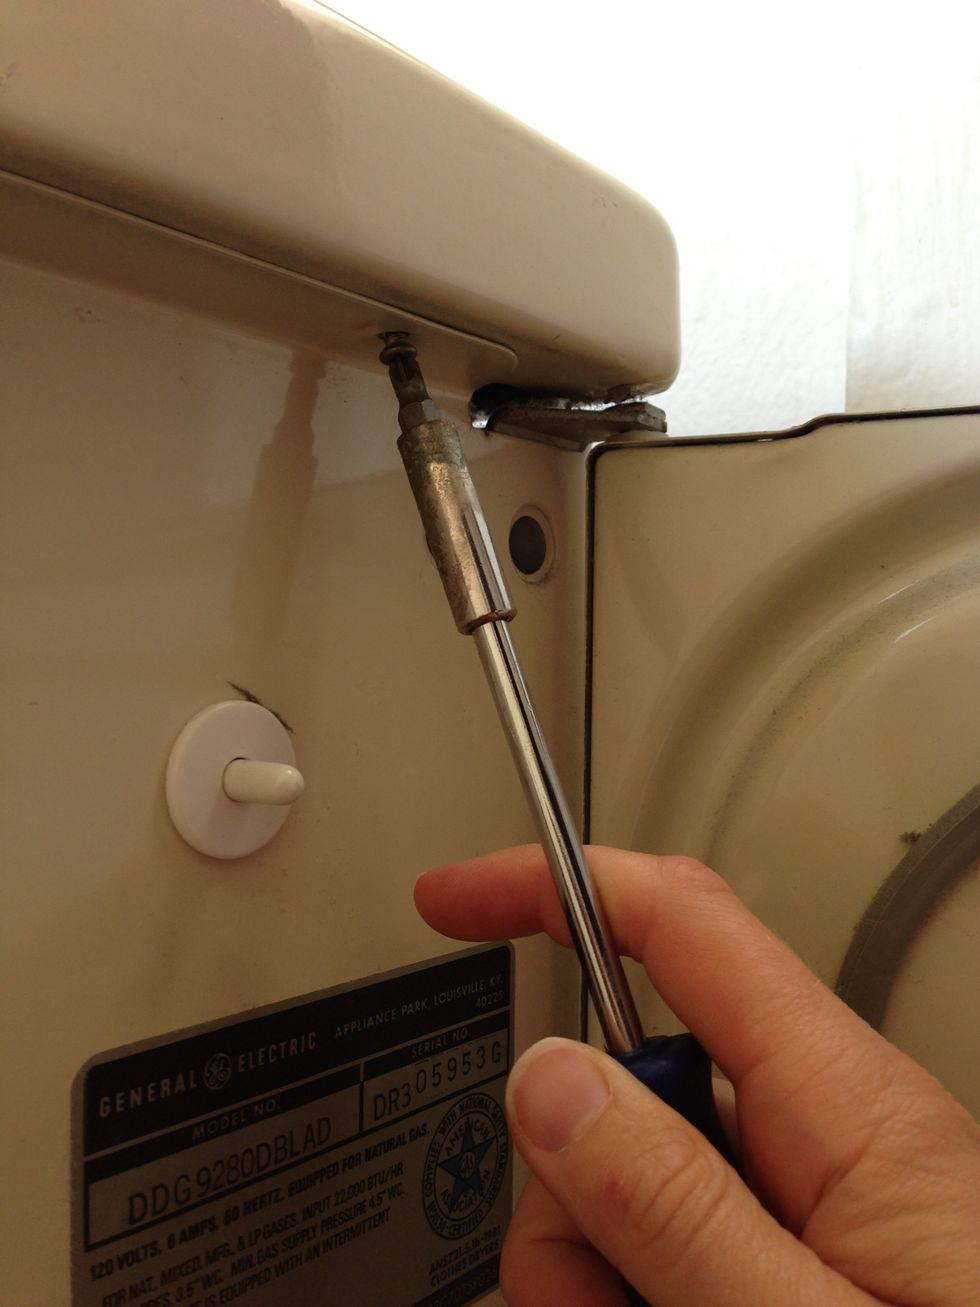
Undo the screws inside the door that are facing up into the top. Put the screws in a safe place for easy reassembly. You should be able to lift the lid up now.
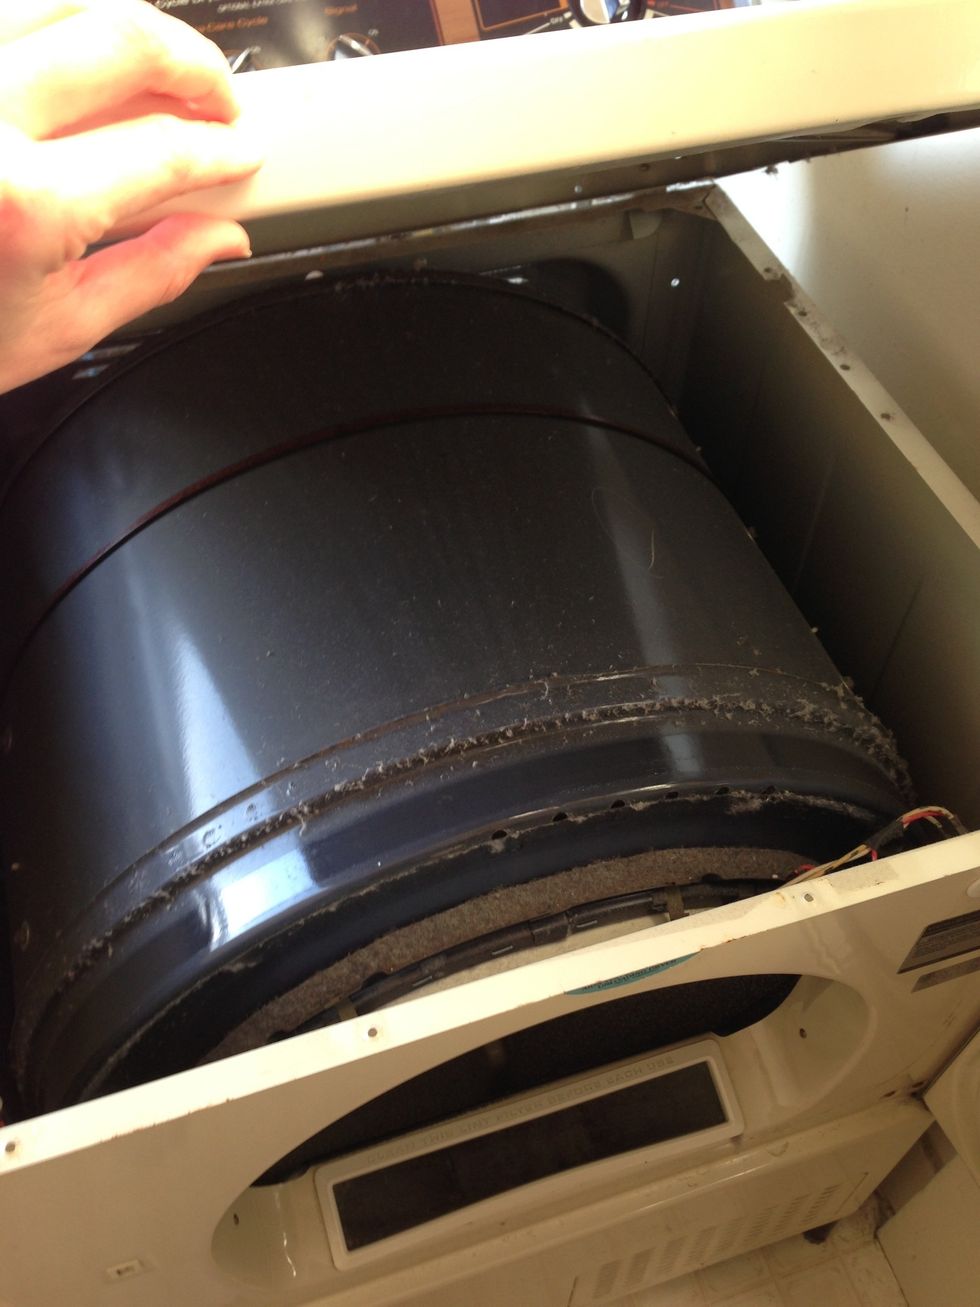
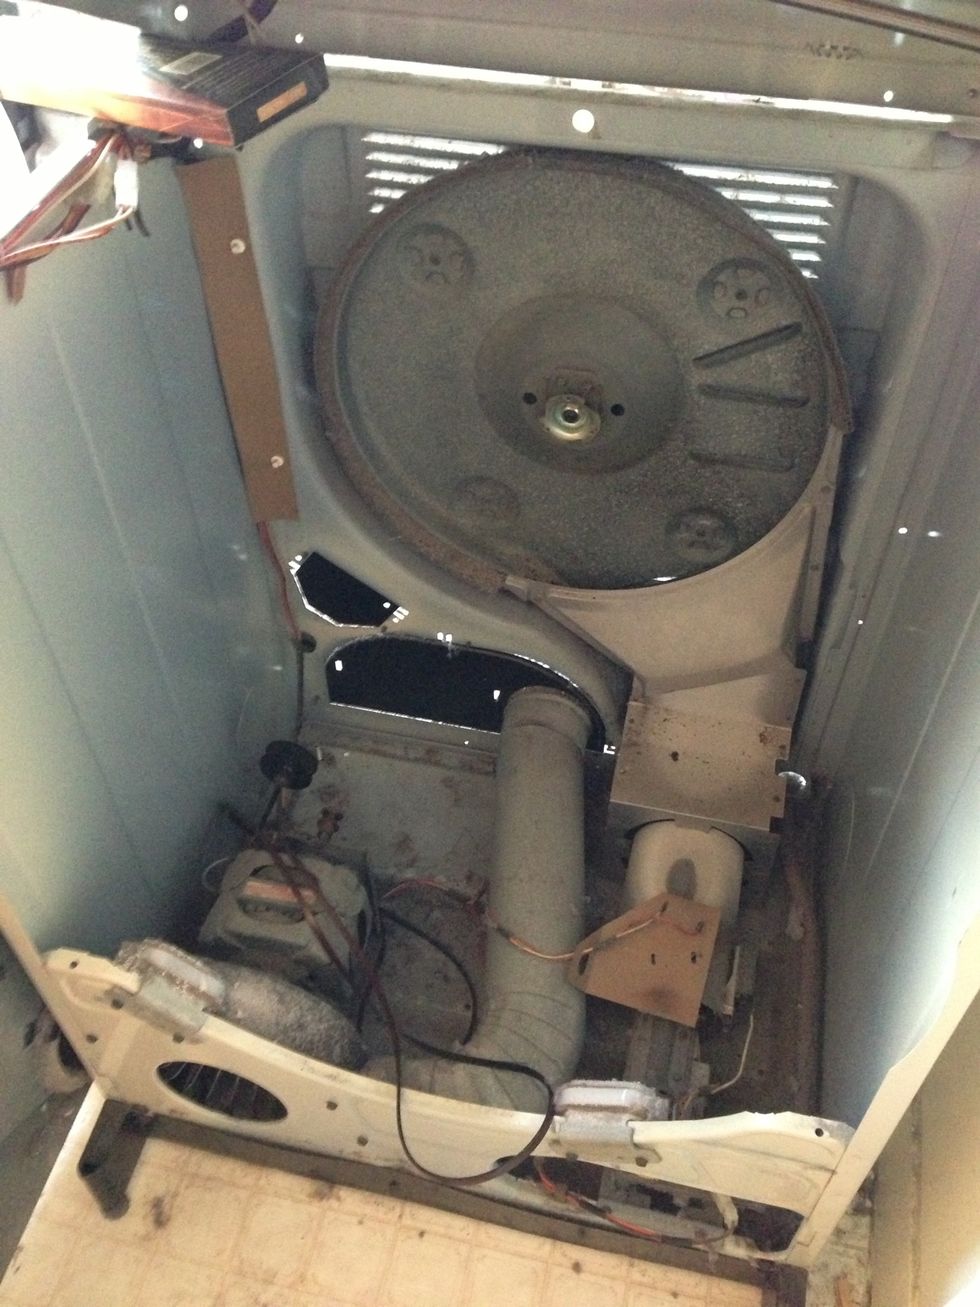
Well folks, that's what the inside of a dryer looks like. I kept the lid attached at the back but propped it open so I could access the drum.
Undo the screws at either side of the front section. My dryer only has one on each side so this was pretty easy.

Once the side screws are removed, you should be able to swing the front section to the side. It'll be still attached by the wires so be careful.
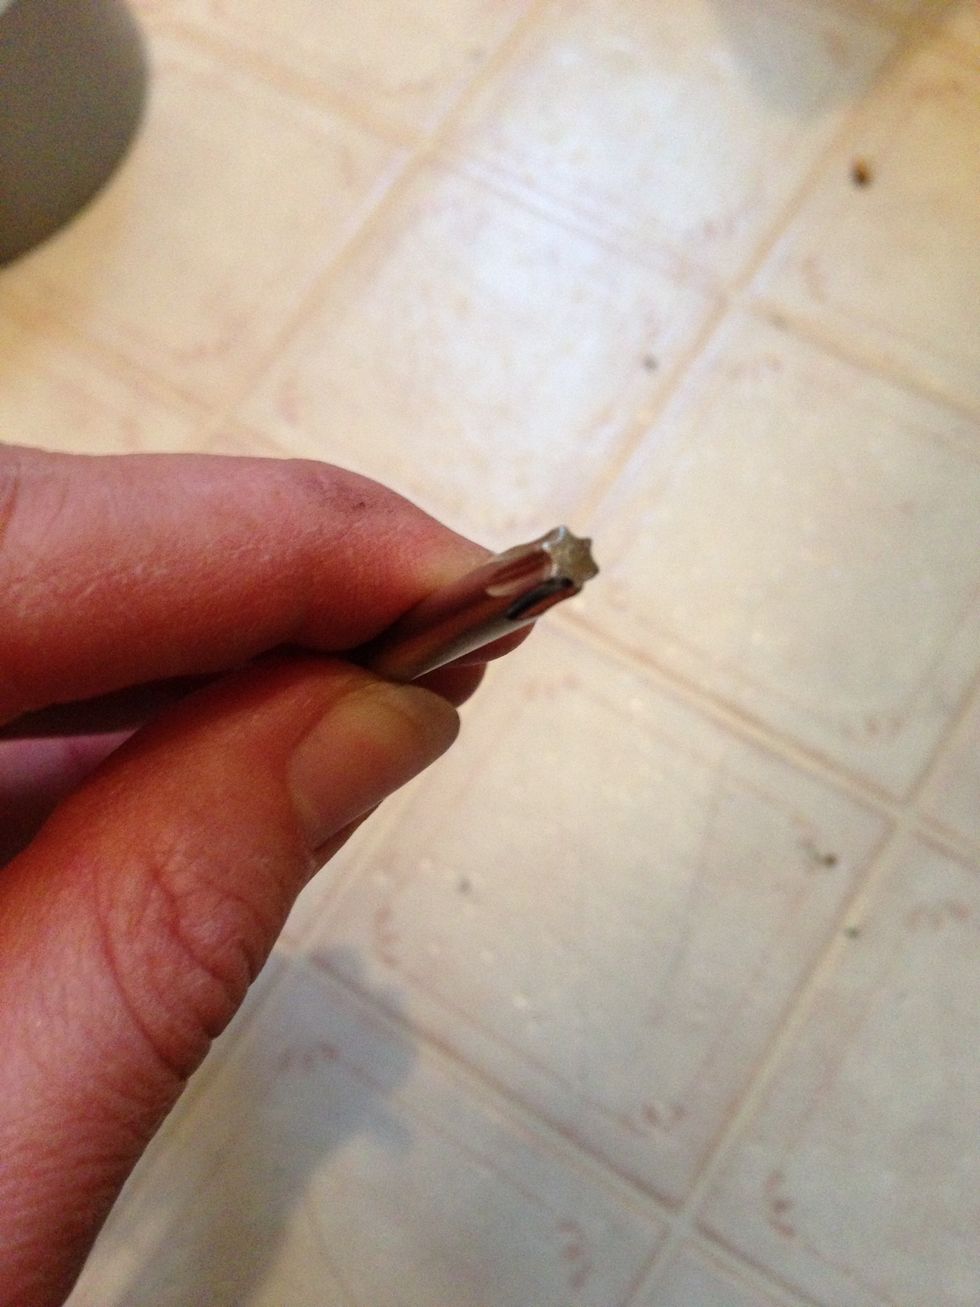
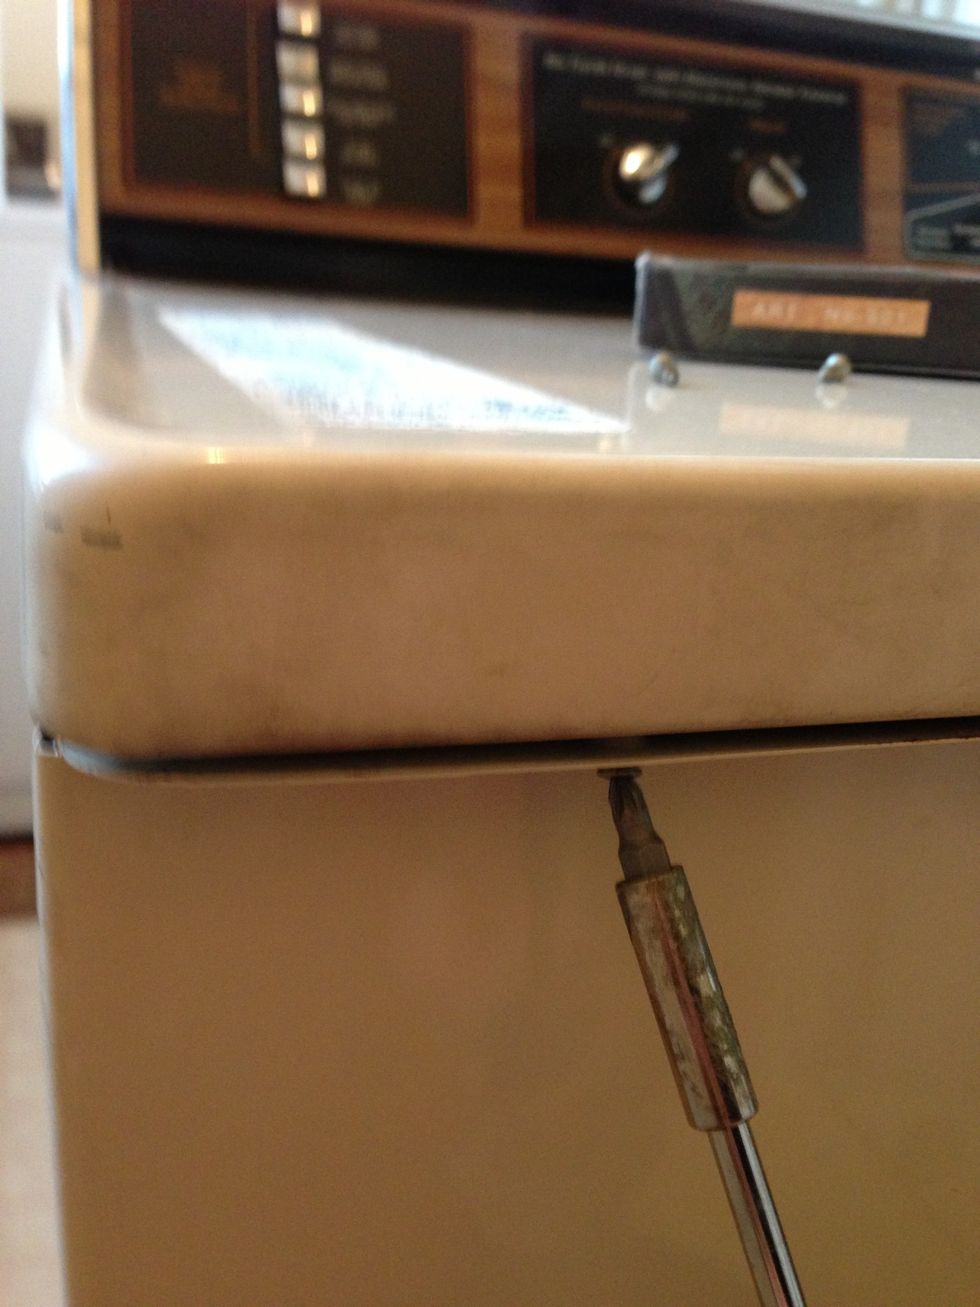
For this next step, I had to use one of these puppies - a star head screwdriver, since the screws in the drum had a different head.
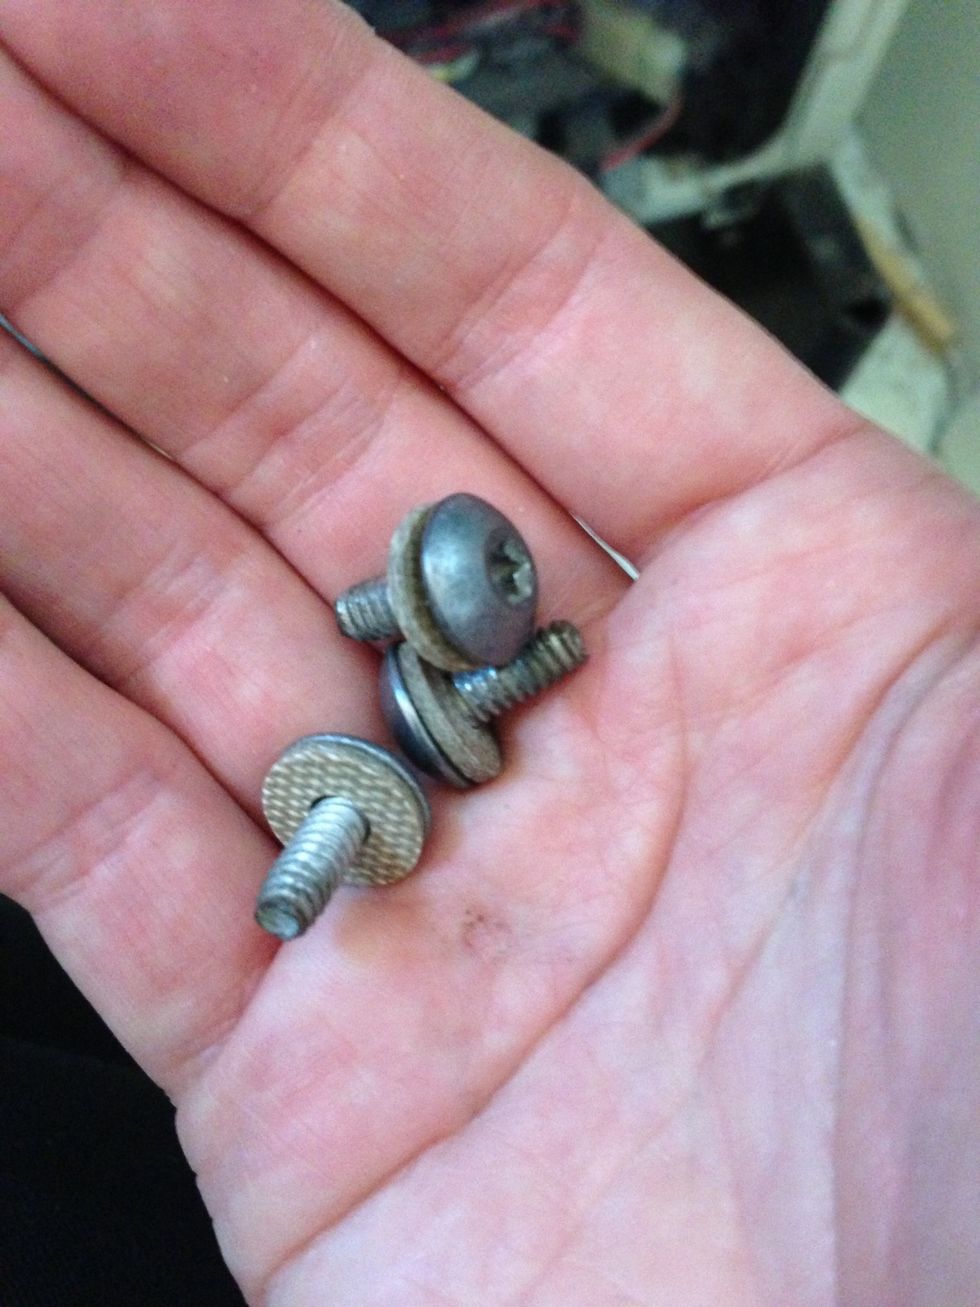
Just FYI, they look like this. Don't lose these, you'll need them for reassembly.
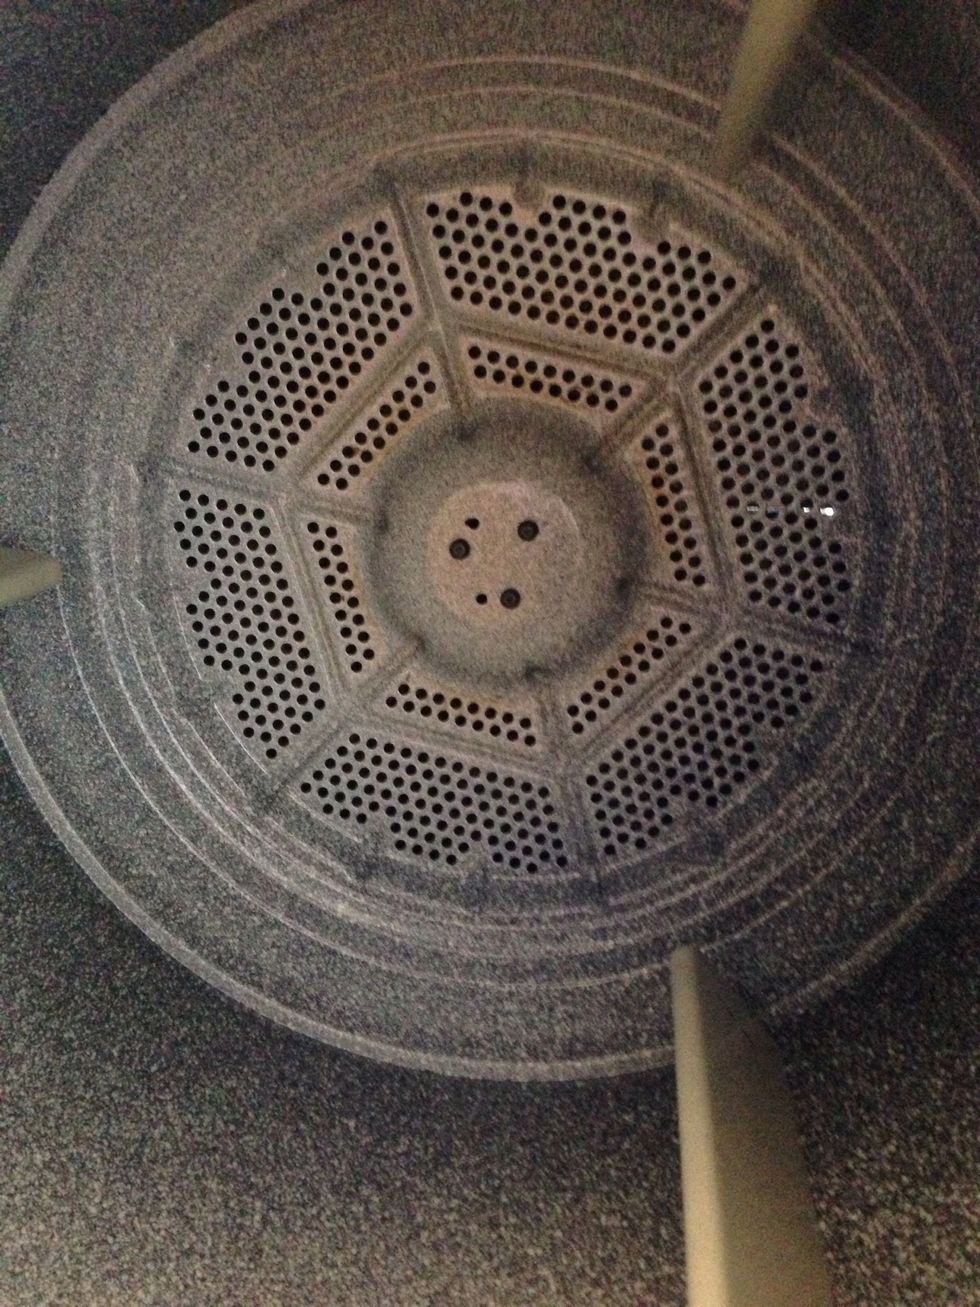
Now, undo the screws inside the drum. You should be able to wiggle the drum out from under the belt once the screws are removed. You might want gloves for this bit because the drum has sharp edges.
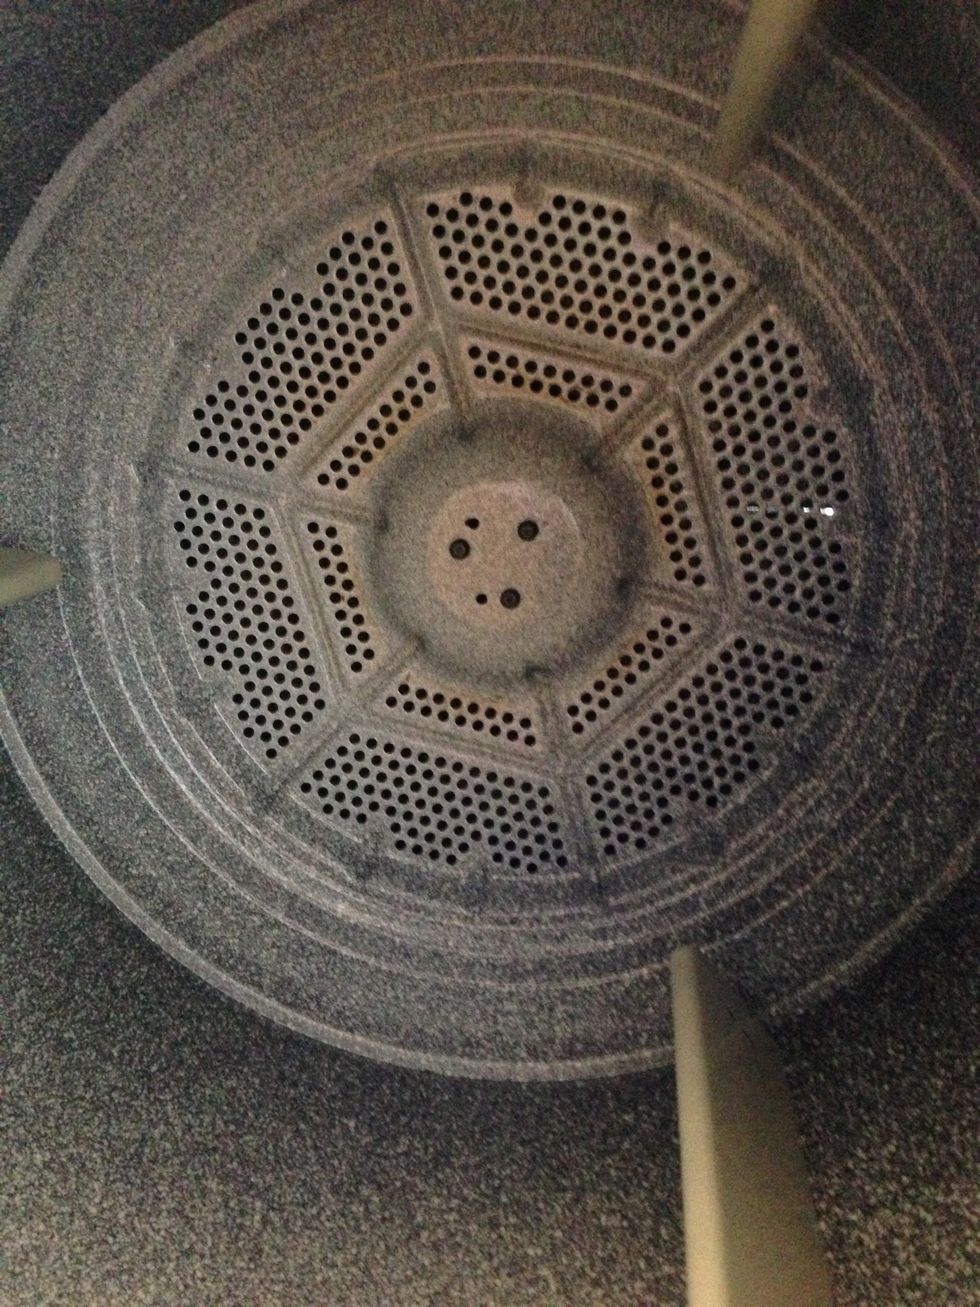
Got it! Pulled the drum out by wiggling and moving the pulley that holds the belt. I'm going to clean up some of the nasty lint deposits in here before moving on.
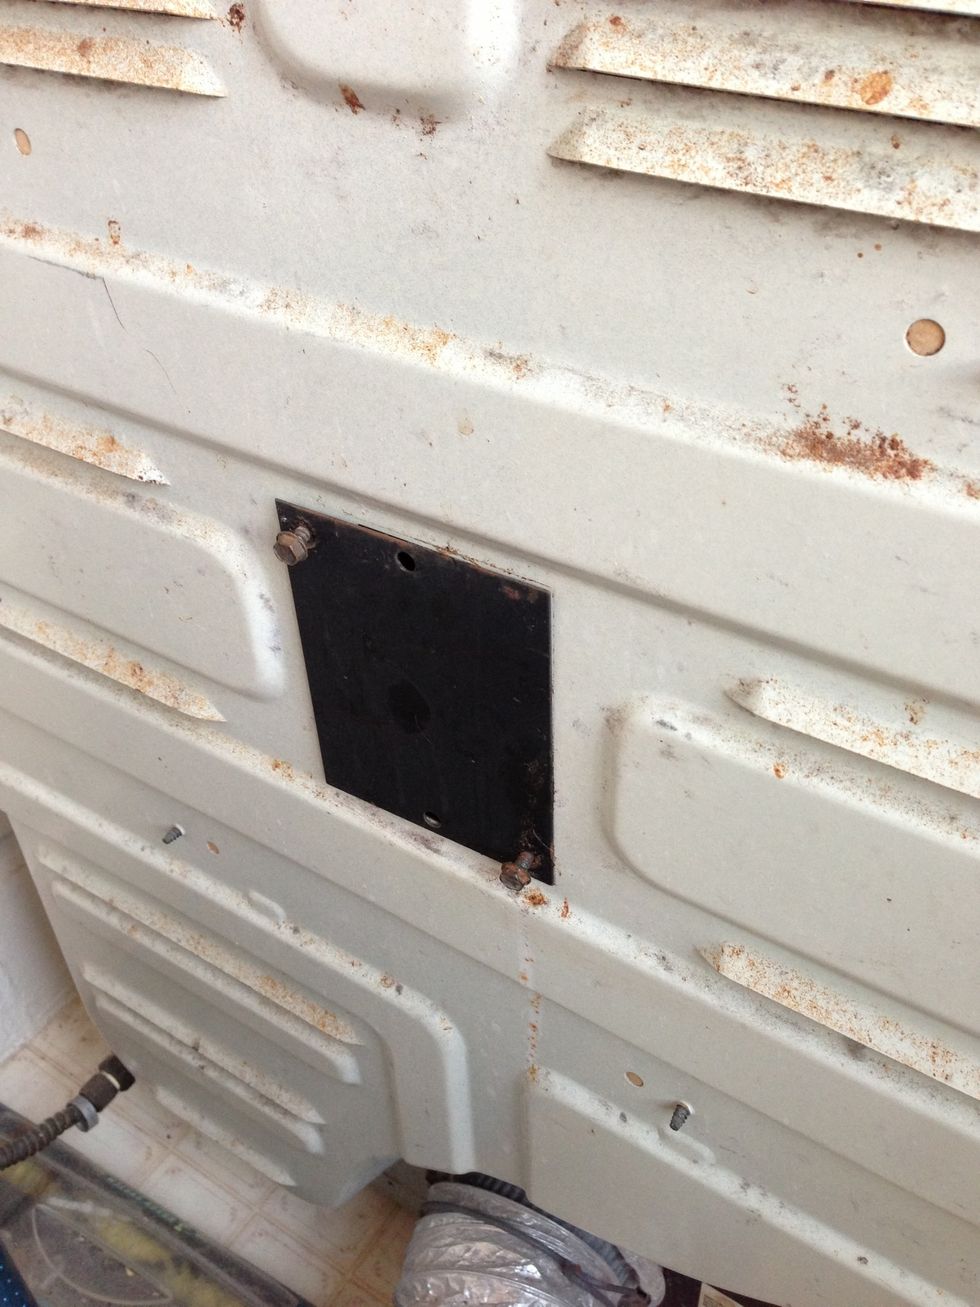
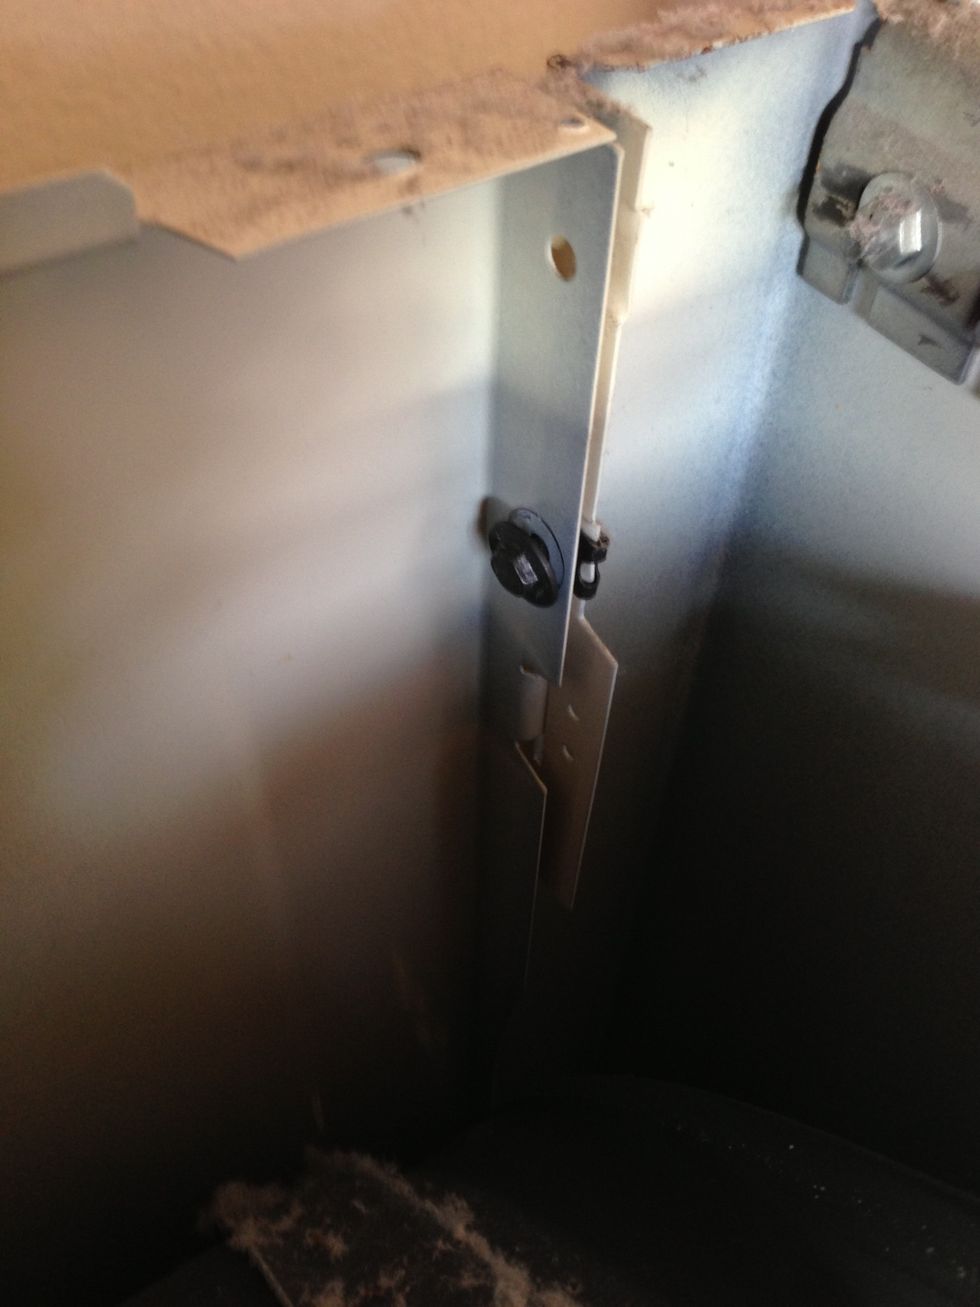
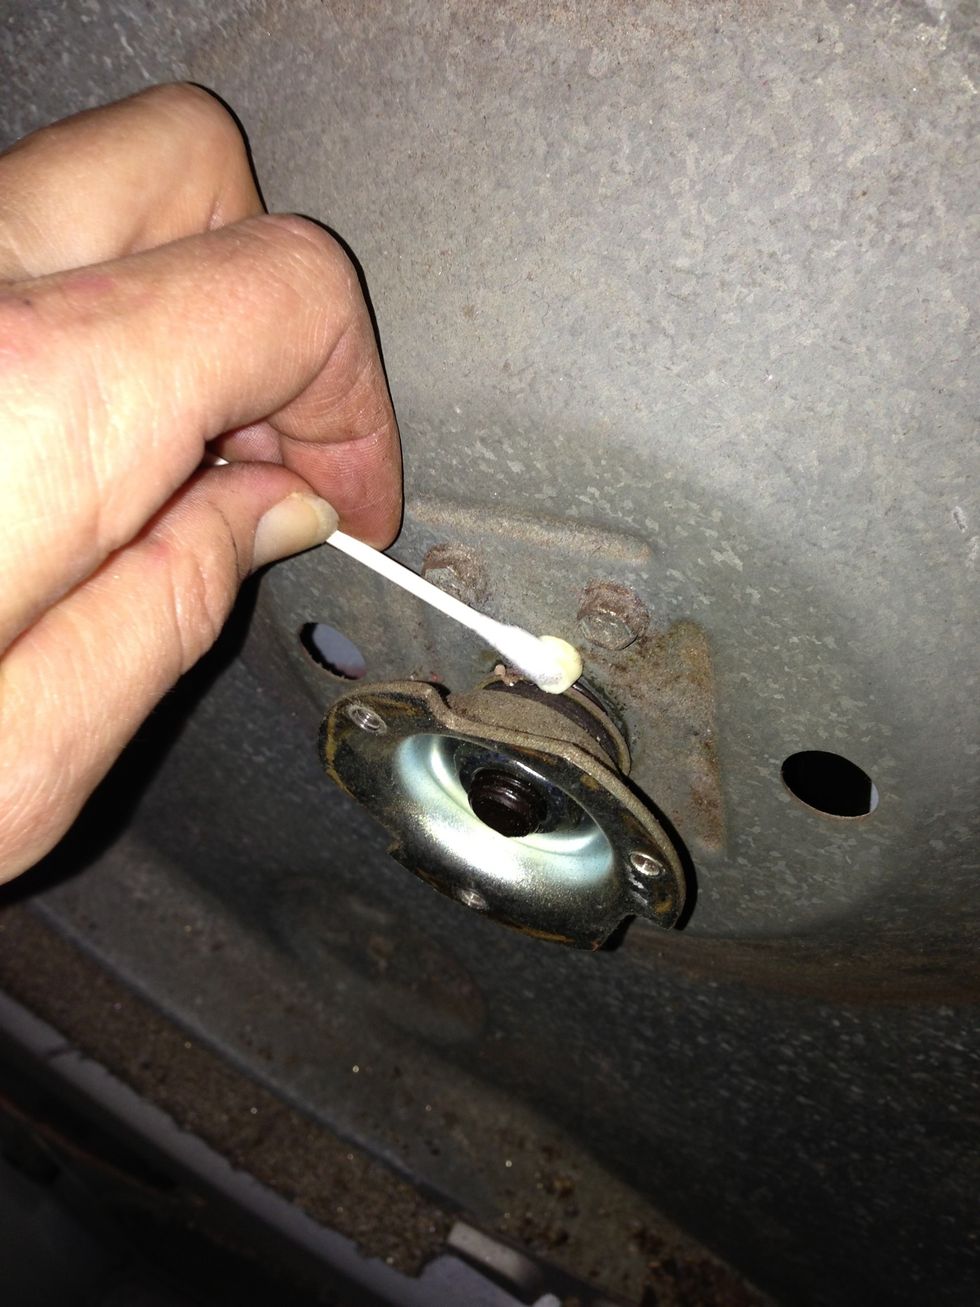
I'm pretty sure the bearing is our main squeaky culprit so I removed a metal plate from the back of the machine to access this part of it.
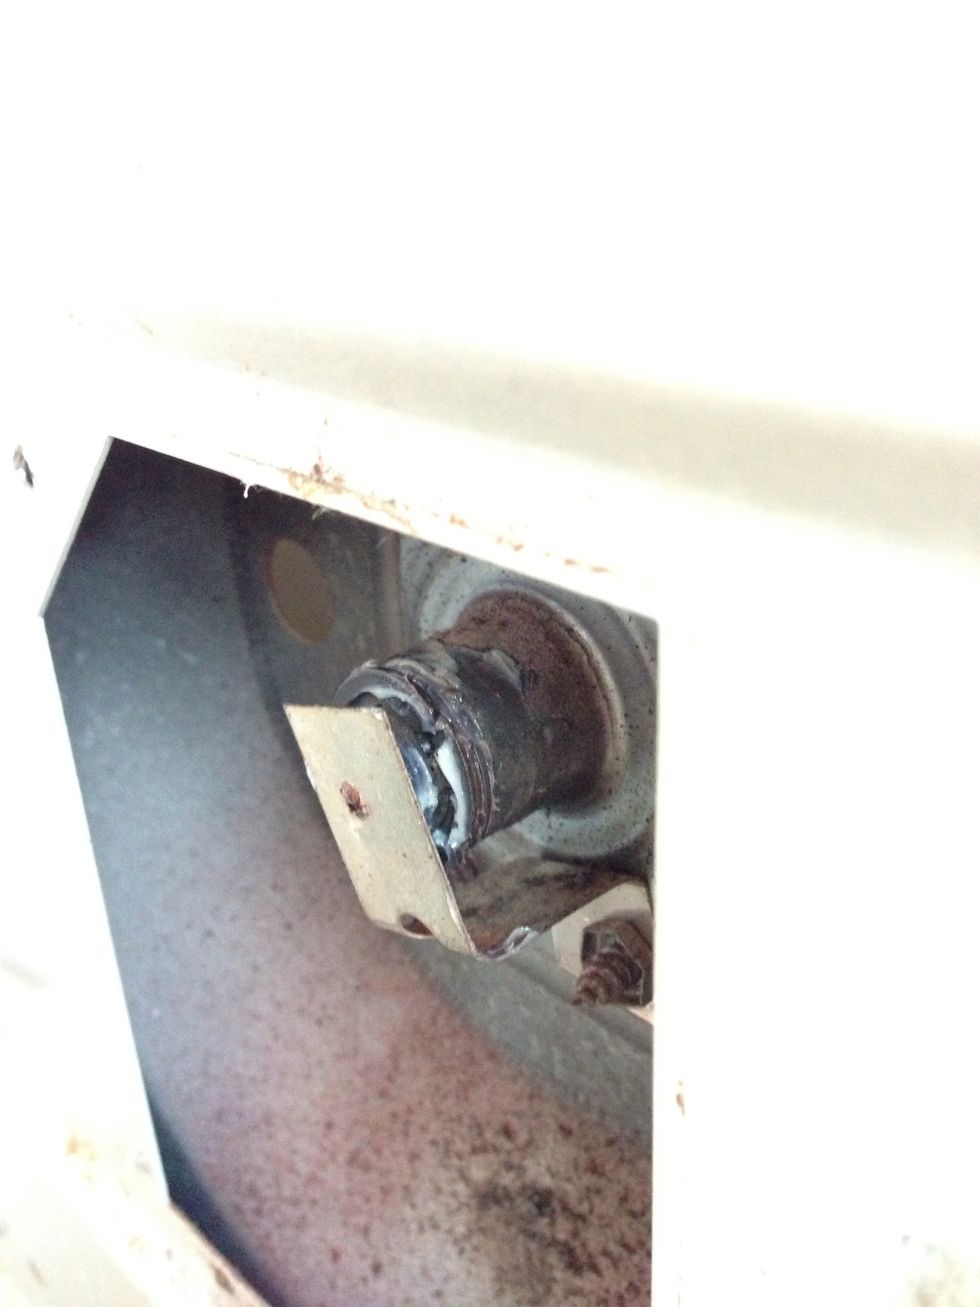
Using your fingertip (or a q-tip), apply a small amount of the grease around the washer at the tip of the bearing. You can see bits of the white grease in this pic.
Do the same around the washer on the part of the bearing that is inside the machine. This will hopefully stop the metal from screeching as the drum turns.
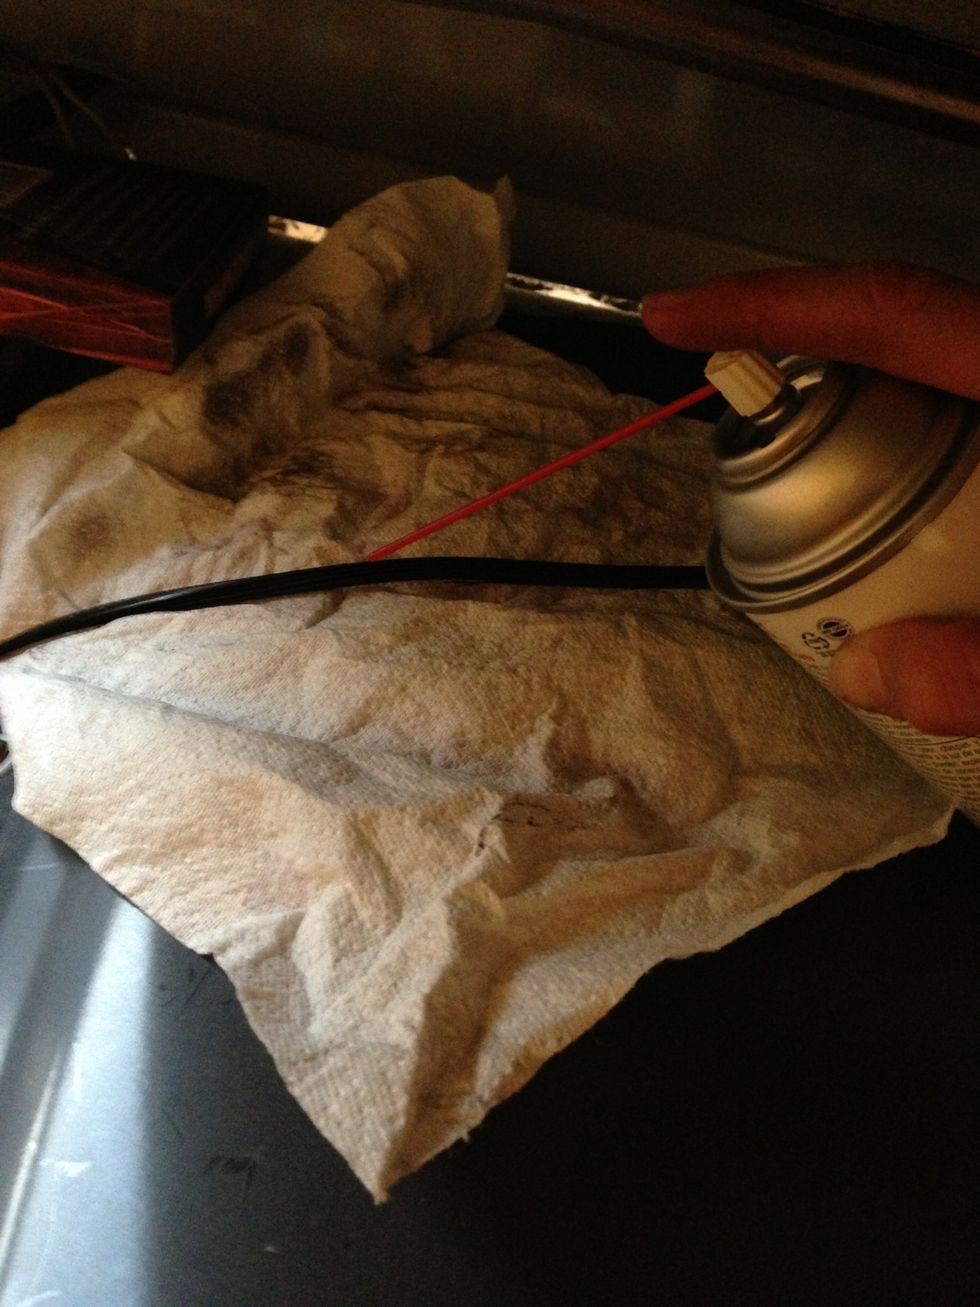
Google told me that the belt slipping on the drum might also be causing a squeak so I sprayed belt dressing on the underside of the belt. I used a paper towel to protect the surface of the drum.
Now you can put the drum back. This is tricky; loop the belt back around it and maybe get someone to help support the weight of the drum while you secure the screws. I coped but it's pretty heavy.
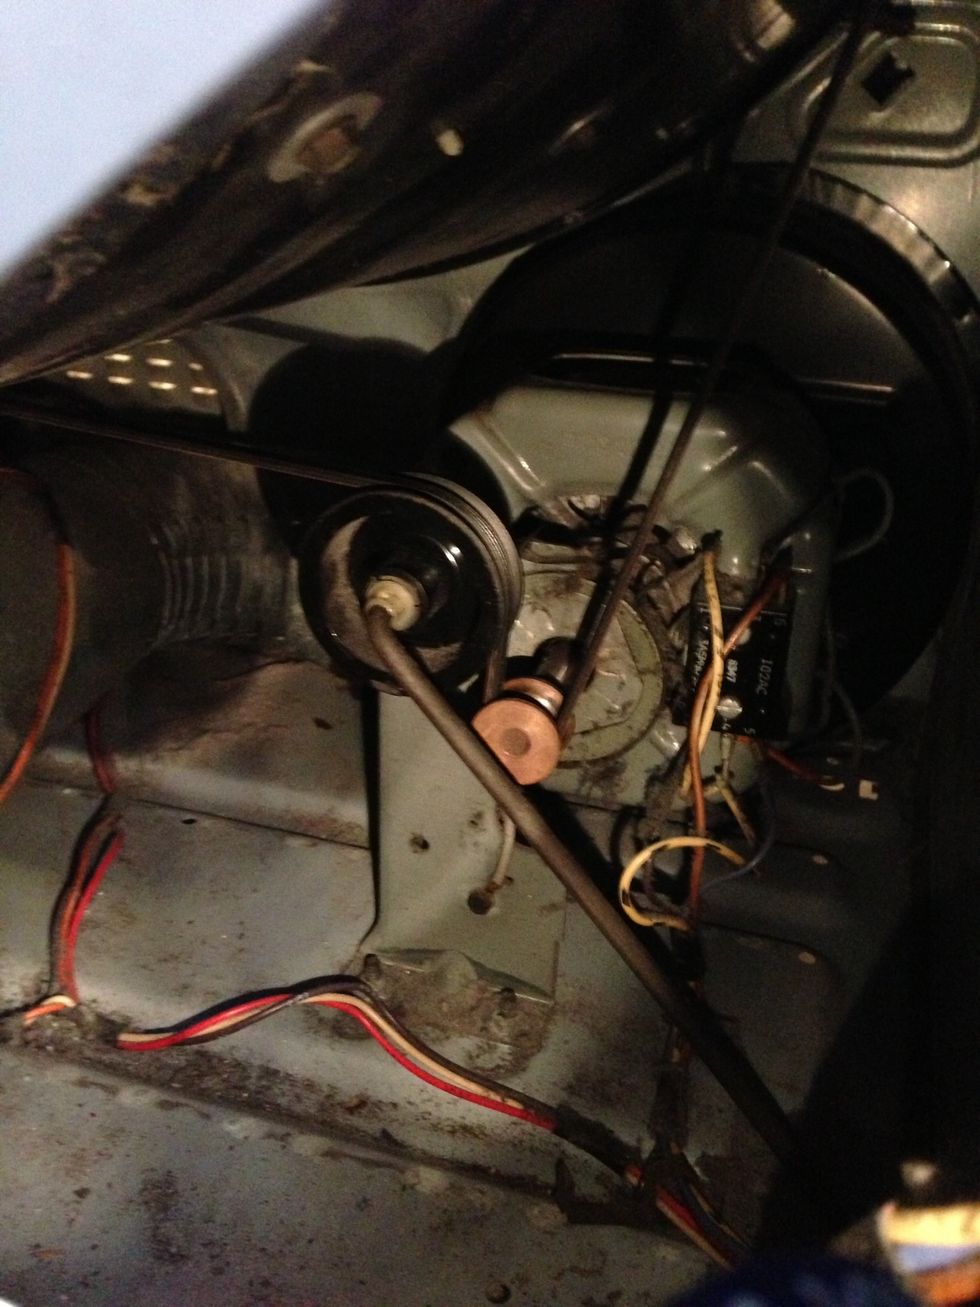
Make sure the belt is on the pulley correctly. This is a view through a little screw-off panel on the back of the machine: hard to see but the belt comes over the big pulley and under the motor shaft.
Once that's complete, reassemble the body of the machine. Start by screwing the sides together, then put the screws back into the underside of the lid.
And there you have it; a fully-functioning, non-squeaking dryer. Oh, don't forget to plug it in and turn the gas back on ;) Happy Drying!