The Conversation (0)
Sign Up
Instead of using wood filler, this method gives the screw more 'substance' to screw into and hold tighter and longer. So, how do you know if you have a stripped or loose screw?
If you've tried to tighten the screw and it just keeps turning and not 'catching' the wood to tighten, then you have a problem. Or if the screw has completely fallen out of the bracket... 😧
Check the screws on the cabinet to see if you will need a phillips or a flat head screw driver. If you have a lost screw, remove the remaining screw and obtain a similar one from the hardware store.

Usually, if the door is loose it will be the screw where it is mounted to the cabinet. With the bracket shown above, it is the screw shown through the inset opening where it is mounted to the cabinet.
Begin by removing the door by twisting the screw counter-clockwise for all brackets. Once the door is removed, set it in a safe place where you will not knock it over on your toes or scratch it up. :)
For now, place your screws you just removed in a safe place because we are going to reuse them if they are still in good condition. A small Tupperware container or ziplock bag is perfect for this.
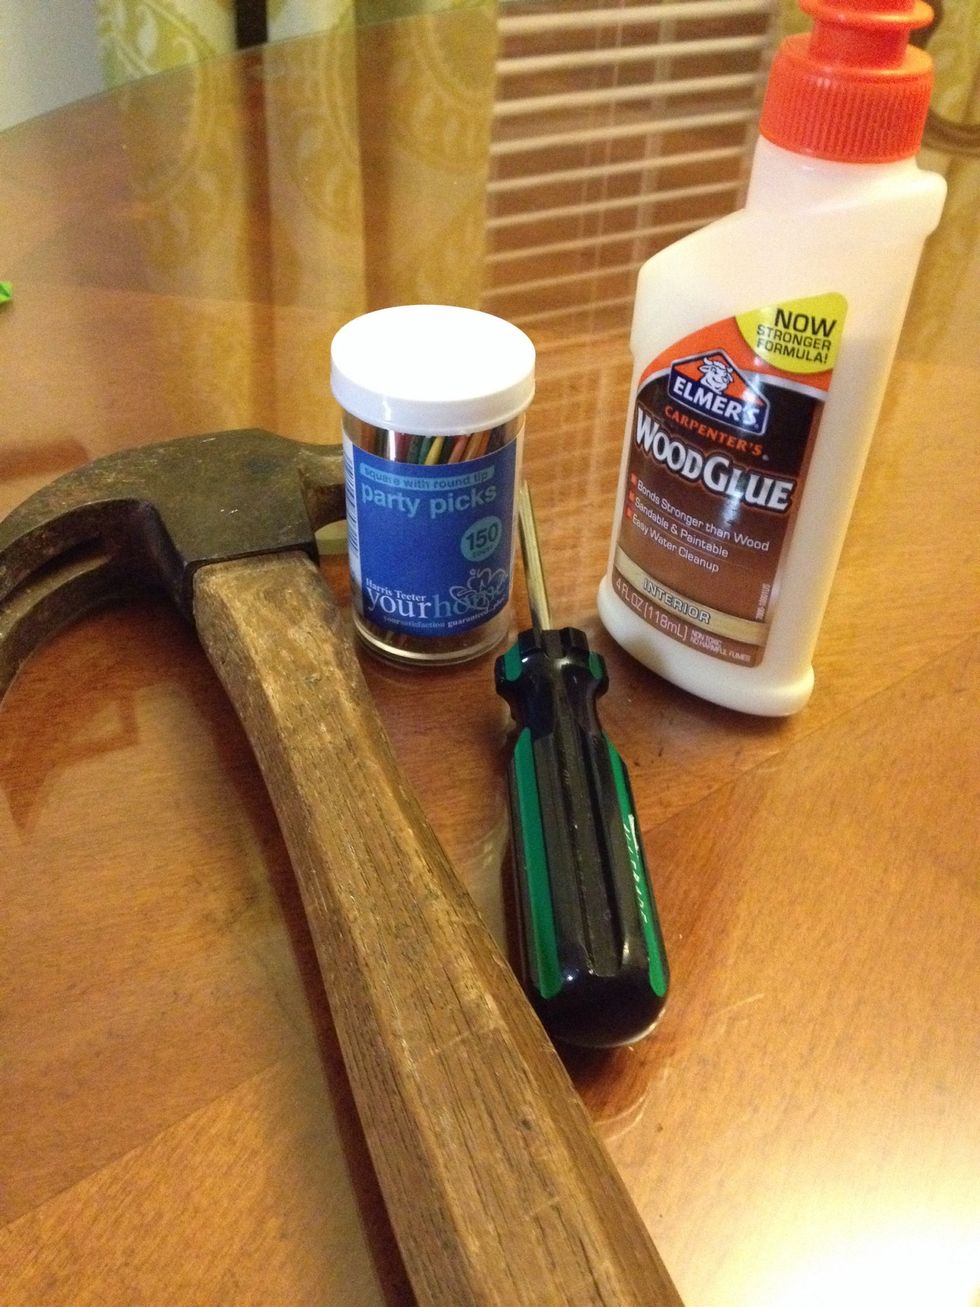
Dip the end of wooden toothpicks into the wood glue and stick them into the screw holes where the screw holes are stripped, filling the hole. Use the hammer to push the toothpicks deep into the hole.
The toothpicks will be sticking out of the hole. Clean up any dripping glue. Fill the other hole(s) with the same process. Leave over night to dry. (This is very important)!
Once glue has dried thoroughly, cut (or break) toothpicks off evenly with cabinet surface. I used my oscillating saw to cut them. A simple hand saw would work well, too. Now to replace the door!
To begin, you may want to take a nail and hammer and start a hole in the middle of the toothpick bond where you will start your screw. This aides in getting your screw started and entering straight.
Hold the door back up to the cabinet where it lines up to the screw hole openings. Start your top screw in the small hole turning clock-wise and semi-tighten. Install bottom screw, same process.

Go back and tighten both the top and bottom screws evenly. While you have your screw driver out check all cabinet screws. :) You have completed this task, be proud!