The Conversation (0)
Sign Up
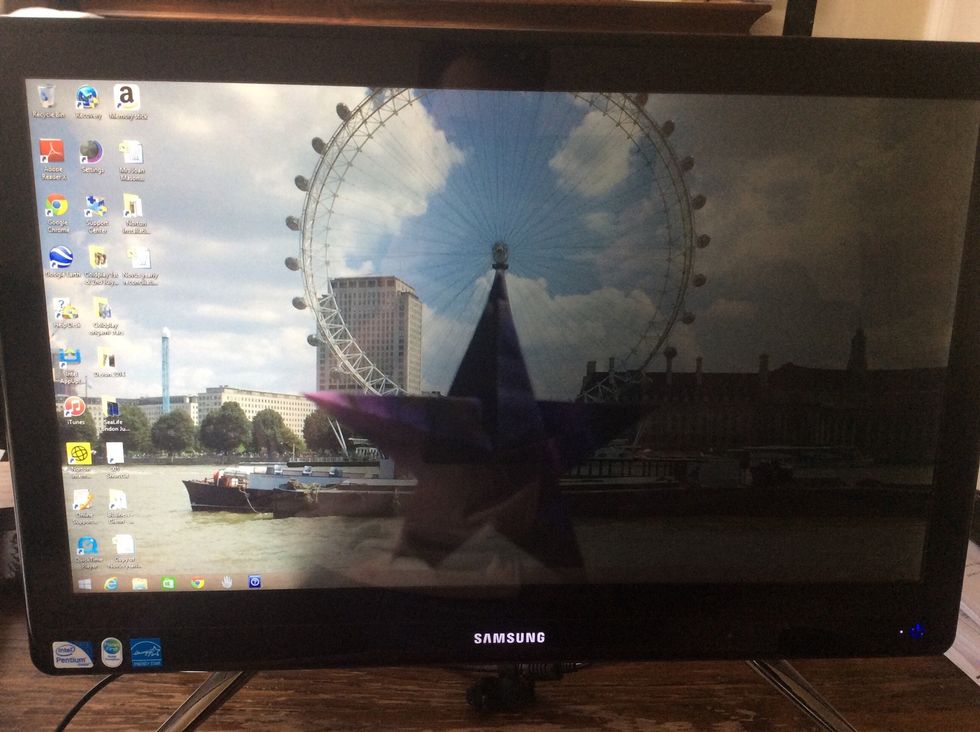
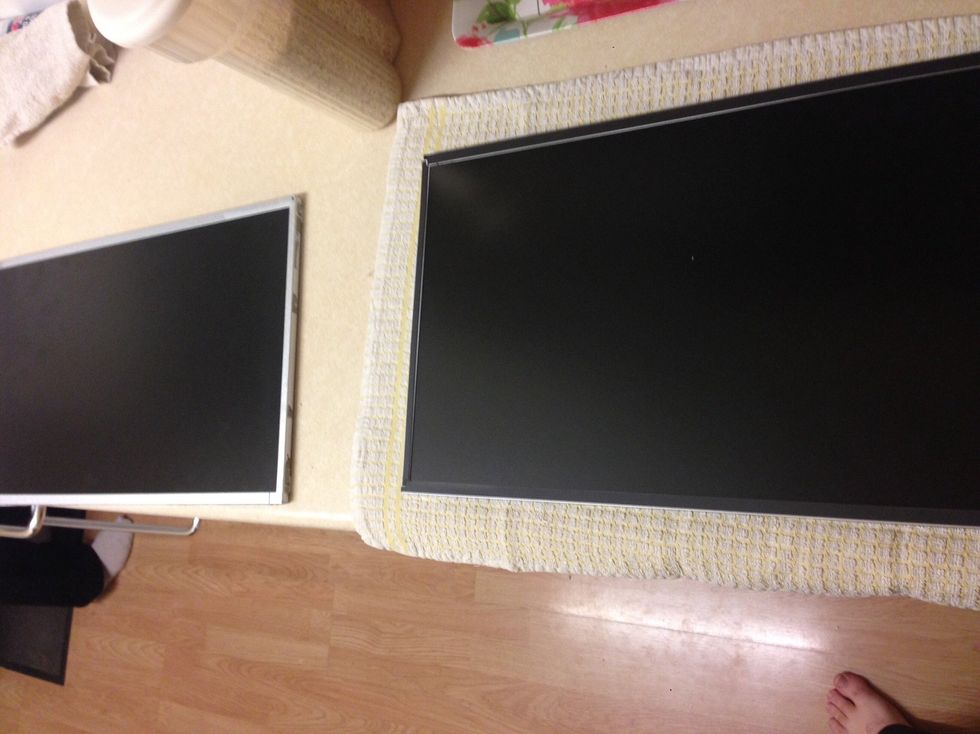
The screen would light up for 2 seconds then go dark, only part of the screen lit up. Usually this is a fault with the backlight in the LCD panel, The main board detects the fault and turns it off.

First take to panel off the back and undo the screw underneath. Lay the computer face down on a soft cloth with the legs overhanging the edge of the surface.
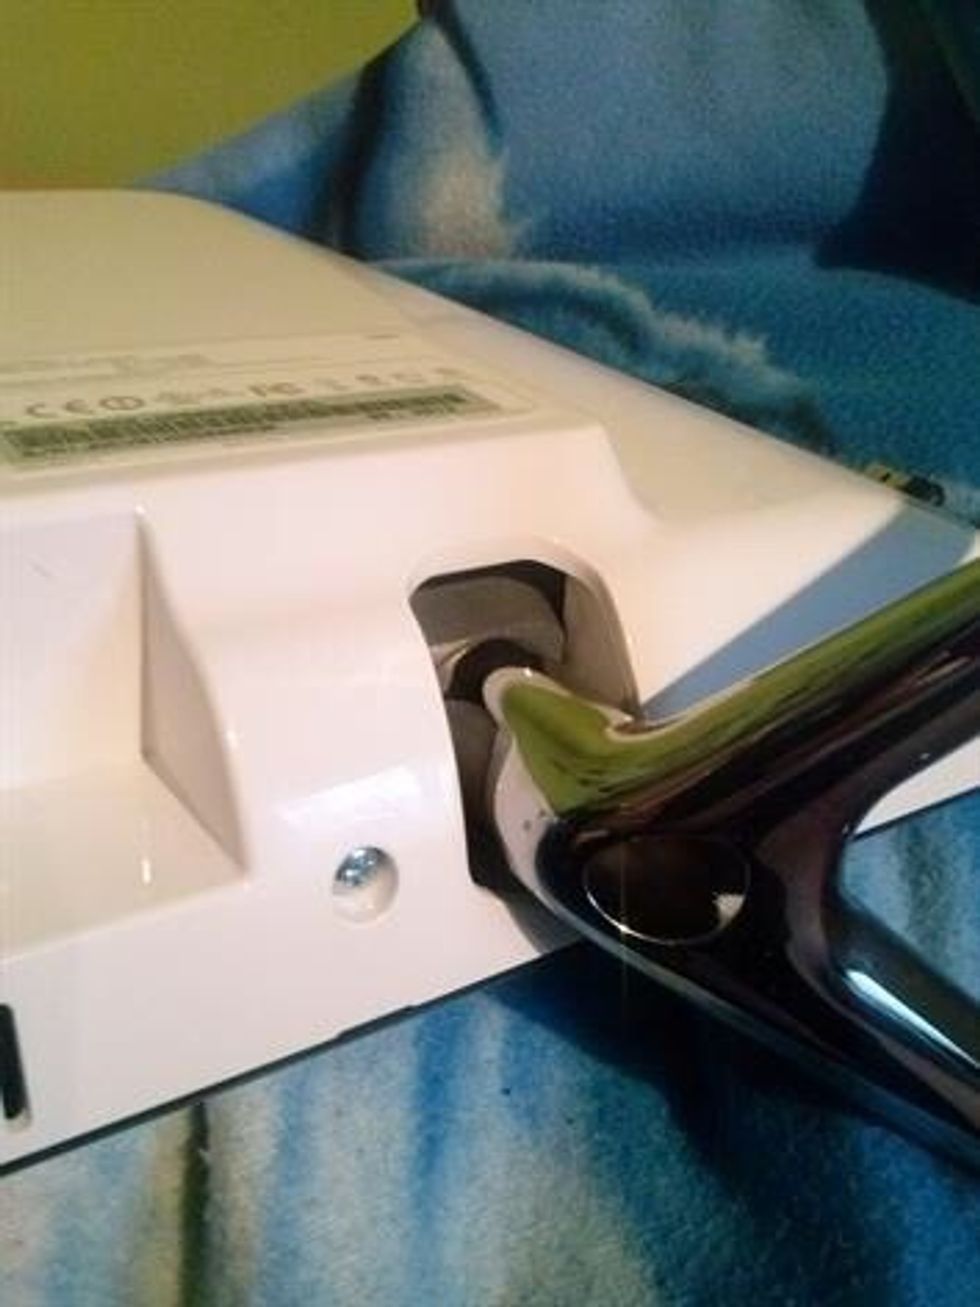
Unscrew the two legs and remove. There are 2 more screw that hold the white panel on, remove these. Along the bottom are two notches just big enough to get a flat head screwdriver in.
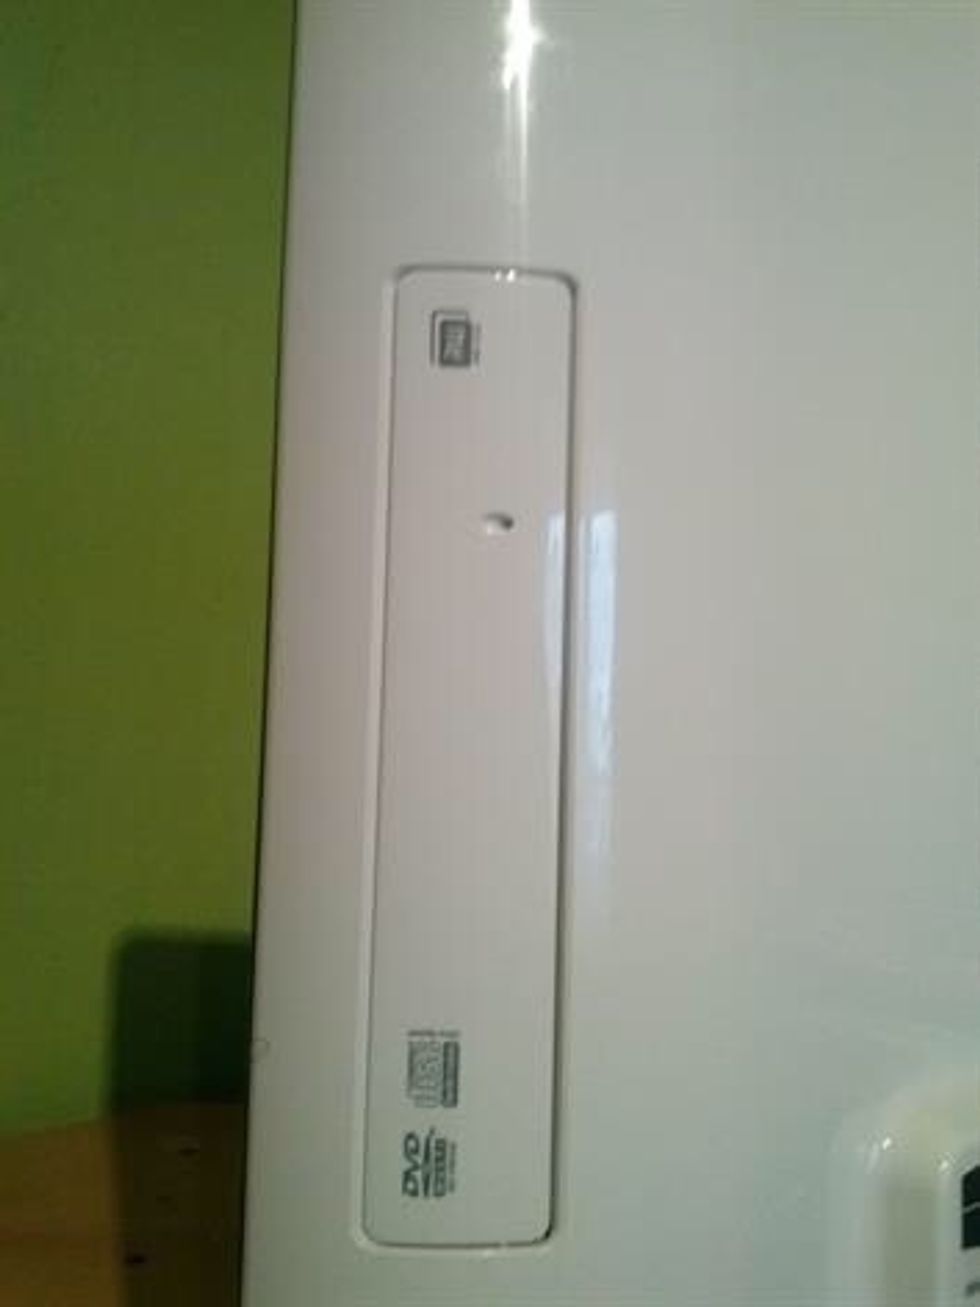
Start easing off the panel from the two notches, carefully work around the edges with a small flat head screwdriver. To remove the back you may need to open the drive using a paper clip in the hole.
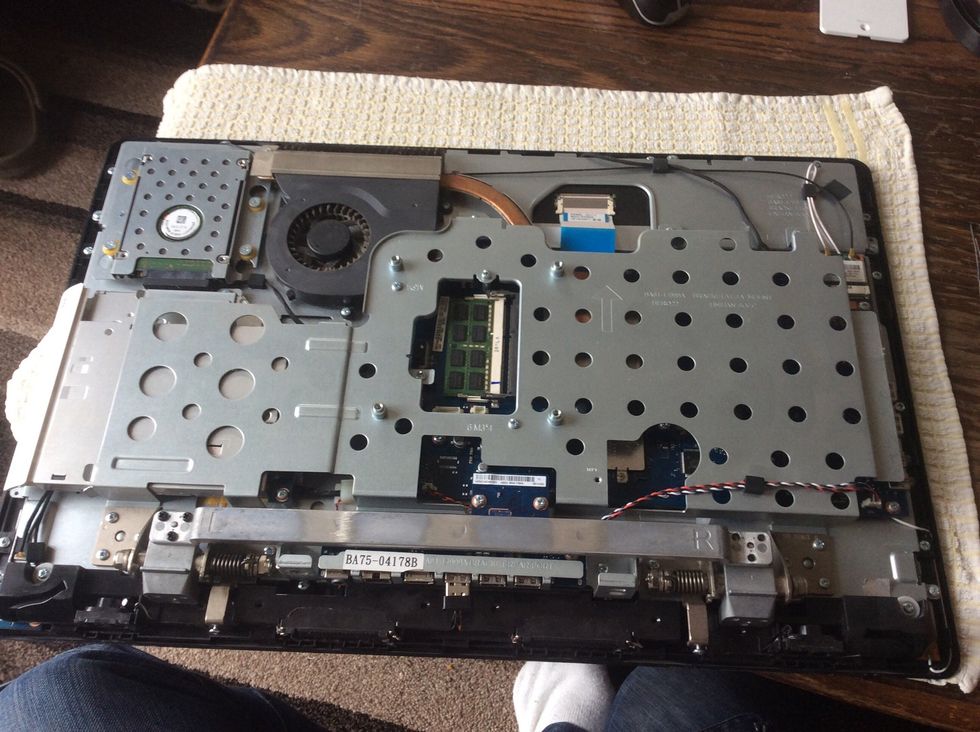
Remove the leg support bar & mechanism. 6 screws for the bar (L & R stamped on). Also 12 screws for the two mechanisms (6 each side).
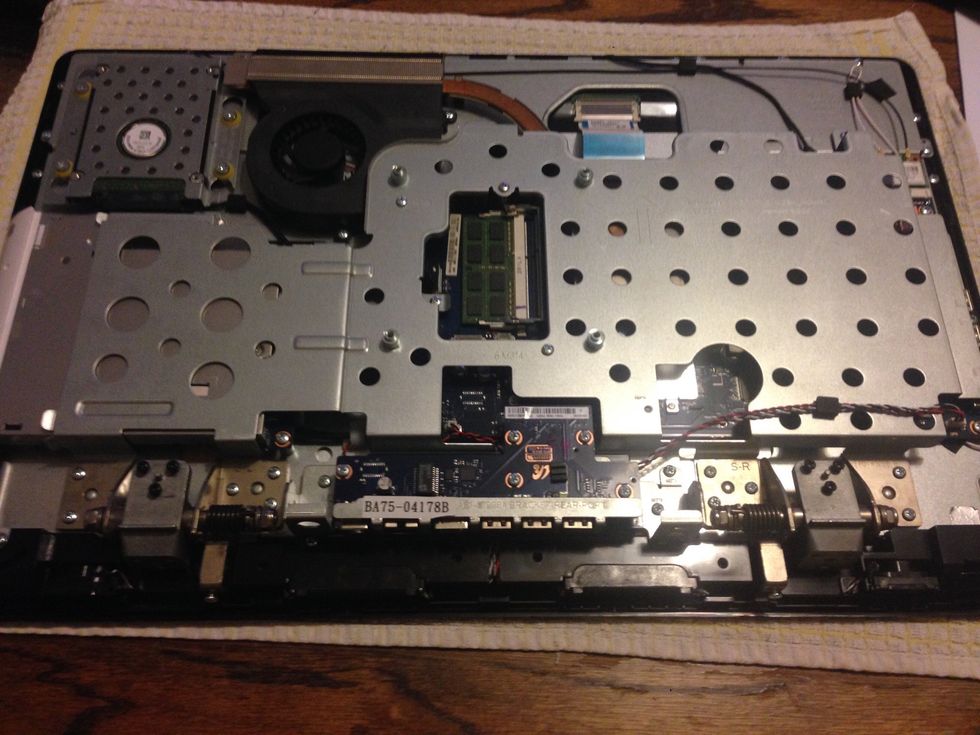
(The leg support mechanism x 2 are still pictured in this photo) Remove the screws holding the USB/power circuit board. A gentle upwards pull will remove it from the motherboard.
Remove the speaker assembly (4 screws) and disconnect the cable.
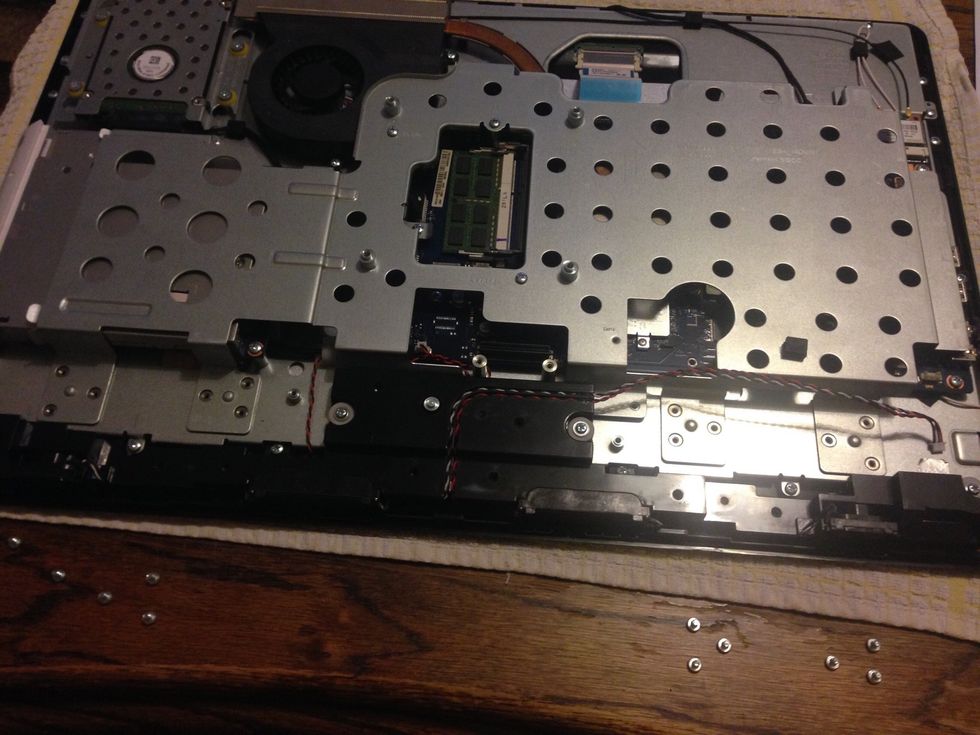
You might be able to work around without removing this top metal bracket, I however removed all the screws of which there are loads and removed the large metal piece & the DVD drive.
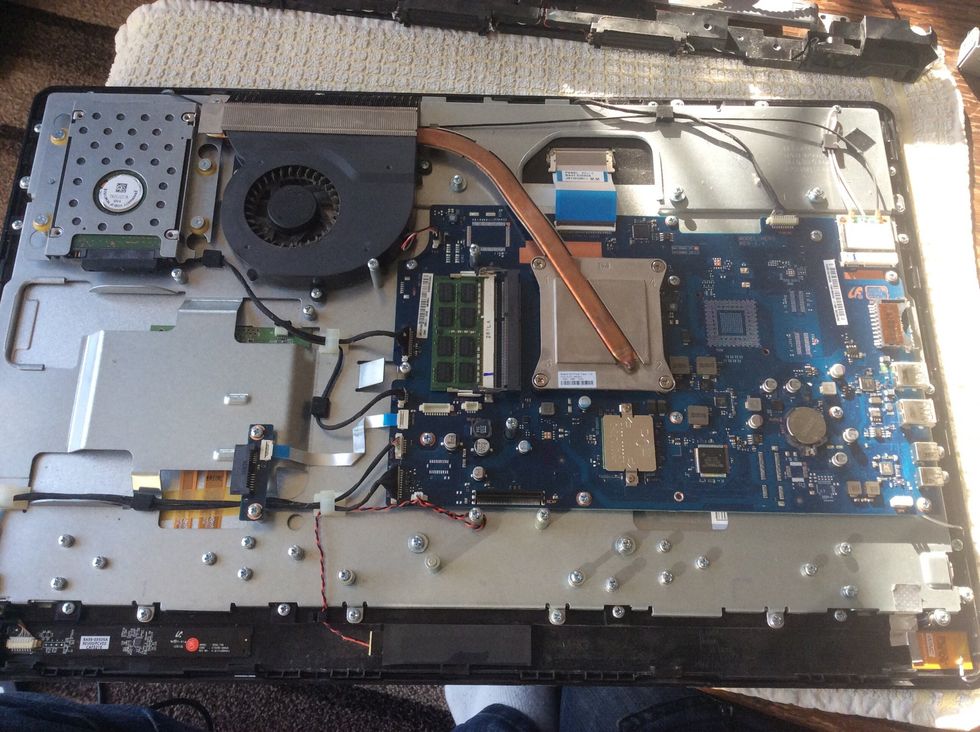
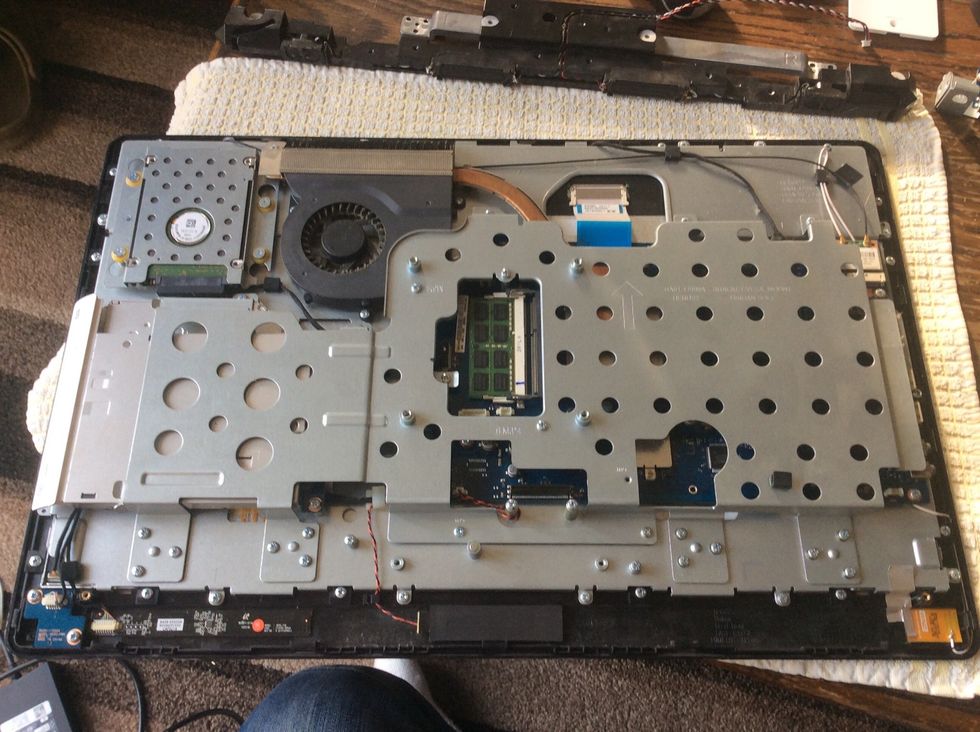
Take the screws out holding the next metal panel, the motherboard/hard drive and fan will come away with it so do not remove these. Take off any cables that stop the metal panel coming away in one.
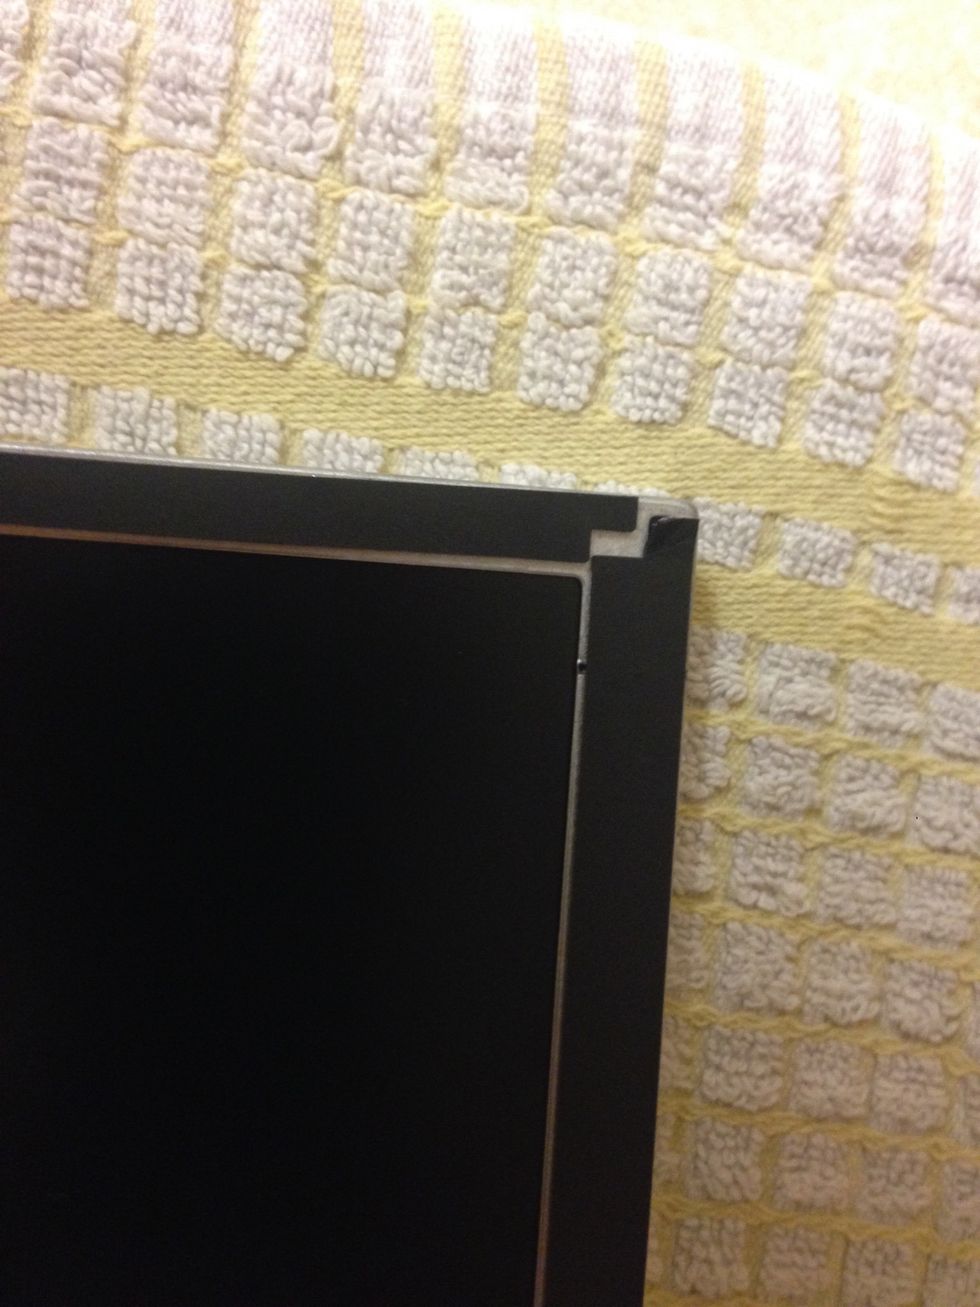
Remove the plastic bezel. Very carefully remove the lower metal angles stuck to the LCD and screen. I used a small flathead screwdriver, slowly easing off the metal. They did bend a little.
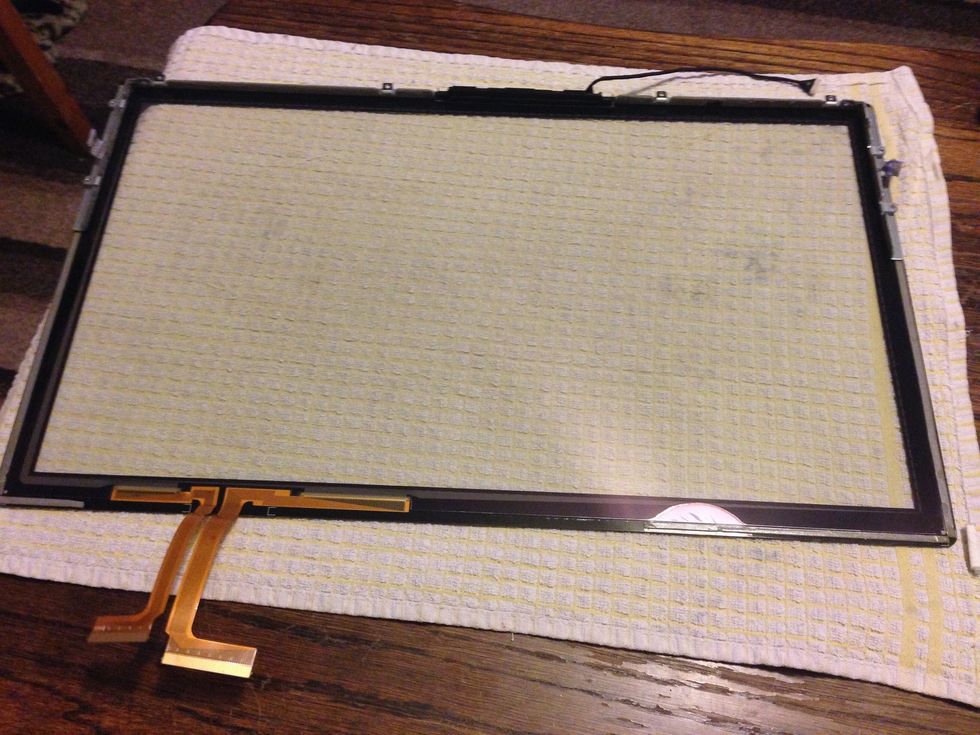
I left the top metal angles on but had to first ease away the left and right edges. Then with the screwdriver ease then LCD down away from the top metal angles. Be extra careful with the ribbon cable.
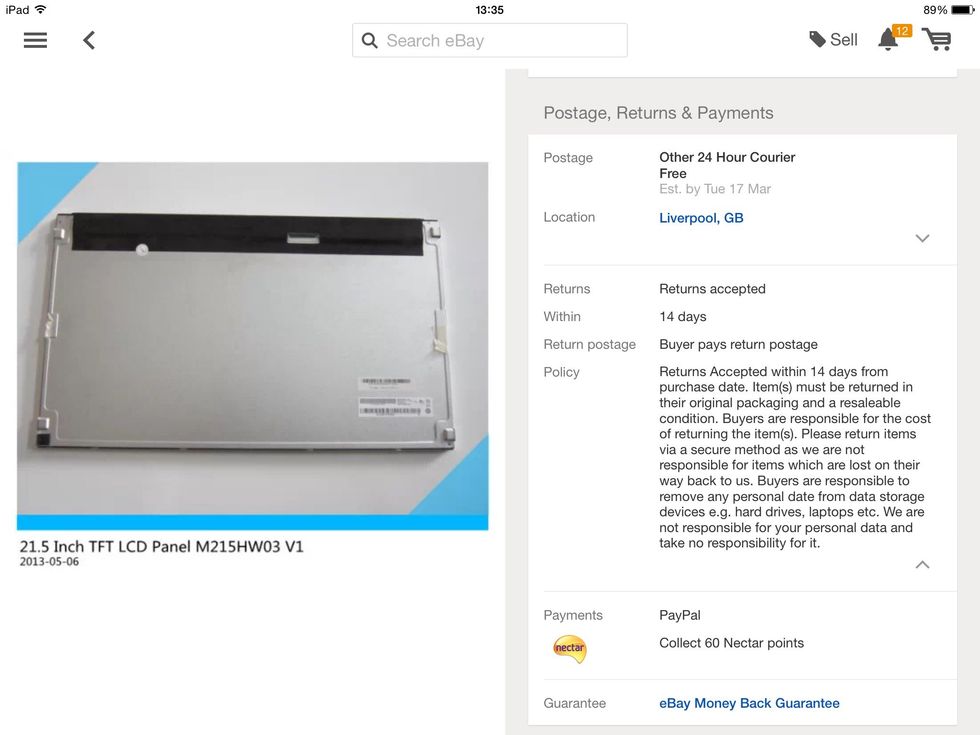
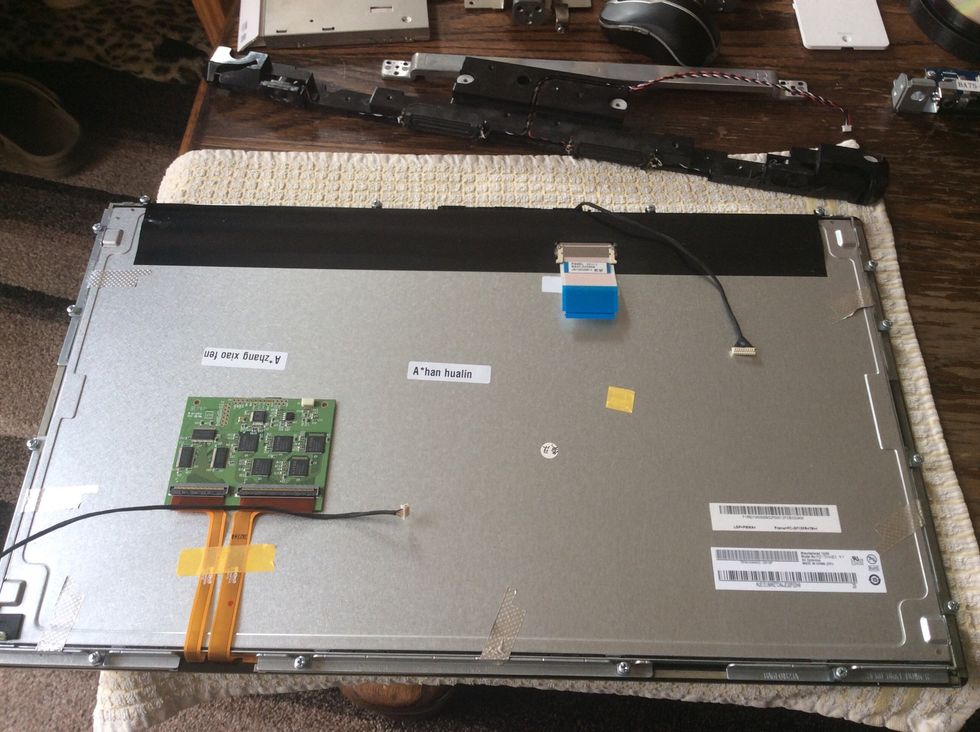
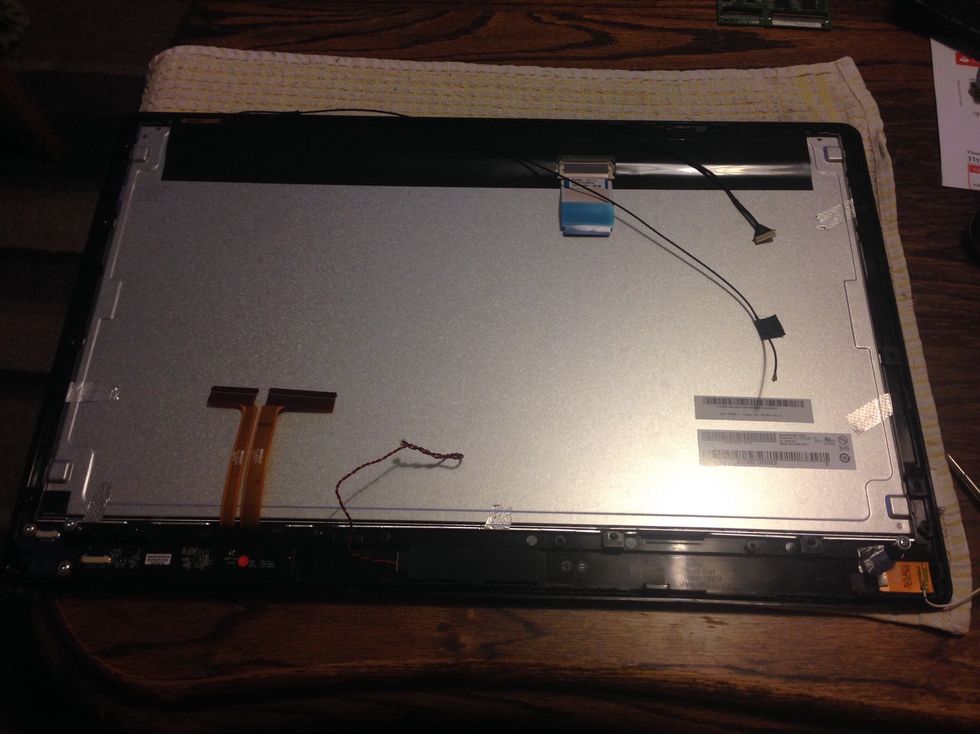
Going by the part number on the LCD, find a replacement panel. I did open up the old panel but could not source a replacement LED backlight. So I replaced the whole panel for £60.
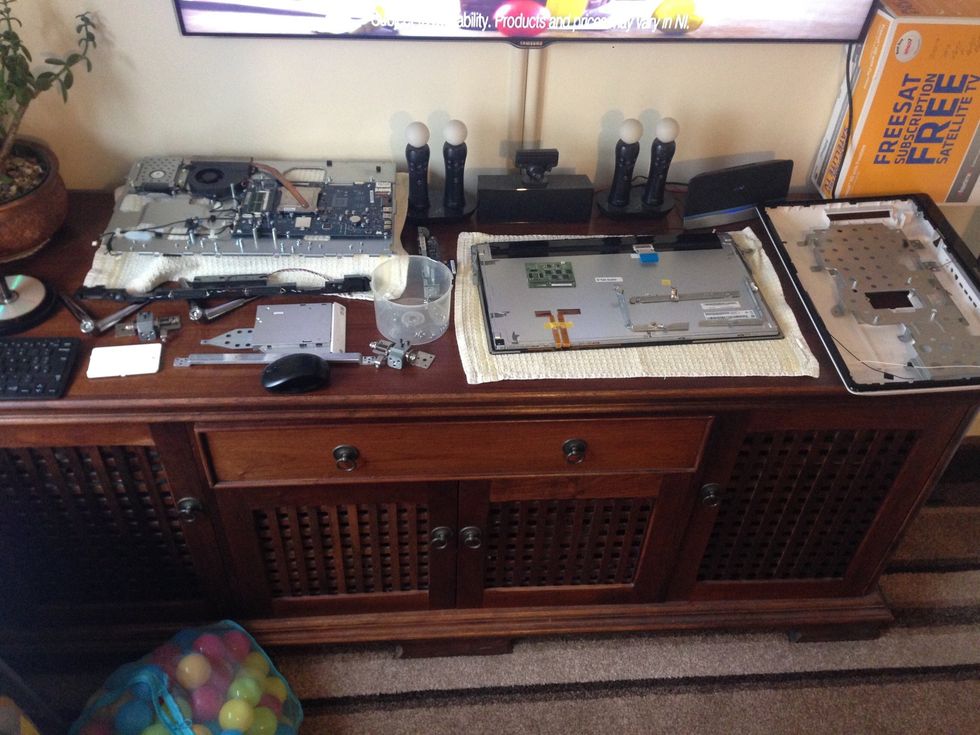
At this stage you will have bits everywhere. Note the board stuck to the back of the LCD was carefully removed using a wallpaper scraper to unglue it, ready to stick to the new panel.
When you new panel arrives, carefully remove the form on the front of the old LCD. If your careful enough you can stick the form straight on to the new panel.
Make sure it's nice and flat and not overlapping the screen
When putting the metal angle back on I used a fresh layer of double sided sticky tape. I had to bend them back into shape. Be extra careful with the touchscreen ribbon cable, do not damage it.
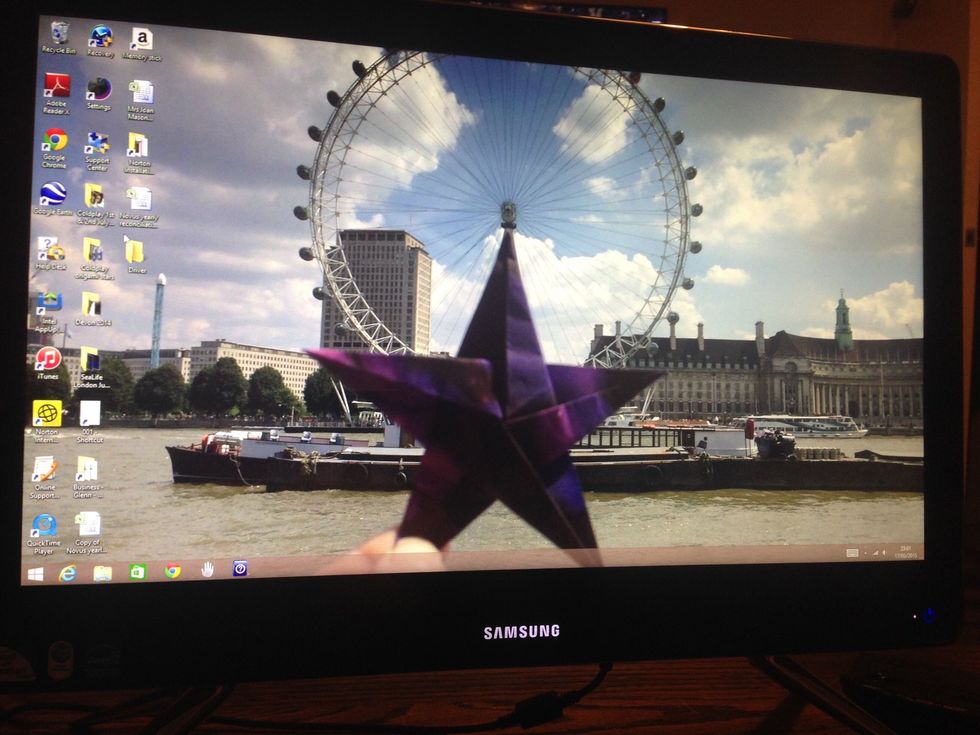
Refit all the parts in reverse order of dismantling. Yay it works!😃😃😀😀