The Conversation (0)
Sign Up
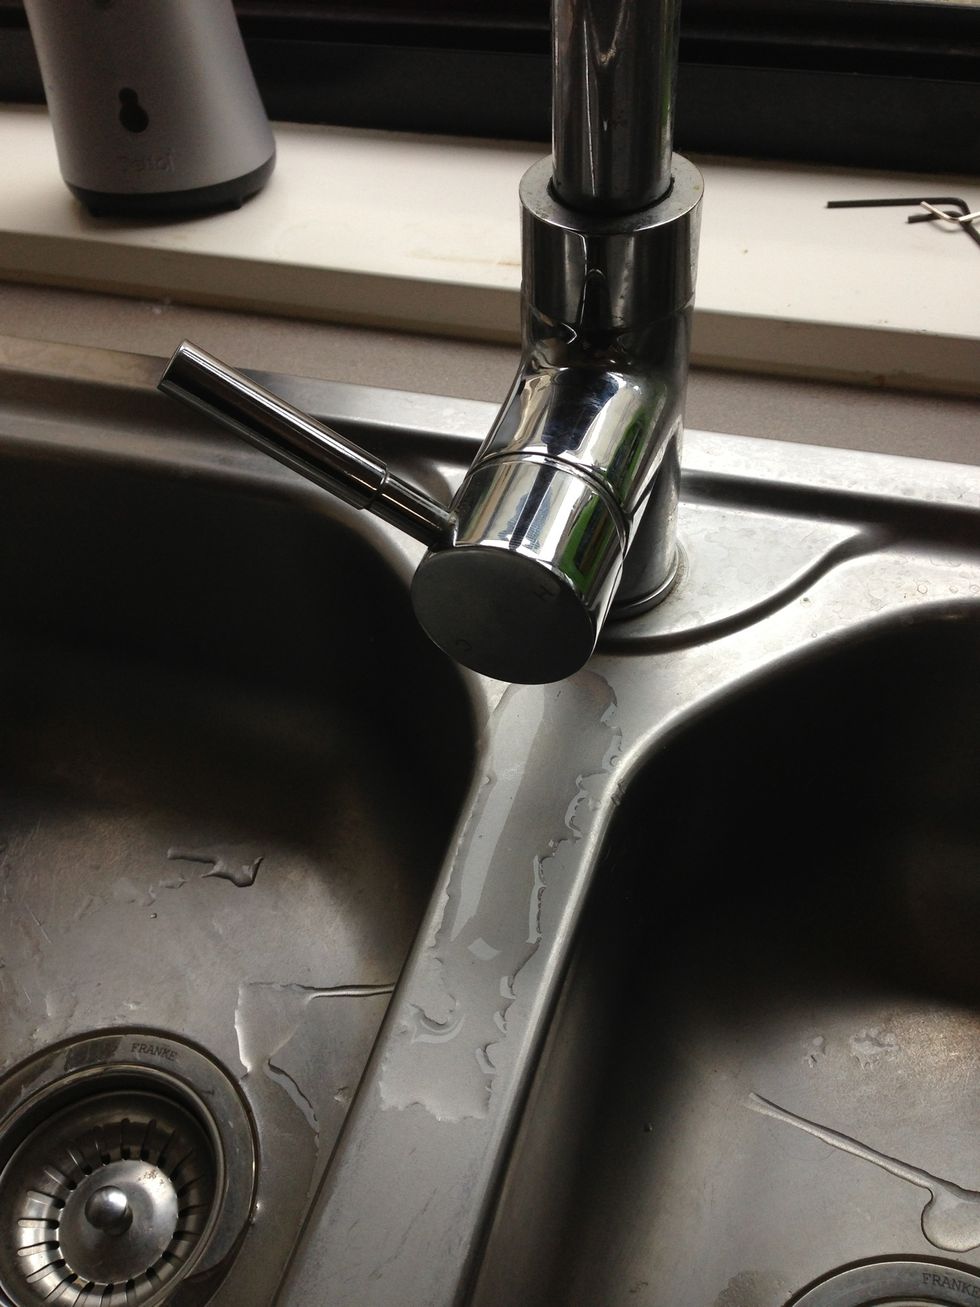
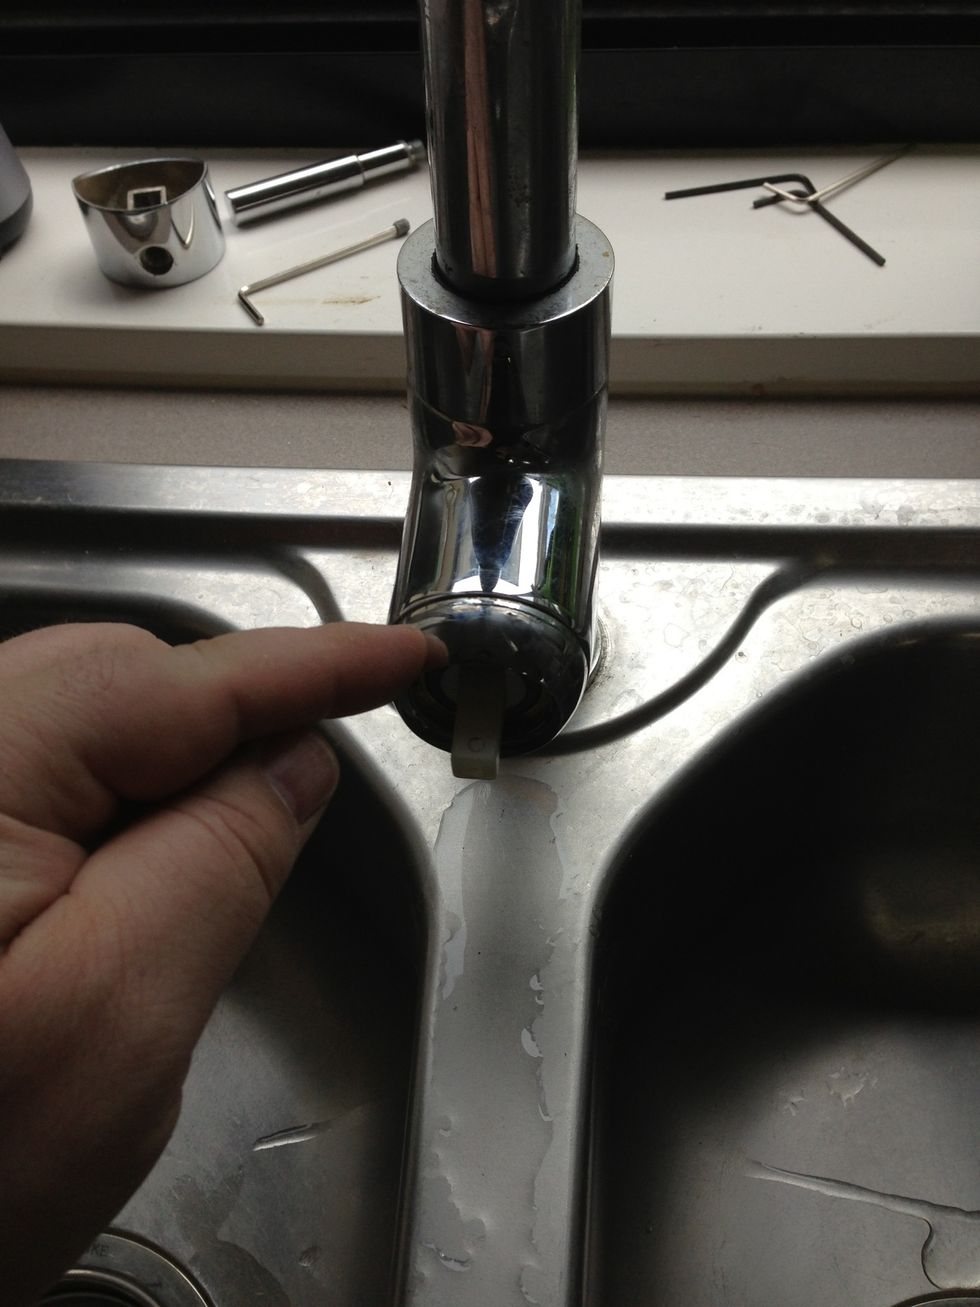
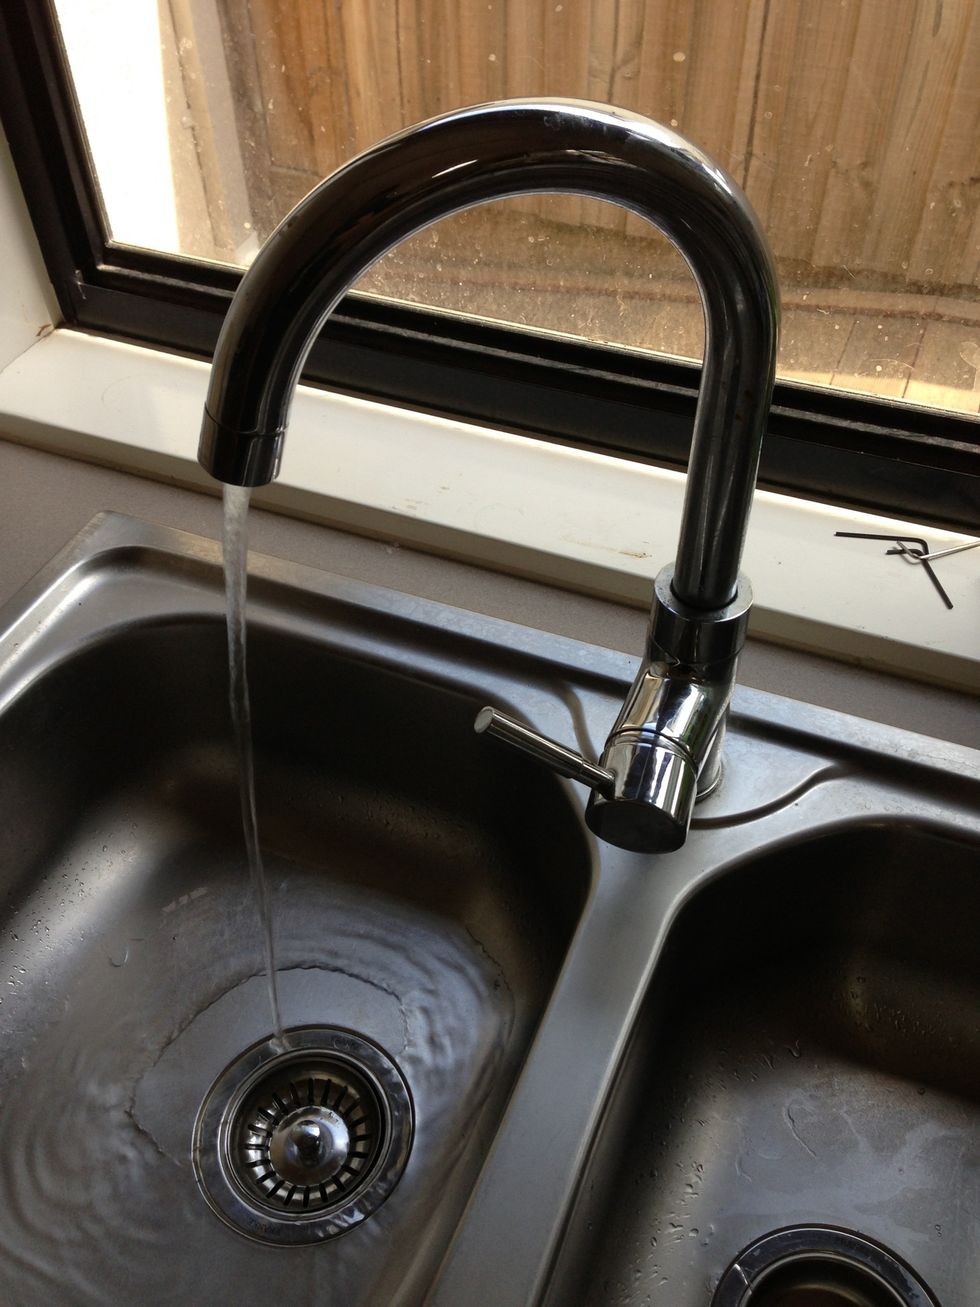
Here is the leaking flick mixer tap
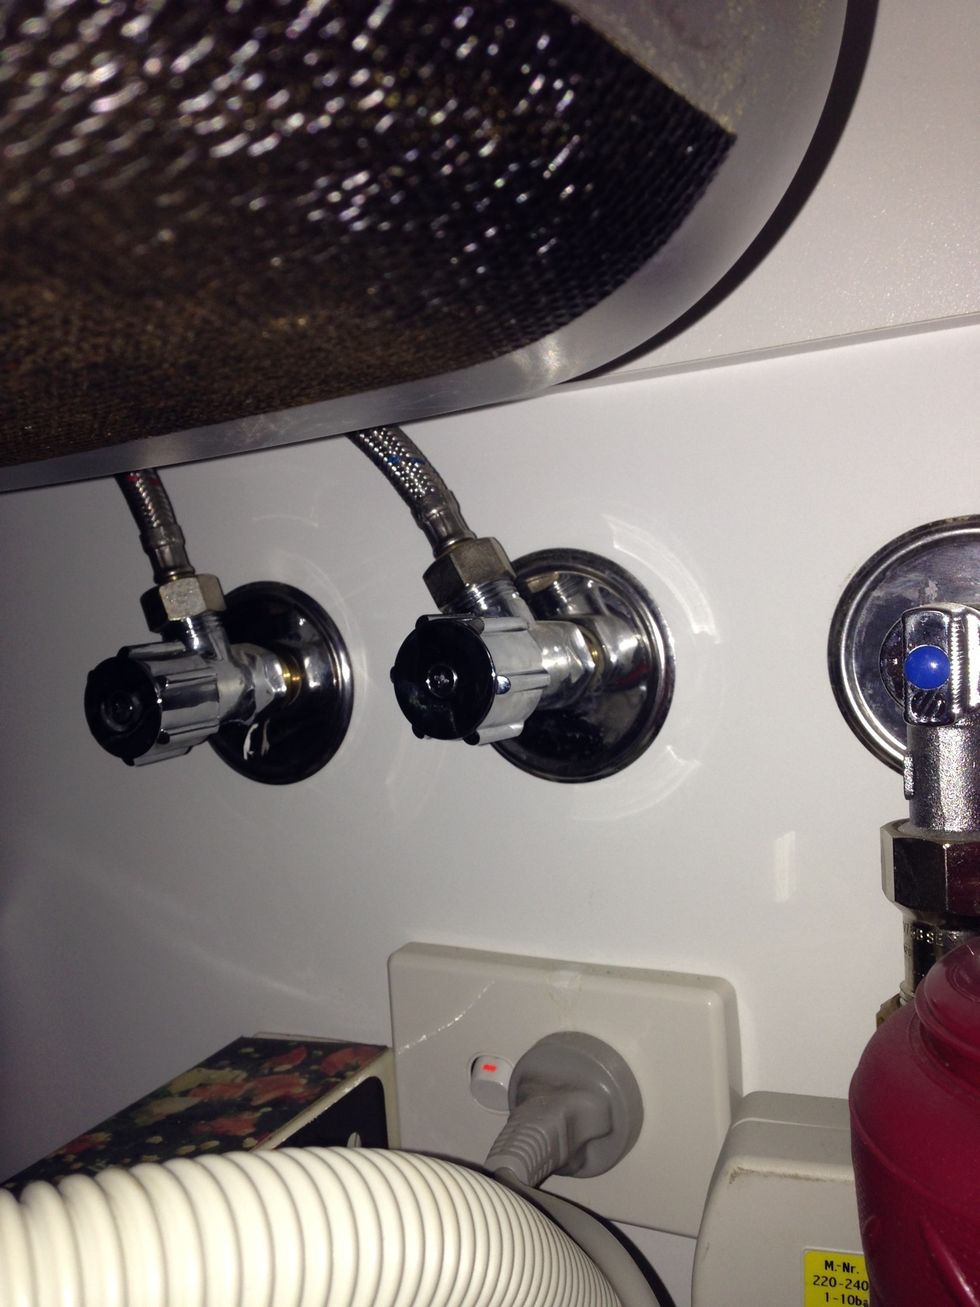
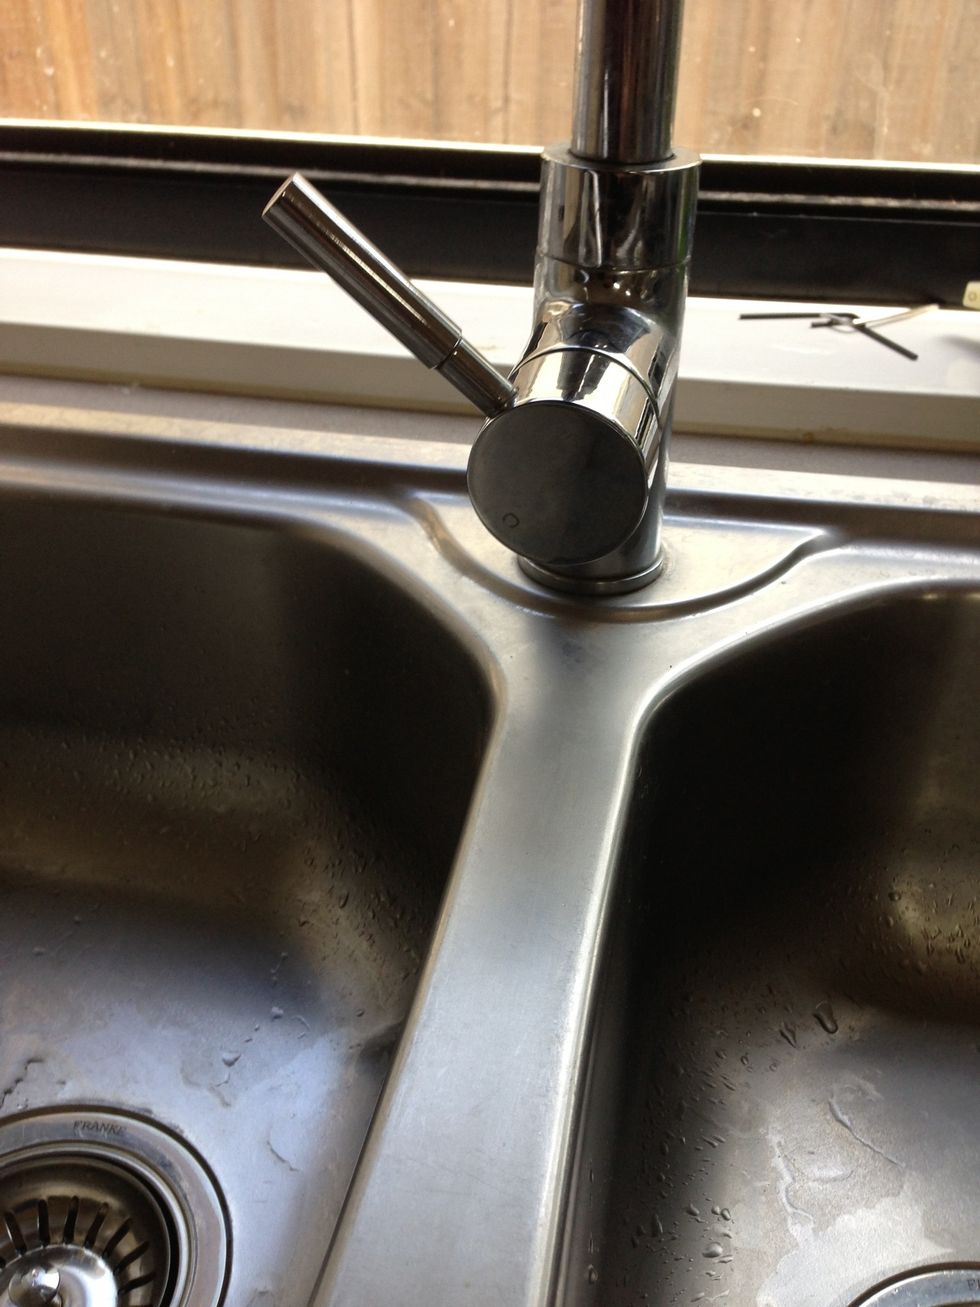
Turn both taps off under sink or basin

Unscrew tap handle anti clockwise
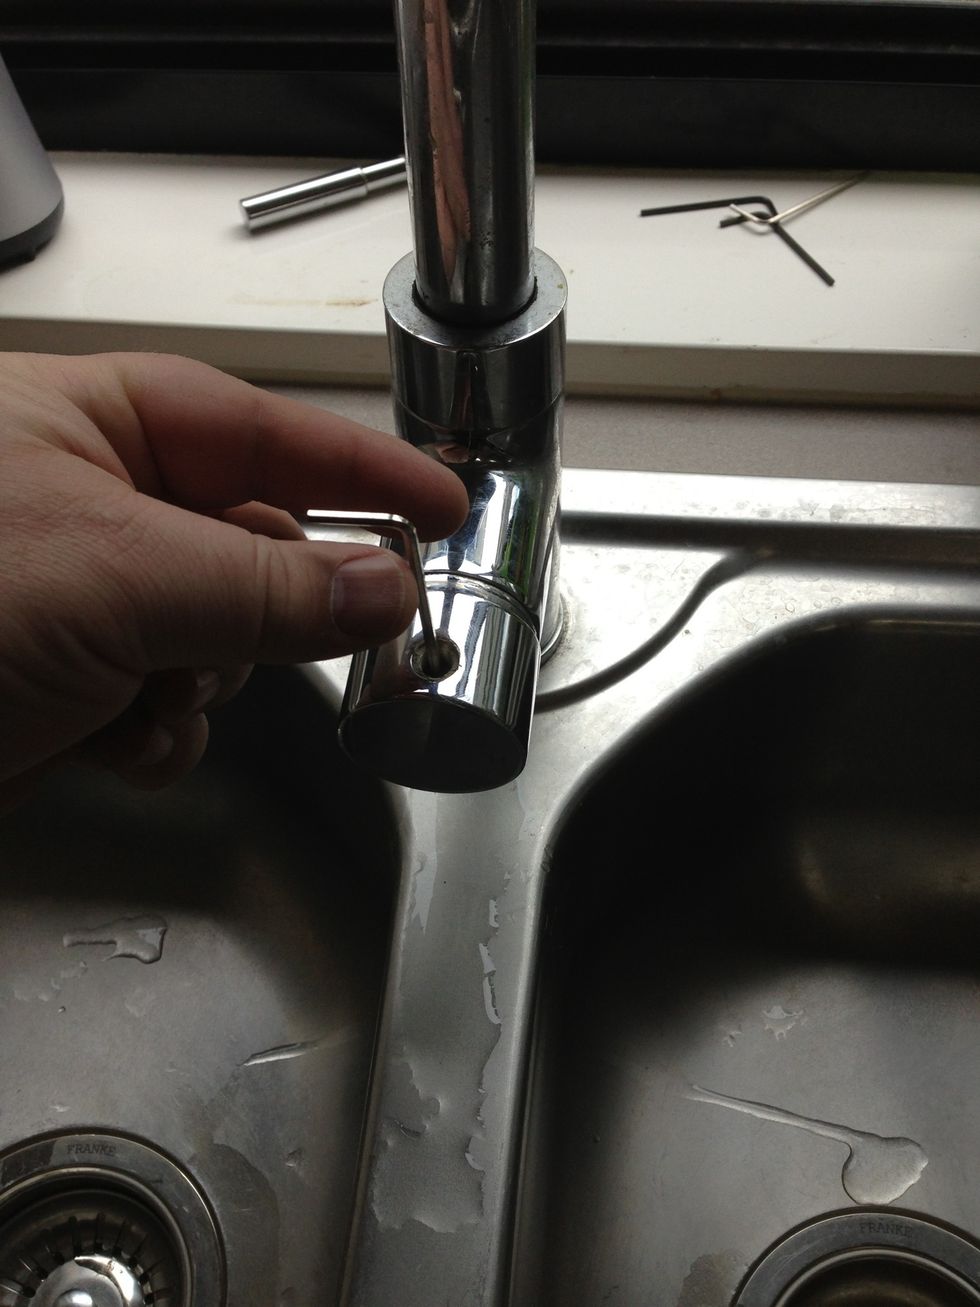
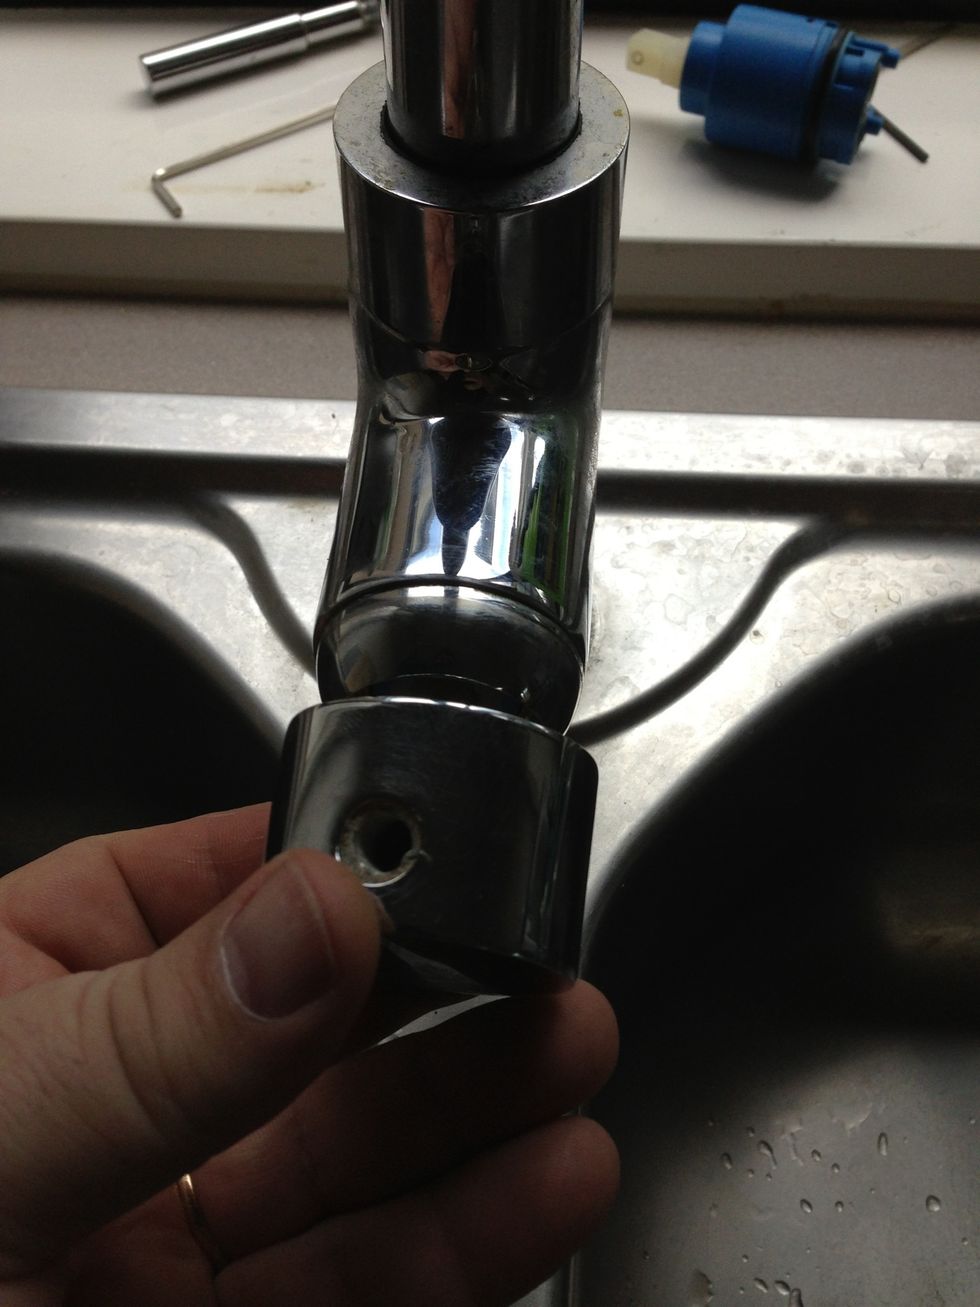
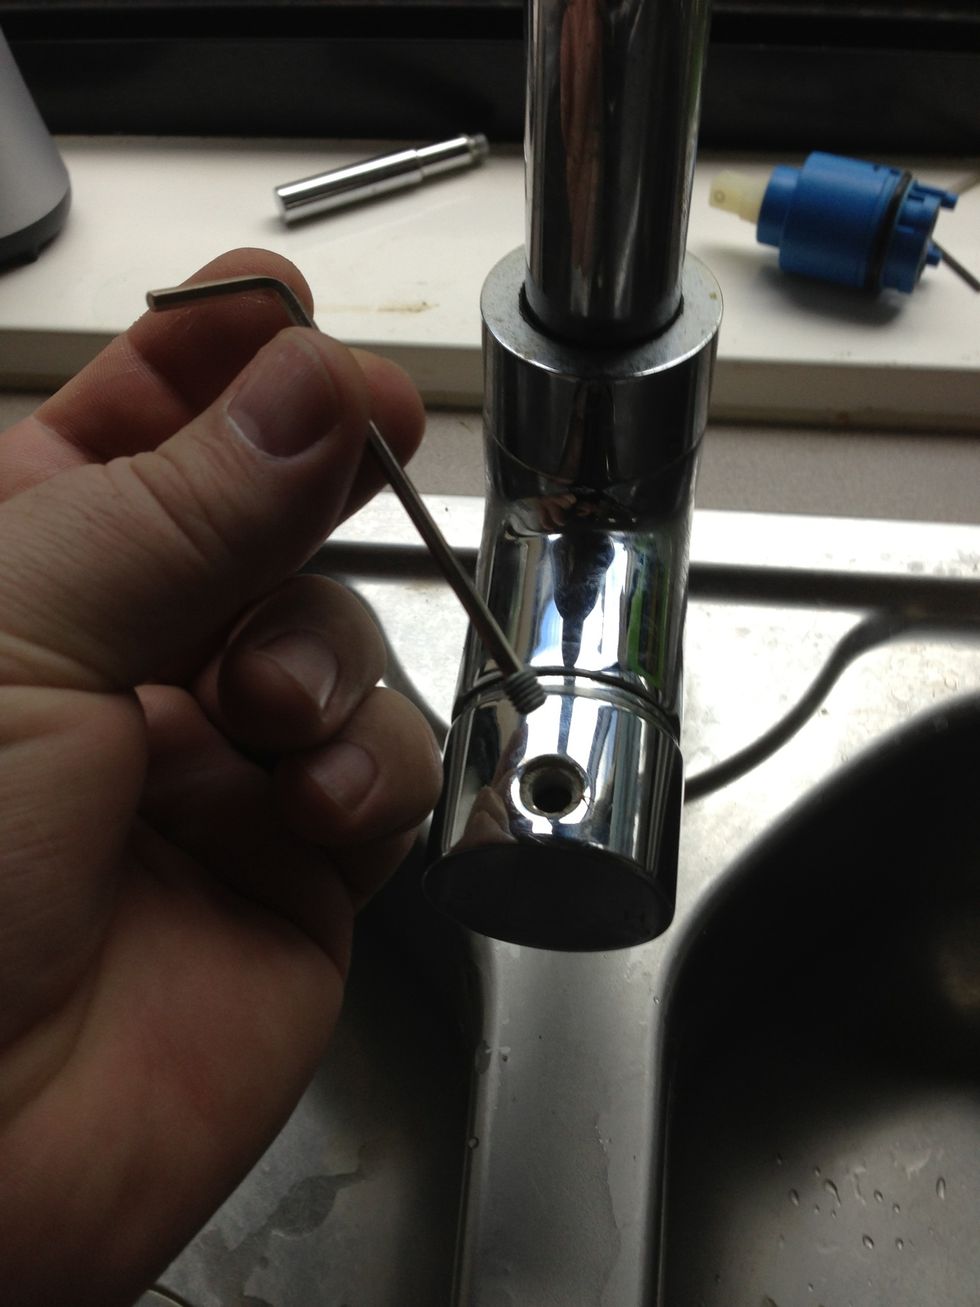
Use a correct fitting hex key (Allen key) to undo the grub screw (hex screw), it could be located where the tap handle fits or it could be located on the back side
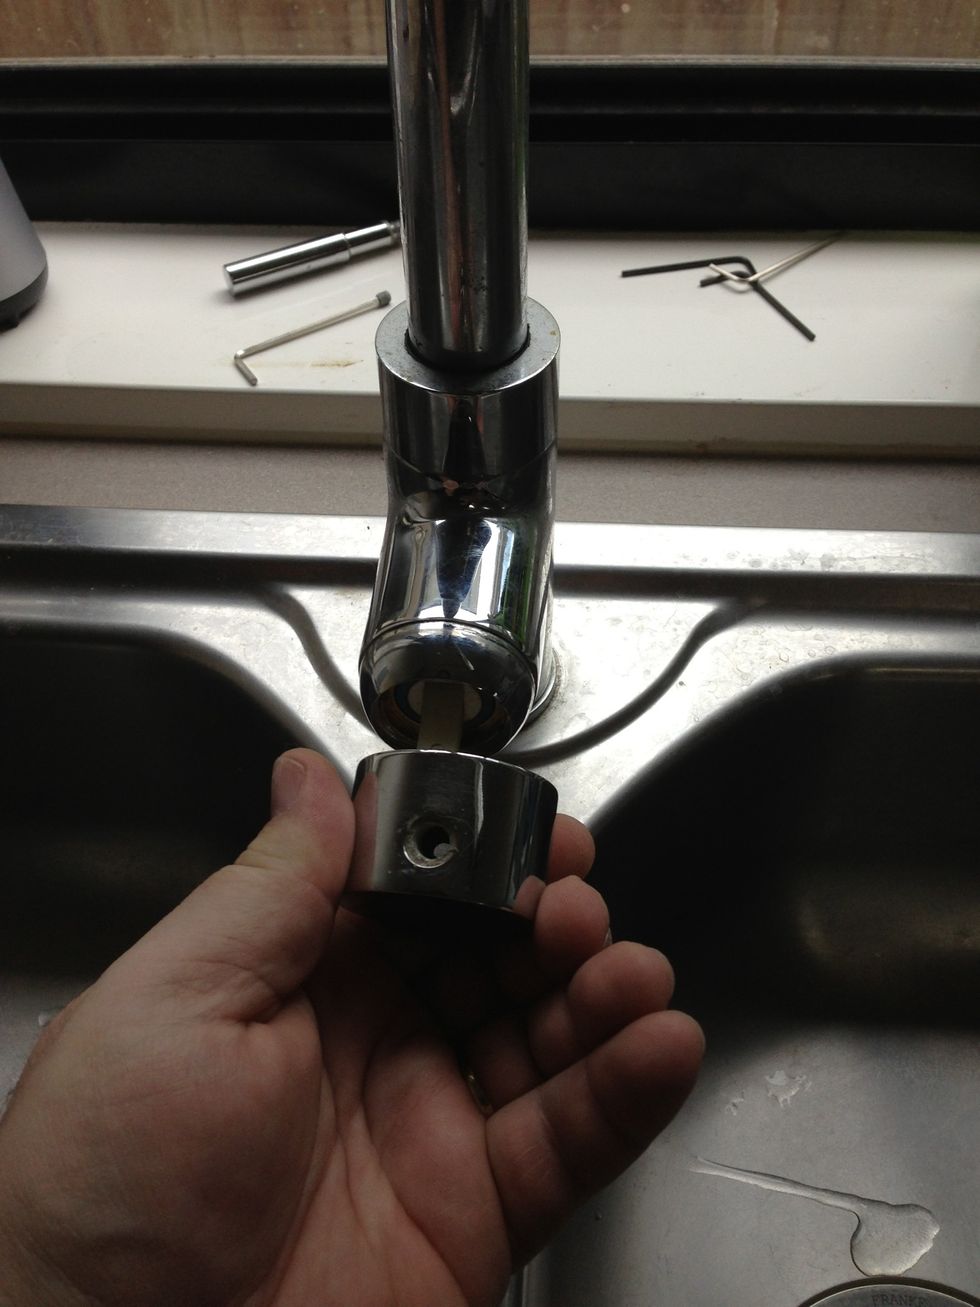
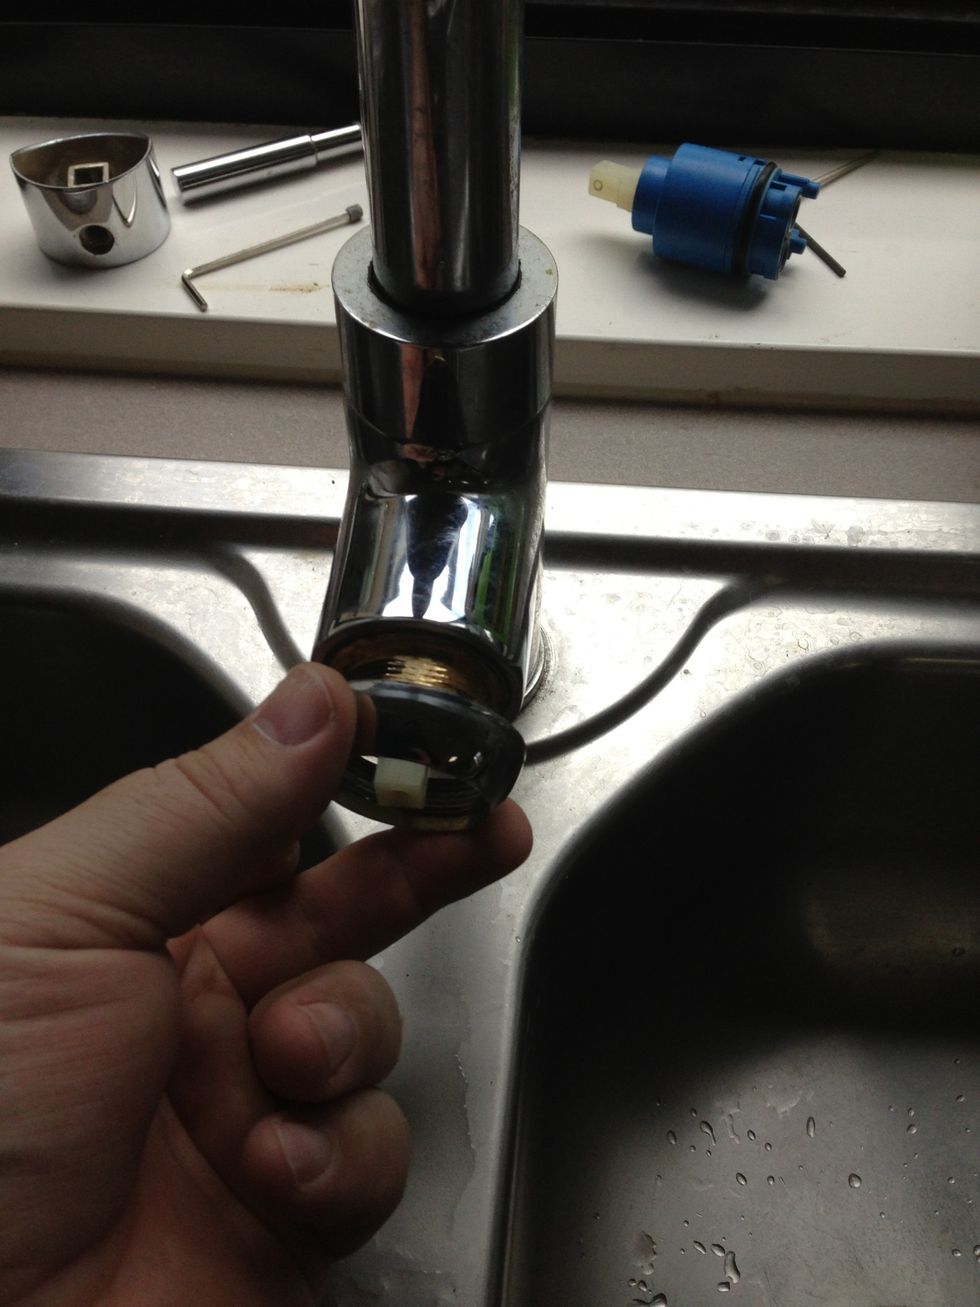
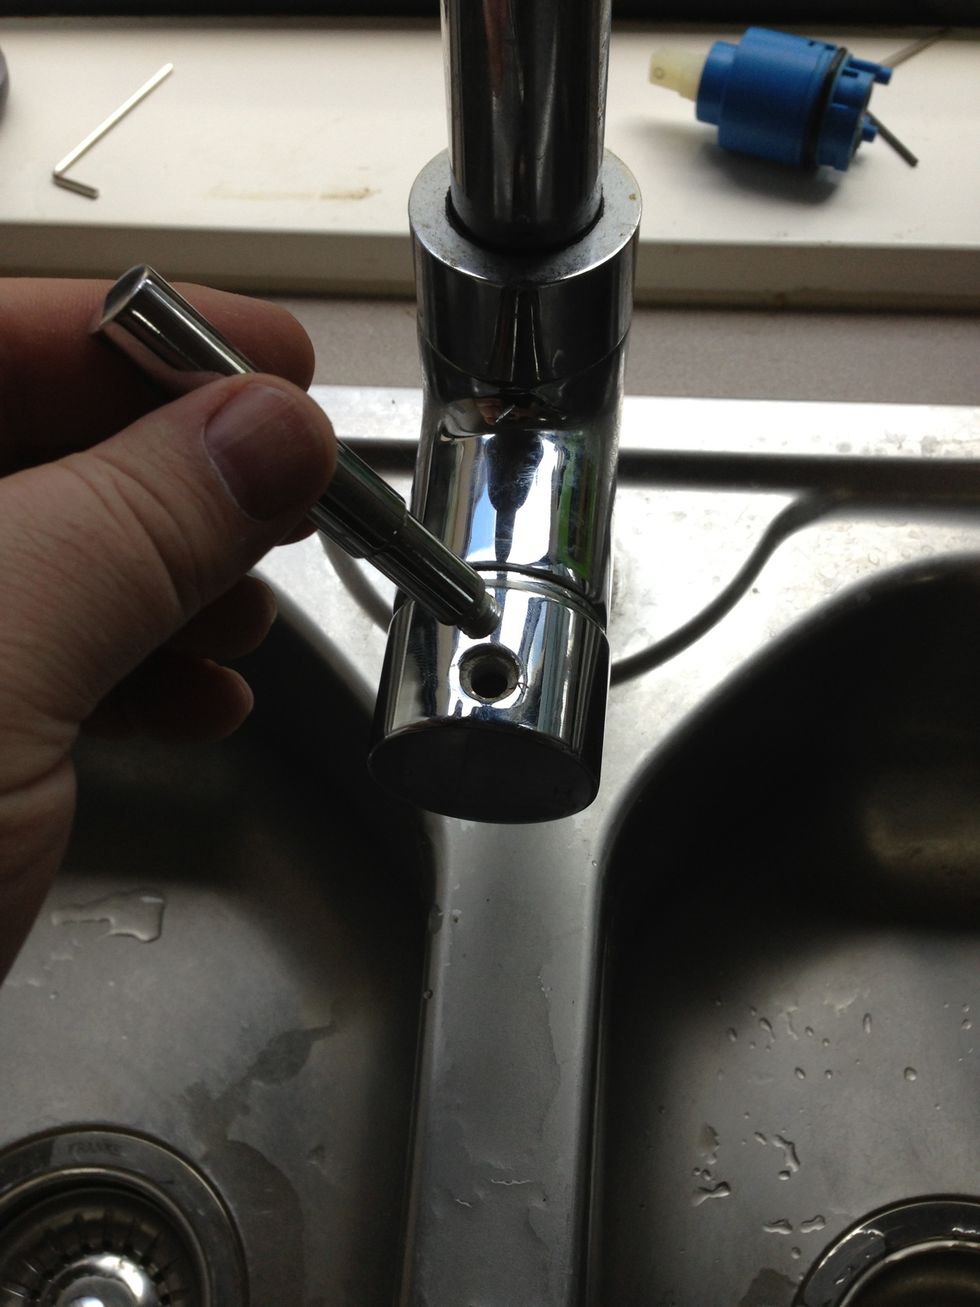
Pull the cover plate off away from the unit
A plastic plate covers the cartridge and you need to unscrew it anti clockwise to take it off
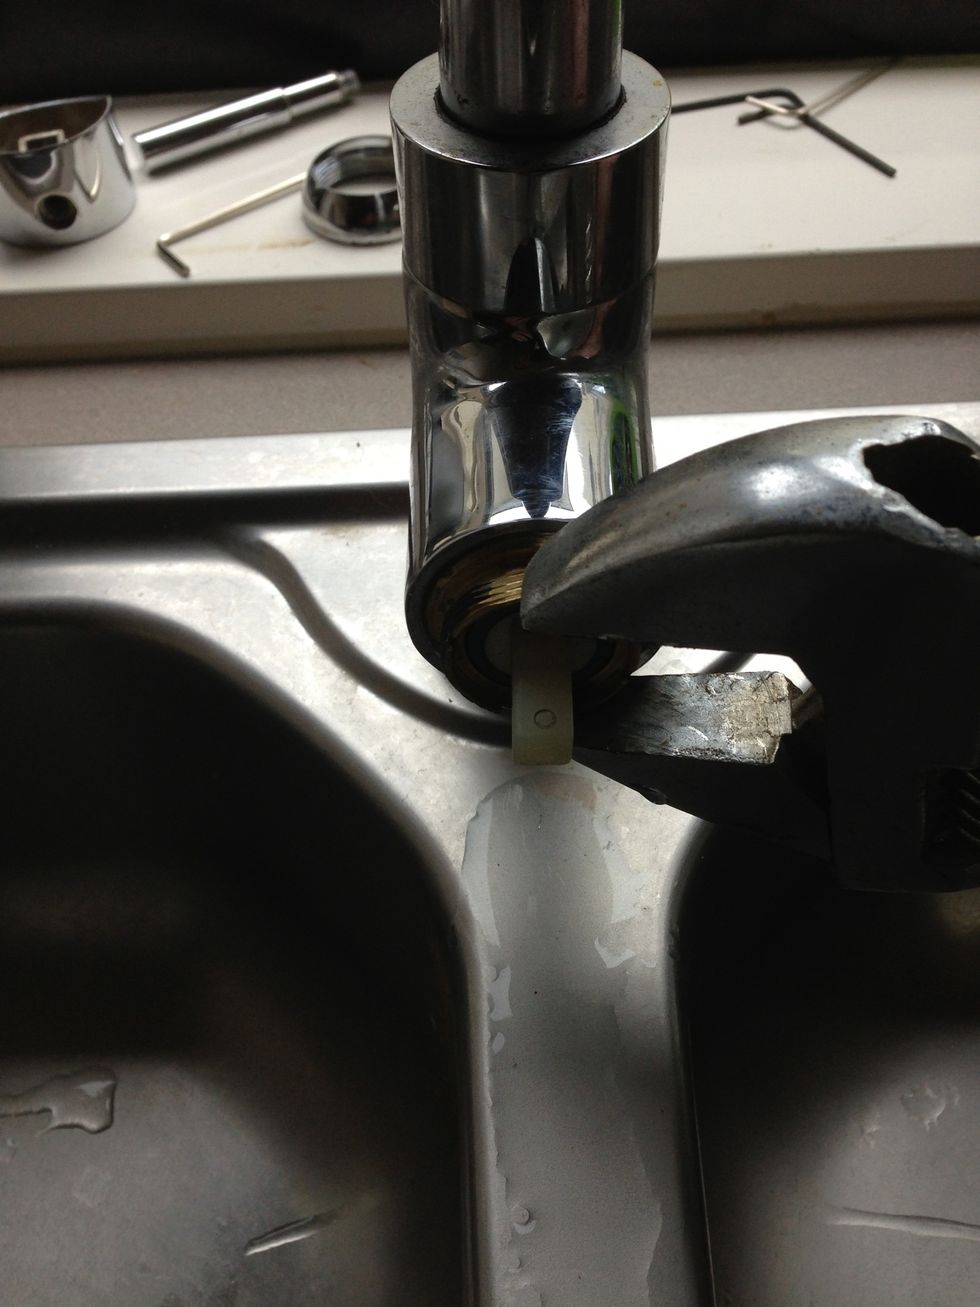
Now you will have a brass fitting that keeps the cartridge in place, you will need your adjustable wrench or shifter to undo. Look for the flat edges to line up and turn anti clockwise
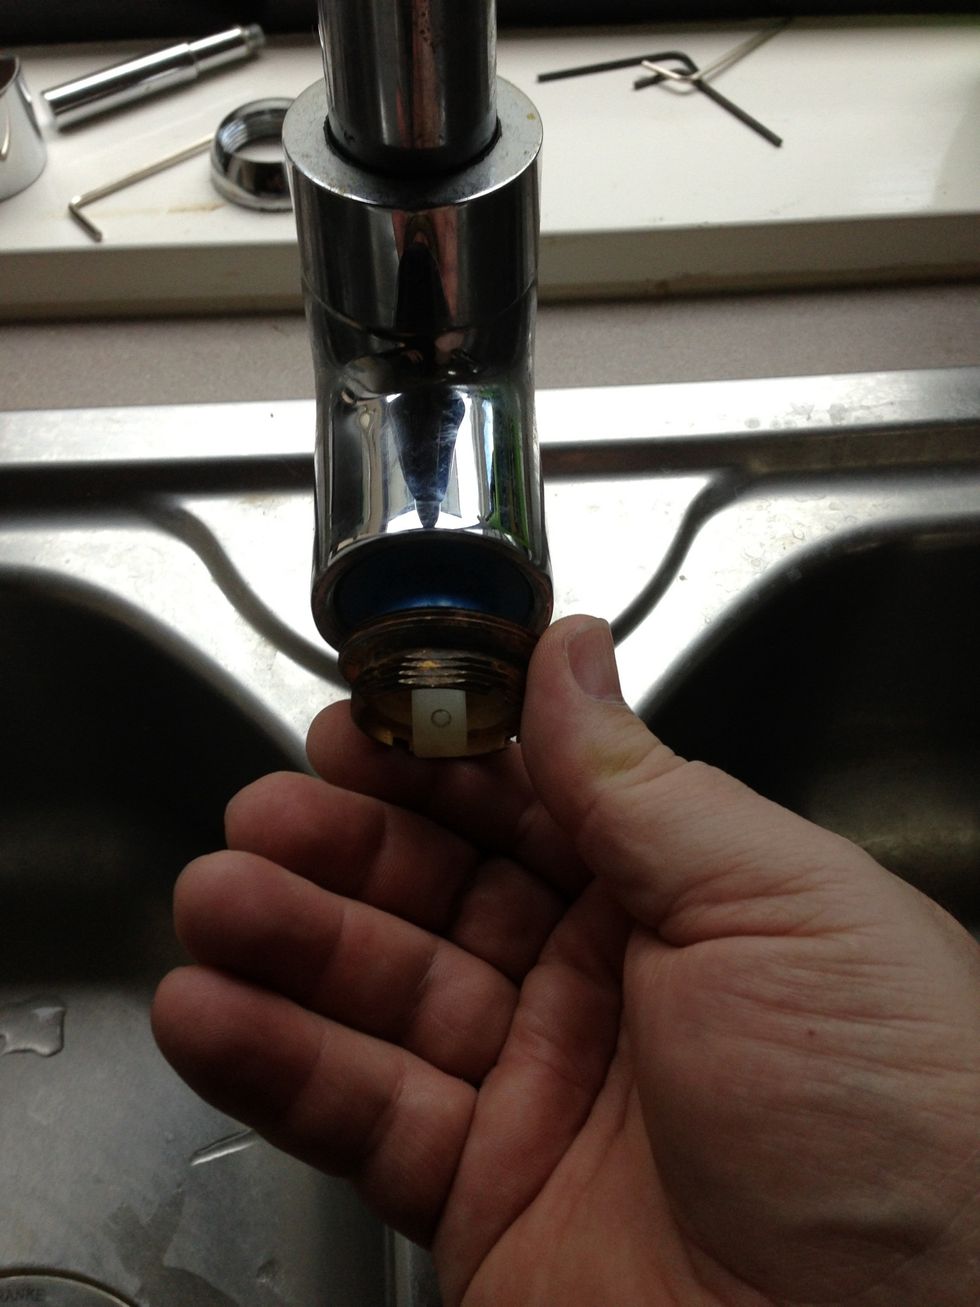
Unscrew with your fingers and take off
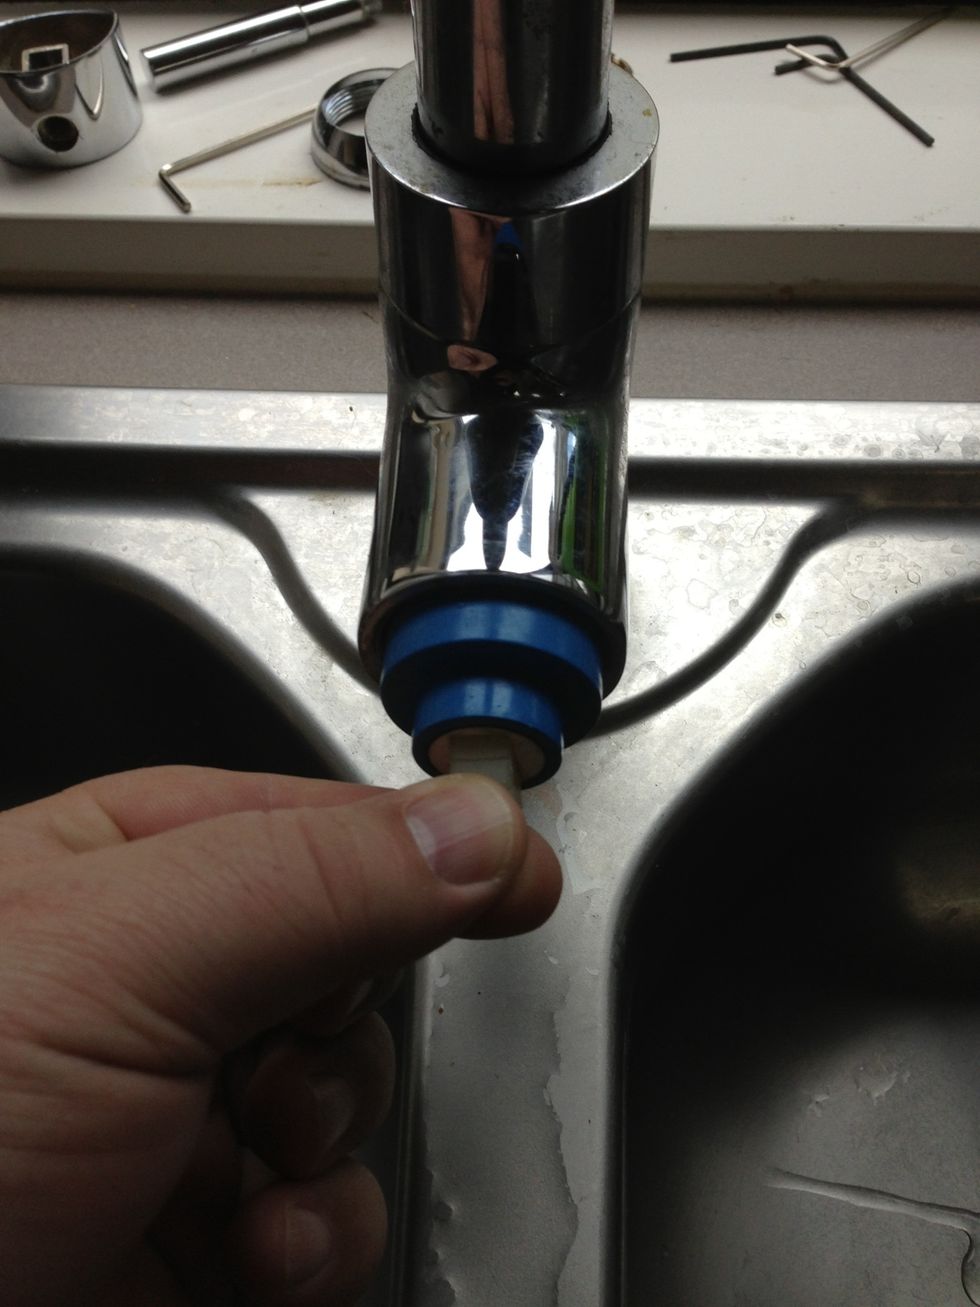
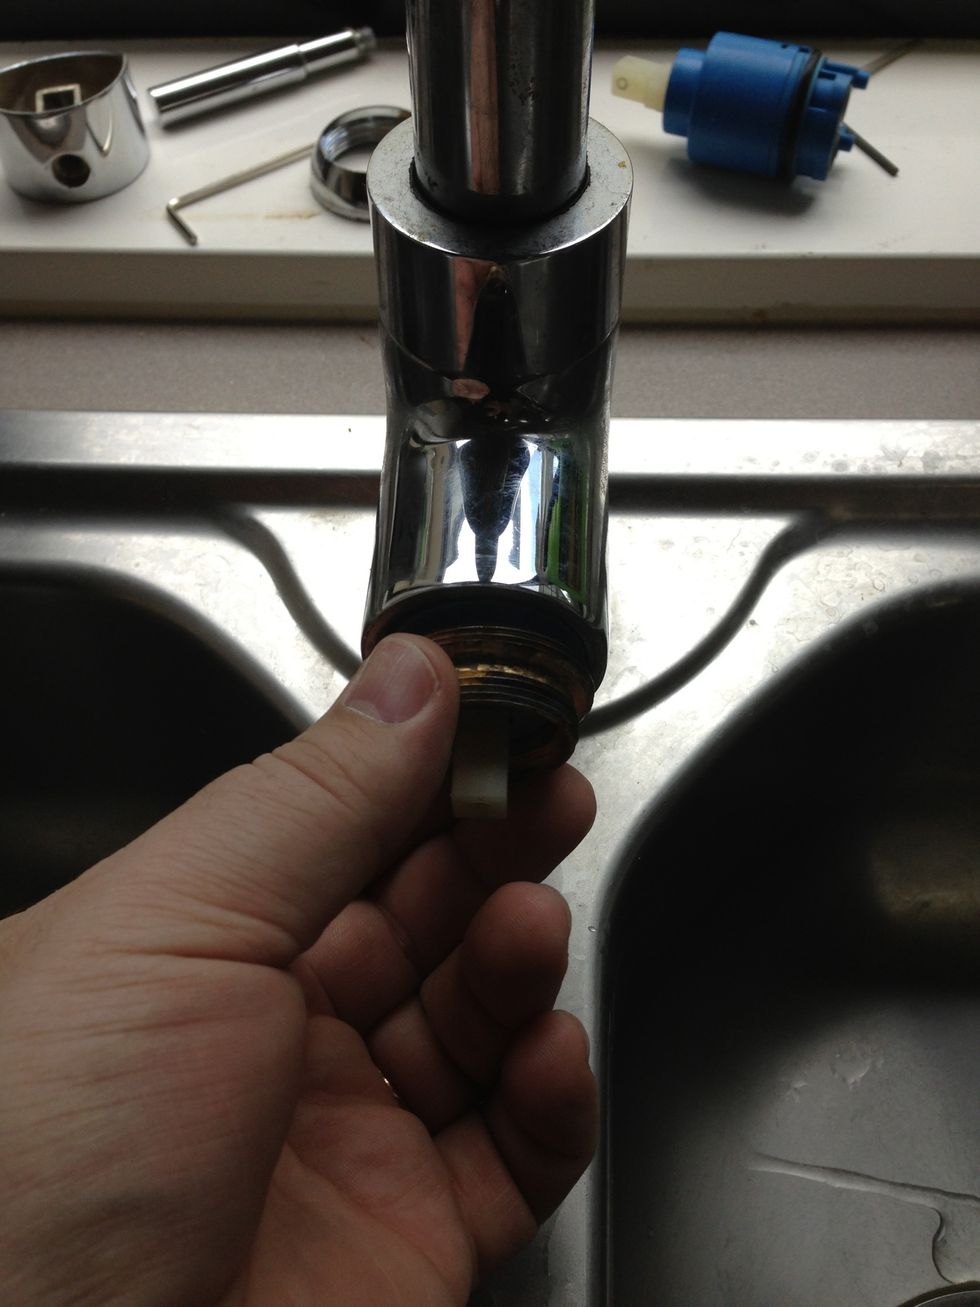
Now you have access to the cartridge and can just pull it out
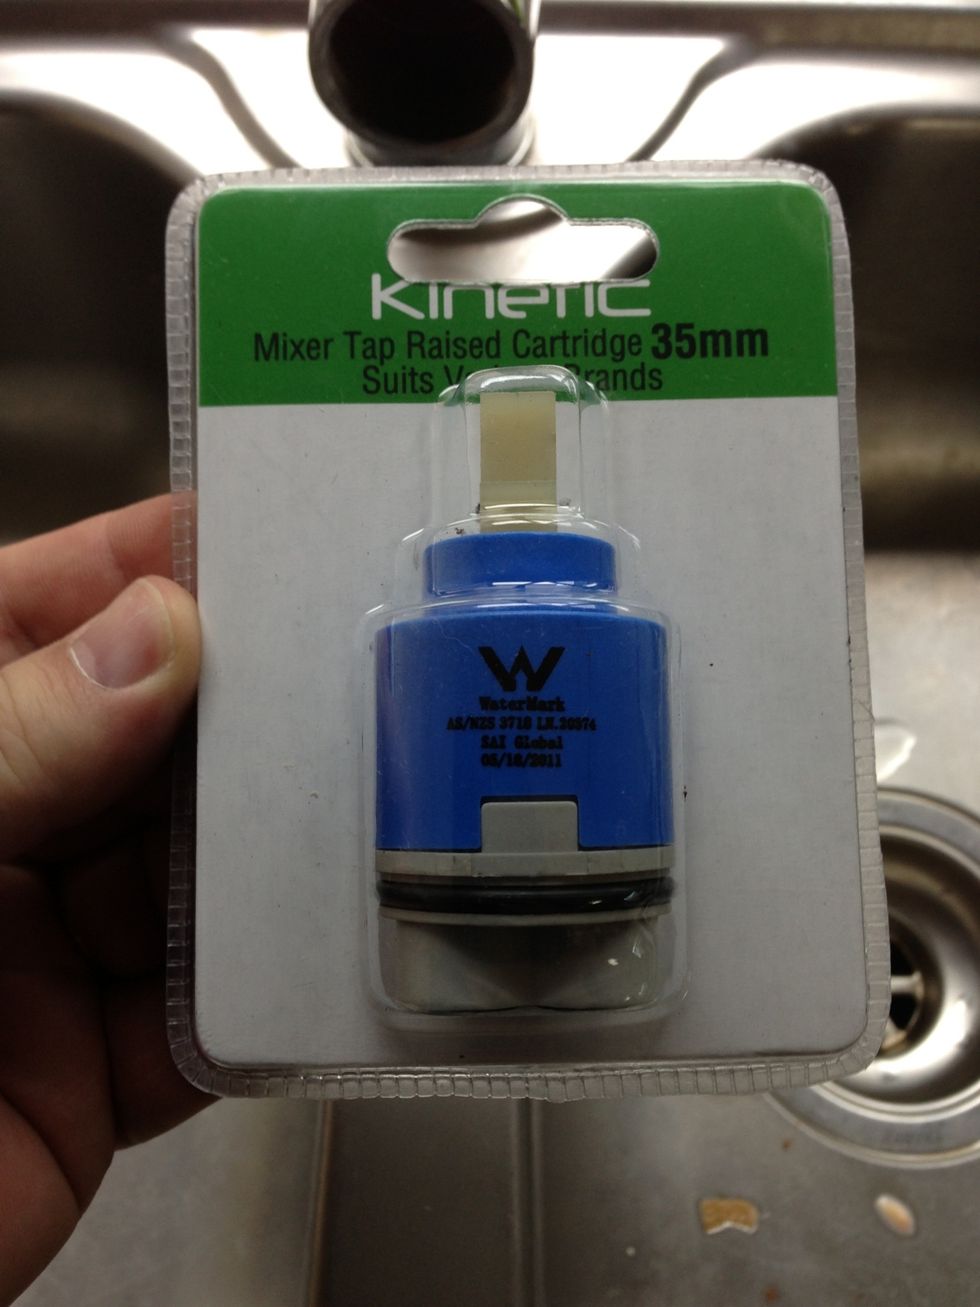
Now you can replace with a new cartridge. They usually come in 2 sizes 35mm or 40mm if your not sure, take your old one to a pluming supplier or hardware store and compare
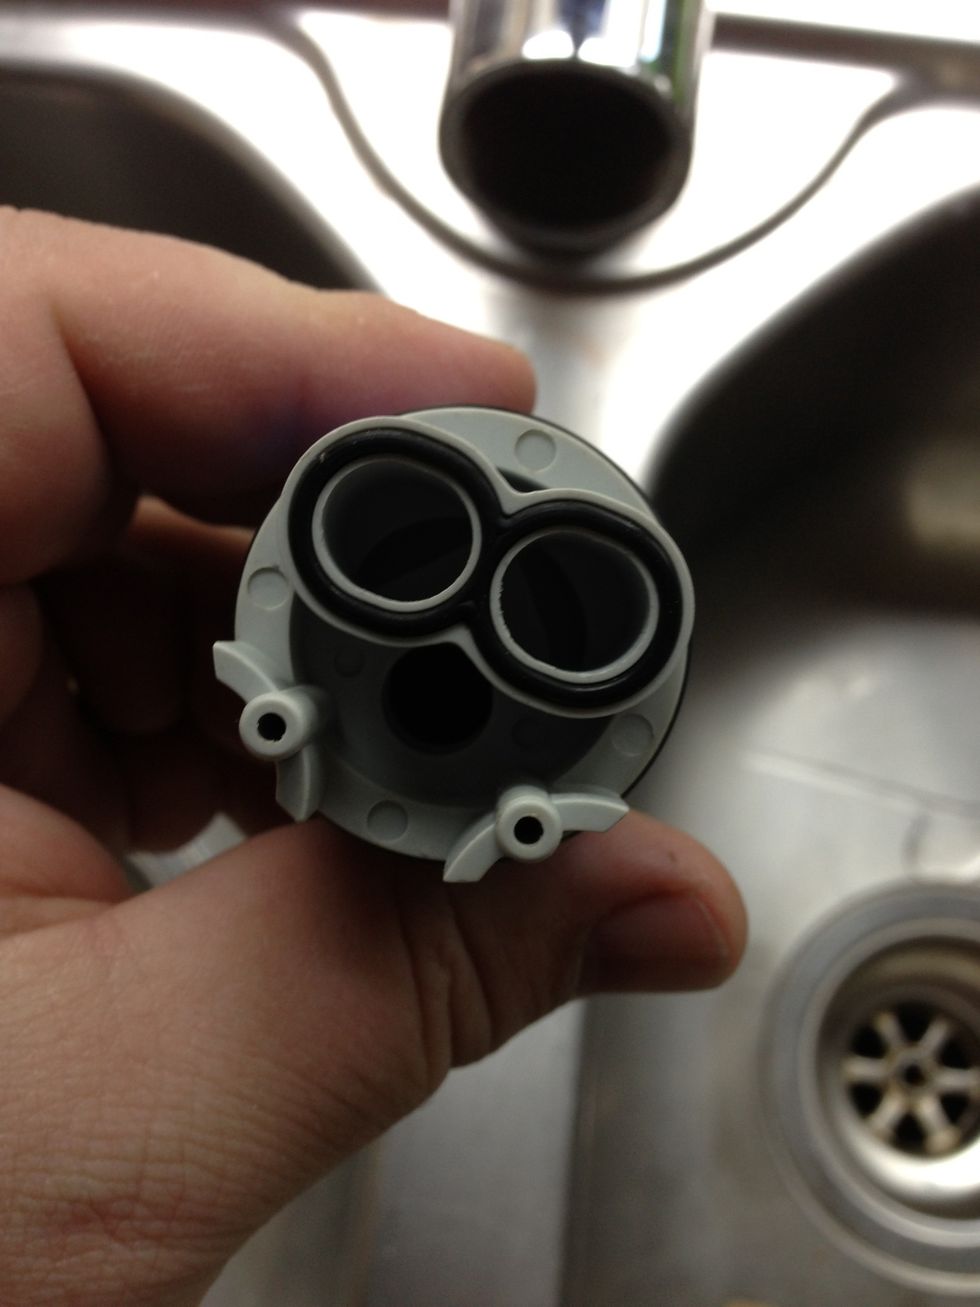
Make sure you line up the cartridge the right way, you can see inside the unit the hole positions to line it up to
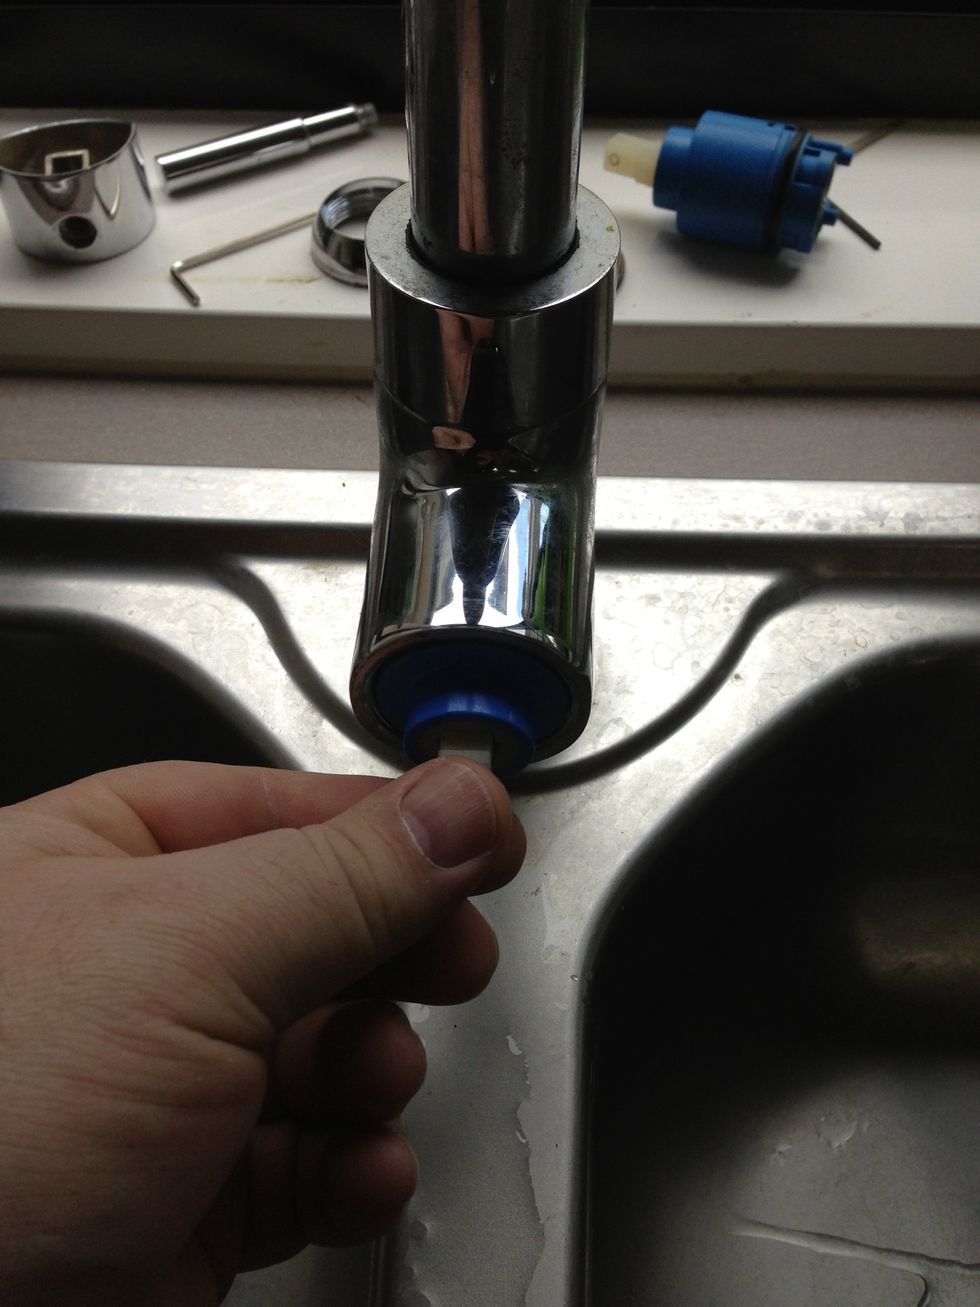
Push the cartridge in
Put the brass nut over the top of the cartridge and tighten up, not too tight.
Put the plastic cover on turning clockwise
Push the metal cover back on lined up the way it was removed
Put grub screw back in and turn clockwise
Put tap handle back on turning clockwise
Turn on taps under the sink or basin and then slowly turn on tap, there may be some air pressure that comes out first, then the water.
Once tap is turned off, you shouldn't have anymore leaks. If you do have a leak still you will have to go back and make sure the brass nut fitting is tight enough