The Conversation (0)
Sign Up
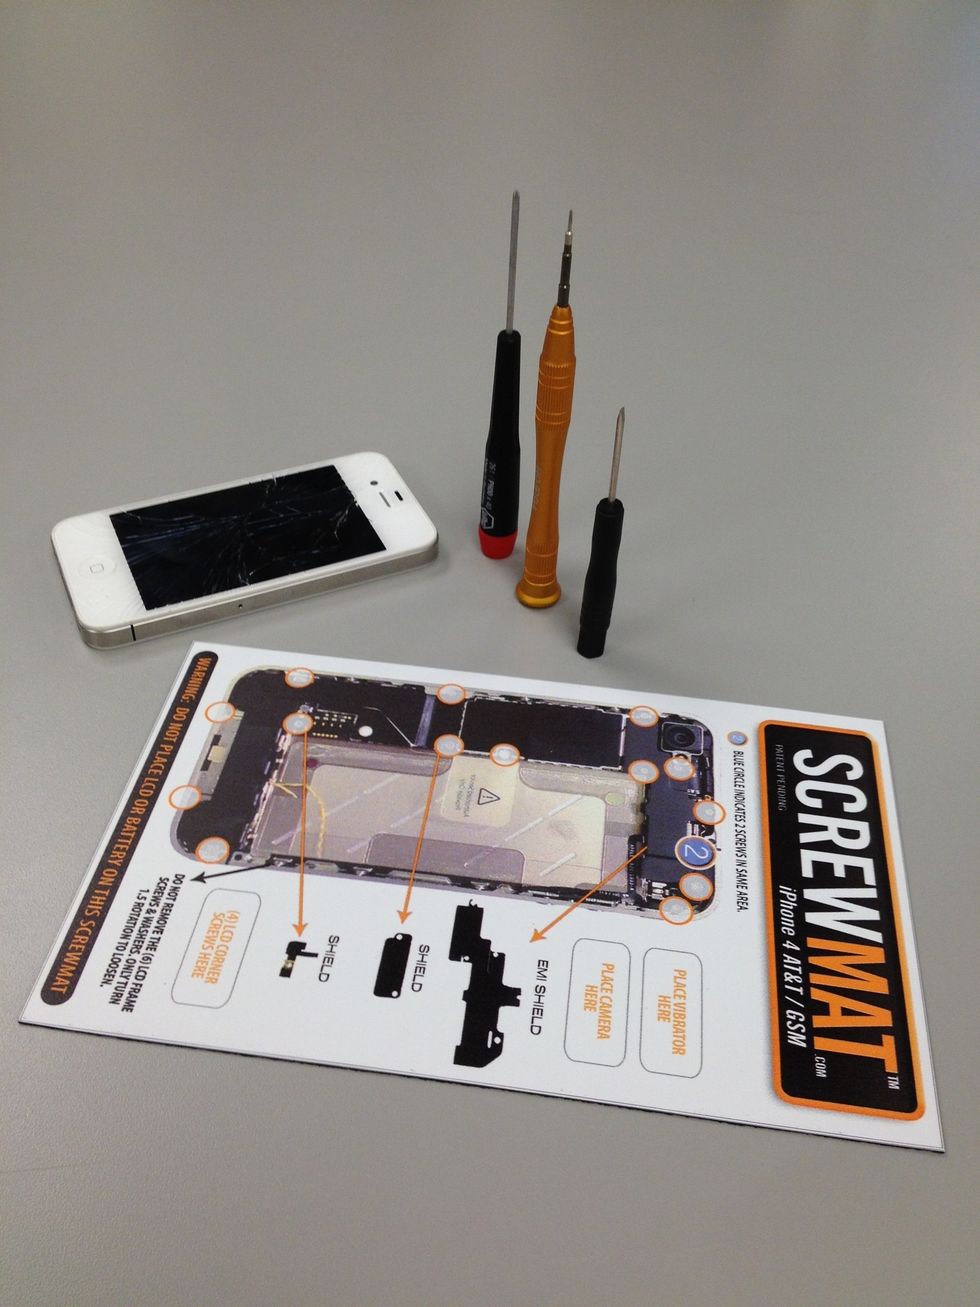
Cracked the screen on your iPhone 4? Luckily for you, we got this covered. Clear out the next hour and pick up one of these handy magnetic mats: www.etechparts.com/screwmats

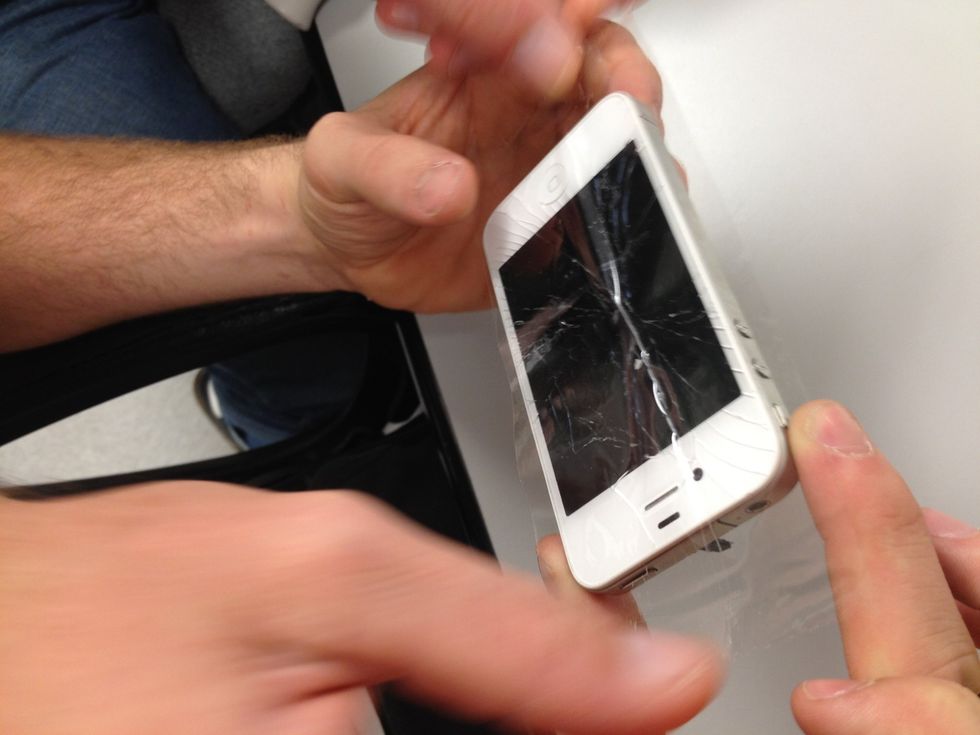
What did you do anyways? Having an iPhone is a privilege, and with that comes responsibility, we're not angry, just disappointed. You're going to need to purchase a replacement screen and....
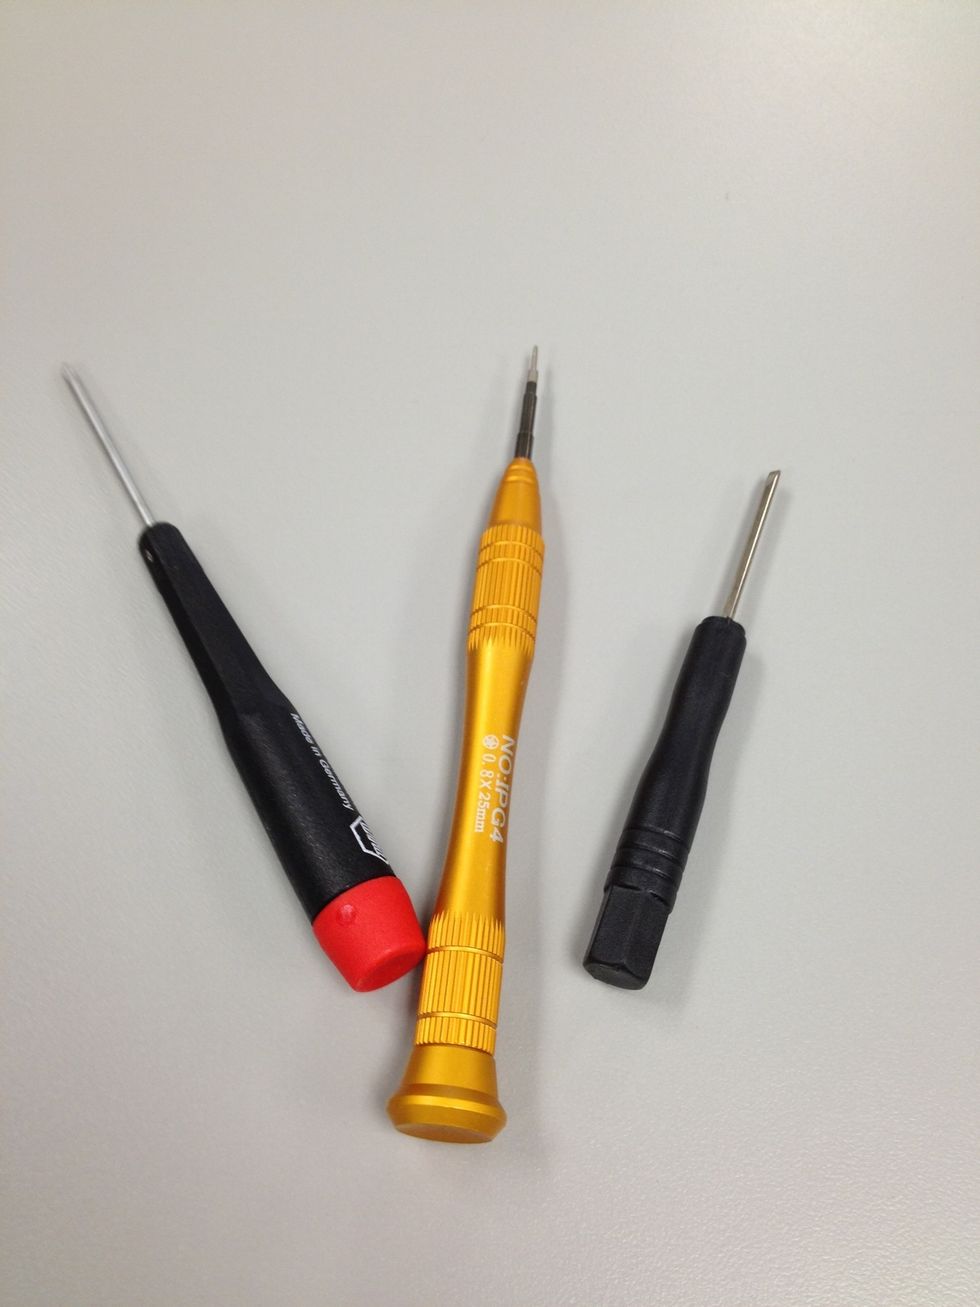
Some tools. You will need to determine if the screws near the charging port (where you plug in the charger) are Phillips head or Pentalobe, aka 5 point. Pick up the appropriate tool kit for the job.
Almost ready? Have you thought about a protective case for your phone? Just an idea, not trying preach here, but maybe we wouldn't be in this situation if you took proper care. OtterBoxes are nice.
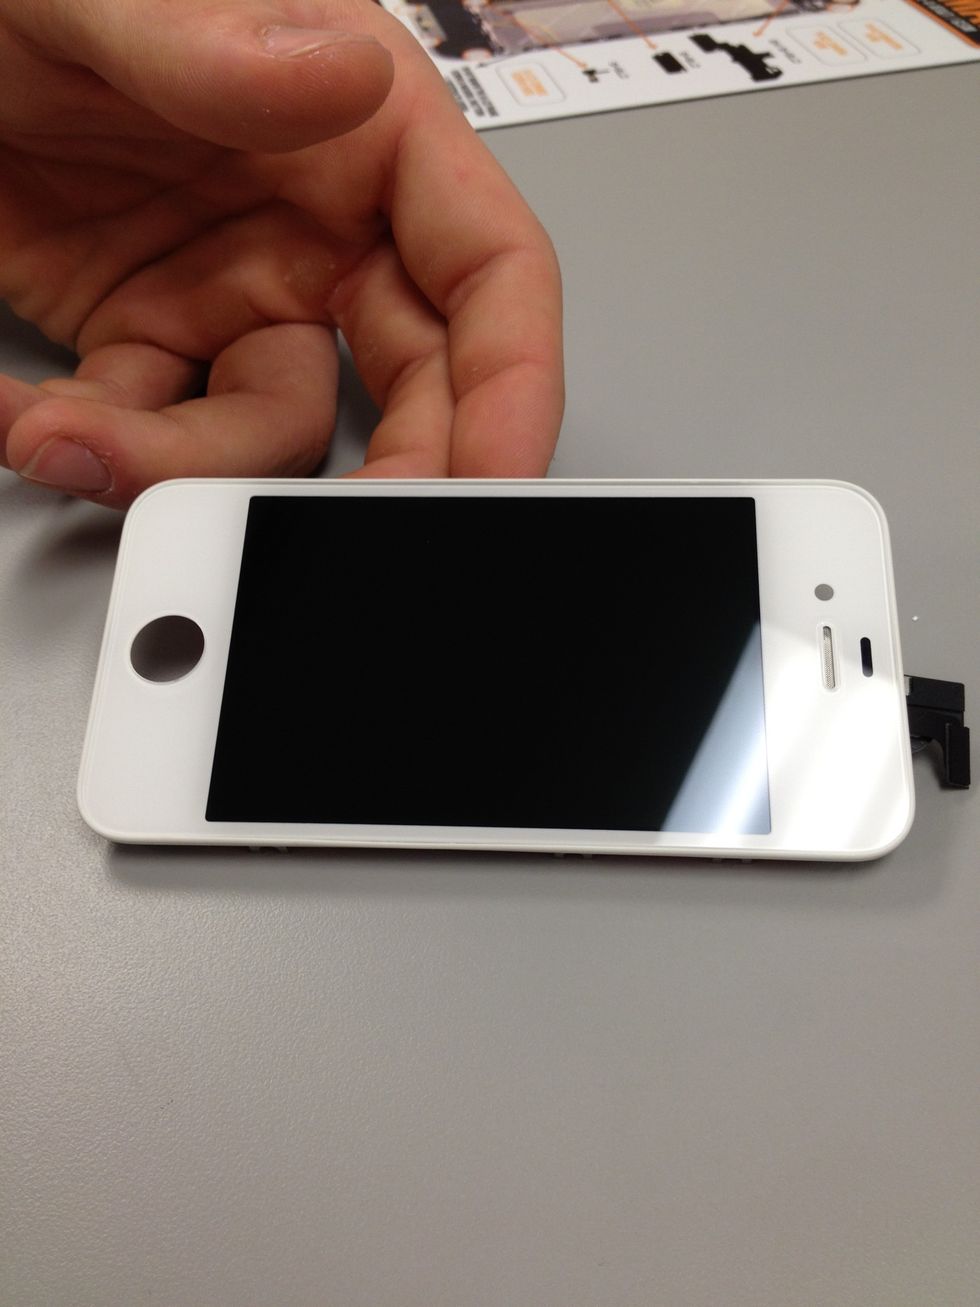
Shiny, new LCD screen ready for installing. Go with the iBic, the highest quality replacement screens available on the market. www.etechparts.com/iBic
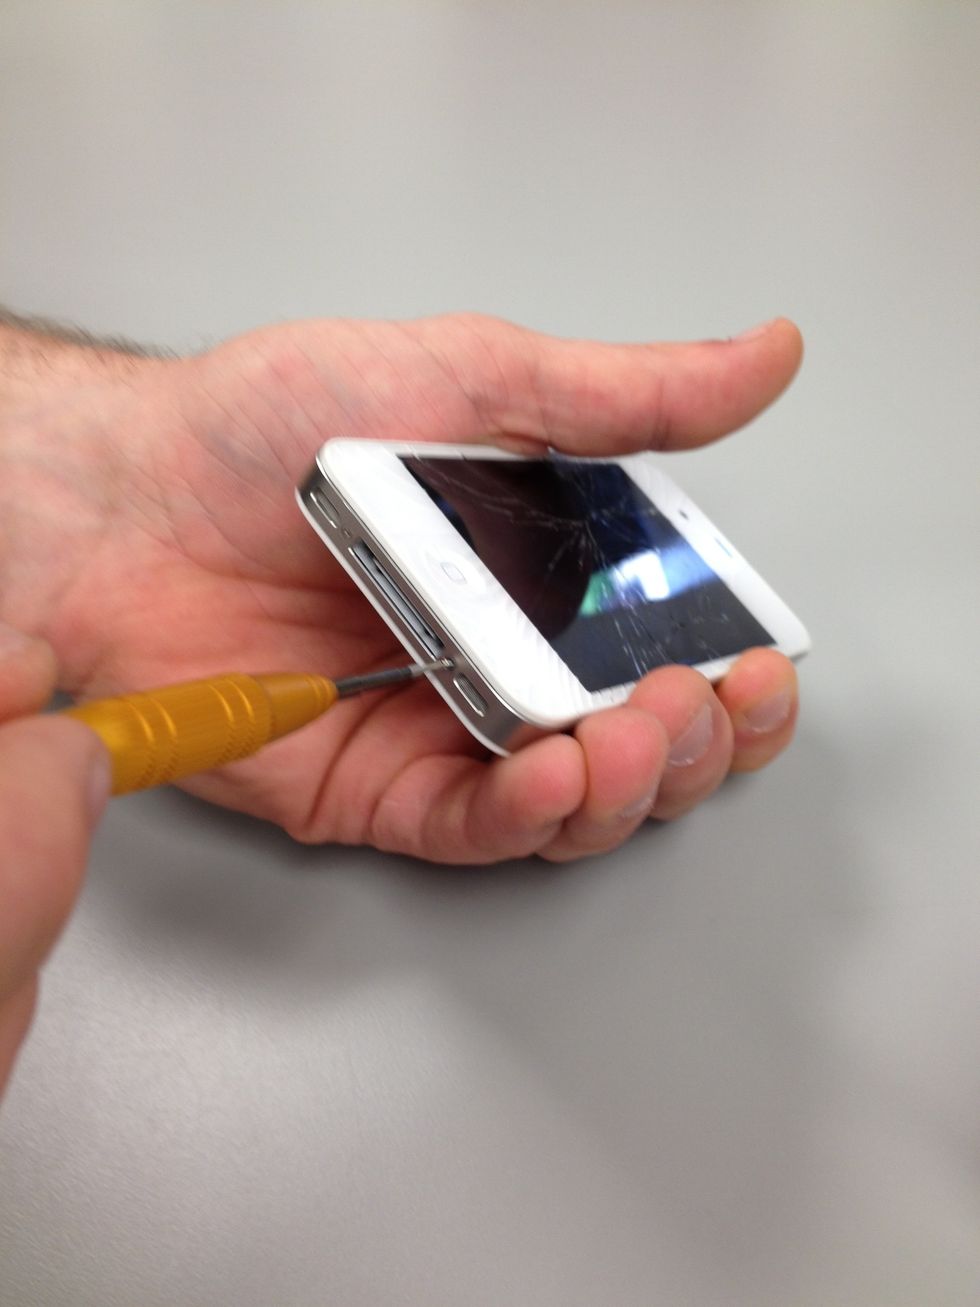
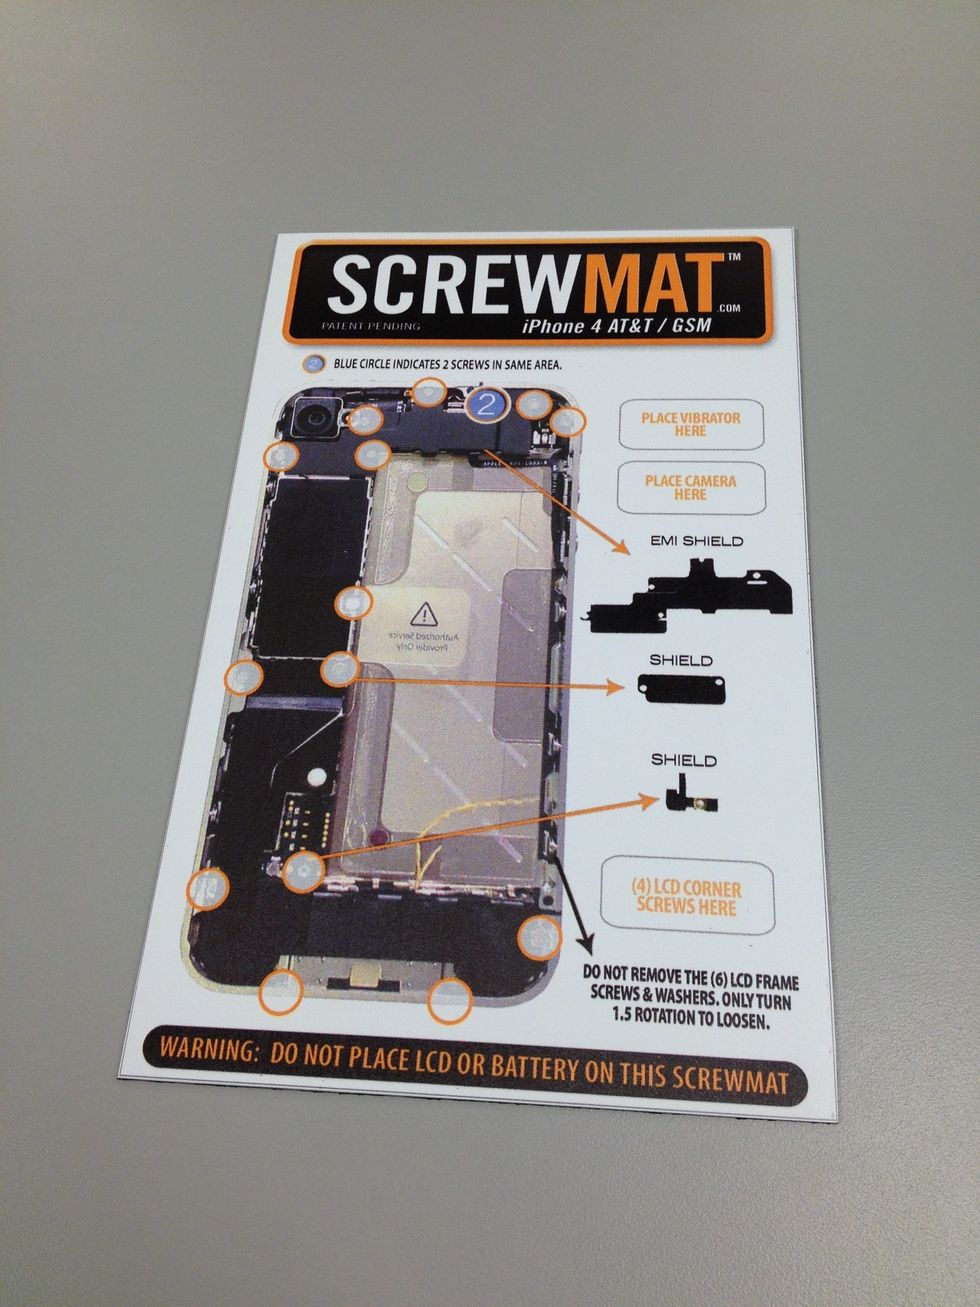
Using the appropriate screwdriver, carefully remove the two screws on the bottom near the charging port. Do you see how small these screws are? Luckily you have your ScrewMat to keep track of them.
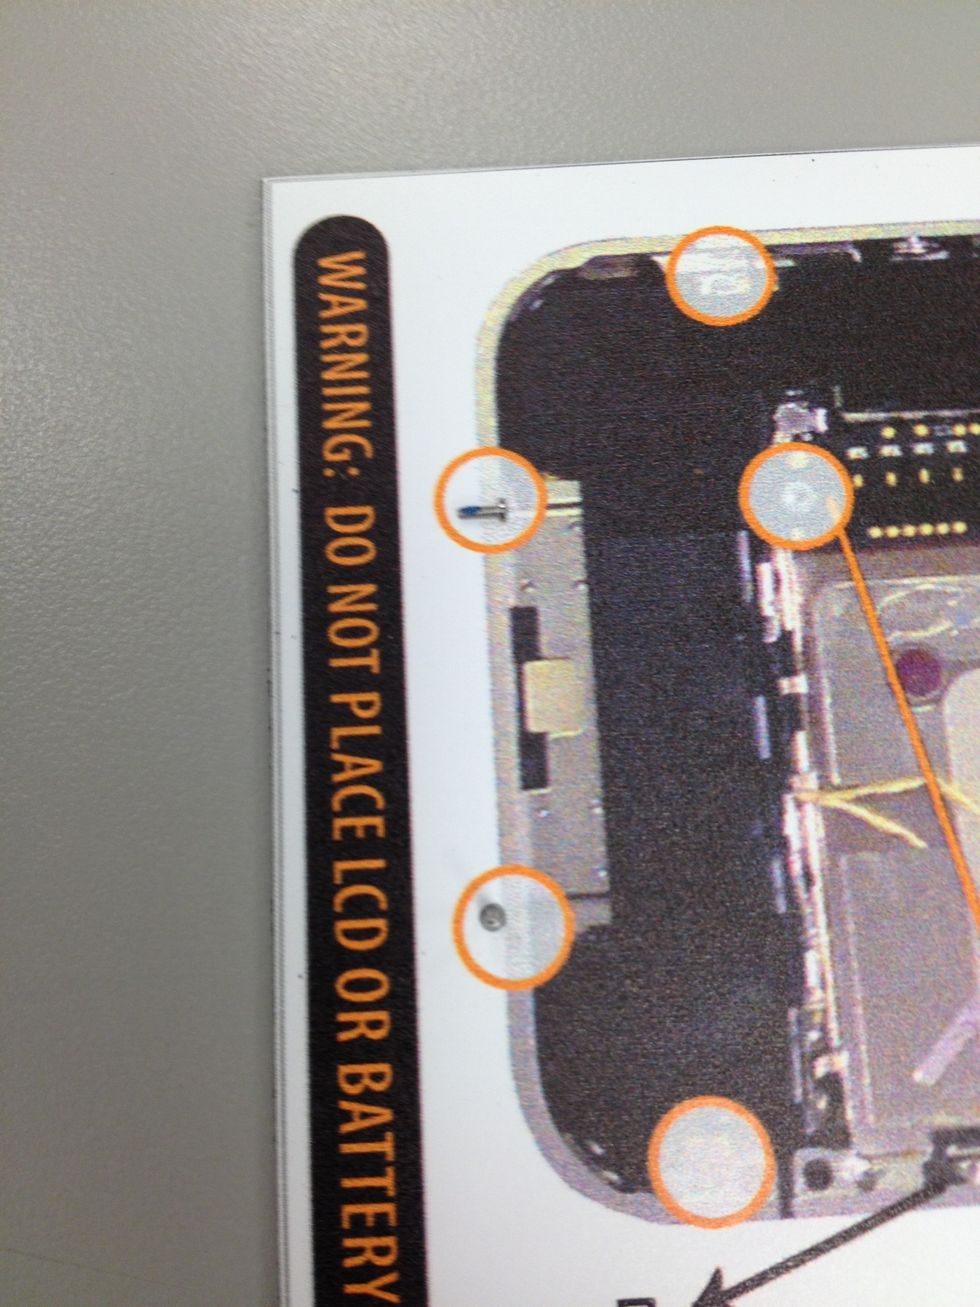
You just simply place the screws in the same area as depicted on the ScrewMat as you go. Genius idea! DO NOT place the LCD or BATTERY on ScrewMat.

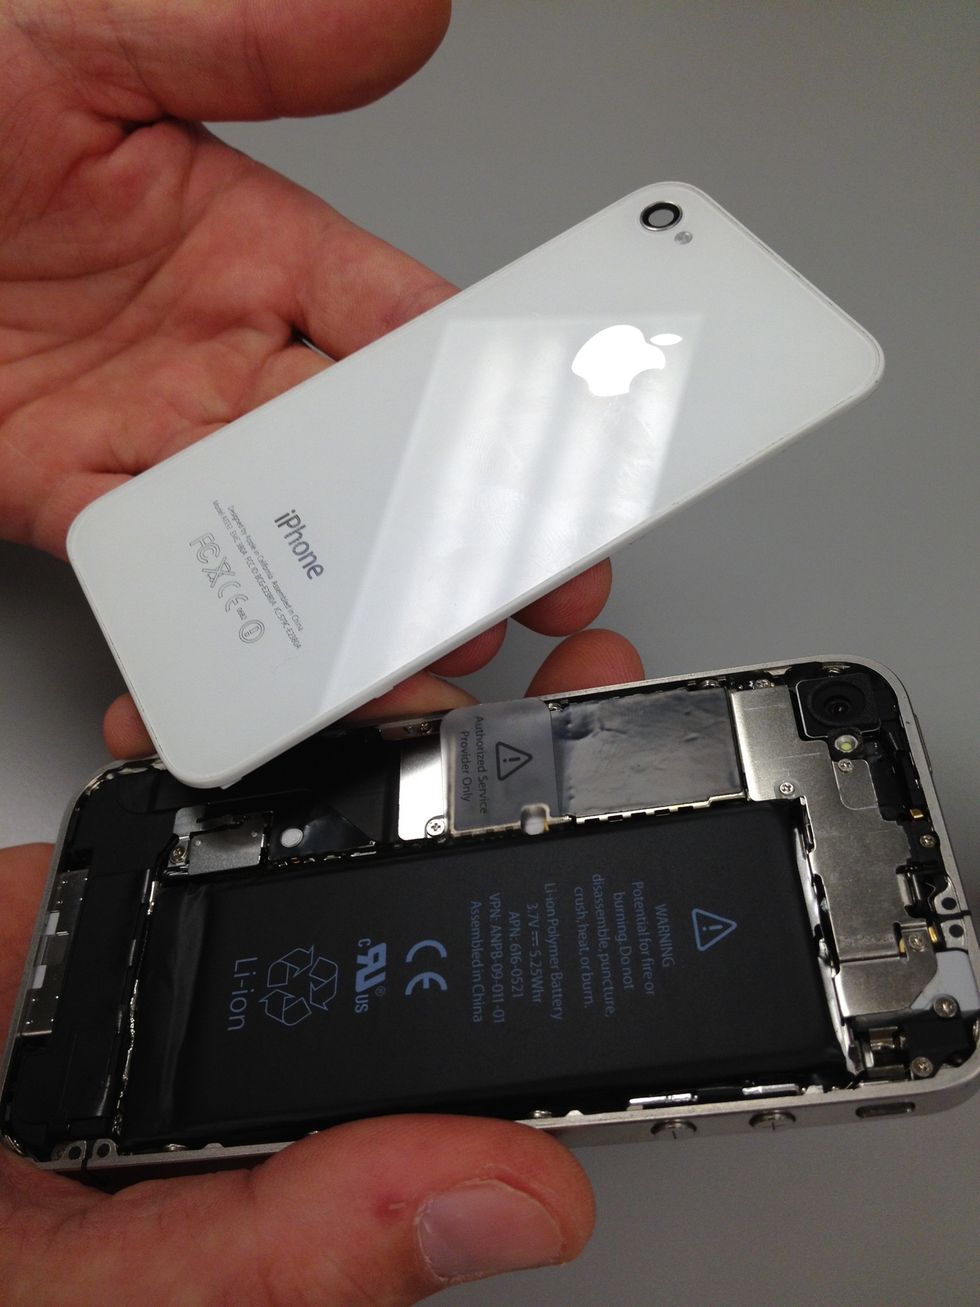
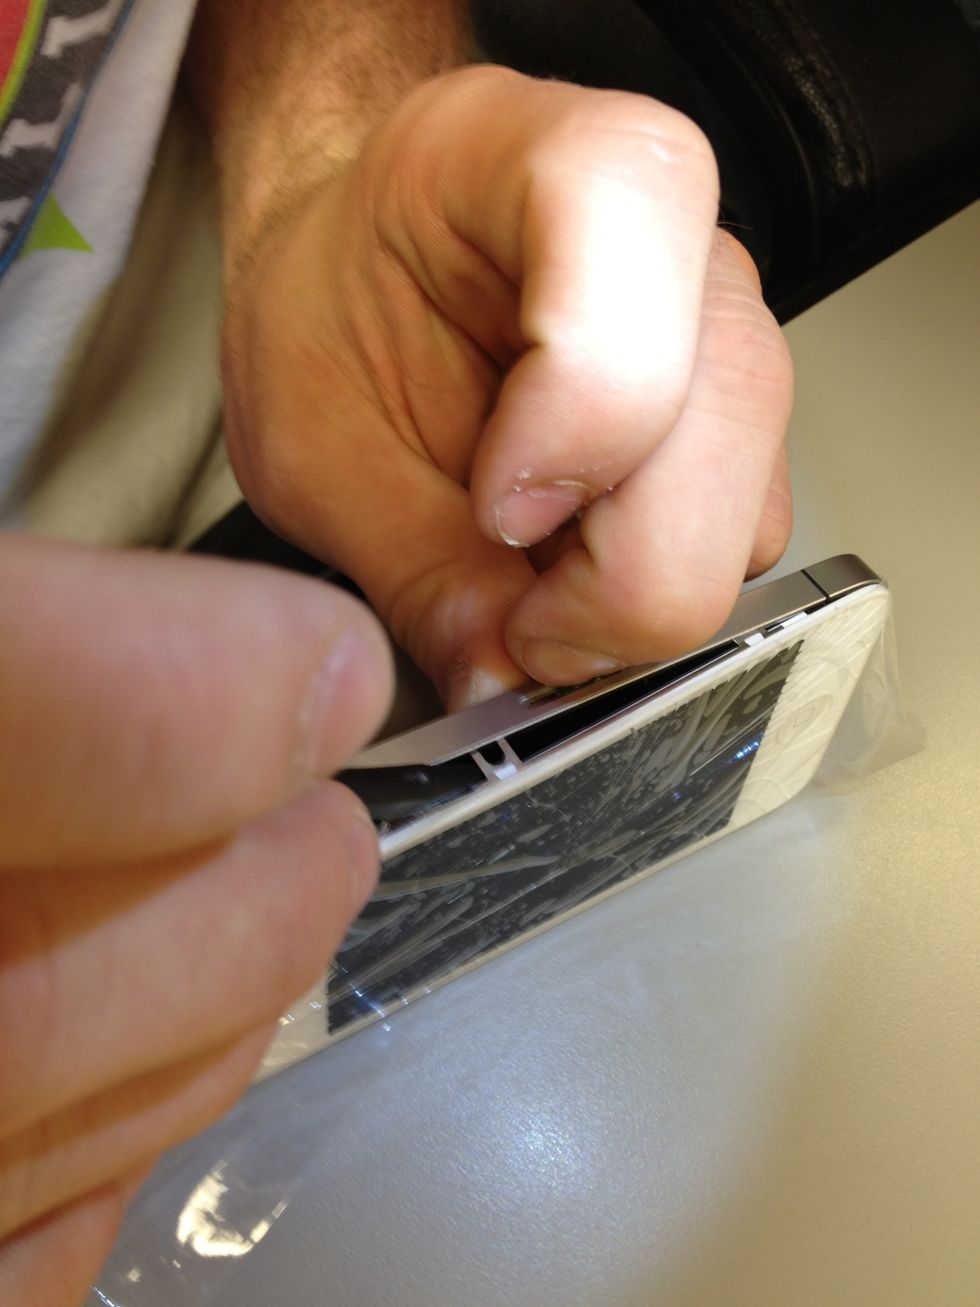
Gently slide the back cover towards the top edge, then simply lift it away from the iPhone. If you ever need to replace your back cover, you officially know how to do that now.
If this step made you sweat, it is probably best you visit iphonerepaircompanies.com and find a local technician. You can't go through life having other people fix your problems though, conquer this!
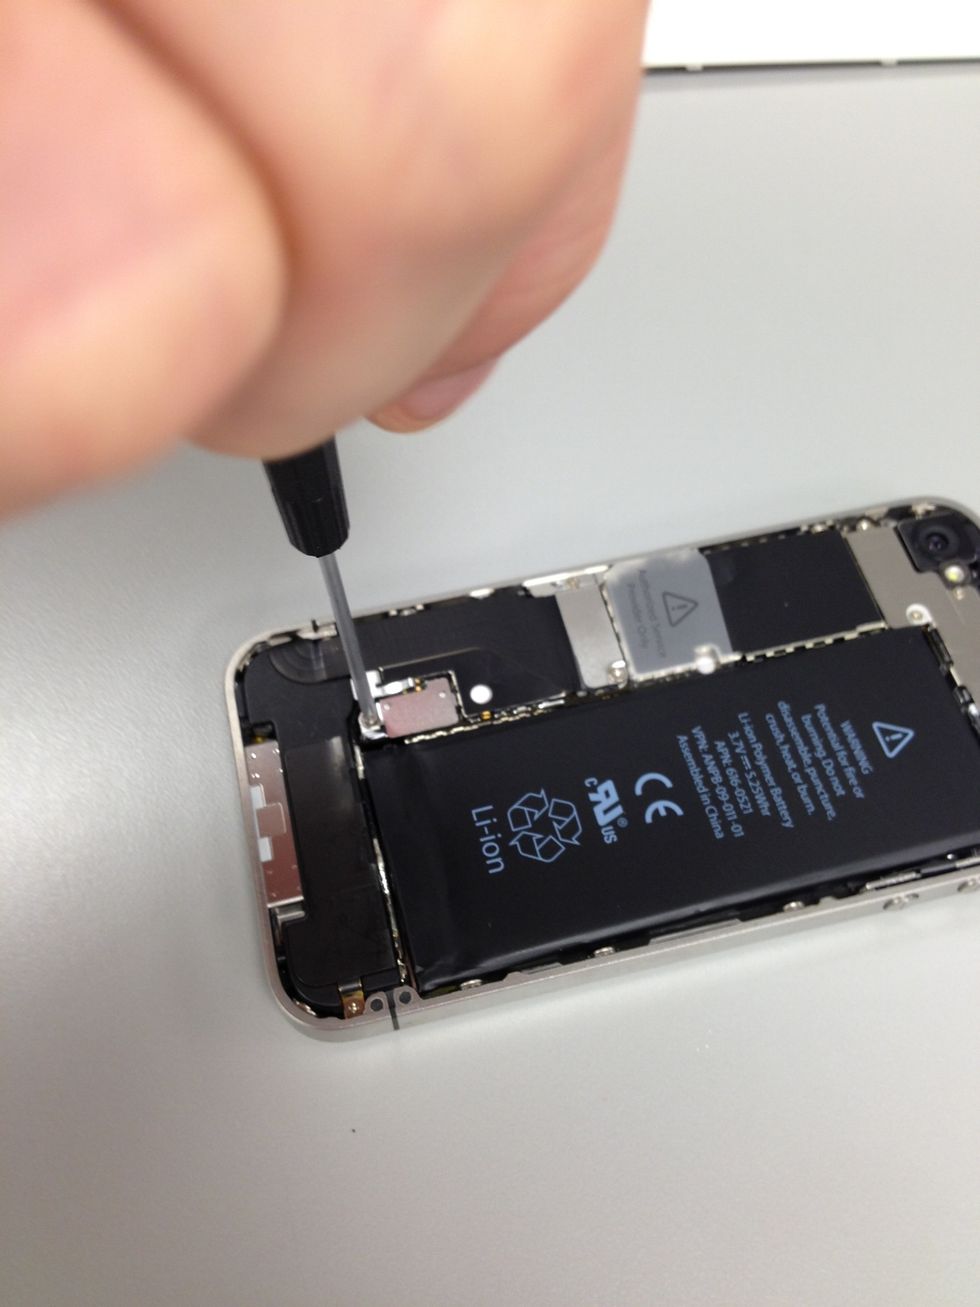
Remove the single screw holding the battery to the logic board. Place the screw on the proper area on the ScrewMat. No turning back now.
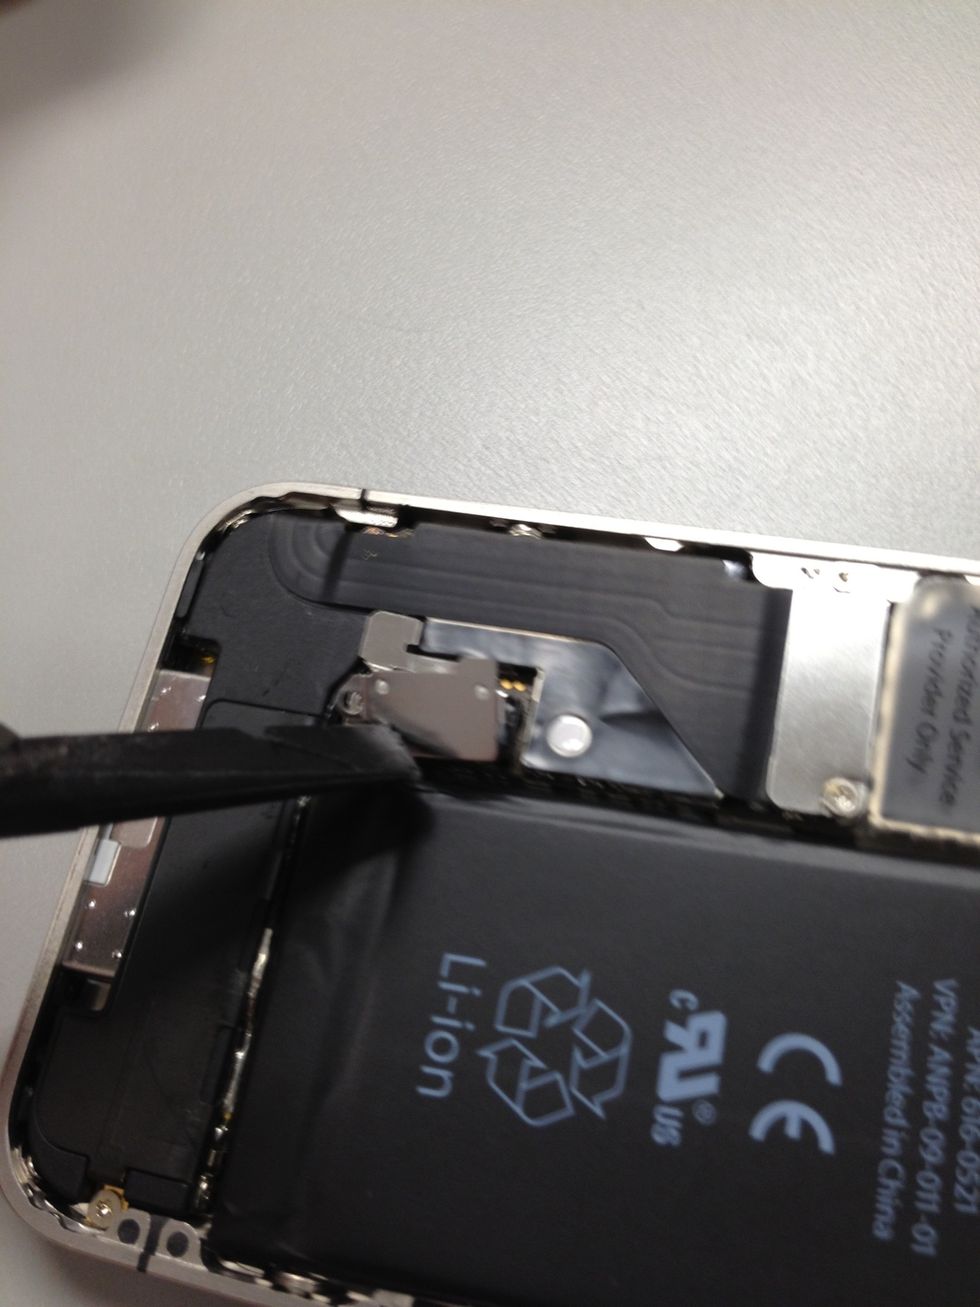
Using the nylon spudger from your tool kit, pull up battery connecter. Slowly. Work the corners a little first. It is extremely important you don't use metal tools when removing connectors.
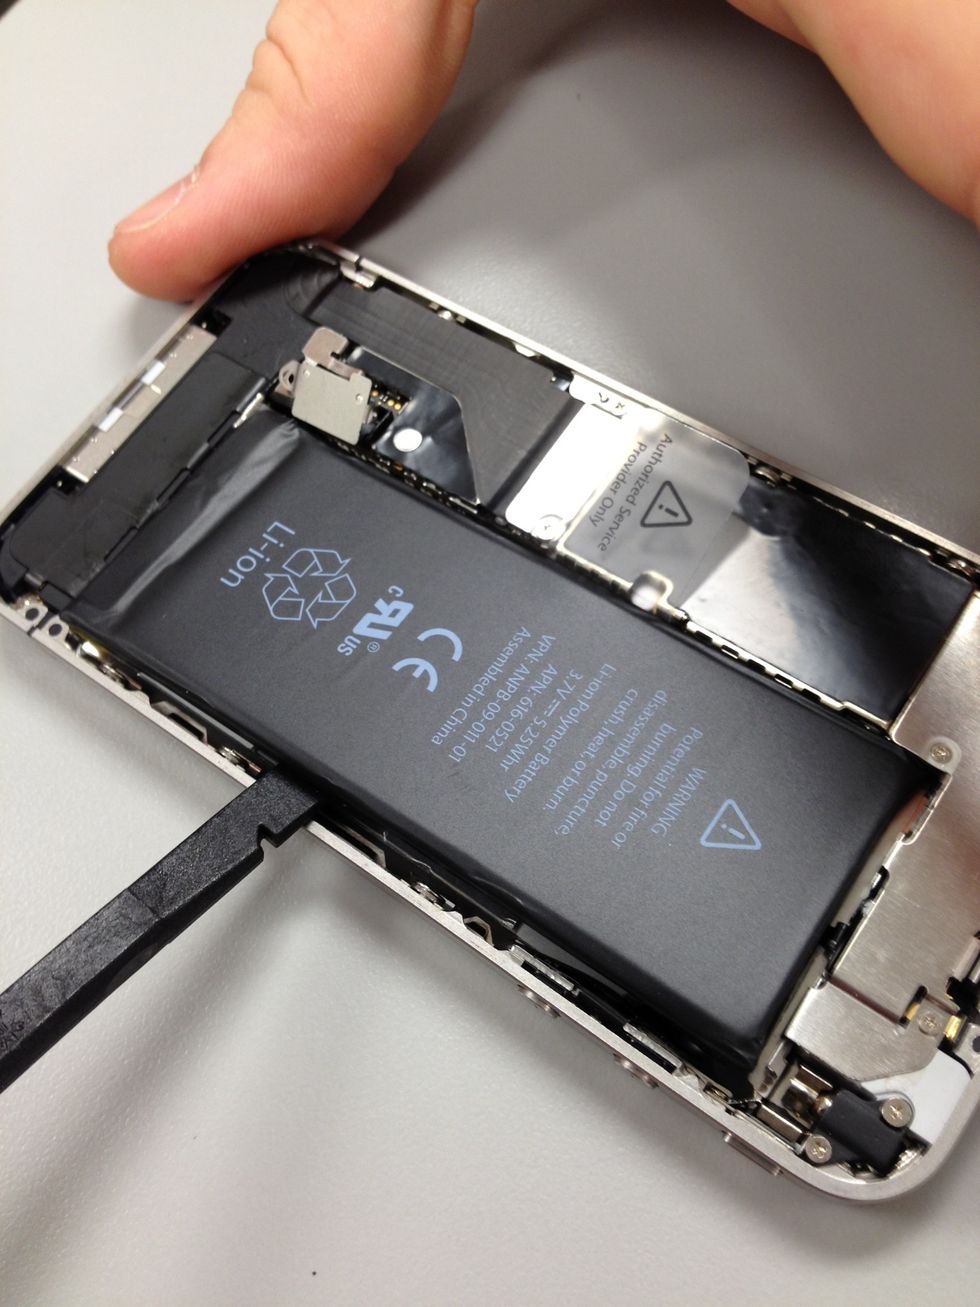
The battery will have adhesive on the backside so you will need to carefully use the spudger to work the area around it and separate it from the mid plate.
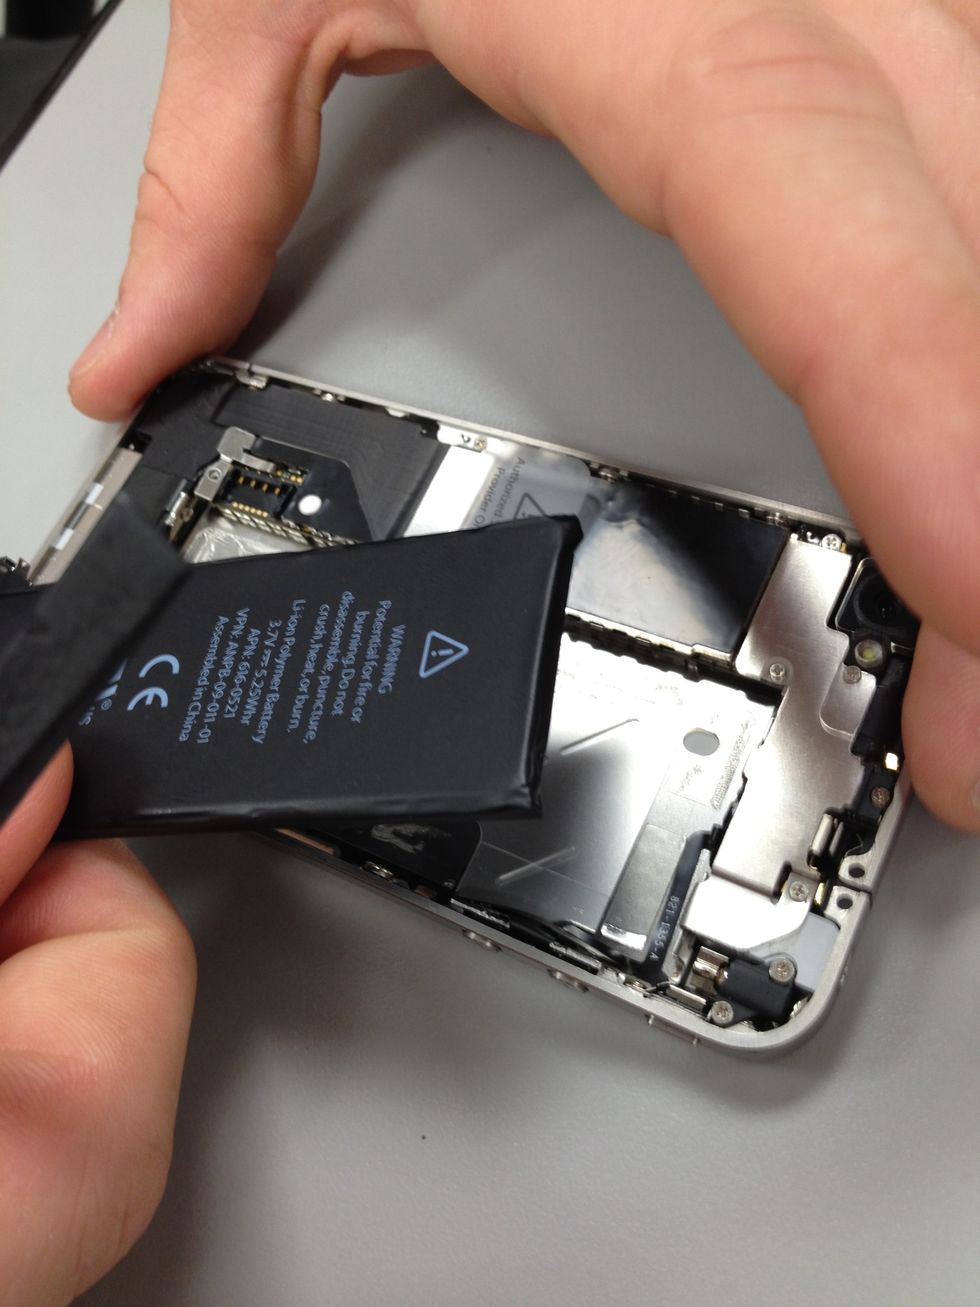
Nice work. Now you officially know how to change your battery in the future if you ever needed to.
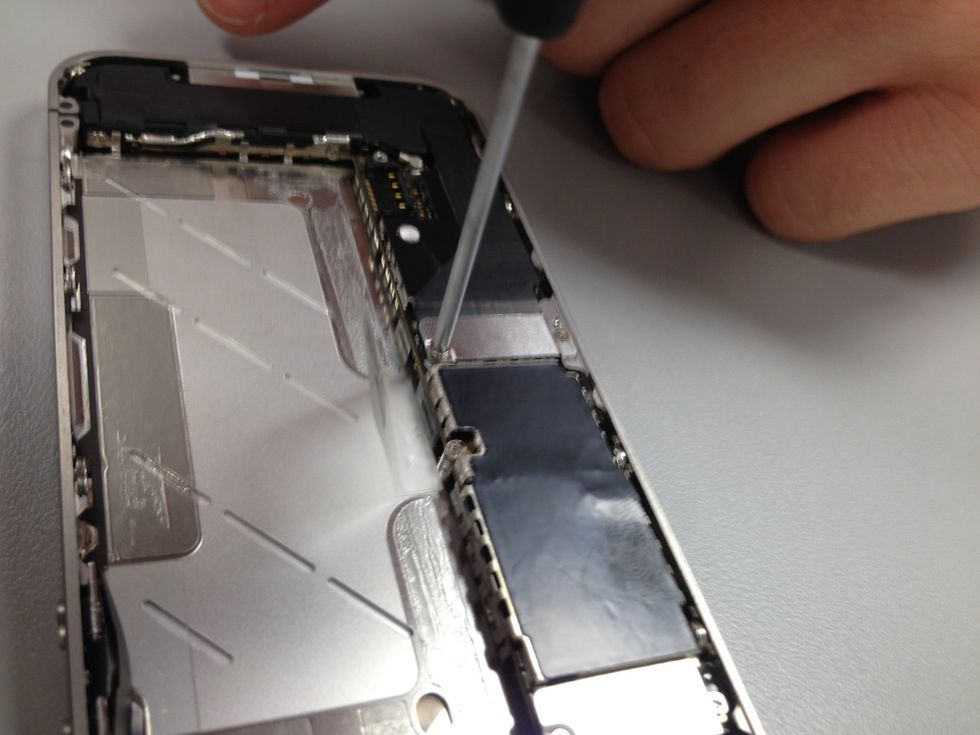
Now let's this remove the cover over the dock connector. There are two screws to remove, get your tiny Phillips head screwdriver.

Cruising through it now. Keeping track of your screws, paying attention and having a positive attitude.
Locate the white sticker just to the left of the plastic pull tab that resided under the battery. Remove sticker and discover yet another tiny screw. 2.4 mm to be exact. Let's get that out of there.

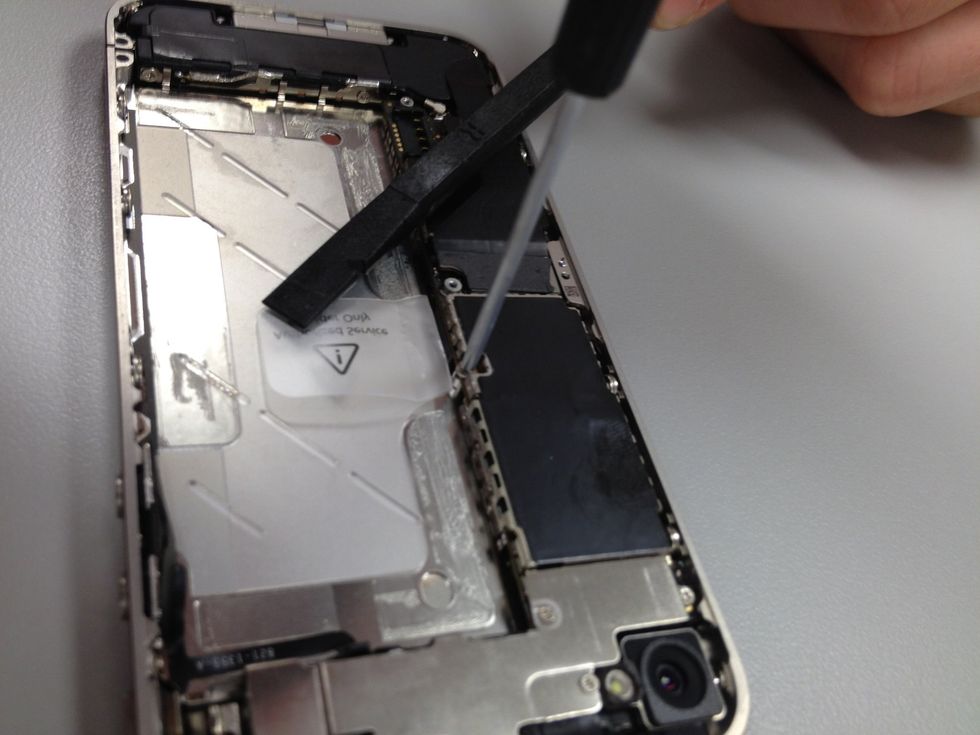
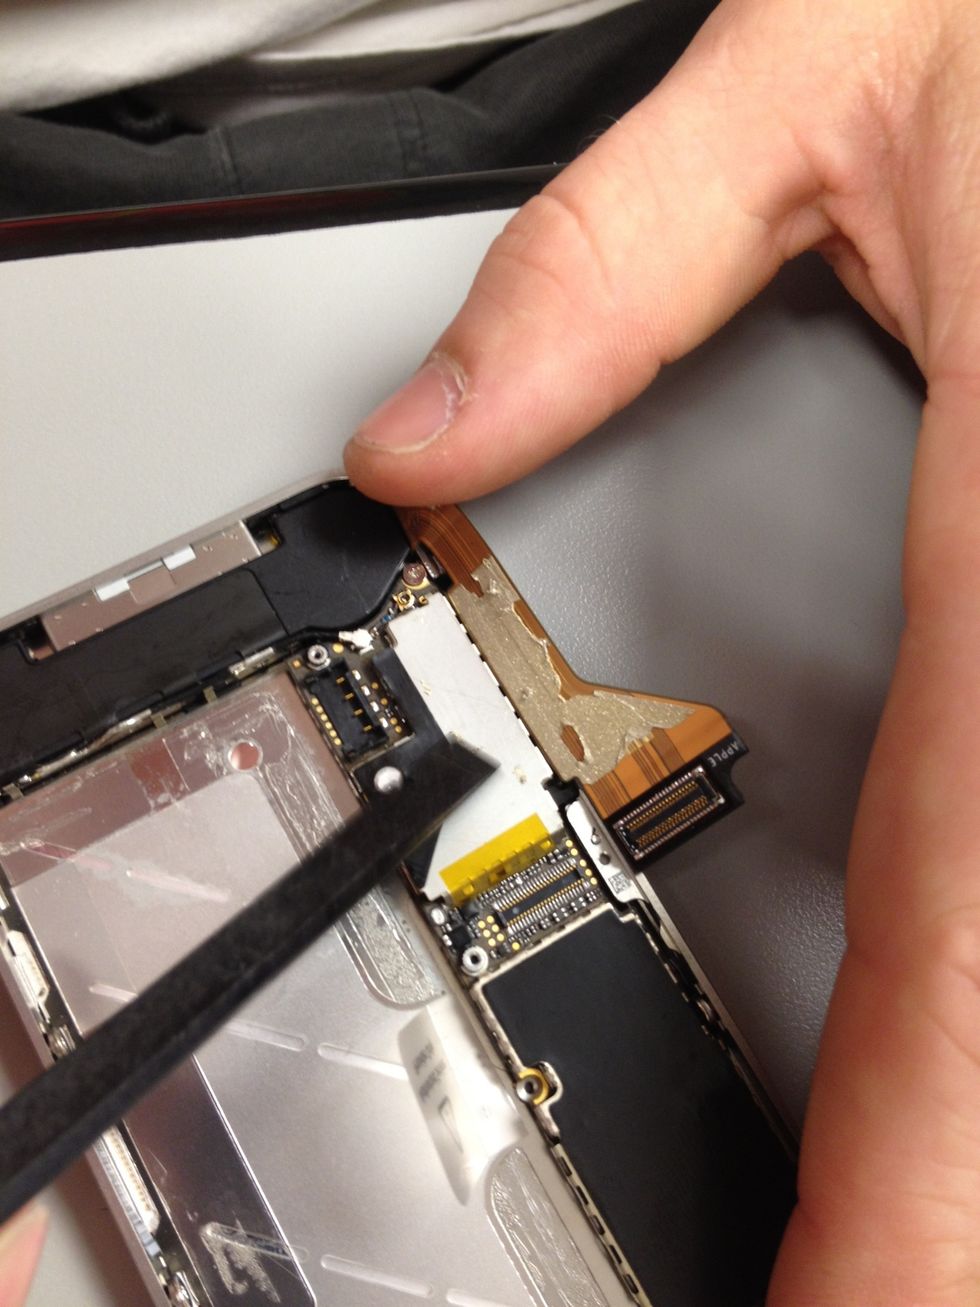
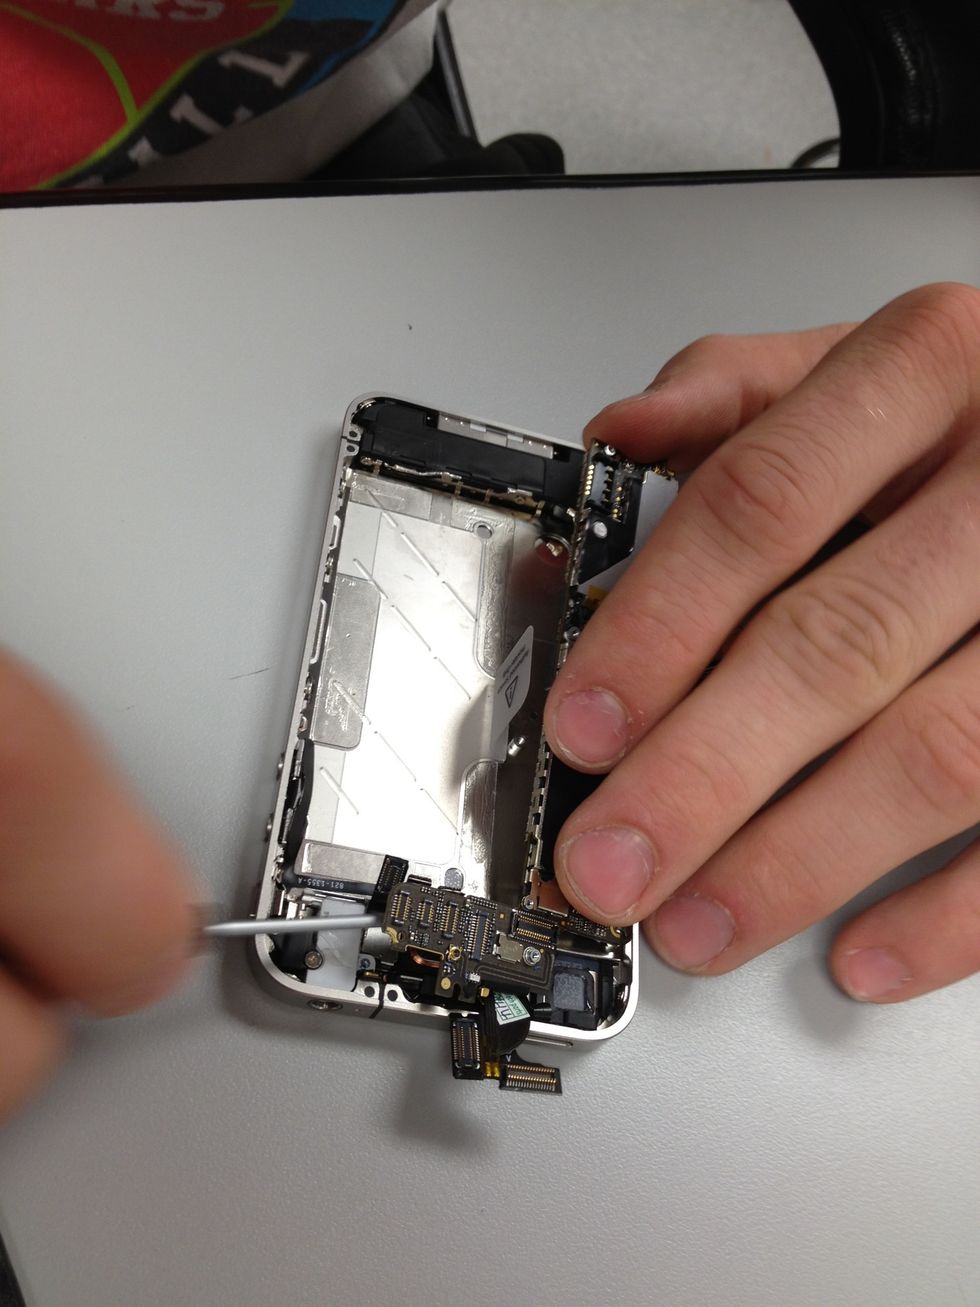
Shift your eyes to the top and you will find 5 screws in various sizes awaiting extraction. That metal shield protects several connectors and your wifi antenna.
Charles did a nice job with the details on these pictures. All the way from a small town in Oklahoma, he has found his place in the big city. Proof if you work hard enough you can accomplish anything.
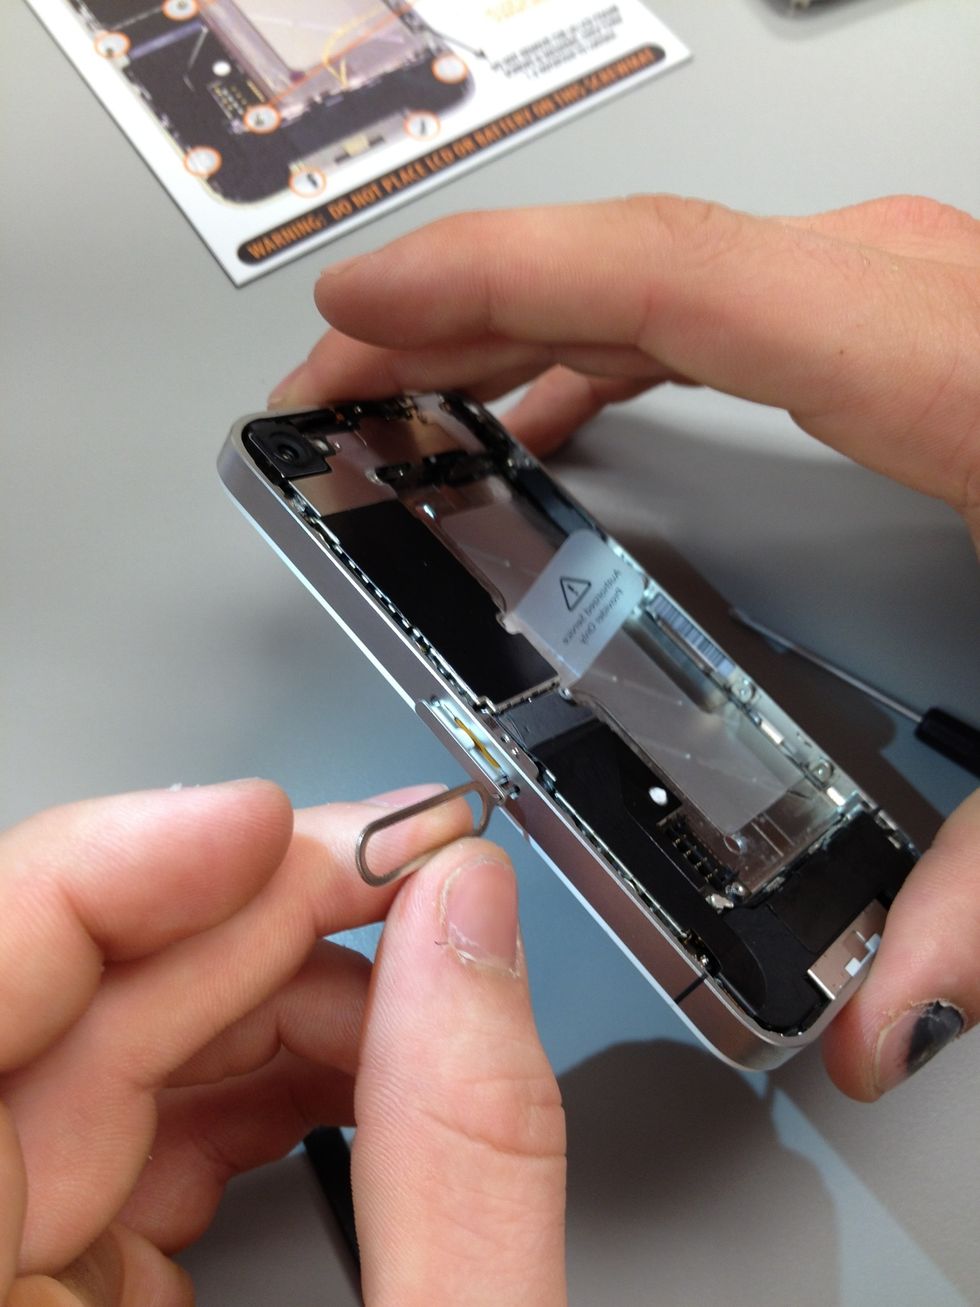
Do you know where your sim card eject tool is? It came with the original packaging. If not, a paperclip can be used in its place. Remove the sim card and it's holder.
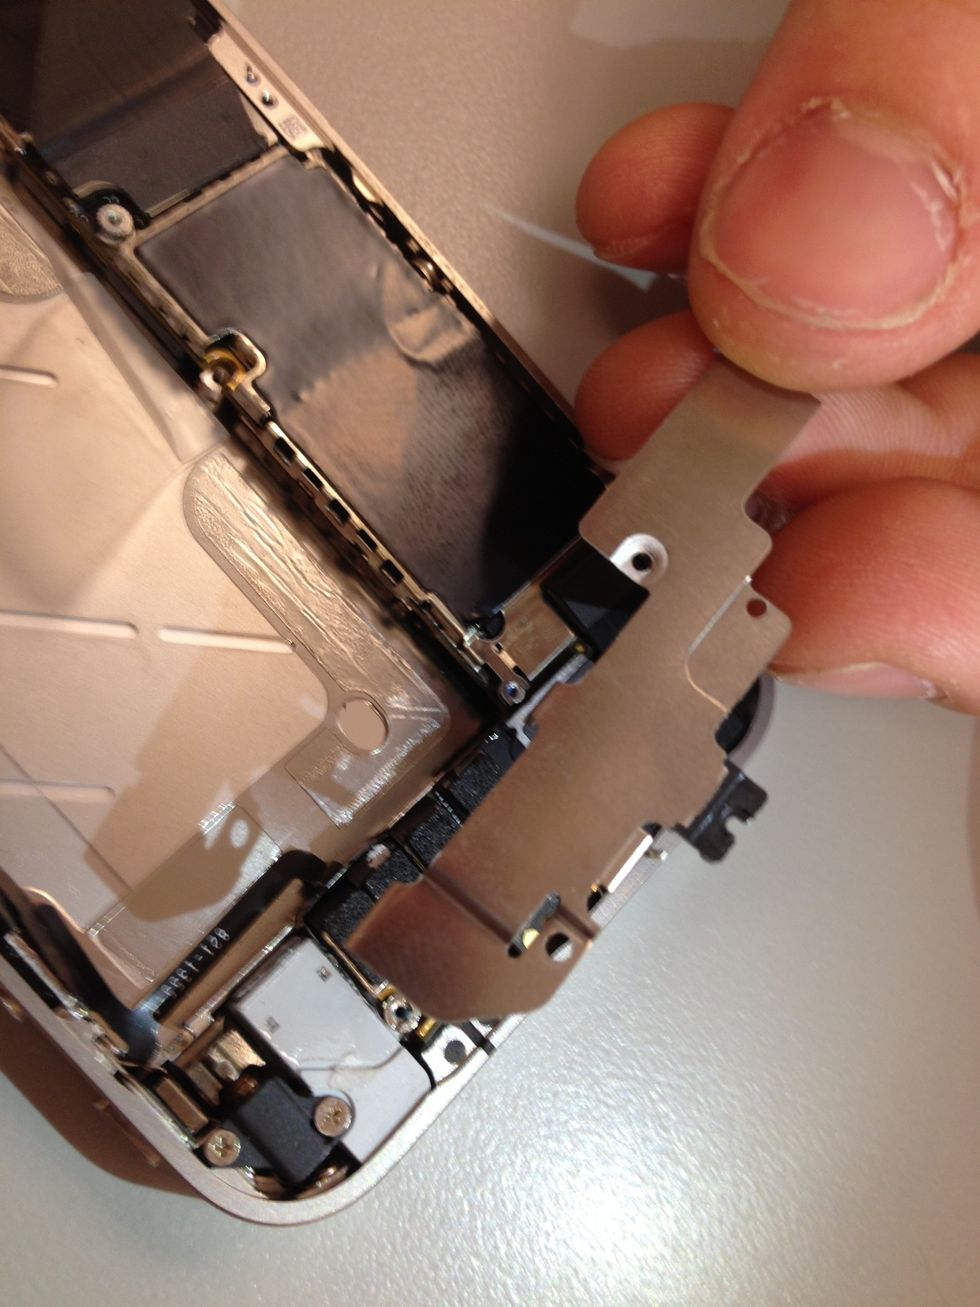
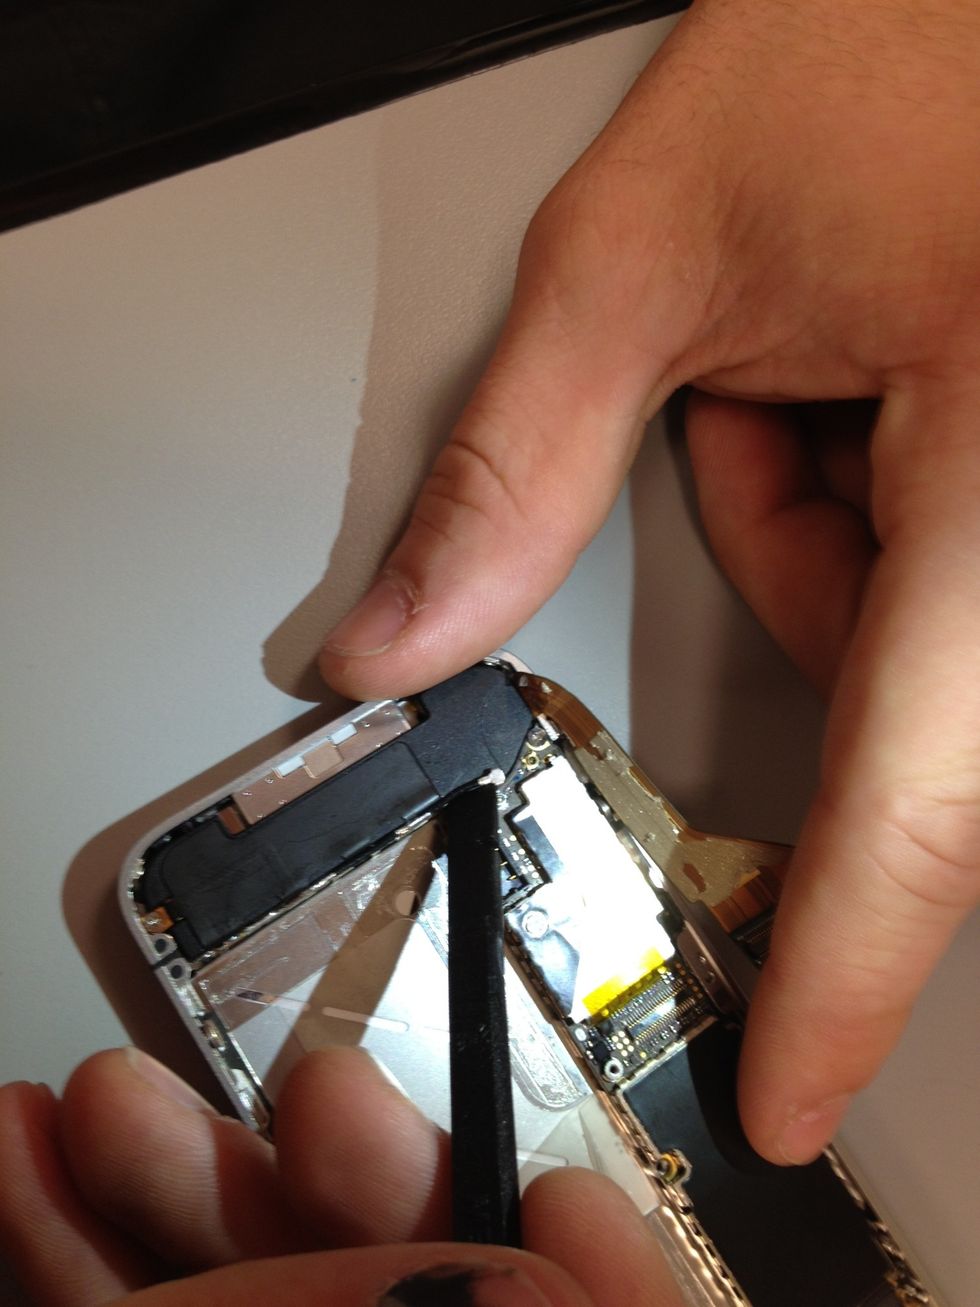
Oops, we got all those screws out and forgot to remove the plate earlier. That one is on us.
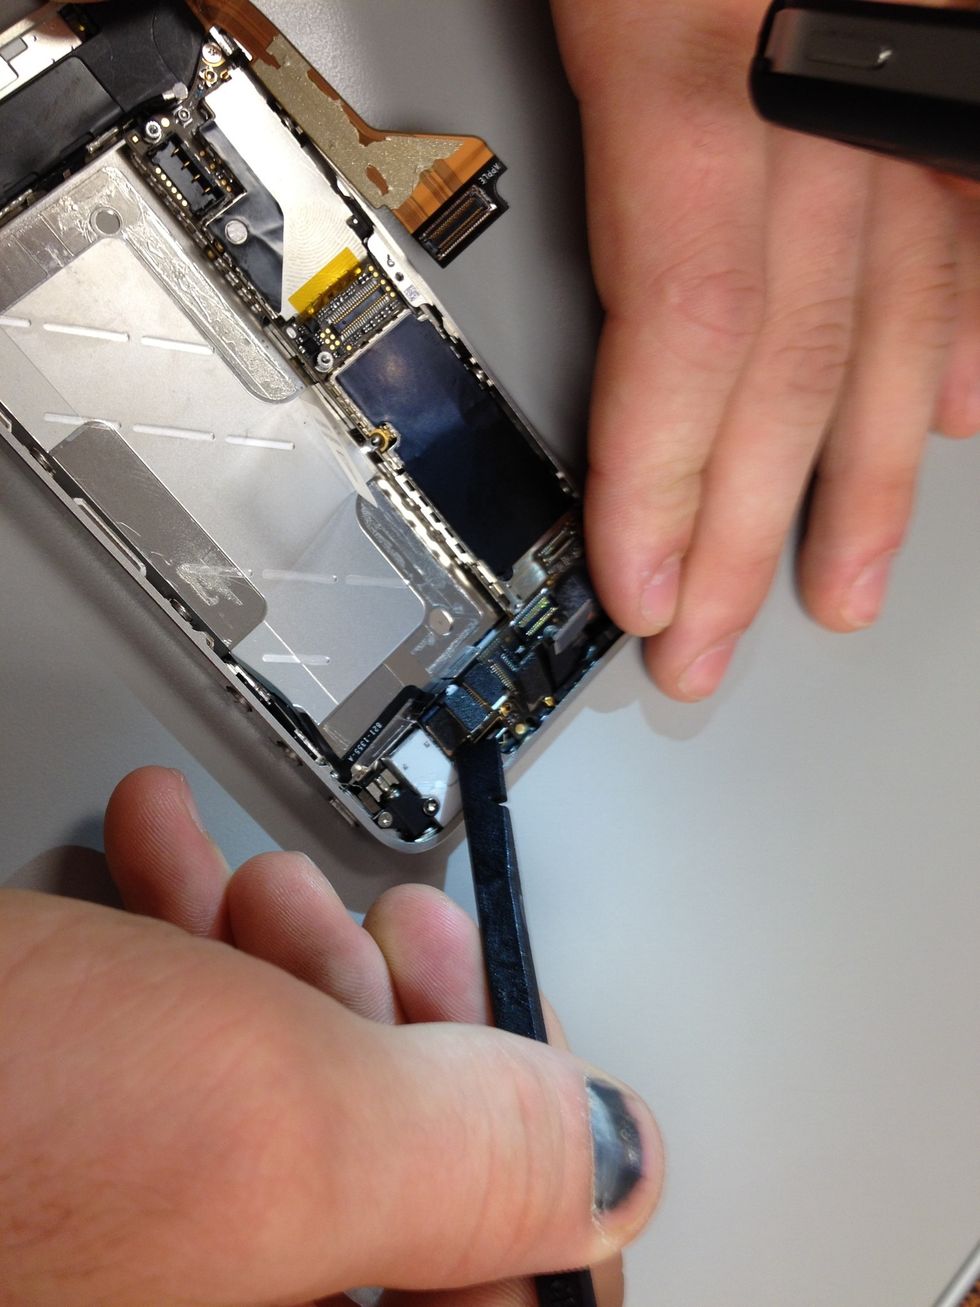
Moving to the bottom of the phone, peel back the dock ribbon cable. Fragile territory we are heading into now. Ribbons tear extremely easy.
Underneath the dock ribbon connector lies the lower antenna plug, carefully pop it out of the socket.
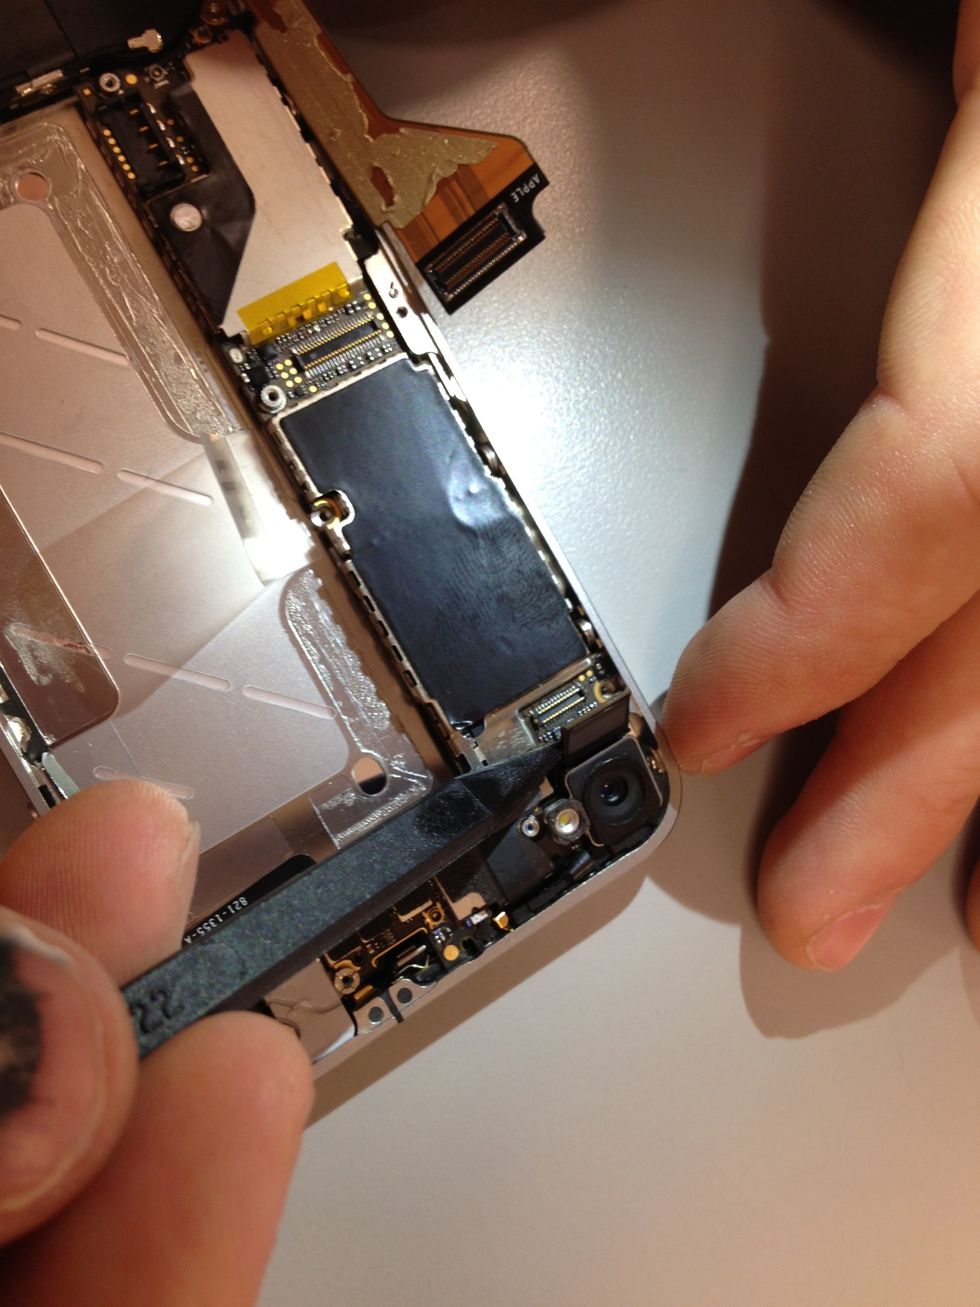
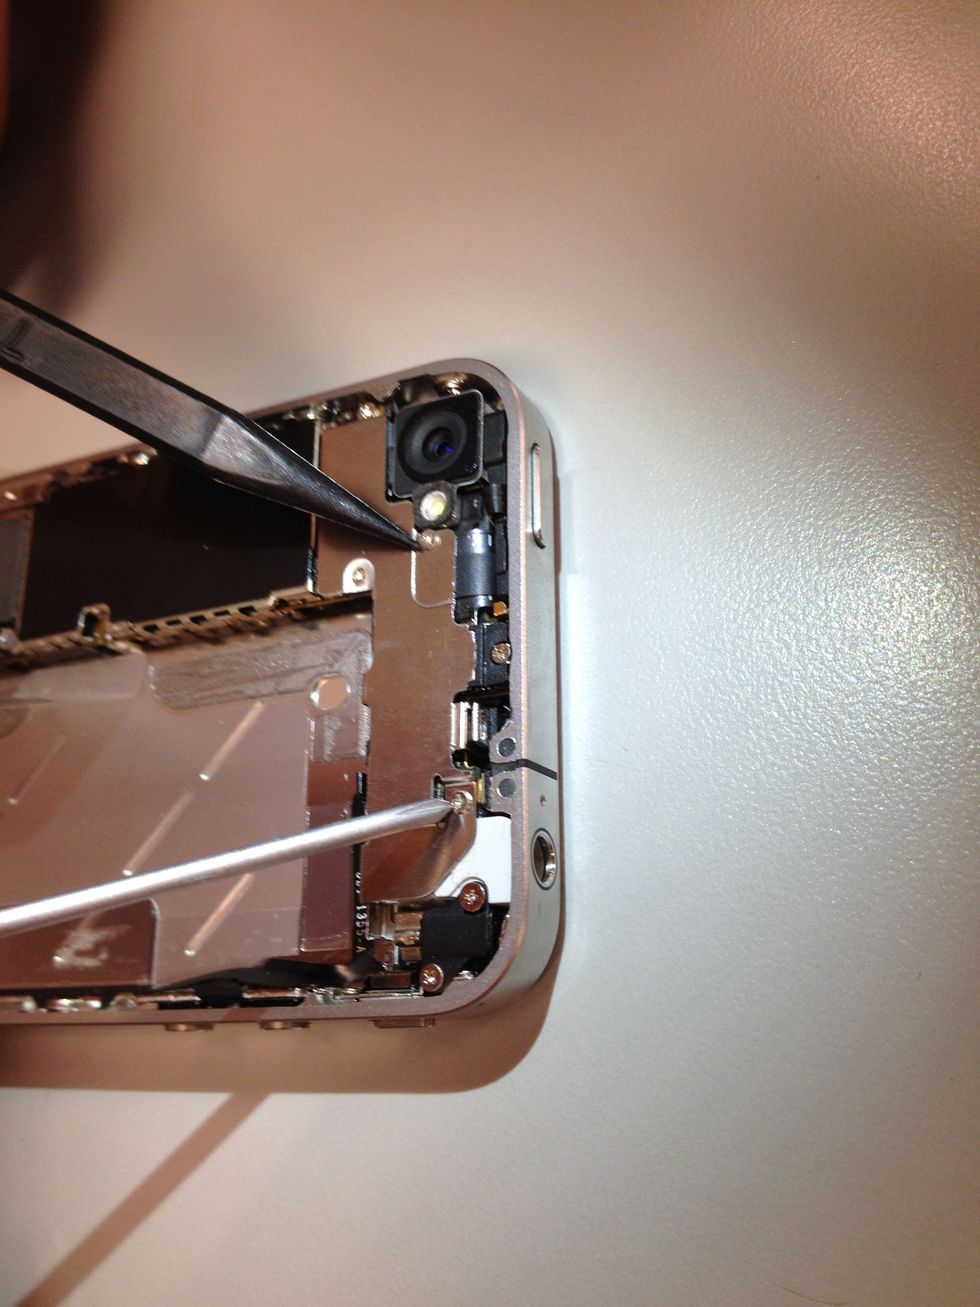
Back towards the top corner now, remove the camera connector cable and carefully take out the camera.
Ironically, a not so great picture of the camera being removed. A rare miss by Charles. Hopefully nobody from Alva, OK sees this, they are all so proud of him.

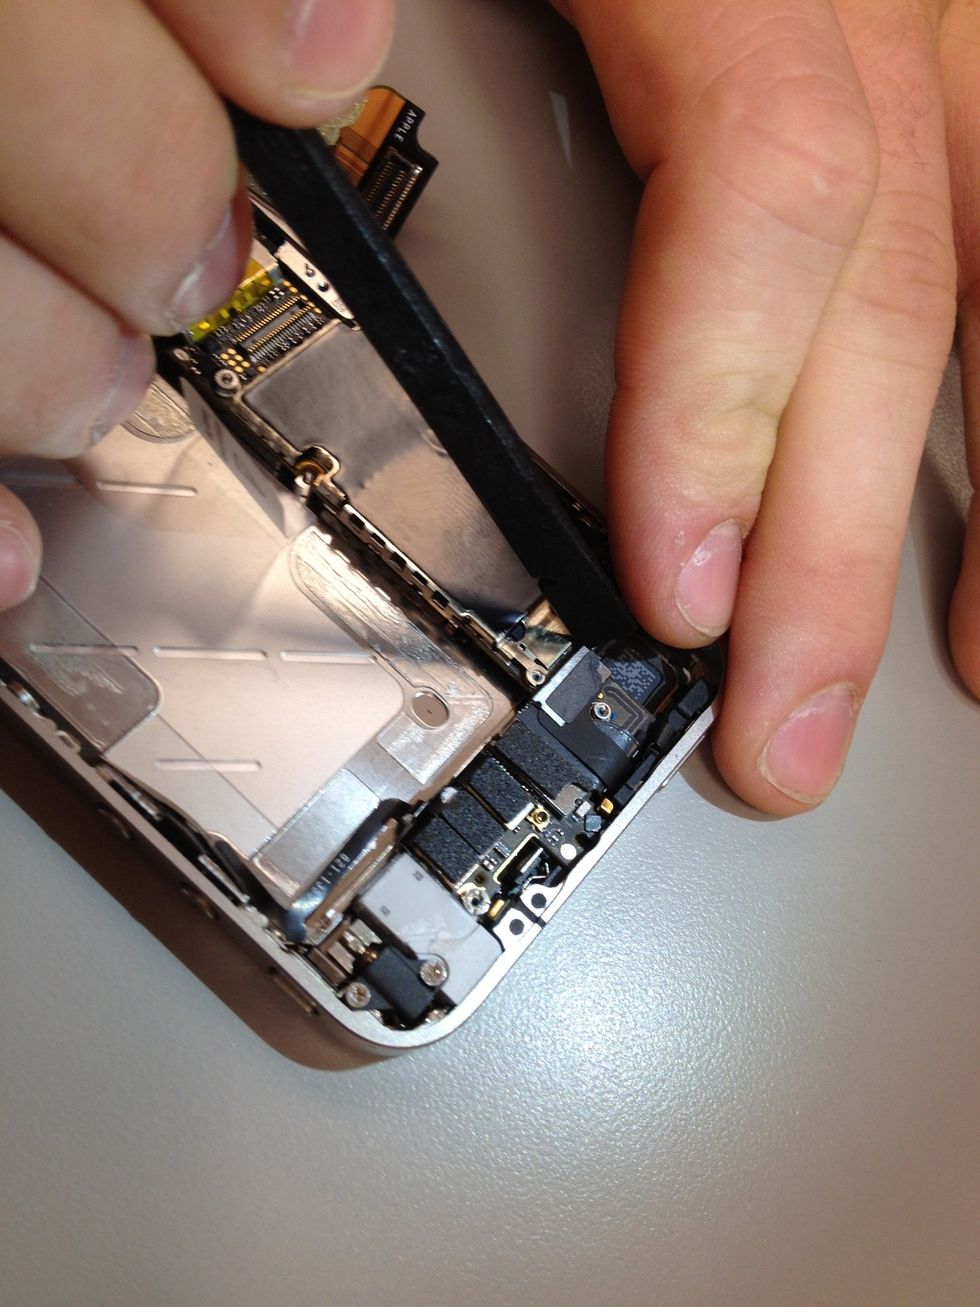
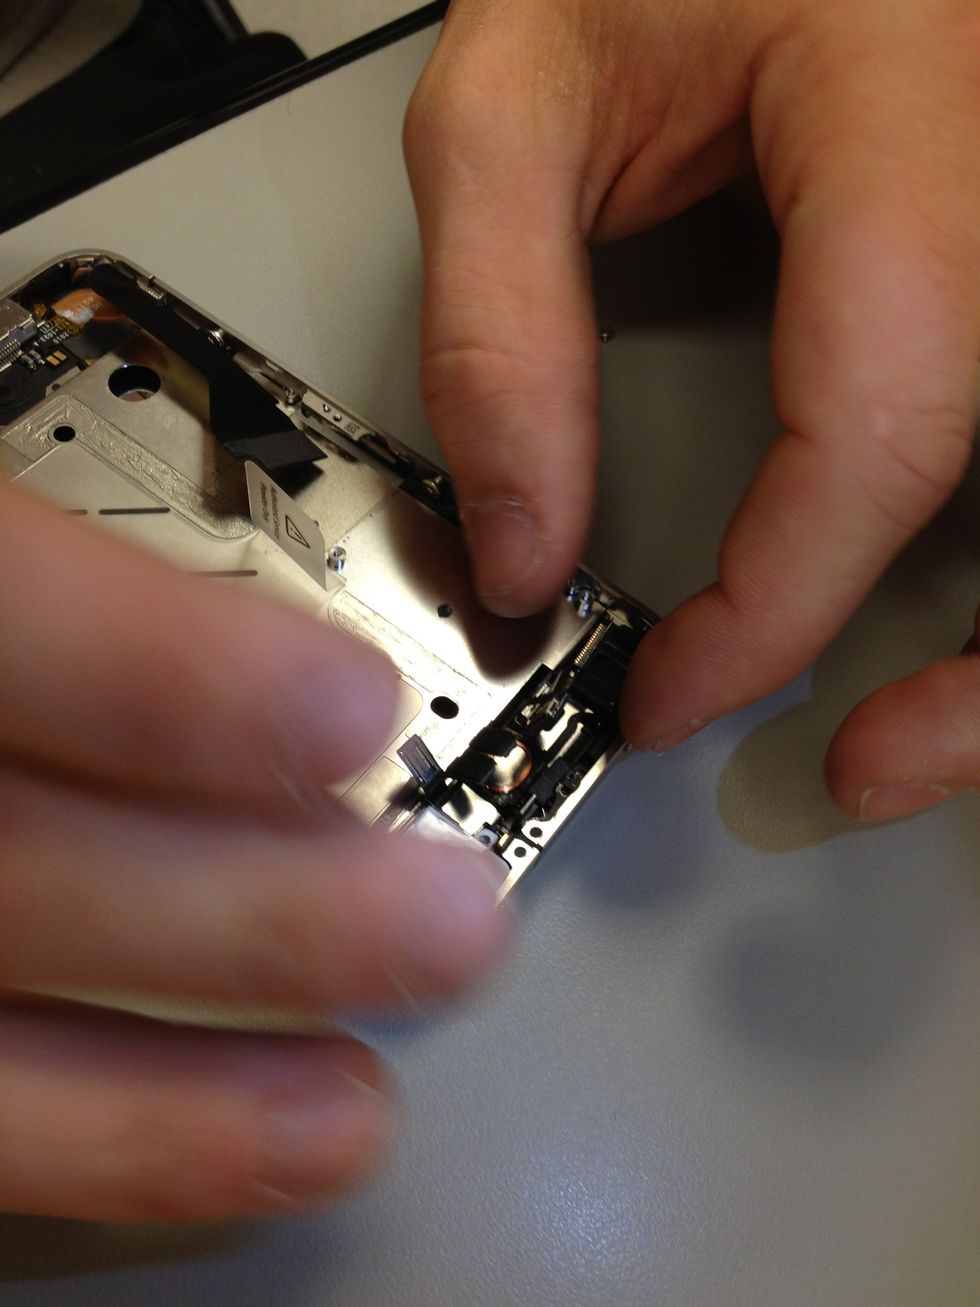
Well over half way there now and time to start disconnecting the cables found just to the right of the camera.
Directly next to the camera is the digitizer connector; then connectors for the LCD, headphone jack/volume button, top microphone/sleep button and front camera. Disconnect each one carefully.

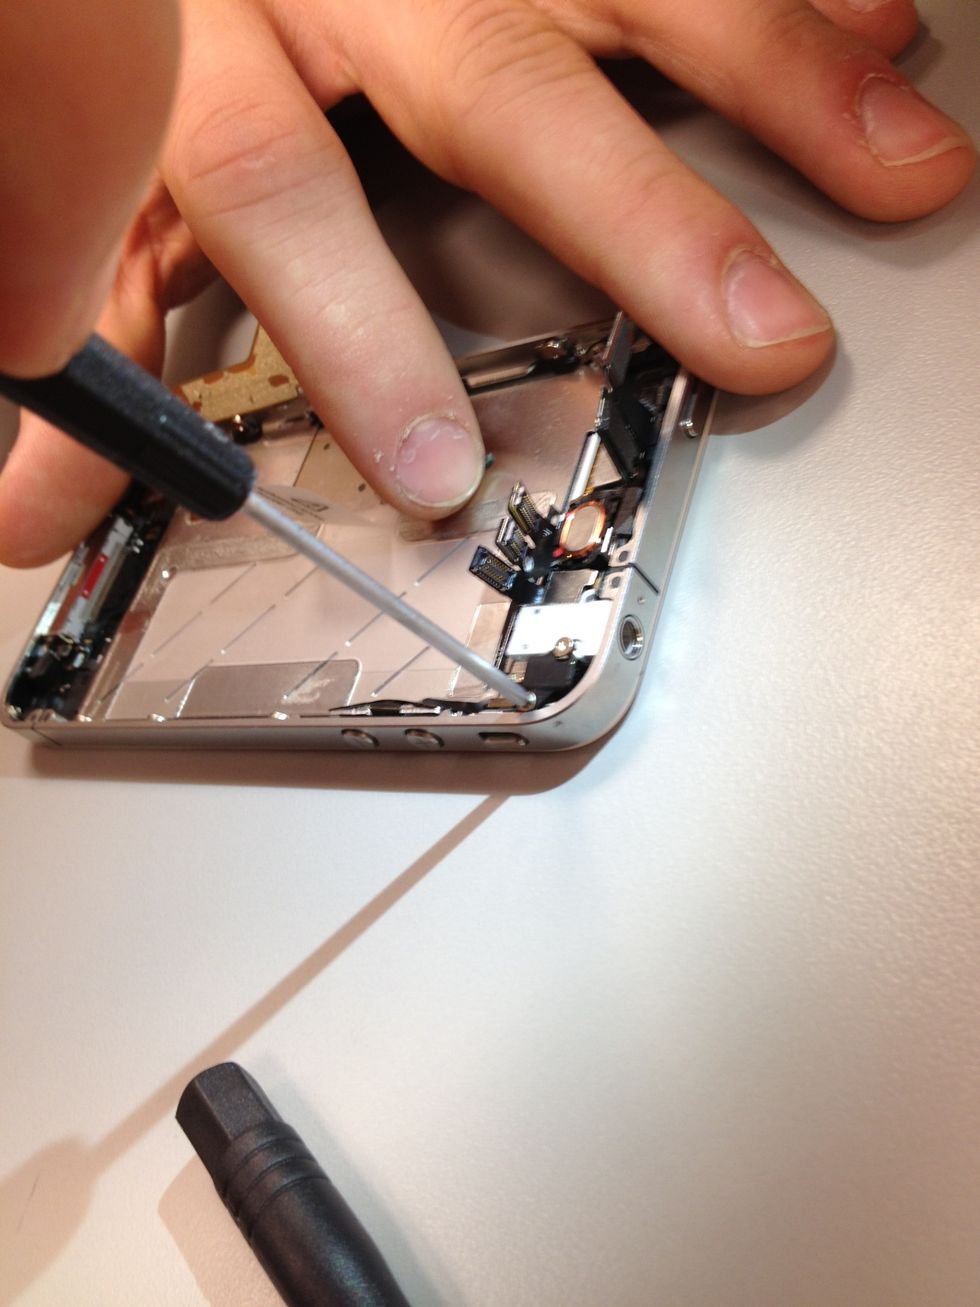
Directly above the front camera connector (the last one in the row) is a small flathead screw. 4.8 mm. That will need to be removed also.

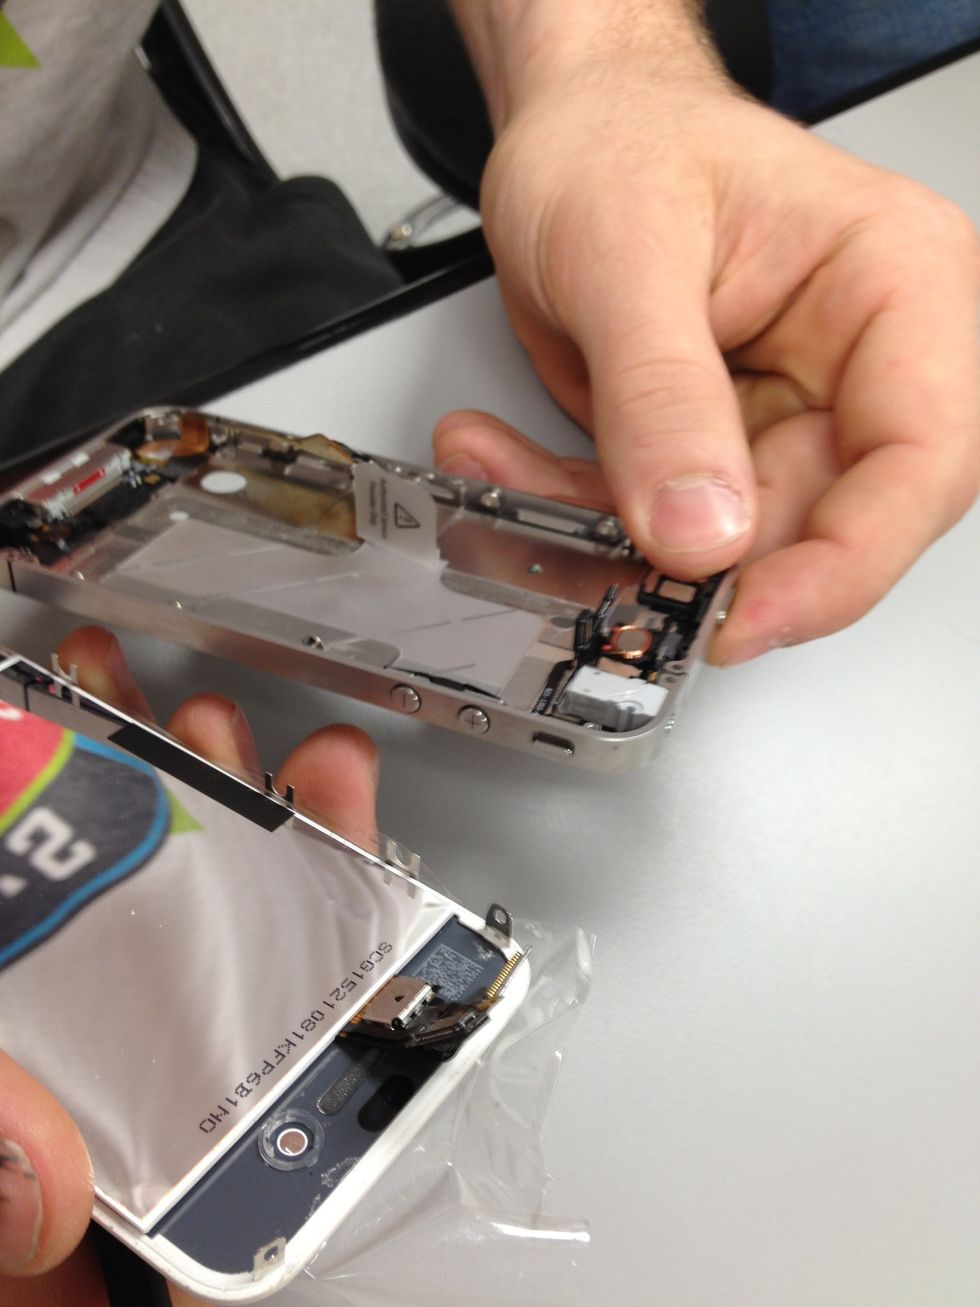
Remove the logic board. Make sure to take your time, as always.
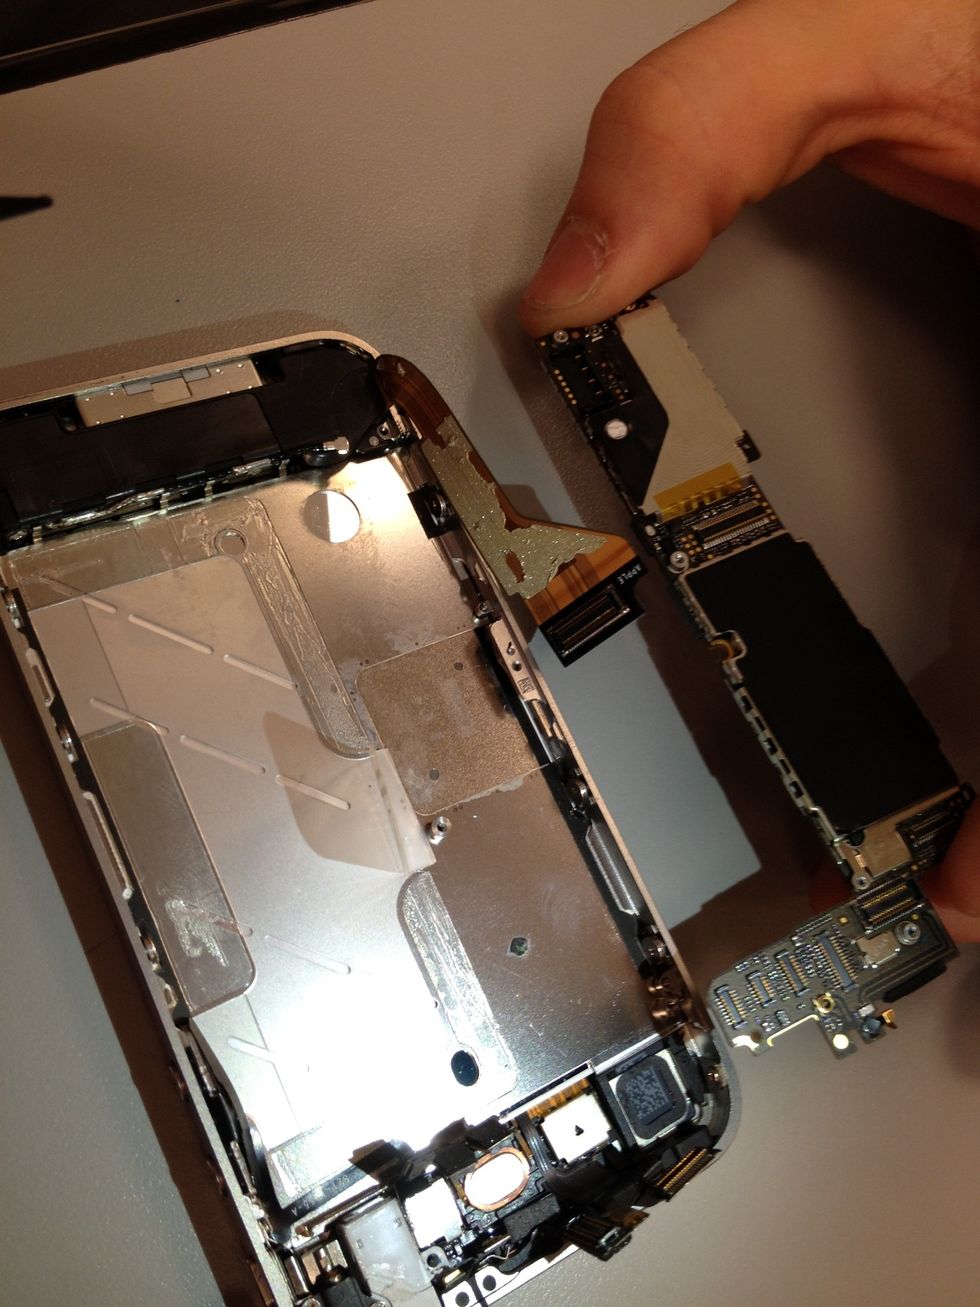
You have exceeded our expectations. Getting so close now. Set the logic board somewhere safe. If something happens to it, you are finished and hopefully you enjoyed having a iPhone while it lasted.
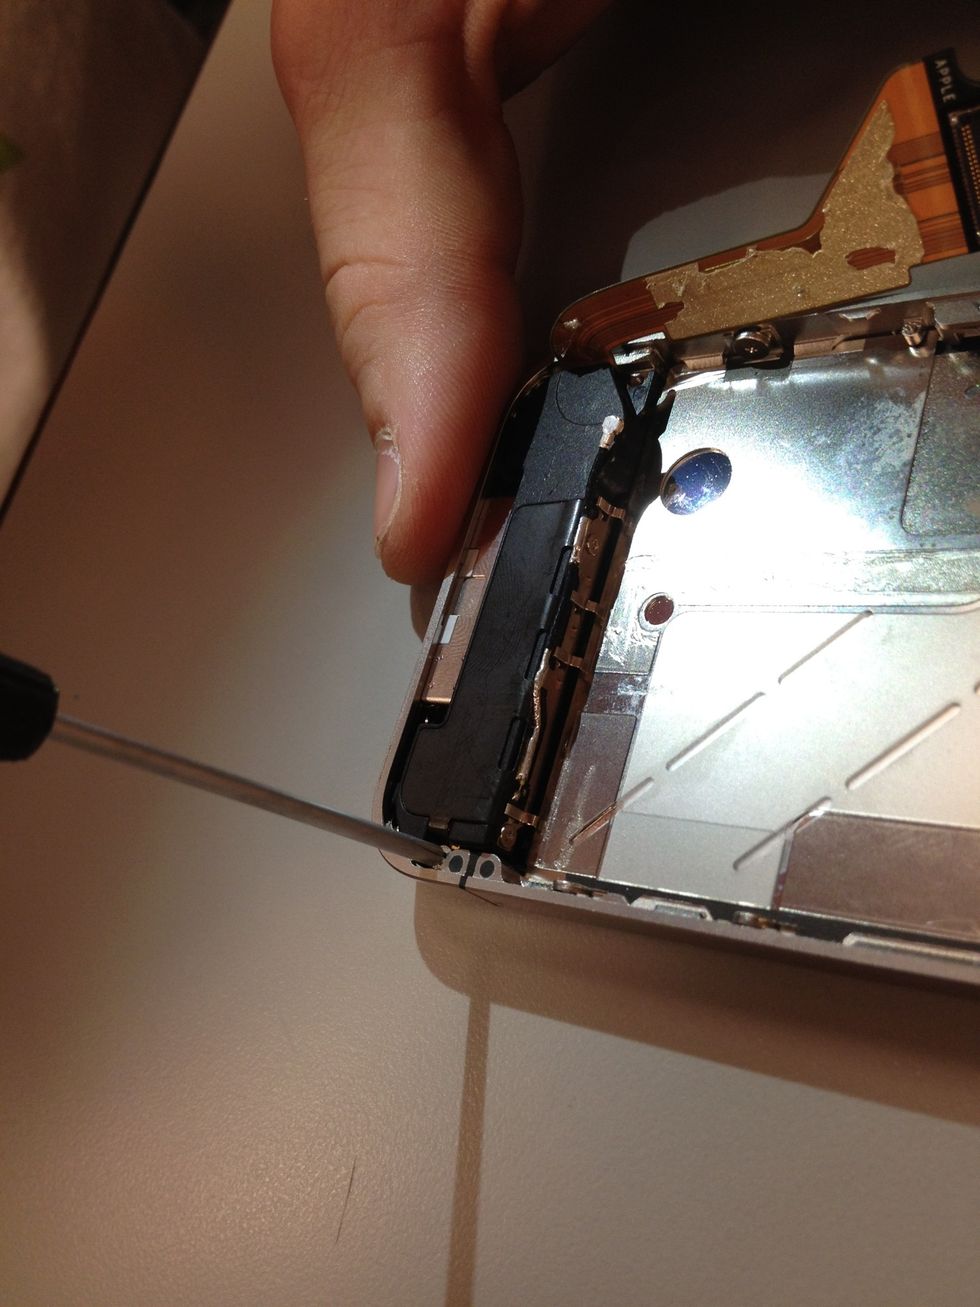
Back to the bottom. Let's get that speaker box out. Remove the screw holding it in place , found on the opposite side of the dock ribbon cable.

Remove the bottom speaker. Pay attention to the small clips at the top of it. When you go to put everything back together, be sure the clips rest under the lip of the LCD frame.
Shifting back to the top, on the opposite side of the camera you will find the vibrator. Two screws keep it in place, make sure you match them up correctly with your ScrewMat after removing.
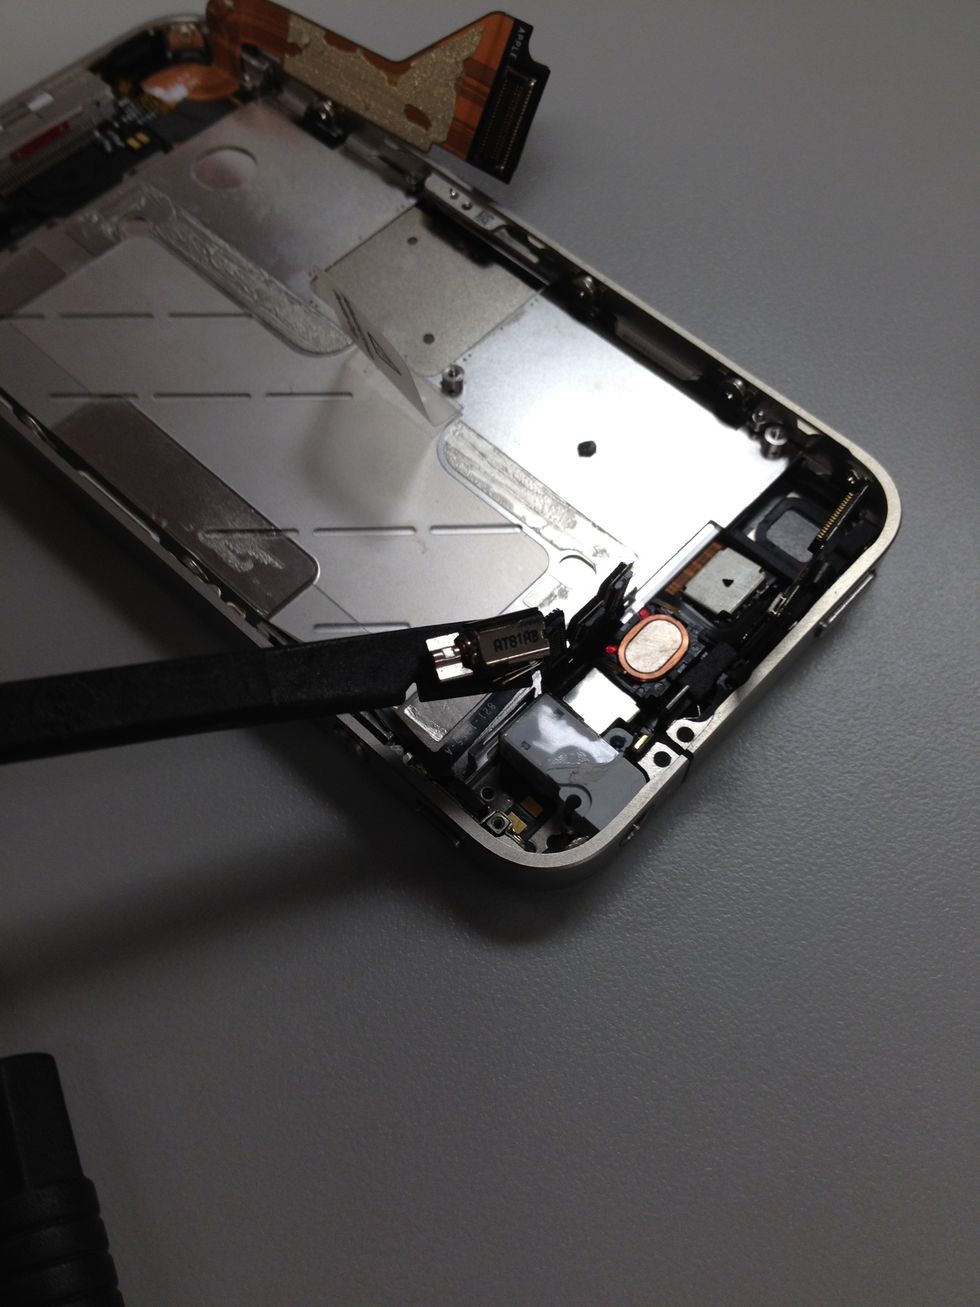
Out comes the vibrator!

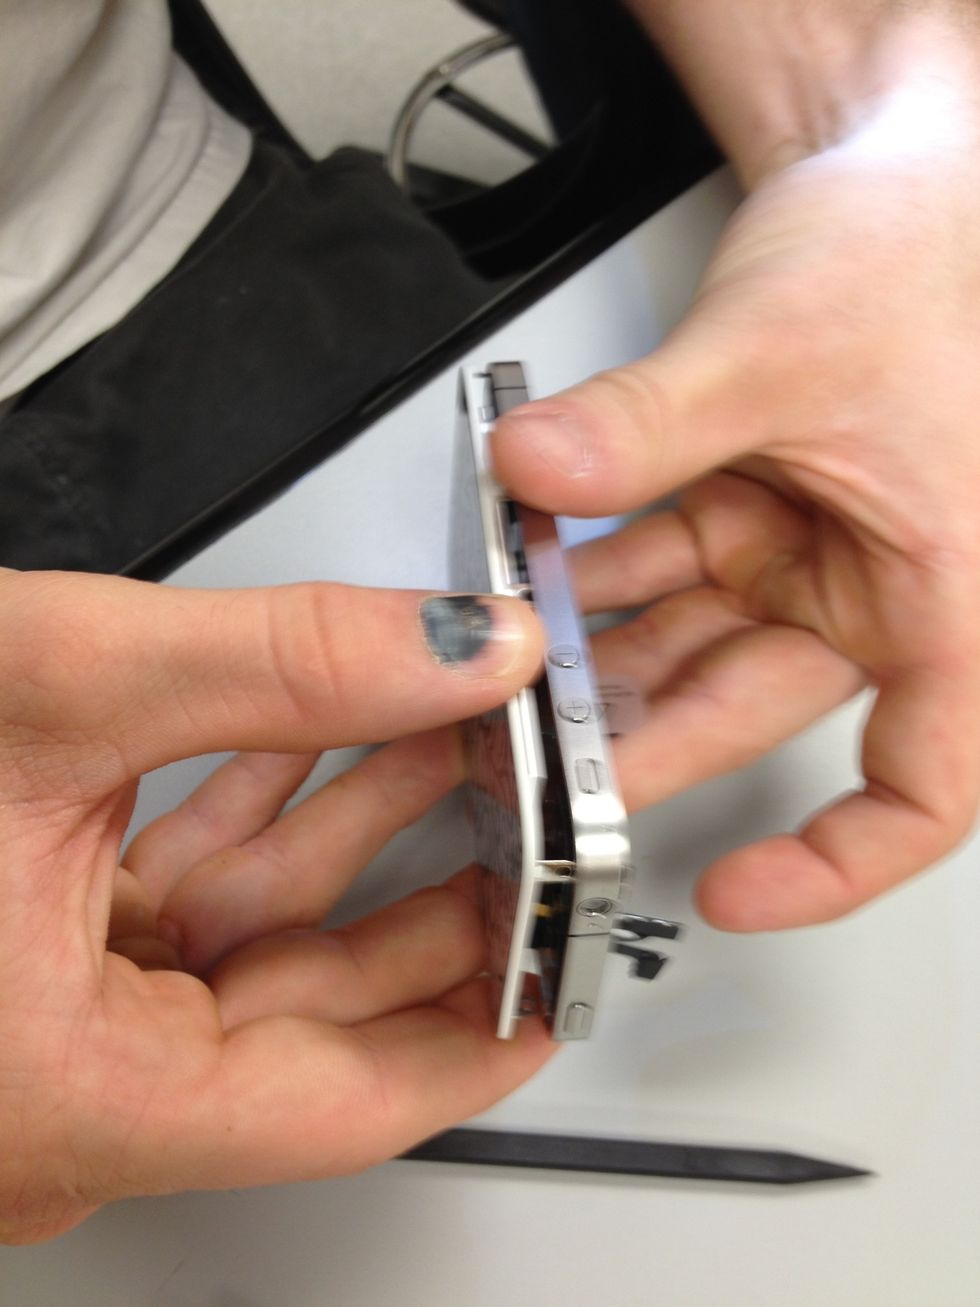
Time to hit the perimeter. The home stretch of removing the broken screen. Several screws need to be addressed to loosen up the frame, like this one here near the headphone jack.

Remove each corner screw and place them on the ScrewMat accordingly. As you will see below that box, the remaining screws on the sides need to just be loosened a bit.

If needed, the side screws & washers can be fully removed, we won't judge you if you go that route instead. More screws to keep track off, thats your problem not ScrewMats.
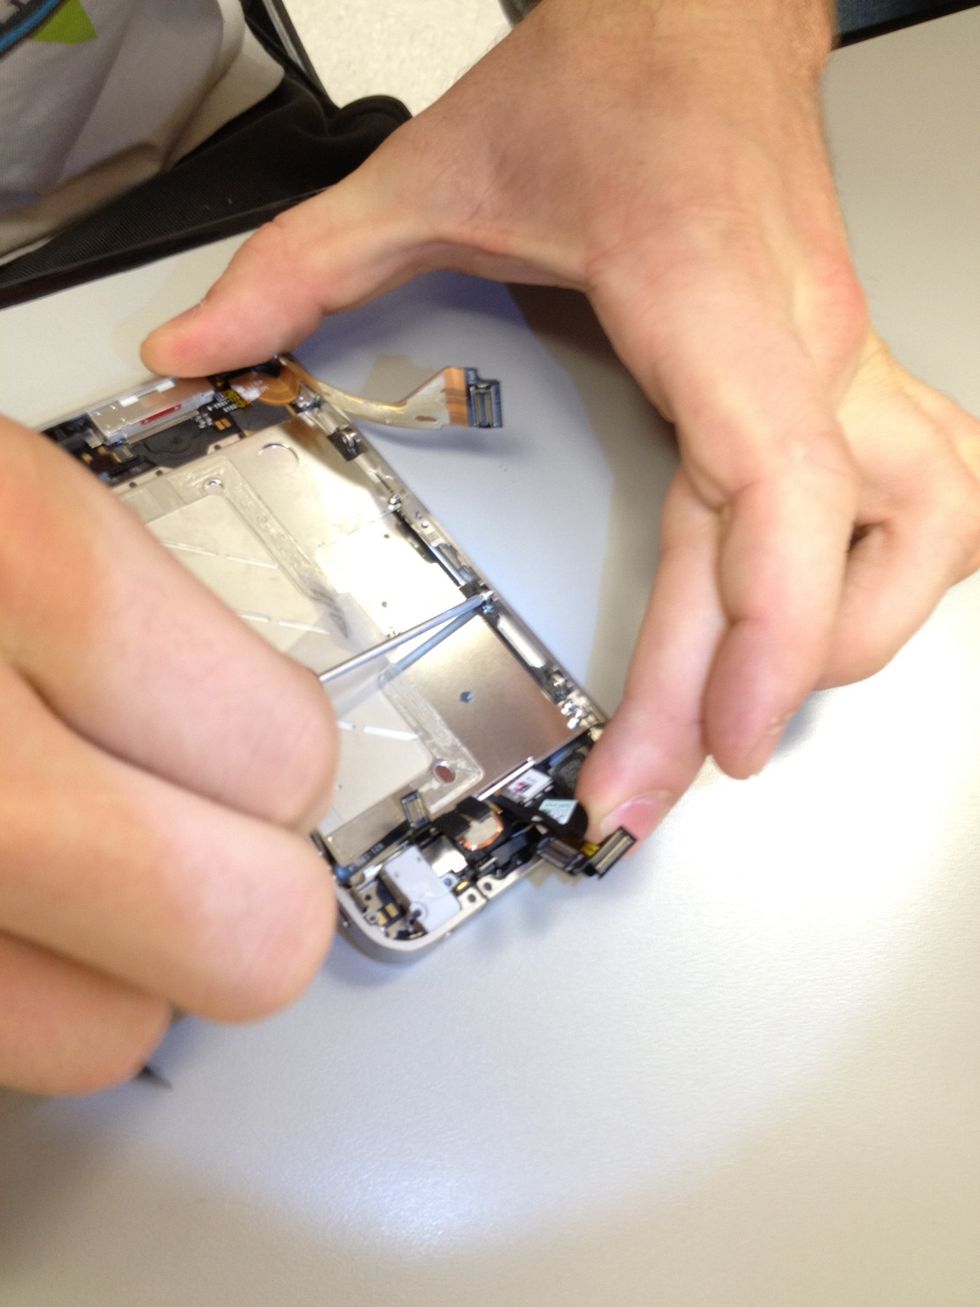
Grand finale of the removal process. Don't rush this, enjoy the moment.
That's it, a little further. Can you believe you just completely disassembled an iPhone?
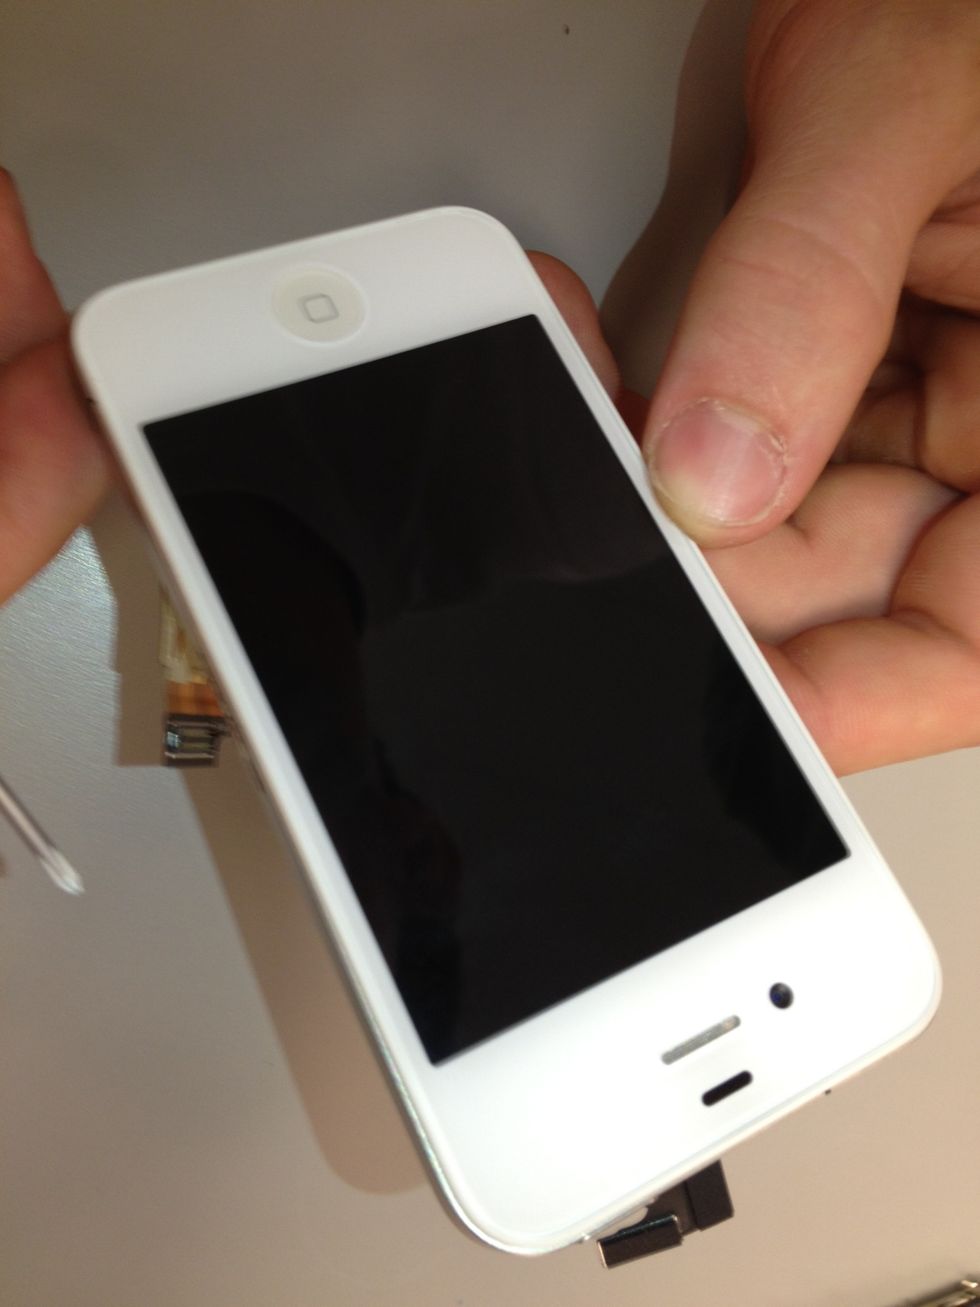
This may be a good time to inform you we aren't going to be helping you put it back together. That said, go ahead and whip out that shiny new screen.
You remember this part right? Just like you took it apart, start piecing back together that beautiful iPhone.
Line the frame up with this side screws.
Start feeding the digitizer and LCD cables through. Don't pull too tight. You break it you buy it! Make sure they aren't pinched up before moving forward.
You got it from here, just retrace your steps. We can't hold your hand forever, the best way to learn is by doing. Who knows, you may get good enough to start a repair company, you can make millions!
Look at that, we did get a pic of the flathead screw being removed after all!