The Conversation (0)
Sign Up
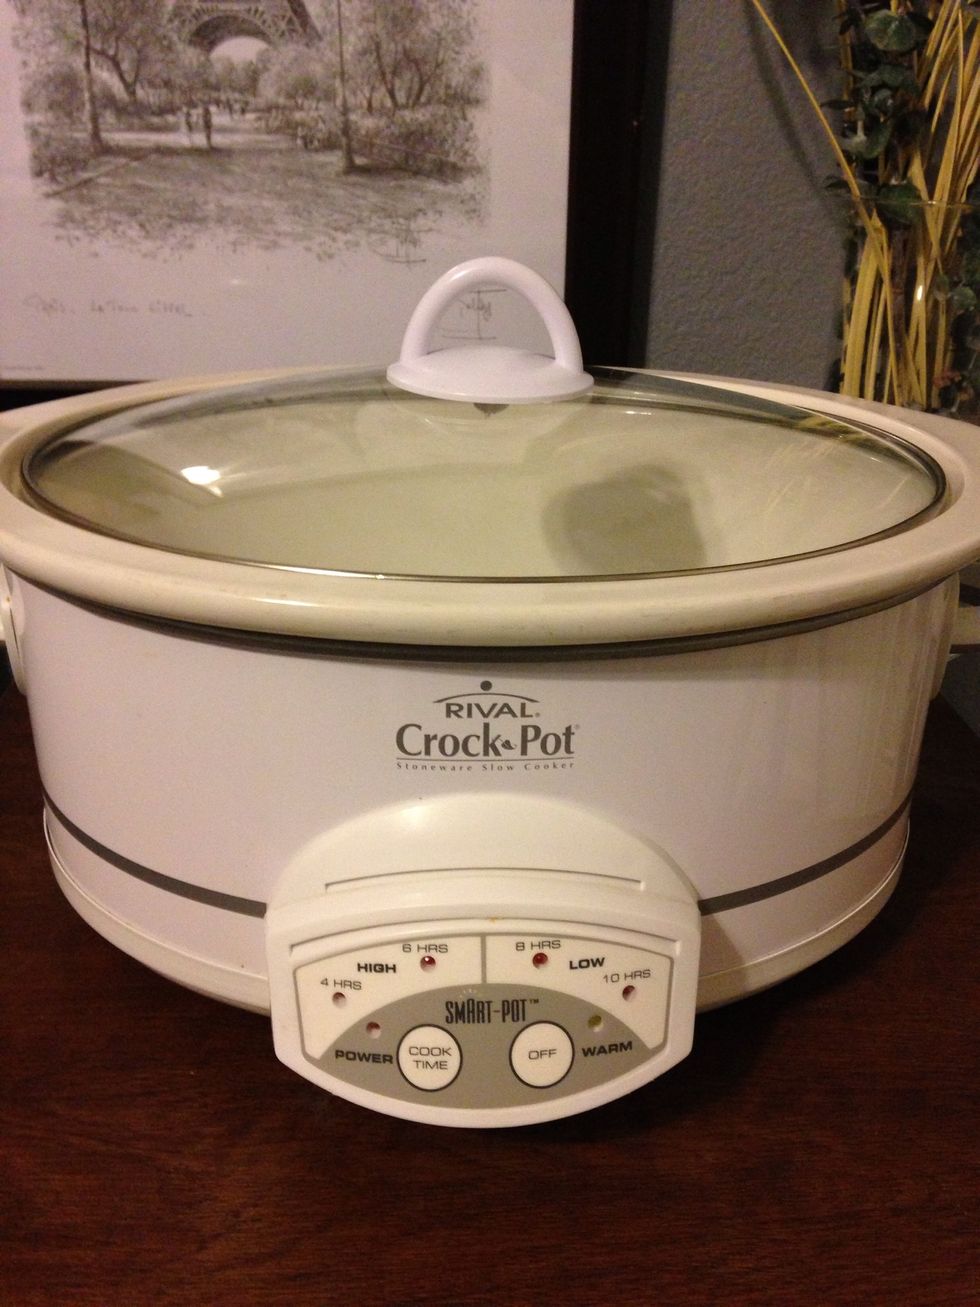
I love my Crock Pot! But, 'ya know what I don't love?
The poor construction of the handle!!!
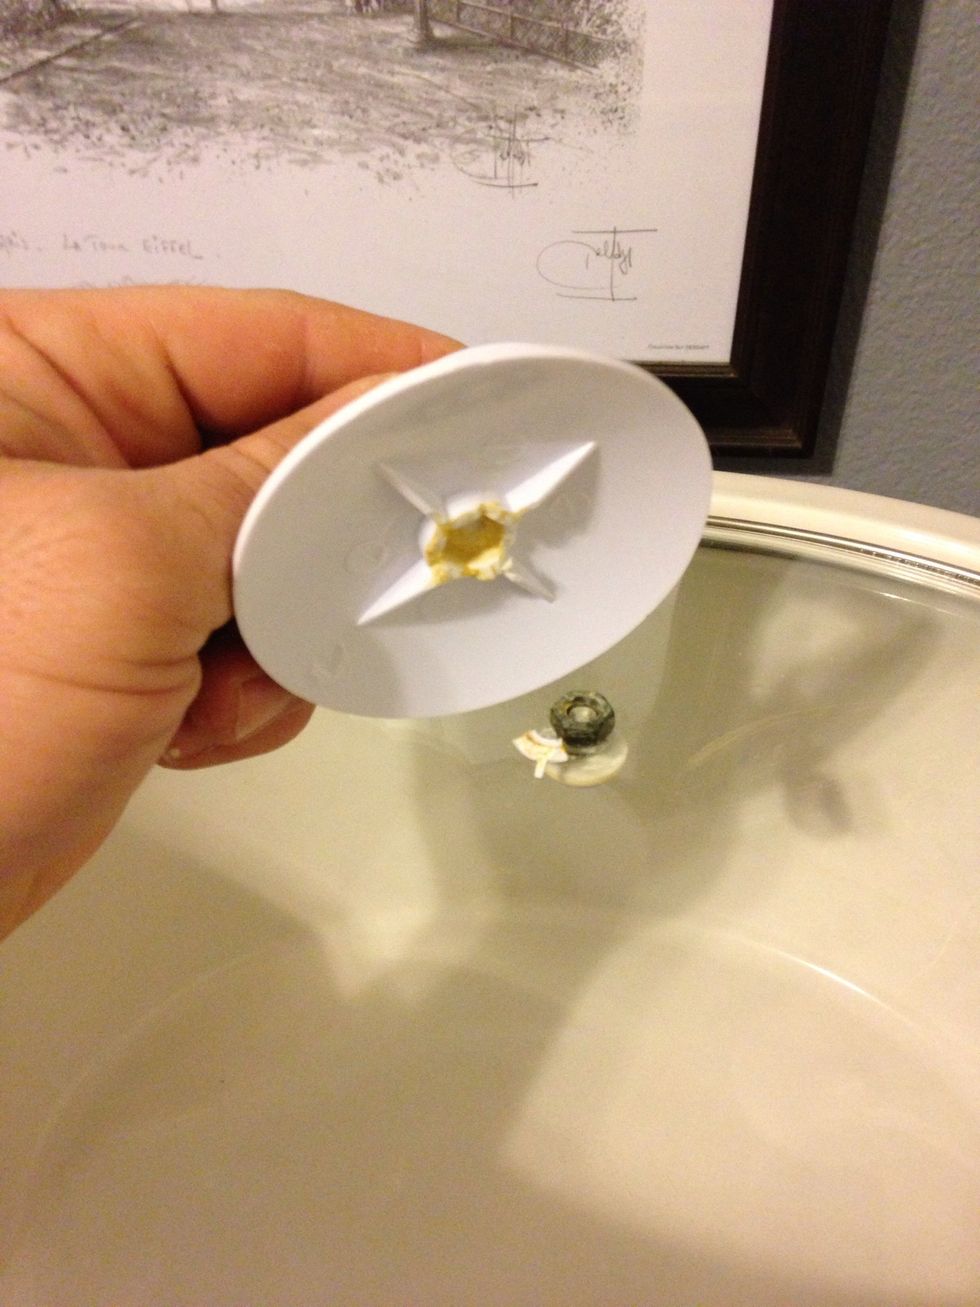
So then you're left with this. Argh!!! Don't worry though, we're gonna fix this and make sure it NEVER happens again.
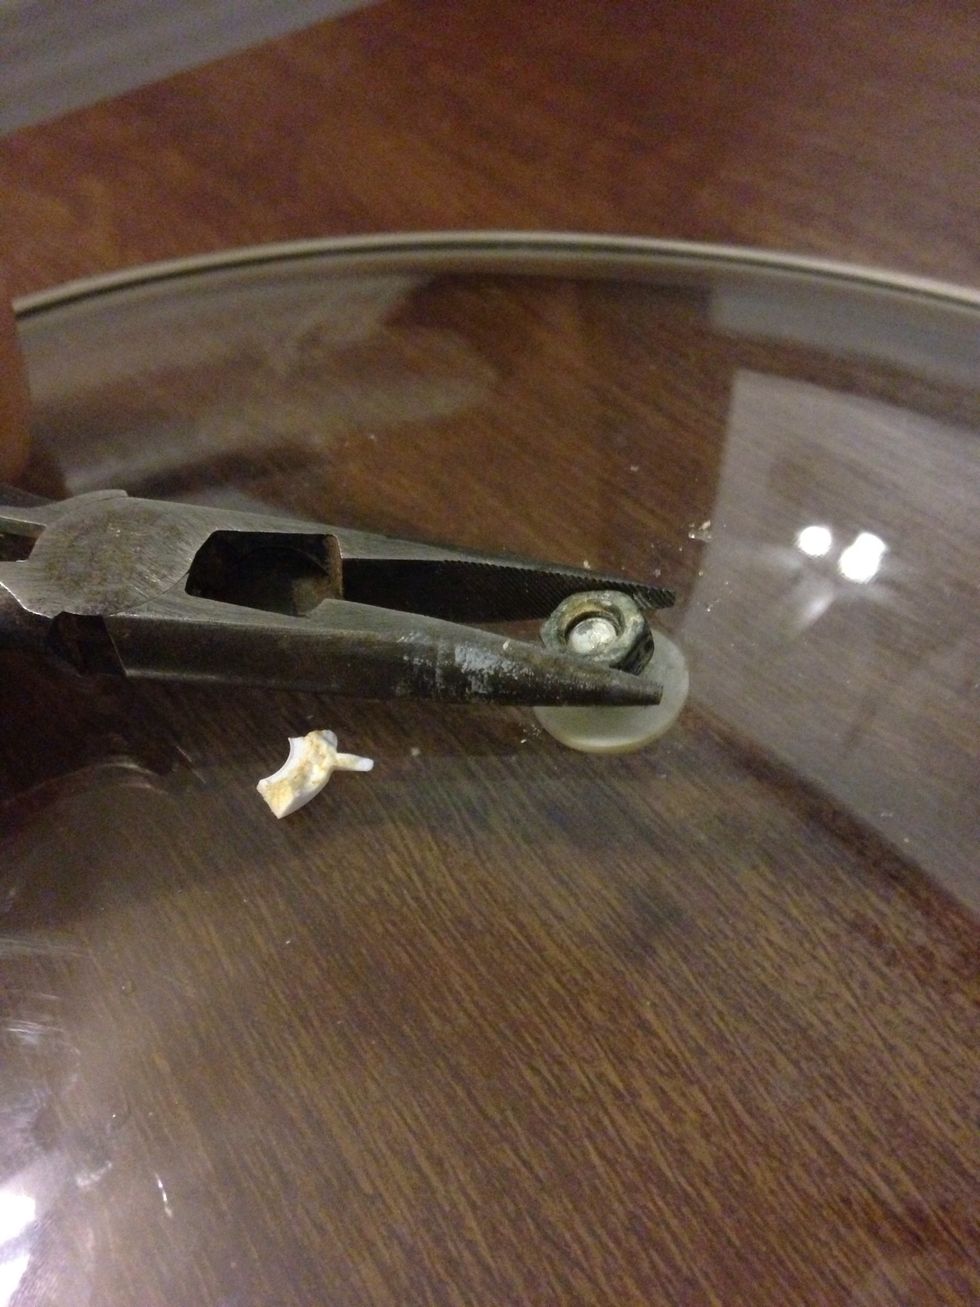
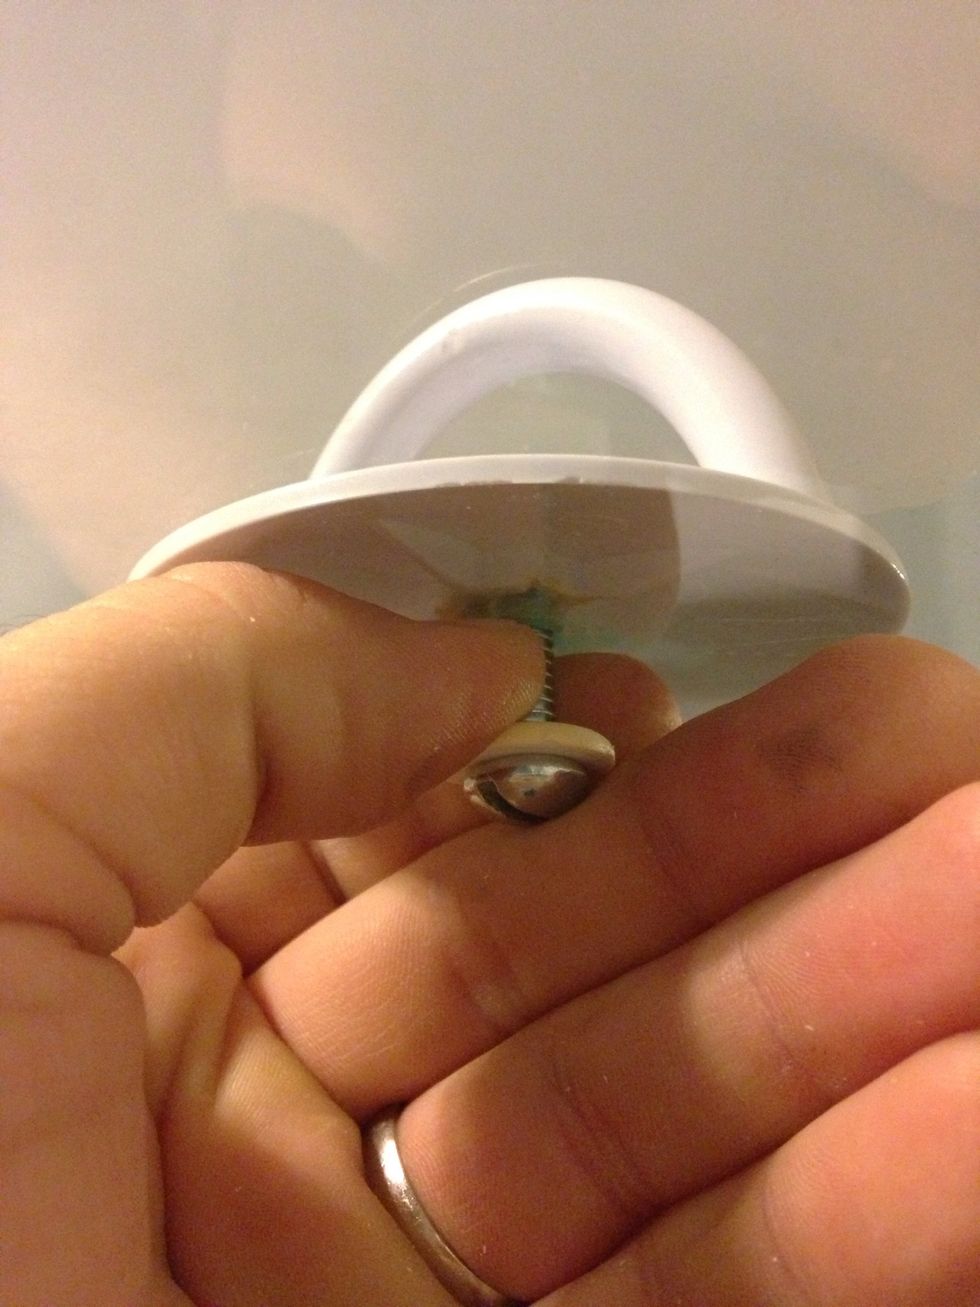
Grab ahold of the bolt with your needle nose pliers.

While holding the pliers tight, turn the lid over and unscrew the screw.
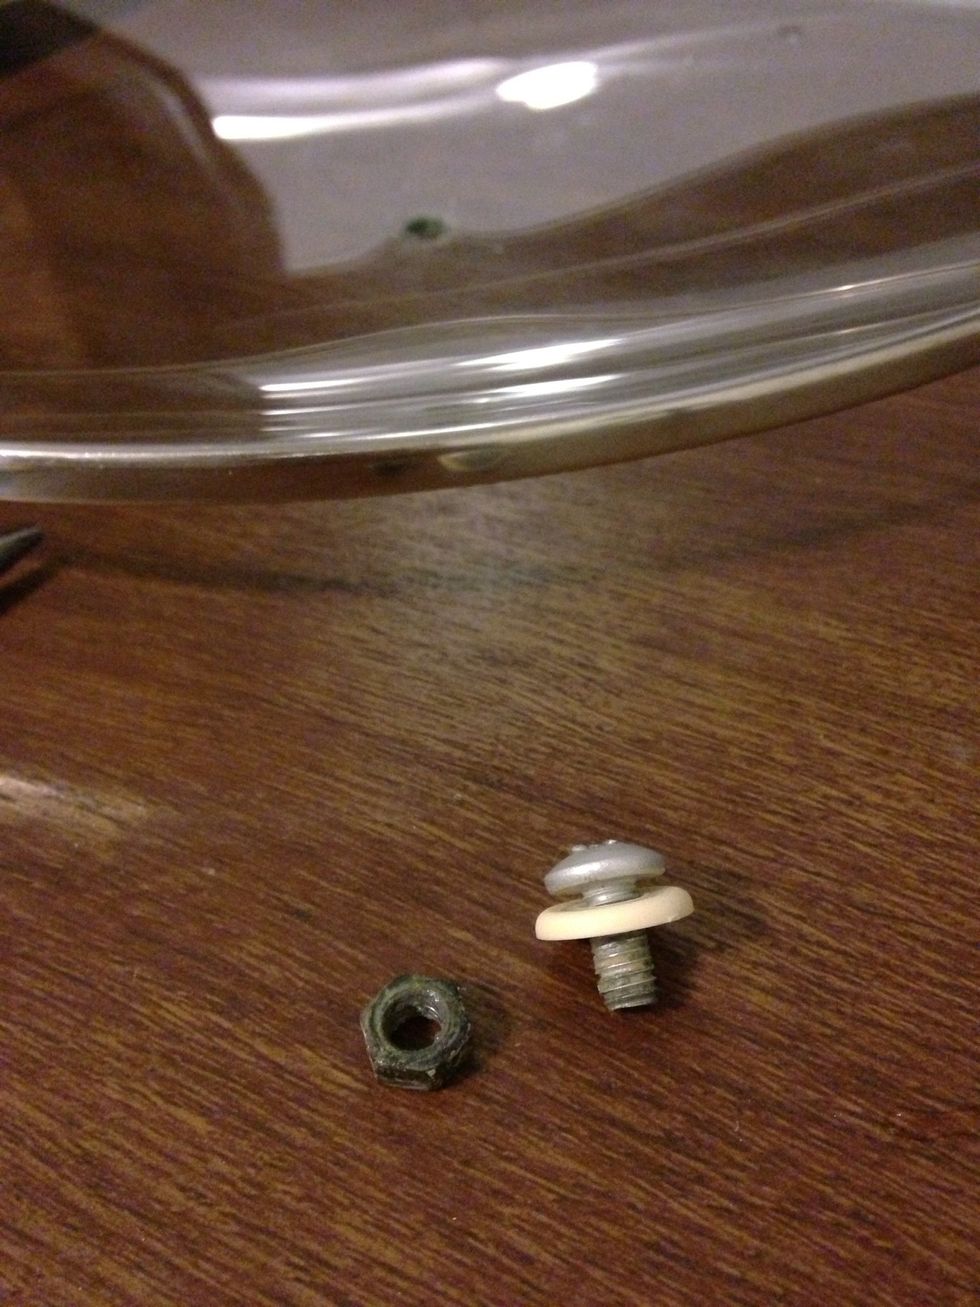
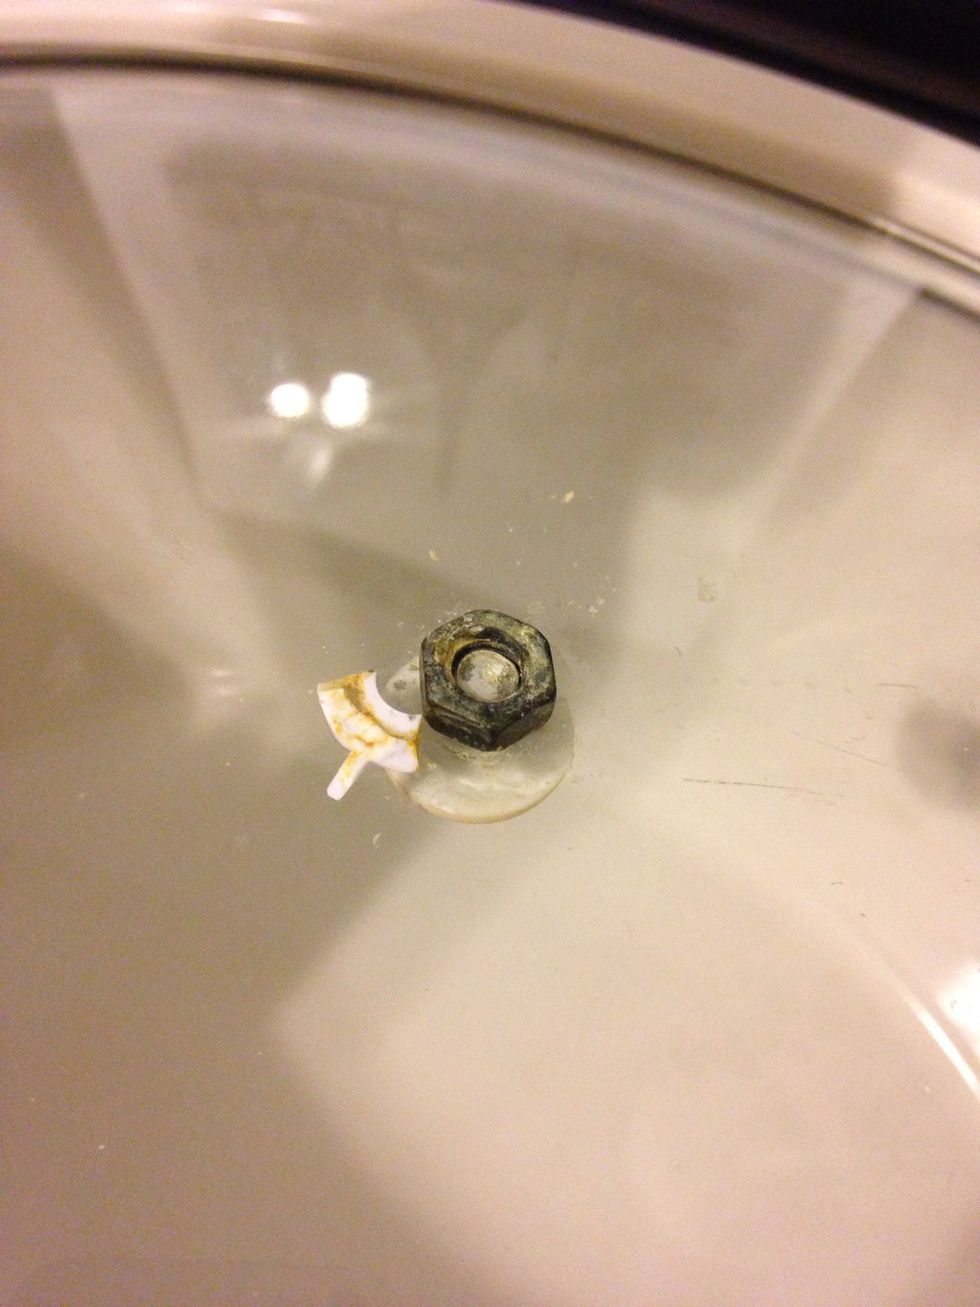
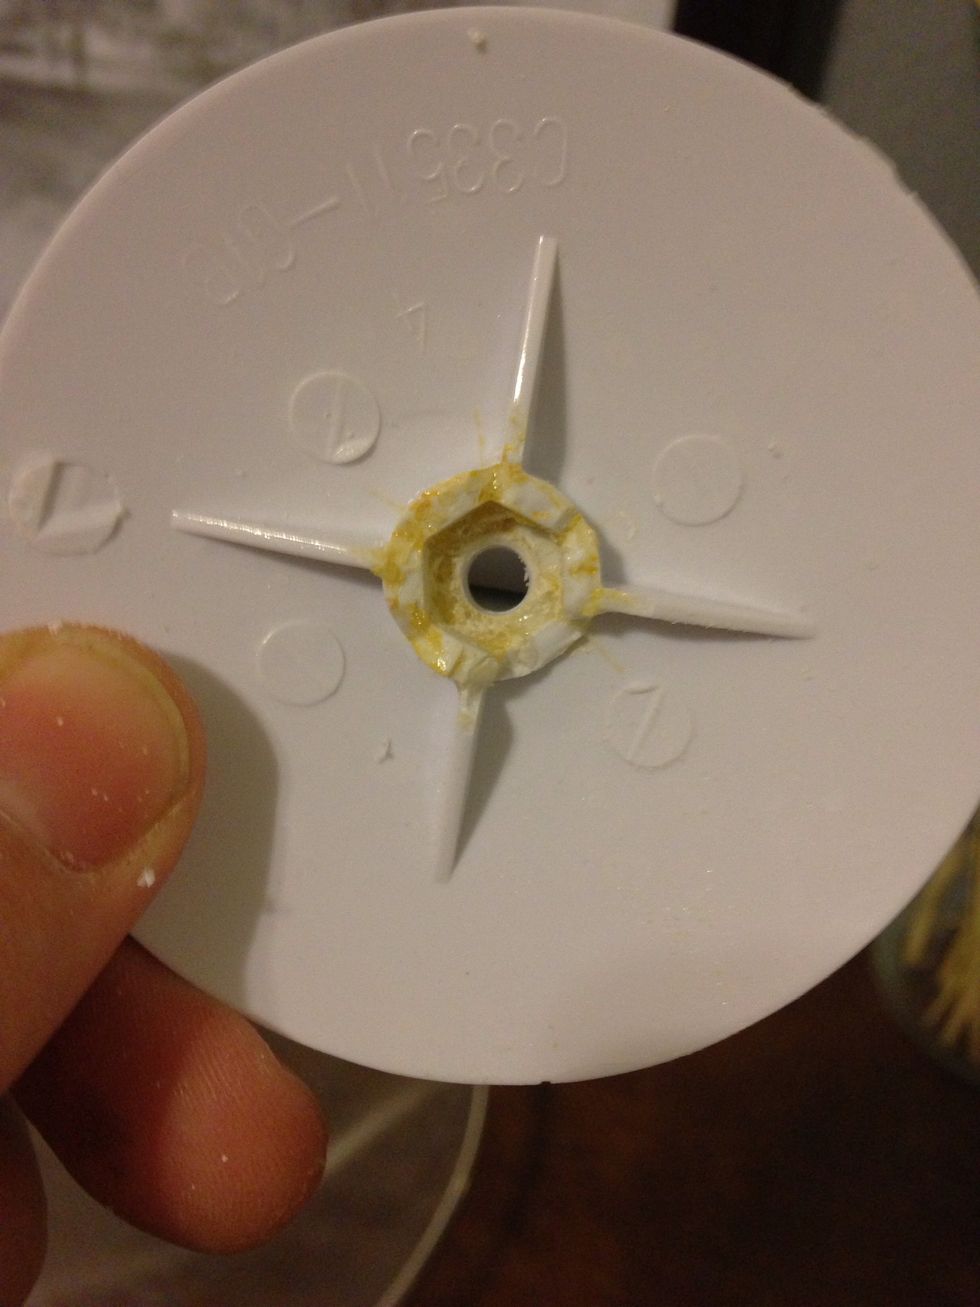
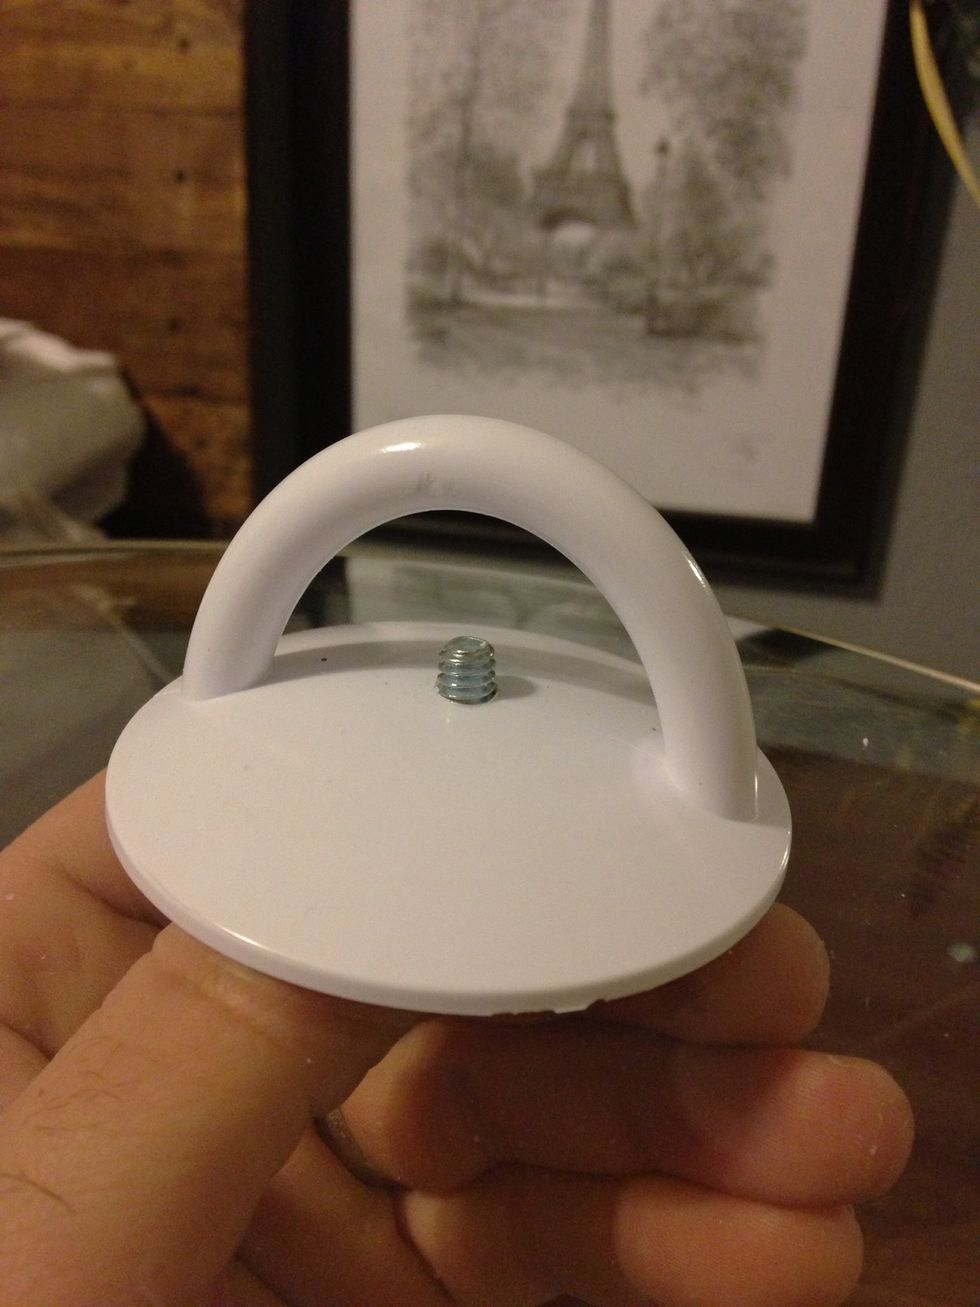
You should be left with this.
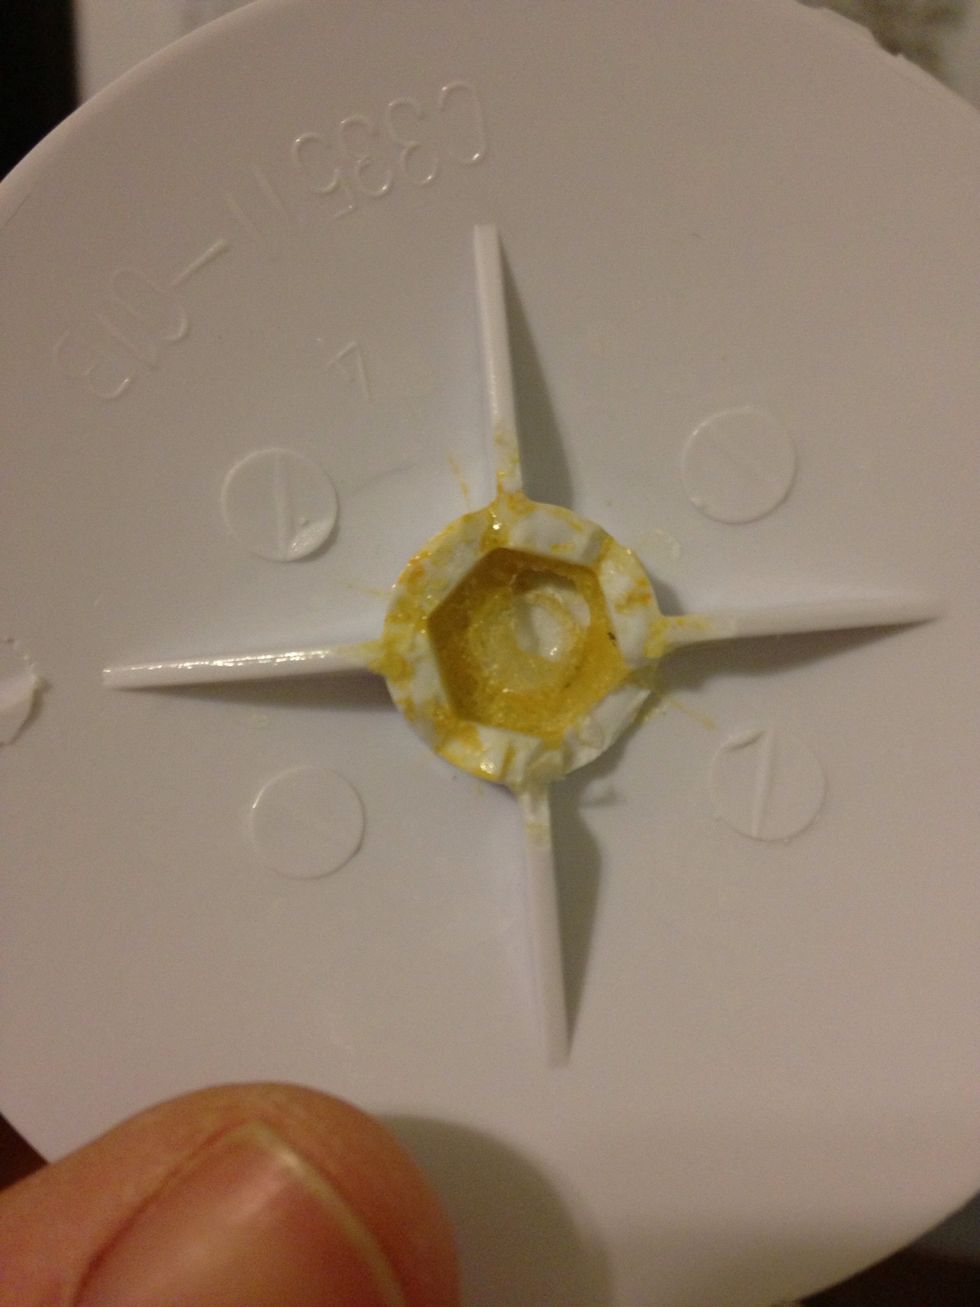
You can see here that they used a not-so-great adhesive. Go ahead and just scrape off the junk in the center. I just used the needle nose pliers to clean it out.
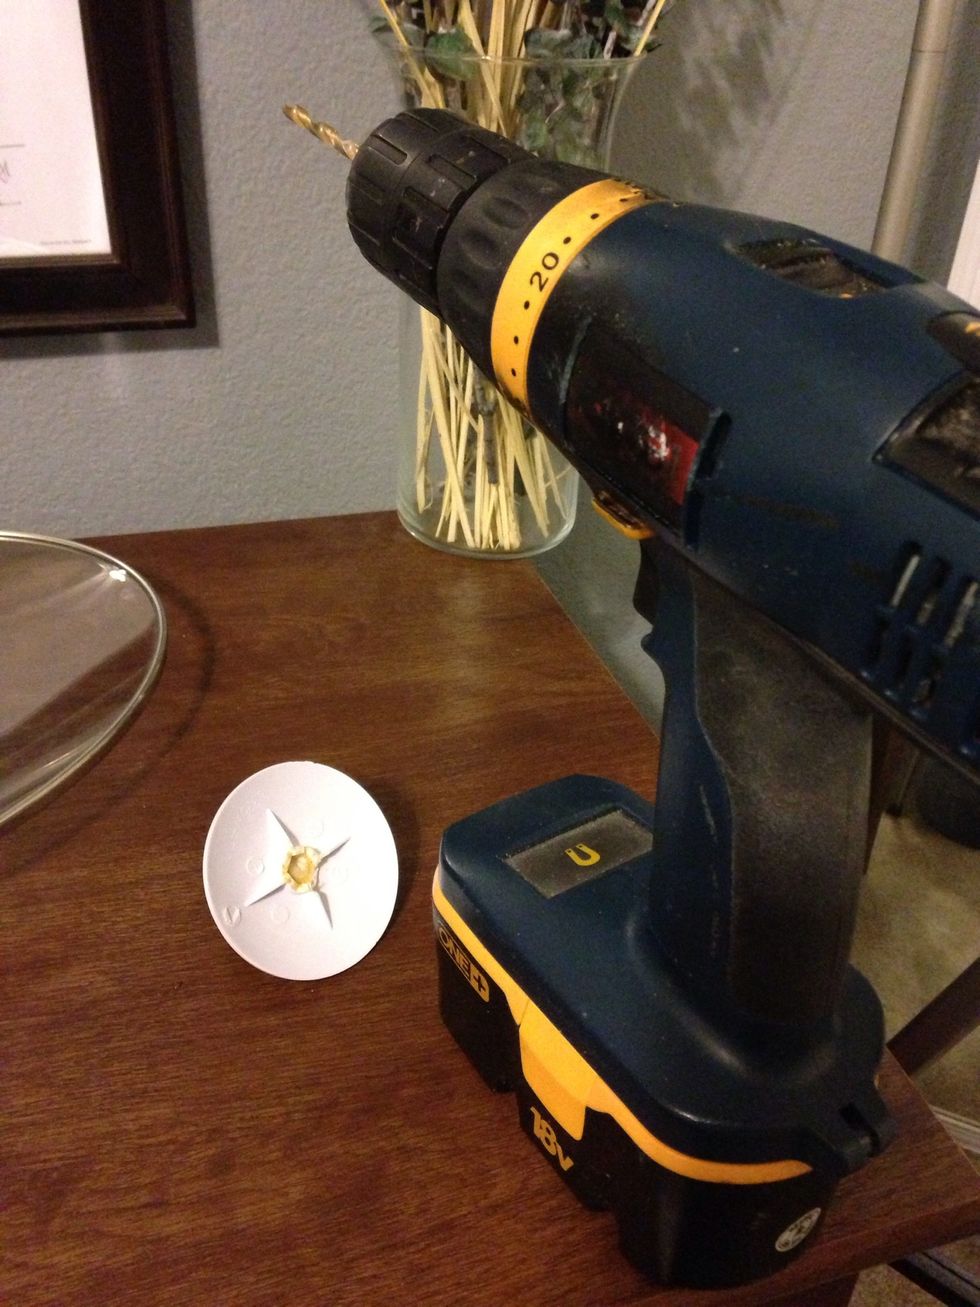
Next, grab your drill along with a 1/4in. bit.
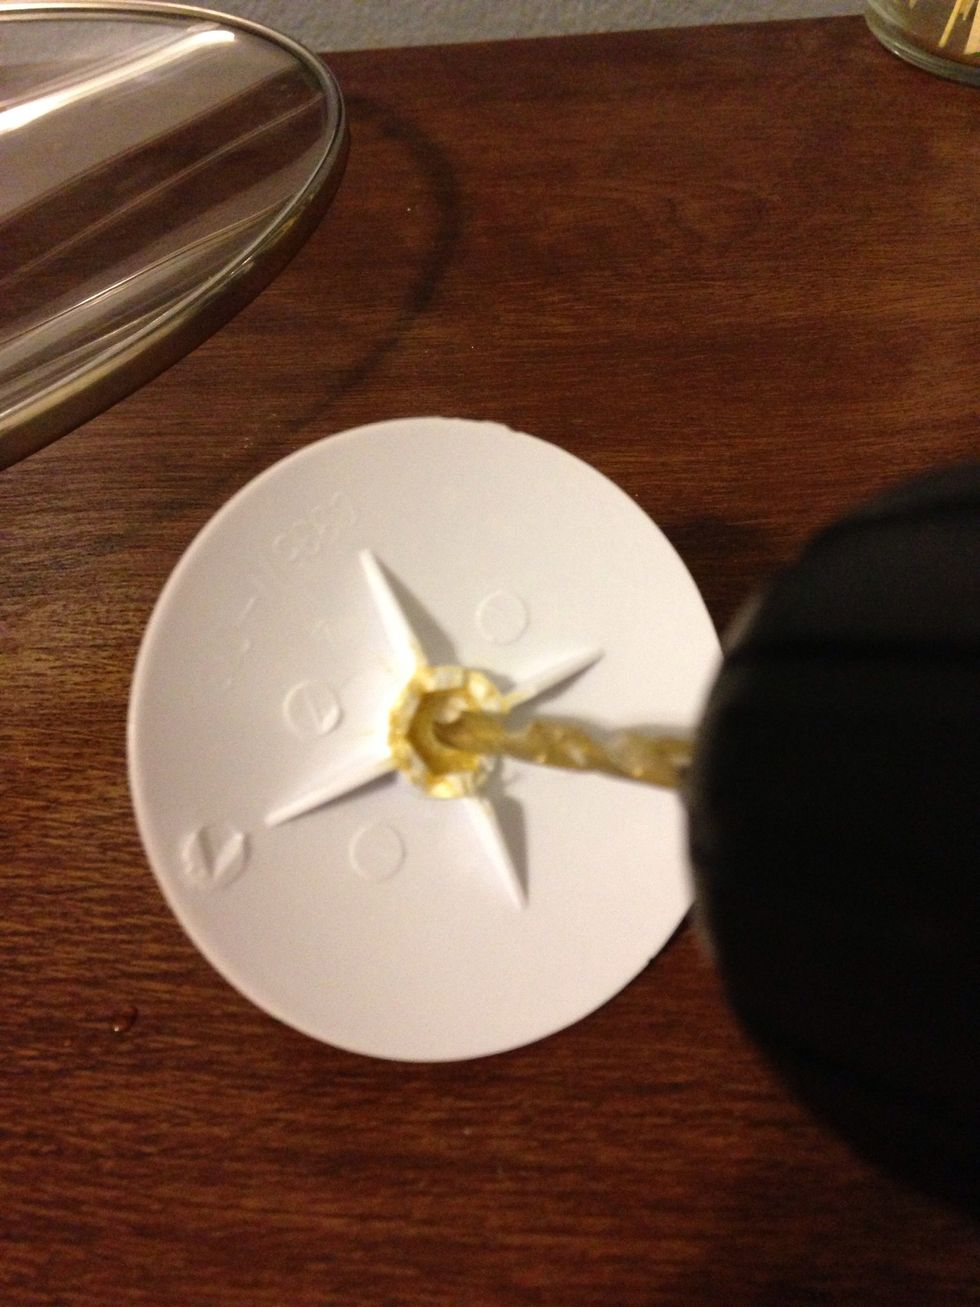
Just drill a hole right in the center.
Now that we have our hole drilled, it's time to connect it all.

I snagged a 1/4in screw and bolt that I had laying around since the original wasn't long enough. If you don't have any, you can buy a 10 pack of these from Walmart for .98¢ so no worries.
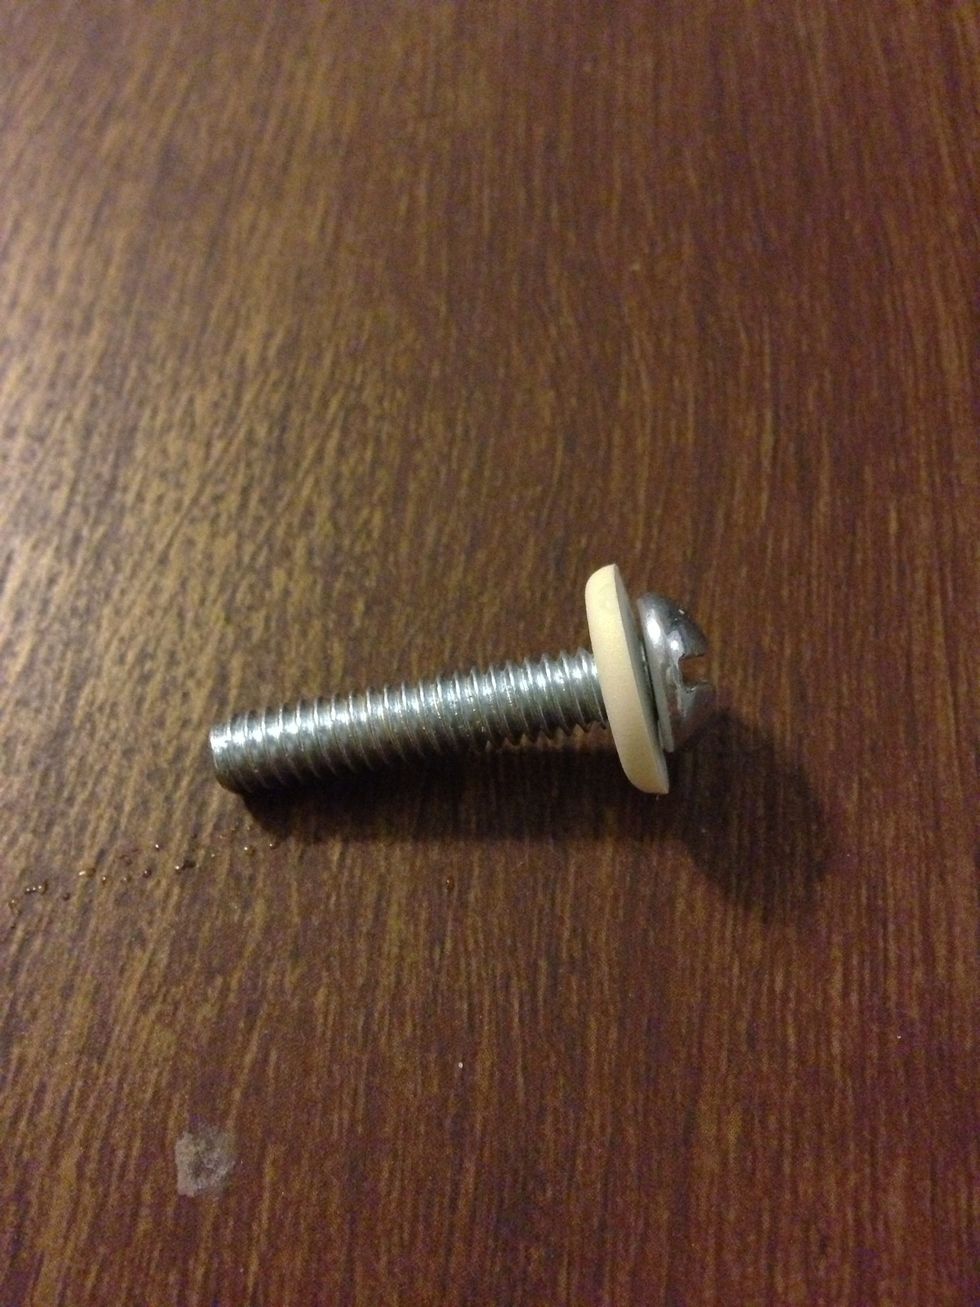
I saved the plastic washer from the original screw to use with the new one. I'd highly recommend having some sort of plastic or felt washer since its going to be tightened against glass.
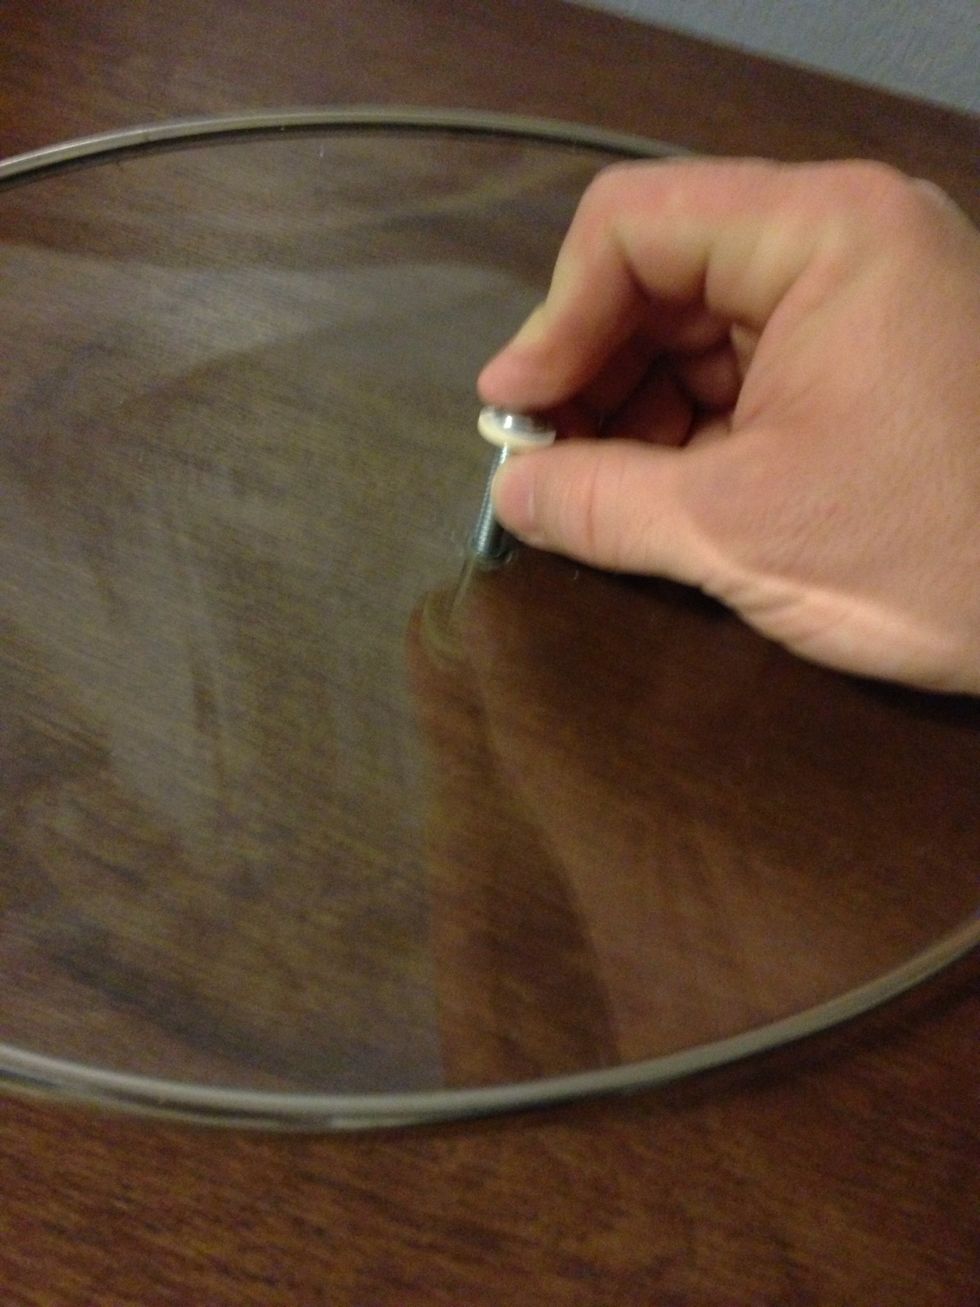
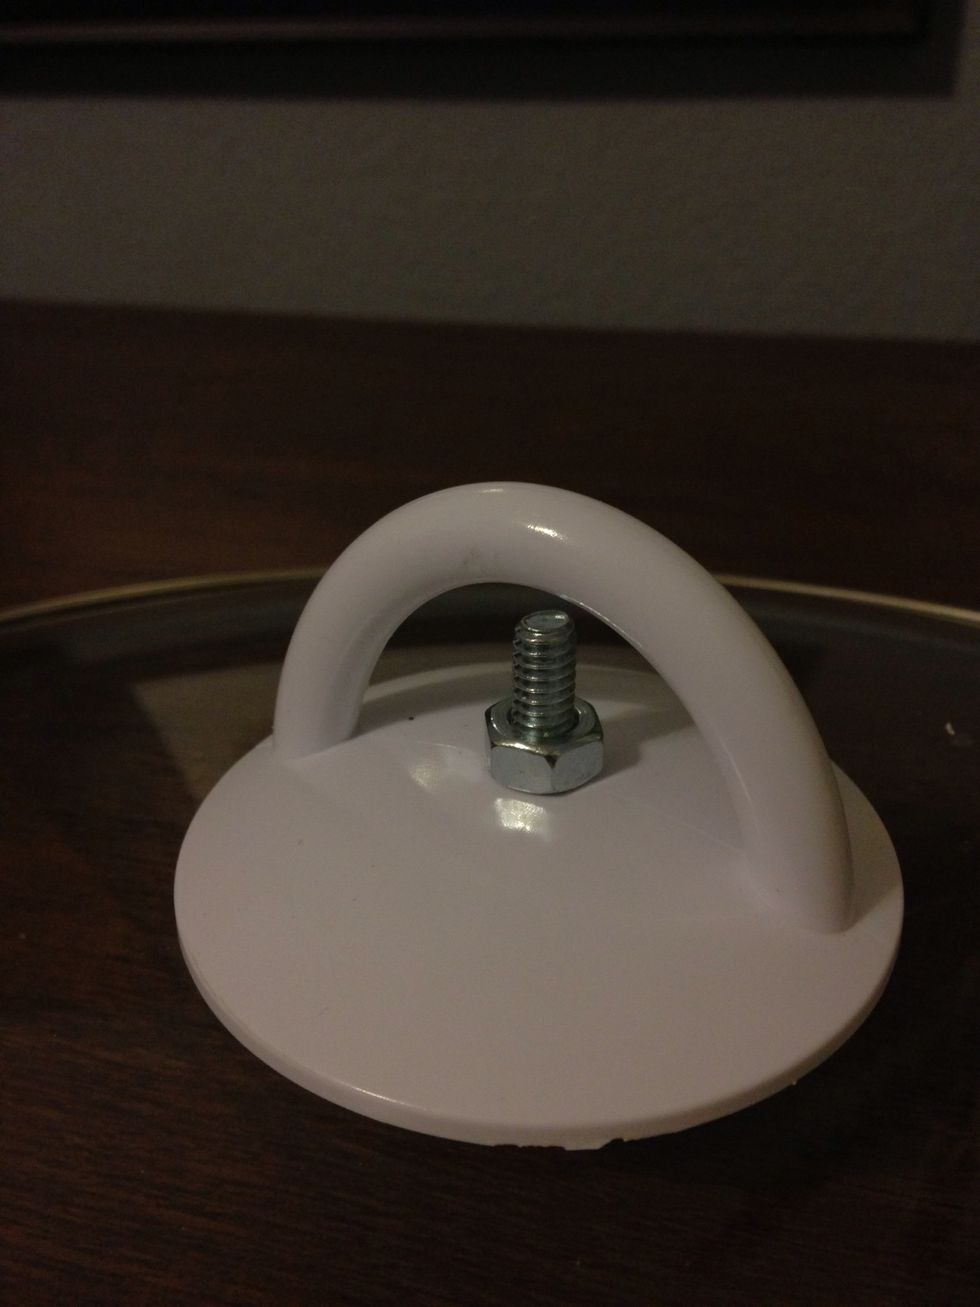
Insert the screw from the inside of the lid towards the top.
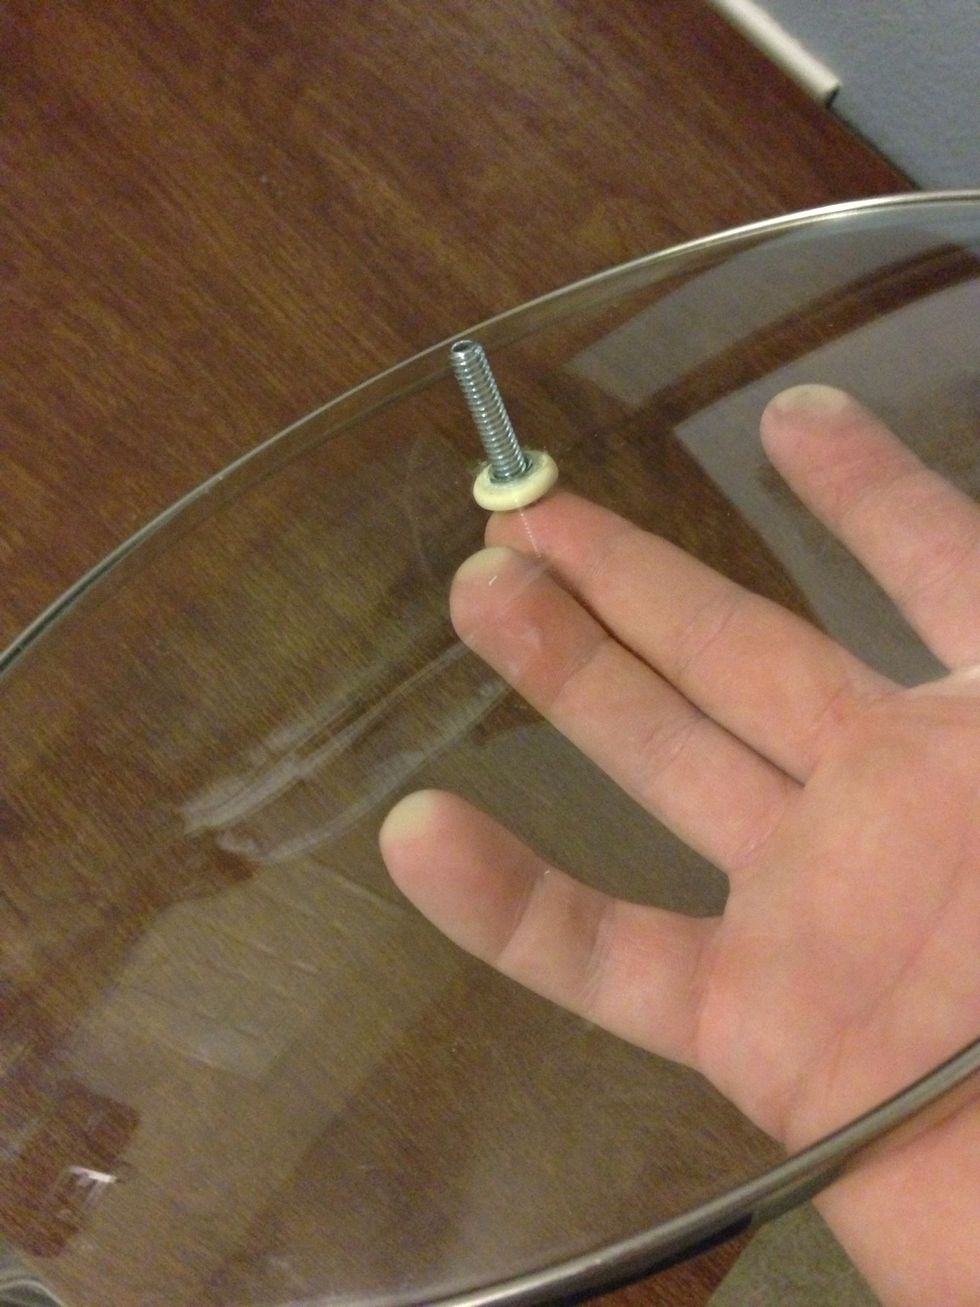
When you flip over the lid, the screw should be pointing upwards.
You'll want to leave a little room so that the bolt can fit on.
With a little clearance, you should now be able to attach the bolt to the screw.
Go ahead and twist the bolt until its taught.
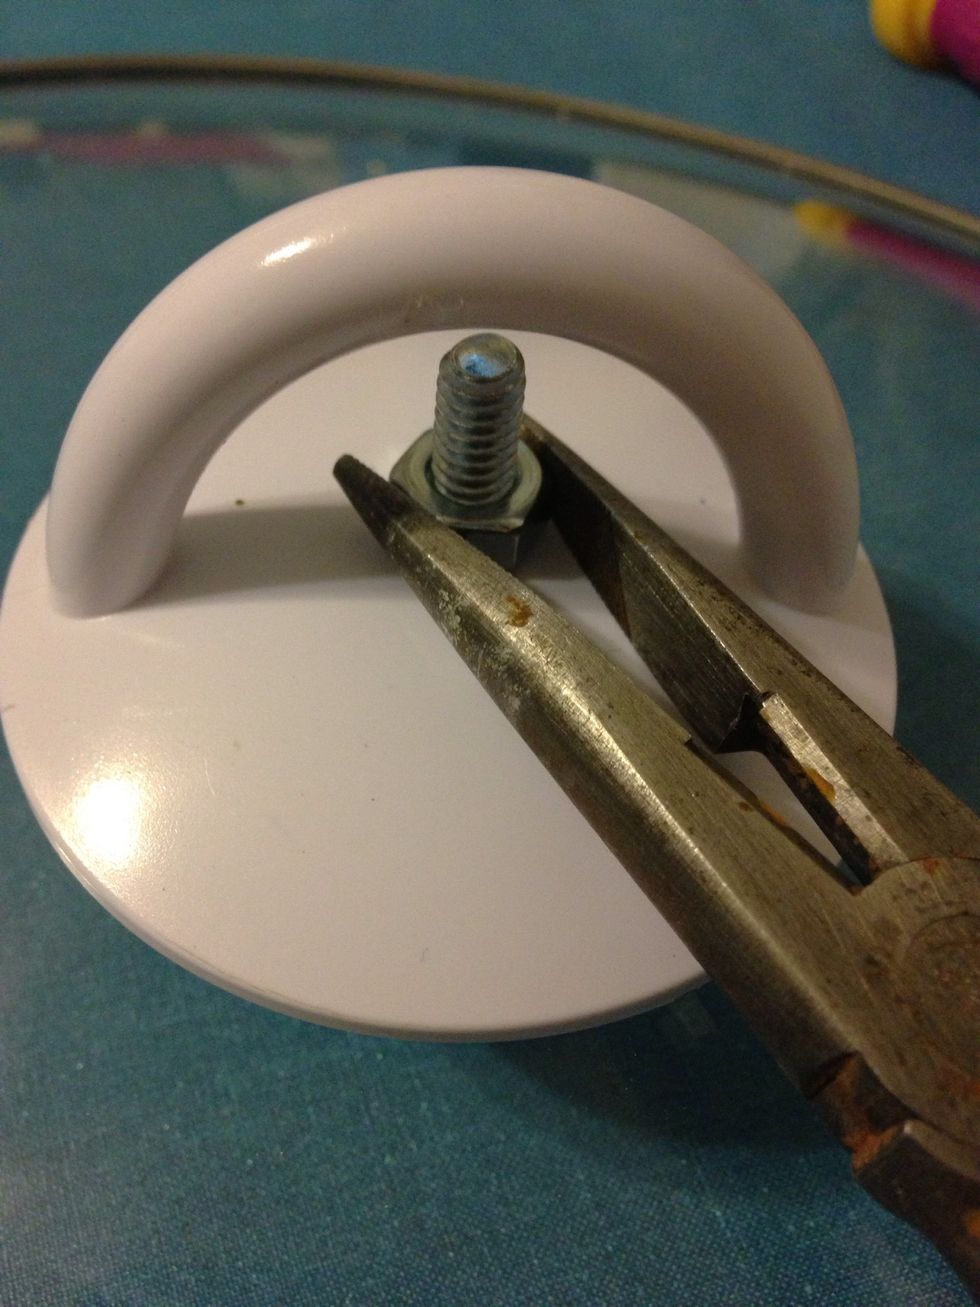
Were going to do the same thing we did before with the needle nose pliers and hold the bolt in place.
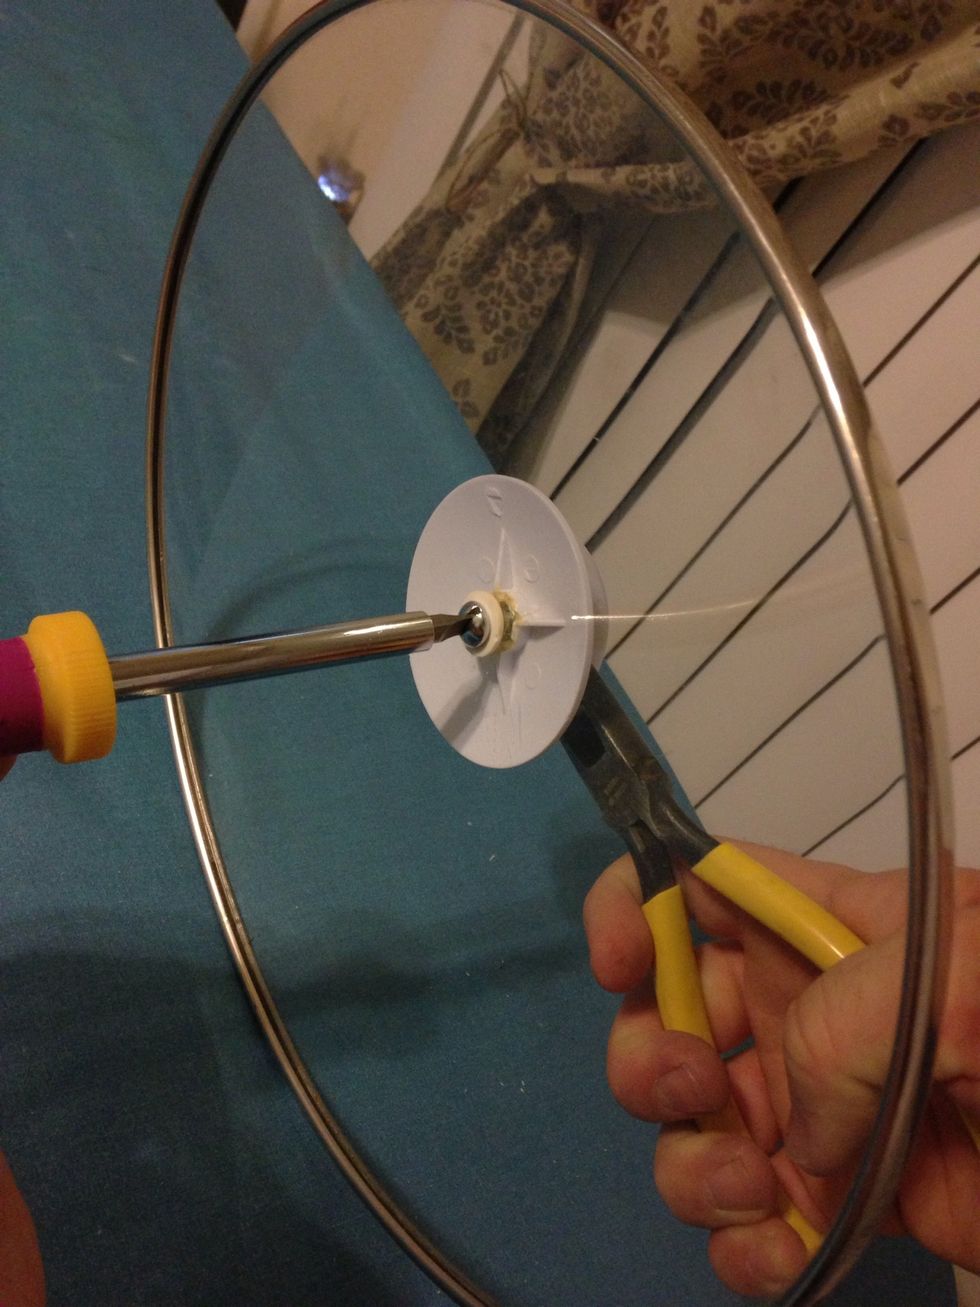
With one hand, use your screwdriver to tighten the screw while simultaneously holding the bolt in place with the needle nose pliers in the other hand.
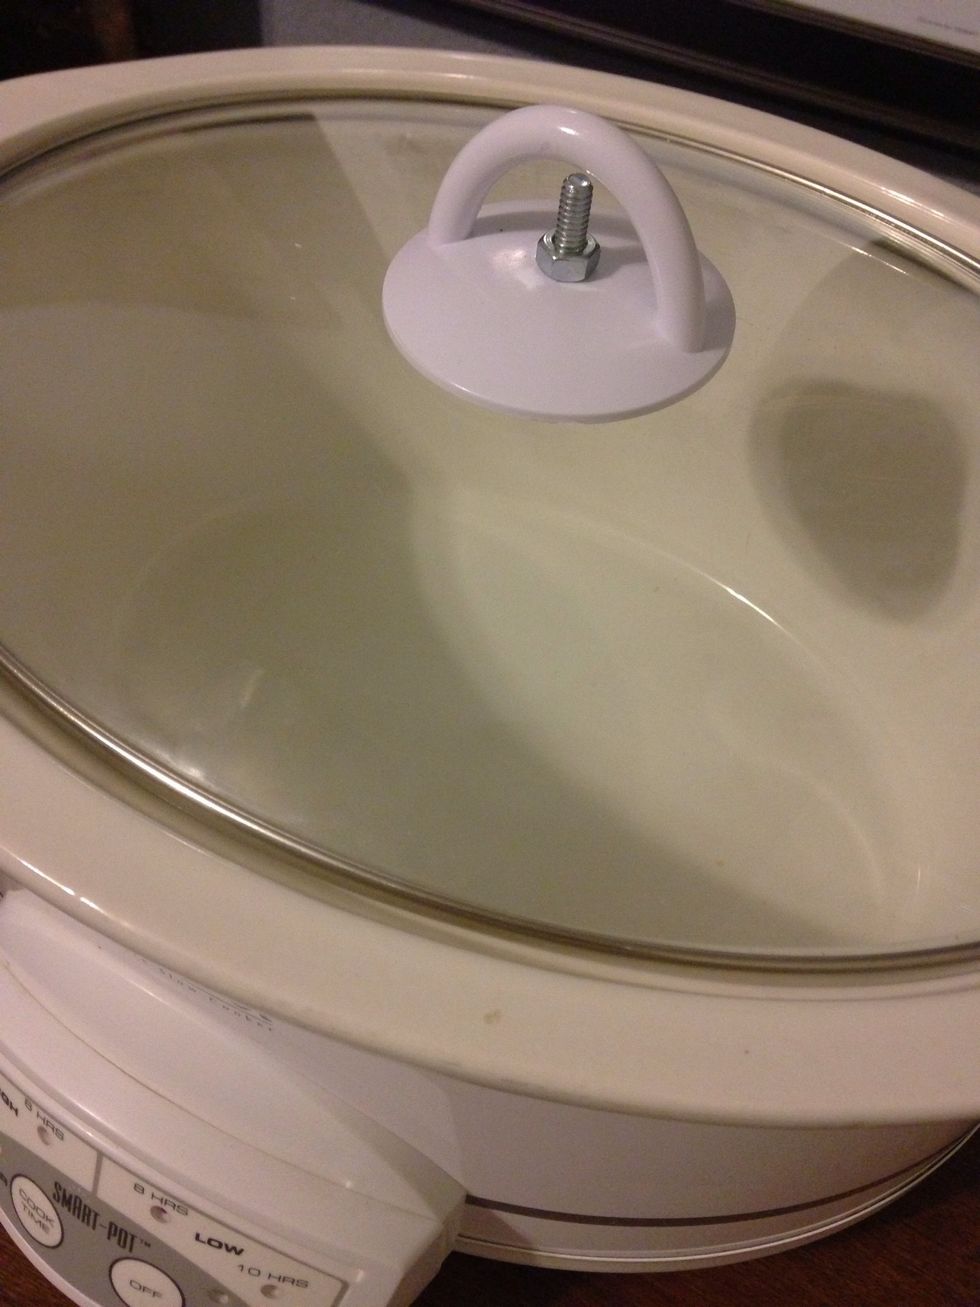
All finished!!! It may not be the prettiest thing ever, but you will never have to worry about the handle coming apart ever again.