The Conversation (0)
Sign Up
I call this "snowstorm".. Just kidding. First, cover the entire canvas in a thin even coat of white using your chip brush. This will help everything blend like it should.

Put your colors on your plate and let's get going. Yes, I re-use the plates too. Hush.
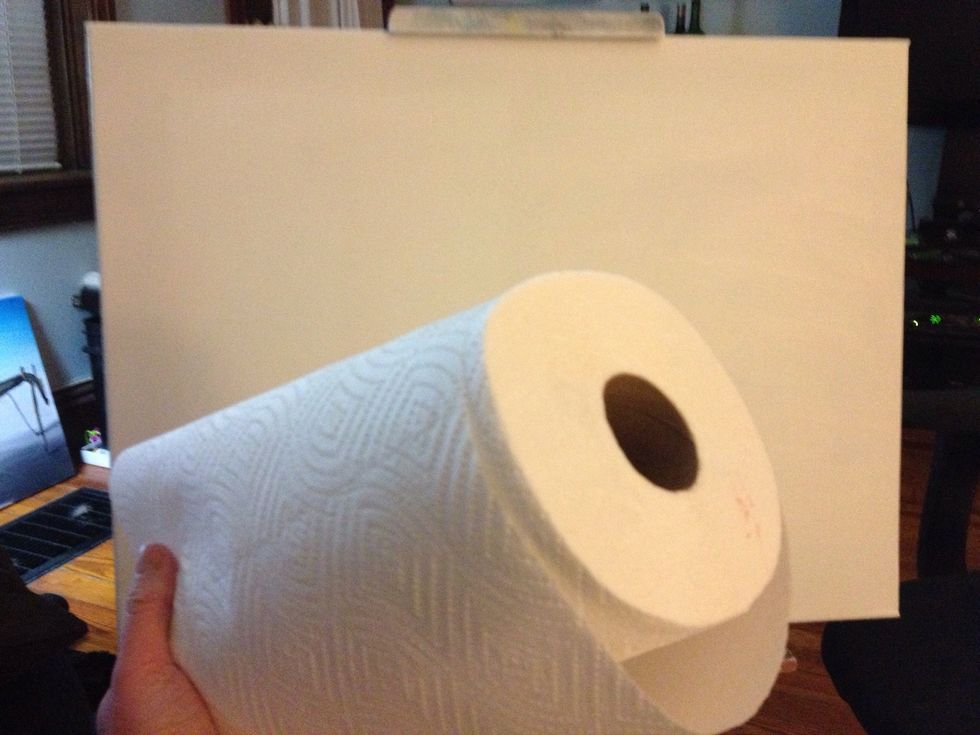
Grab your roll of paper towels and keep them close.
Next, grab all your brushes and get them ready to go.
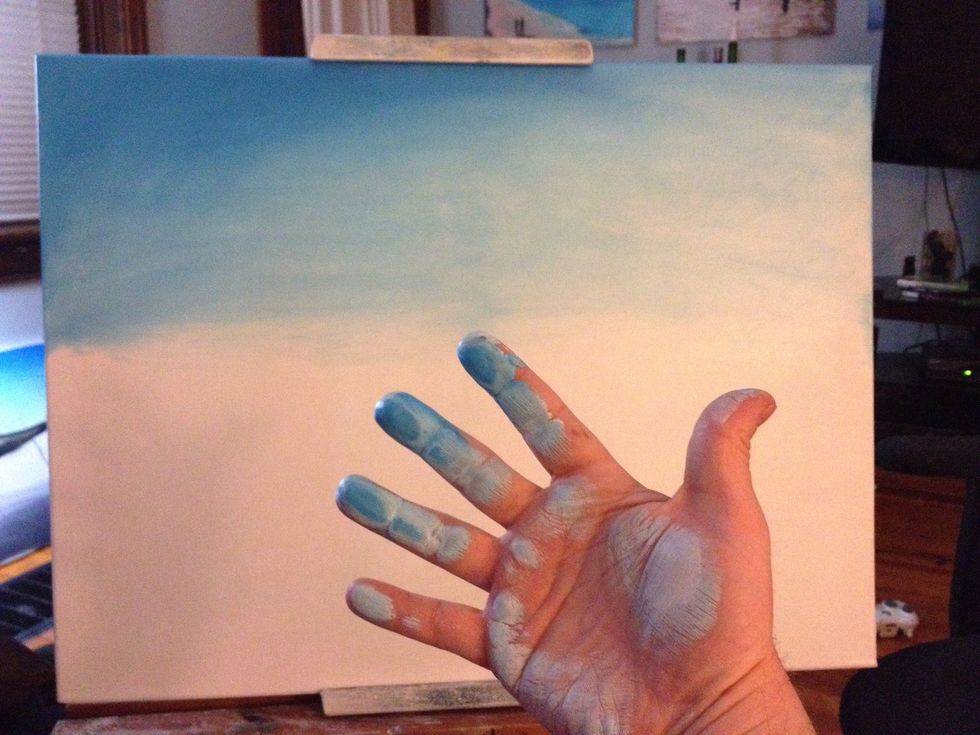
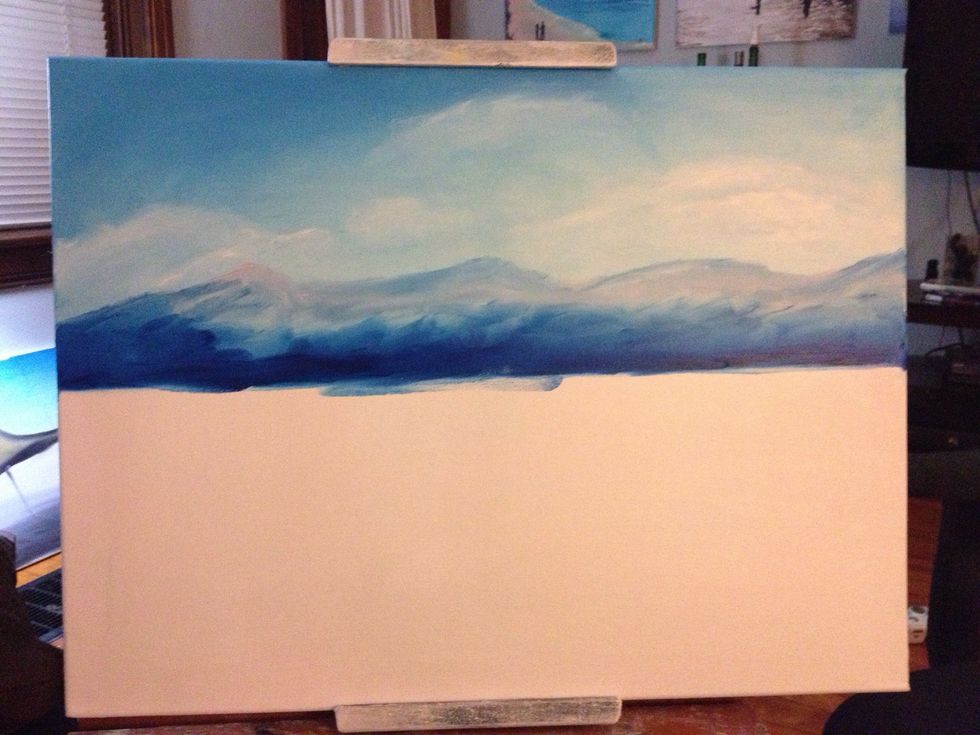
Once you have your blue sky done, take a clean hand and blend the entire sky very lightly.
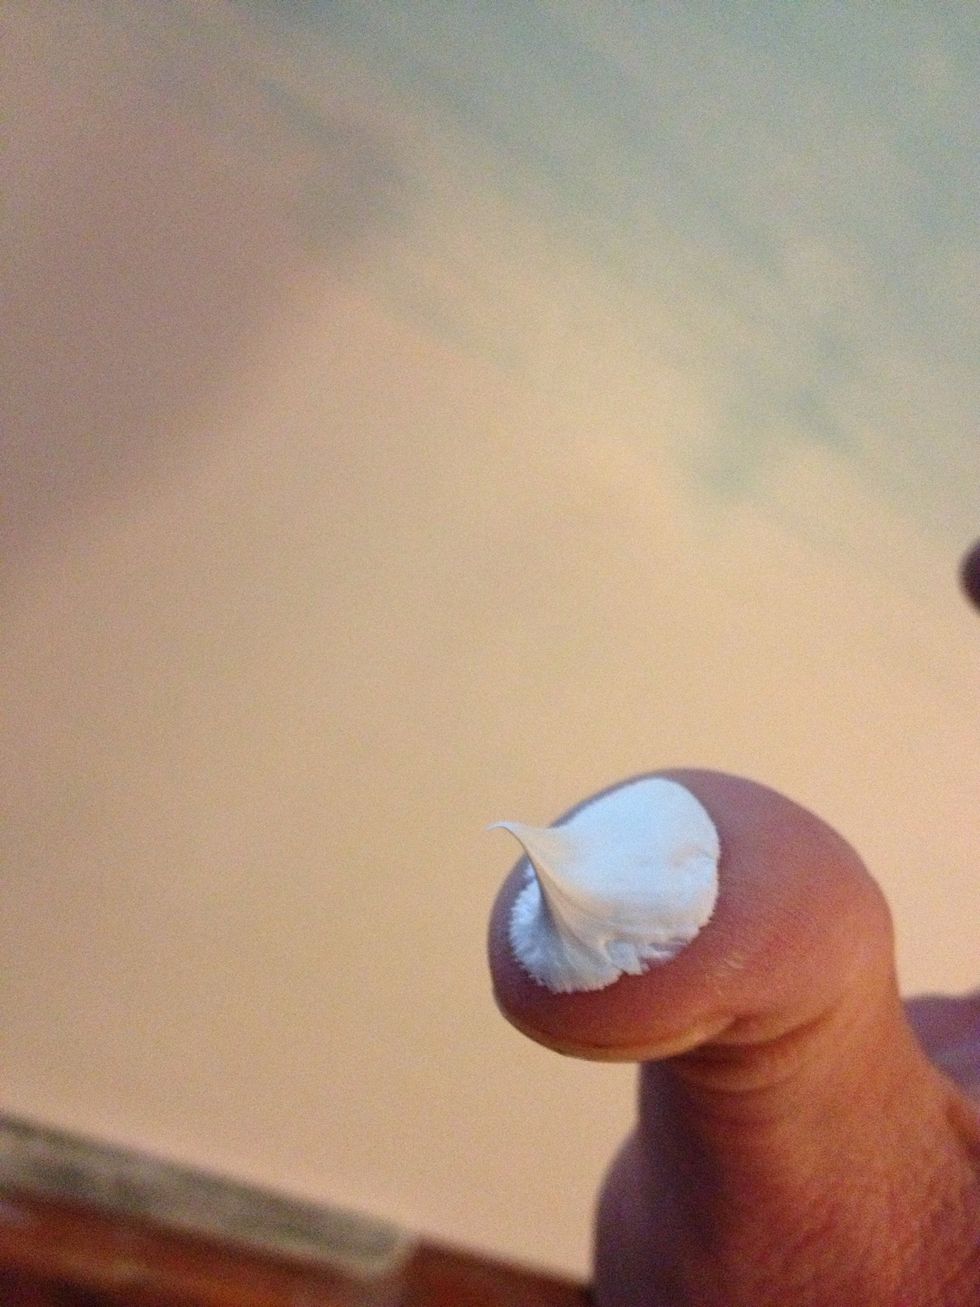
Add some clouds onto your thumb and go up to scrub them into your sky. Random fluffy wispy shapes. No cartoon clouds!

An oily, wetter white will mix right in and give you wispier clouds. A drier thicker white will give you fluffier clouds. This was a brand new tube of white so they're a little thinner.

Sky and clouds are good. Ready to paint the Smokey Mountains?!!!!
Blue, crimson, and white make a nice distance purple mountain. Follow the entire top of the mountain range west to east. Then go back and do shadows with a straight blue and your thumb.
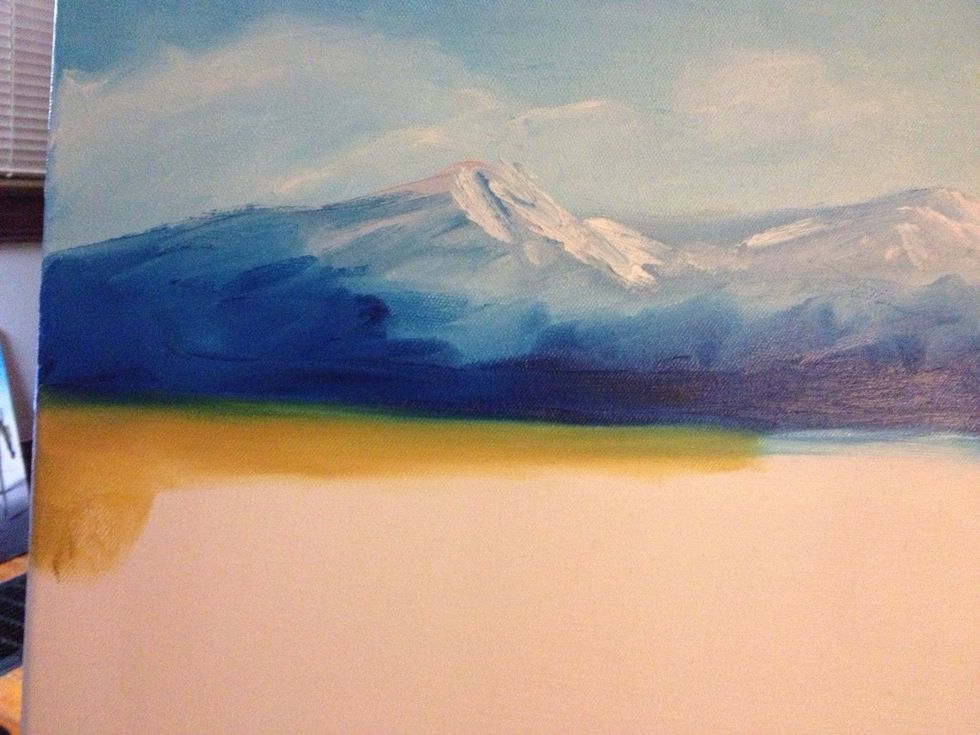
You can add a little snow at the top if you want, using a dab of white and an index finger that barely touches the mountain top. Next, clean your hand and grab some ochre and start your land.
Let your fingers glide across the mountains base and make some blending magic happen. Your fingers will pick up some blue you can work into the land.
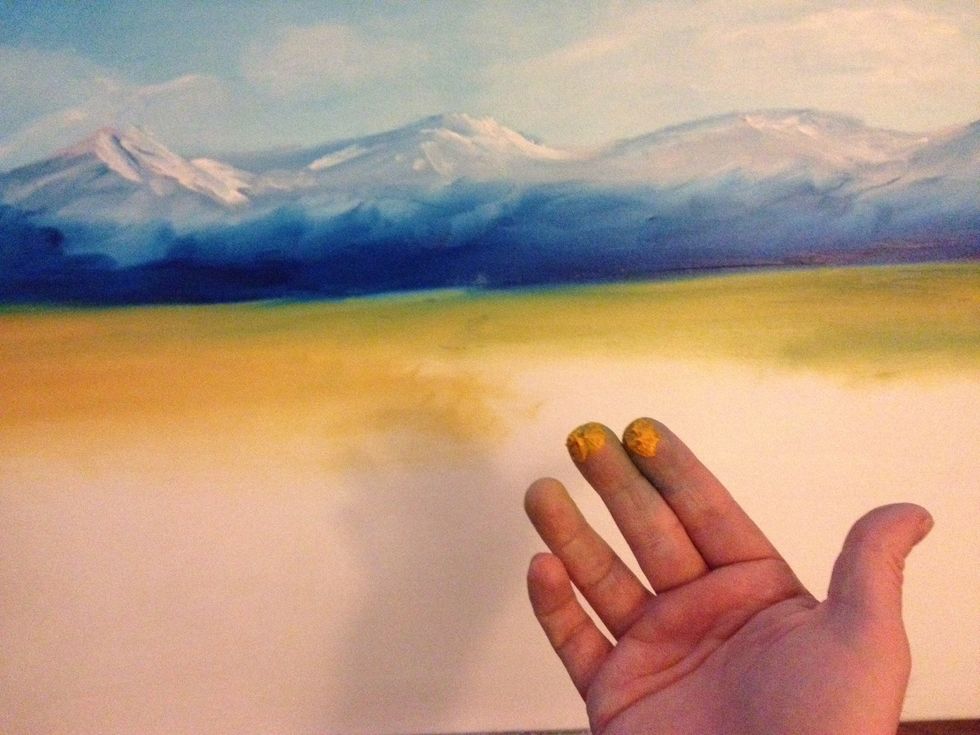
Next, move from ochre to a golden yellow. You will see it is very thin and will cover the canvas quickly.
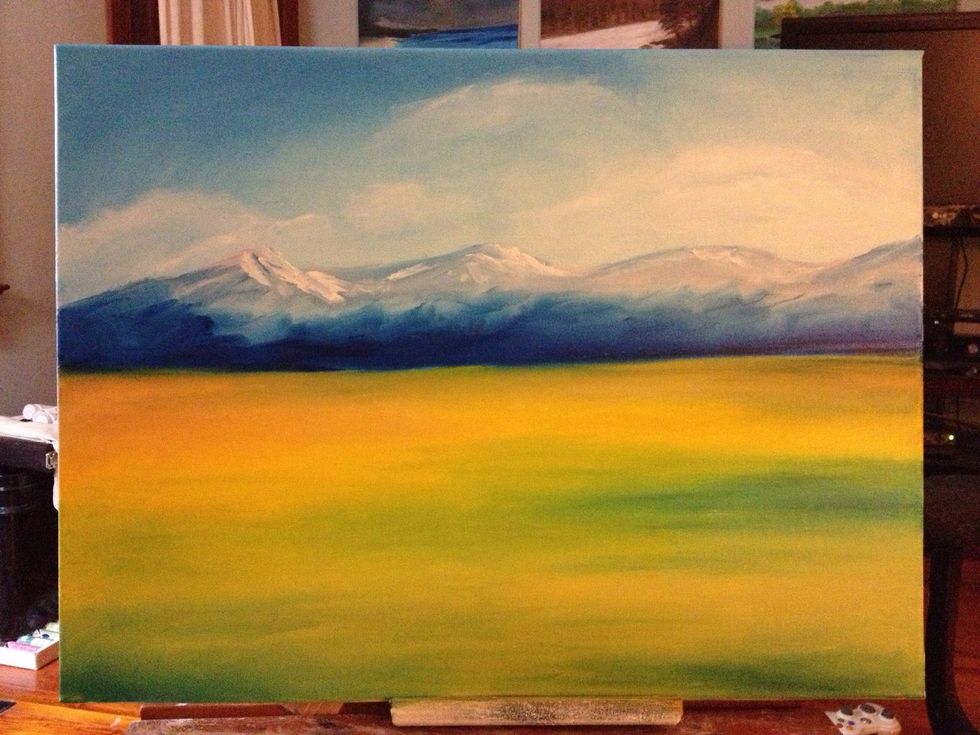
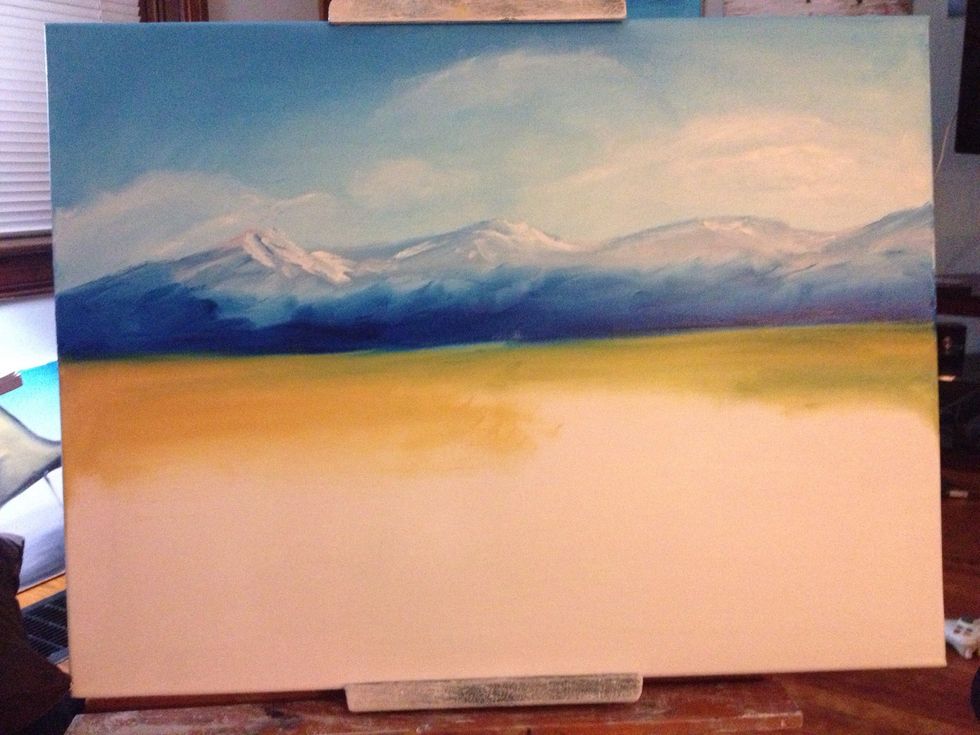
Once your yellows are complete, mix some blue and green together for your shadow color. Keep your fingers moving horizontally, following the lay of the land.
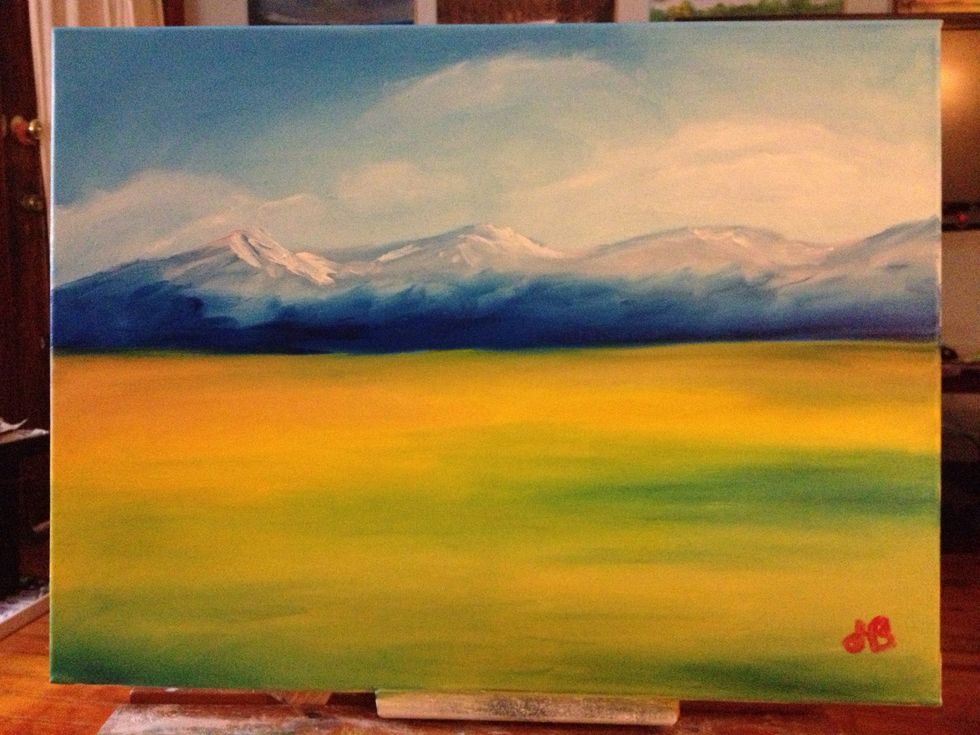
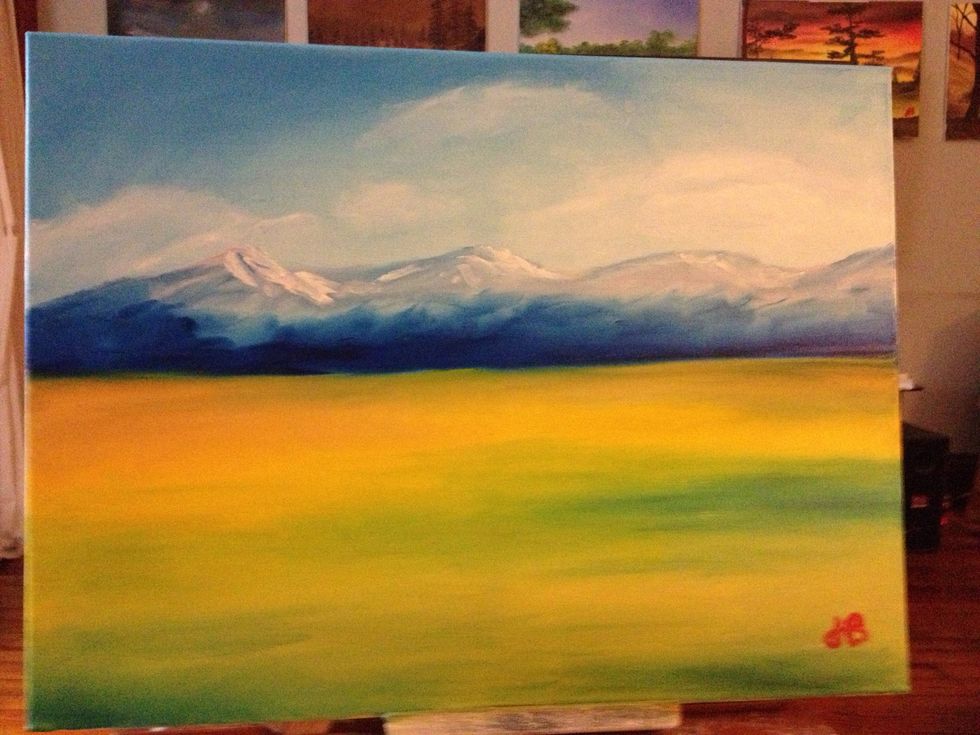
Step back and look. Make any final adjustments. I threw in a little more shadow. When you are satisfied, put some red on your pinky and sign your work.
Viola! Finit! Make sure and follow me for more creative projects and tips. You can also follow my online gallery at pinterest.com/justinballew . Thanks and happy painting!
Lowes : Never Stop Improving