The Conversation (0)
Sign Up
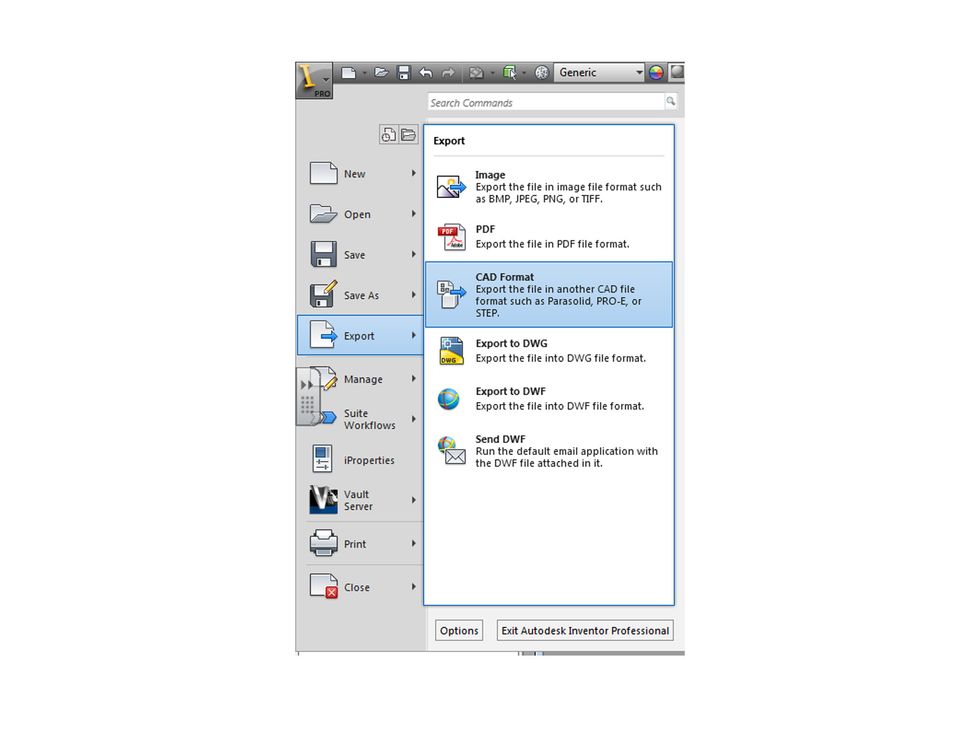
Double check that all your components are correct and save your file. Export your design as a CAD format. Click "I" in the upper left of the Inventor window, choose Export and CAD Format.
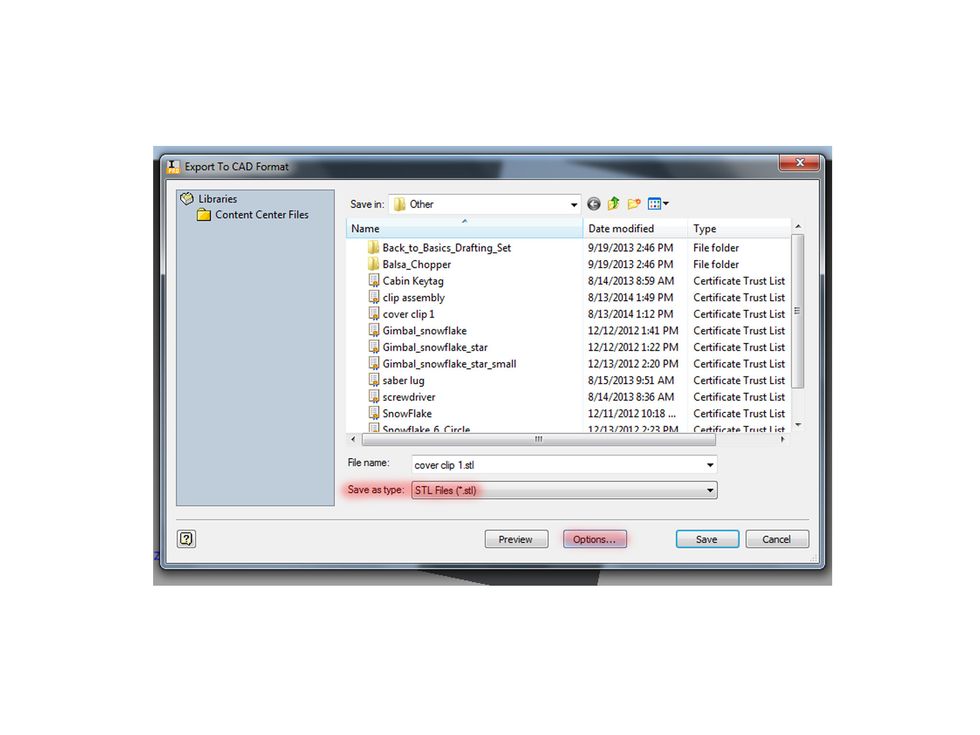
In the export window choose STL where you see "save as type". Type the file names and choose where you want the file to be located. Do not click save yet.
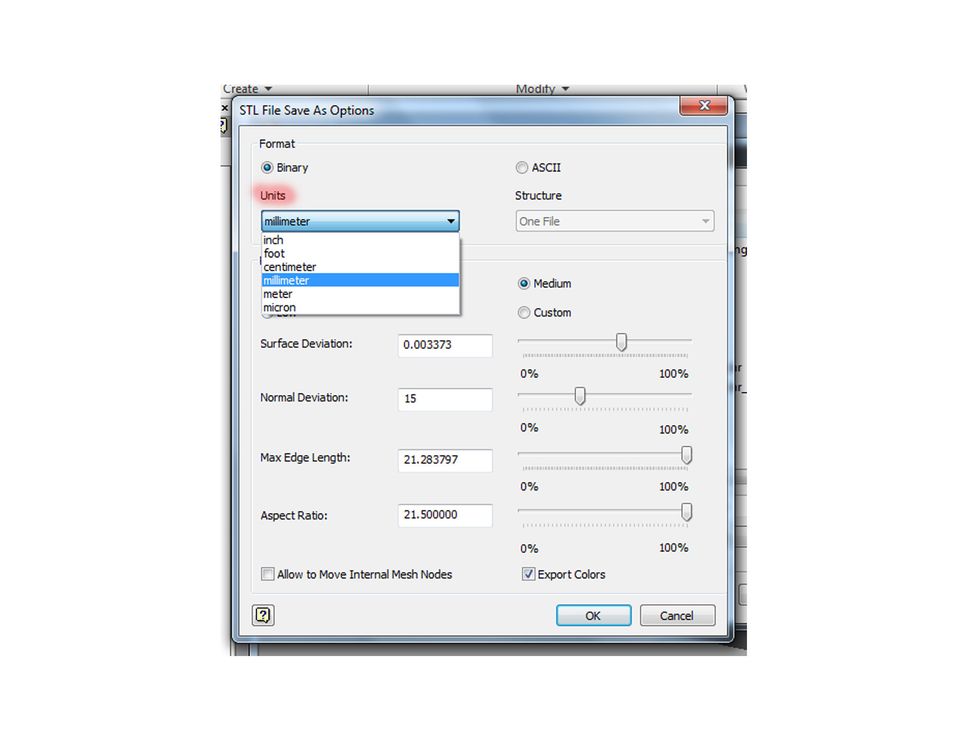
Choose "Options" along the bottom of the export window and check the export units. They should match the units you used for your design. When they are correct click Ok and Save.
Your STL file can now be opened in ReplicatorG for the Makerbot or CatalystEX for the uPrint.