The Conversation (0)
Sign Up

Provide students with a list of the games played at the Winter Olympics. A list can be found here: http://www.olympic.org/sports.
Have students find and open the app Pic Collage.
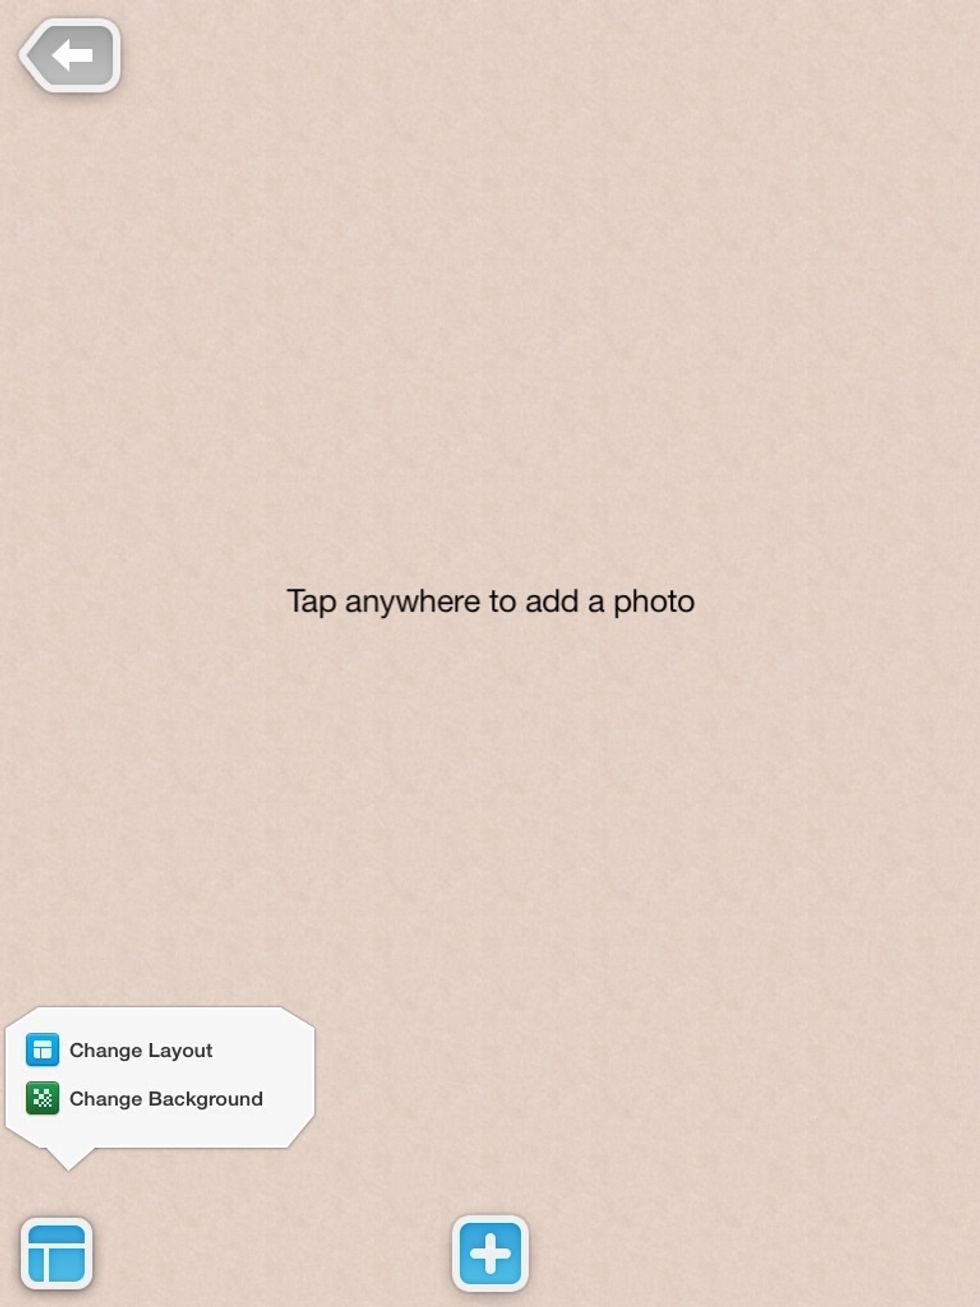
Have students tap the square at the bottom left of the screen and choose Change Layout.
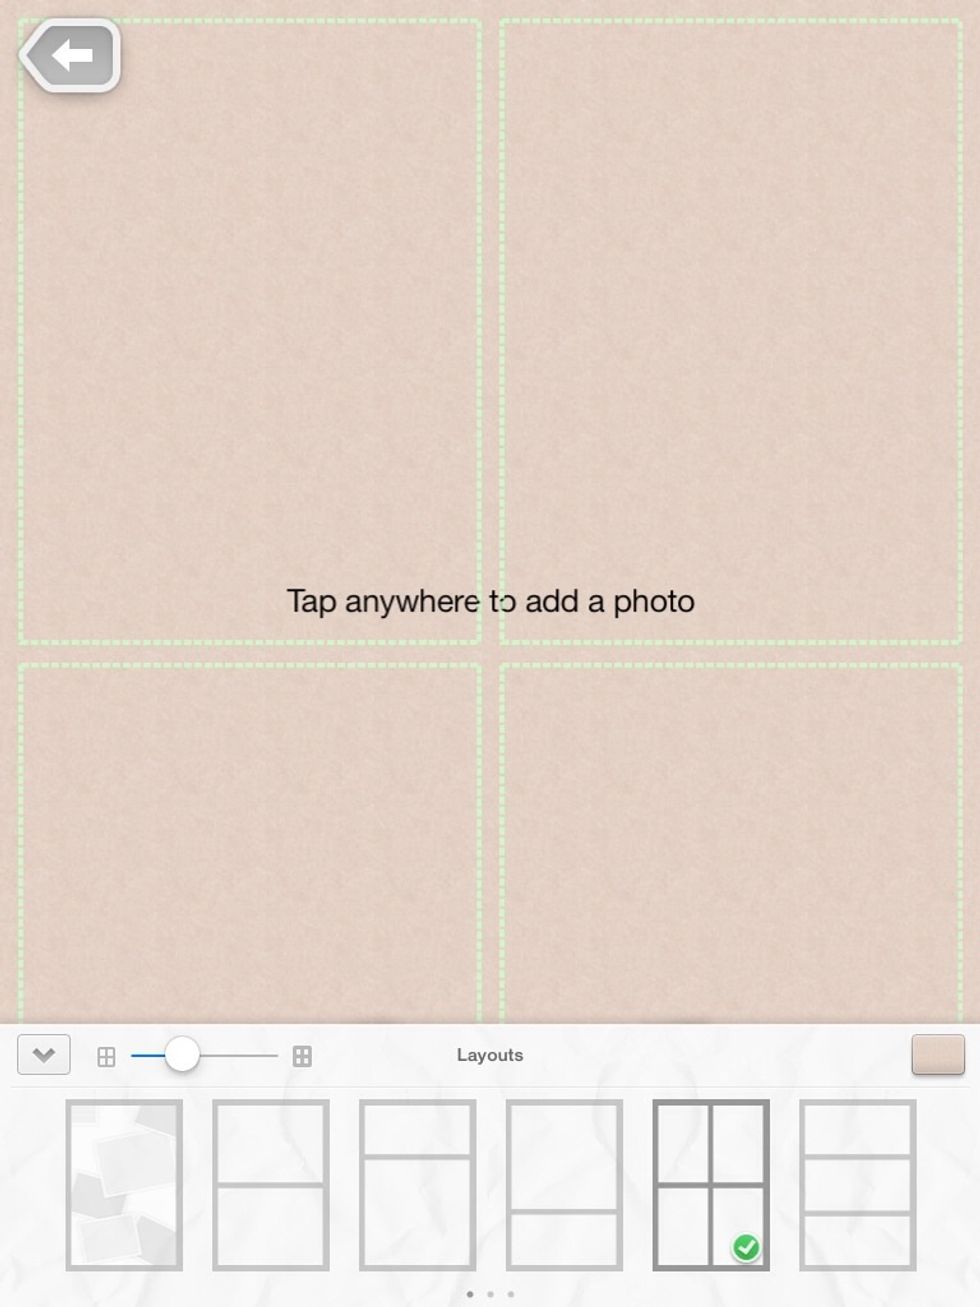
Choose the four square layout or other layout that meets your needs.
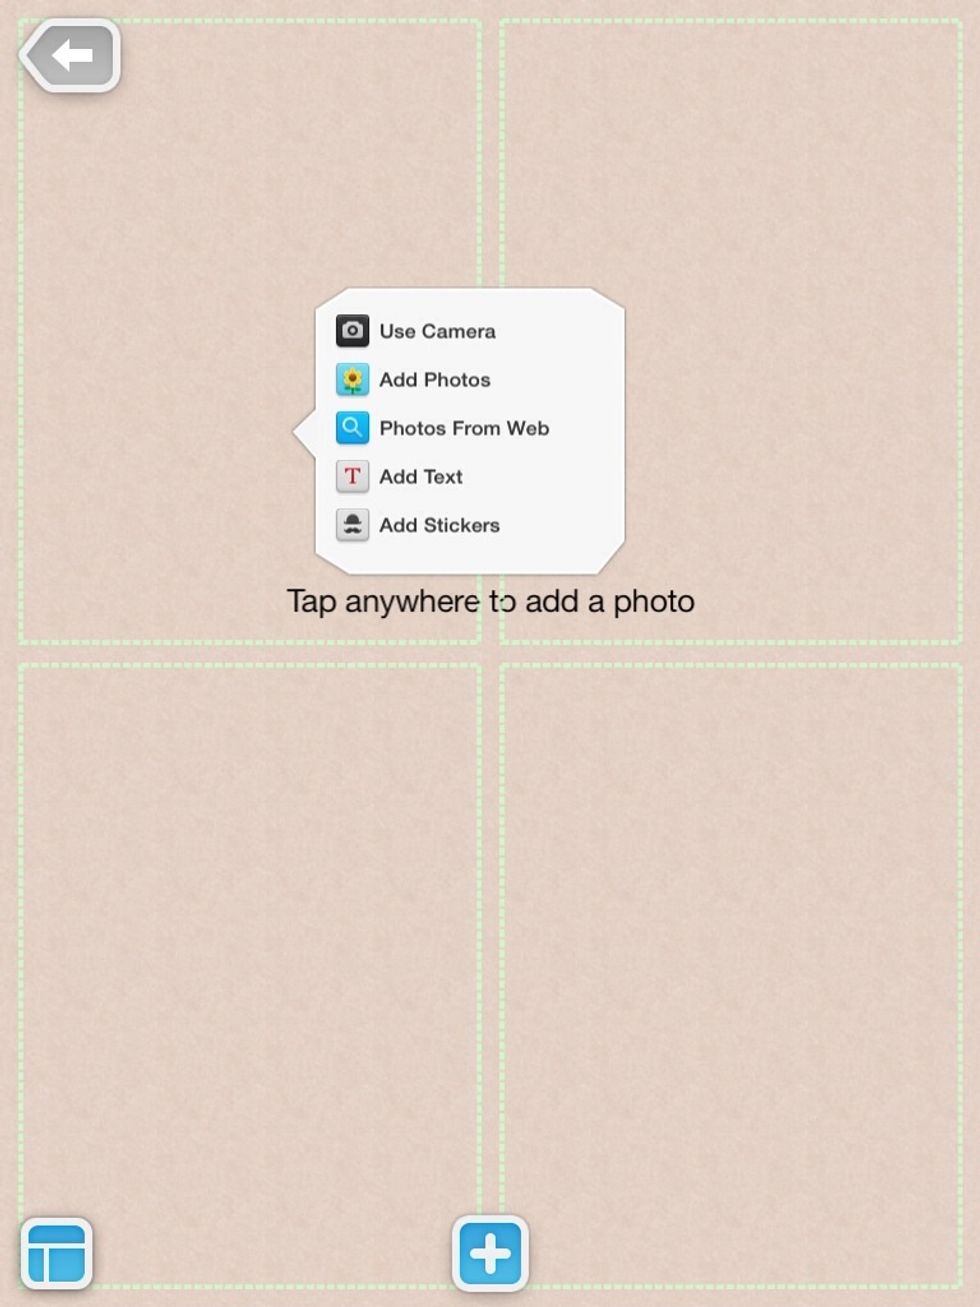
Have students tap in one of the squares and select Photos From Web.
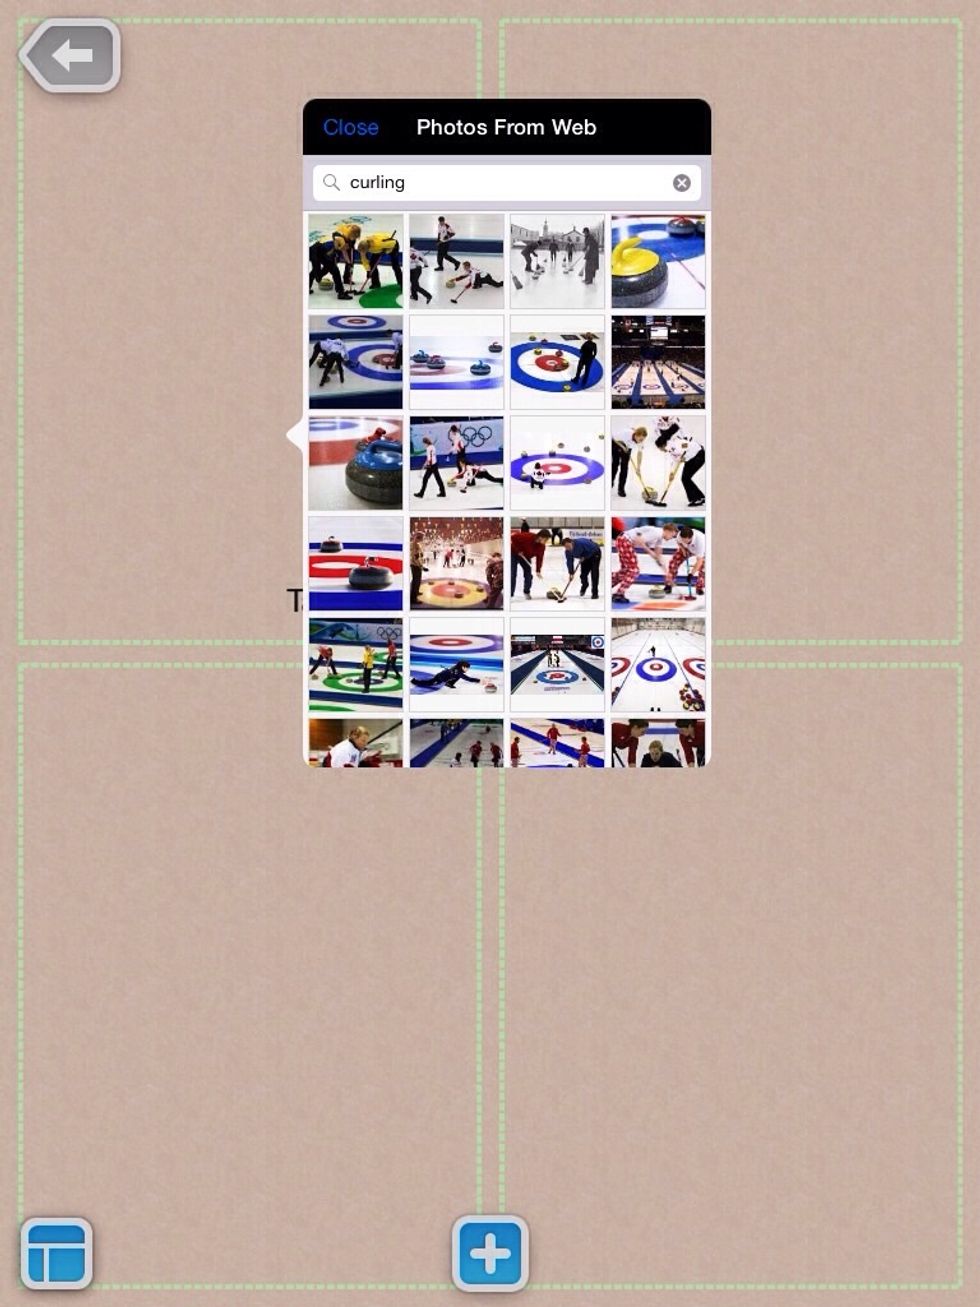
In the search box have students type one of the games from the list given earlier and tap search. They should select one picture that matches their search.

Have students tap in an empty space on the collage and tap Add Text from the menu.
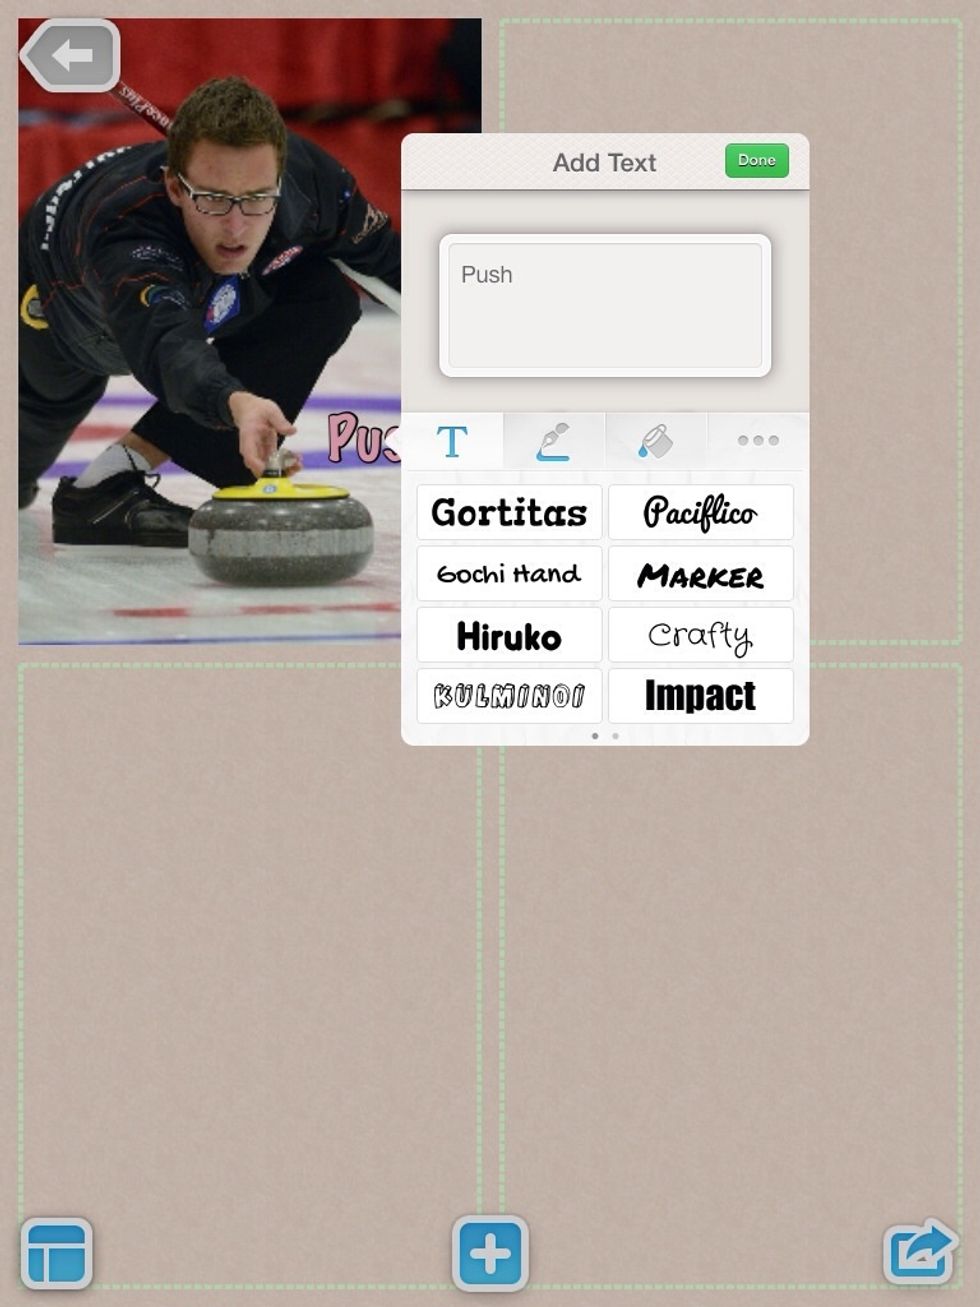
In the text box ask students to type in the force that is being used in the picture, push or pull. Students may need to move the text by tapping and dragging the word to the desired location.
Students will repeat steps 5-8 until all four squares have an Olympic sport and are labeled with a force. Challenge students to find two images that show push and two that show pull.

When students have finished ask them to add their name to their collage.
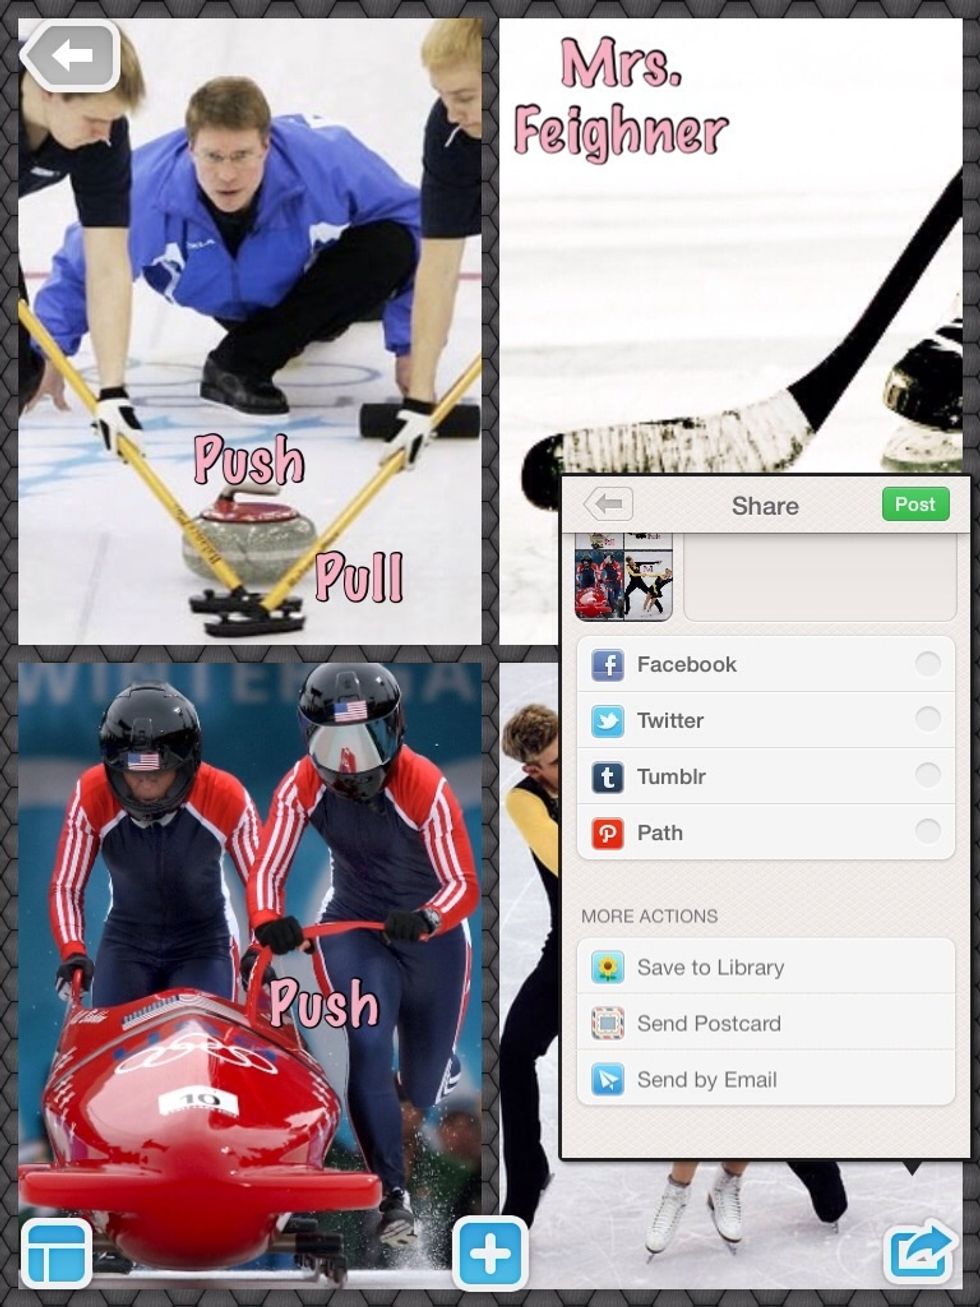
Have students tap the share box at the bottom right of the screen and select Save to Library. This will save the collage to the iPad's camera roll.

To share their work with you have students navigate to the Dropbox app.

Have students select your class folder or other folder you would like for them to save in.

Have student tap the three dots at the top left of the screen and select Upload.
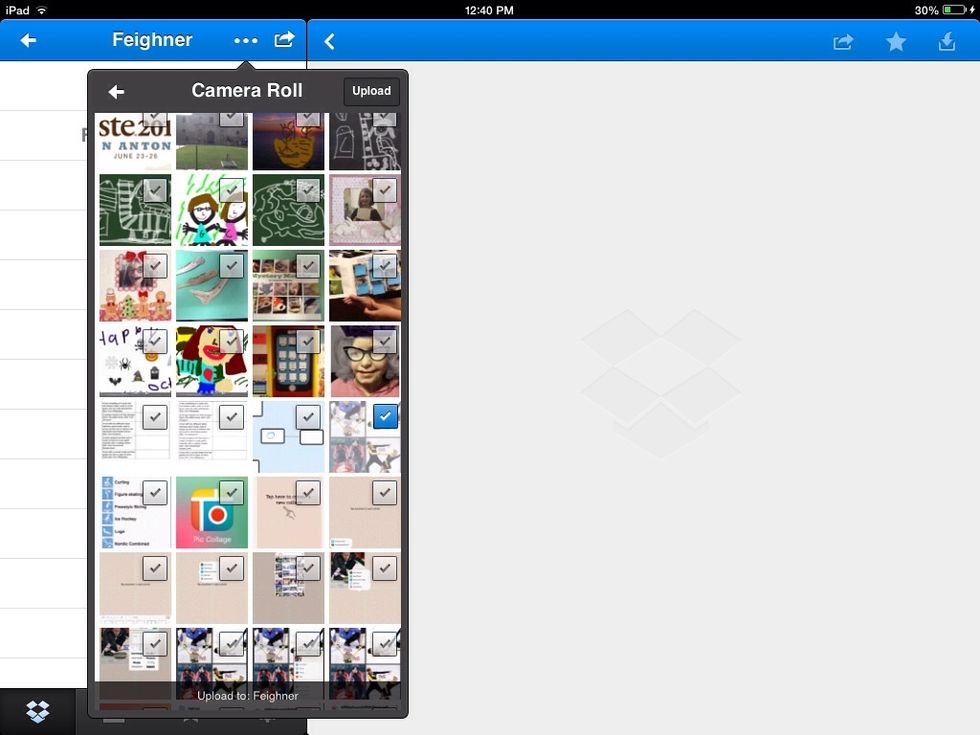
Have students select Camera Roll, their Pic Collage, and then Upload.