The Conversation (0)
Sign Up
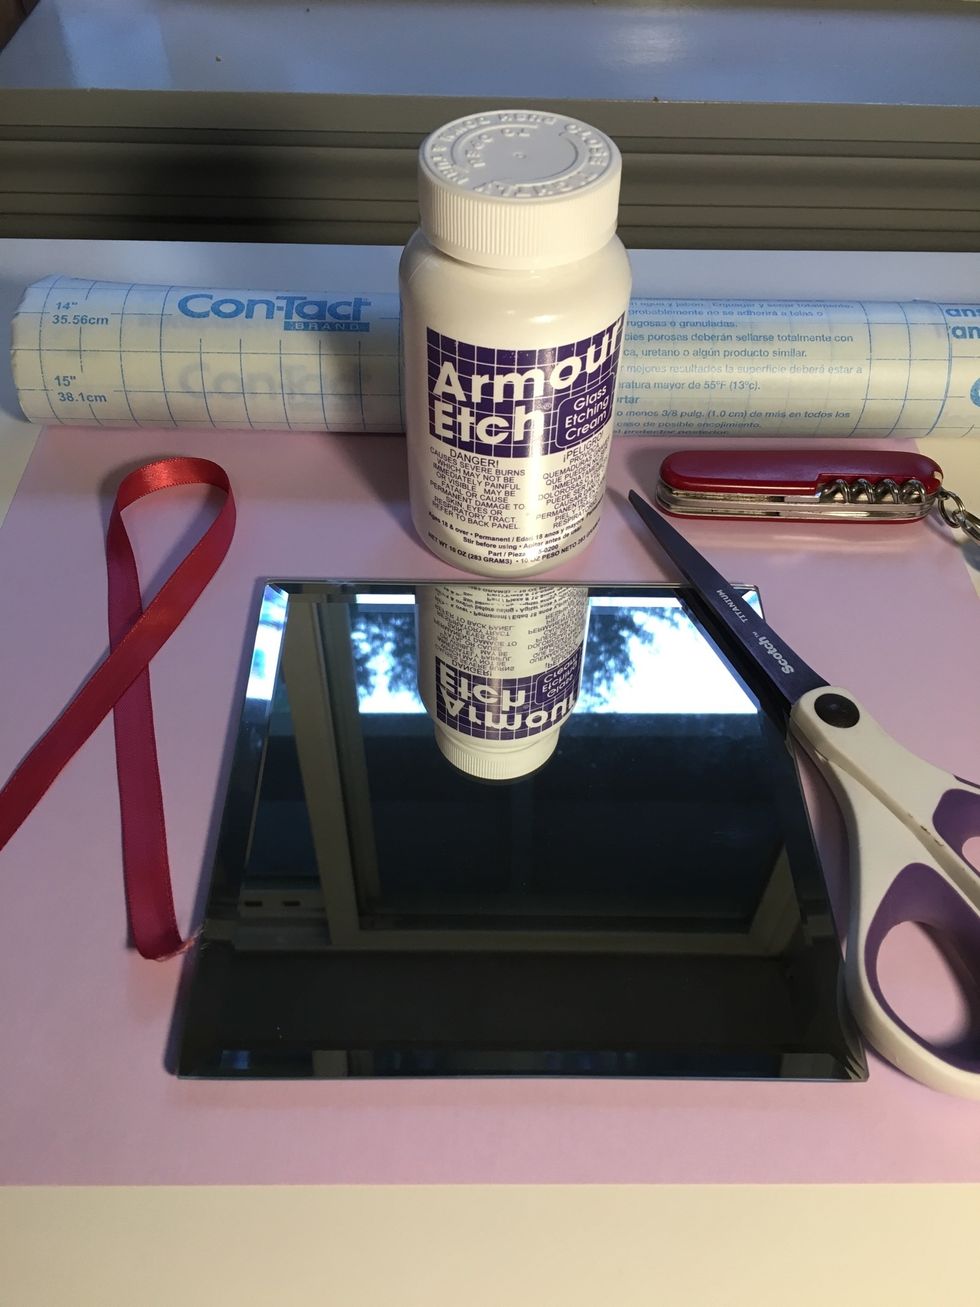
Gather your supplies (see listed). This project uses a small, inexpensive mirror from a craft store, but you could use a larger mirror in a frame if desired.
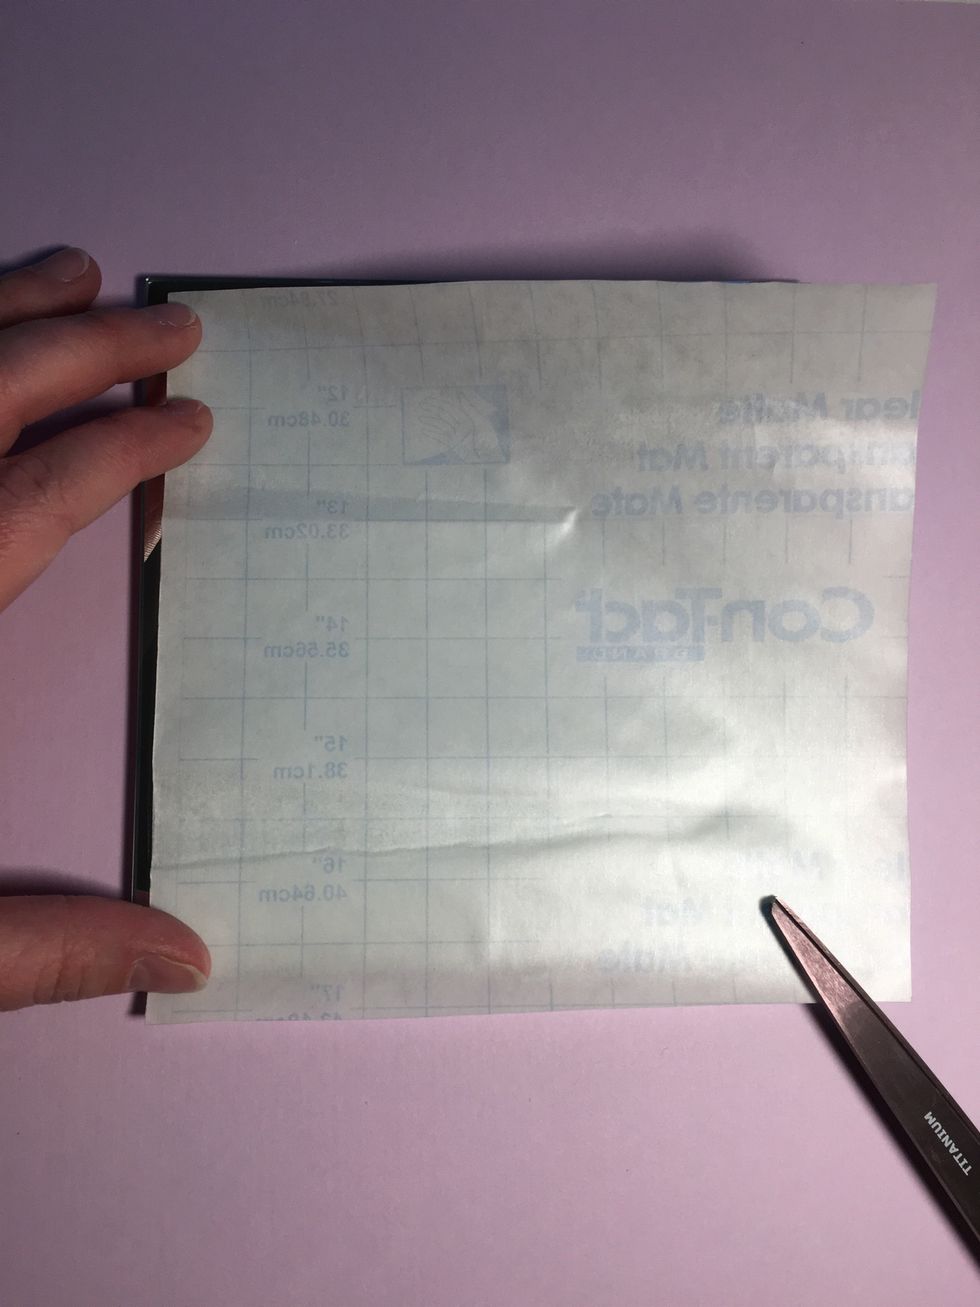
Cut the Contact paper to size. For small mirrors, I recommend covering the entire surface.
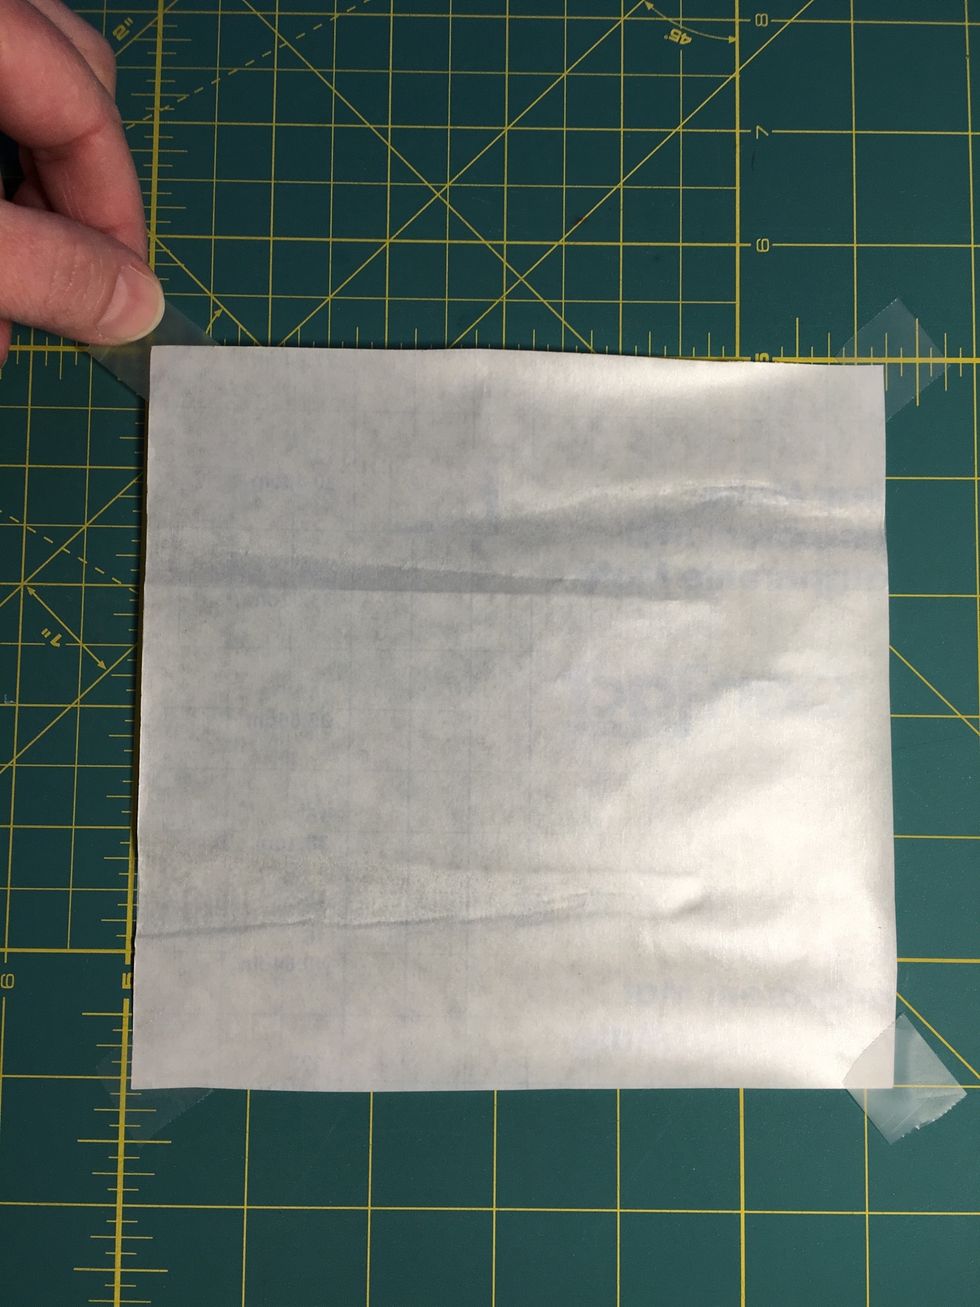
Secure the Contact paper on a safe cutting surface.
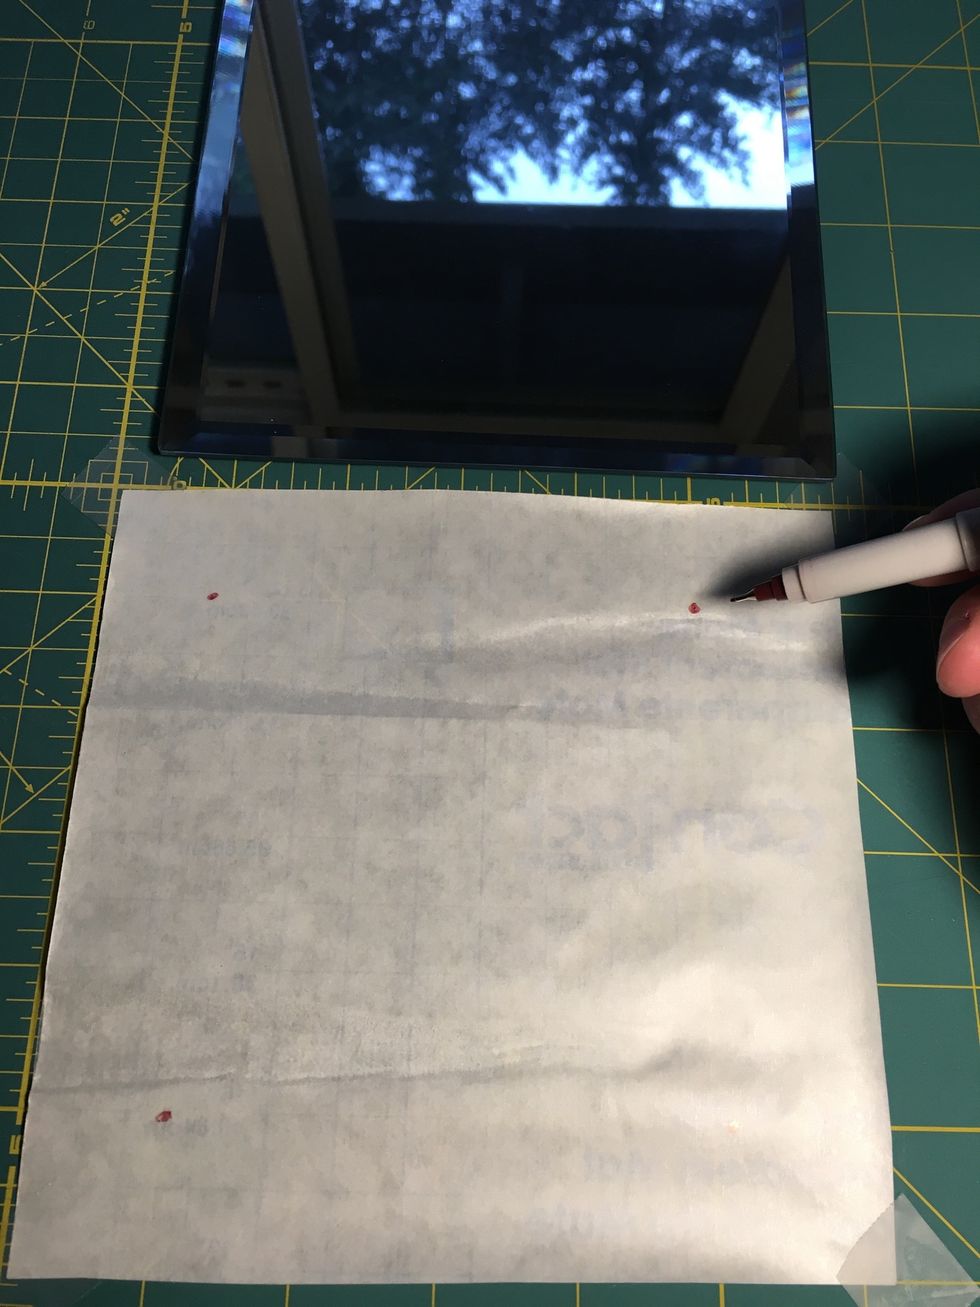
Mark the border or margins. If placing your mirror in a frame when finished, be sure to take that into account.
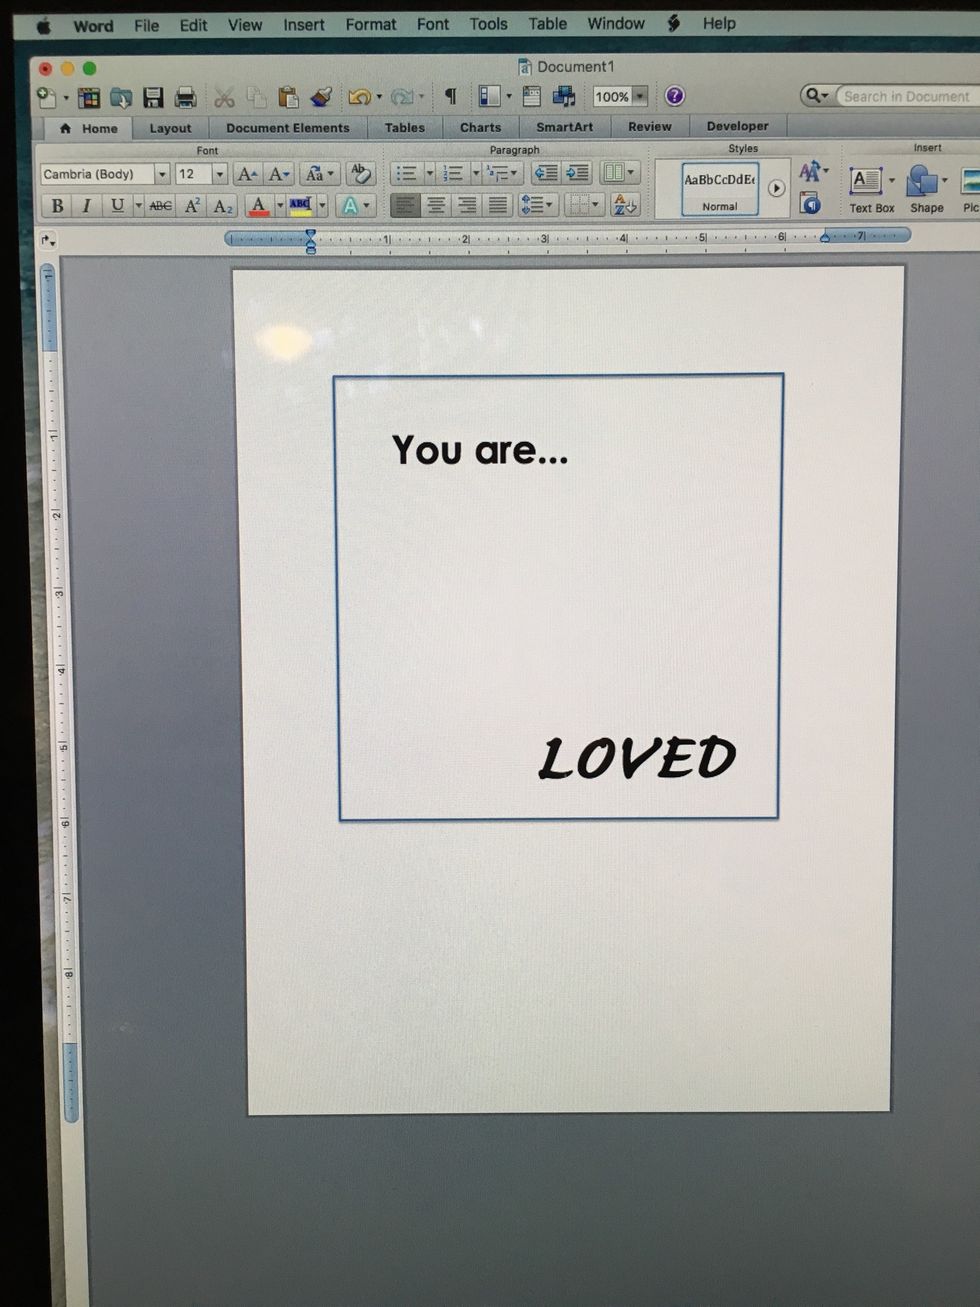
Draw your message on the Contact paper. If needed, use a computer to assist.
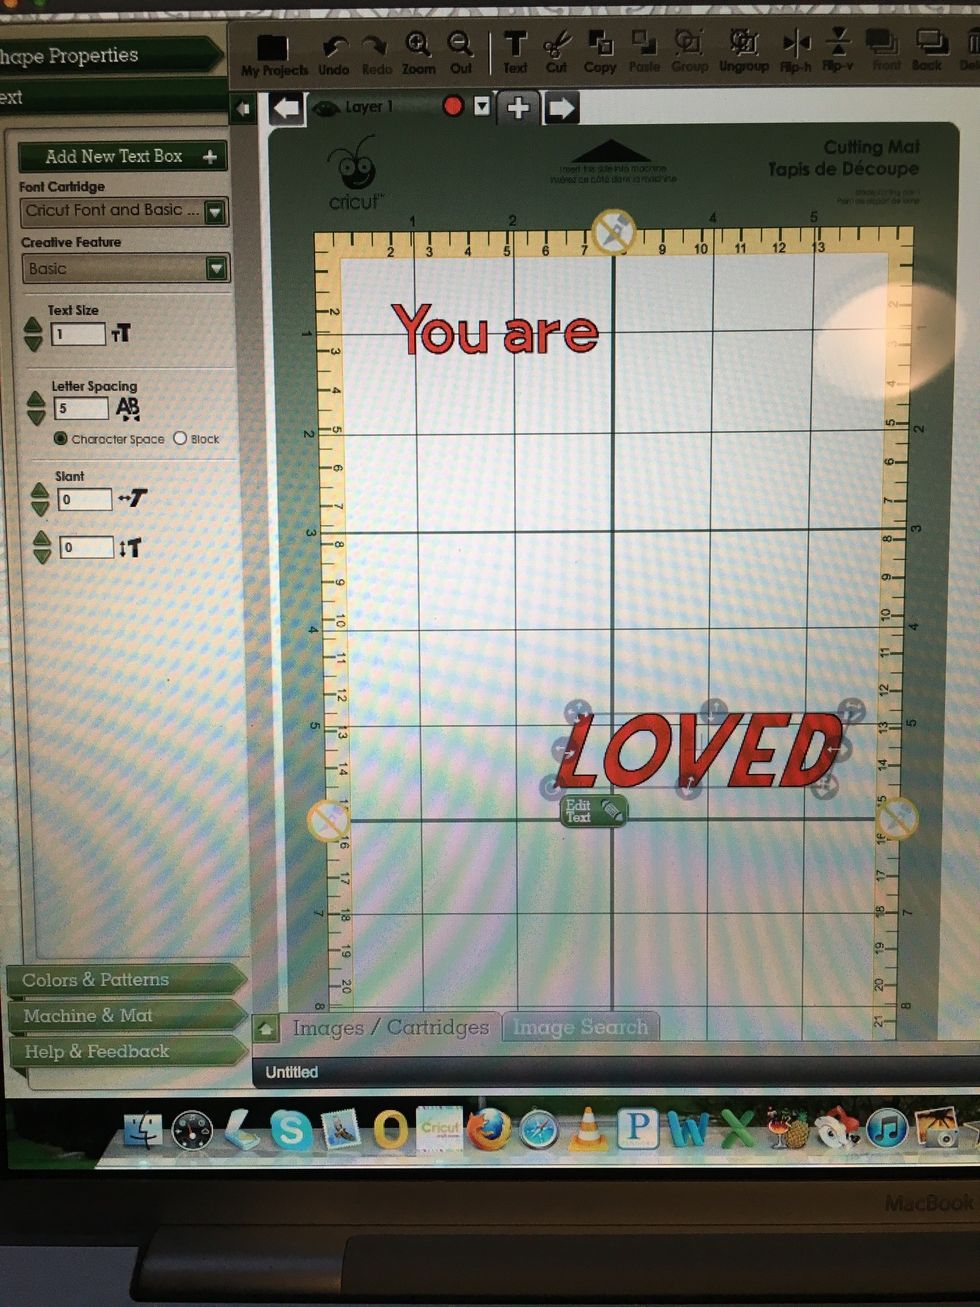
If available, machines that cut vinyl sheets are really useful. Some have software to assist with cutting the message.
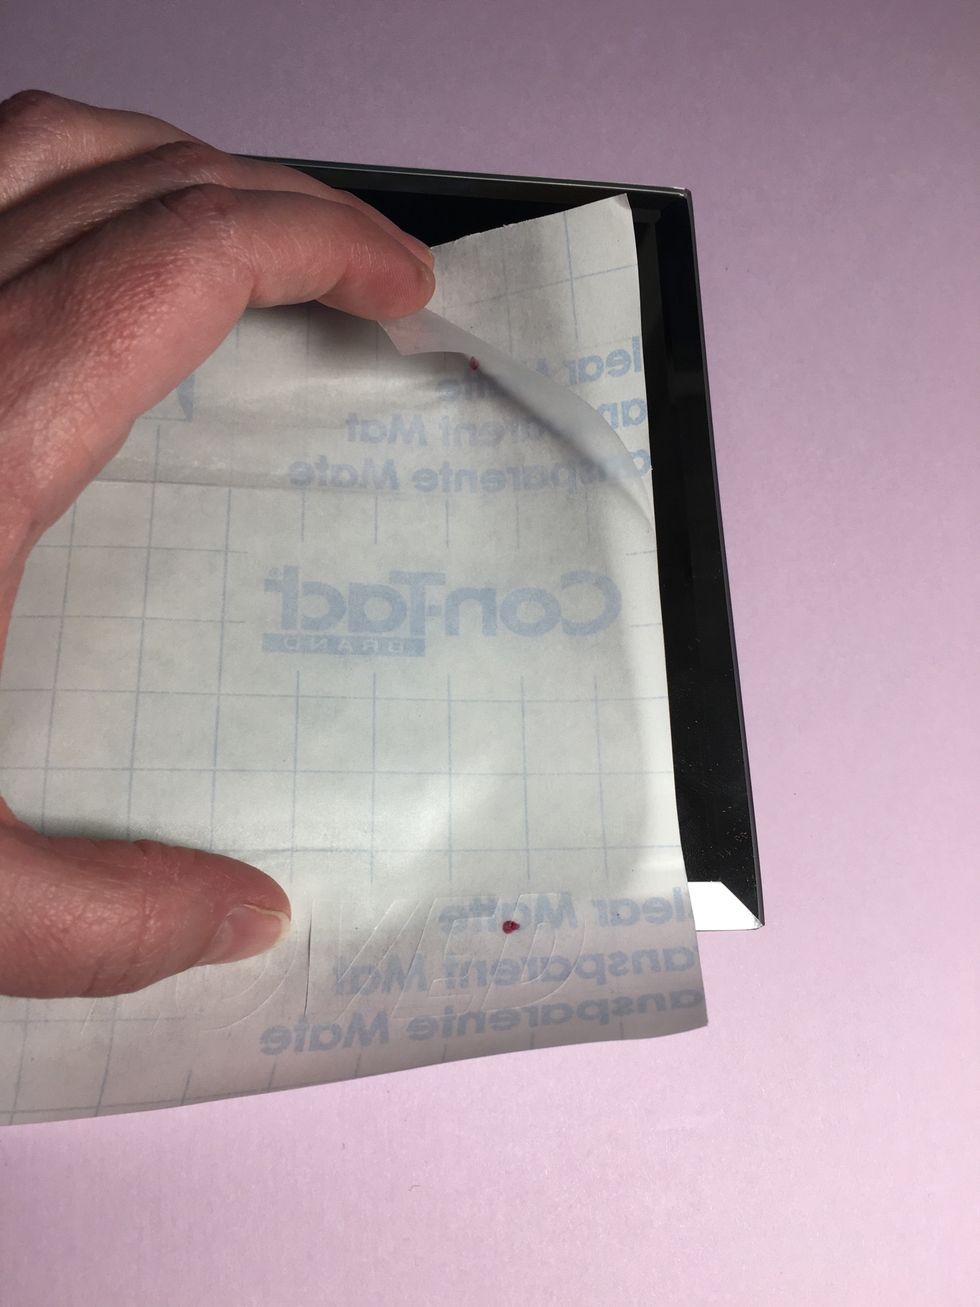
Cut your message. Use a sharp blade to clean up edges as necessary. Carefully peel the layers apart.

Gently place the Contact paper on the mirror. Use care to avoid pulling or stretching.
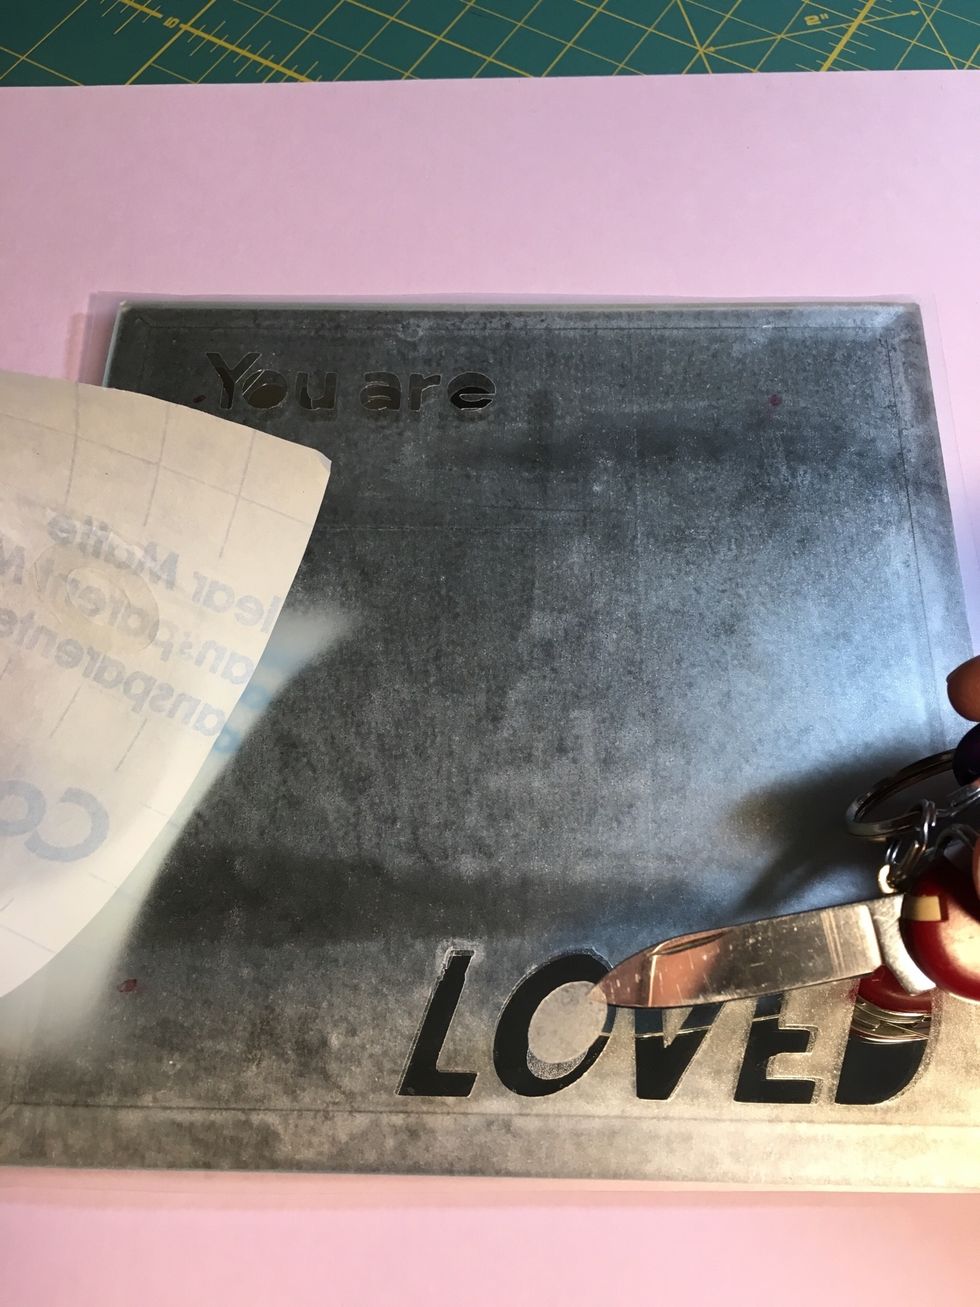
Place in the letter centers. Firmly rub down all cut edges.

Check over the entire surface. Make sure all letter centers are in place.
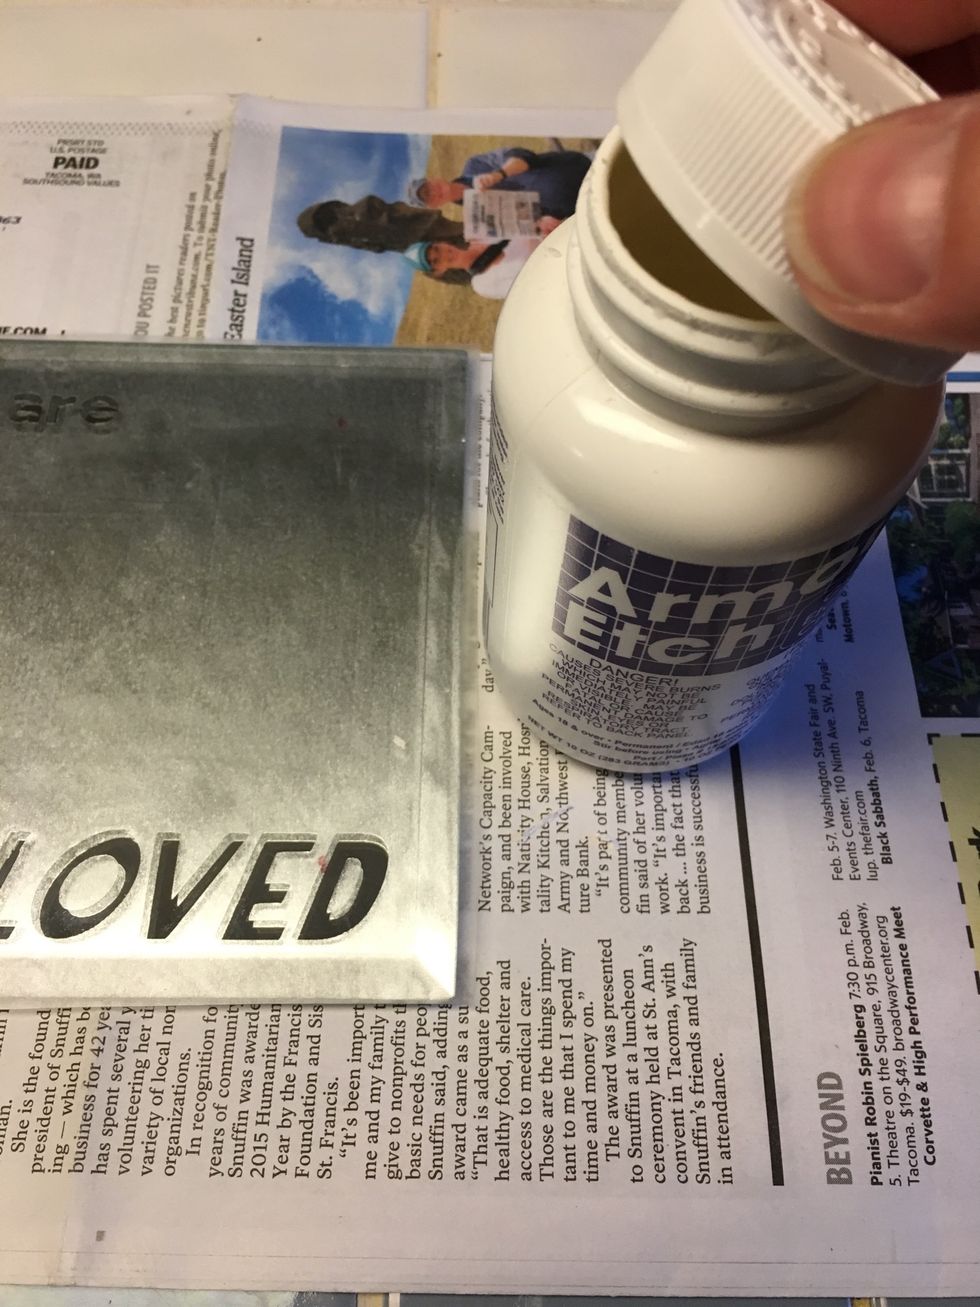
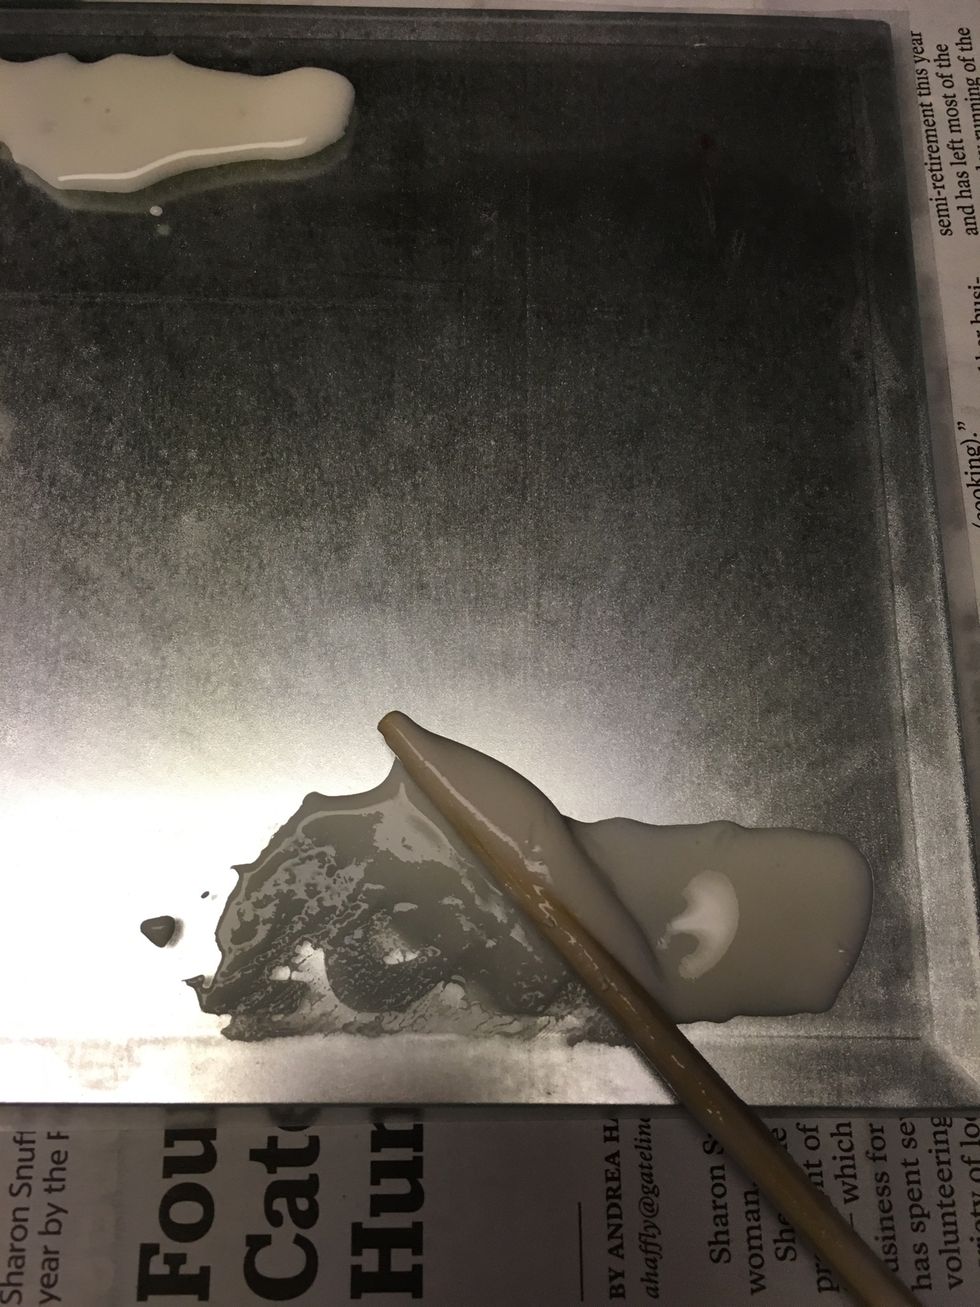
Open the etching cream over paper to catch any loose bits.

Using a wooden craft stick or chopstick, stir the etching cream well.
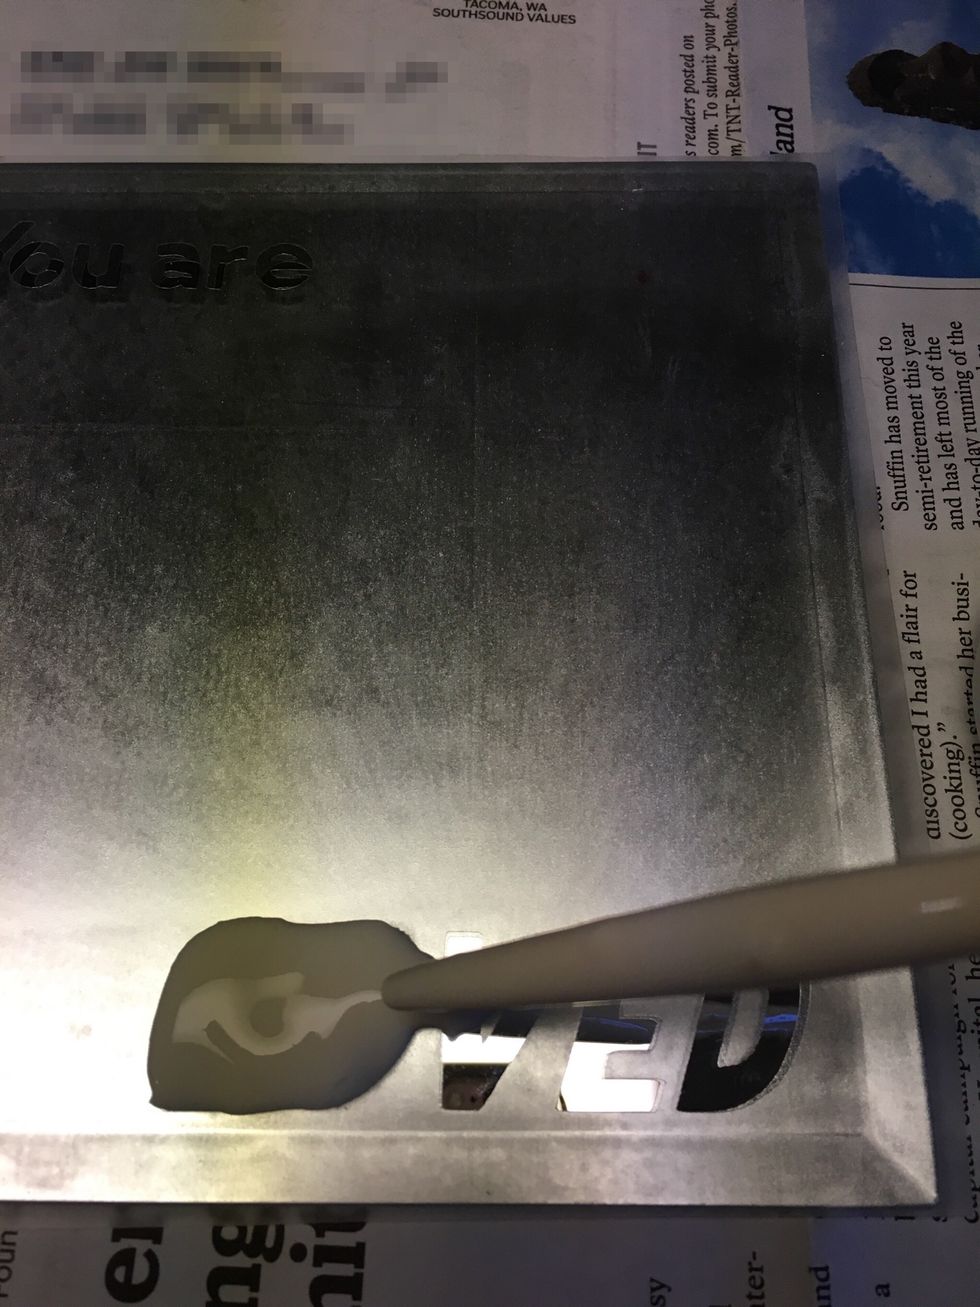
(Gloves are recommended for this step.) Use the wooden stick to spread the etching cream.

The etching cream tends to draw in as it settles, so be sure to cover edges with excess cream to allow for shrinkage.
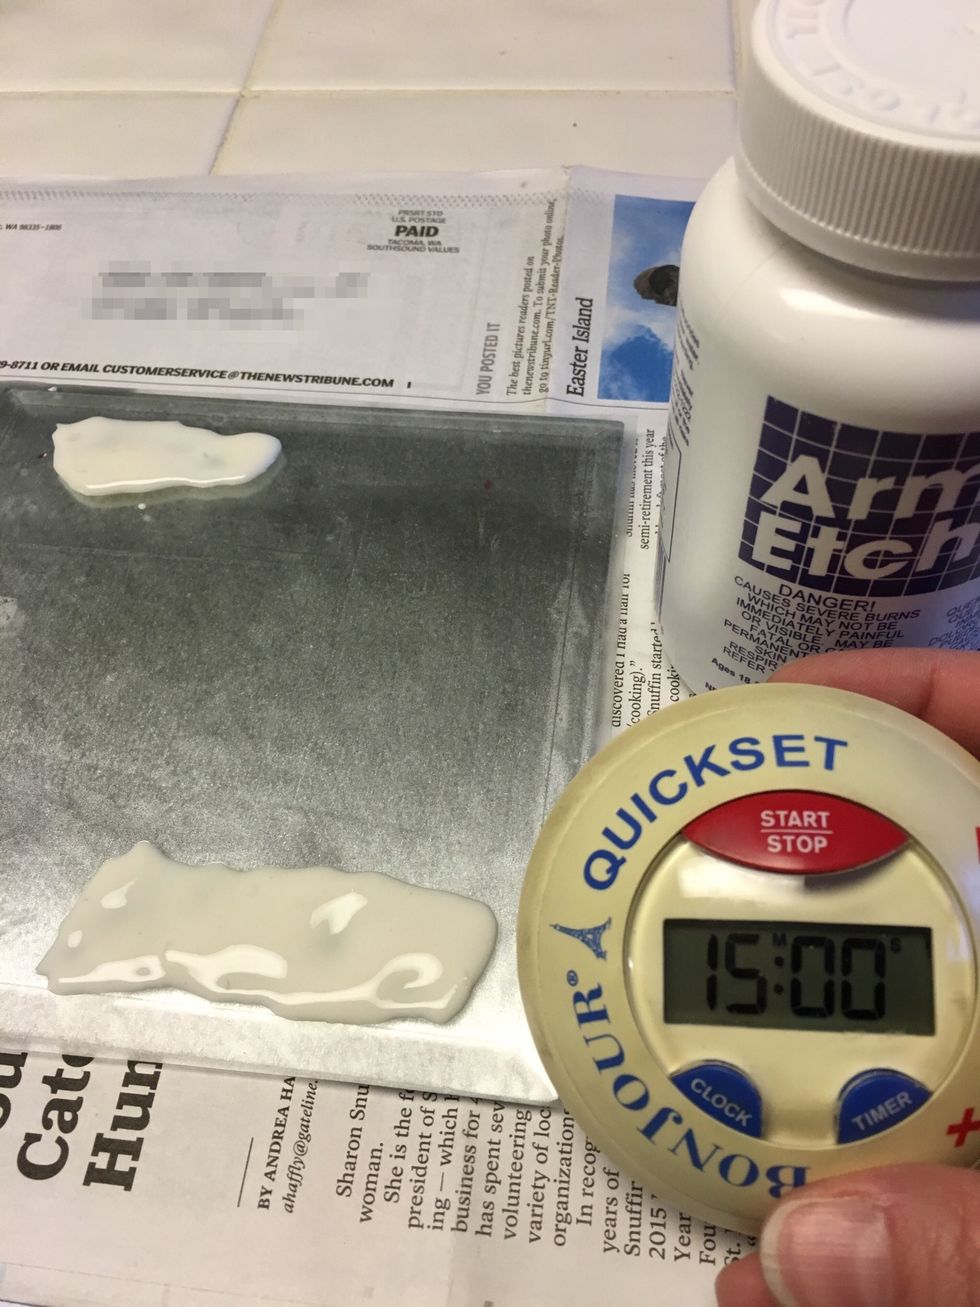
Set your timer for 15 minutes.
Use the stick to remove the cream. Return to the jar if desired.
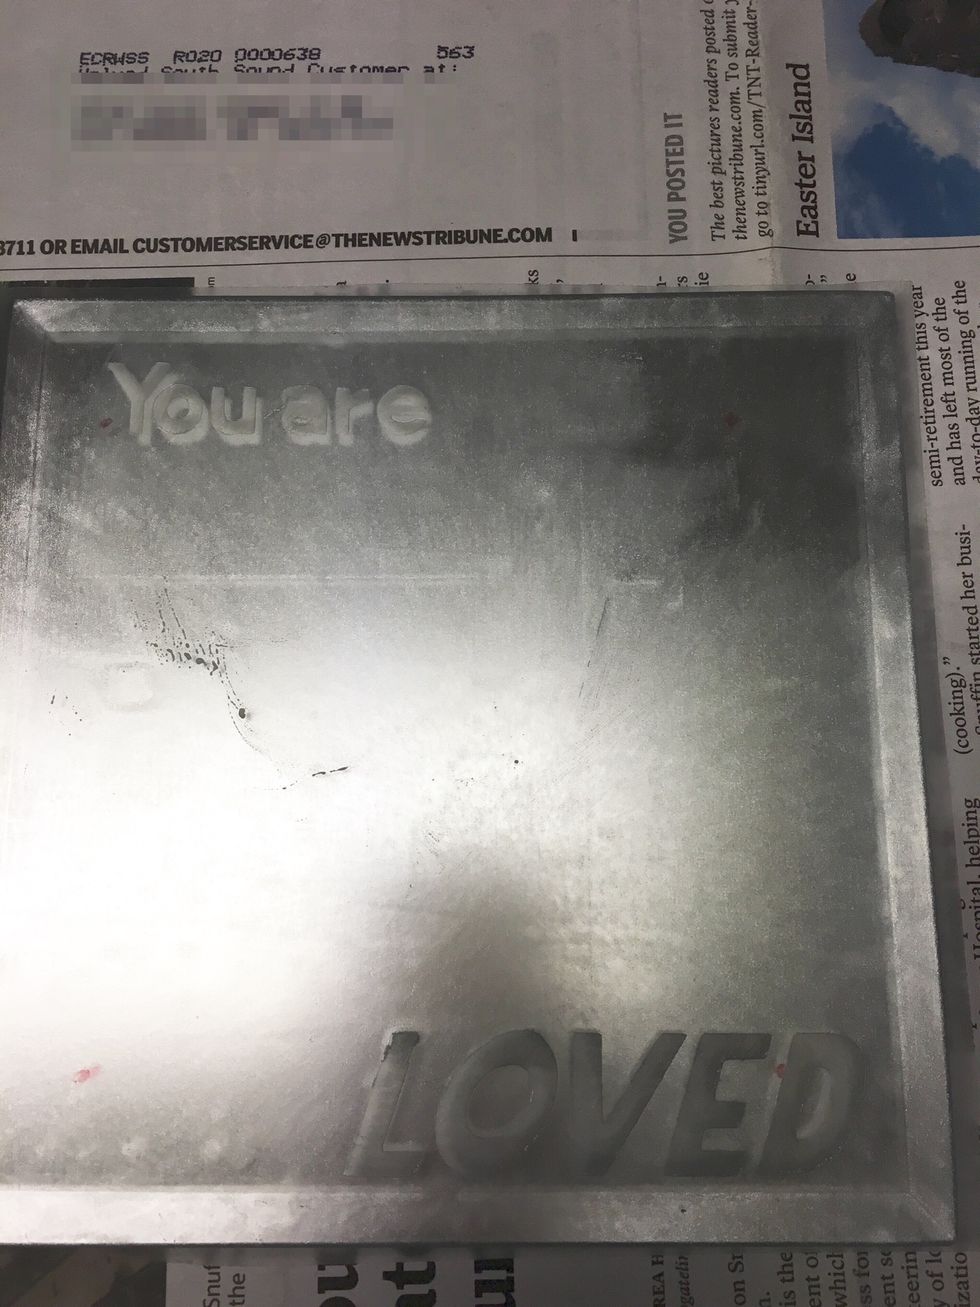
Remove as much as possible before washing. I wiped the surface gently with a paper towel.
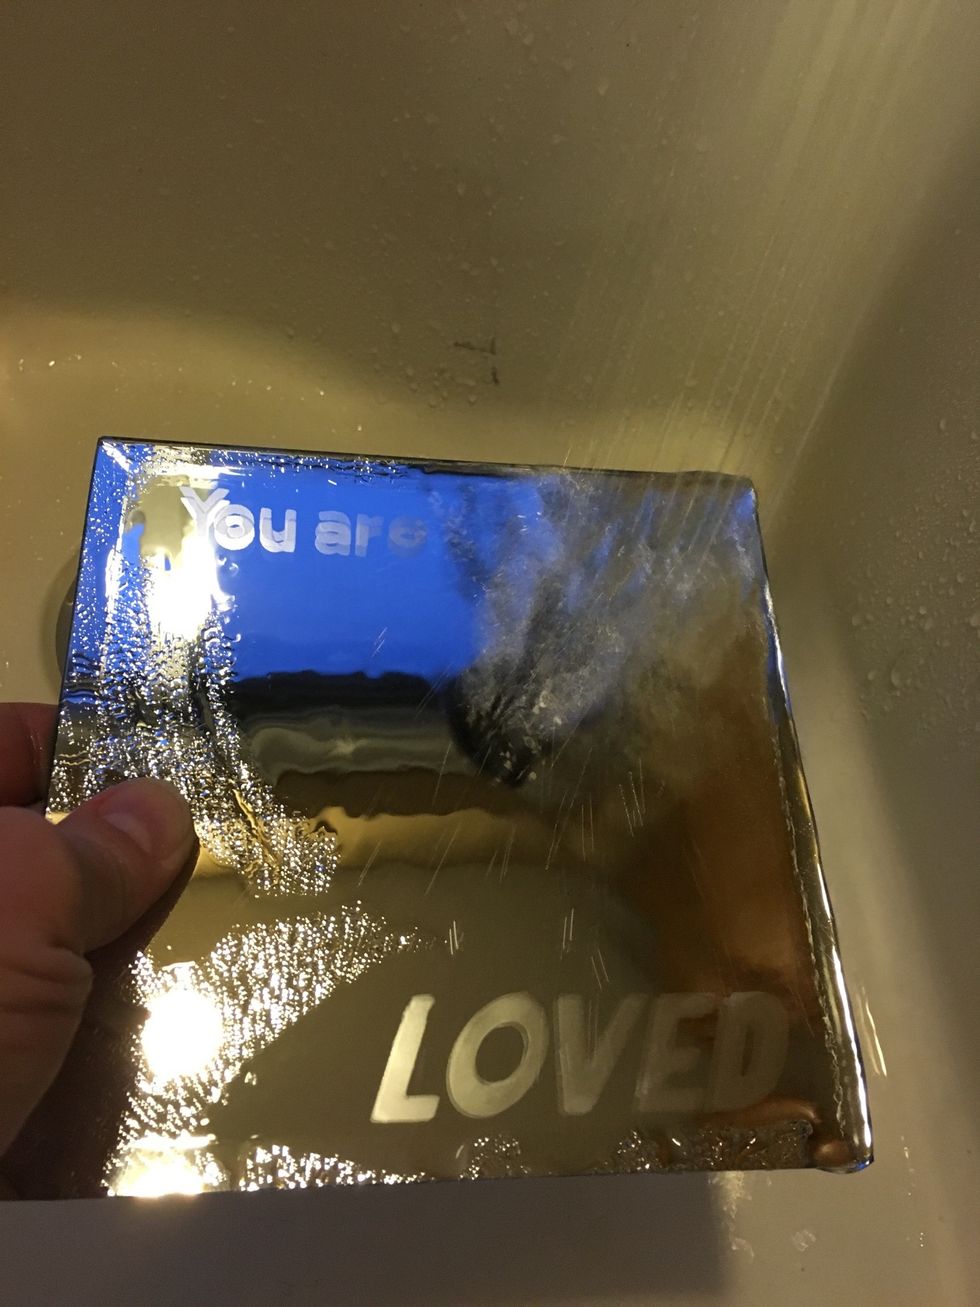
Remove Contact paper and rinse thoroughly.
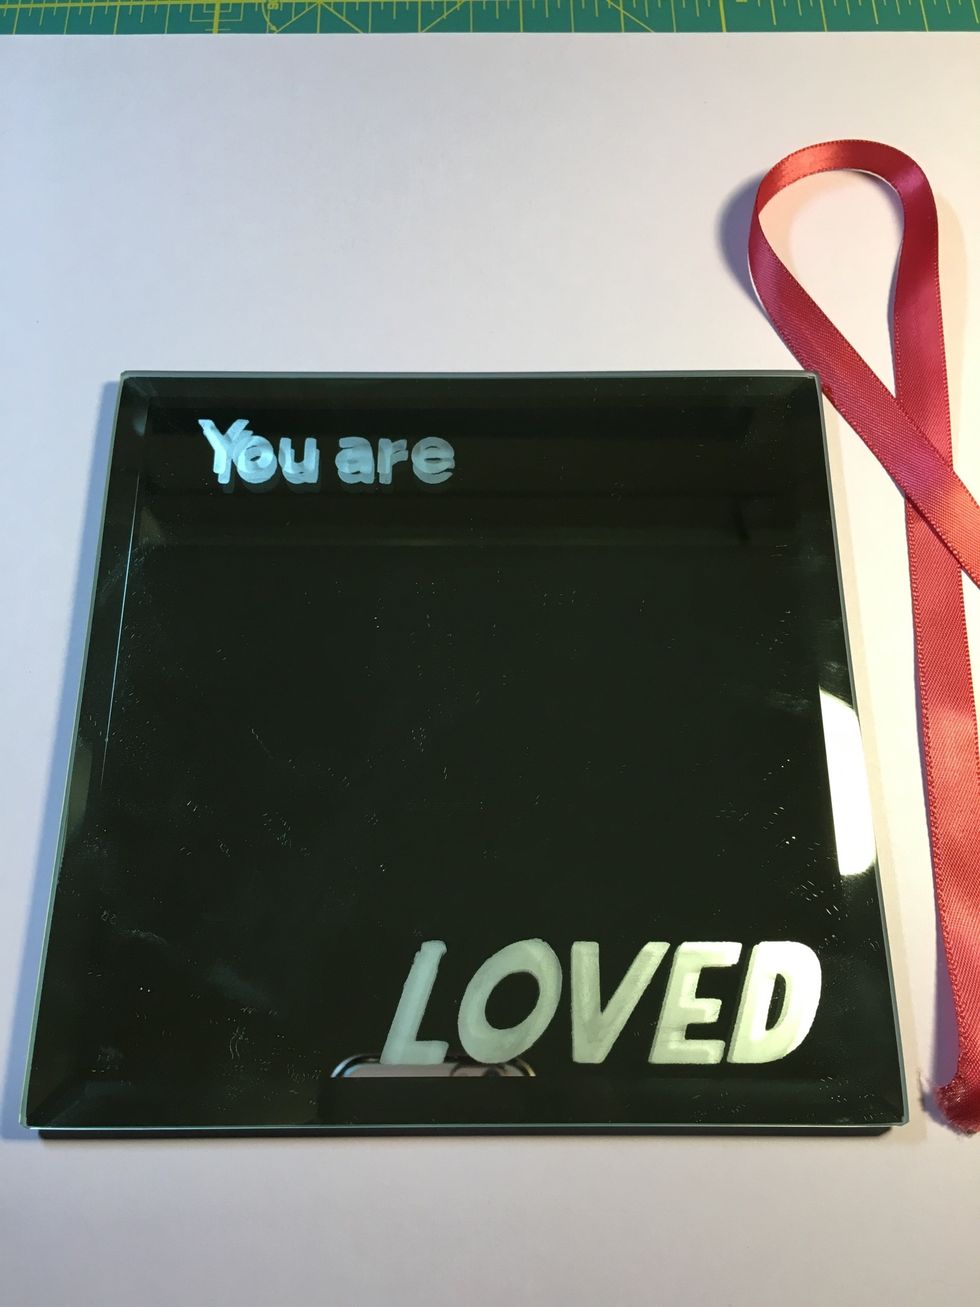
Dry well before adhering the hanging ribbon. If placing mirror in a frame, skip these next steps.
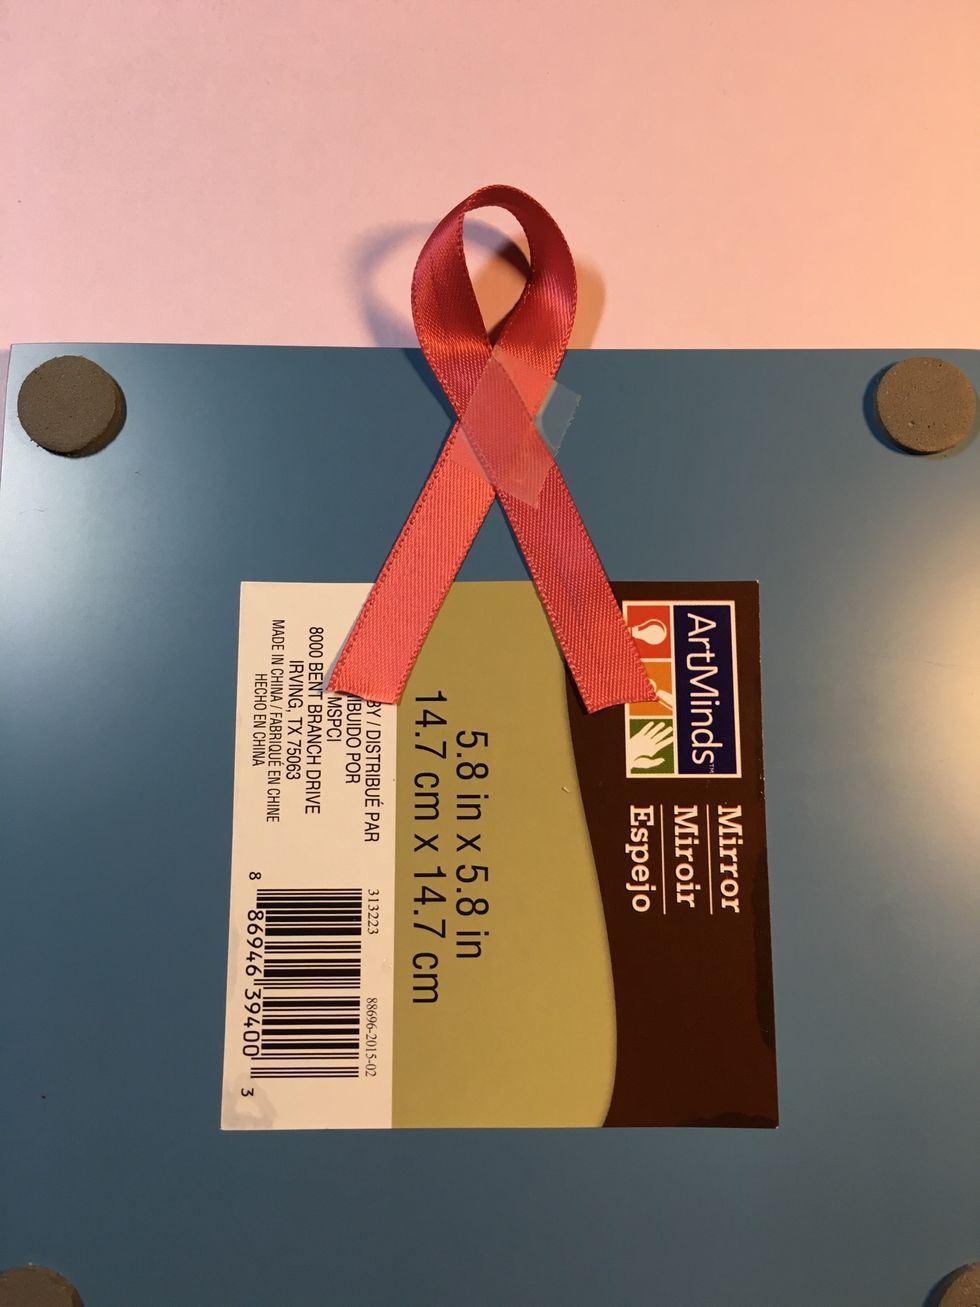
From the back, position the ribbon with a small loop at the top. Tape and check placement. When placed as desired, secure with strong tape, hot glue, or other adhesive.
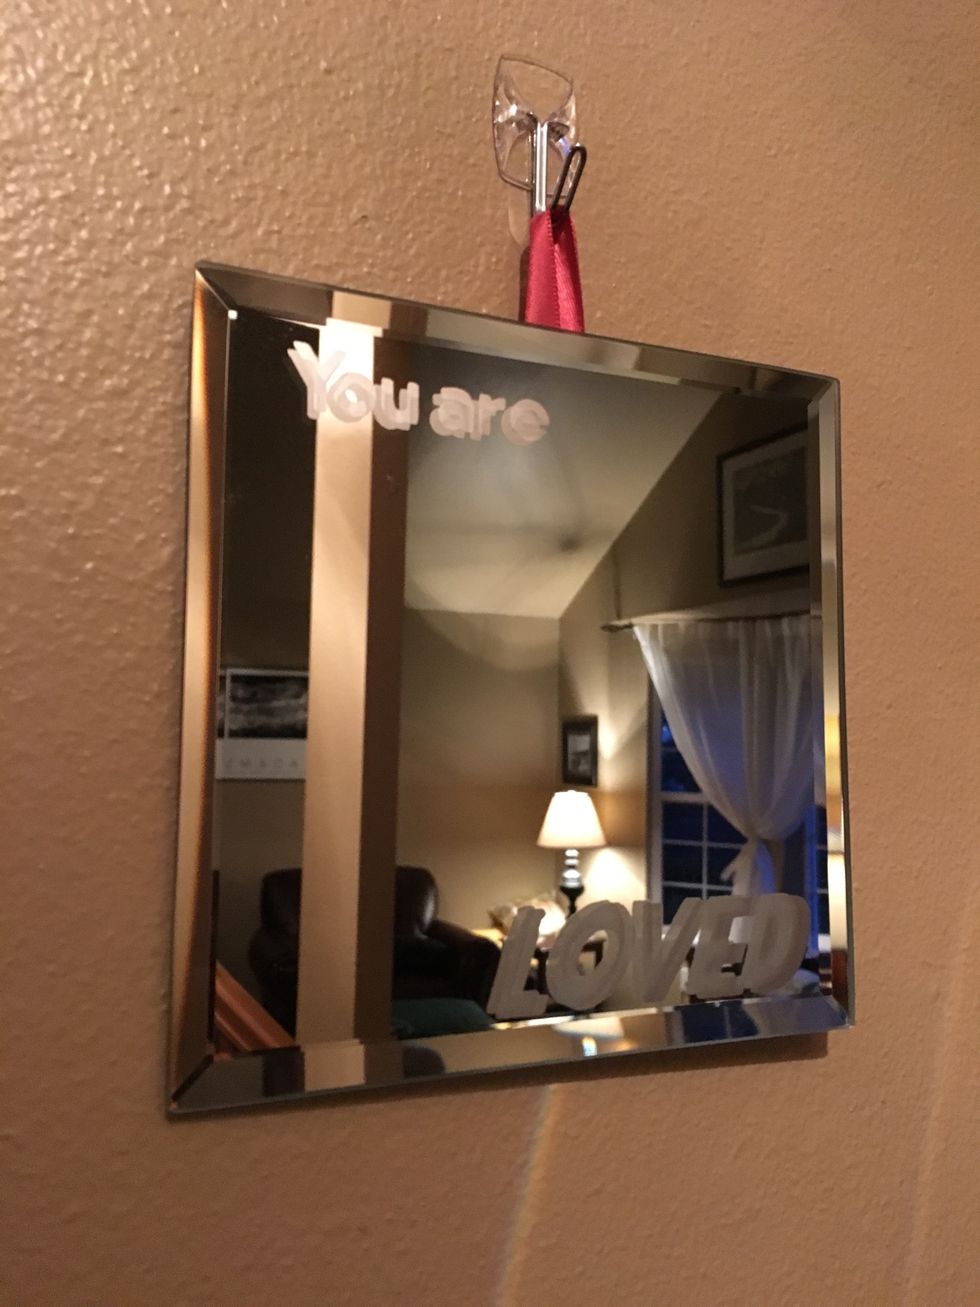
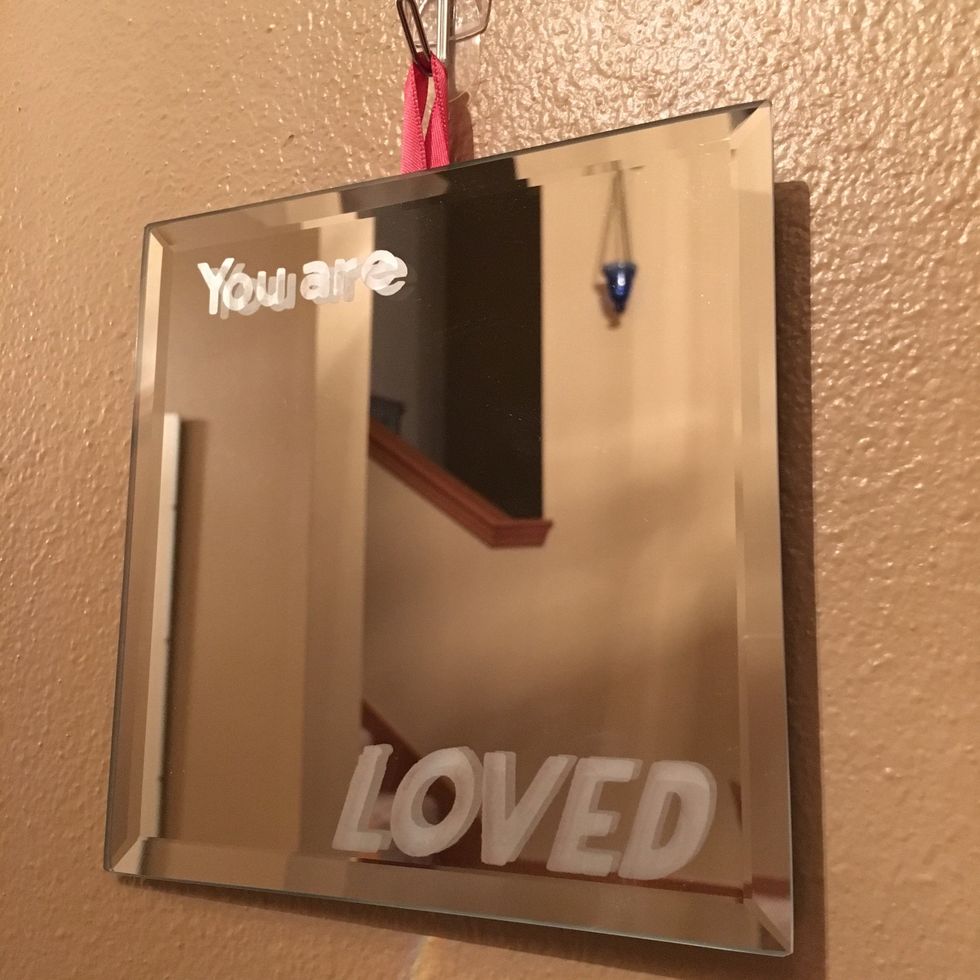
Hang the mirror and enjoy!