The Conversation (0)
Sign Up
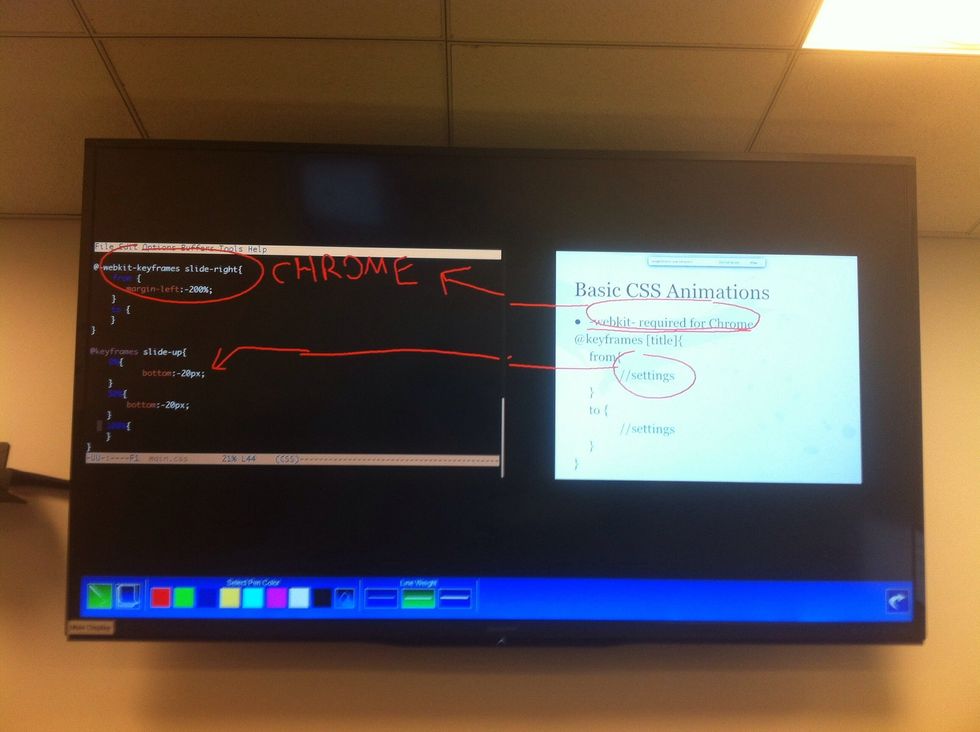
SplitScreen is a new feature on the CTC lectern that allows you to simultaneously display two monitor sources.
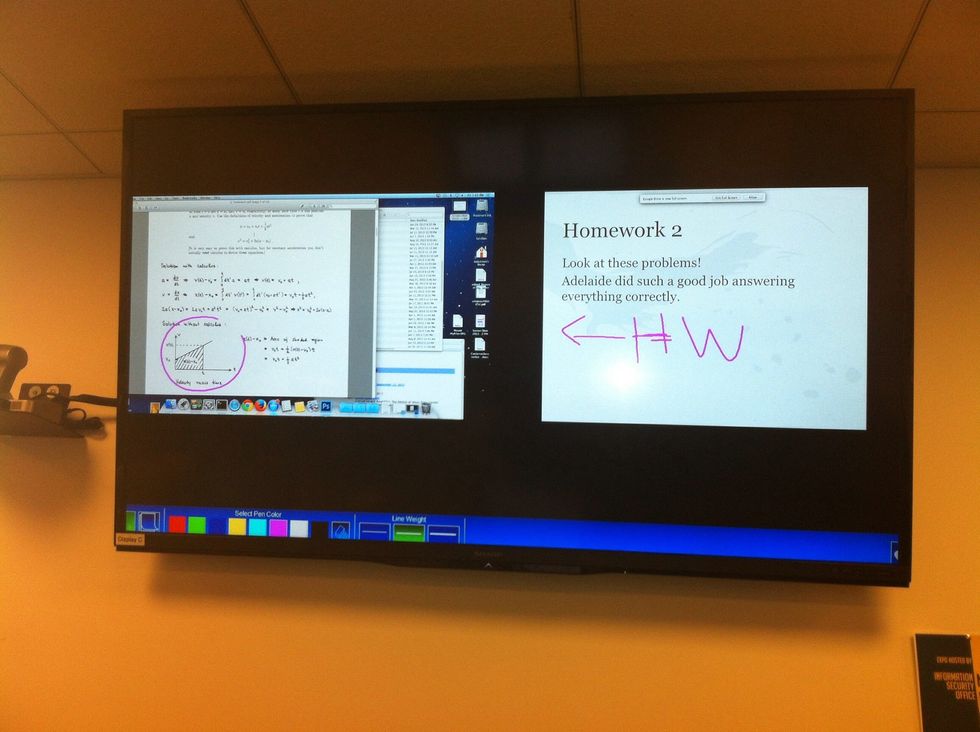
SplitScreen is useful for reviewing, comparing, and correcting homework or class assignments, as well as displaying student projects side by side.
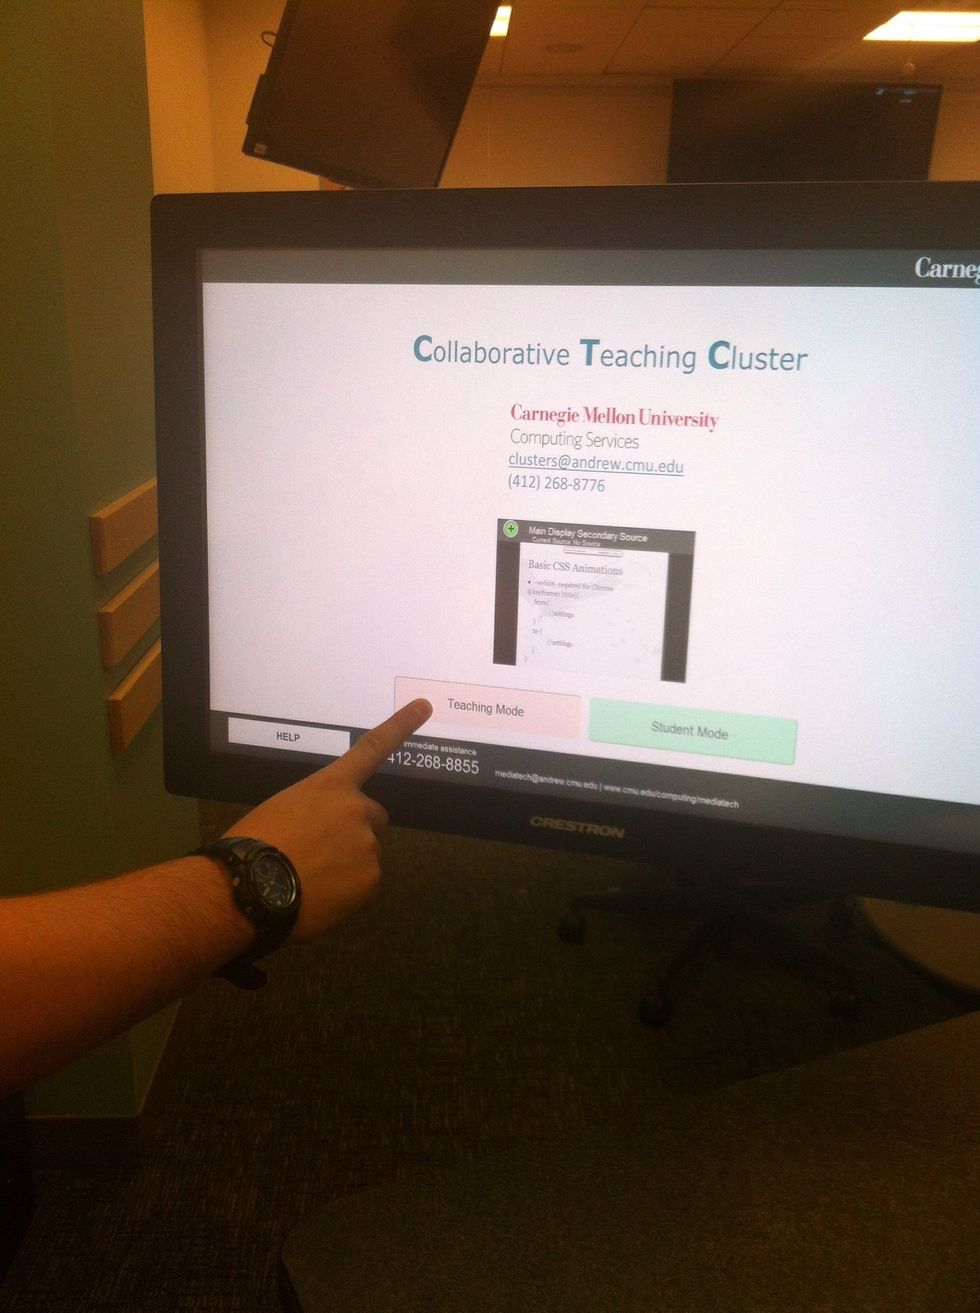
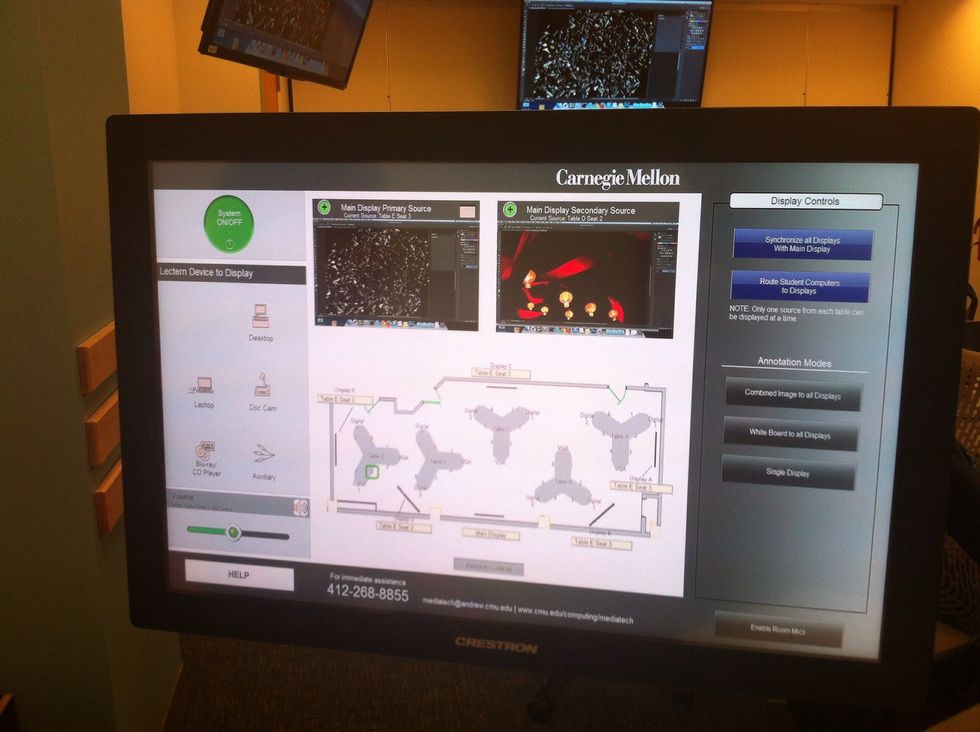
To enable the SplitScreen feature, begin by selecting "Teaching Mode" from the main menu.

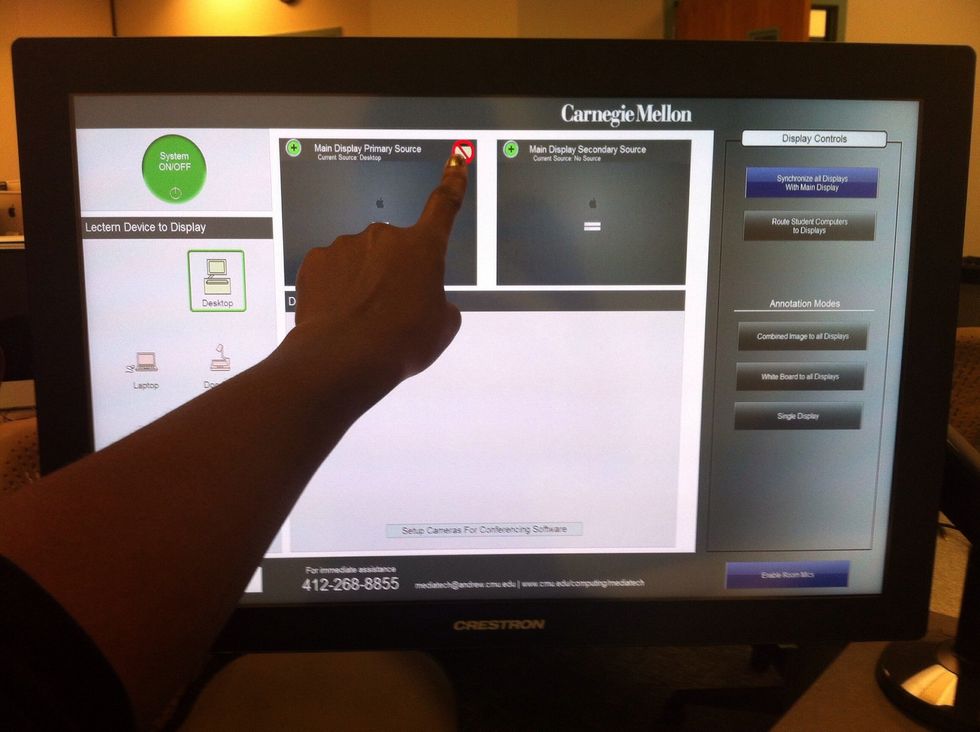
On the main screen, the desktop computer at the lectern is set as the primary source by default.
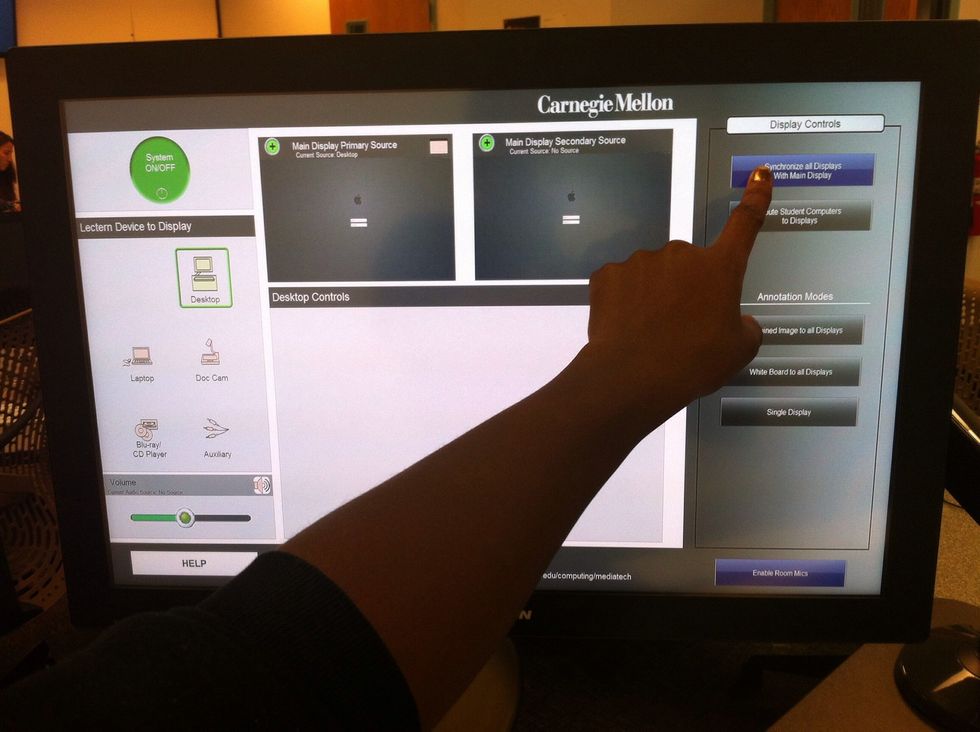
To display the primary source on the LCDs located on walls around the room, select "Synchronize all Displays With Main Display" under Display Controls.

To display student desktops, select "Route Student Computers to Displays."
The grey student seating chart allows you to select up to two student desktops to display. A student's desktop can be displayed alongside the primary source.
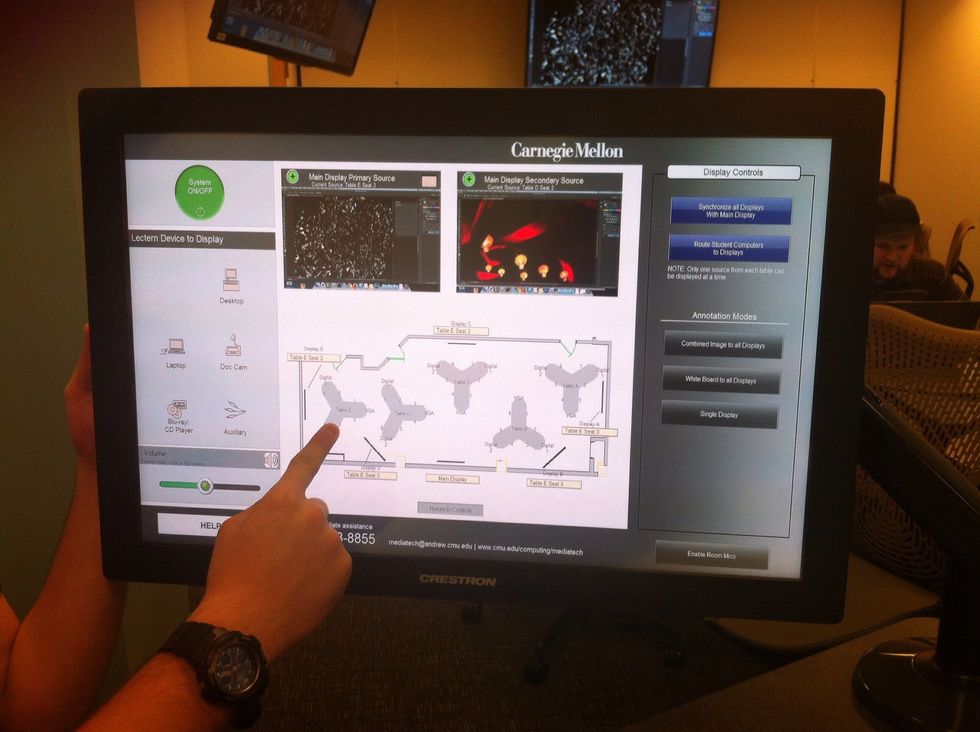
To set the primary and secondary displays, tap on the source screen and then a select a student's seat. In this example, the student chosen as the secondary source is sitting at Table E Seat 3.
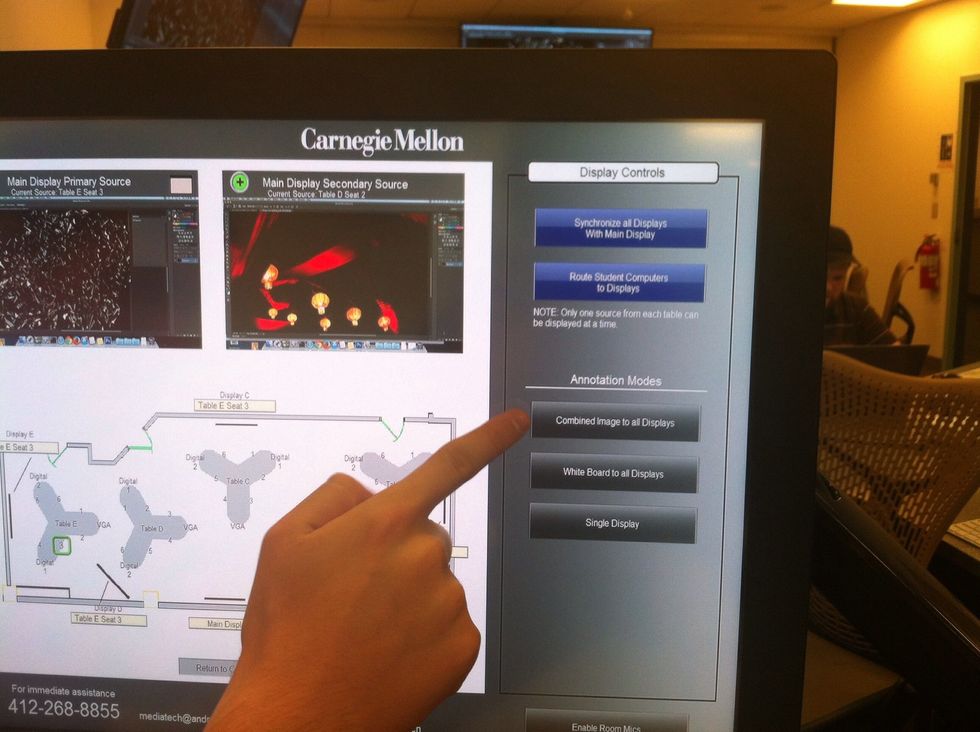
Select "Connect Images to All Displays" after the student desktop you wish to display has been selected.
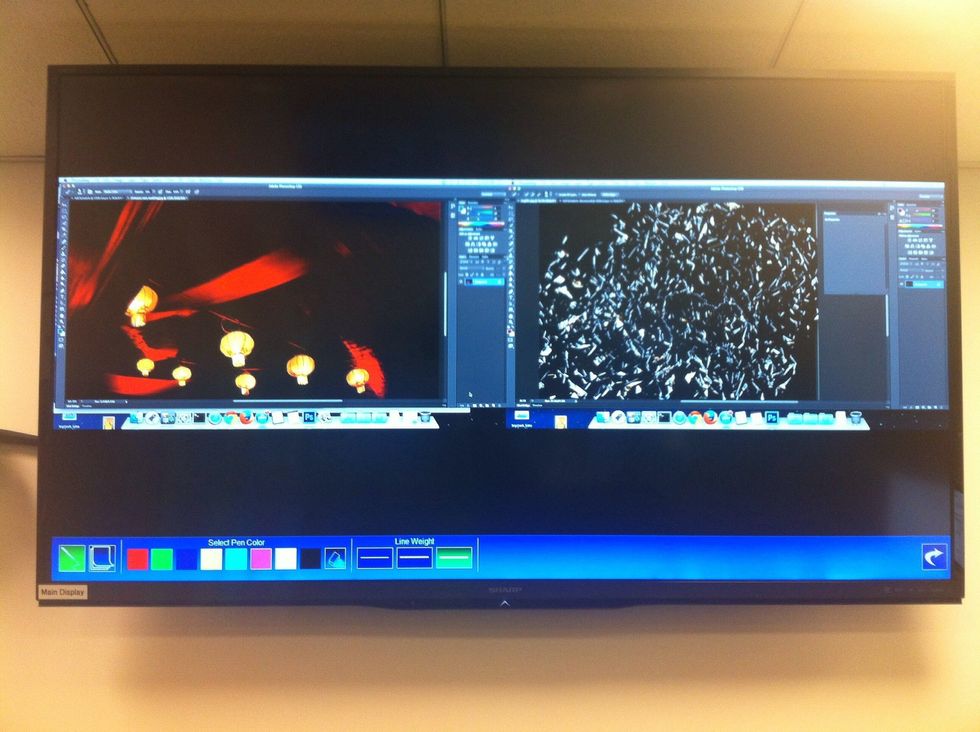
The monitors of both screens will then be displayed on the lectern, as well as on the LCDs around the room.

Use the lectern's annotation feature to write notes and emphasize certain aspects of each display. Return to the main screen by selecting the white back arrow button in the lower left hand corner.
When you are finished synchronizing screens, simply deselect "Combine to all Displays."
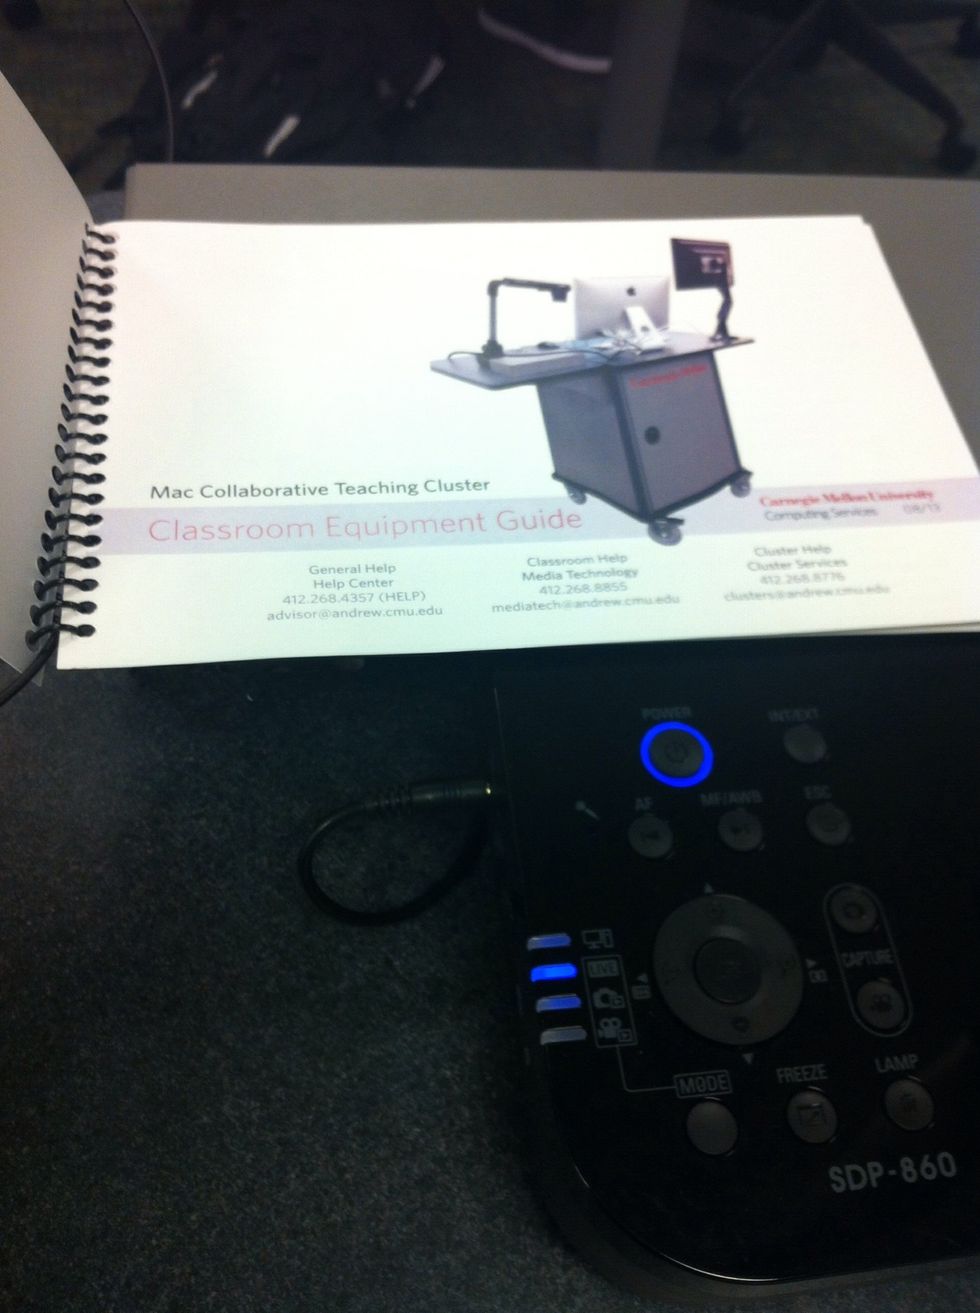
Please refer to the SplitScreen manual for more tips and features. Email clusters@andrew.cmu.edu for help, questions, or suggestions about any features of the CTC.