The Conversation (0)
Sign Up
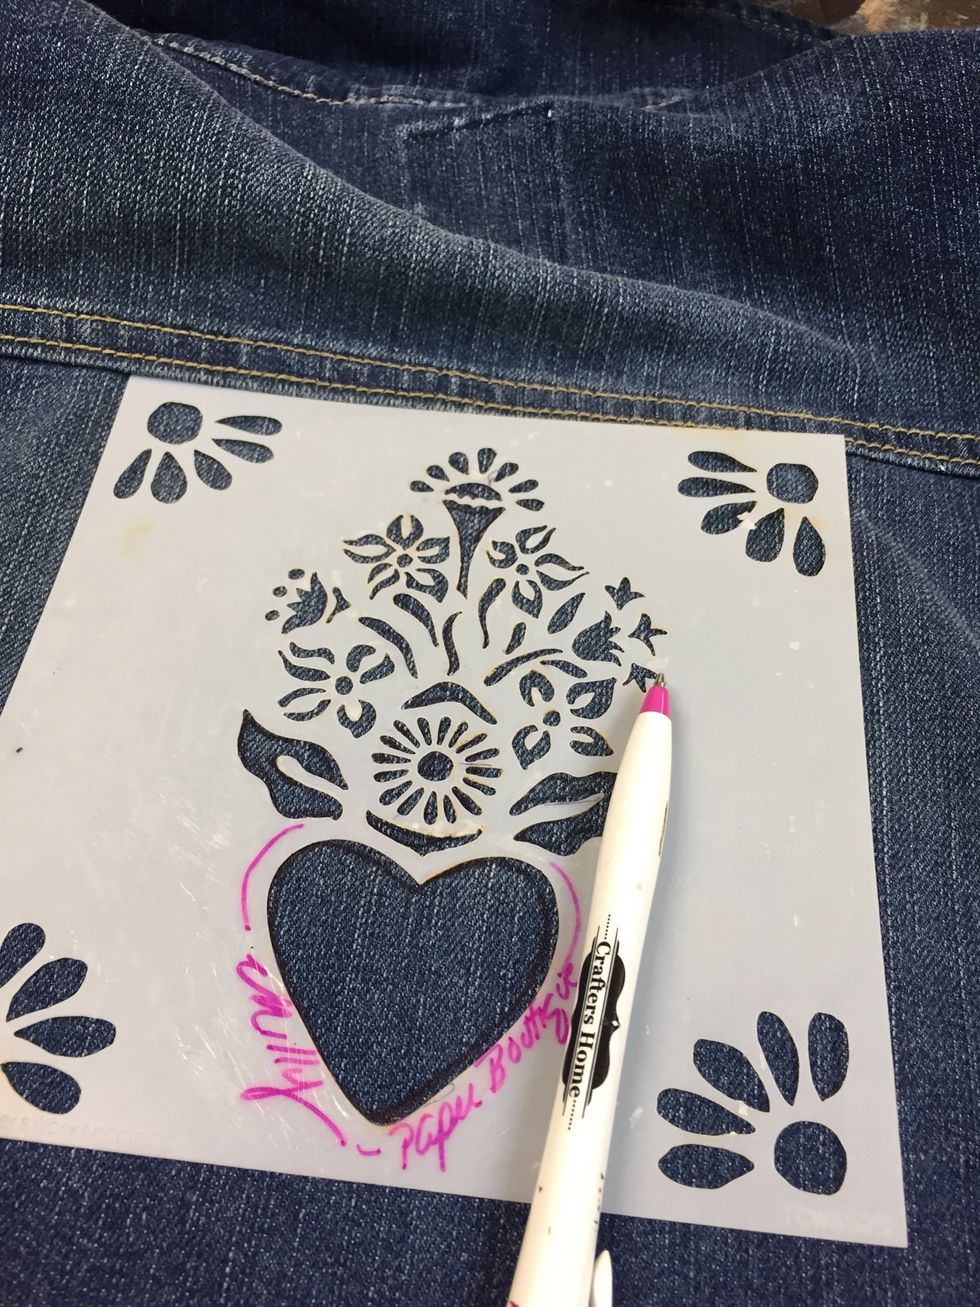
You can tape the stencil down wherever you want to place it
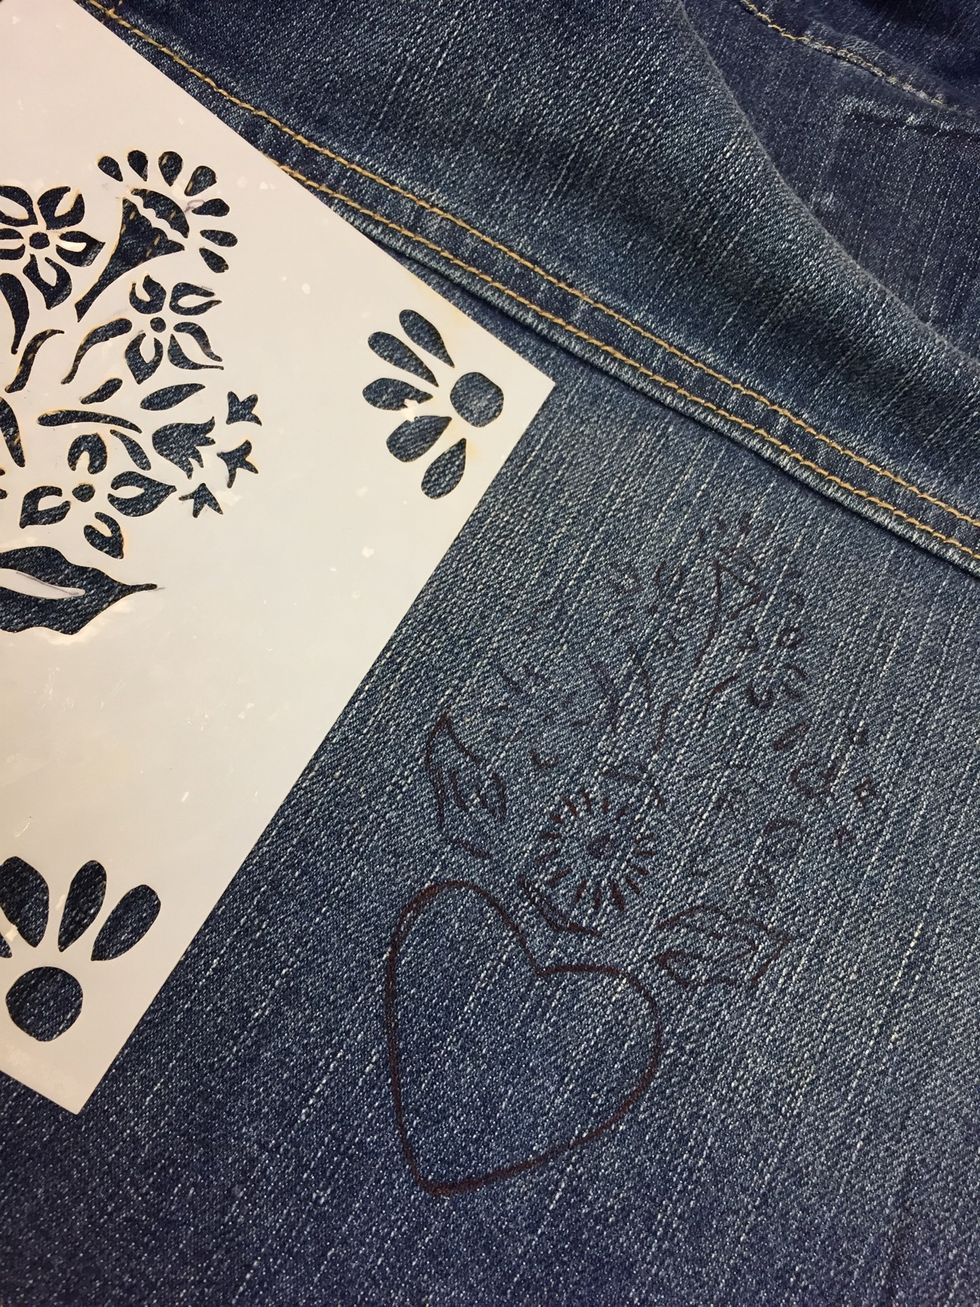
I used a pen since it's denim but the appropriate thing is a water soluble pen!
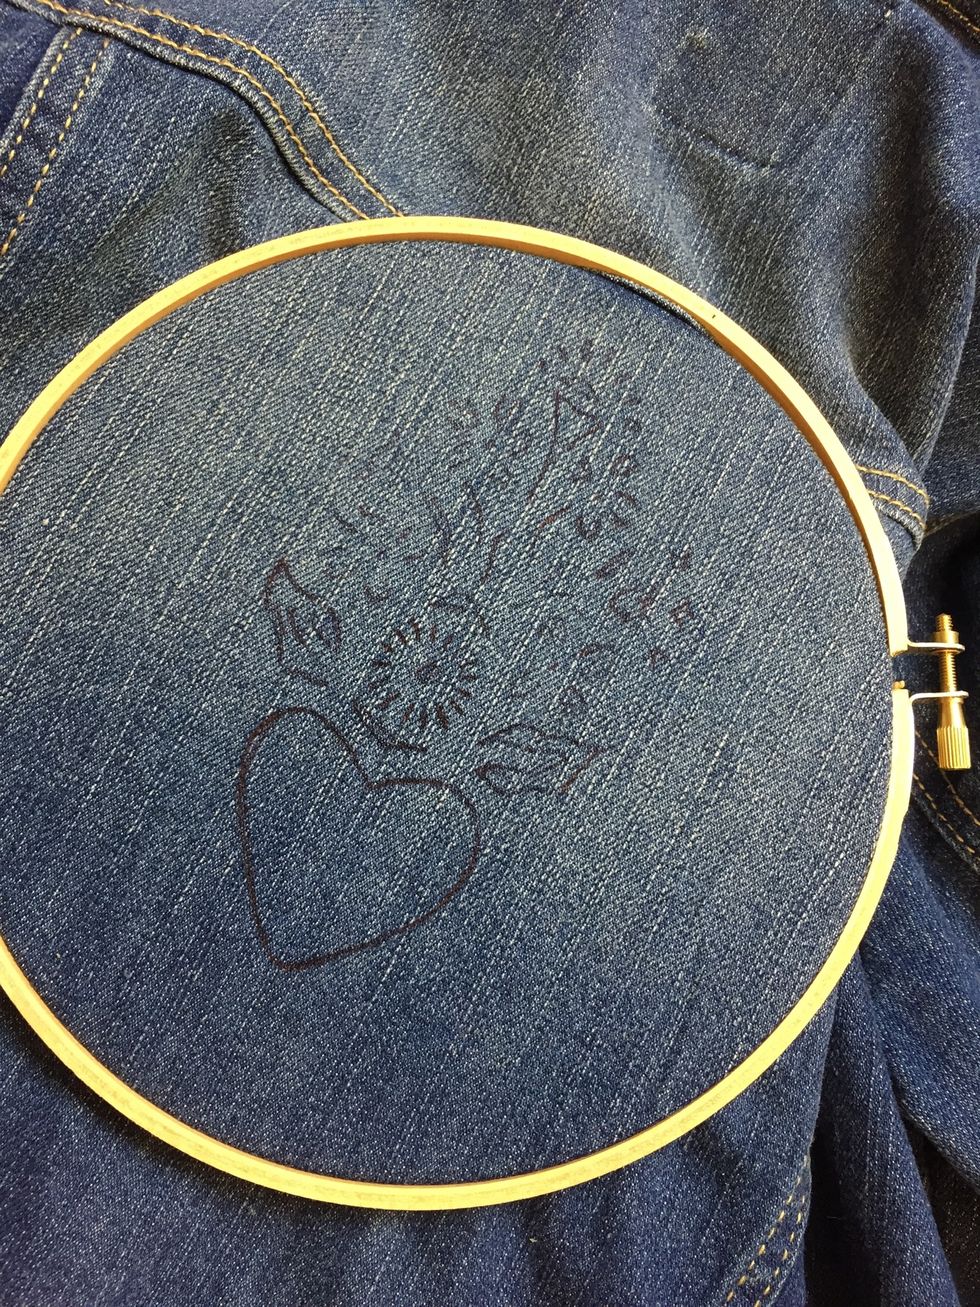
Once your happy with the transfer of your design put it inside a hoop and tense it!

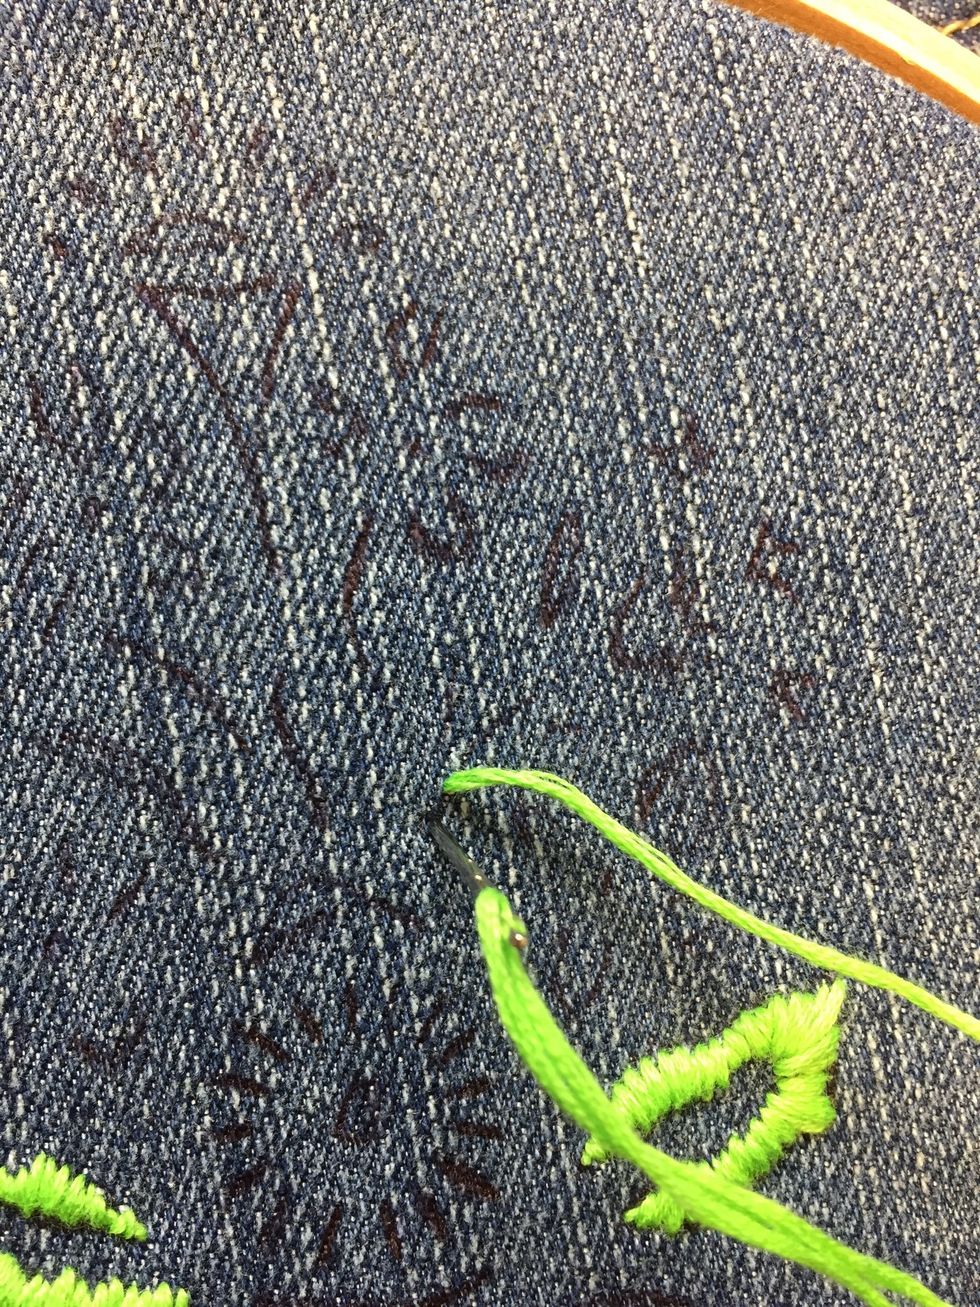
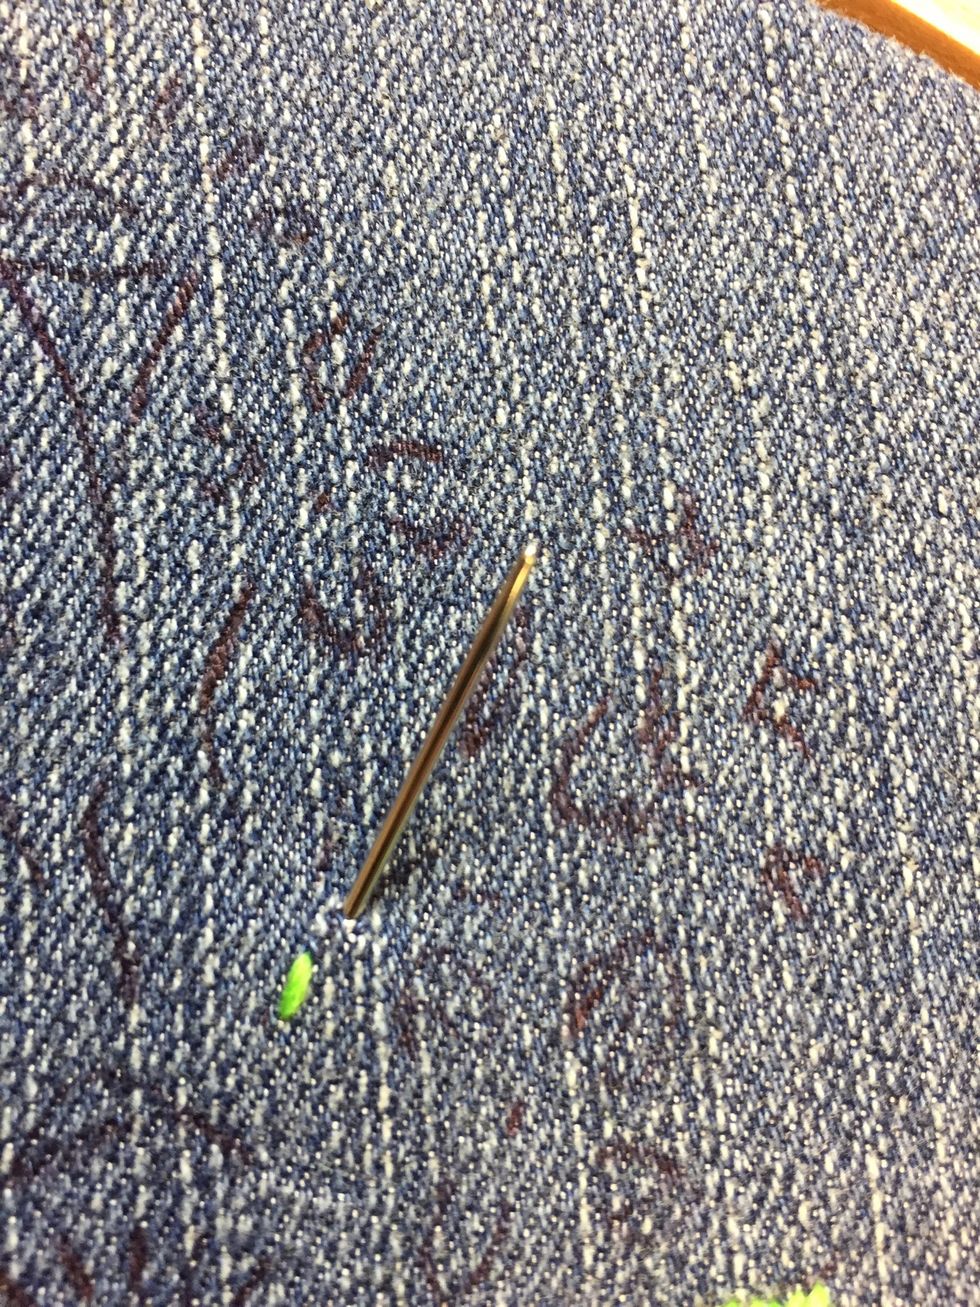
For the leaves I want to do a satin stitch. To begin do small stitches to cover the area first. This will help give a nice cushion to your finished stitch!

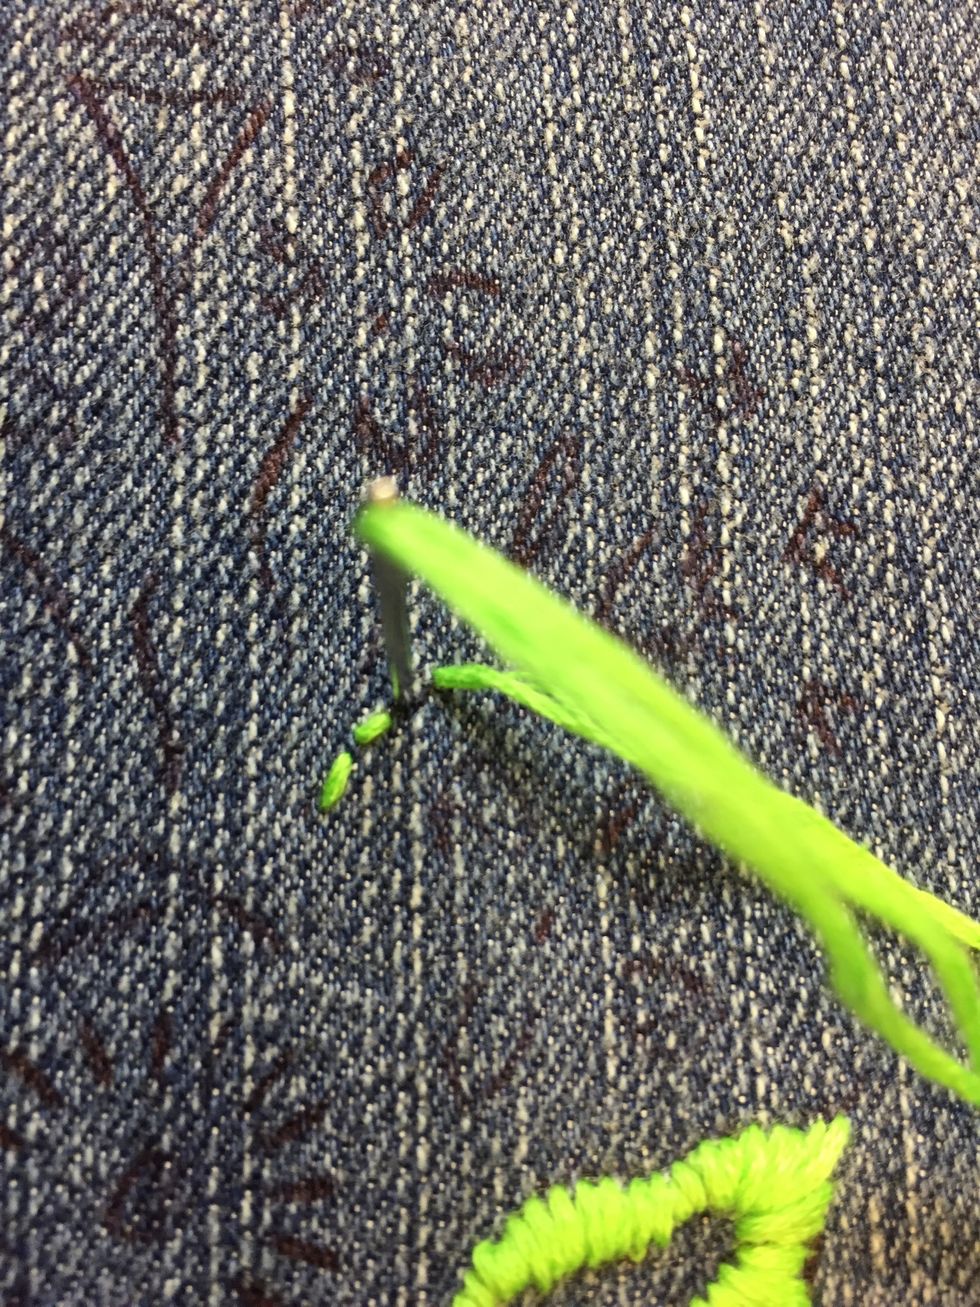
Satin stitch done! It's just consecutive up and down stitches very close to one another
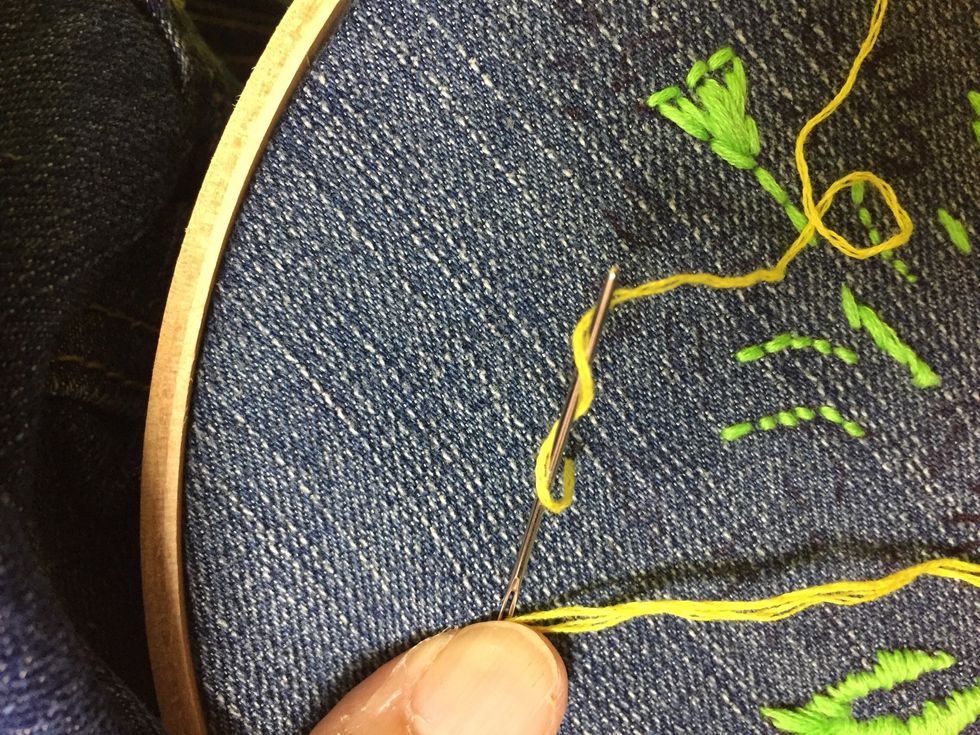
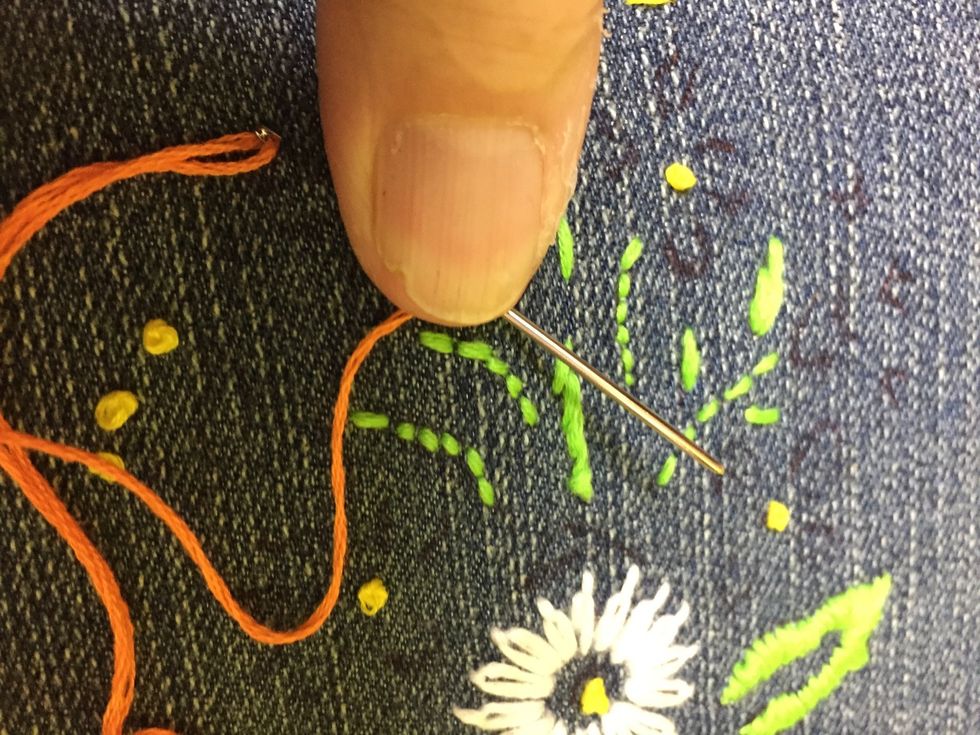
The beginning of back stitch. Bring your needle up and literally go back to under the needle
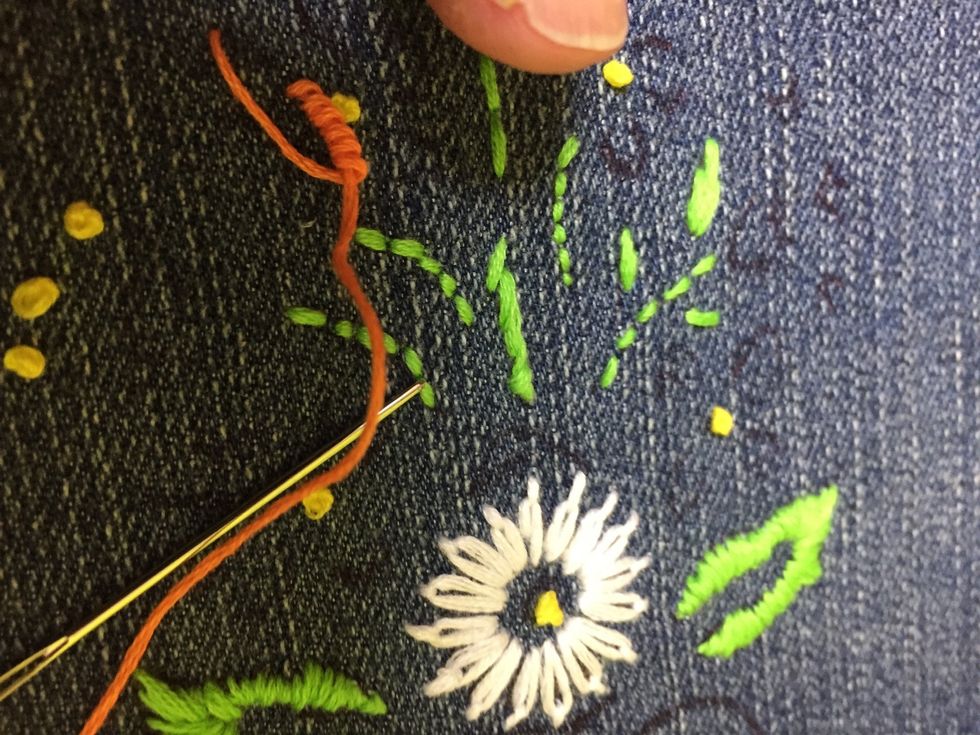
One stitch completed next one going on see the needle comes in the opposite direction and comes back down close to the finished stitch!
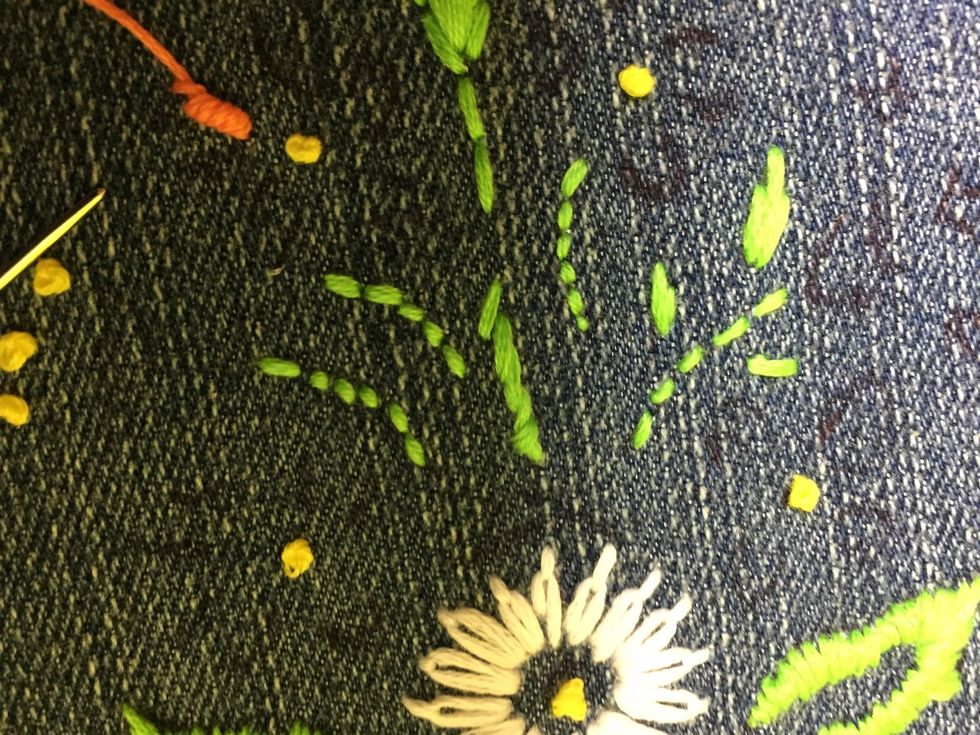
The back stitch is a nice element for stems!
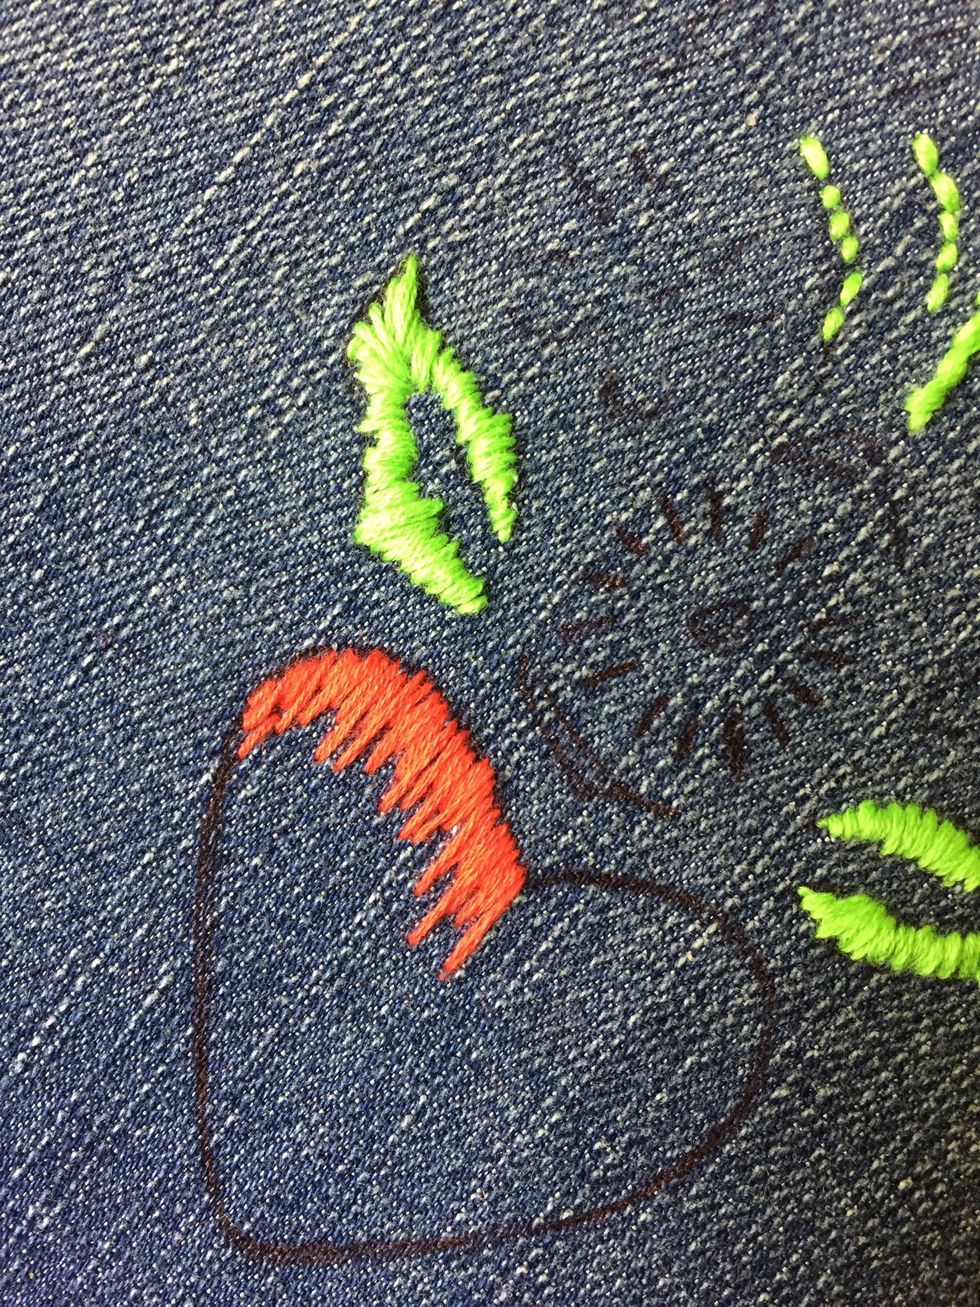
To fill the heart I'm doing long and short stitches it helps cover s big area quicker and looks like you have painted on it!
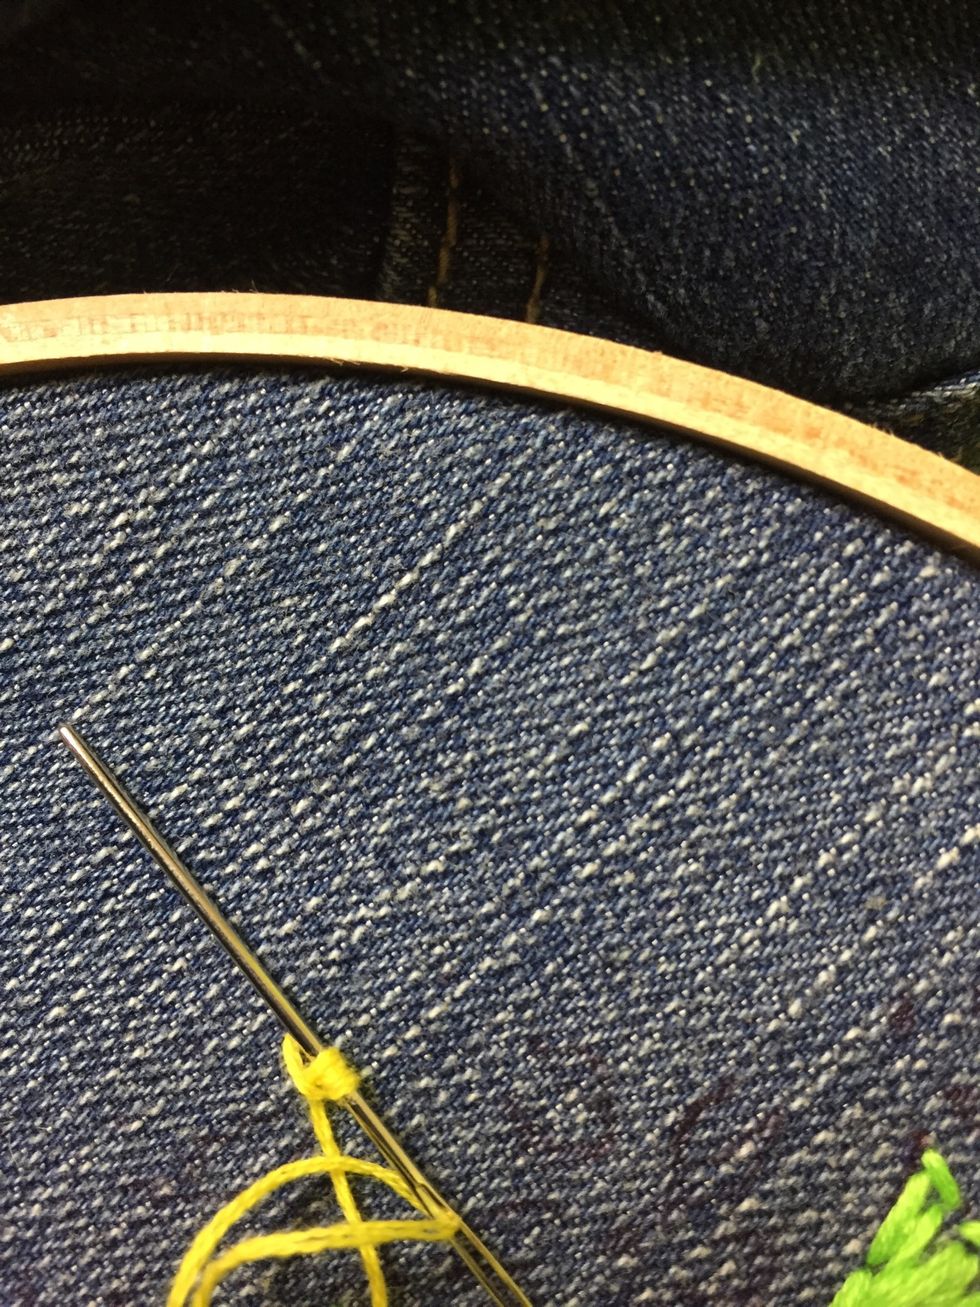
The beginning of a French knot! Bring your needle up and wrap your thread on the needle 2 or 3 times
Tighten the wrapped threads before pushing the needle back into the fabric again
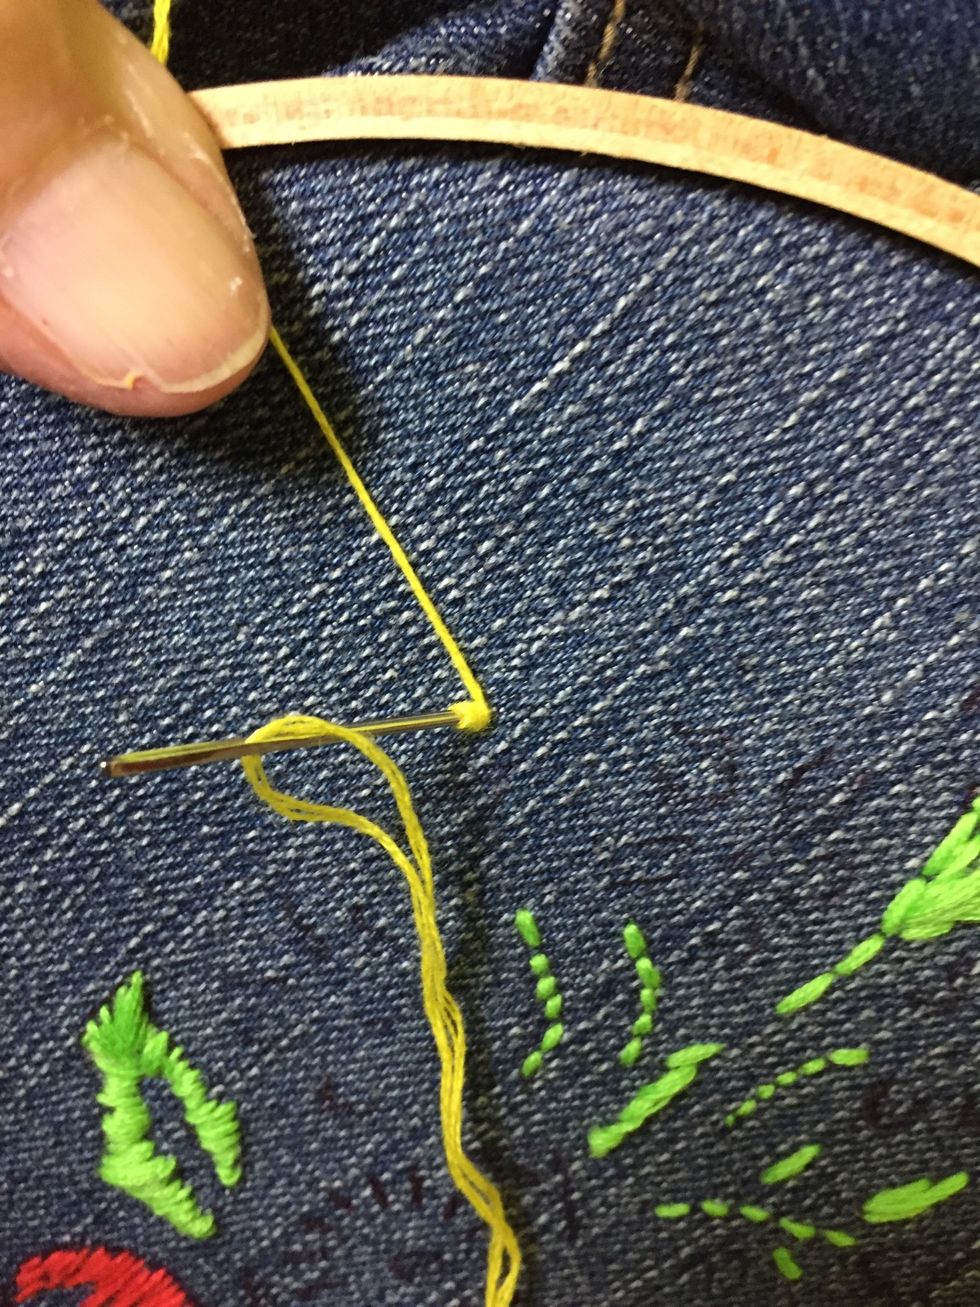
Keep the thread tight while pushing the needle through

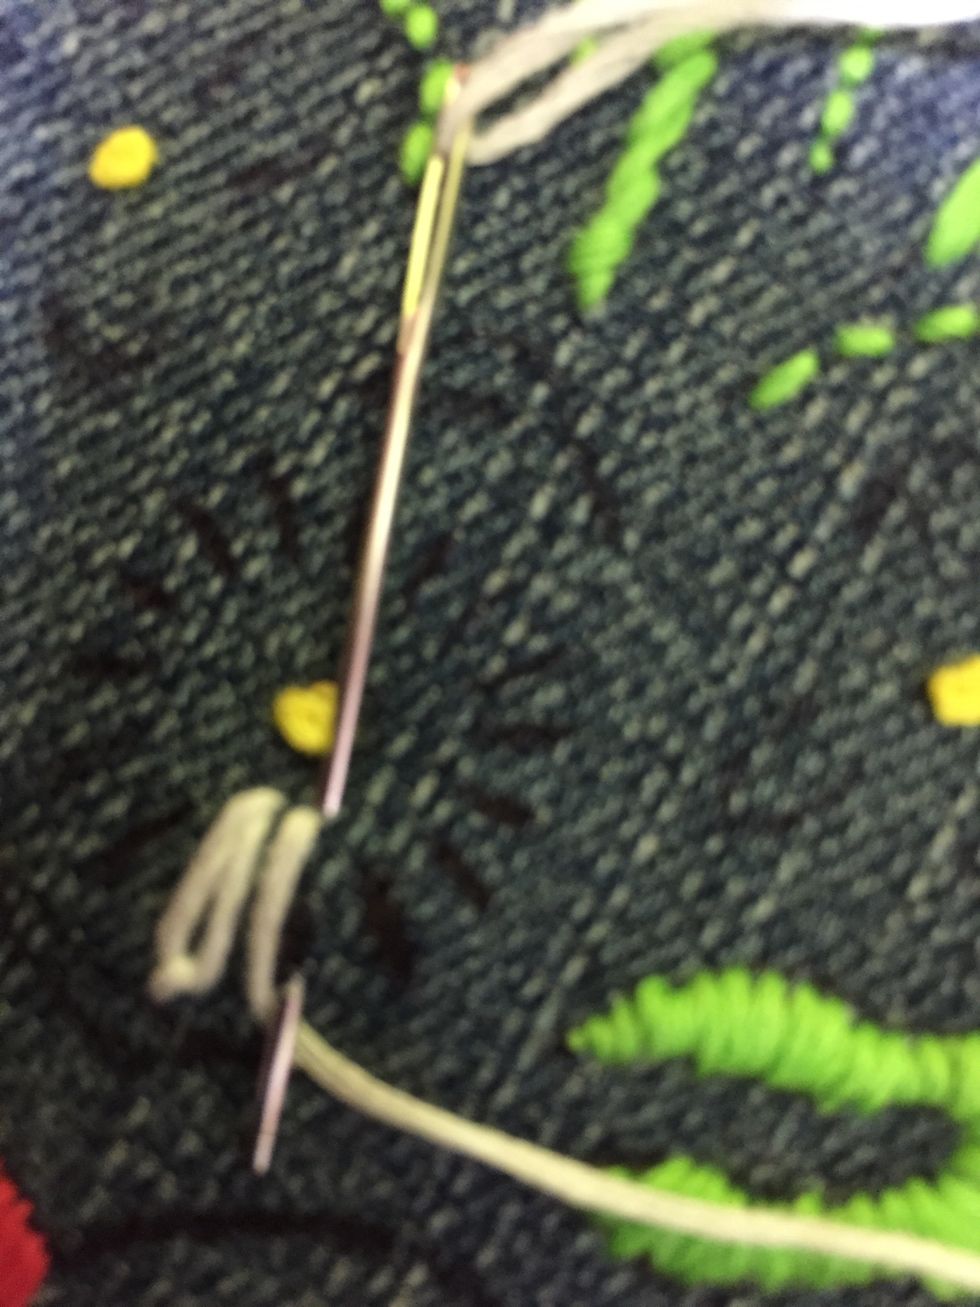
This will ensure you get a tight and pretty knot that can be used to create flower centers or scattered tiny flower buds
To do a laísta daisy bring your needle up, wrap the thread up and come down at the same place you started

Bring the needle up and secure your loop. This completes your stitch
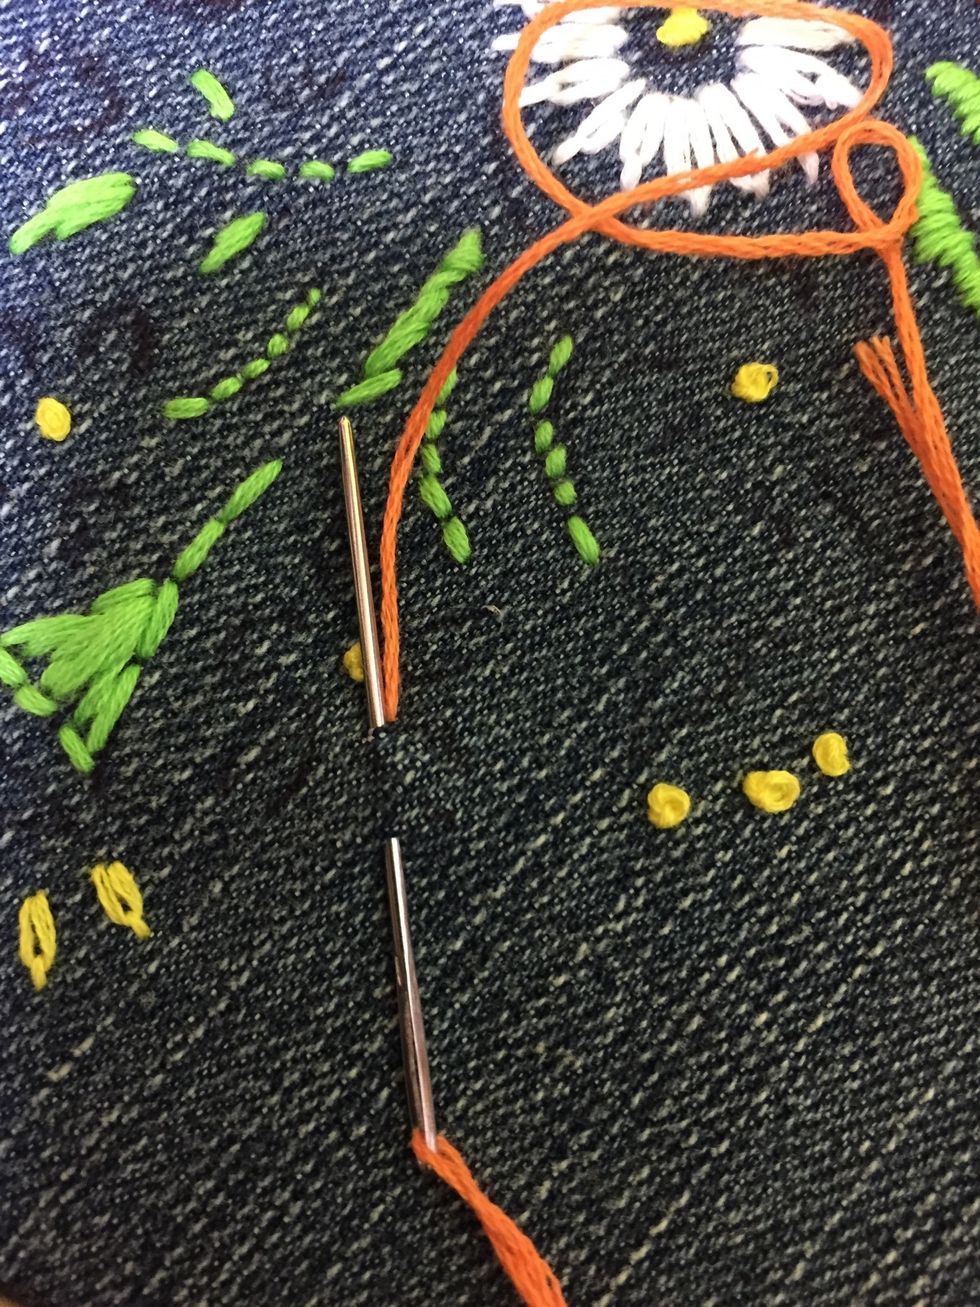
To make a bullion bring up your needle, leave a space the length you want covered by the stitch and bring your needle up there

At that end wrap your threads, a good number is around 6 wraps
Tighten the wrapped threads and secure them with your finger while you pull the needle through. Be very very careful while you're doing this!
Finish by pulling the needle down to secure the stitch!
Finished bullion
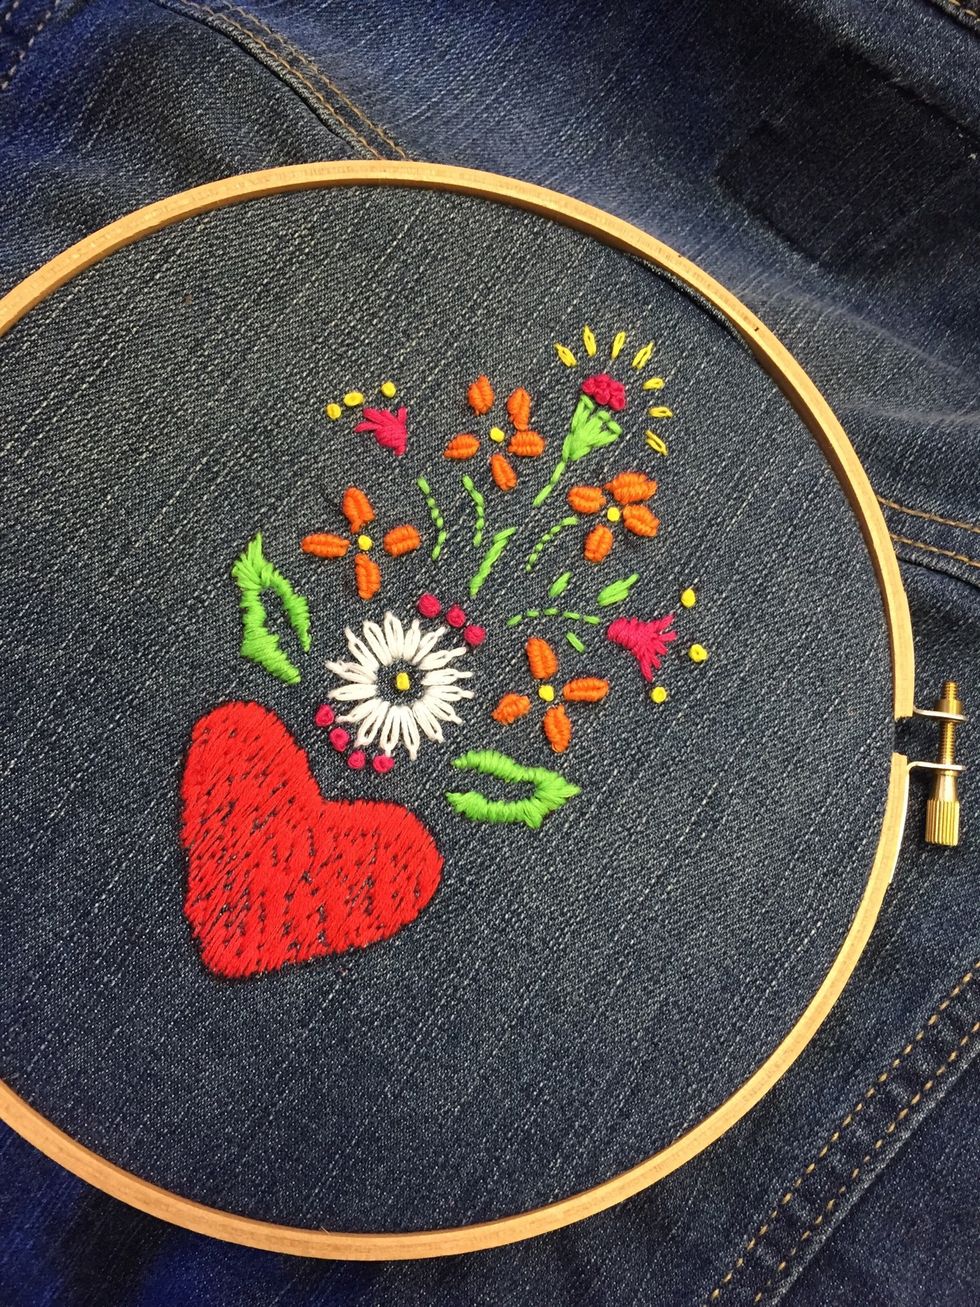
Ready to wear!

My daughter loves her new jacket!!! More of my things? www.milagroscrivera.blogspot.com