The Conversation (0)
Sign Up
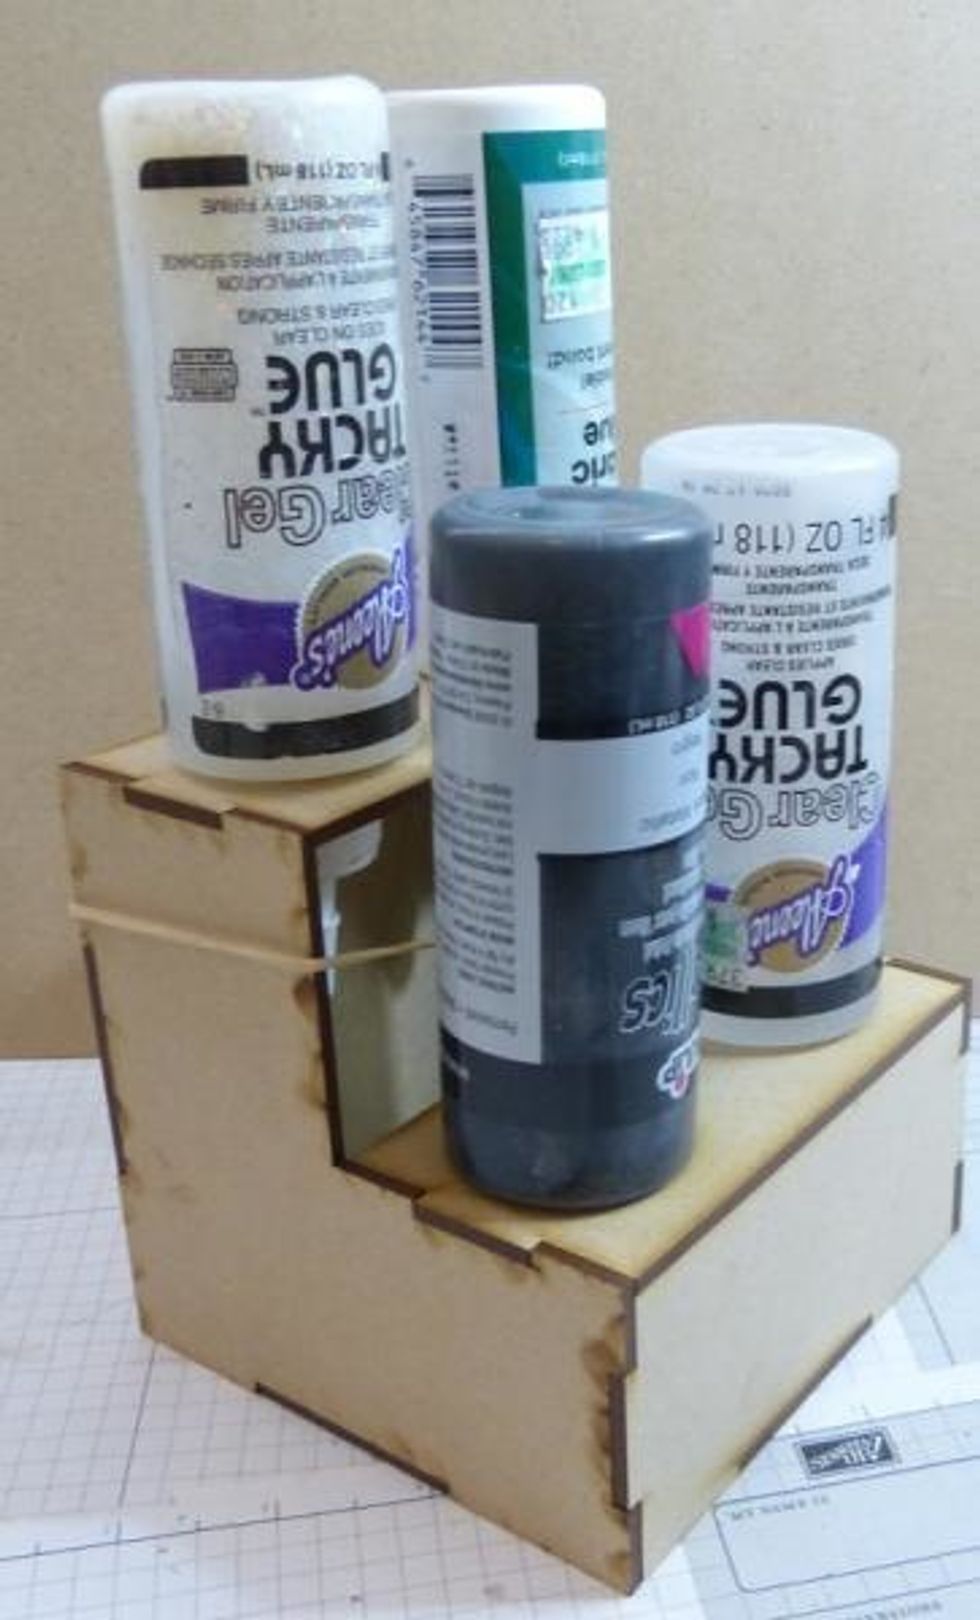
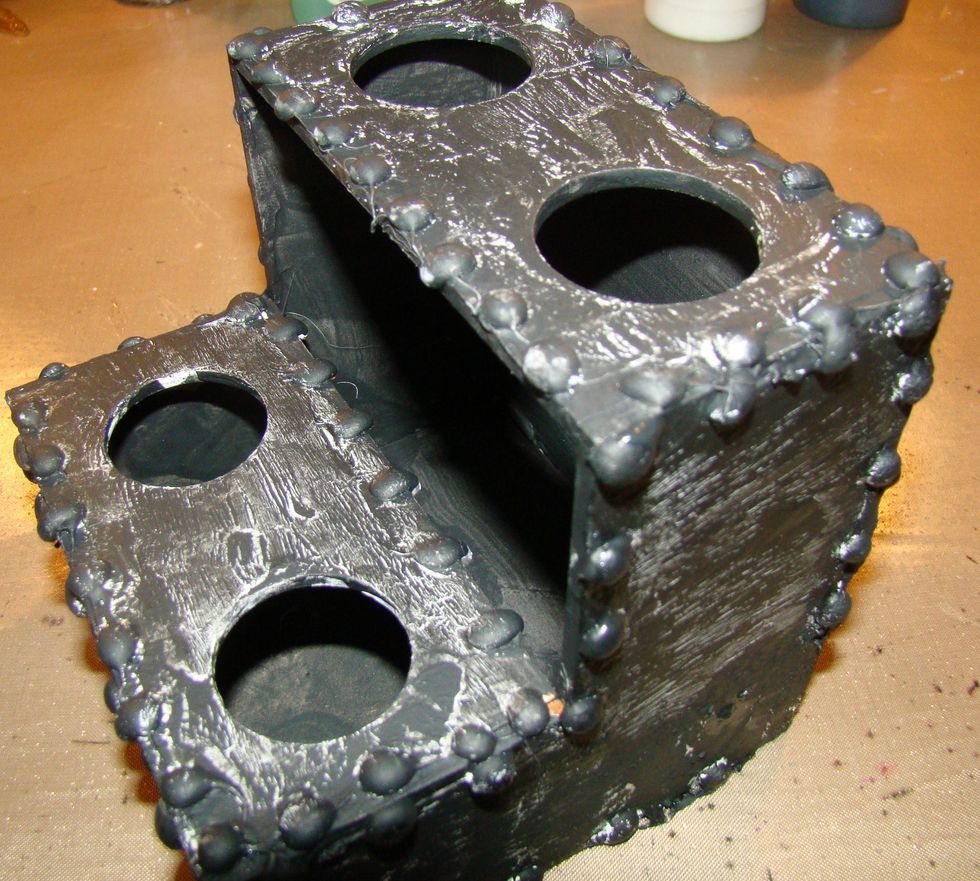
This is how the stand looks prior to altering

These are the pieces and I used E6000 glue to glue them together.
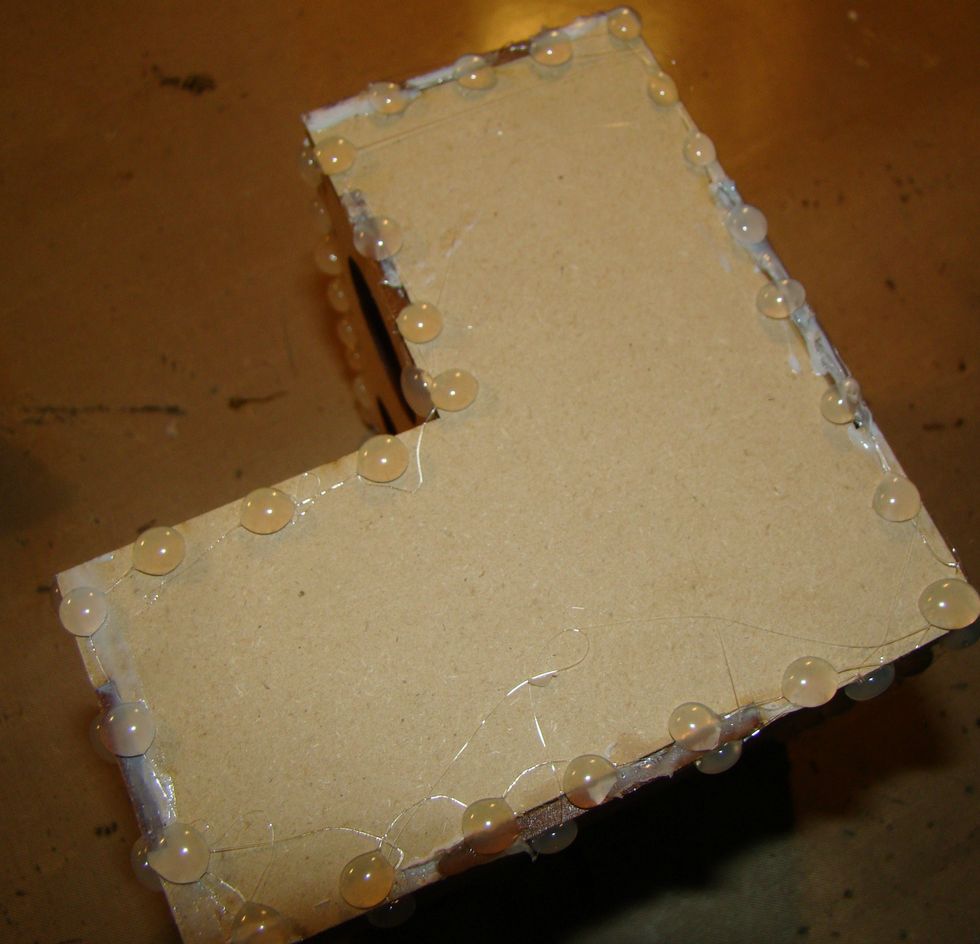
Using your glue gun, go around all edges of the holder with drops which will soon look like rivets. Allow to dry.
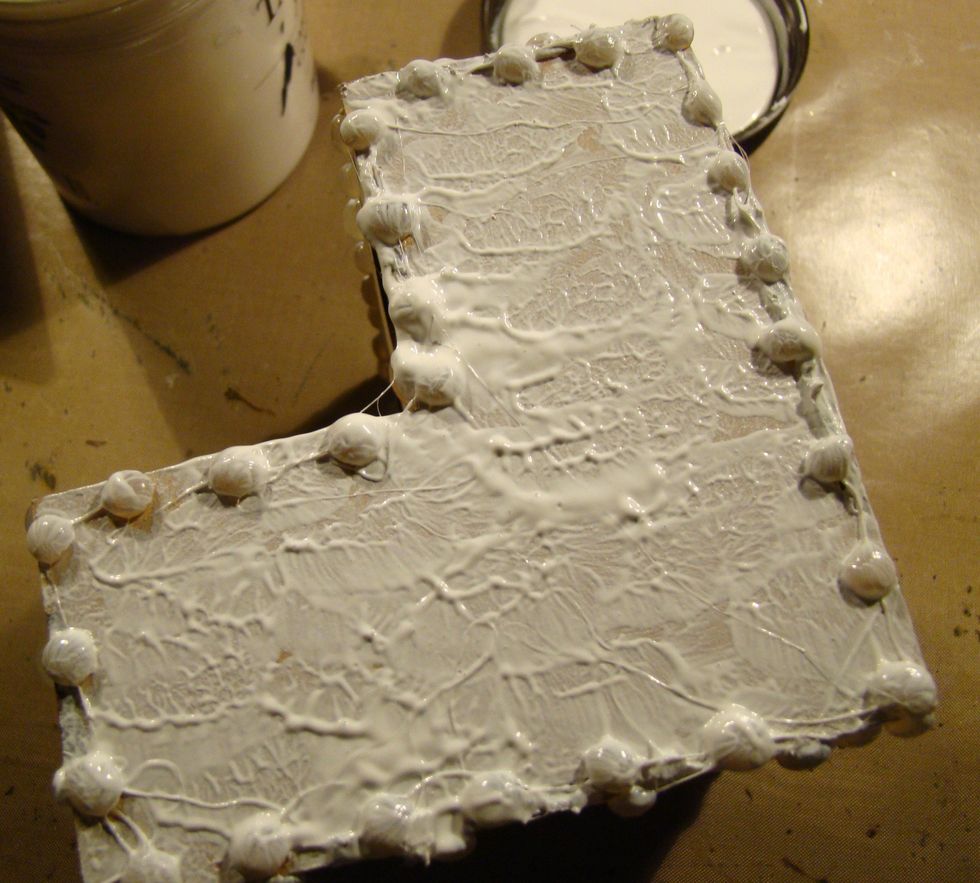
I applied gesso in a stipple effect, but later decided to do a crackle effect on it, so you can actually just brush on as usual if you want.
After your gesso is dry give a coat of white acrylic paint and allow that to dry. Then brush on your glue, the thicker the bigger the cracks.

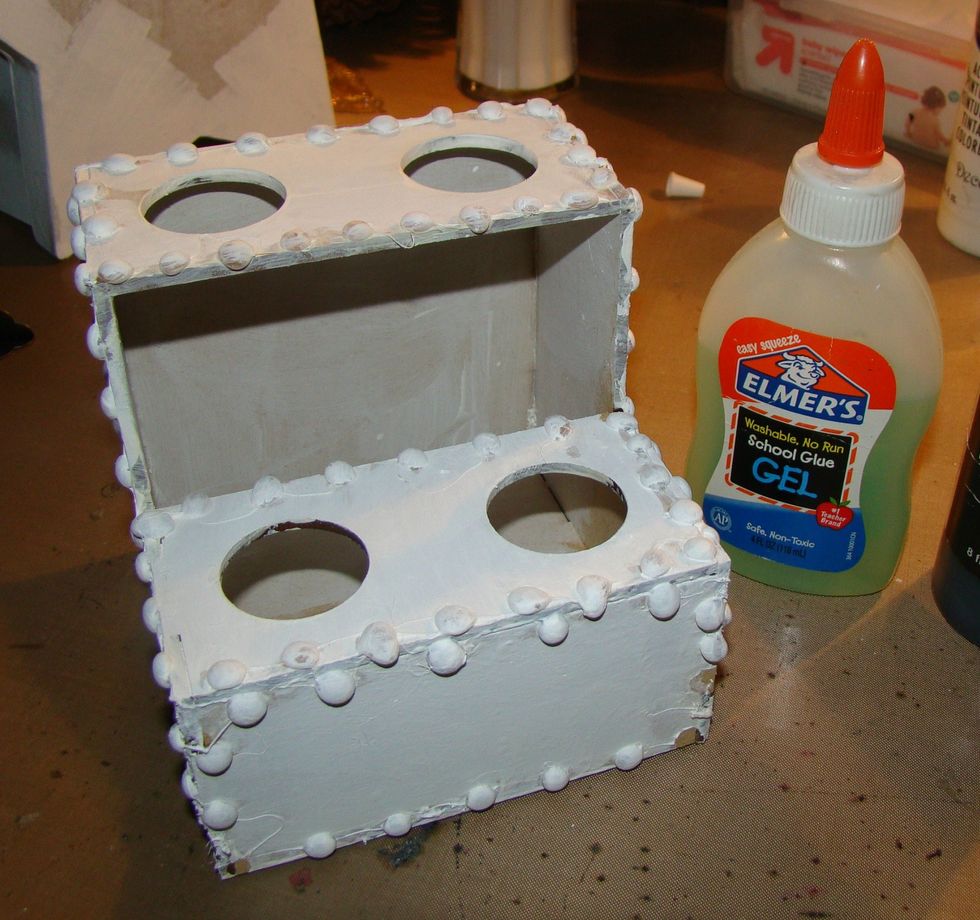
This is what the glue looks, like, wait till it is still tacky and then paint a coat of black acrylic over the top and watch the magic happen.
This technique is always fun you just need to make sure you don't put too thick of a coat of glue on or the cracks will be huge, unless that's the look your going for.
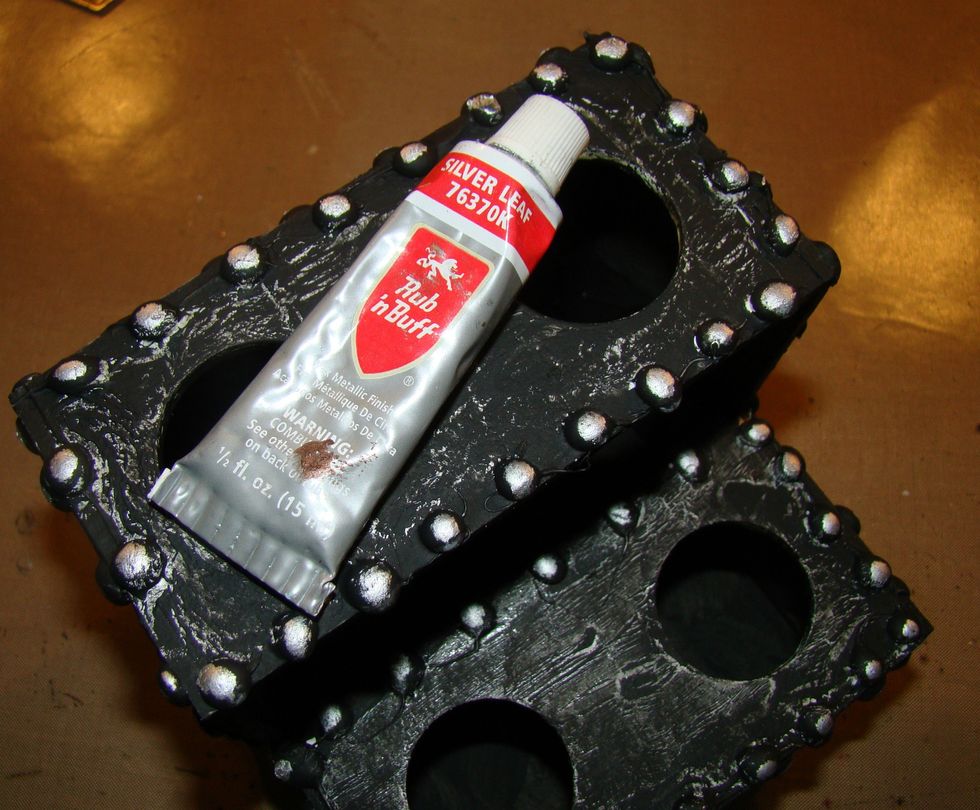
Using Silver Rub N Buff, go over all the edges and buff.

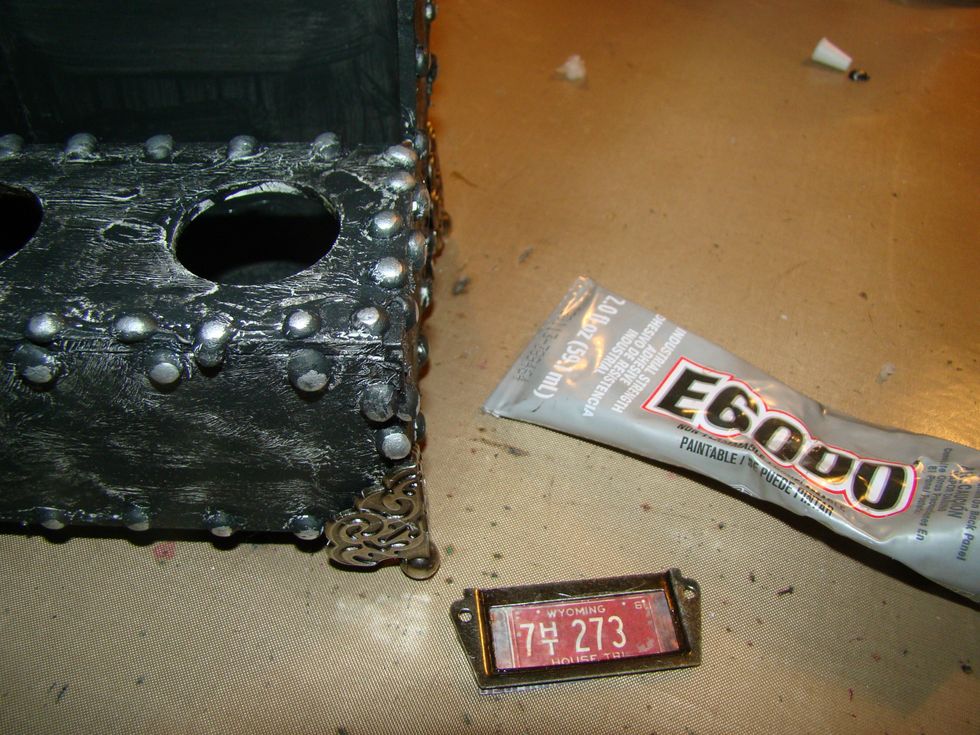
Next apply your metal feet to the bottom. I always use E6000 when adding metal embellishments. It holds forever.

Using Tim Holtz's "Lost & Found" paper collection, I cut out a license plate and glued it into my index label frame.
Once again using E6000 glue I attached this to the front of my glue stand.
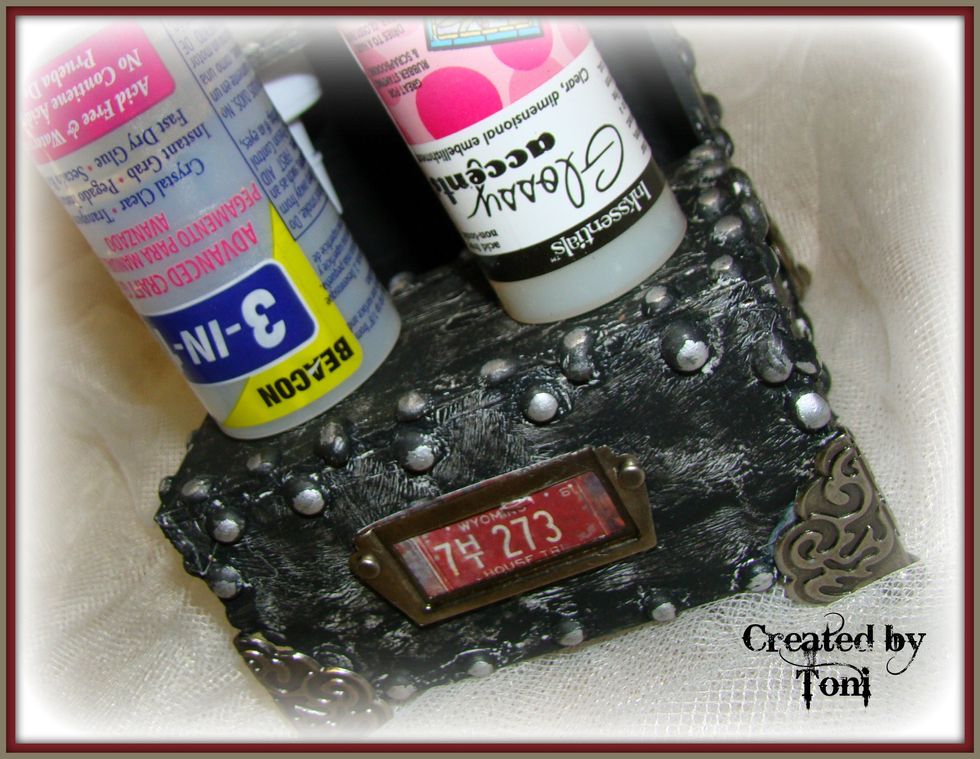
And there you have it... a perfect addition to your craft table. No more waiting for that glue. Hope you enjoyed. For more inspiration visit my blog @ http://www.toni-burks.blogspot.com/