The Conversation (0)
Sign Up
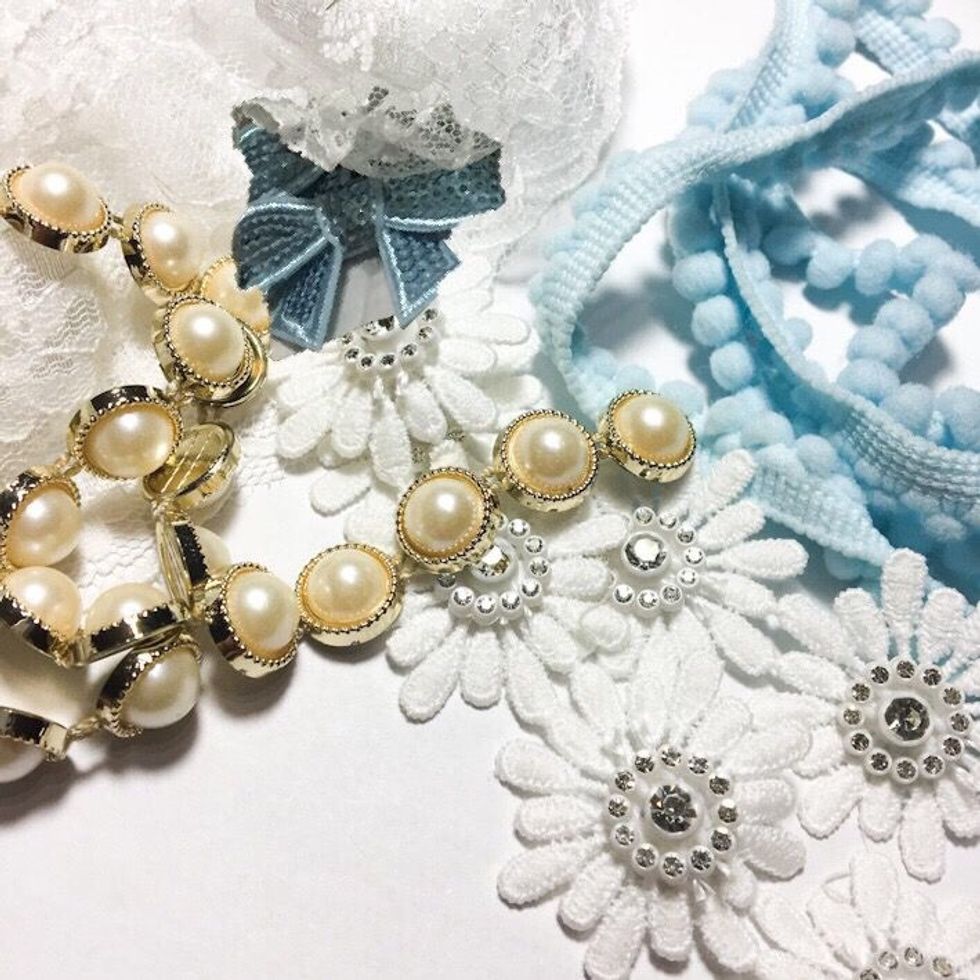
Here are some of the beautiful trims used on this project...

...and here are the rest of the fabulous glittery trims used to transform our plain canvas purse.
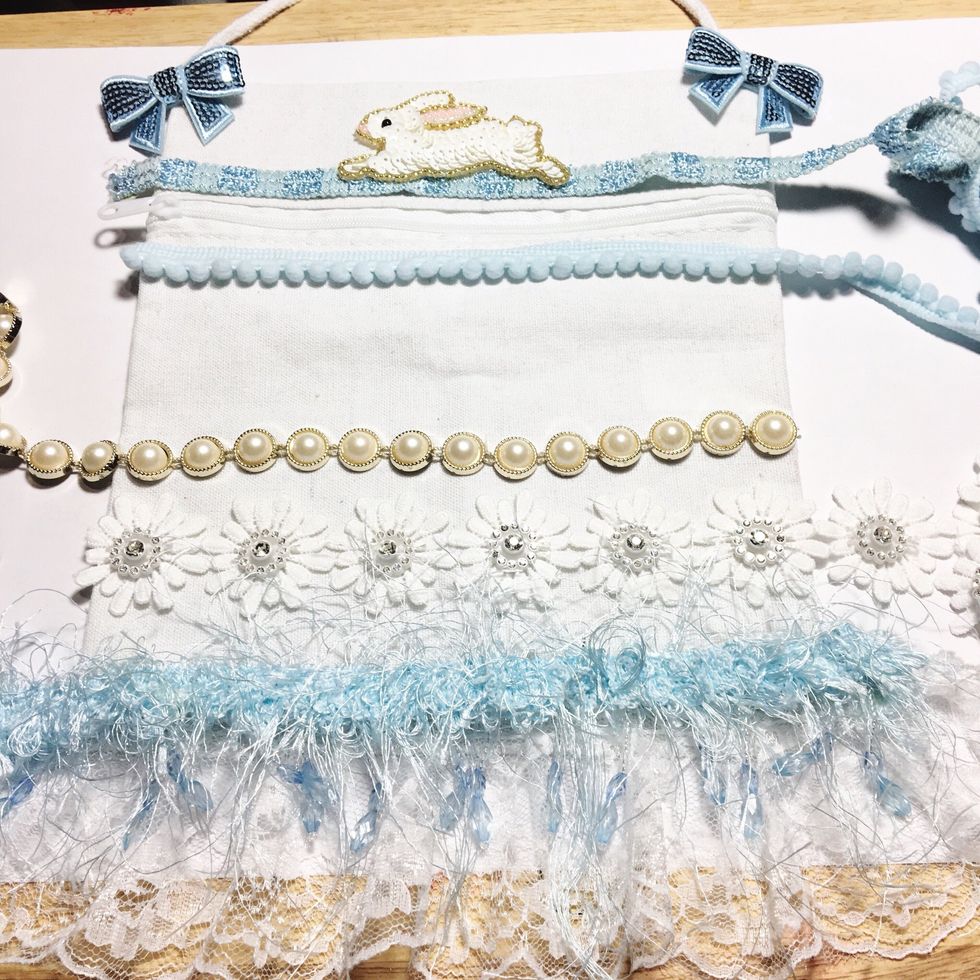
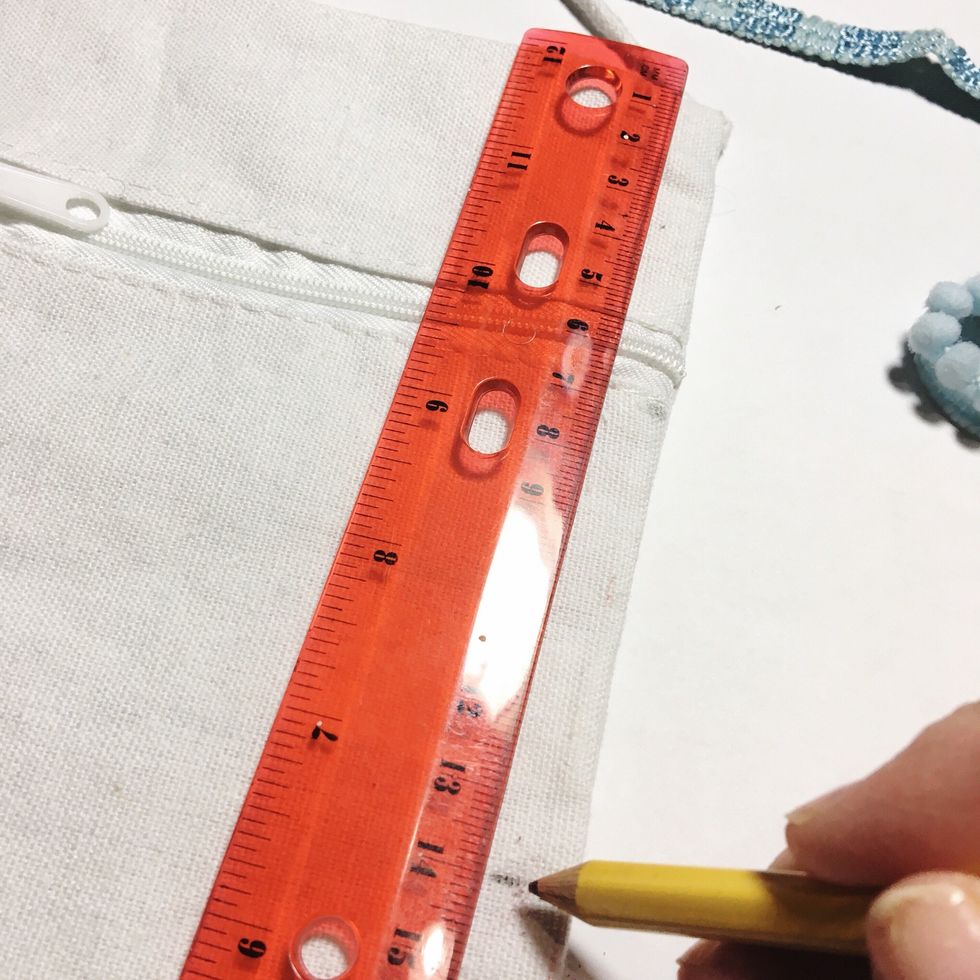
Arrange Trims on purse; leave about a 3” gap between top of PomPom Trim and top of Pearl Trim.
Mark placement along one side with pencil.
Measure marks...
...and repeat them on other side.
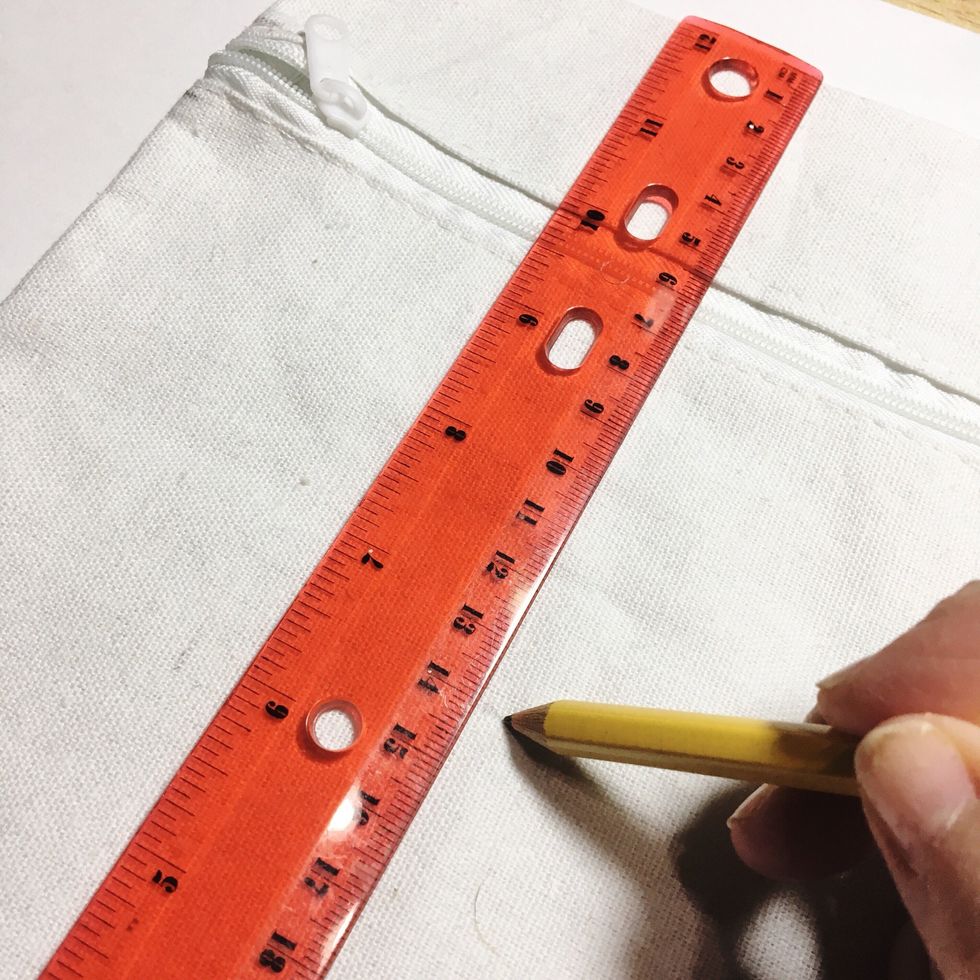
Also add marks at center to help align trims.
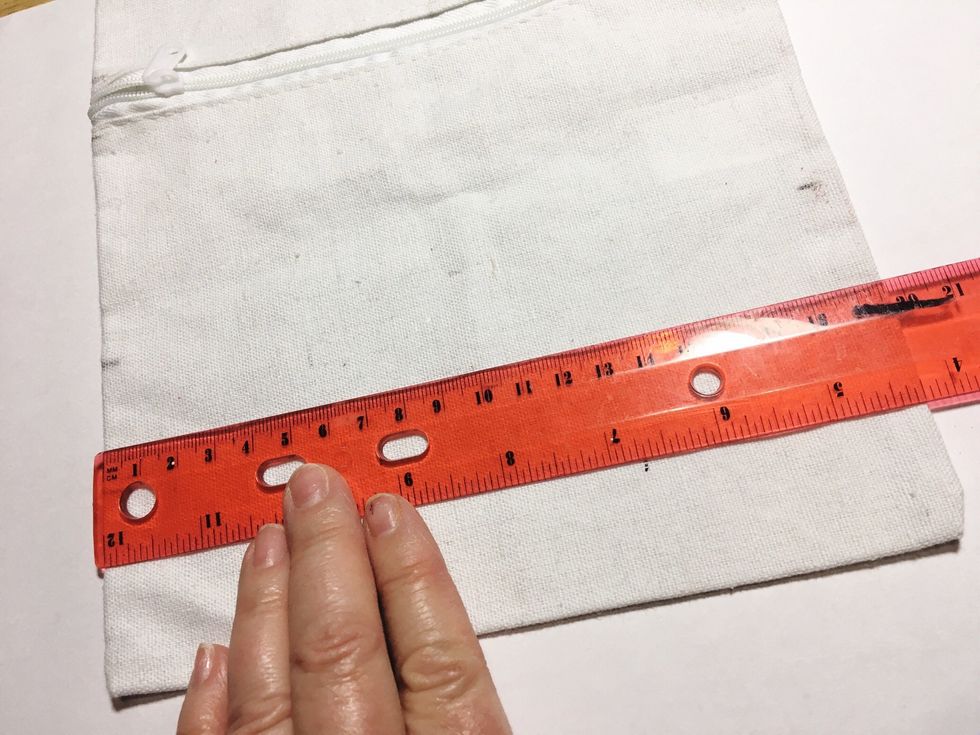
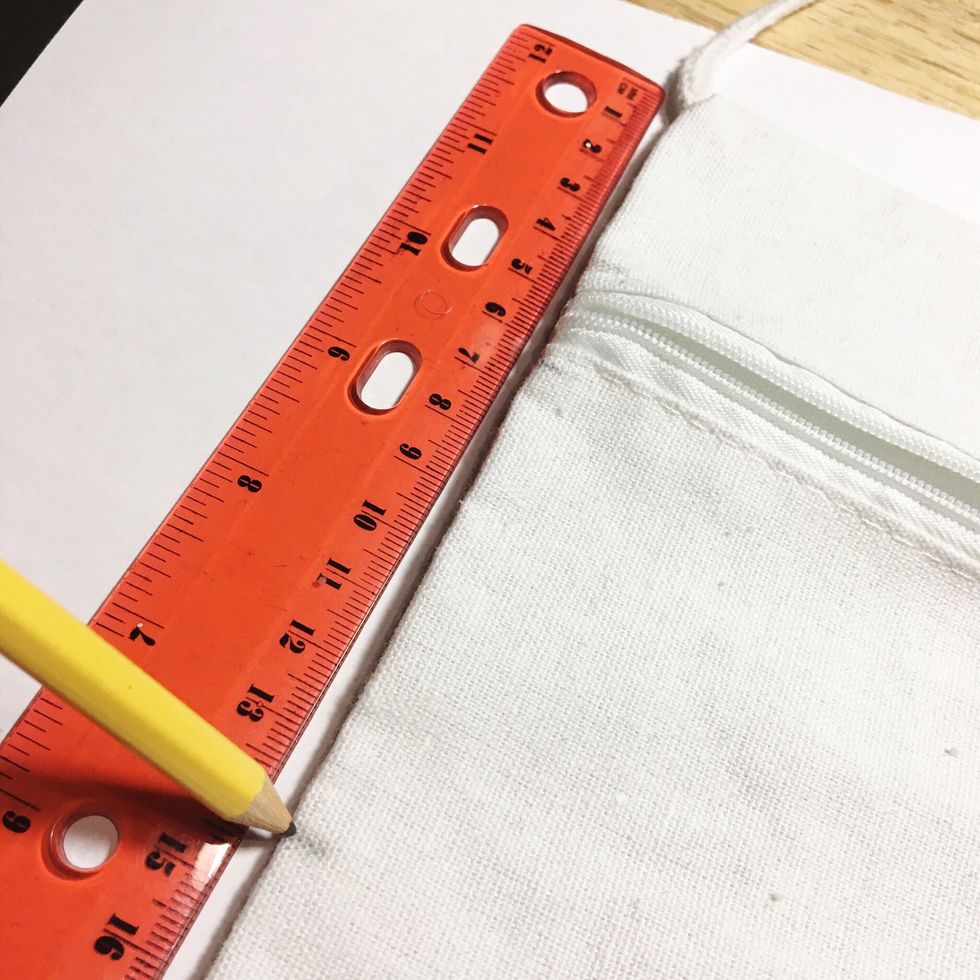
Measure width of purse...
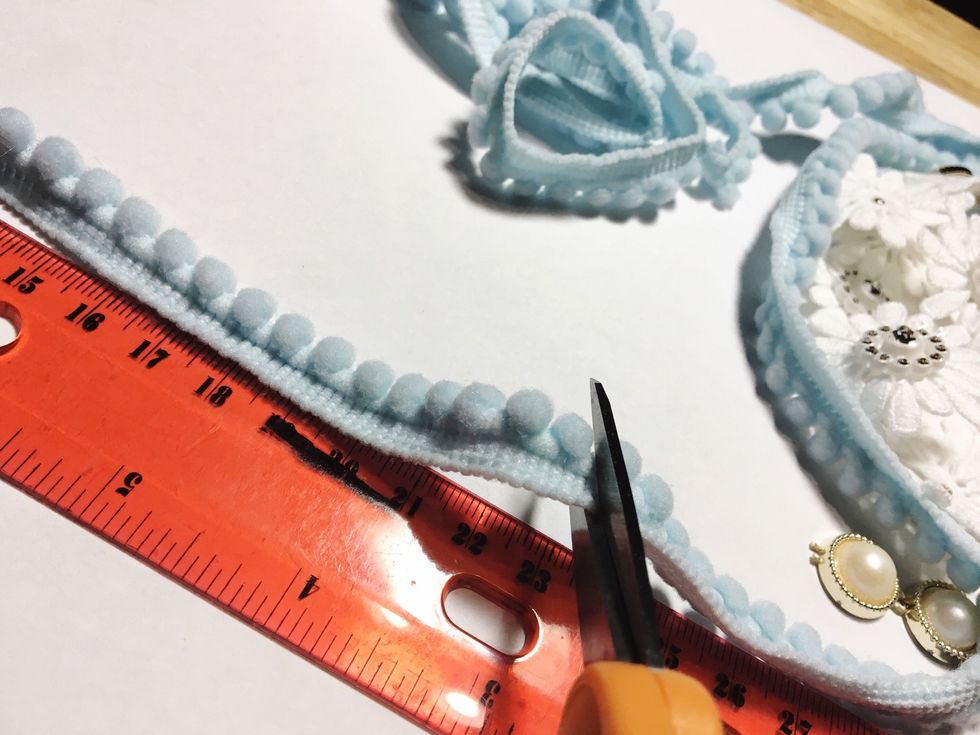
...and cut trims to measurement plus 1”...
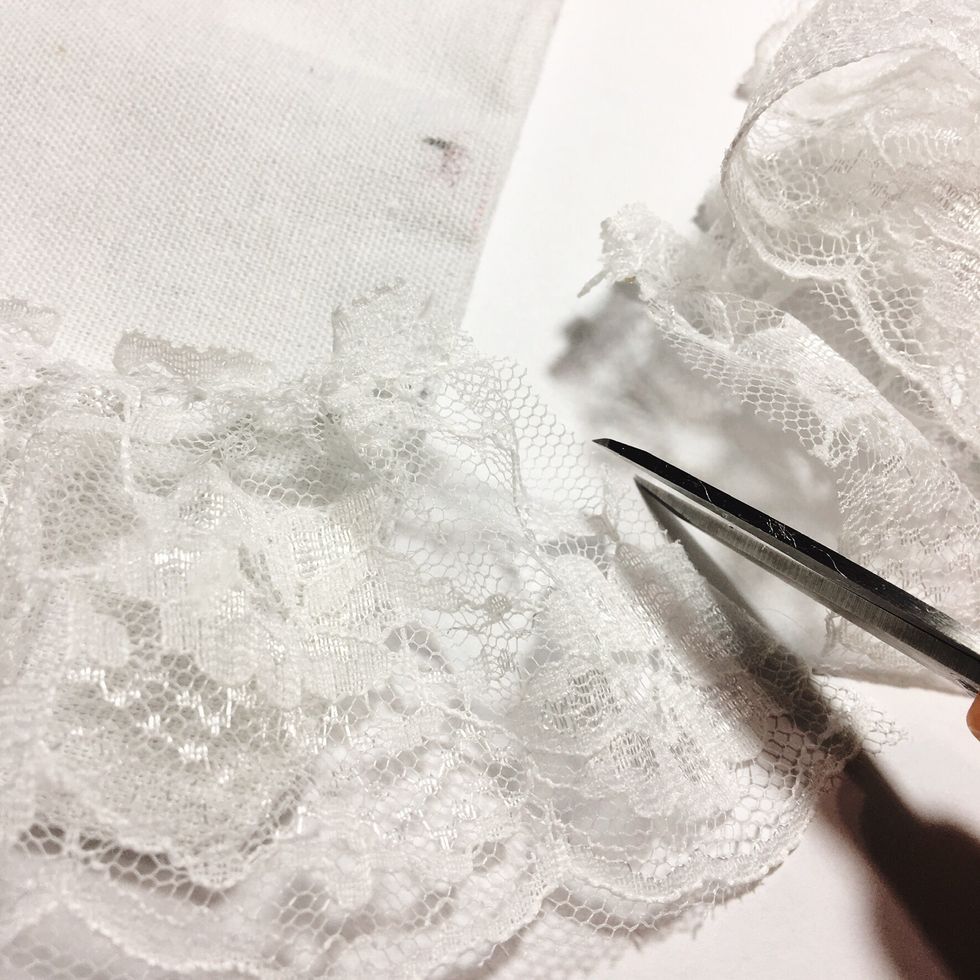
...cutting lace at a diagonal away from measurement.
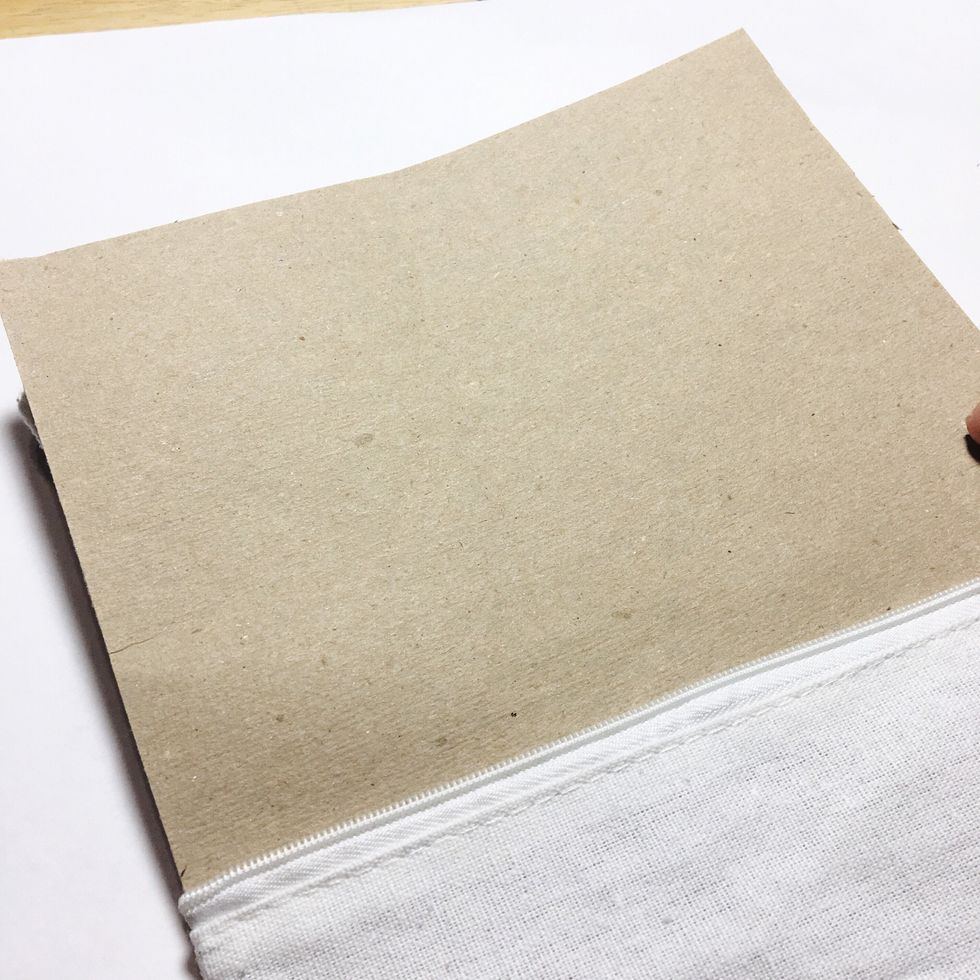
Cut a piece of cardboard slightly smaller than purse and place inside to prevent glue from going through to other side.
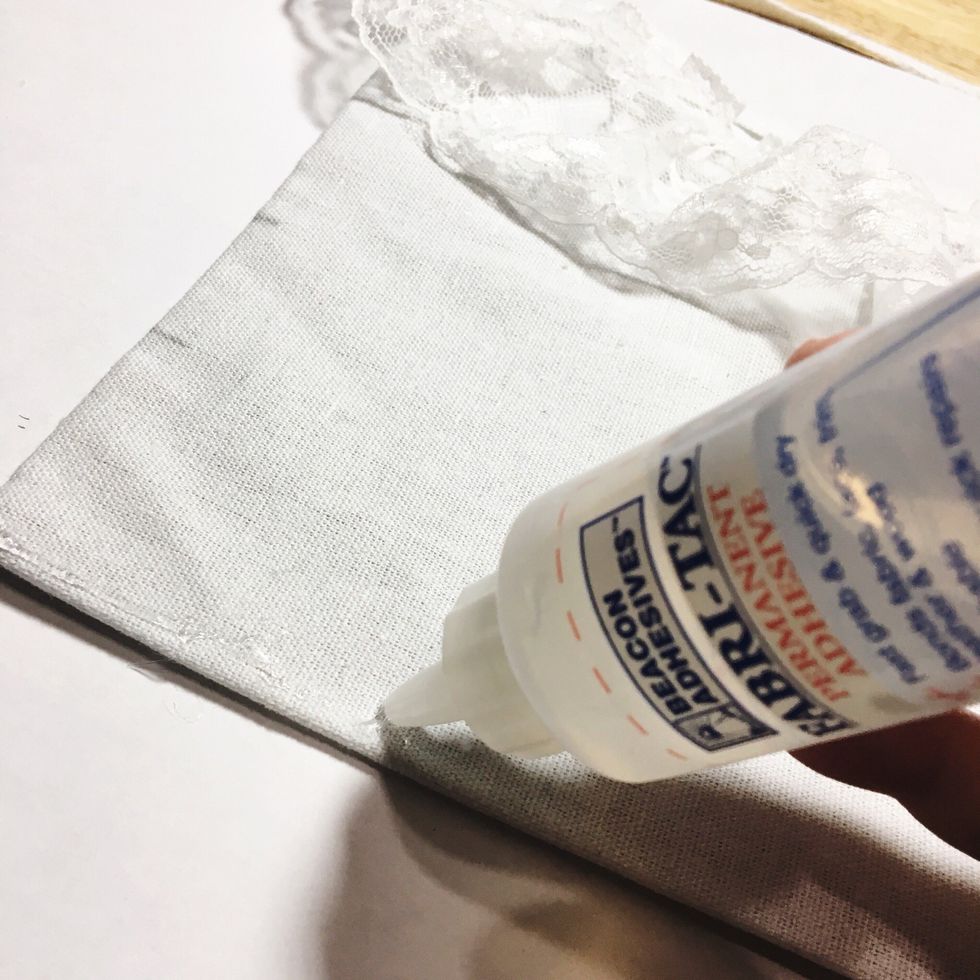
Start adhering trims, starting with Lace along the bottom. Run a thin bead of glue...
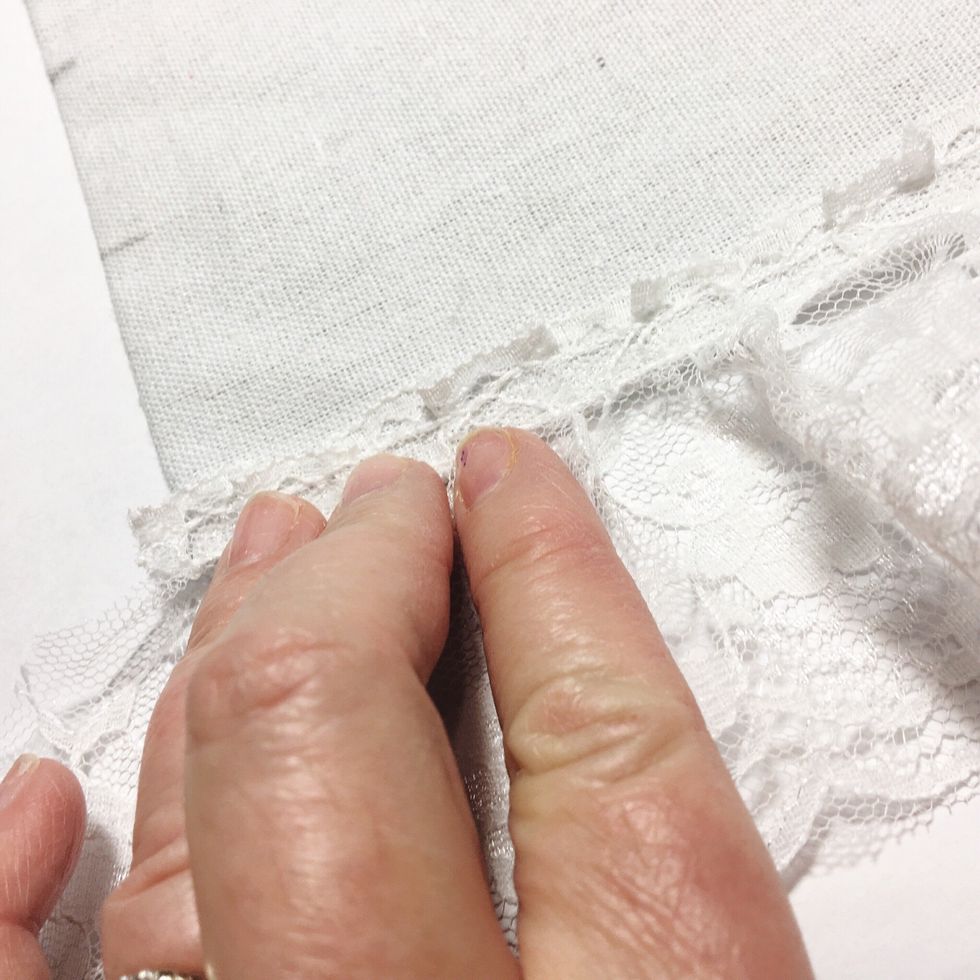
...then press top of lace into the glue.
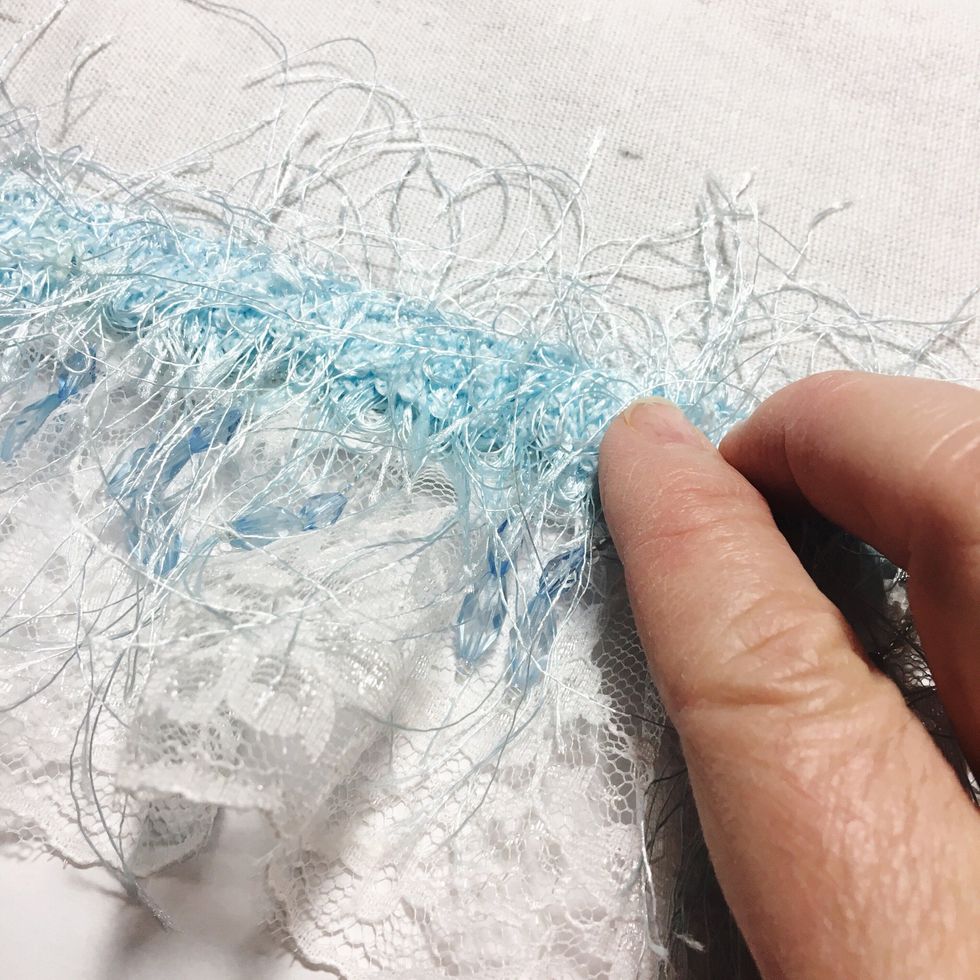
Next, adhere the Beaded Eyelash Trim slightly above the lace using marks to align.

Continue working your way up, adhering Daisy Trim by adding a dab of glue at the centers.
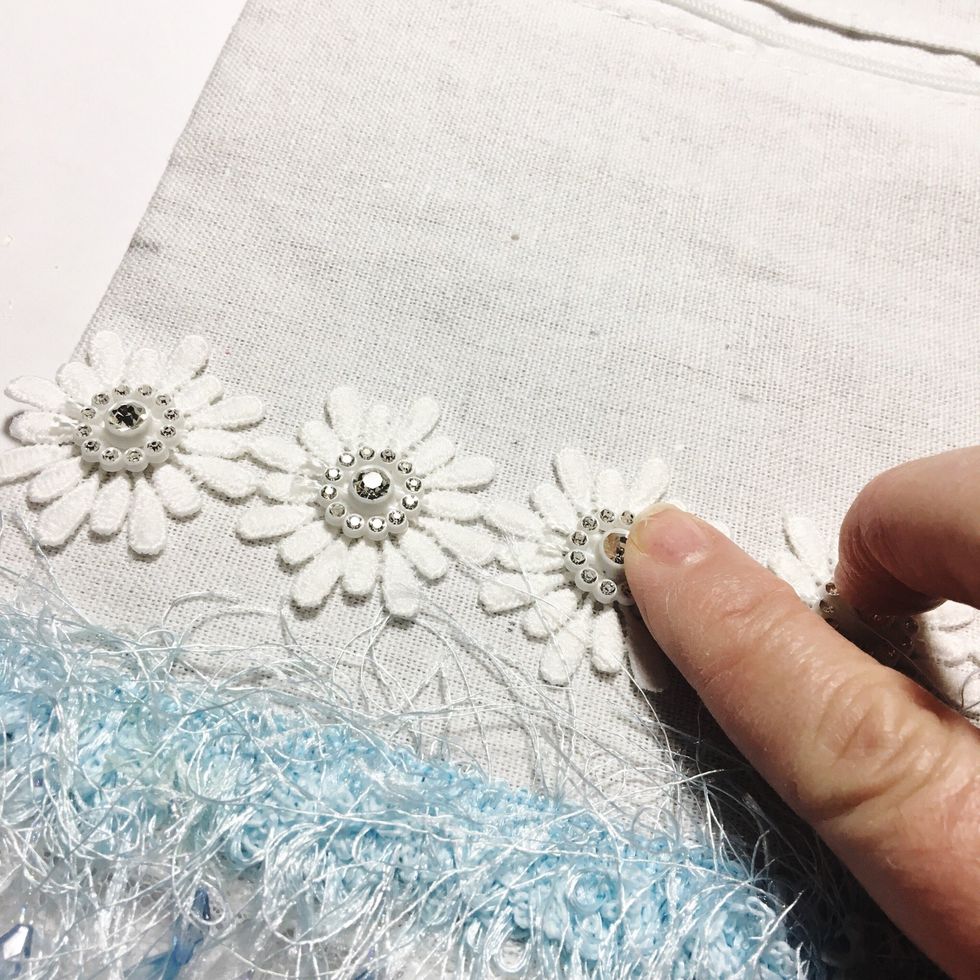
Make sure you are using your marks as guidelines to keep trim straight.

Add a dab of glue to back of each pearl...
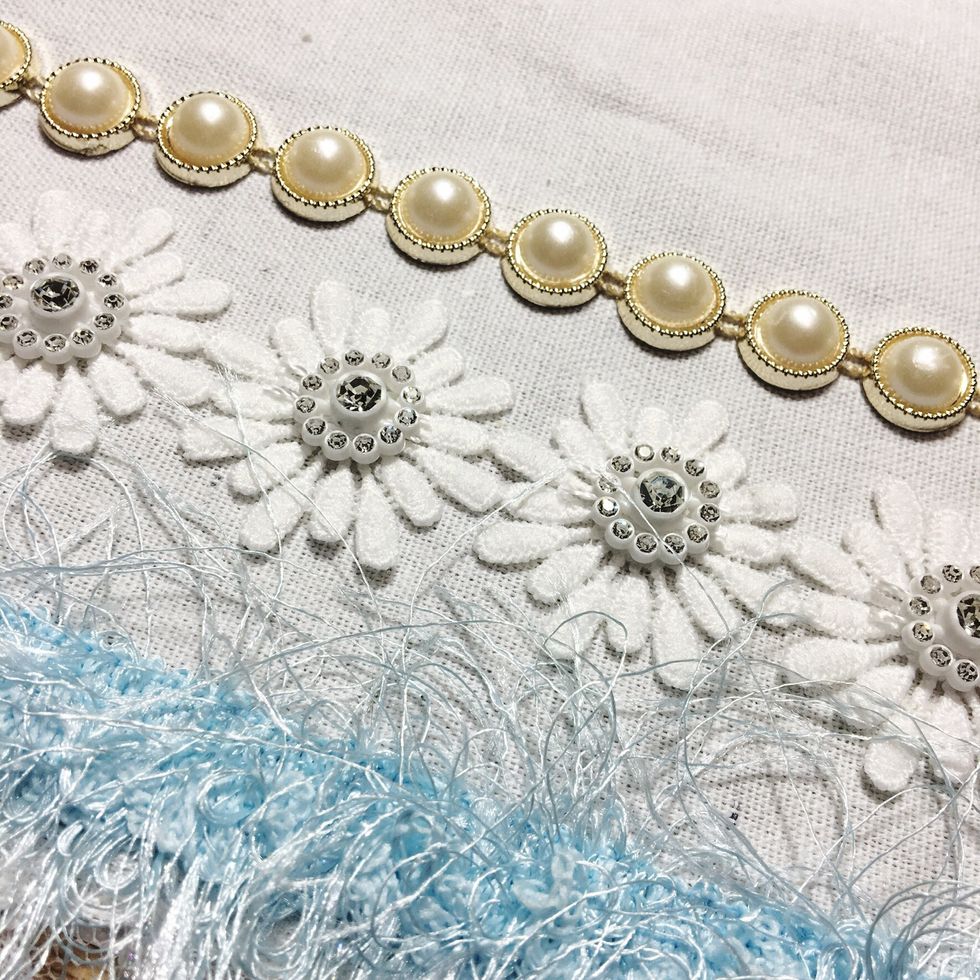
...then adhere pearl trim.
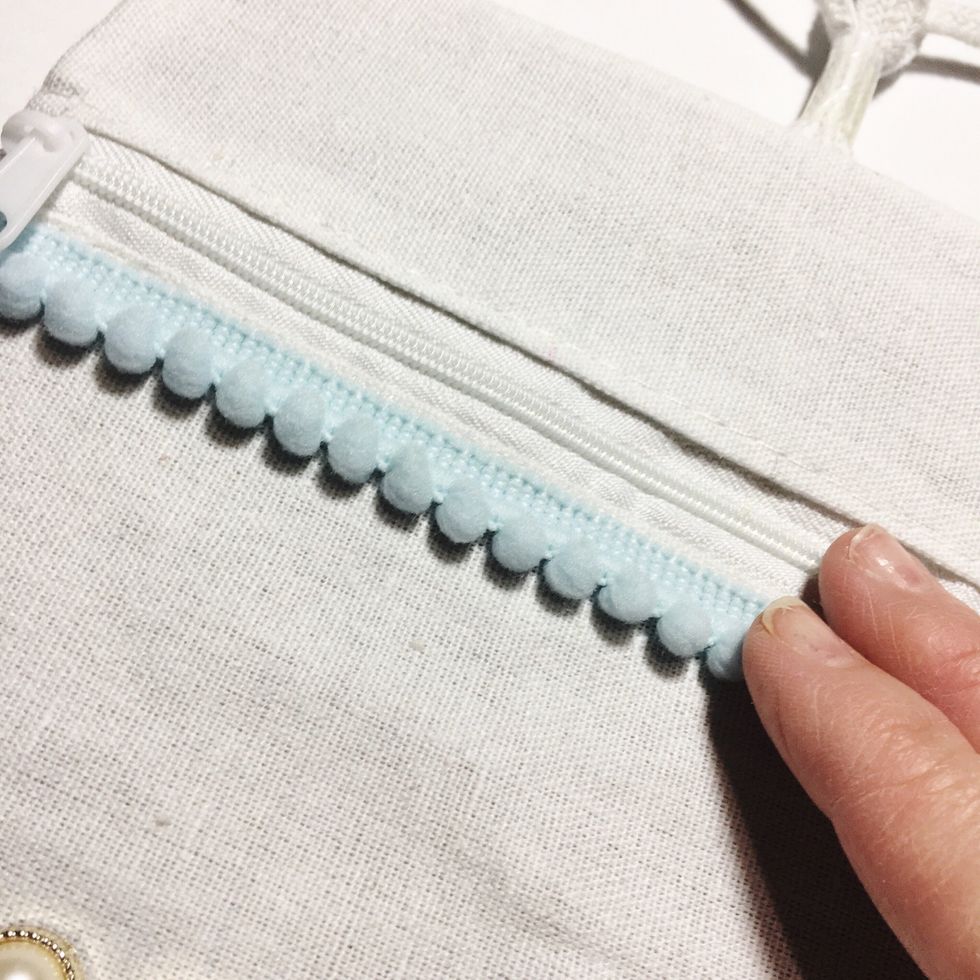
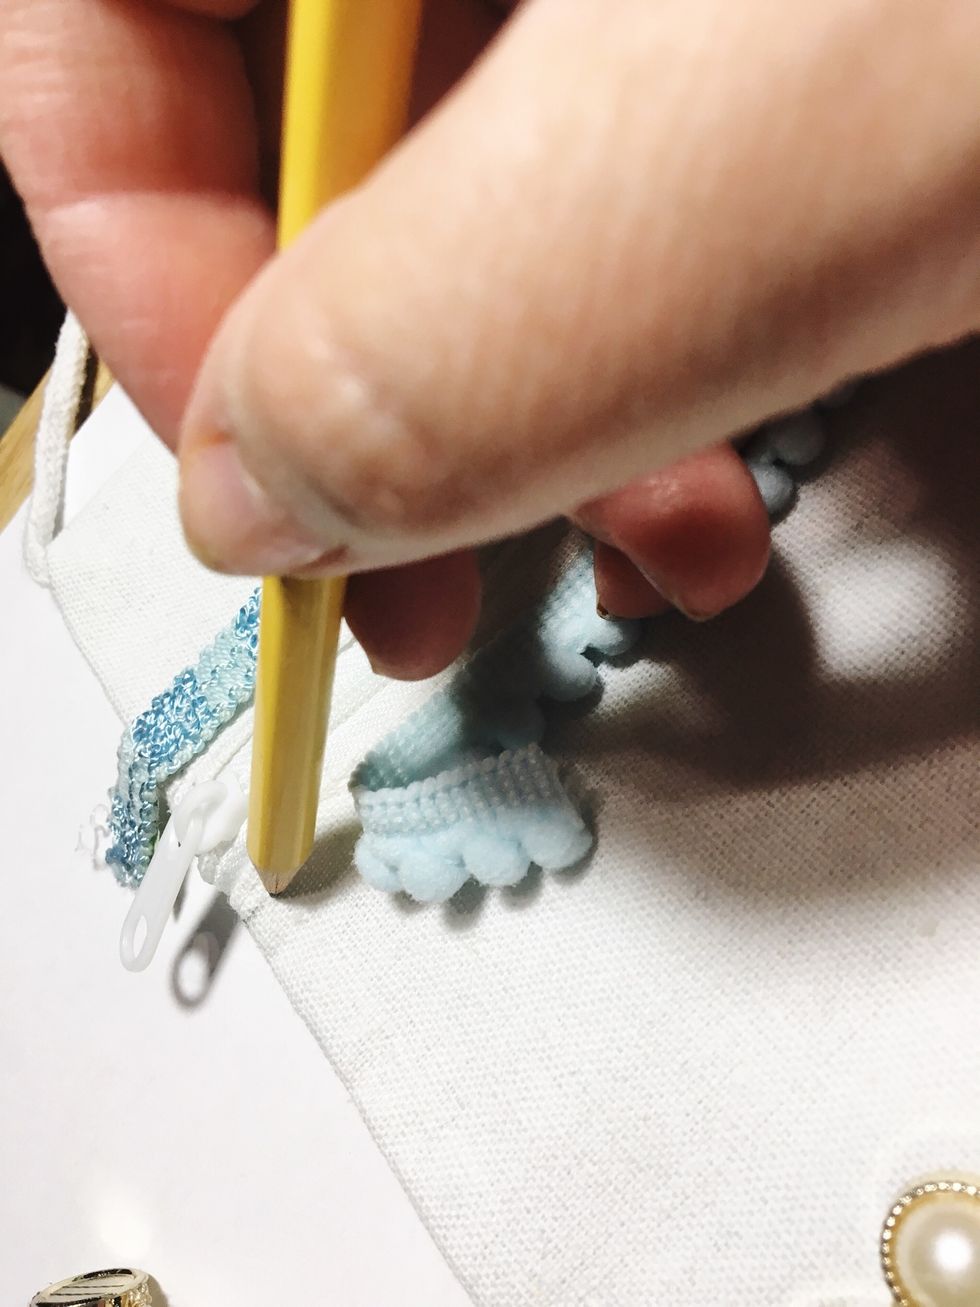
Add PomPom Trim under zipper.
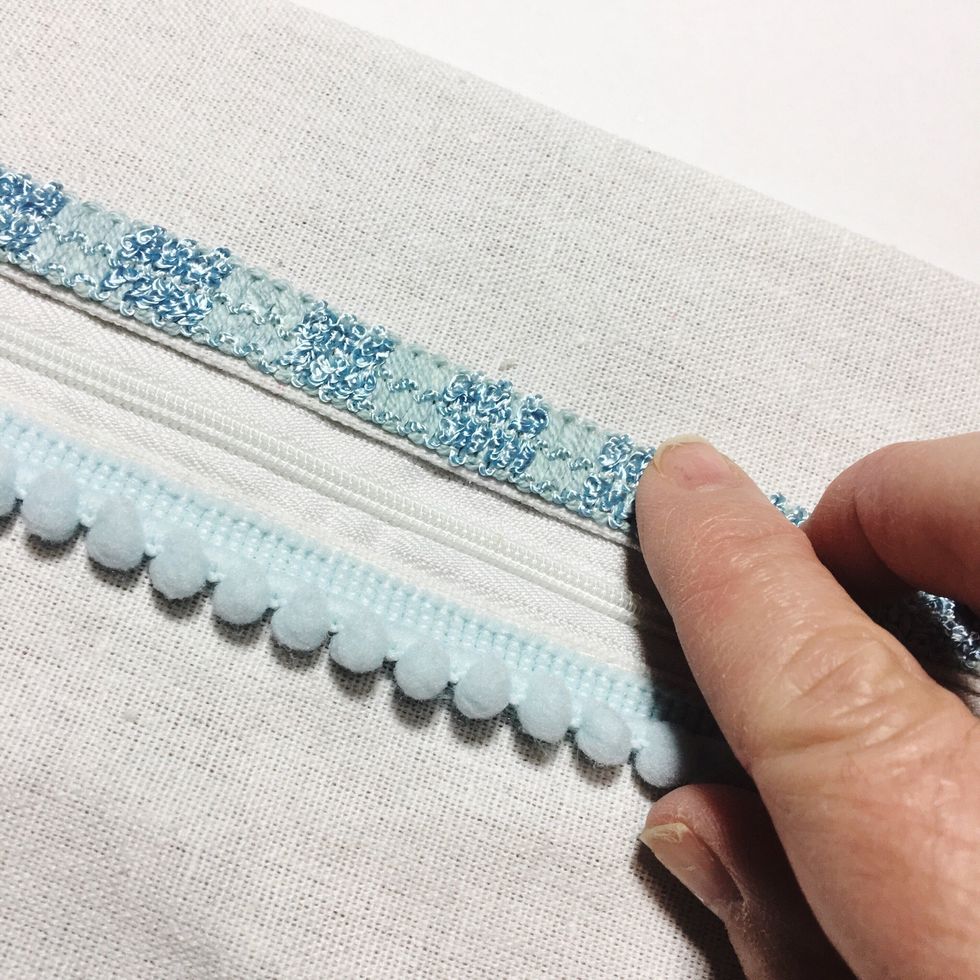
And then add Gimp along top of zipper.

Measure center of purse under gimp and adhere Bunny Trim at mark.

Cut 5 - 9cm pieces of Sequin Trim.
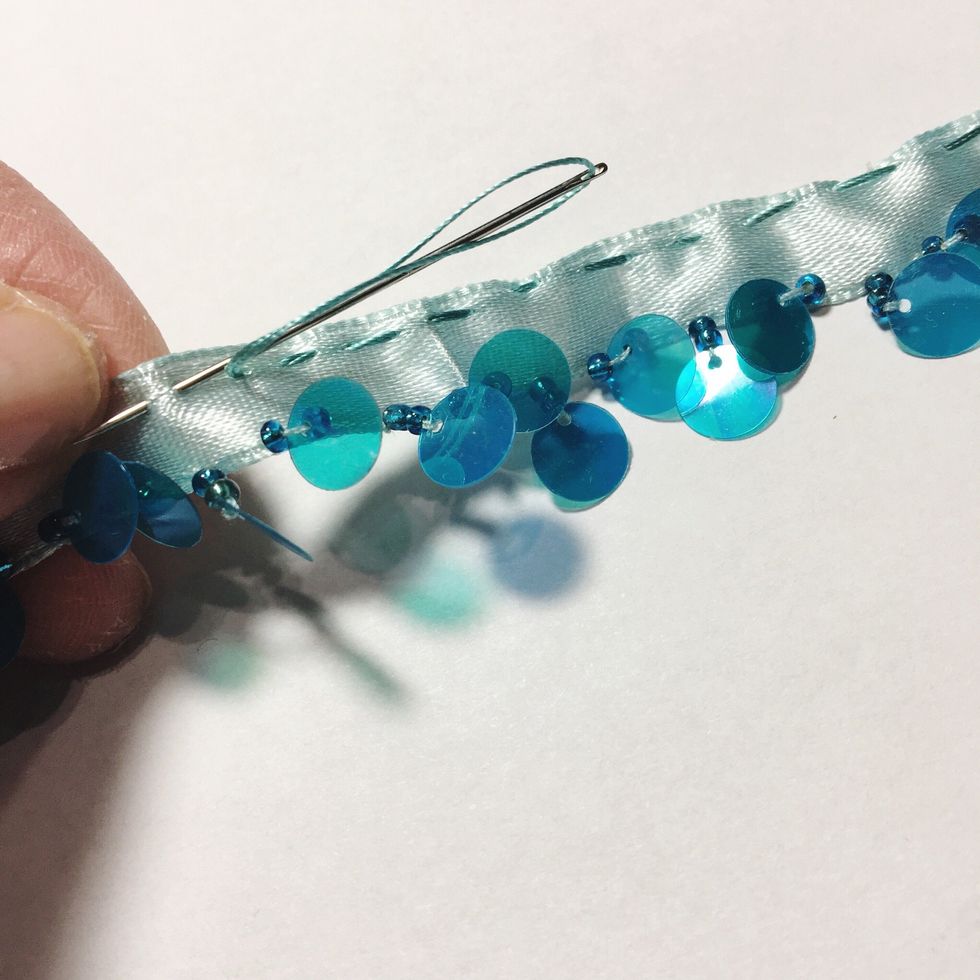
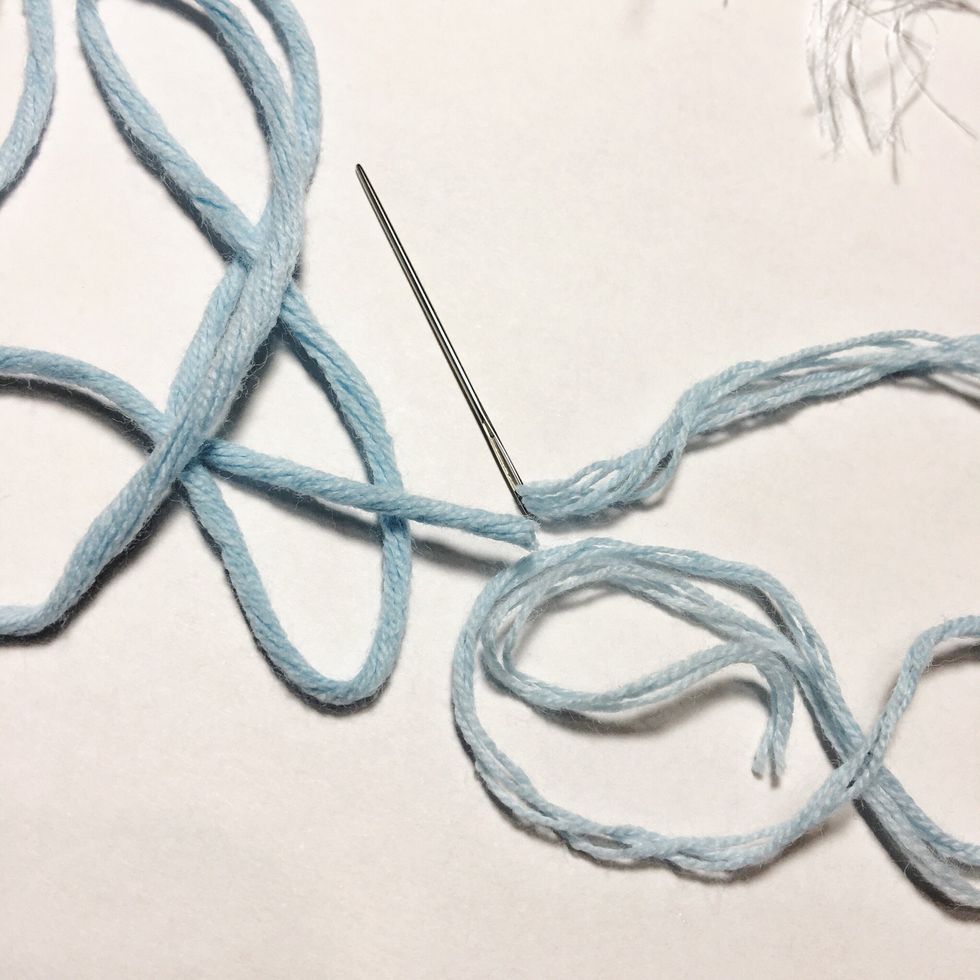
Thread sharps needle with aqua thread and add a running stitch along top of ribbon of one of the Sequin Trim pieces.
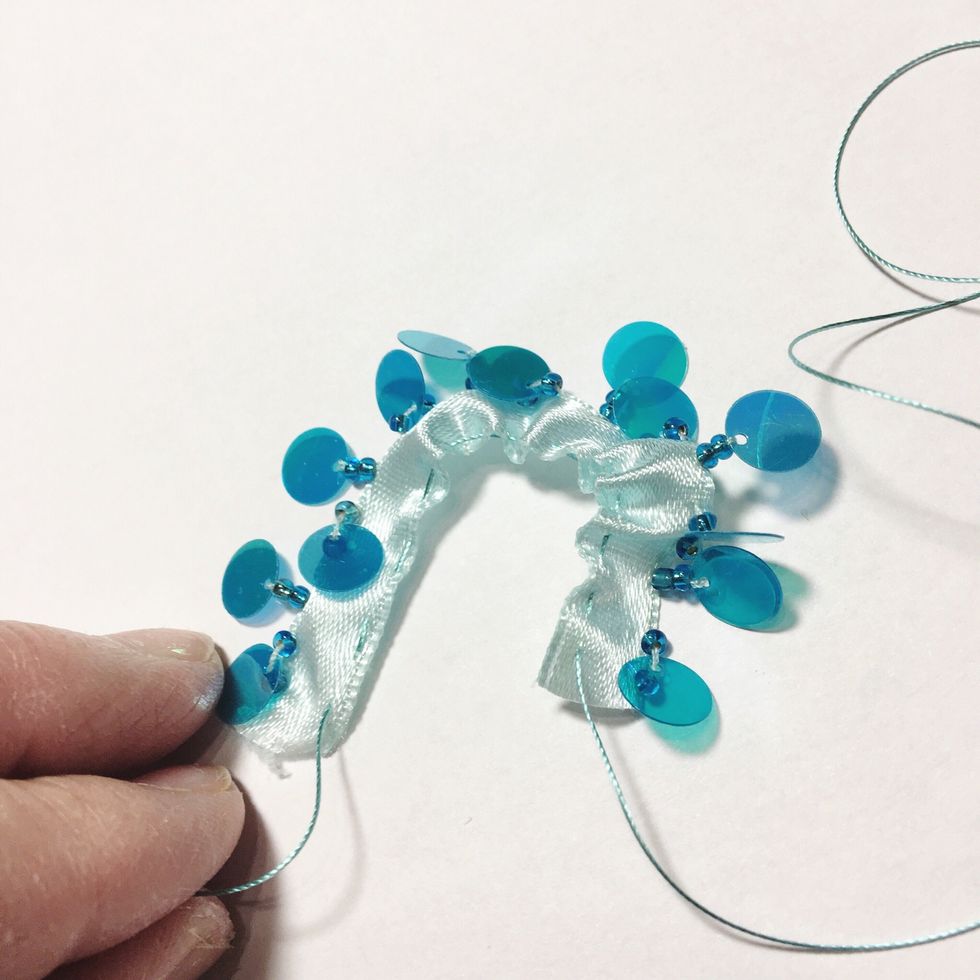
Working on backside, pull ends to gather...
...pull tight...

...then and knot.
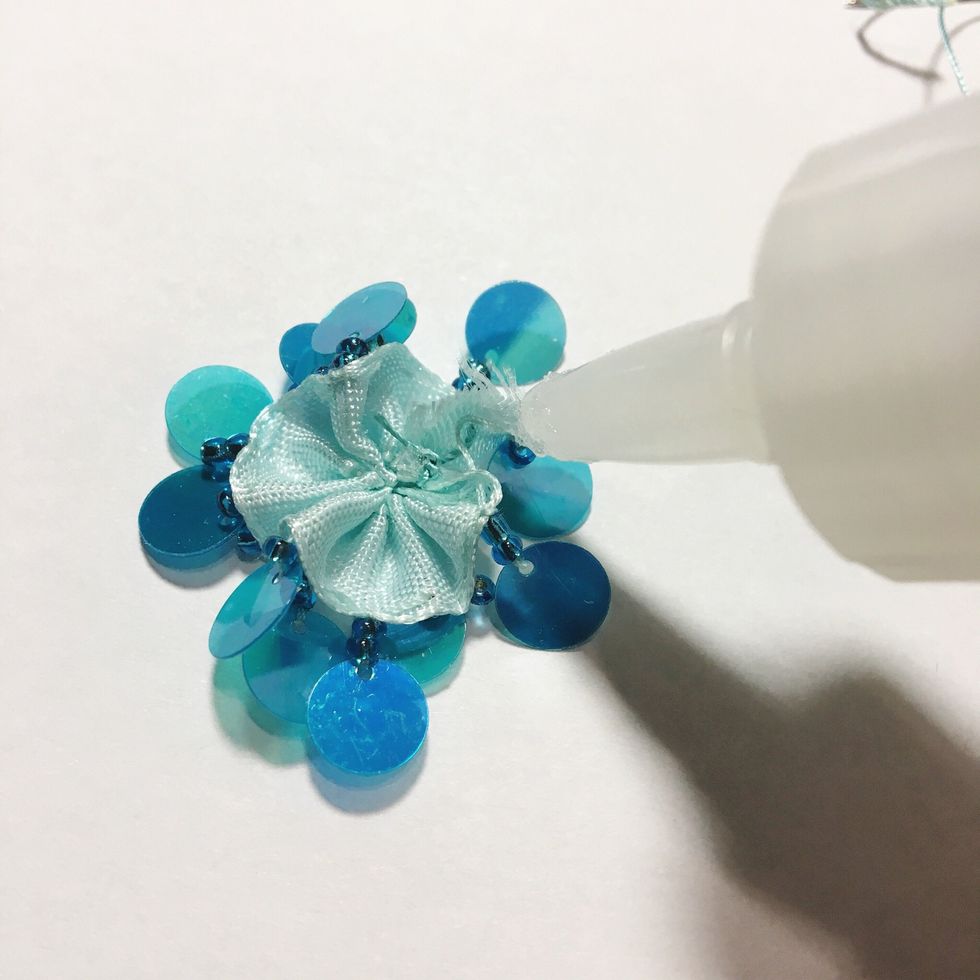
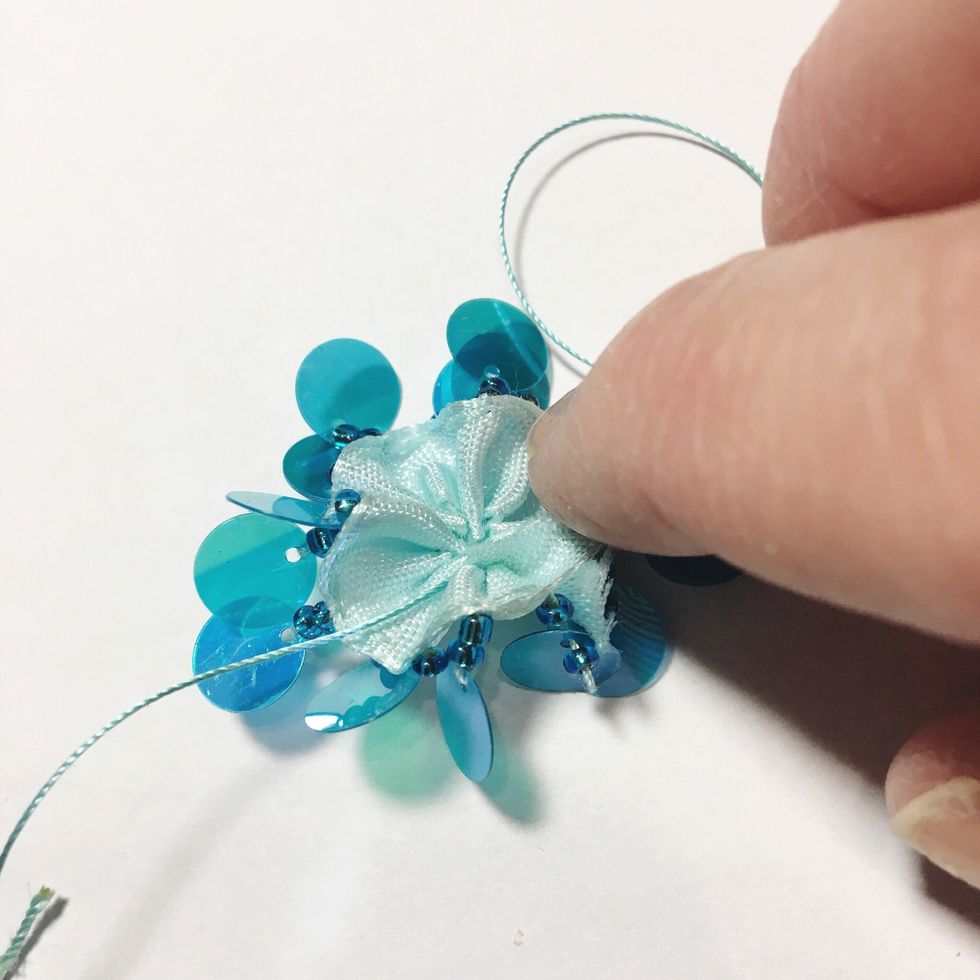
Put a small dab of glue on top end of ribbon...

...and adhere to back of other piece of ribbon to create flower. Repeat steps to make 4 more flowers.

Measure center in 3” gap between trims and then measure and mark spacing for 5 flowers...
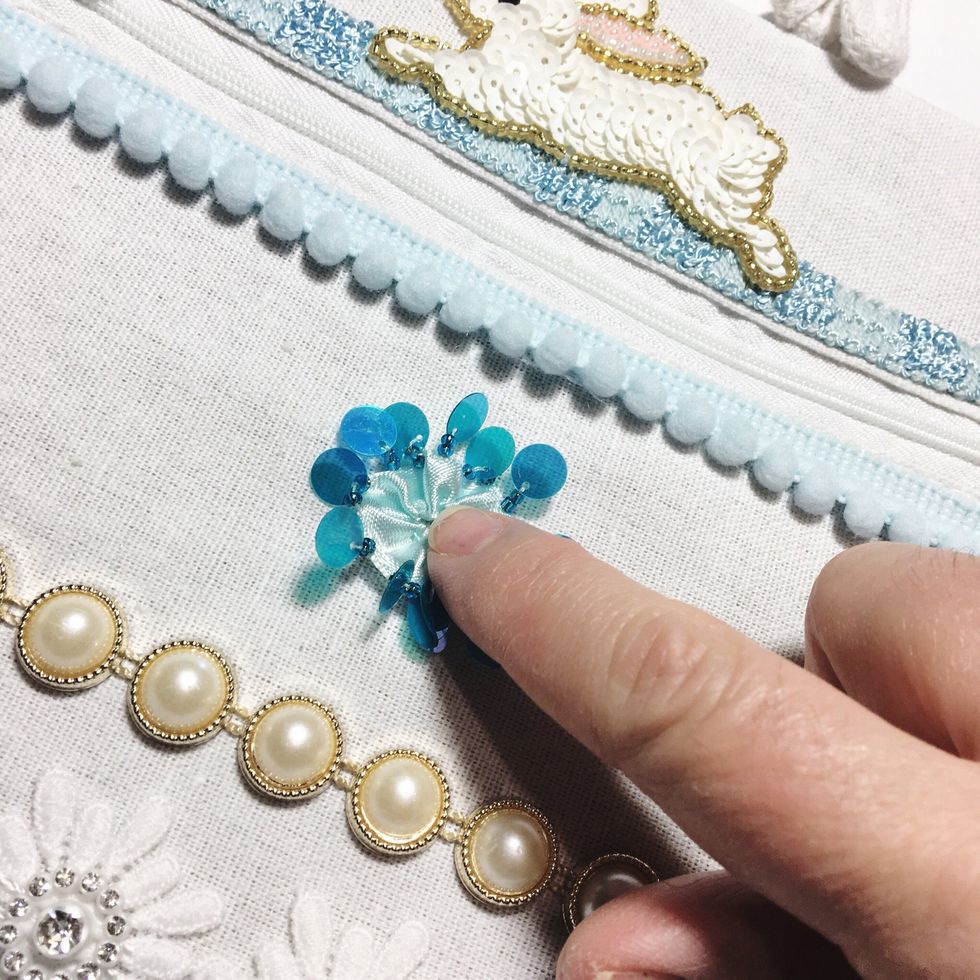
...adhere flowers to purse.
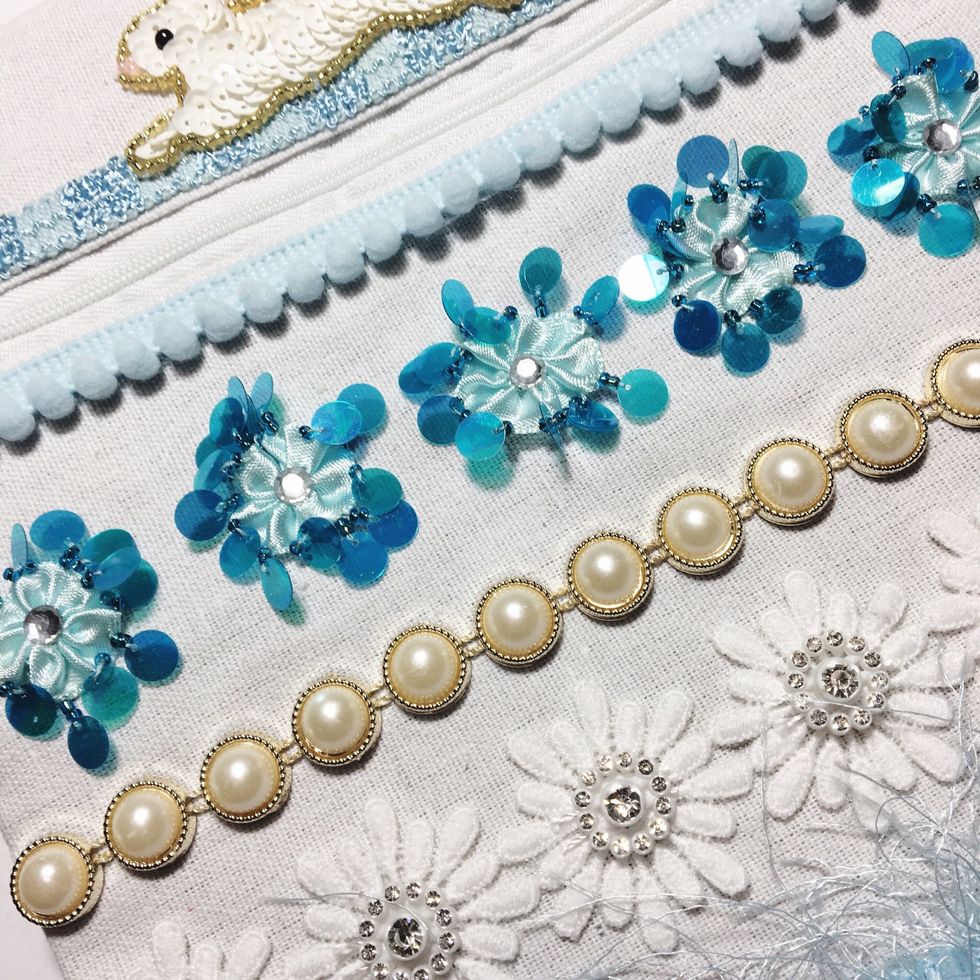
Add rhinestones at centers of each flower.

Yes, it's supposed to be upside down! its easier to see that way. Cut 2 pieces of Eyelash Trim 2” longer than the width of the purse. Line up trim along top edge of purse.
Separate 3 threads from Fiber Cord and thread in embroidery needle.
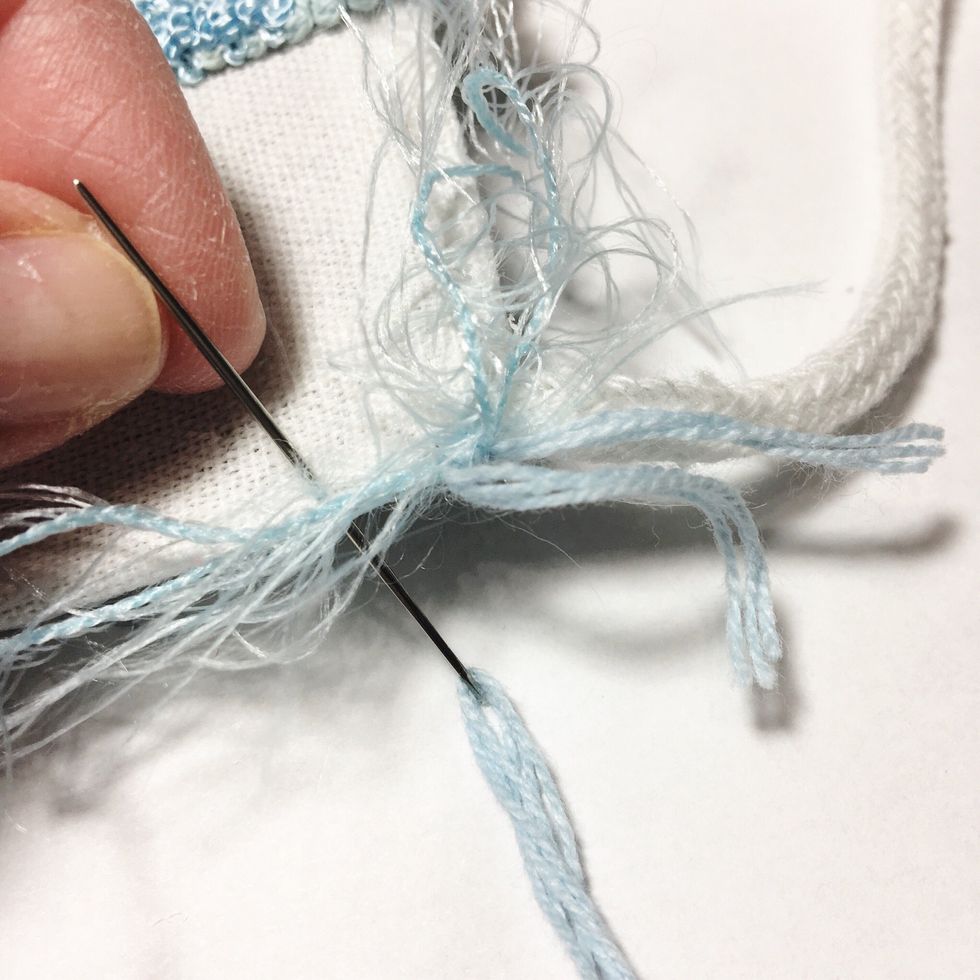
Tie on trim every ¼” using Fiber Cord...
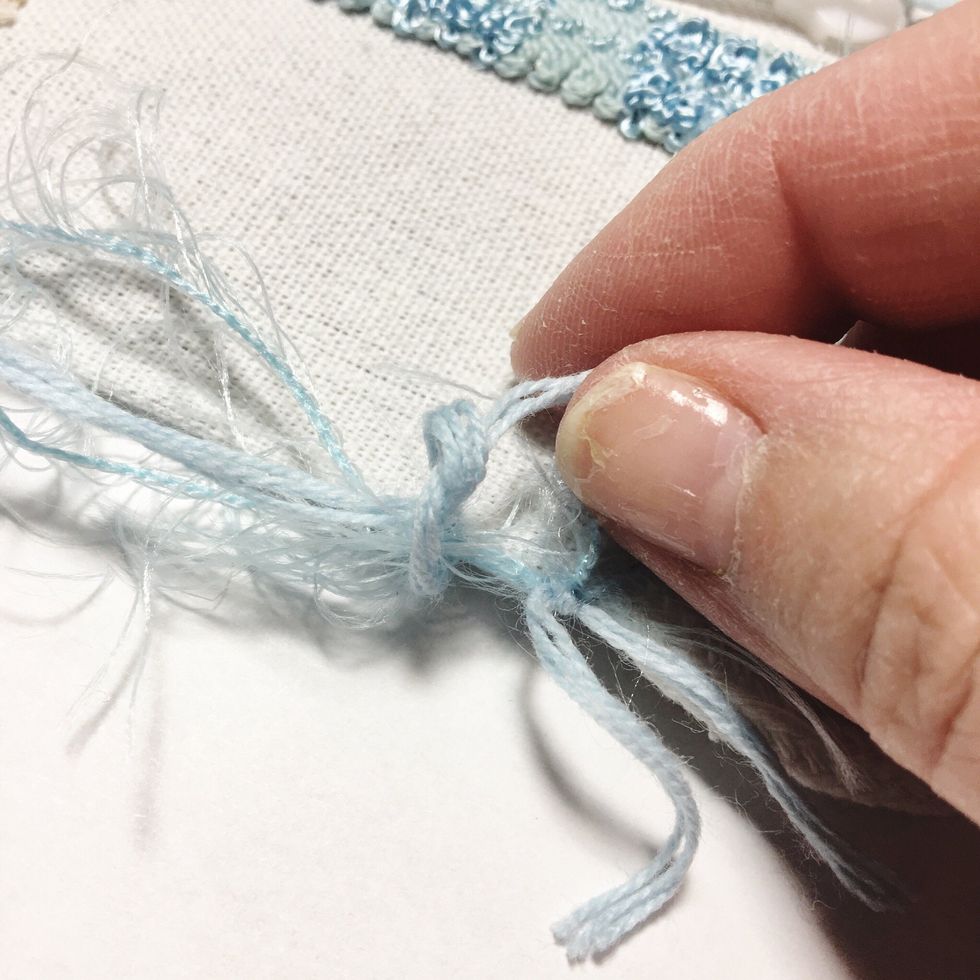
...knot, leaving ends to form a fringe.
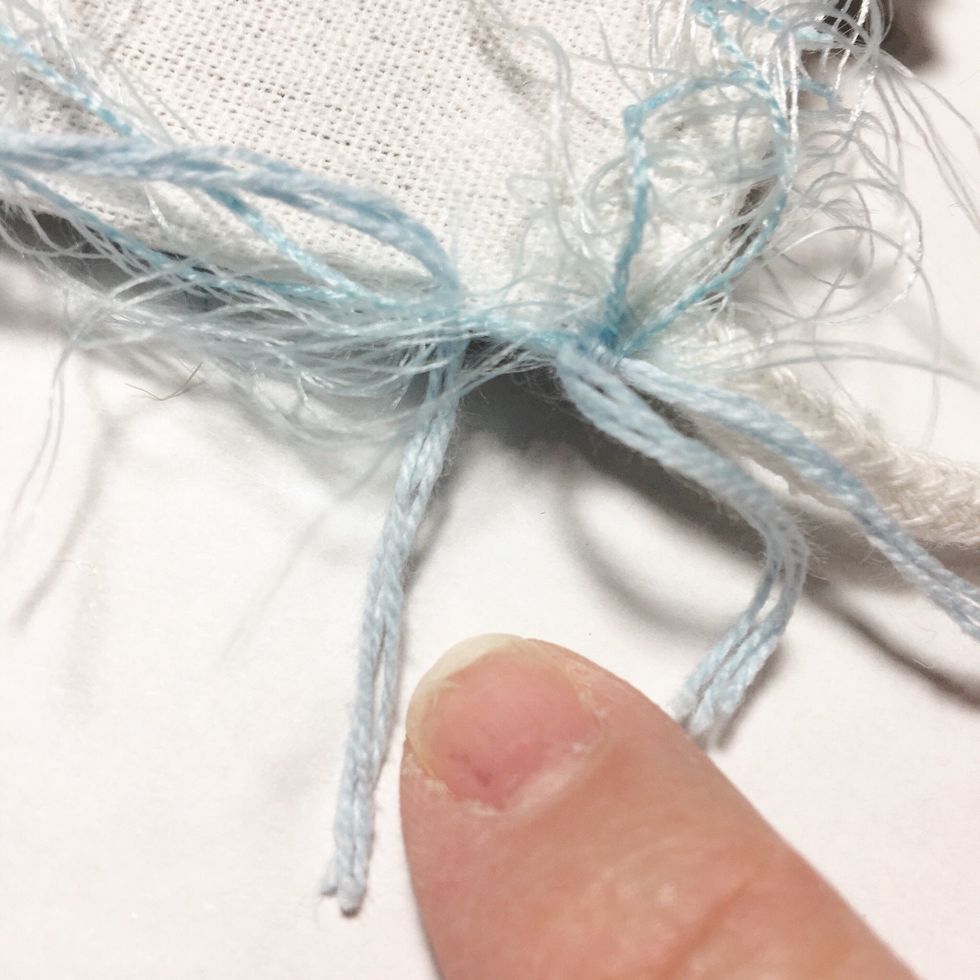
Knotted Cord fringe holds Eyelash Trim in place and adds another layer of embellishment.
Cut 4-10” pieces of Double Strand Fiber Patch Trim, thread 3 pieces through hole in zipper pull, even out ends.
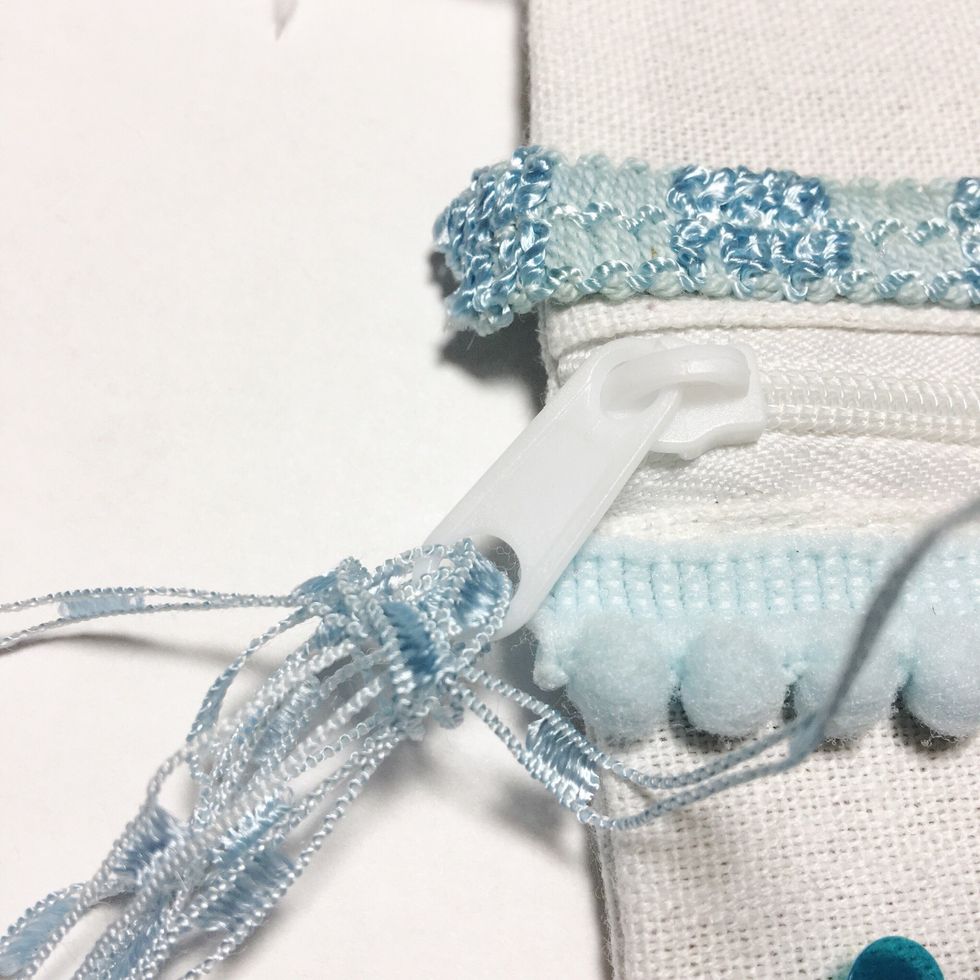
Use 4th piece of trim to tie around other 3 at bottom of pull; trim all ends to varying lengths.
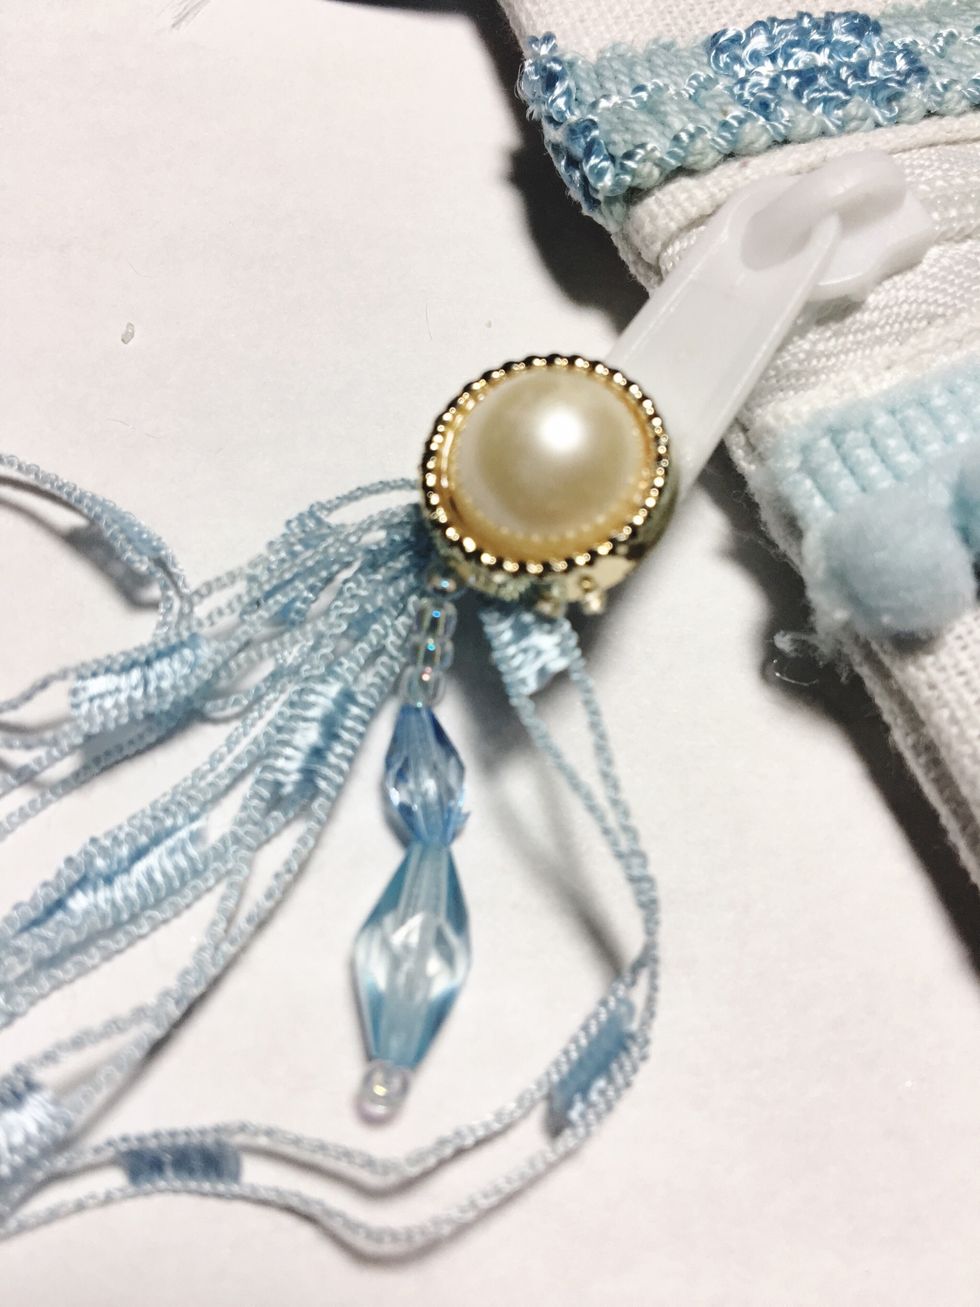
Cut off a piece of bead trim from Beaded Eyelash Trim; glue top bead on thread to secure. Adhere beaded piece to tied piece on zipper pull, then top with one of the pieces from the Pearl Trim.

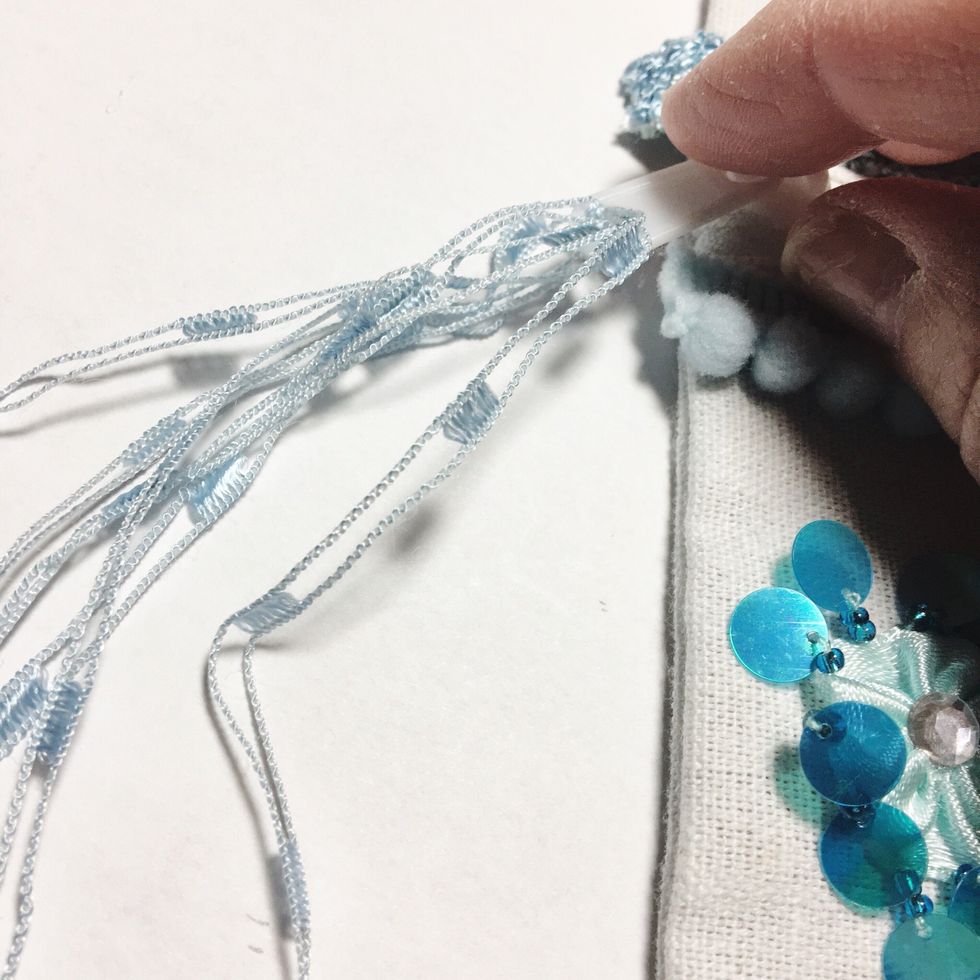
Working on back cut excess trim to about 1/8” to ¼”. Don’t cut Eyelash Trim at top and cut lace on a diagonal.

Add a bit of glue to excess trim and fold close to purse edge to secure edges. You don't need to glue lace edges.

To finish, adhere bows at each side of top, near strap, make sure you catch ends of Eyelash Fringe underneath, cut off excess Eyelash Trim.
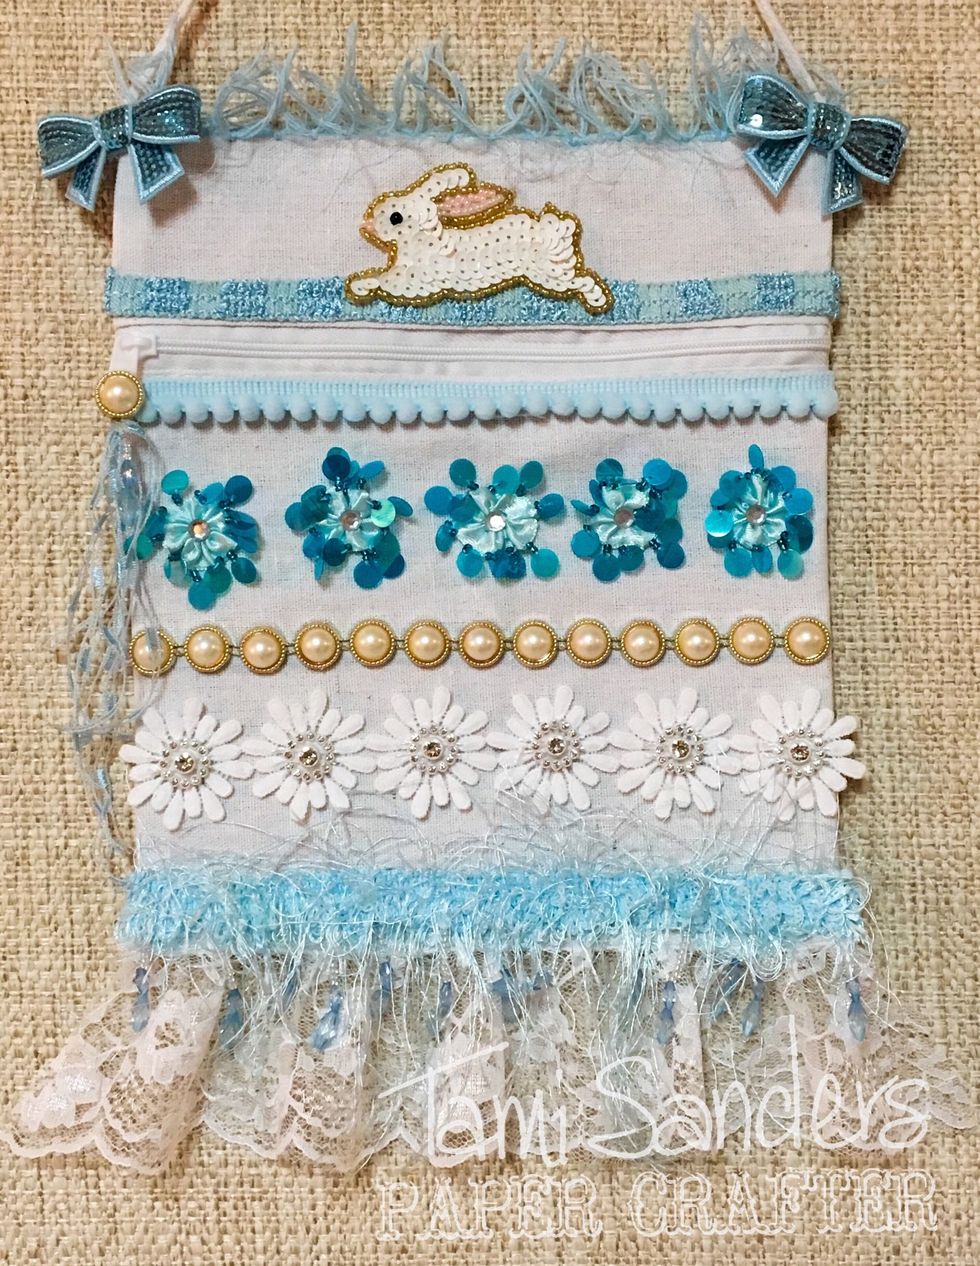
and VIOLA! from plain to fab in only and hour or so. Get your tween to help, or let them do the whole project themselves. Great Make and Take for parties!
i hope you enjoyed this project! you can find more great trims at expointl.com you can find me at tamisanders.com or at tami.paper.crafter on INSTAGRAM