The Conversation (0)
Sign Up
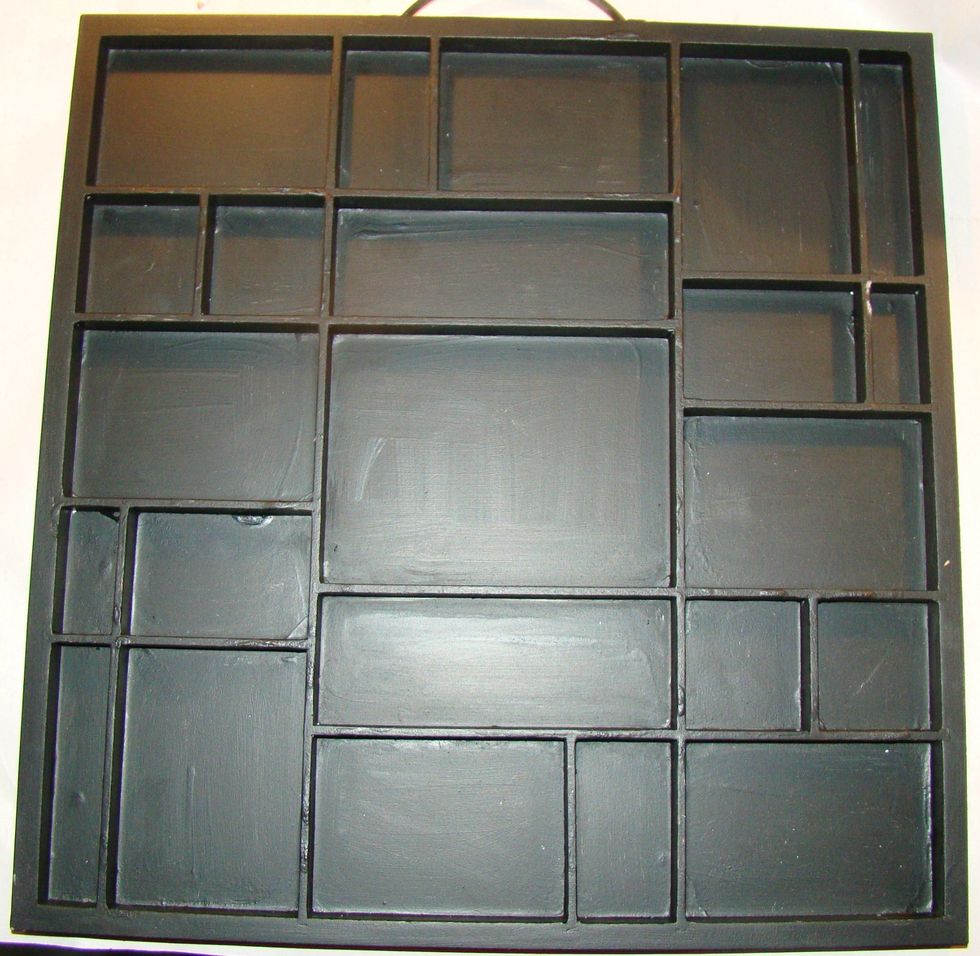
Because my tray was white and I wanted it black, I first painted my tray with black chalkboard paint. I used chalkboard paint because I love the matt finish.
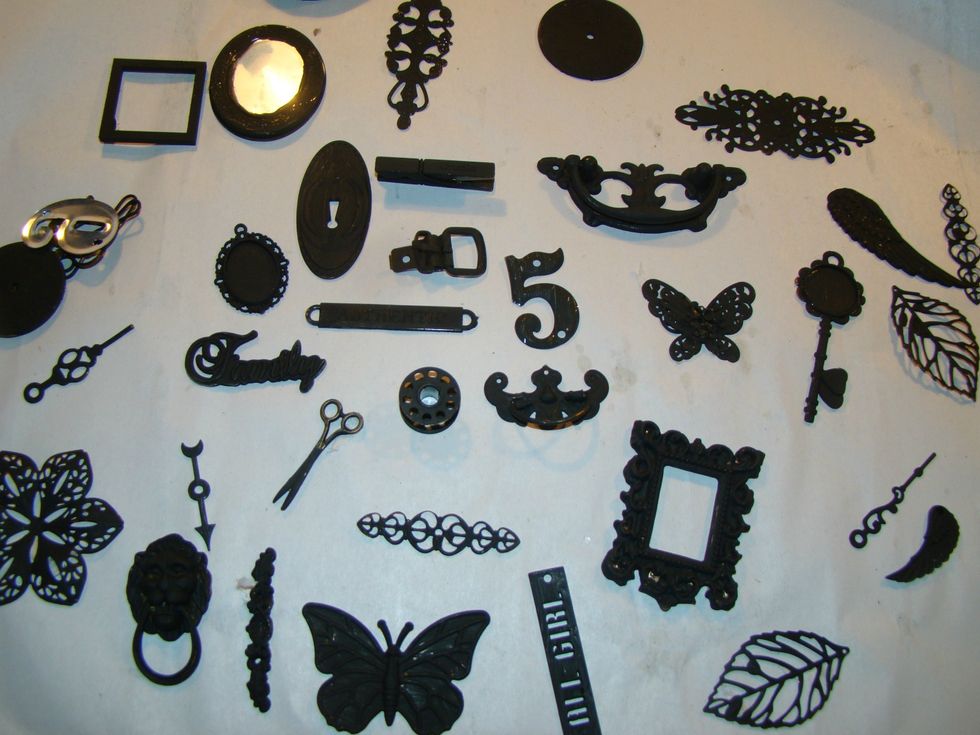
I then started going through all my stash and choosing items that I wanted to use. First, I painted all the metal embellishments black. I will later use Antique Gold Rub N Buff on the edges.
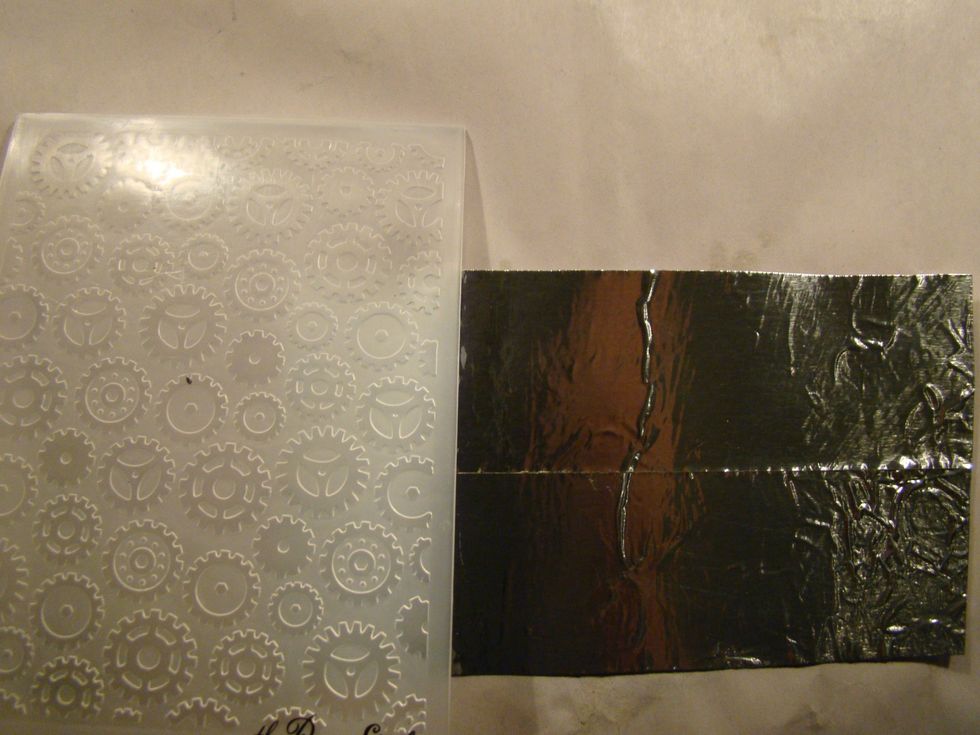
One of the compartments I wanted to have a faux metal background. Using metal tape, I adhered it to cardstock and using a texture fade, ran it through my die cut machine.
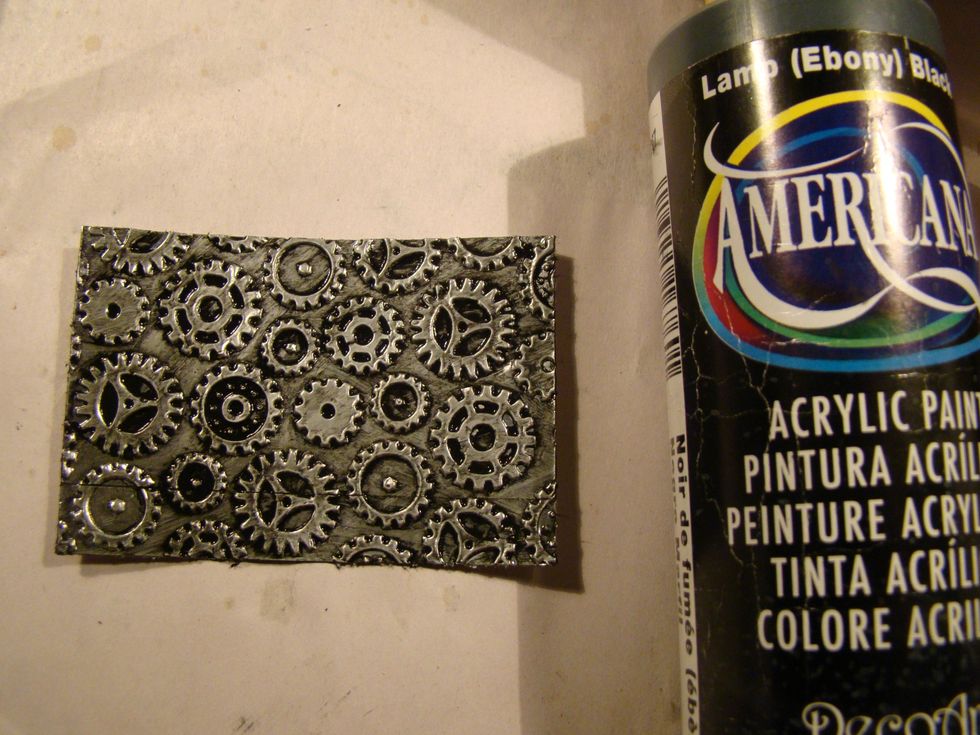
Painted a coat of black acrylic paint over the entire surface and using a paper towel, wiped off the top. This provides a nice grungy effect to your metal.
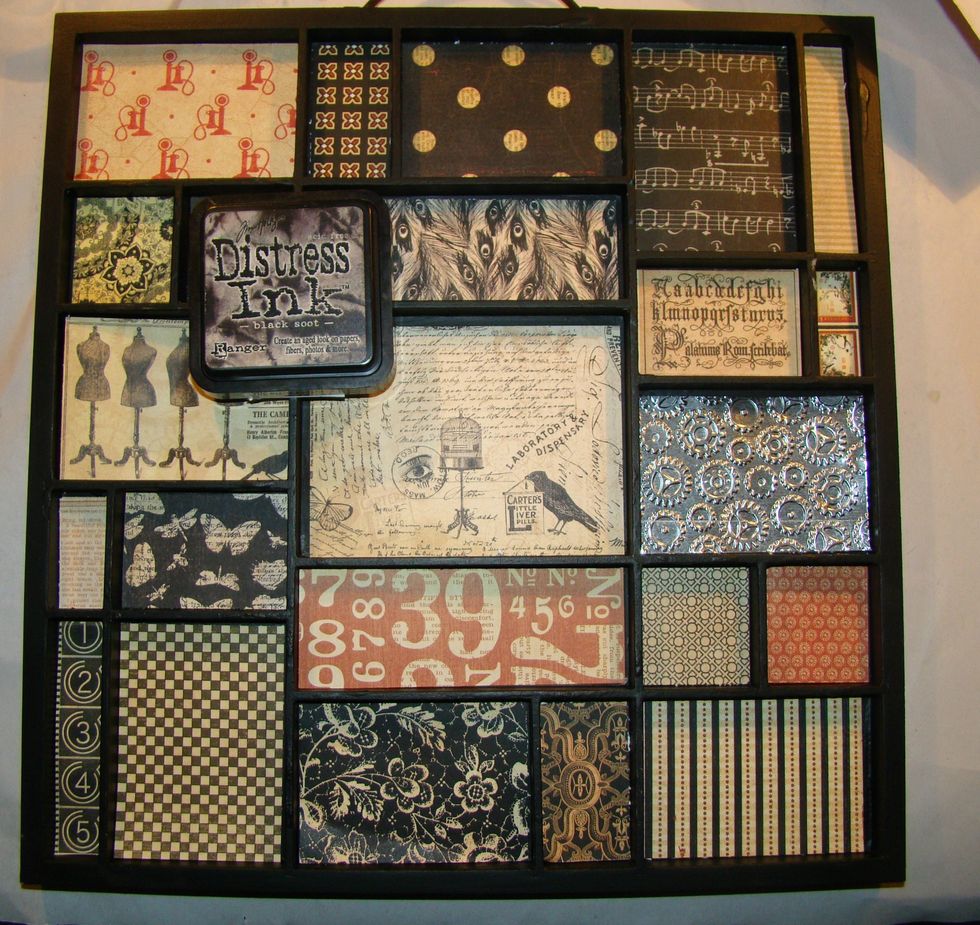
I decided to use an assortment of G45 paper collections for my backgrounds. Cut papers to fit your compartments. Distress the edges with Black Soot Distress Ink.
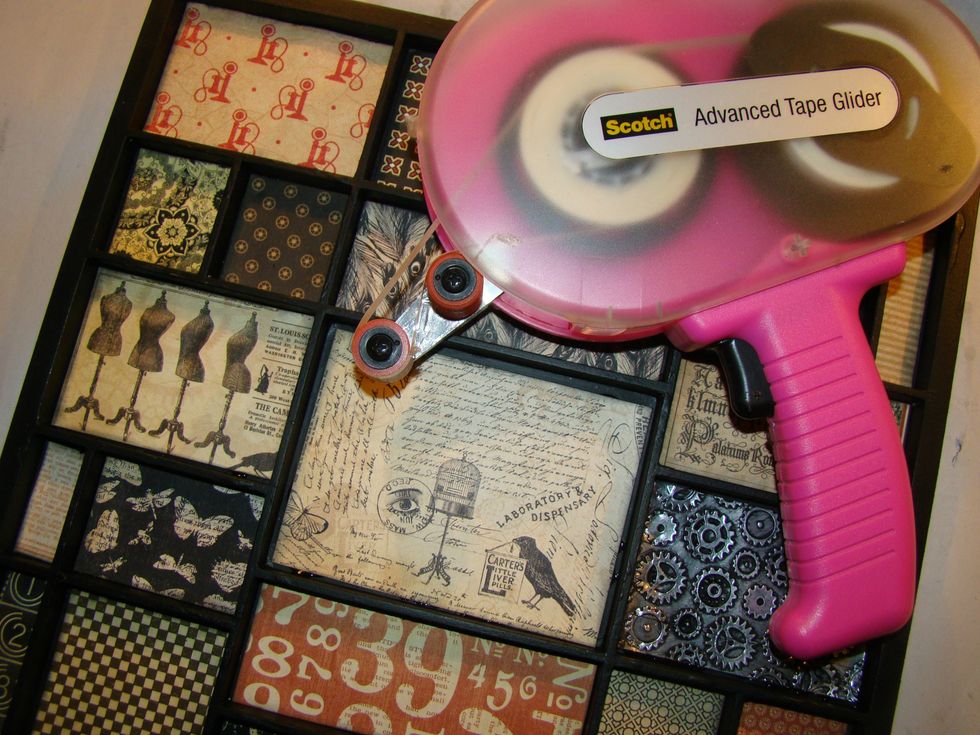
Adhere your papers to their compartments.
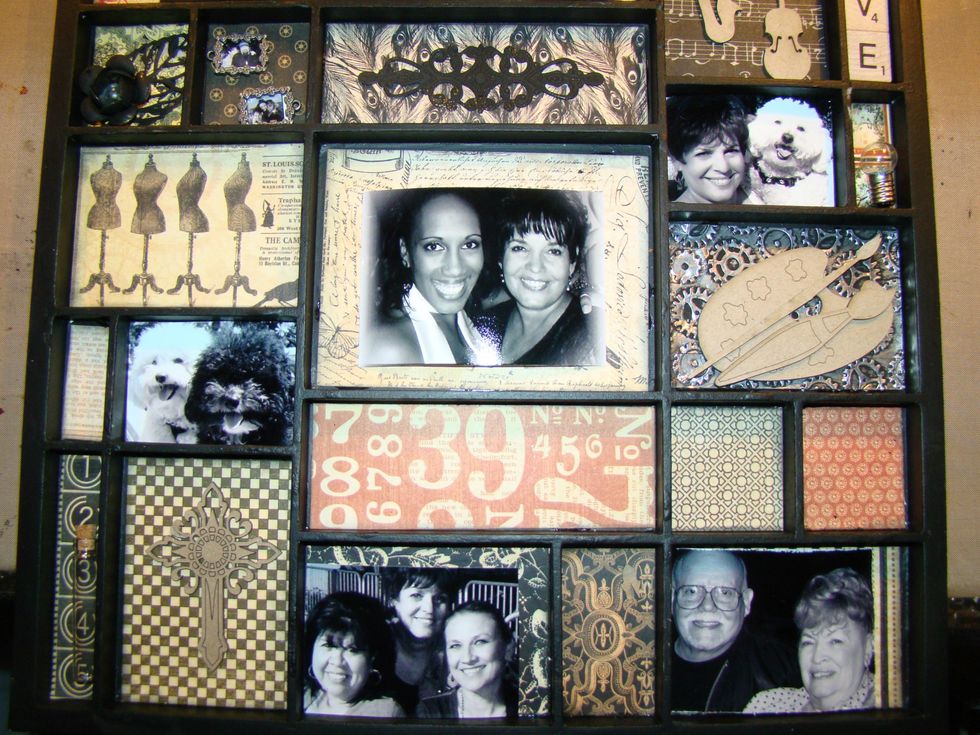
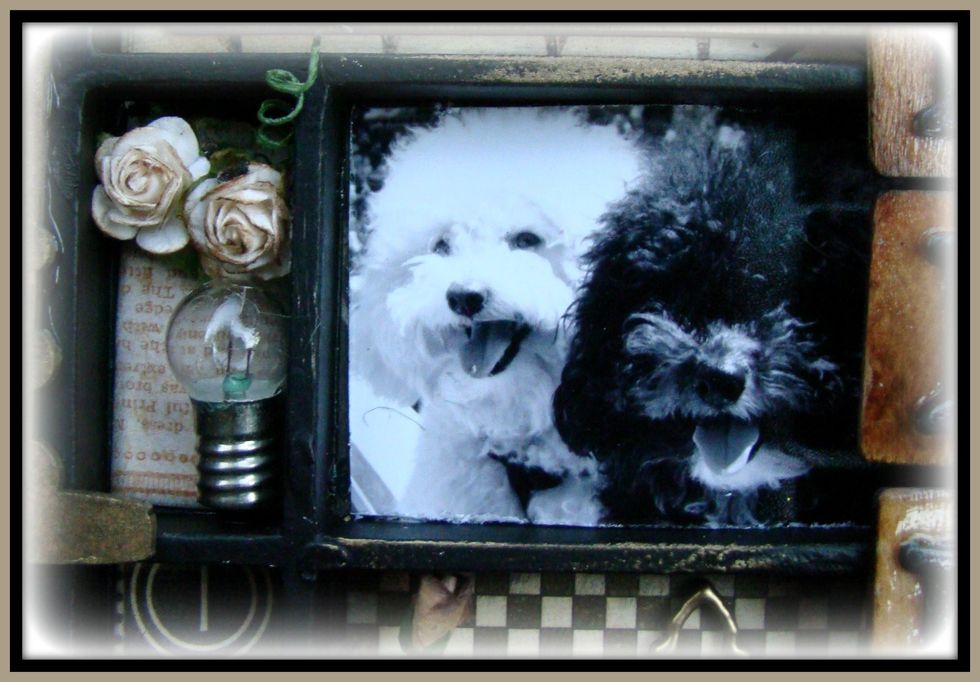
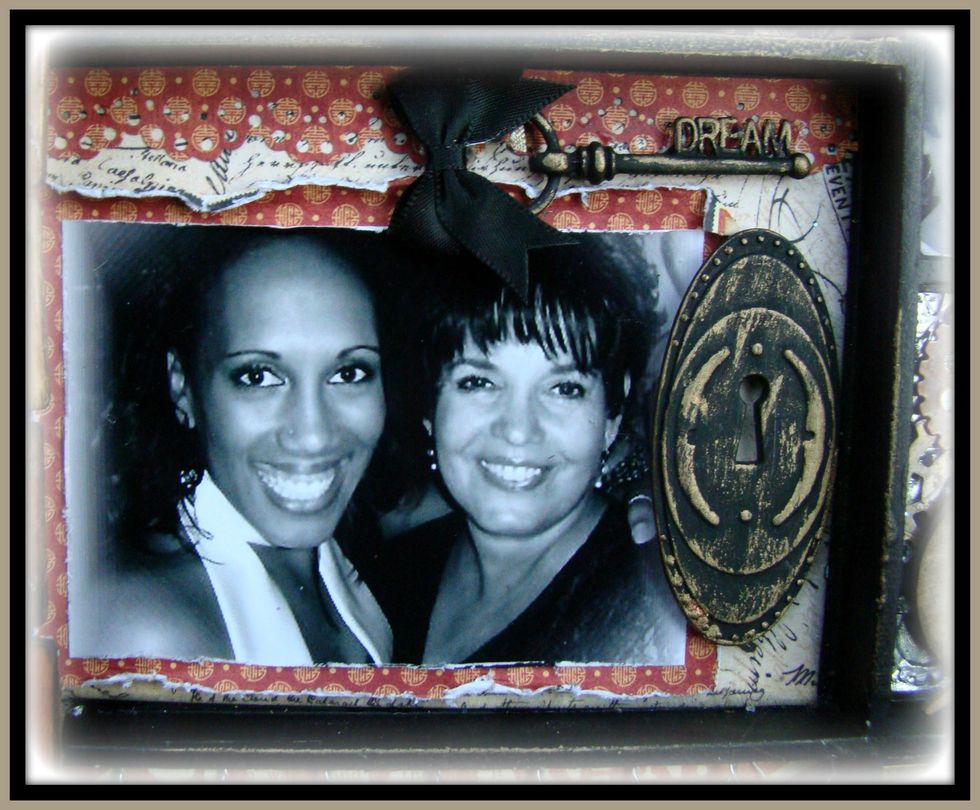
Decide where you want your photos placed. I had wallet size made of all my photos and decided to go with black & white.
And now it's time to start creating each compartment. The gold rub n buff really adds a vintage look to the black embellishments. I used E6000 glue to adhere all the metal embellishments.
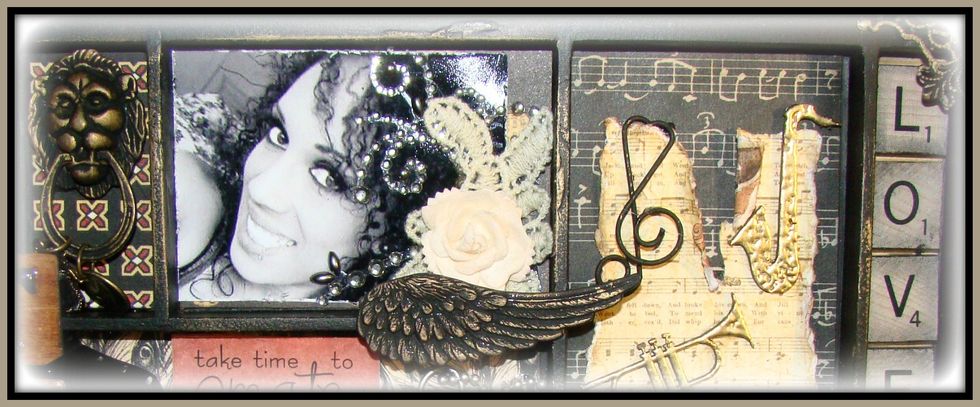
On some of the photos I edged it with my distress tool to give it that torn vintage look. Add lace doily, bling and flowers.
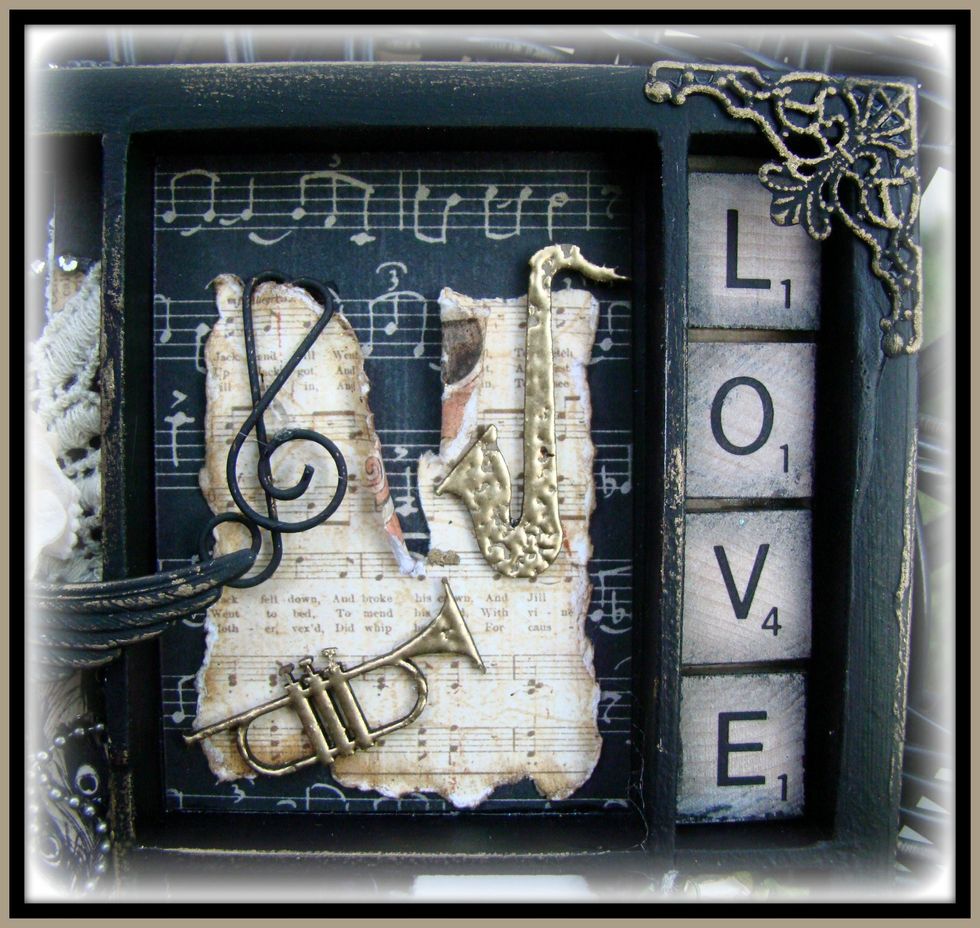
The instruments here are chipboard pieces by Blue Fern and I used UTEE gold embossing powder to give it that chunky goodness. The scrabble tiles I edged with black soot distress ink.

I added Stickles to the butterfly , for the small frame, I cut out the flower and added glossy accents to the top. Decorated the chipboard dressfom with pearls, and a metal bow,
Add tiny rosettes to your compartments. I used Tea Dye distress ink to the edges.
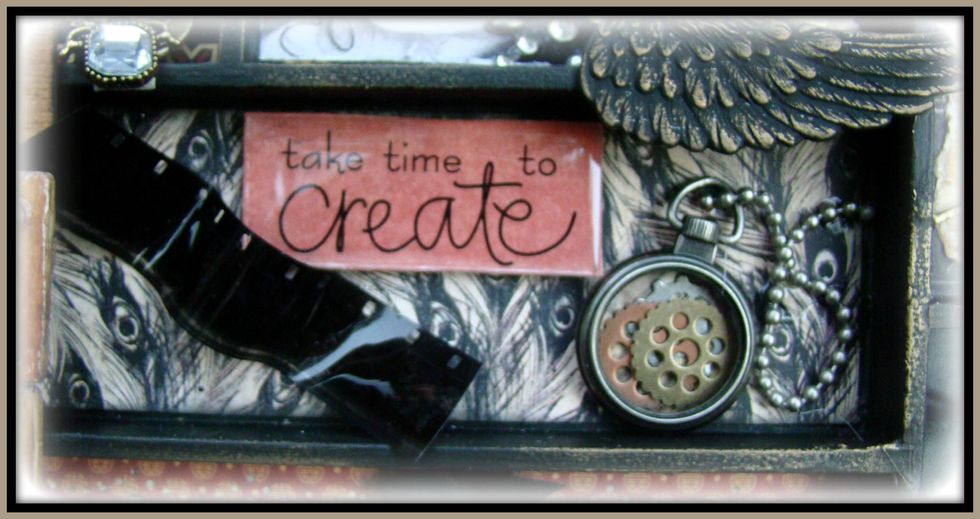
Mini pocket watch has tiny gears layered on top of each other, the film strip I heated slightly and curled it a bit for the ruffle effect.
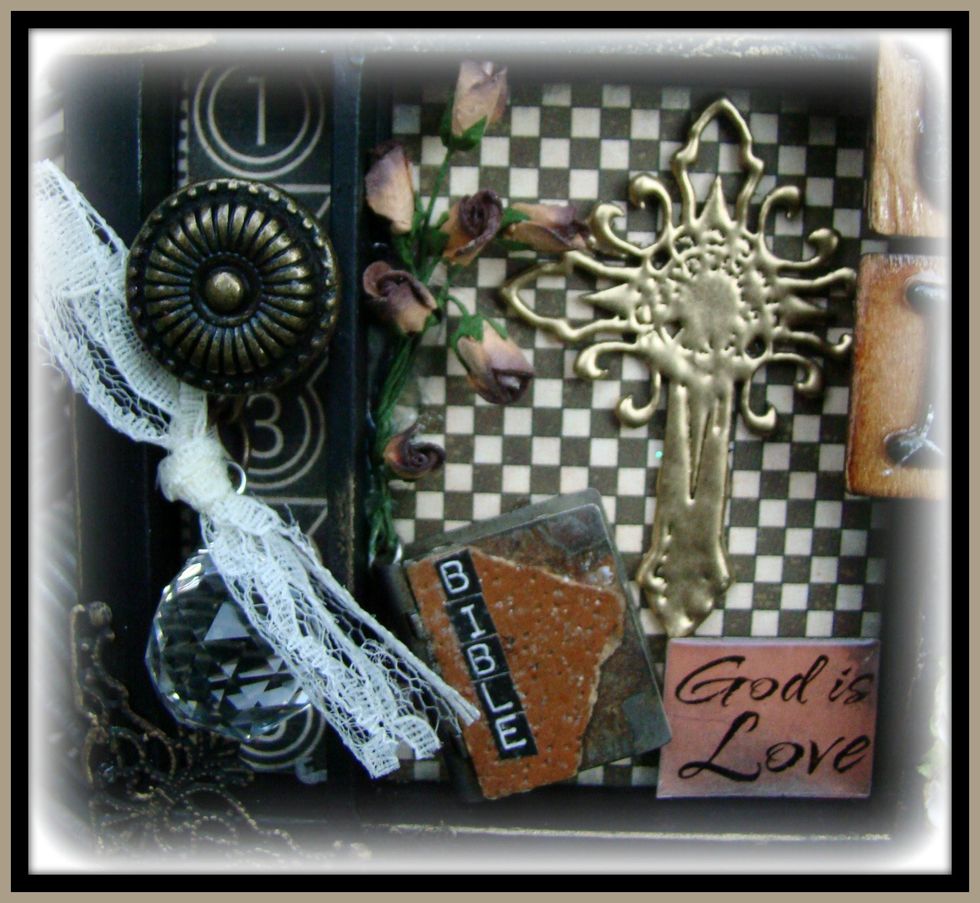
The right side is a door knob, crystal bead with lace using a jumpring, the cross is a chipboard piece and embossed with gold UTEE. The bible was an old piece of jewelry and I added the letters.
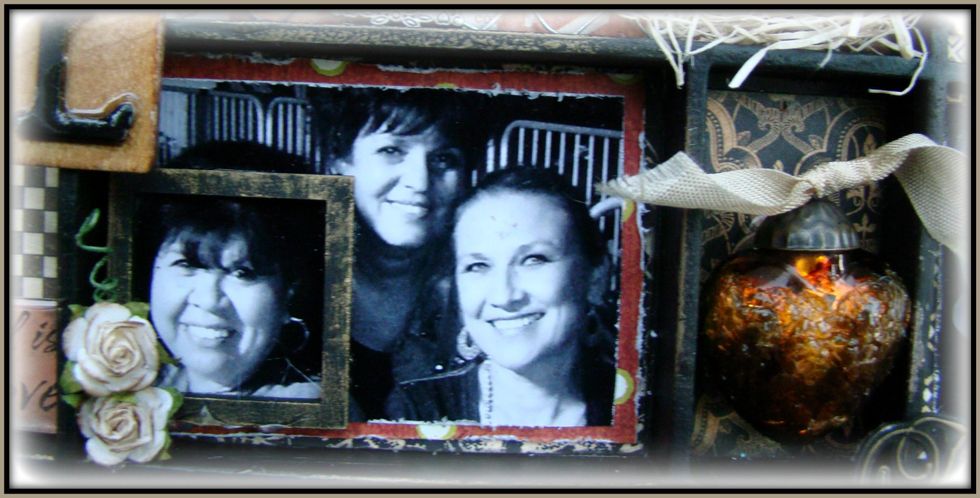
Small picture frame added to part of the photo, and don't forget to distress those edges of the photos, it really adds that vintage look.
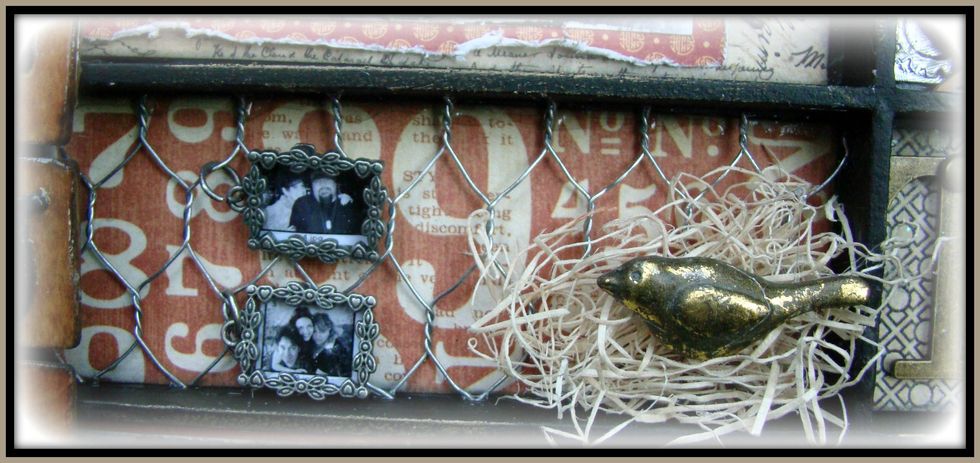
To the background I cut a piece of chicken wire and adhered it. Using floral filler I created a small nest. Applied gold rub n buff to the bird. Attached the two mini pic frames using jump rings.
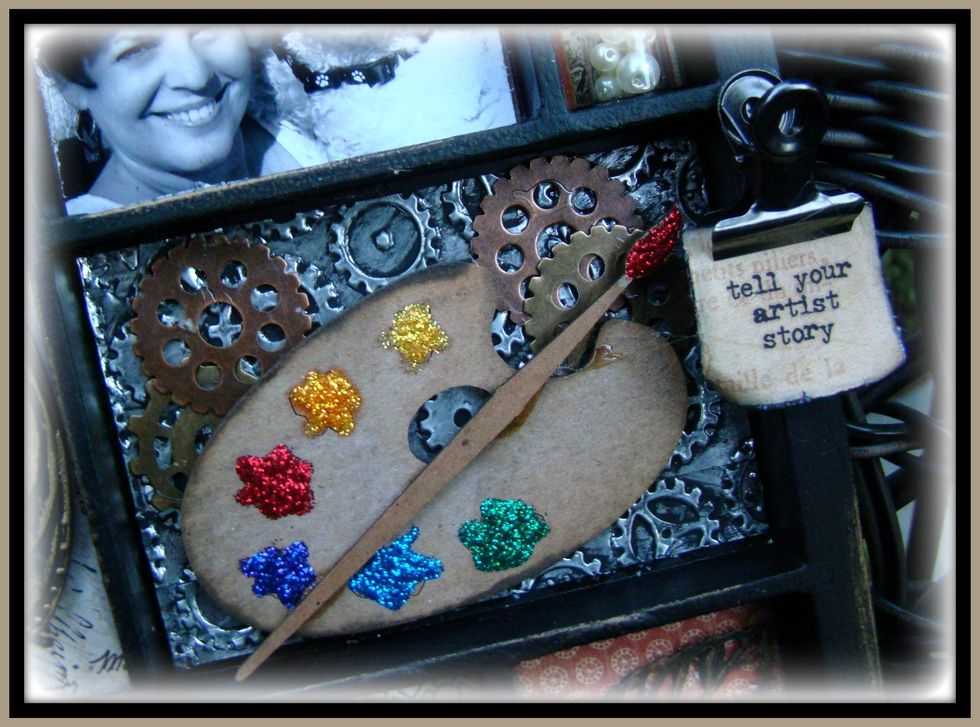
The artists pallet is chipboard and I distressed it with walnut stain, then used Stickles for the paint. Adhered cogs and gears to the background.
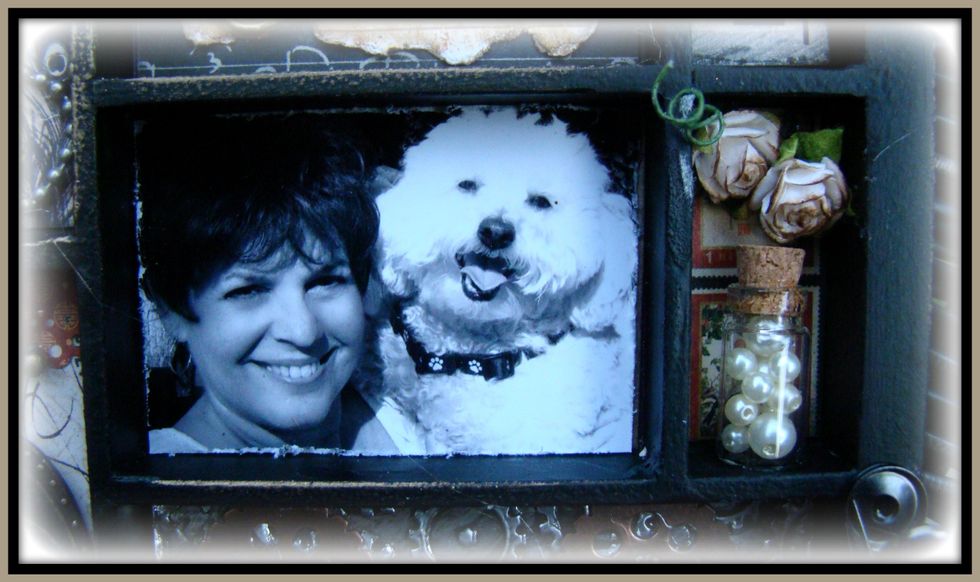
Tiny jars are great for this project and you can fill with seed beads, pearls, mica, glitter etc.
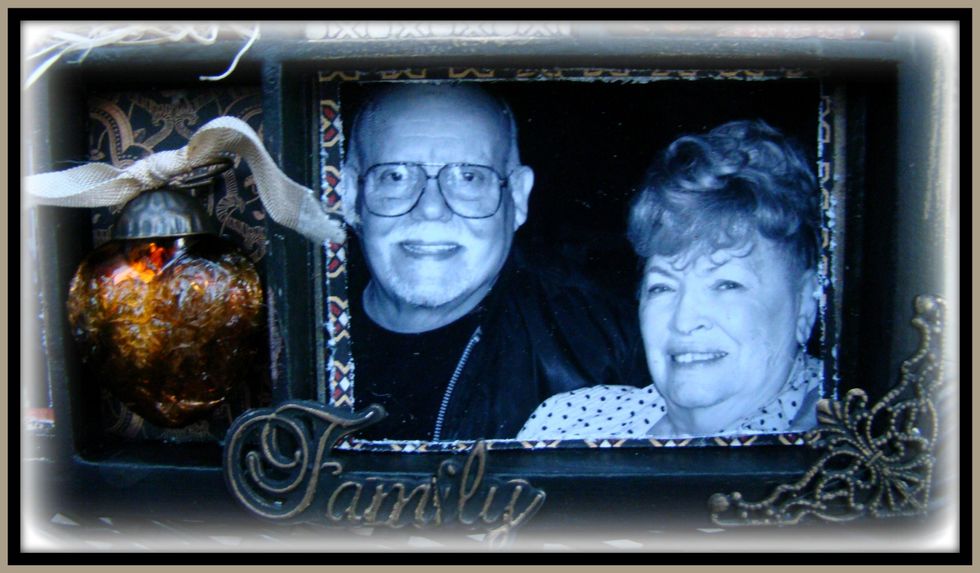
To the left is an glass vintage Christmas ornament, I stained using Ginger Alcohol Ink and then applied Rock Candy Crackle Paint to the top, attached seam binding which I stained with tea.
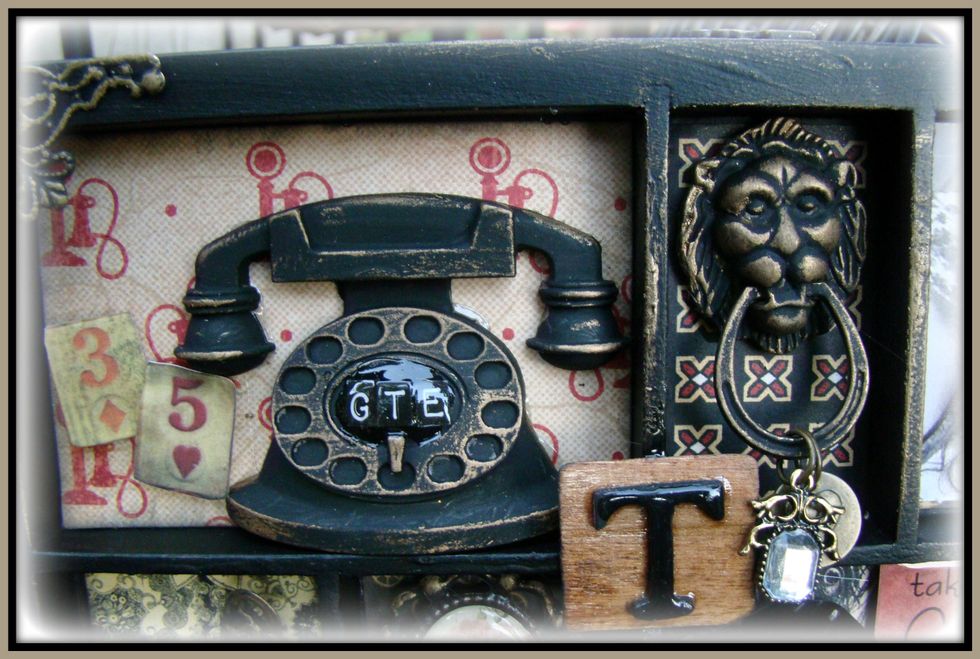
Key and lock have gold rub and buff applied. Added black bow to key.
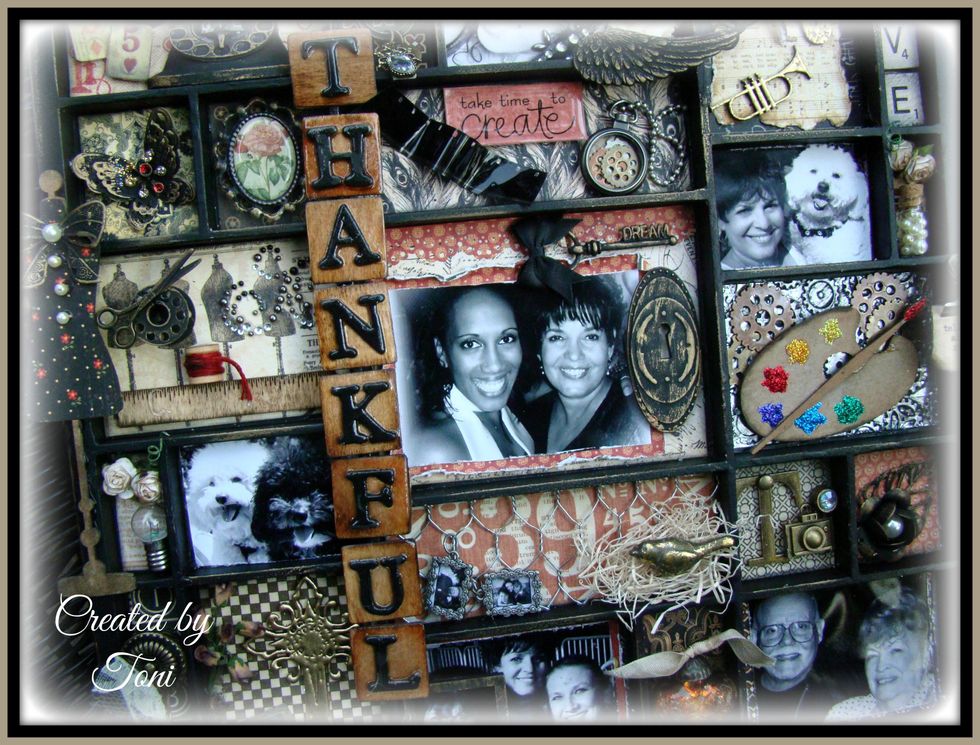
Wood squares were inked with walnut stain, chipboard letters painted black and adhered with glossy accents. These are just a few ideas of items you can use to enhance your trays. Hope you enjoyed !